
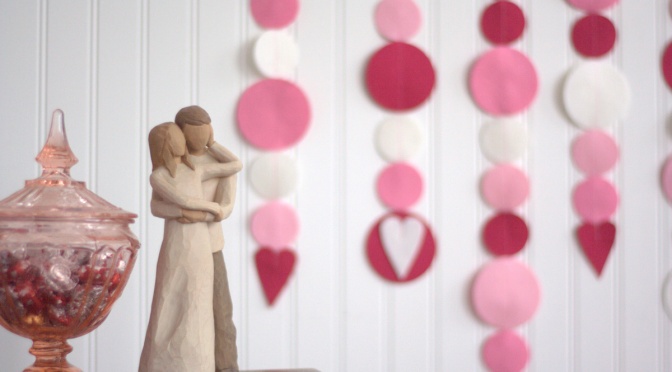
February is here! For the next month it will be impossible to buy candy that isn’t pink, red, or at least heart-shaped, and ubiquitous hearts are sure to have permeated every commercial establishment. While I’m not a fan of Hallmark holidays, I am very much a fan of love. In our house, February is a month of extra baking, hearts in everything, and of course, arts and crafts.
 Today I’m going to share a tutorial for how to make a simple yet festive garland. I used my Sizzix fabi die cutting machine to cut the shapes, but you could also cut them with scissors. We hang our garlands from the beams in our kitchen, but you could hang them from a tree branch, along a mantle, or just along a wall for a fun and festive pop of color. I’ve also included affiliate links to products that I use and love. If you click through and purchase with these links, I will receive a small commission that will go toward funding all that goes into creating these tutorials and keeping my blog up and running.
 Materials needed:
- 4-8 sheets of felt in coordinating colors (I used 100% wool felt from Fiddlehead Artisan Supply and it was sooooo dreamy to work with!)
- Sizzix fabi die cutting machine
- Hearts, Primitive #3 Sizzix die
- Circles, 2in, 3in, and 4in Sizzix die
-OR- sharp scissors and a few circular items with a 2″-3″ diameter for tracing - Festive pink cutting pads, if you want!
- Thread (I used Aurifil 50wt variegated 3660 – Bubblegum)
- Sewing machine (I use a Bernina 560)
- Chocolate!! (okay, you don’t REALLY need this I suppose)
Once you have all of your materials gathered, go ahead and have a chocolate. Now, let’s get started!
 First, we will cut the shapes. I like to precut the felt into squares and rectangles so that I can layer it smoothly. Especially with the thickness of felt, the cut squares made cutting super smooth. I was in awe with how perfectly these felt shapes came out of the Sizzix. It gives me renewed desire to try some wool felt applique (but that is a project for another day!)
 I found that layering five (5) layers of felt was the ideal number with this 100% wool felt. Note that the top photo shows six (6) layers, and that I did successfully pass the 6 layers through the machine; however, 5 went through much more smoothly so I decided to stick with 5. Either way, you’ll be cutting 5-10 shapes at a time with each pass!
 Make your Sizzix sandwich: bottom cutting pad, die with the blades facing up, felt centered over the proper blades, and top cutting pad. I used the largest heart on the Primitive Hearts die and the 2″ and 3″ circles on the Circle die. Pass it through your Sizzix die cutting machine and admire your smooth, perfect shapes.
 If you are cutting by hand, you can use the bottom of a glass, bottle lid, or any other small approx 2″-3″ item to trace a circle before cutting. For this project, I used two different sized circles for some visual interest. Either by hand or by Sizzix, once you have a good pile of shapes, it’s time to sew them together! I ended up using 33x 2″ circles, 16x 3″ circles, and 6 hearts but depending on how many garlands you want and your desired aesthetic, those numbers may vary.
 Sewing these together is *really* easy. Thread your machine with a coordinating color thread. I used some Aurifil 50wt variegated 3660-Bubblegum that I had left over from a previous project, and it was perfect! Pull out the top thread and bobbin thread so that you have 3-4″ of excess thread held off to the side before you begin sewing (shown above). This excess thread will be simply knotted and used to hang the garlands when they are finished!
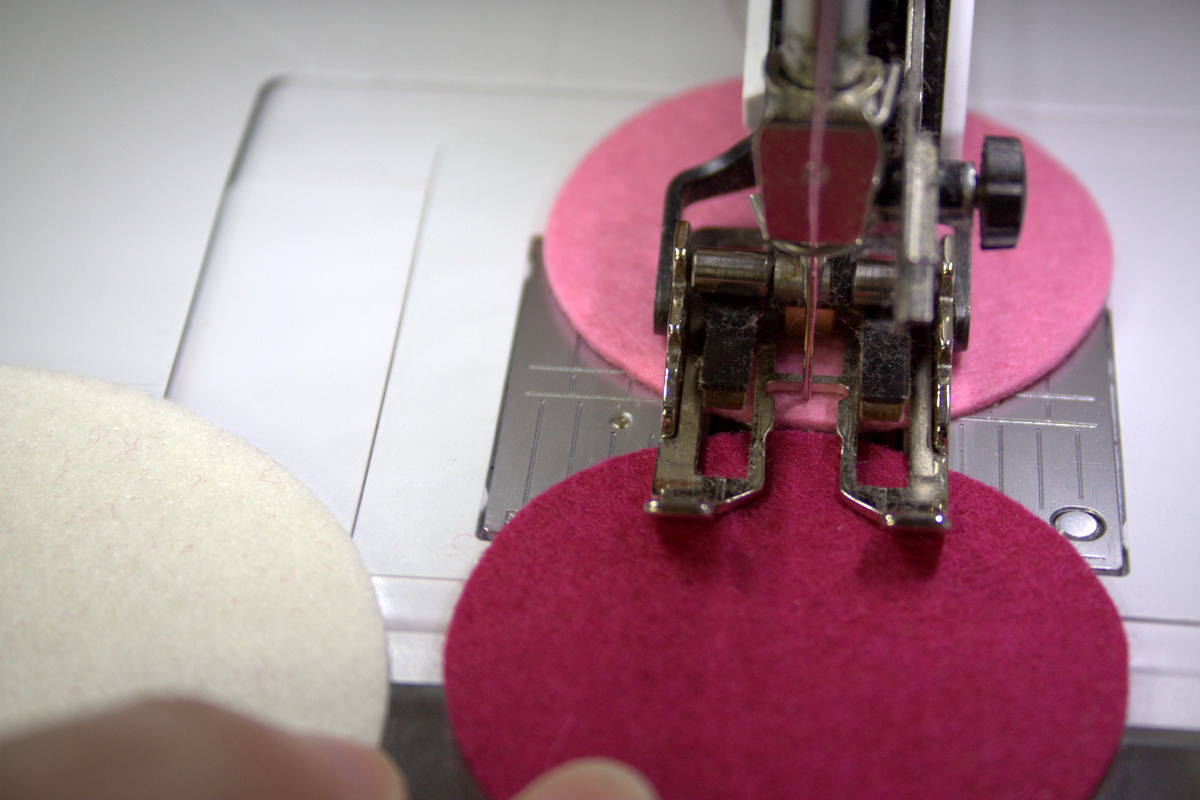 Now, just start sewing! Sew right down the center of each shape, backstitching at the beginning of first piece and alternating colors and sizes until you have a garland approximately 18″-24″ long.
 I made each garland different by making a point to vary the shapes by size, shape, and color as I added them to the machine. Once you get to the last shape in your garland strand, sew about 1/2″ into the shape, then backstitch to secure your stitches. Simply trim the threads and you’re finished!
 I used the hearts only on the bottom of each strand, but you are welcome to include them in the centers, too. I made two “feature” strands with a heart overlaid on a contrasting 3″ circle at the end. This resulted in a fun organic set of garlands that cheer up our kitchen tremendously! Since our kitchen is so dark, I am sparing you photos of the garlands hanging from the beams, but I just attach them with a little piece of coordinating washi tape or painter’s tape. Tie the thread ends at the top of each strand in a knot about 1-2″ above the top felt circle. Put the washi tape through the loop made and hang wherever you want! (Of course, as is the case with any adhesive, always test a bit in an inconspicuous place to be sure no residue or damage is done when the tape is removed.)
If you have little helpers, be sure to guard your snacks!

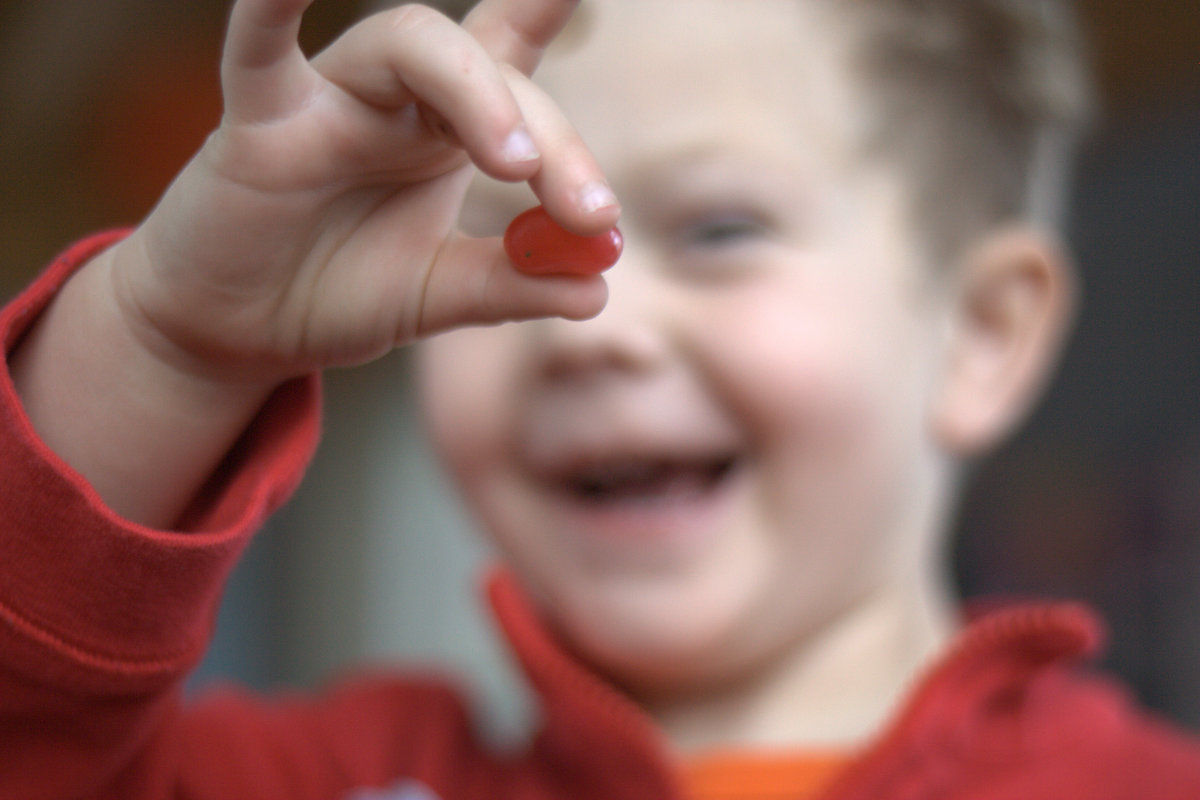 My little helper absolutely delighted in snatching a snack here and there during my project photo shoot. Gotta love him!
I’m linking up with Stephanie over at Late Night Quilter for her Tips and Tutorials Tuesday. She’s back in the saddle–go check out the great tips she has linking up today!

So cute! Thanks for the tutorial.
LikeLike
These garlands are adorable, Kitty! It’s such a joy to visit you and your crew at home. Tell Max to save some for his hardworking Mom:)
LikeLike
I love the garlands – just took down the last remnants of Christmas (my Dickens village). Now I am looking for other stuff to brighten up the glum winter days…
LikeLike
Thanks so much for sharing this – I can’t say how much I love it – gonna make some for myself, although I don’t have a sizzex cutter – just gonna do it by hand. Super idea!
LikeLike
These garlands are so adorable and so is your little helper!
LikeLike