
In the weeks leading up to QuiltCon (yes, I’m still talking about it), the Instagram hashtag #quiltconprep made it easy to see what others were doing to get ready for the big event. During those mad dash prep days, one of my IG friends posted a picture of a whole bunch of 2.5″ fabric squares of Carolyn Friedlander fabrics that she had cut in preparation for Carolyn’s Aerial Grove class. She noted that all she needed was a few squares of the architextures crosshatch and she’d have enough for a fully-Carolyn Friedlander aerial grove. What does this have to do with embroidery floss? I’m getting there! Long story short, I offered to give some squares to her at QuiltCon, and when she asked what she could give me in return, I said “knowledge.” I asked her to share a tip or trick that she found particularly helpful. It’s such a useful tip that I decided to share it here, with her permission, of course! Today’s tip was taught to me by Rebecca Cleaver (@cleaverr on Instagram), who learned it from Maura Ambrose (@folkfibers).
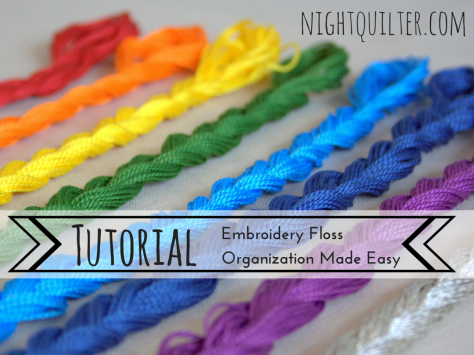
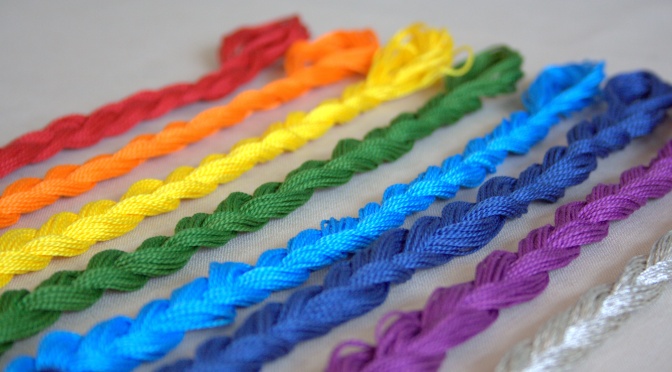
How to Organize and Store Embroidery Floss
So that it’s super quick and easy to use!
I’ve seen cringe-worthy photos of tangled piles of embroidery floss, and I admit that I am not that person. Even before learning this tip, I stored my floss on a wooden dowel, hanging in its original skein. This looked pretty, but when it was time to actually use a strand, that’s when it became tricky. I’d have to take all of the skeins off the dowel and gently and painstakingly remove a thread a tiny tug at a time (yes, I’m nutty).

Here’s a much better way.
Step 1:
 Carefully remove the paper holding the skein together and untwist the skein.
Step 2:
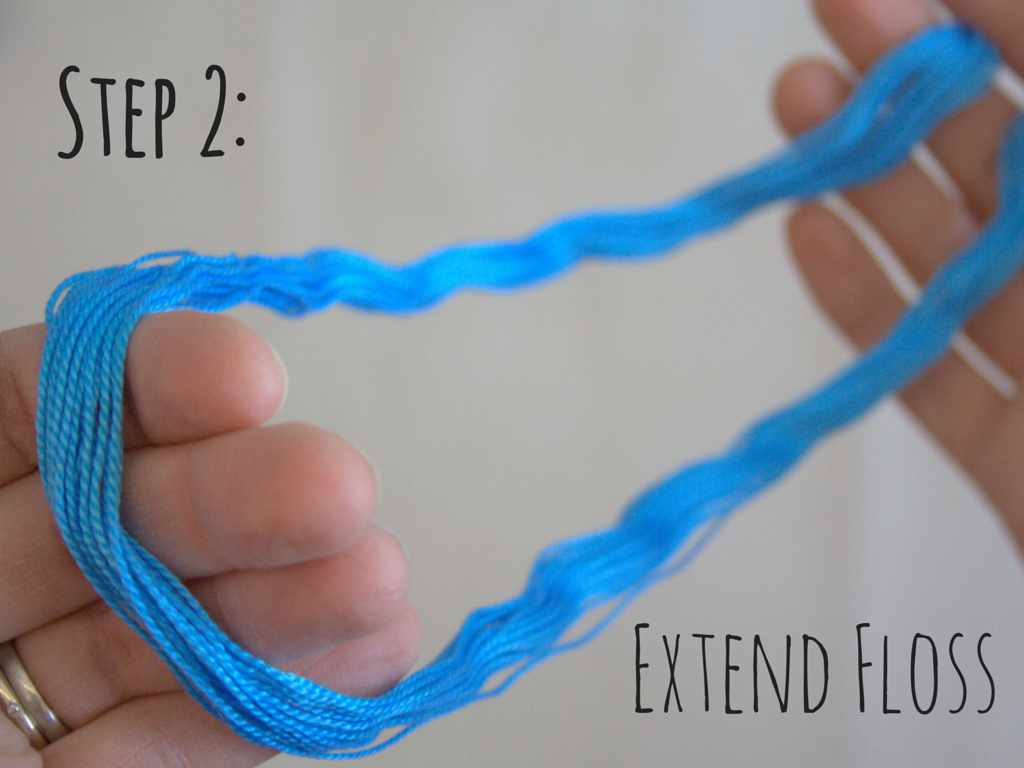 Extend the floss, holding the fully extended loop in your hands.
Step 3:
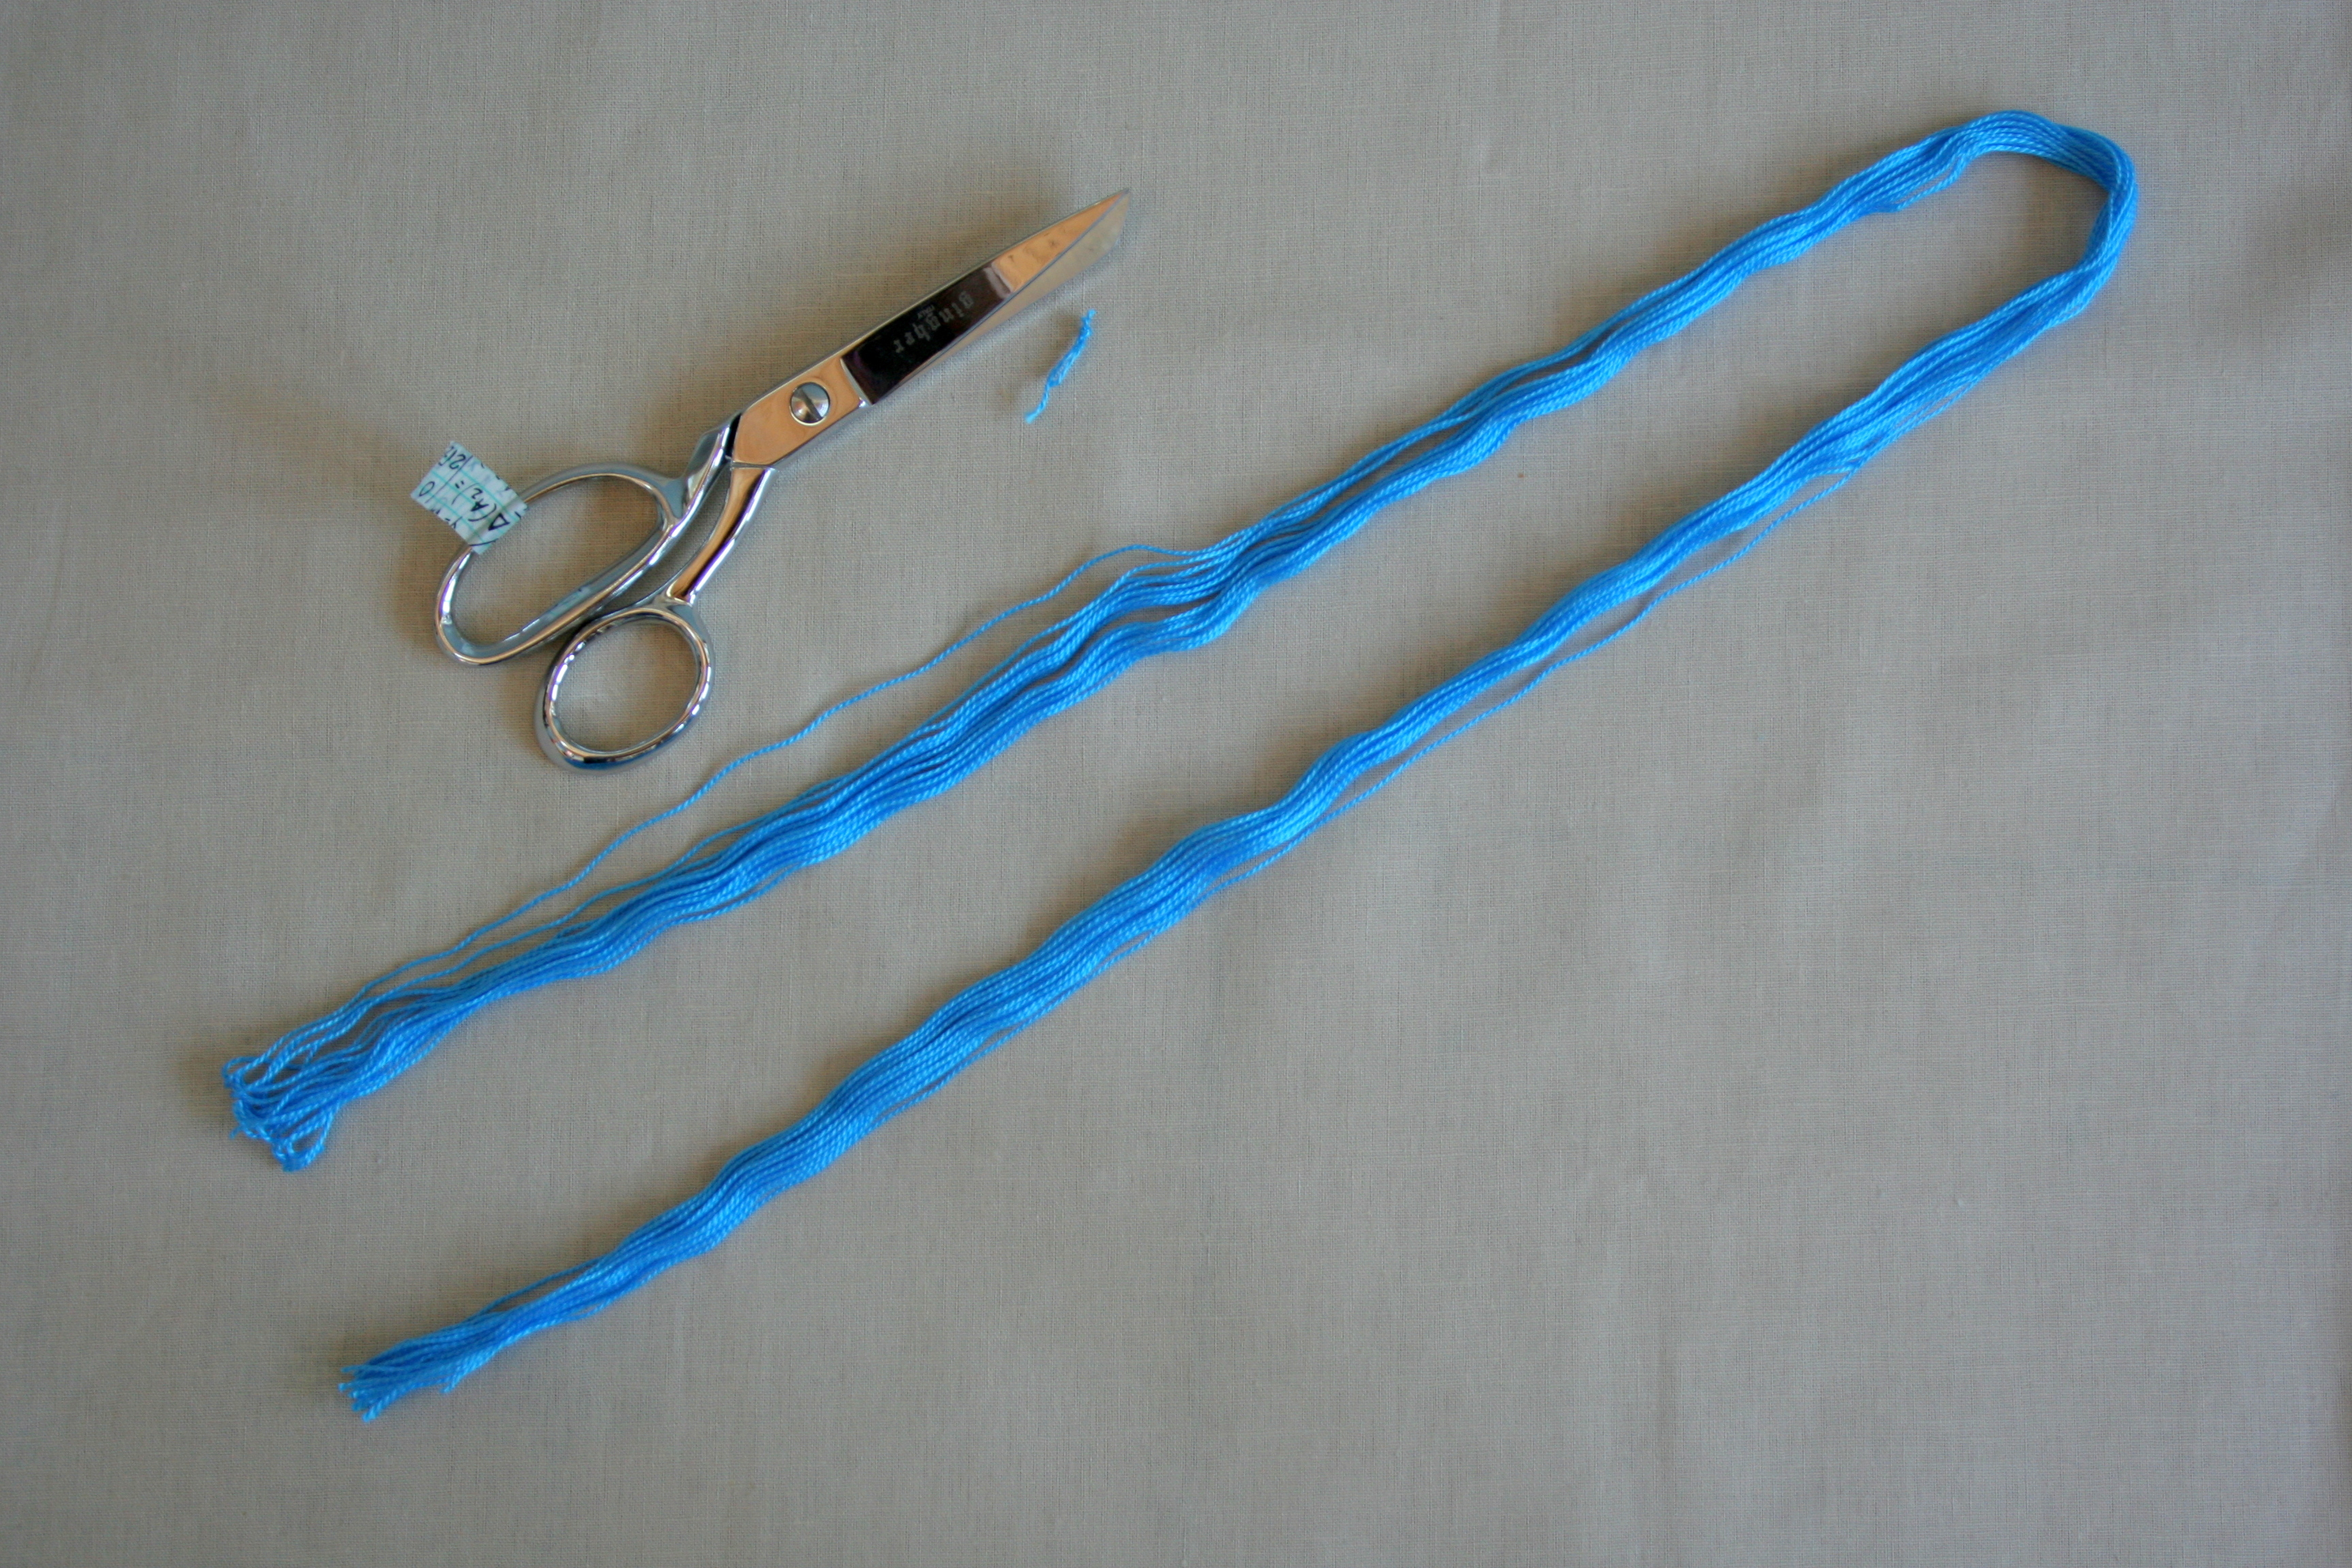
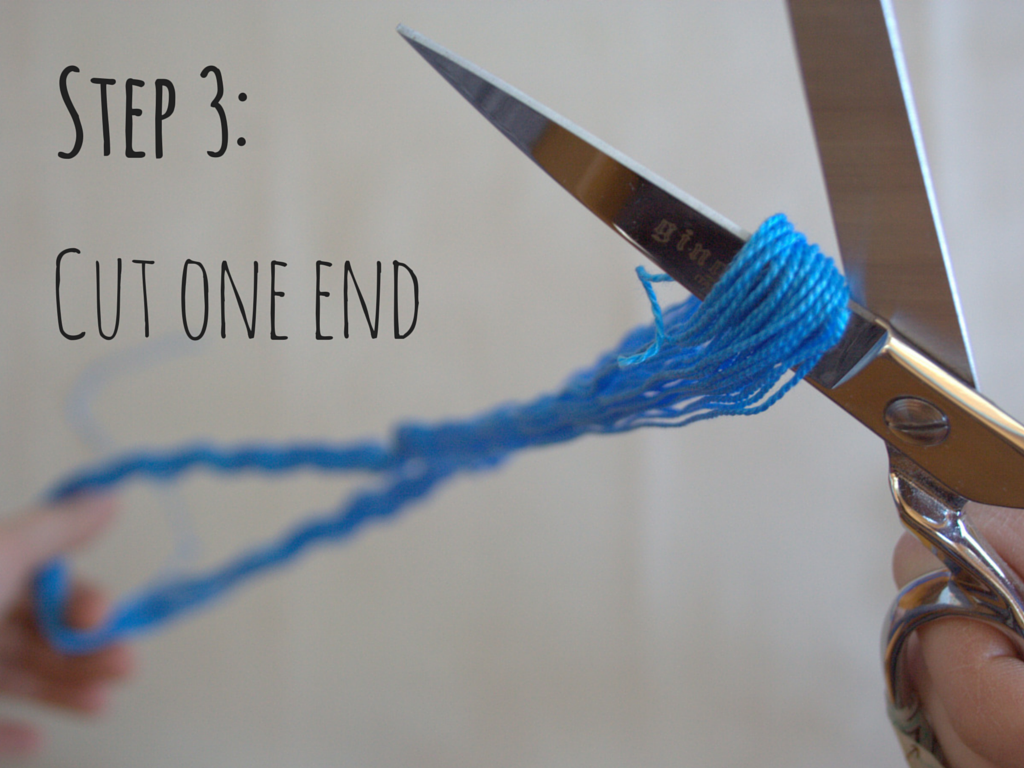 Cut one end, cutting through all of the embroidery floss strands.
It should now look like this:
Step 4:
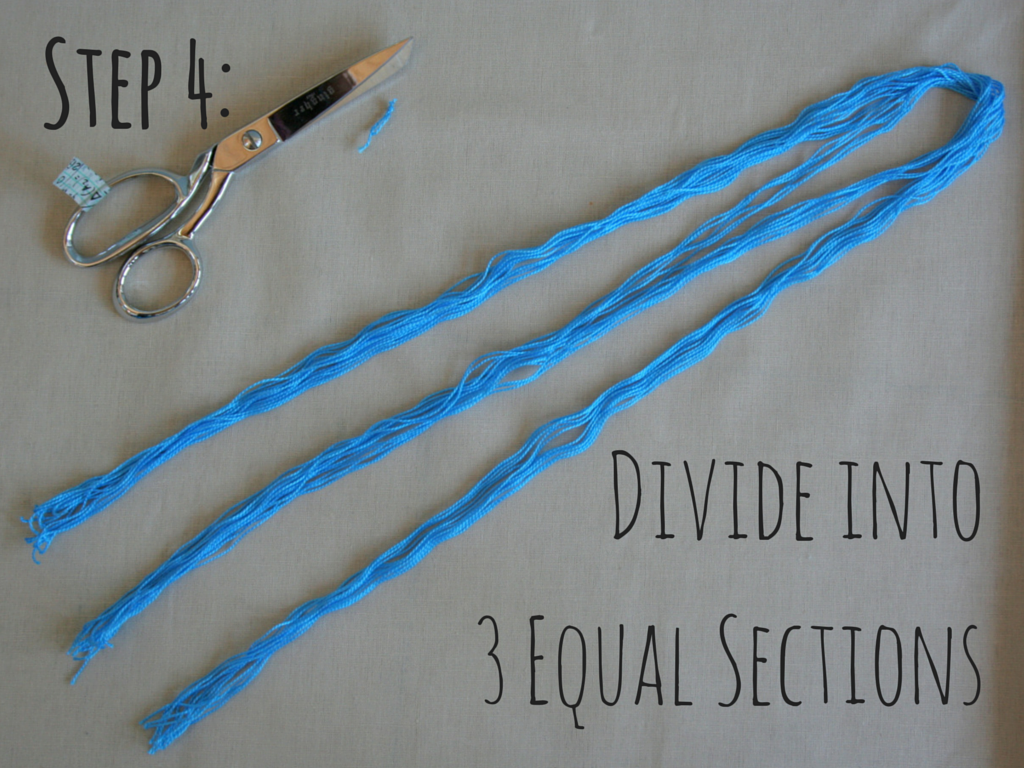 Divide the floss into three approximately equal sections. This doesn’t have to be perfect; I didn’t sit and count out the strands to make it perfect. If that’s your thing, then feel free to do so, but just eyeing it will be sufficient.
Step 5:
 Loosely braid the three sections together. If you have a willing and capable helper, you could ask them to hold the looped end while you braid. My 2 1/2 year old was not willing today, so I used an “S” hook to hold the looped end while I braided. You can hook the “S” hook on just about anything, but I used the cuff of my jeans. Here’s a behind the scenes peek:

Step 6:
 Using a separate, short length of floss, tie a knot around the end of your braid to hold it in place.
Now you have your floss, ready to hang in an aesthetically awesome, organized way, AND ready to go whenever you need a strand.
Here comes the really awesome part!
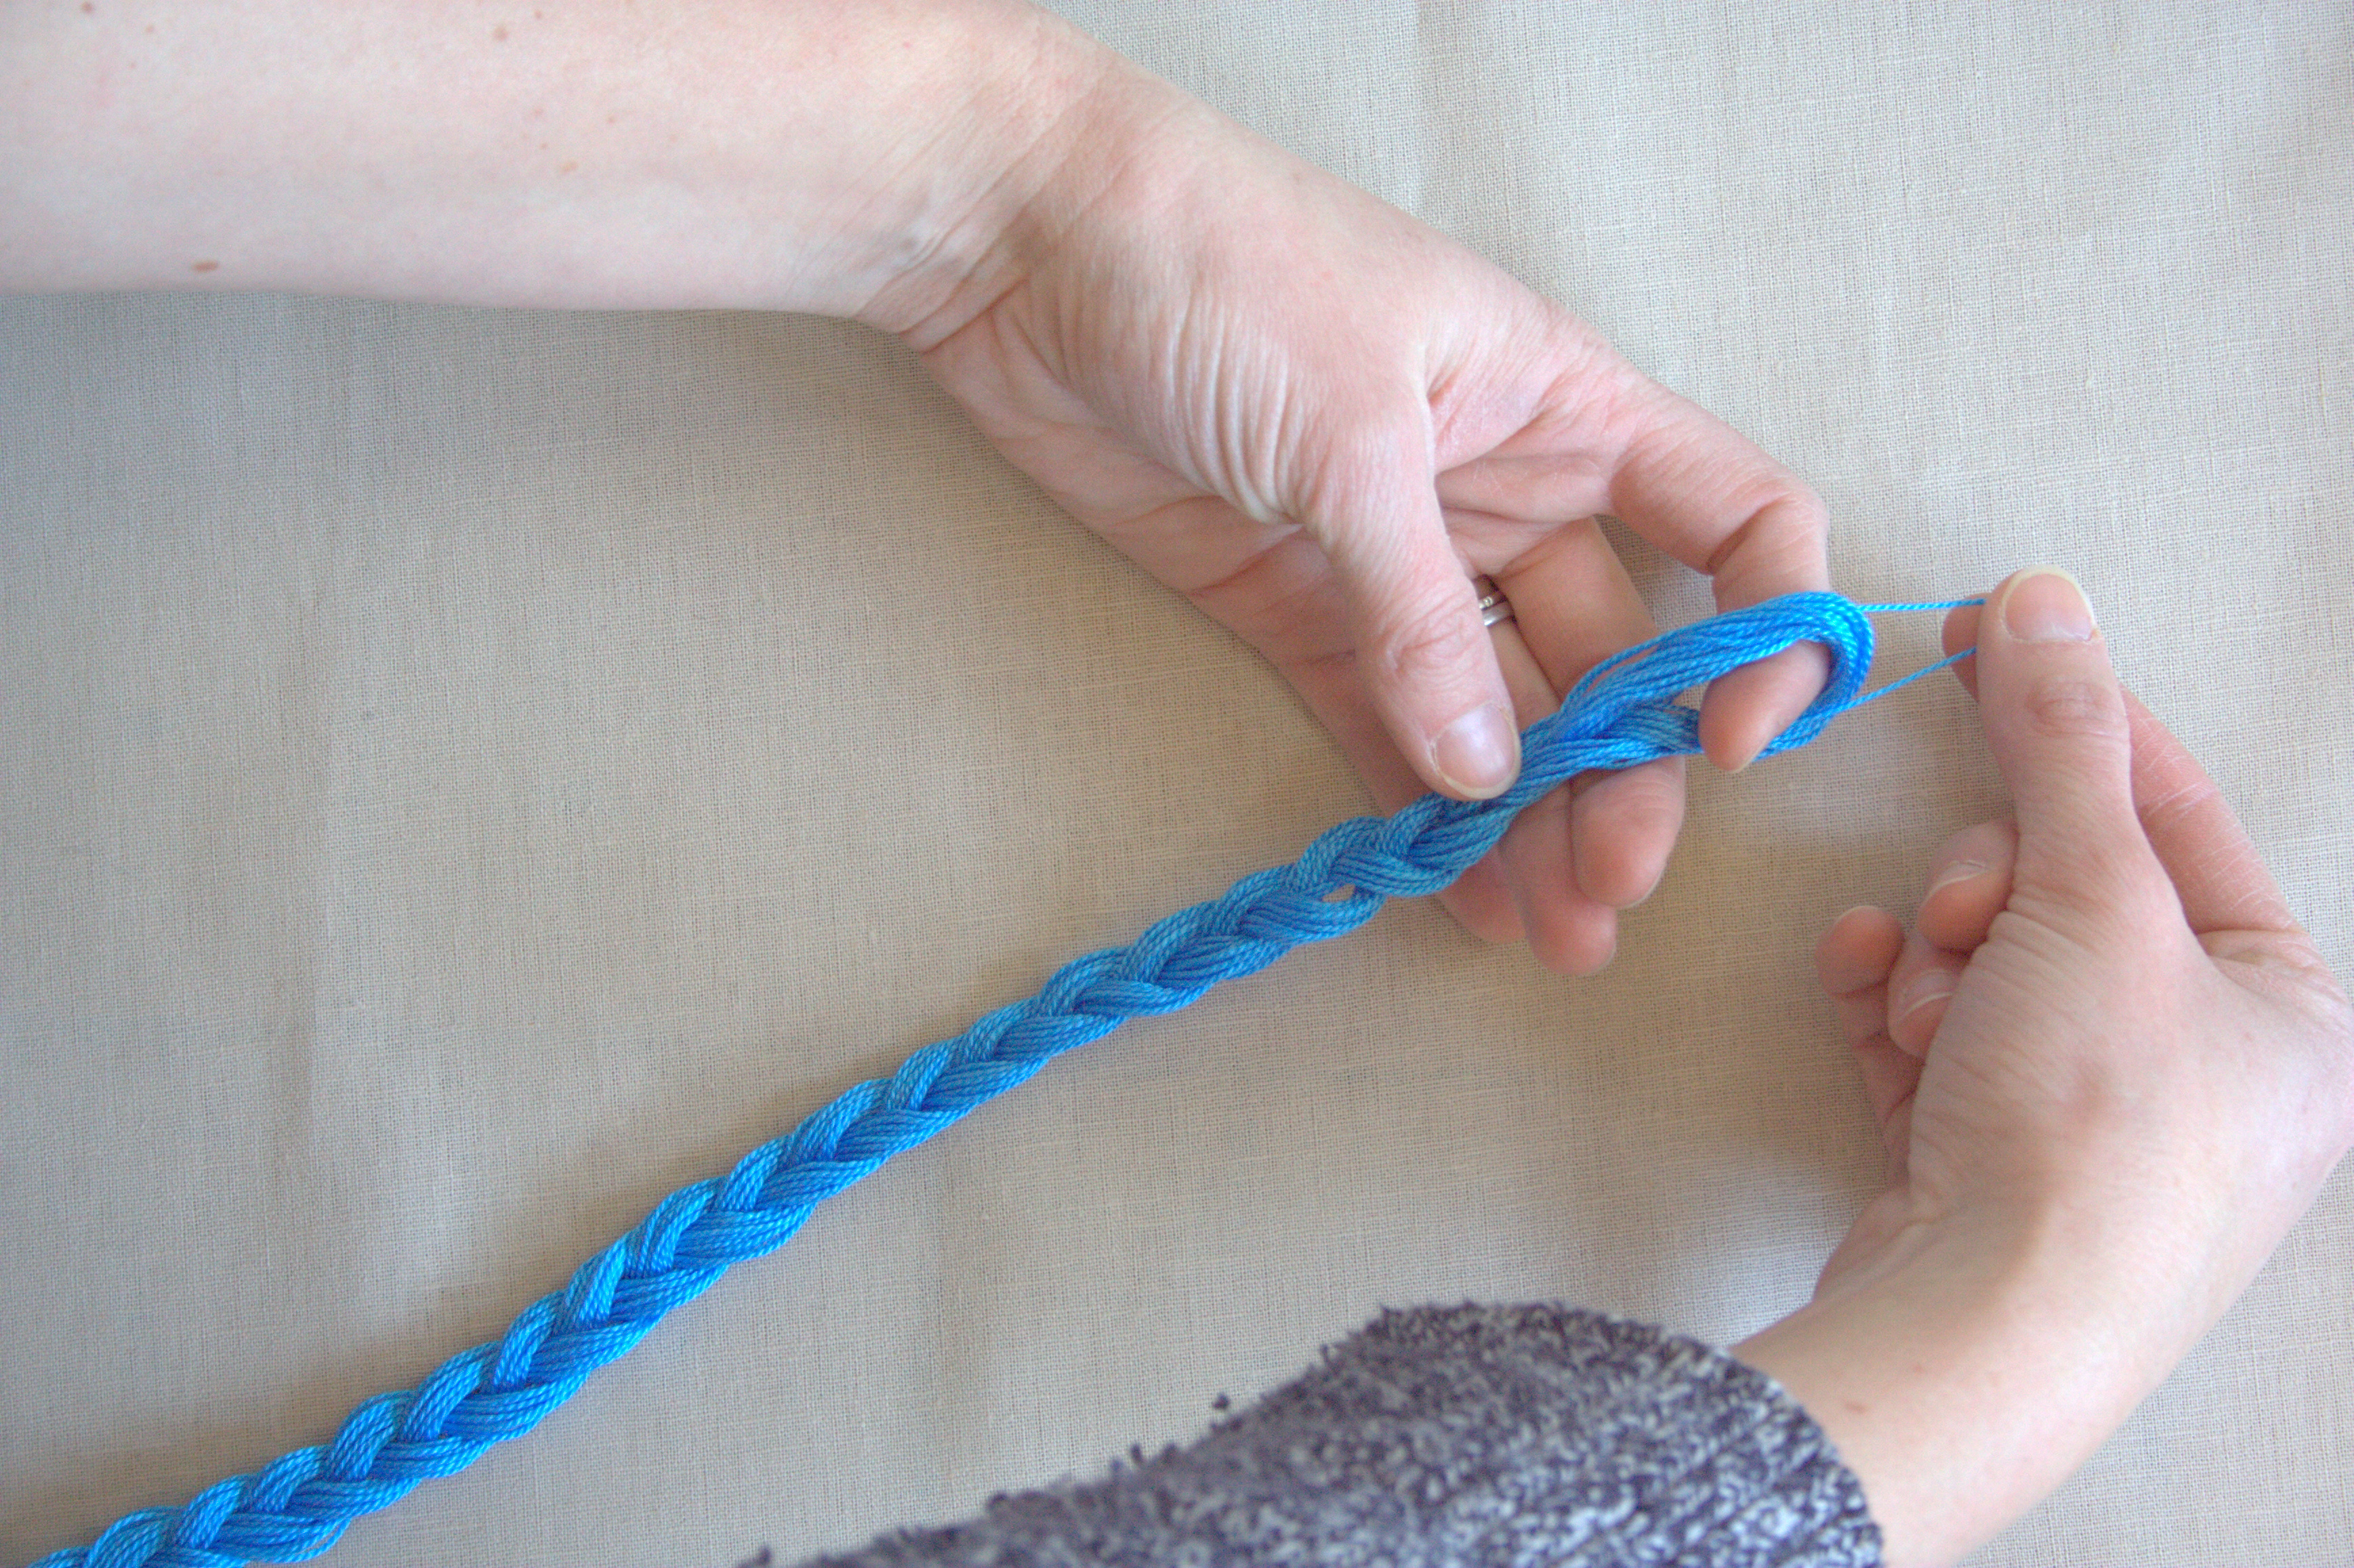
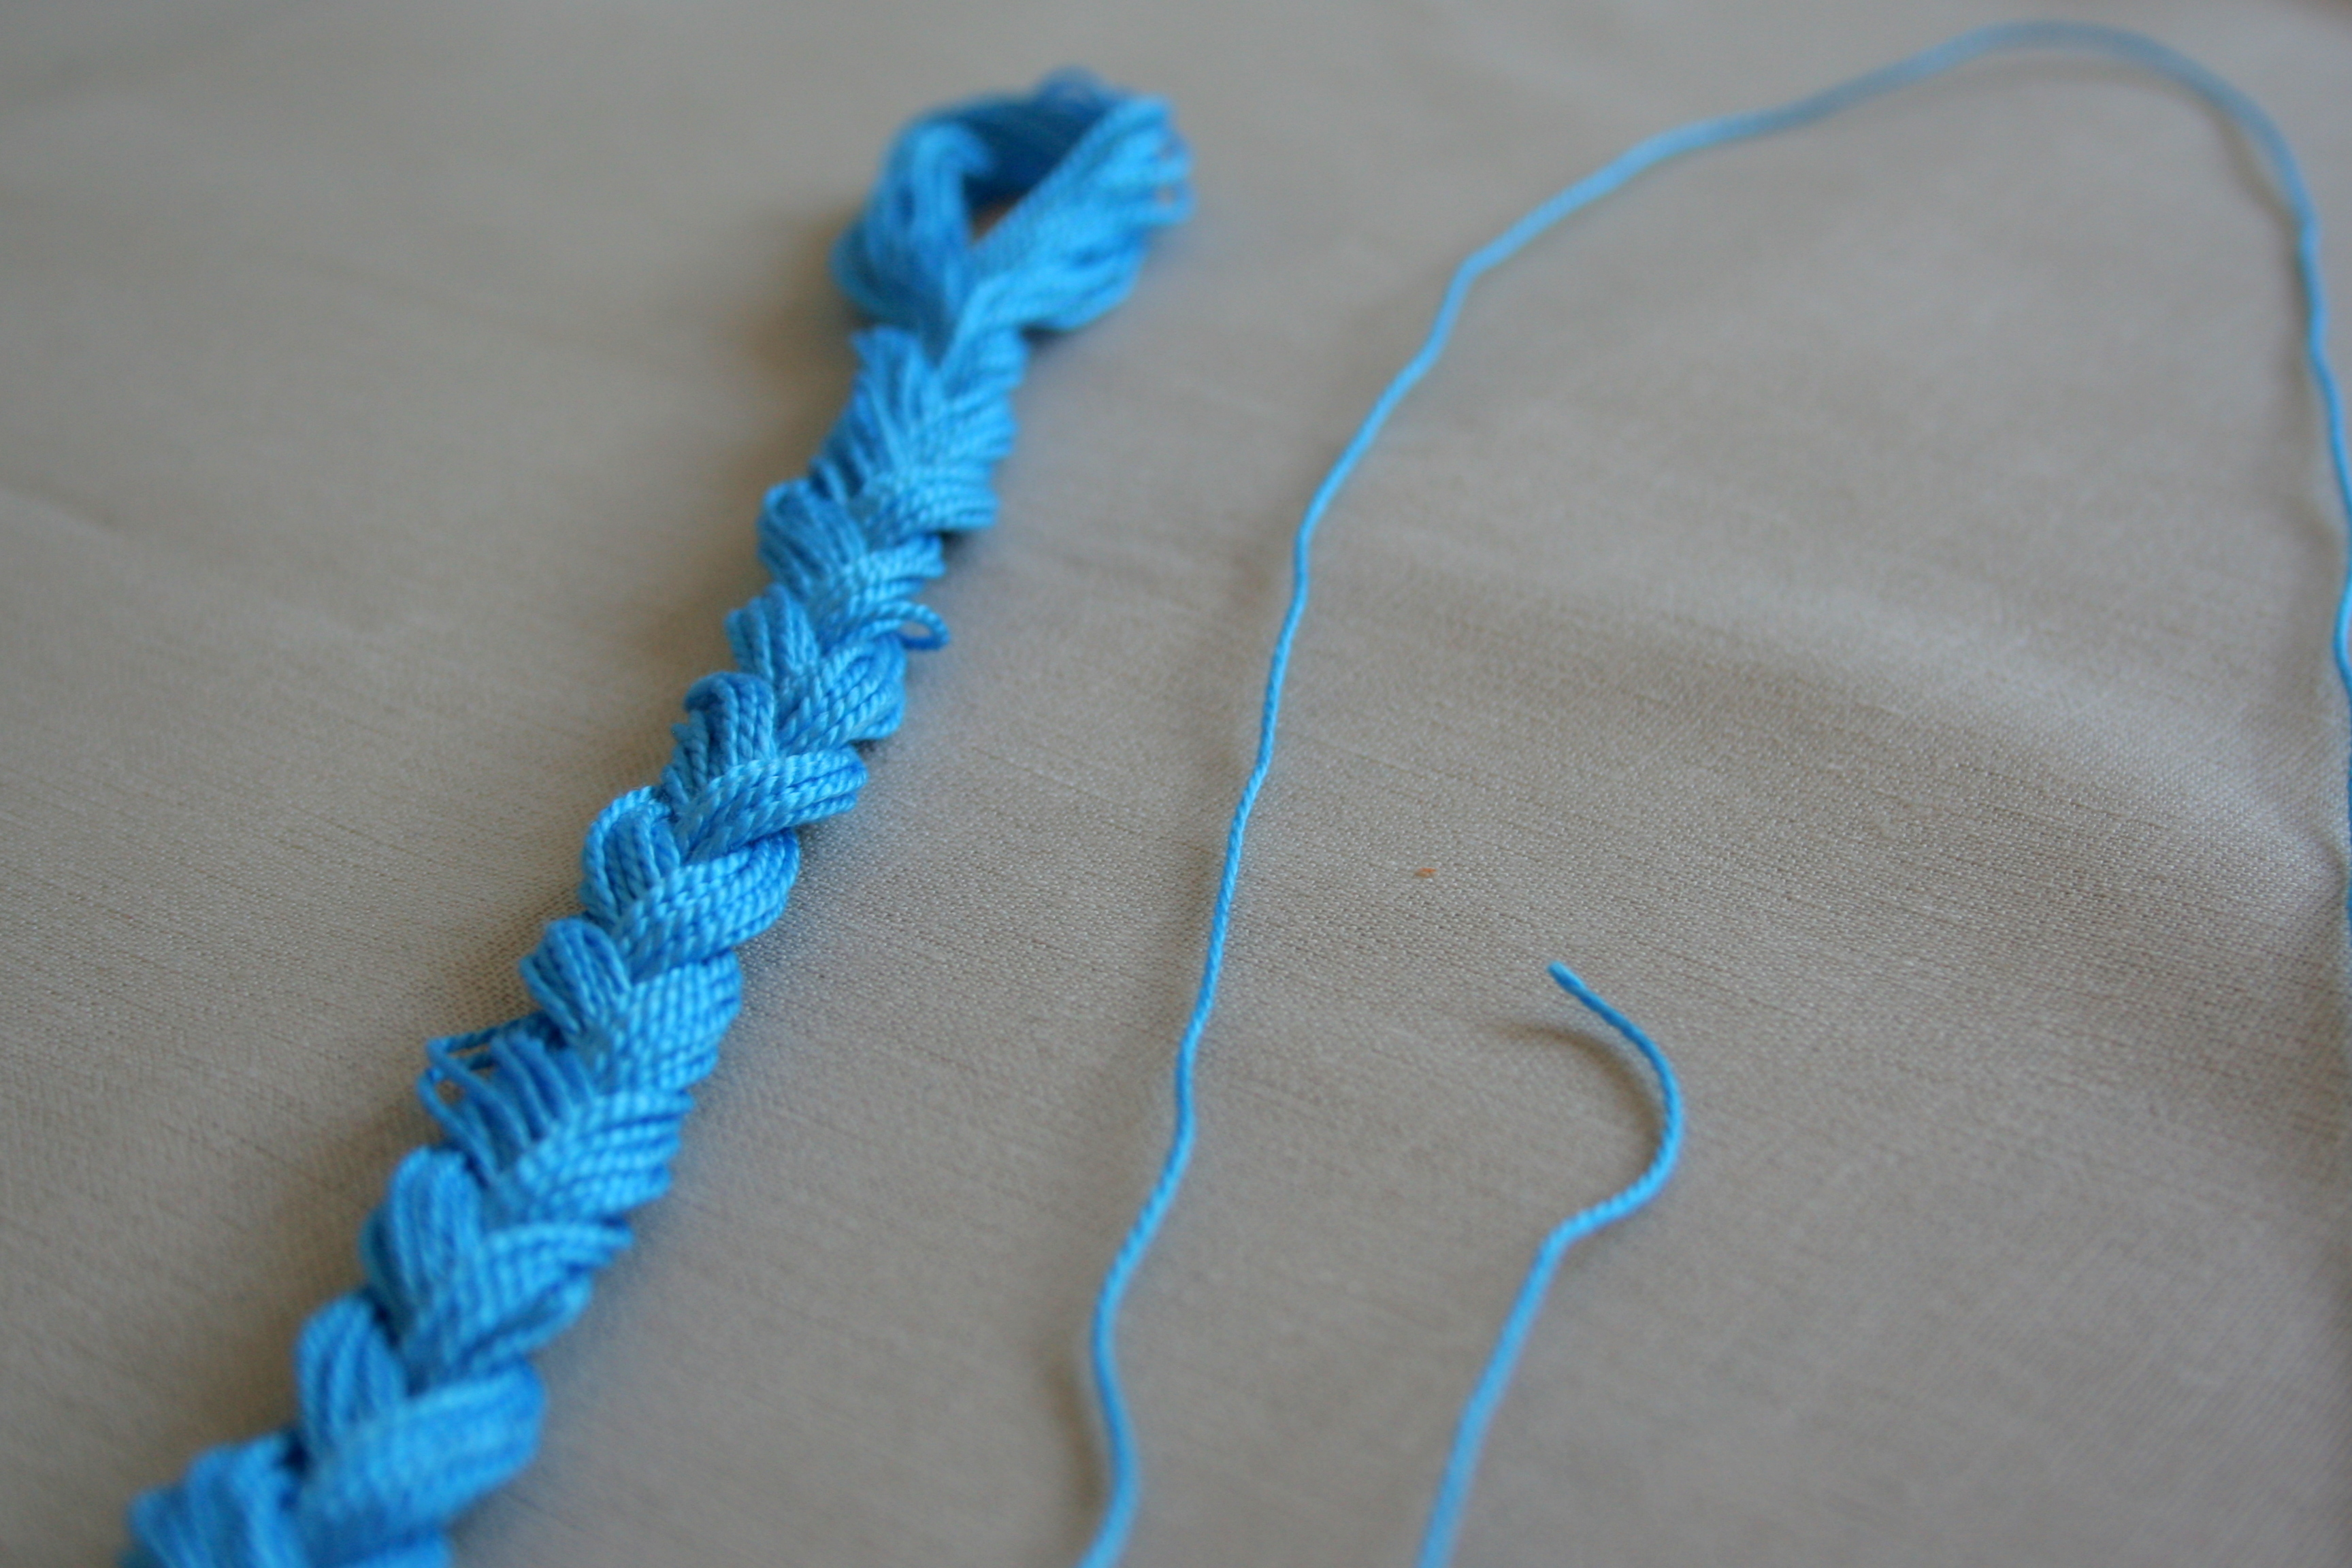
How To Remove a Strand of Floss from your Braid
Holding the top of your braid, gently pull one strand away from the rest of the loop.
 Then, get a bit better grasp on the rest of the braid–no need for a vice grip, just hold it steady as you pull out the single strand–and pull the strand out completely.
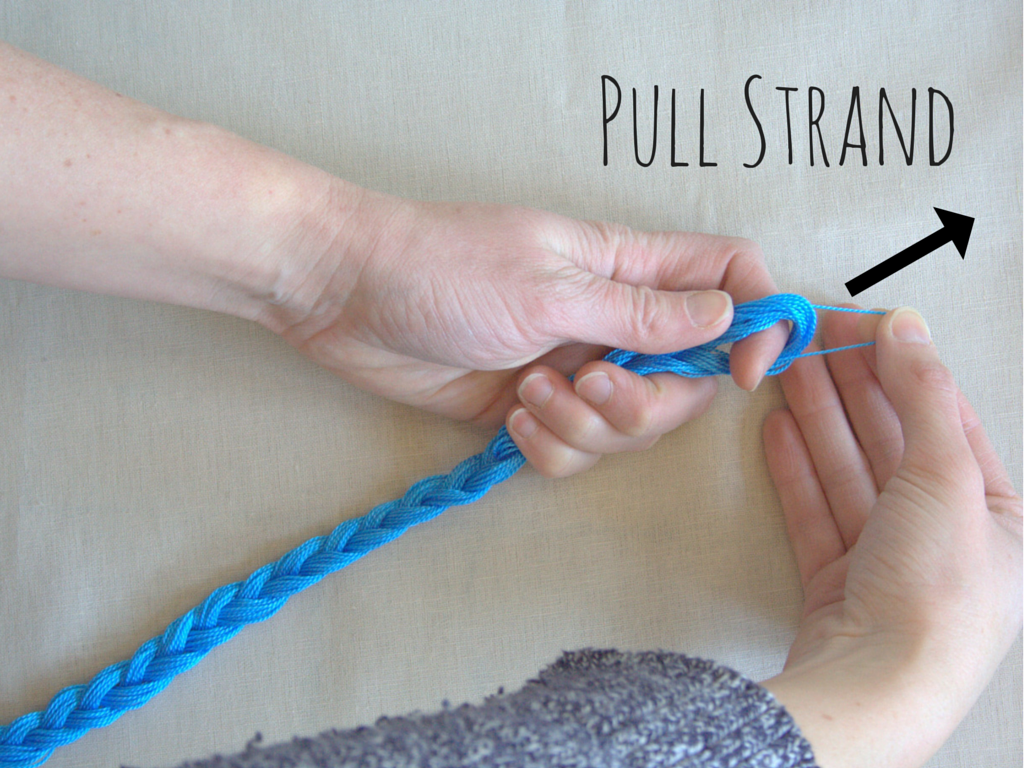 The braid will bunch up when you pull, so don’t be alarmed. Once the single strand is out, just smooth out your braid again and you’re ready to go. Your floss is the perfect length for some hand quilting or embroidery, and the rest of your floss is sitting pretty in its braid.
Go ahead and braid all of your other skeins of floss, and you will never have a tangled pile of embroidery floss again!
I think this method is genius, since now not only is my floss gorgeously organized and displayed, but I can get a single strand without even taking the braid off the wooden dowel!
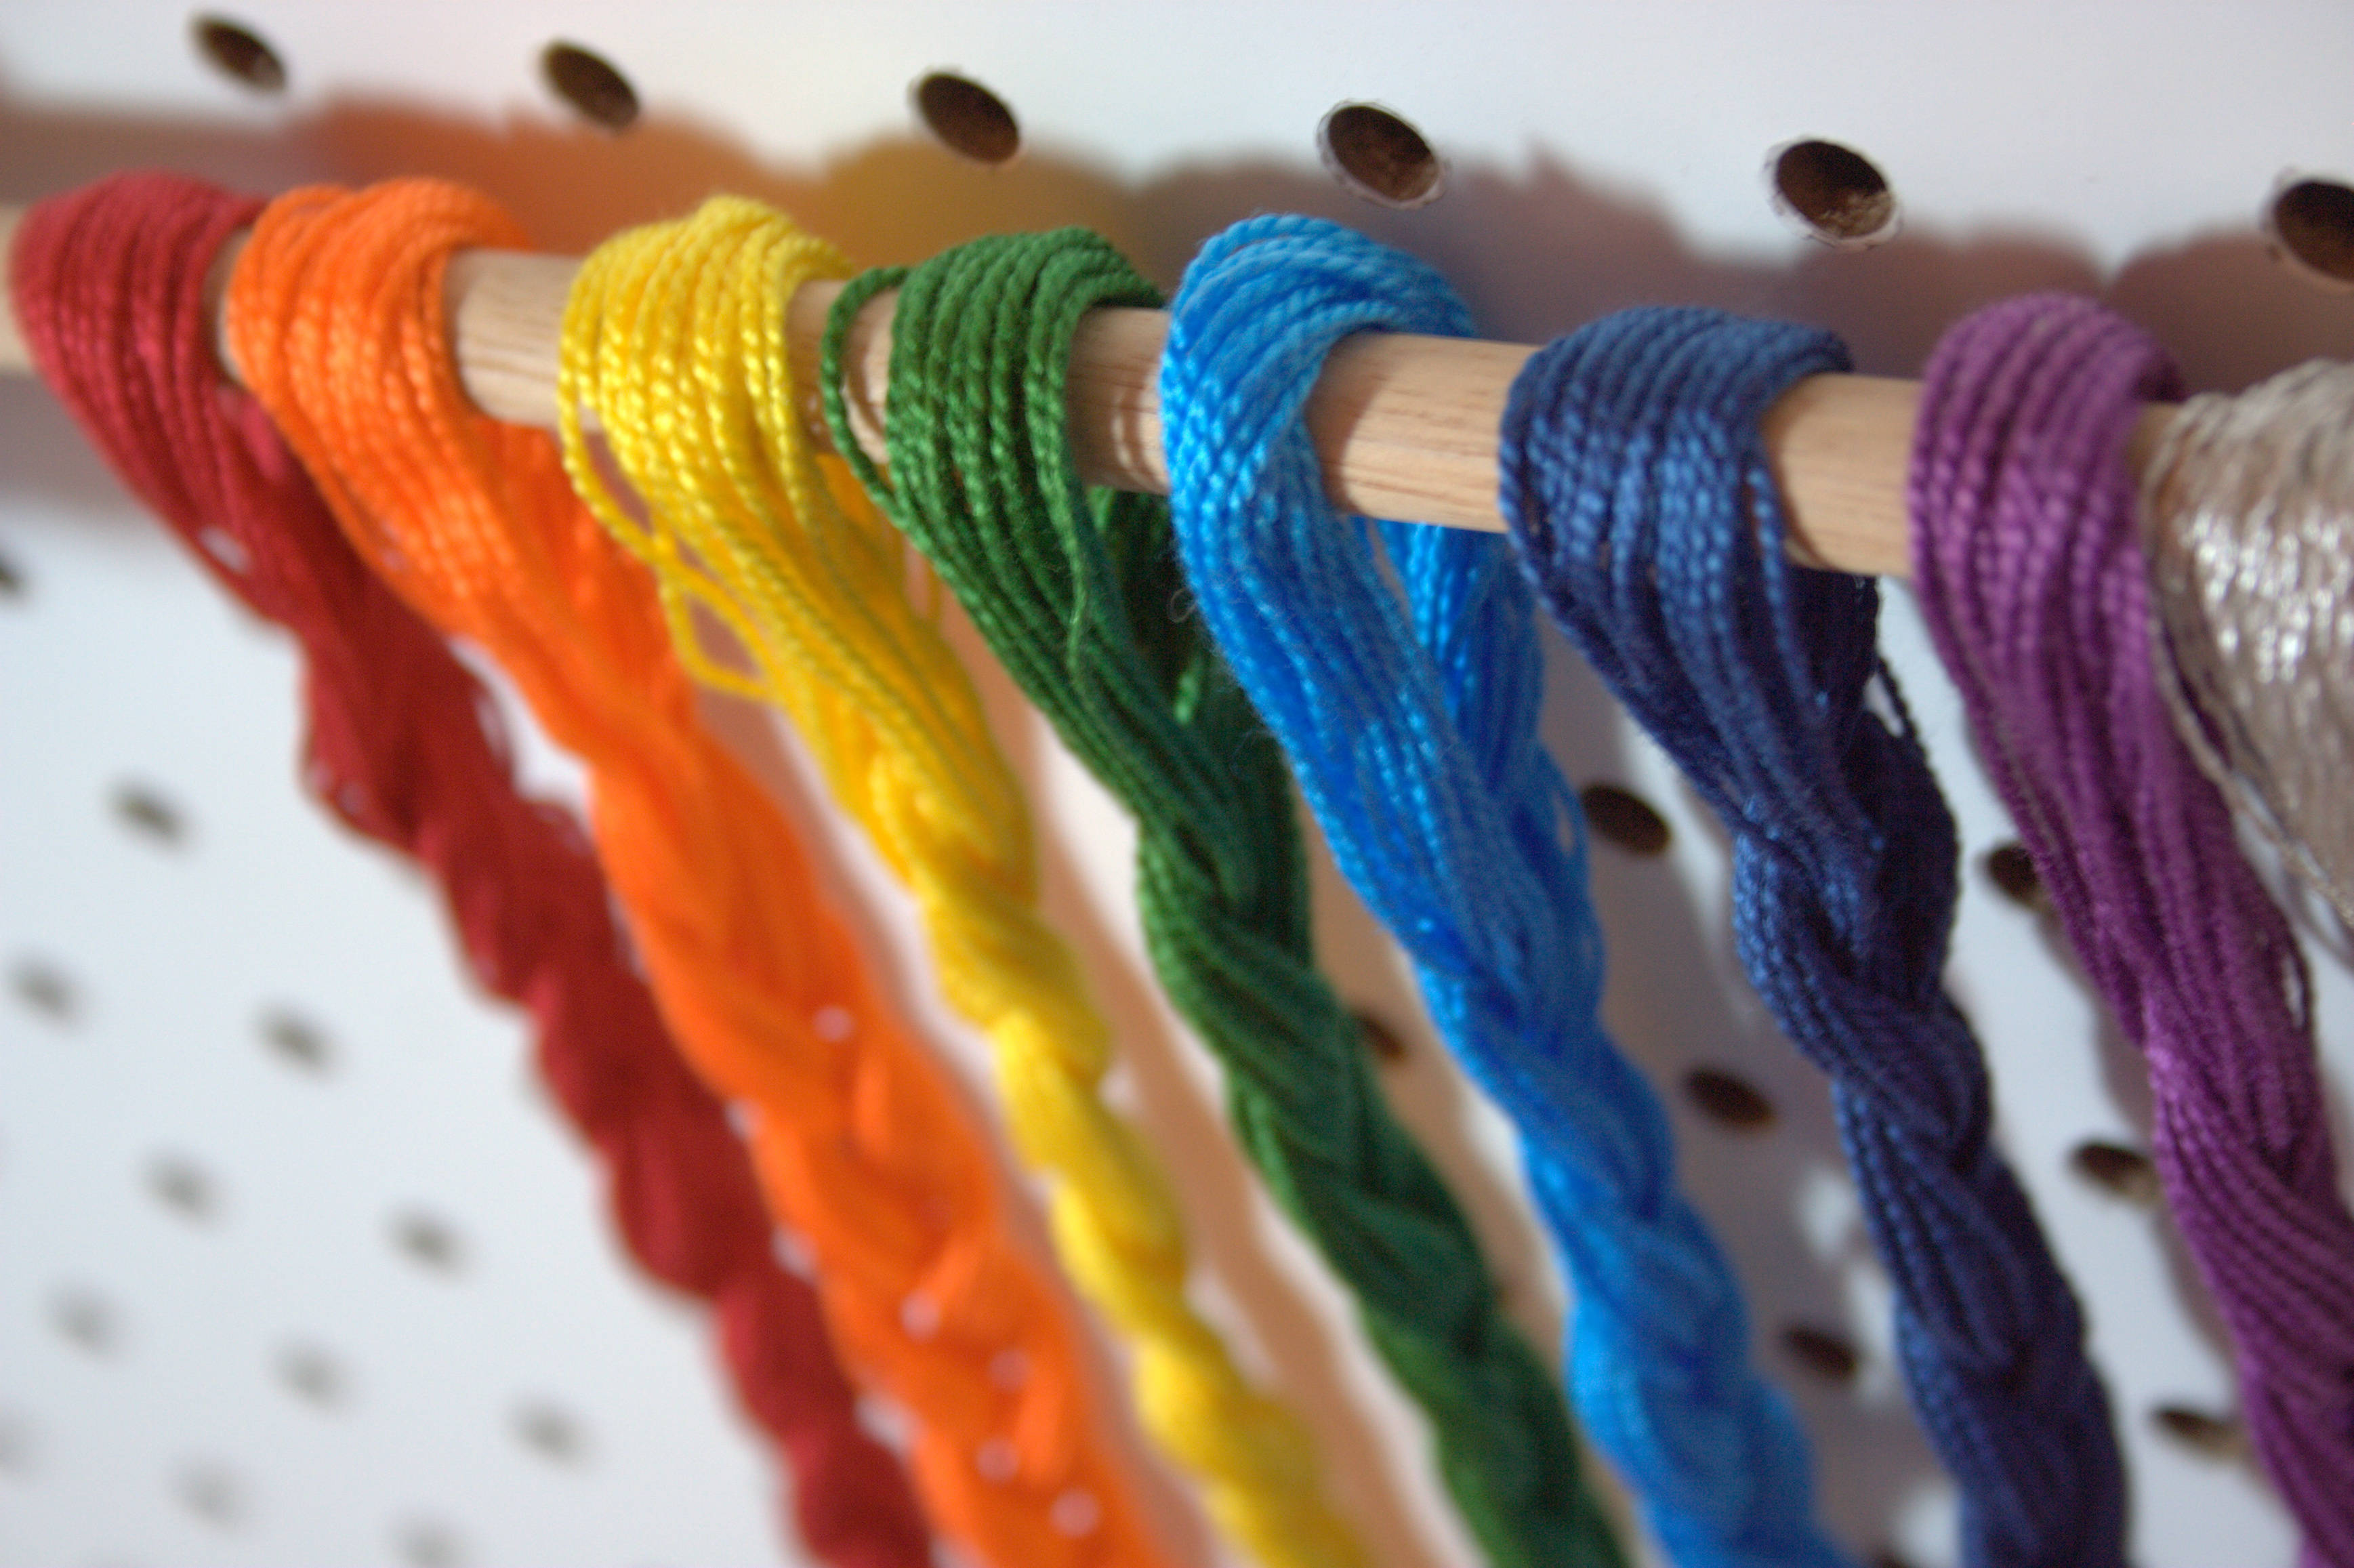 I just hold the braid right below the dowel, separate a single strand, pull, and viola! No muss, no fuss.
Many thanks to Rebecca for sharing this tip, and I hope you find it helpful, too. I’m linking up with Stephanie & Michelle’s Tips & Tutorials Tuesday.
Did you know about this tip? How do you store and organize your embroidery floss?
