Category Archives: Sewing

A Tea Cozy for Every Season: Valentine’s and Spring

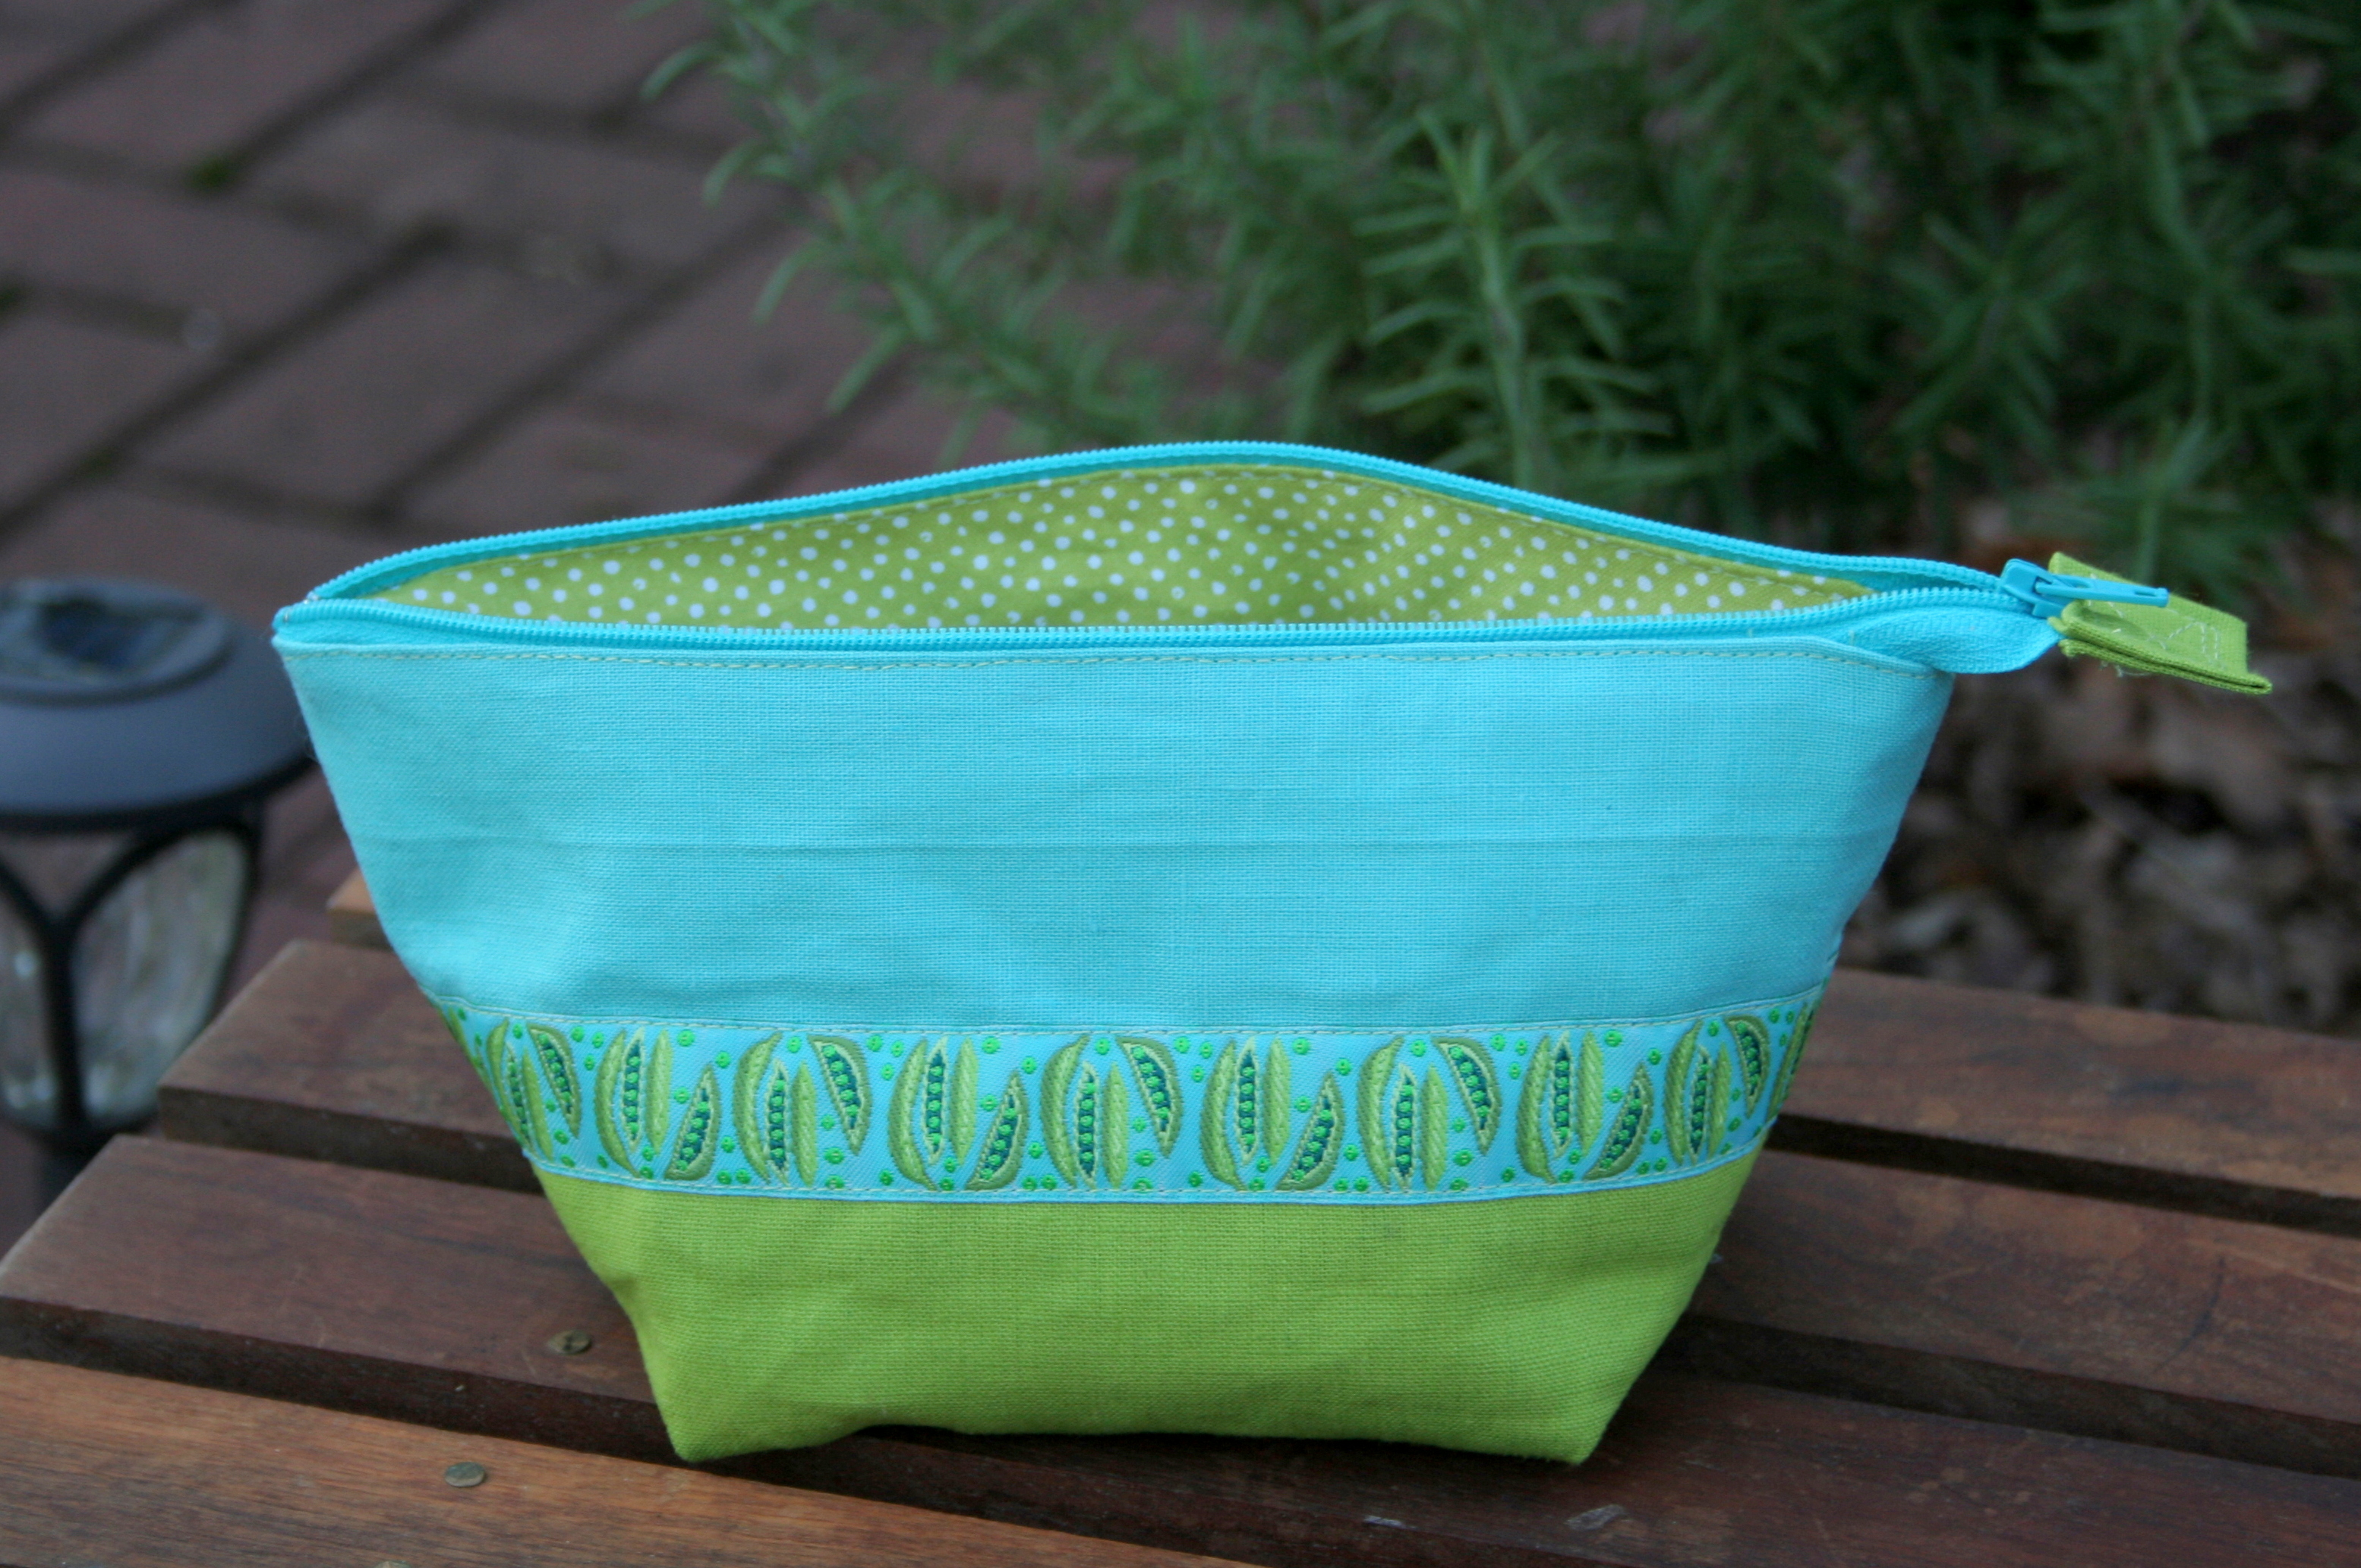
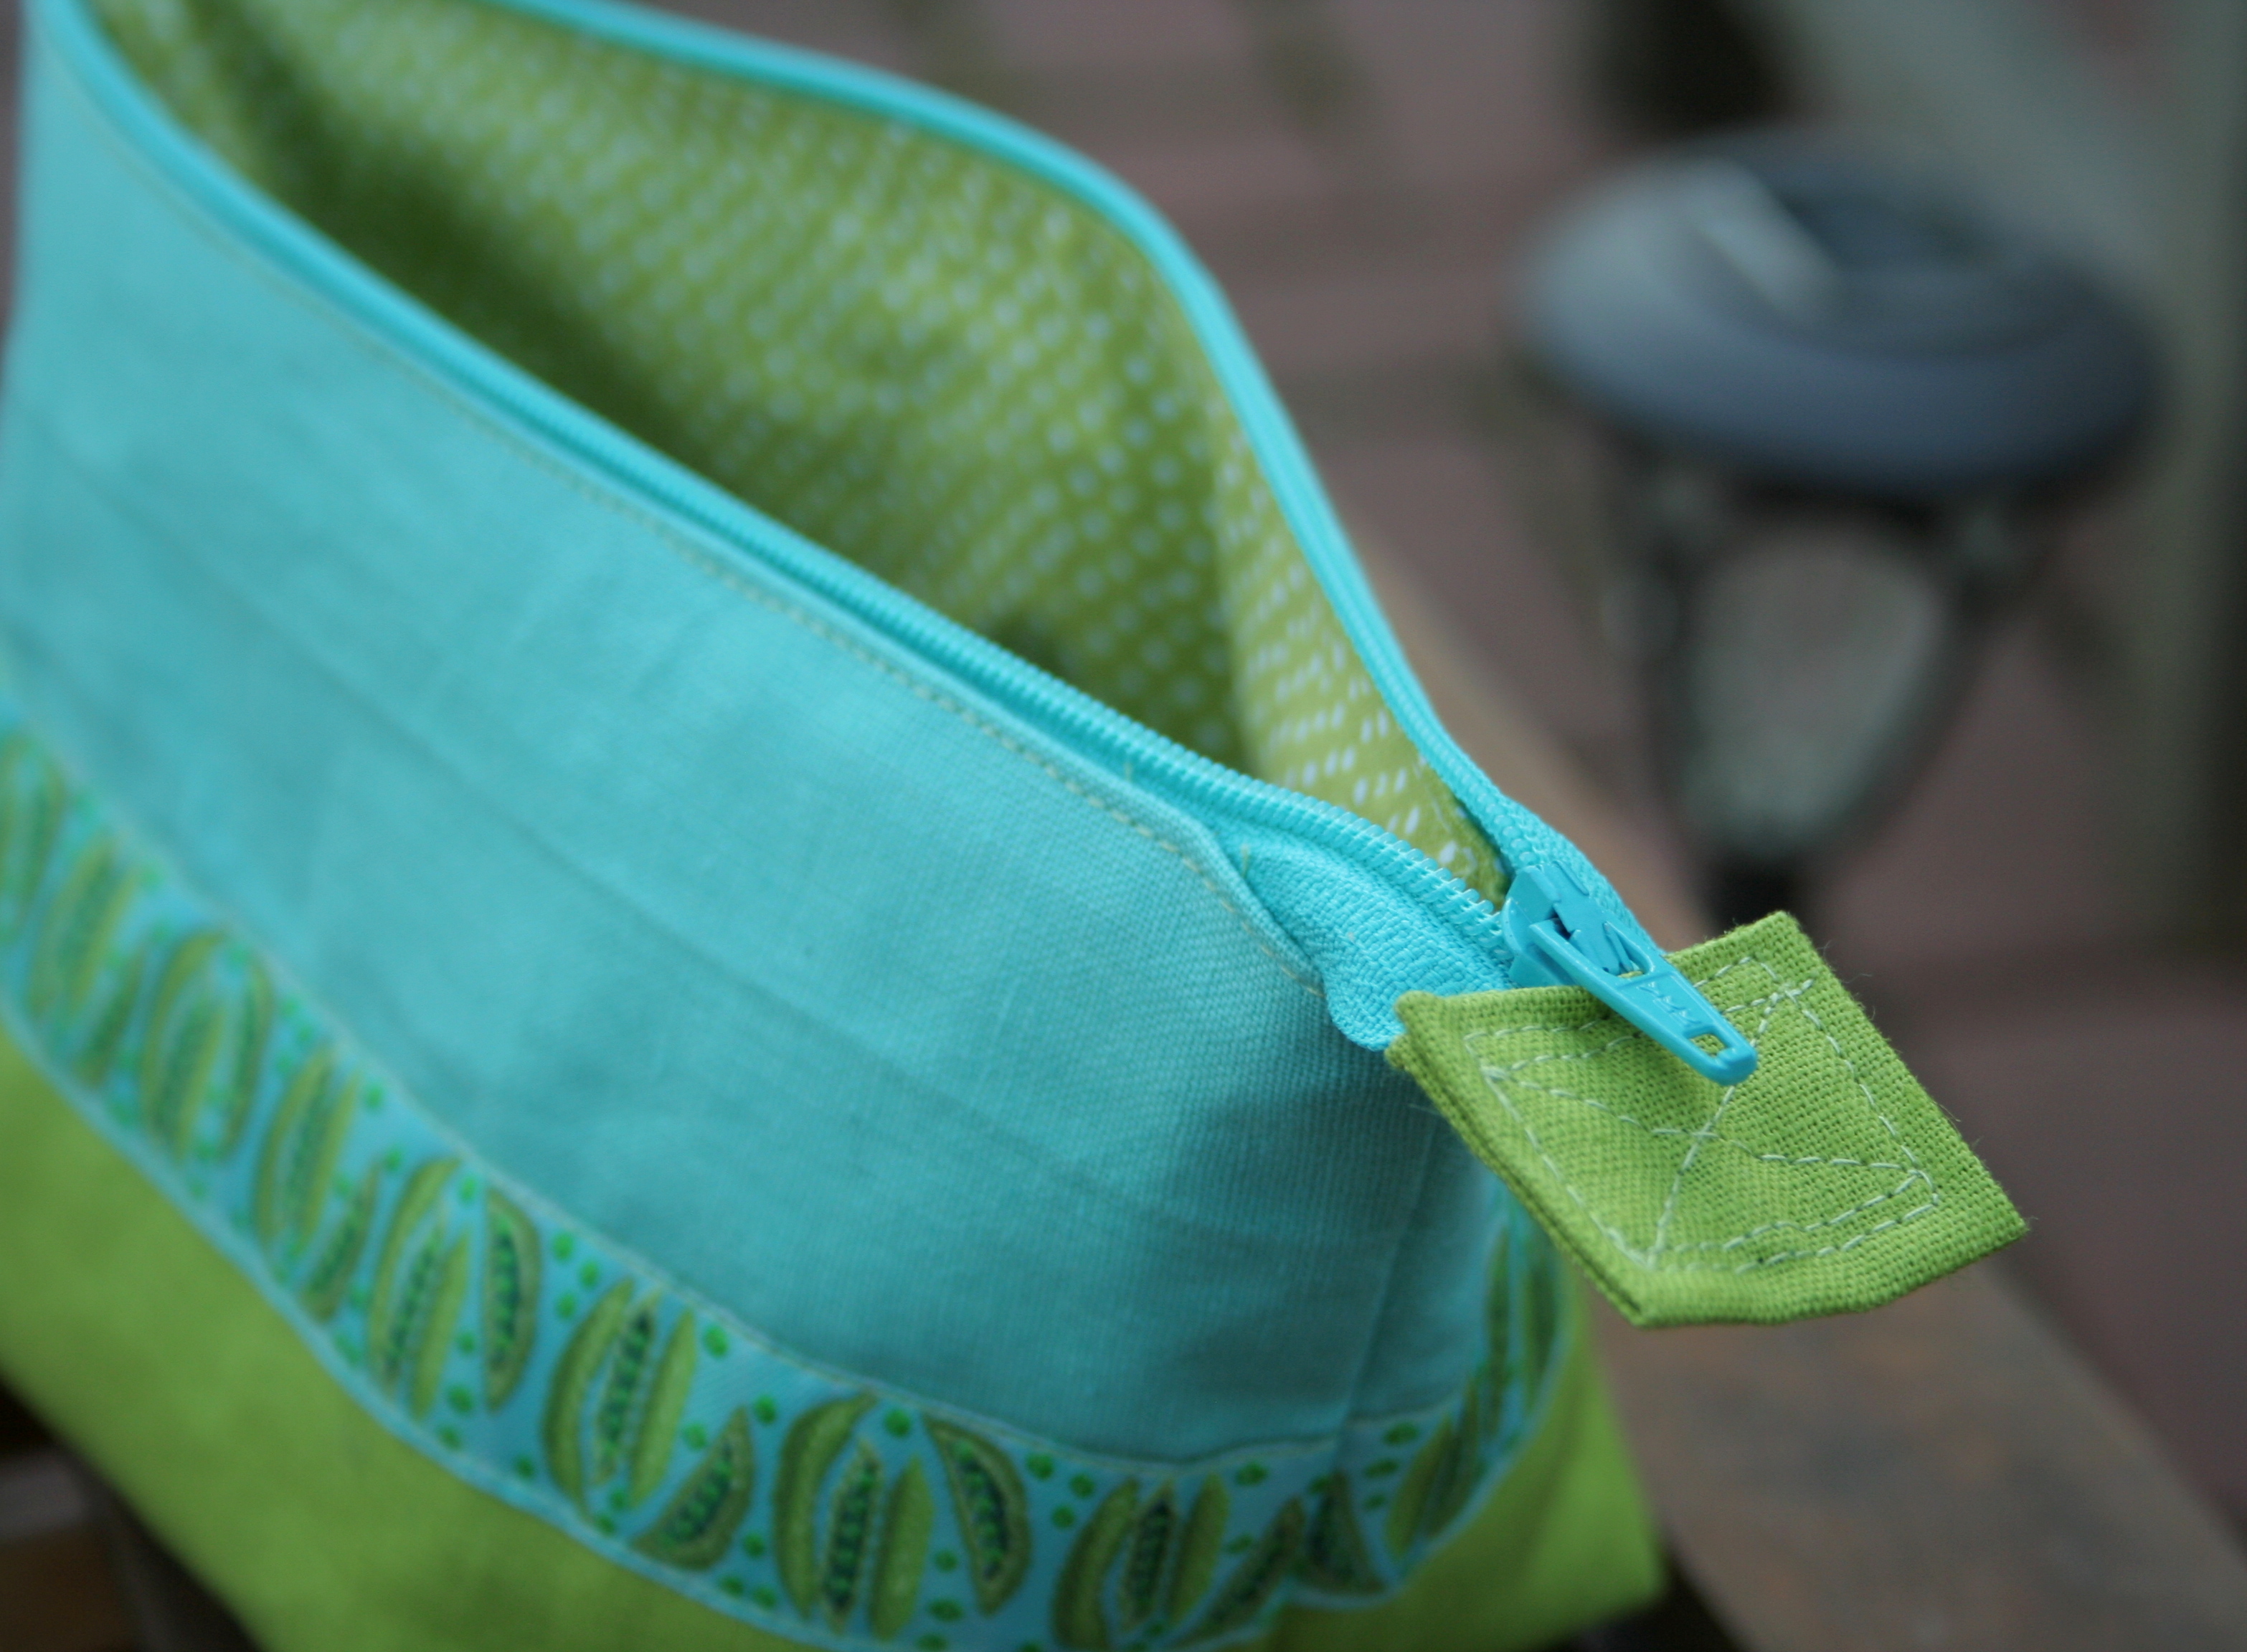
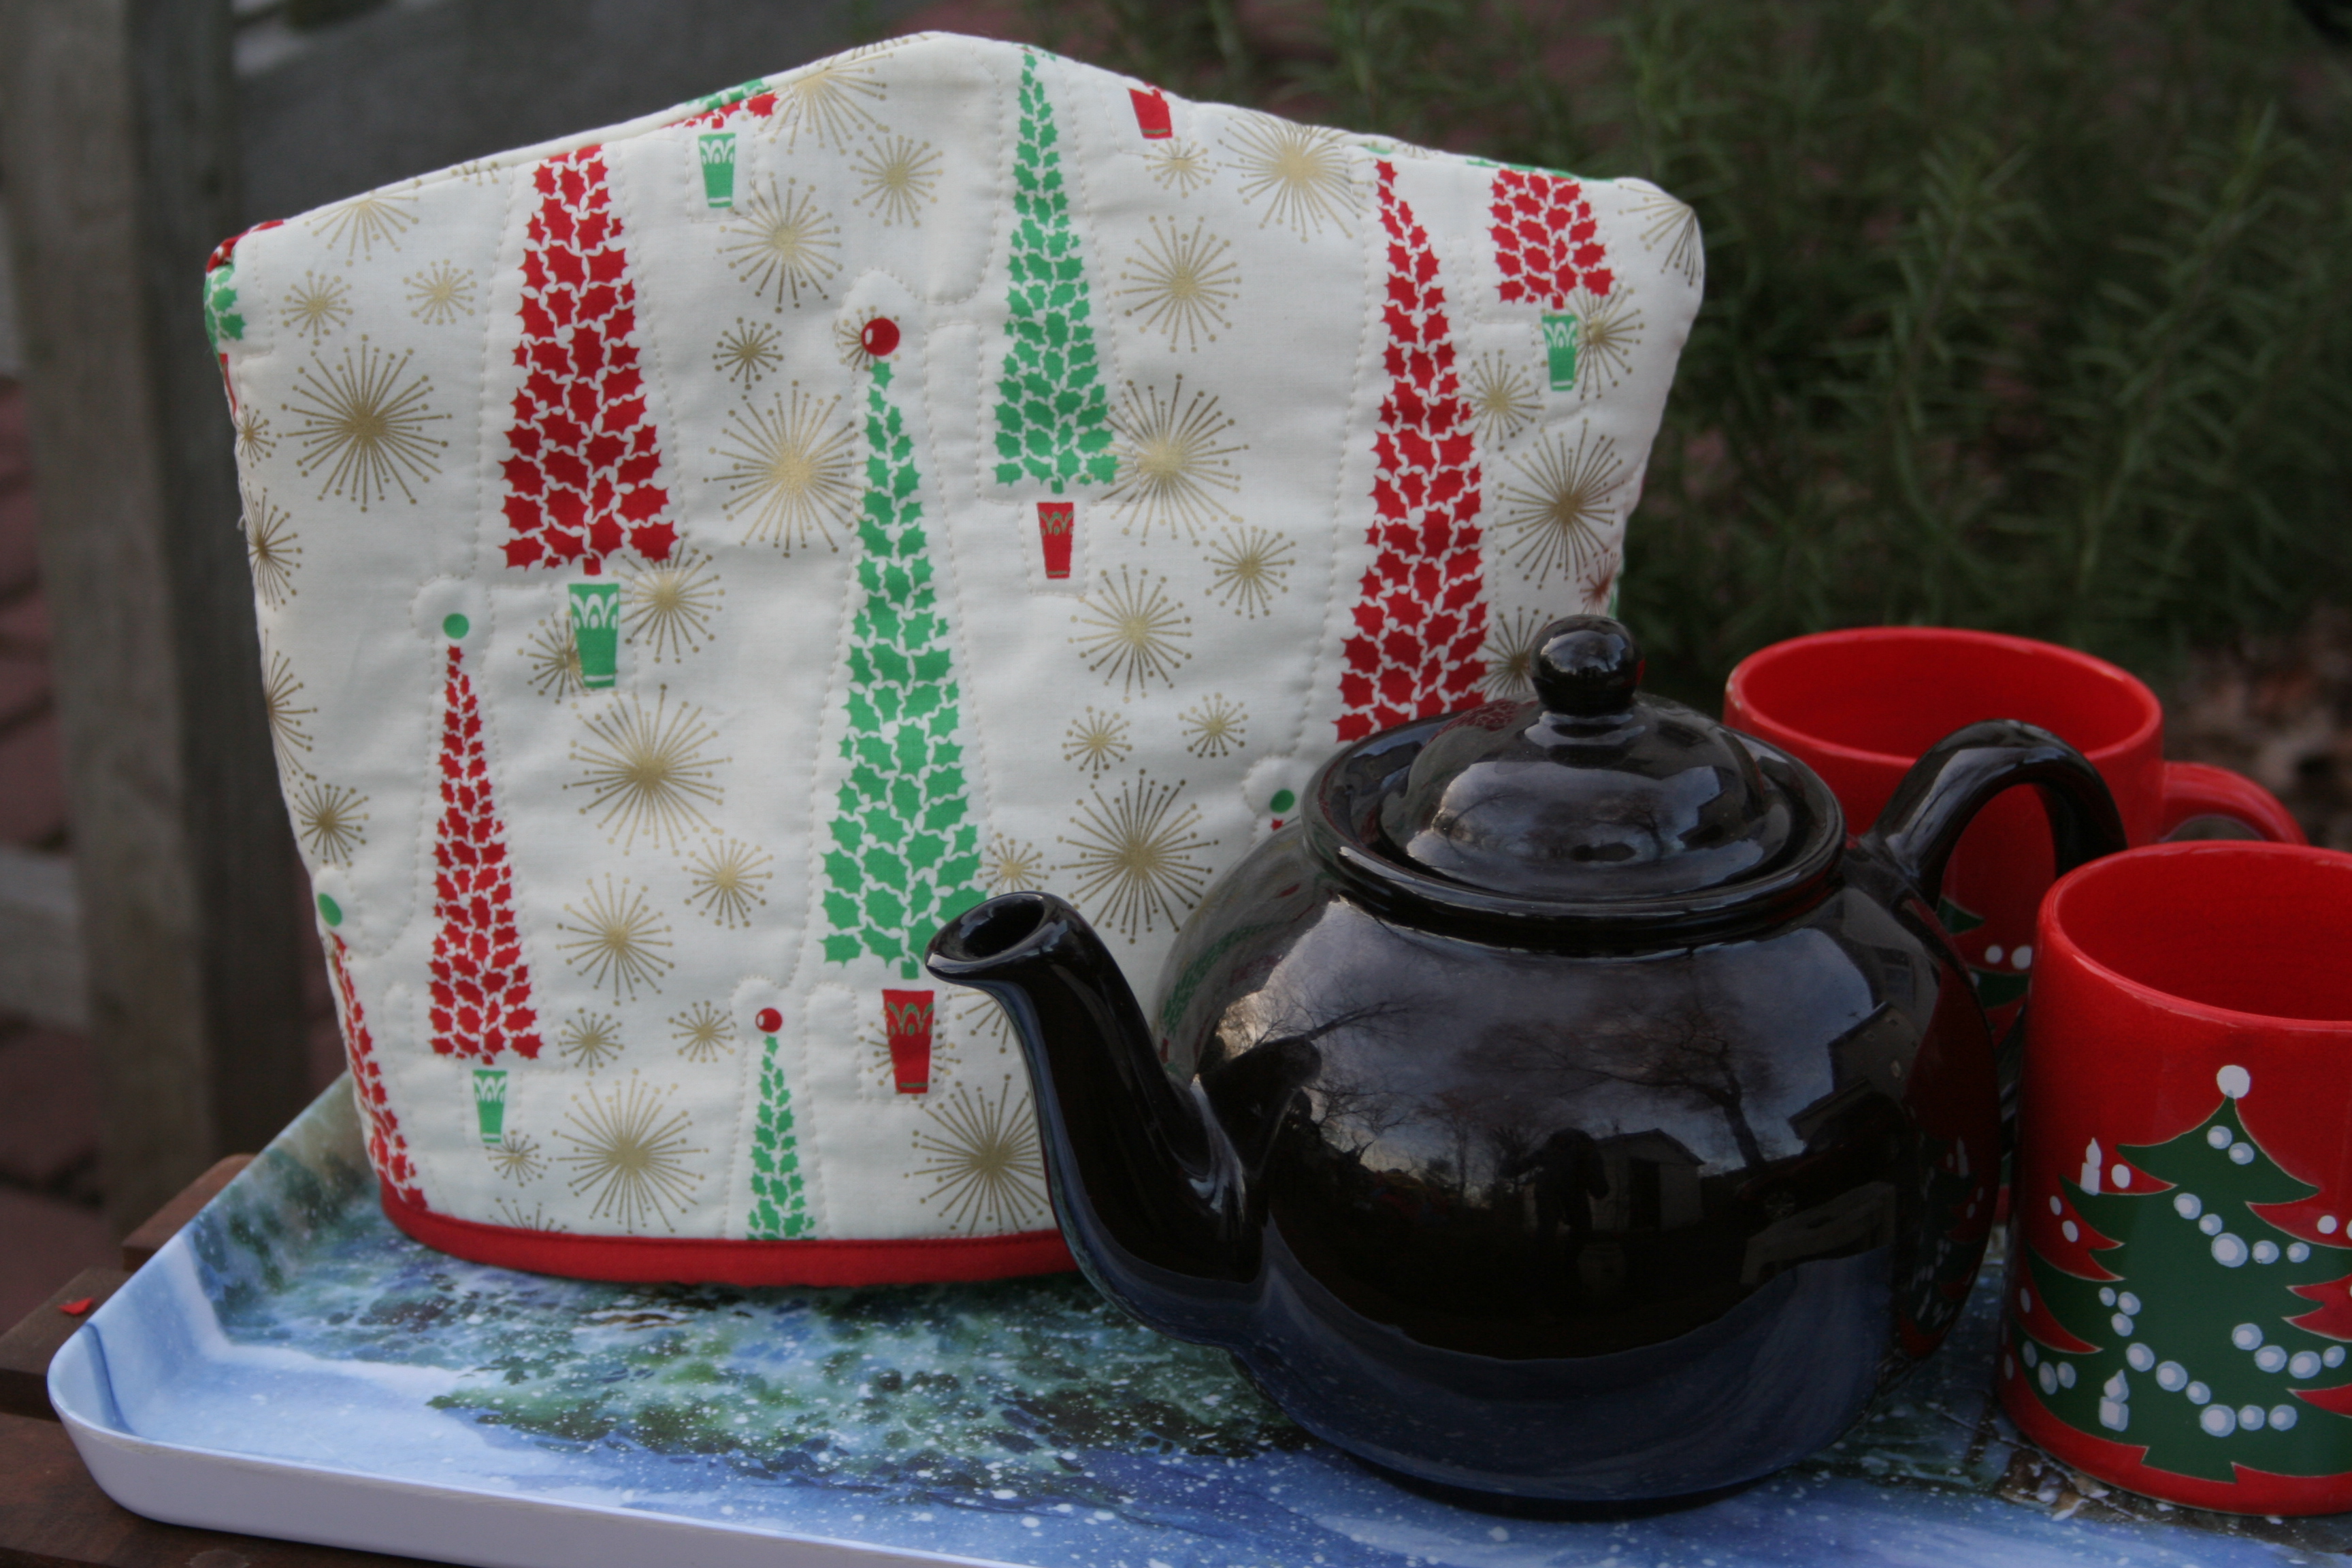
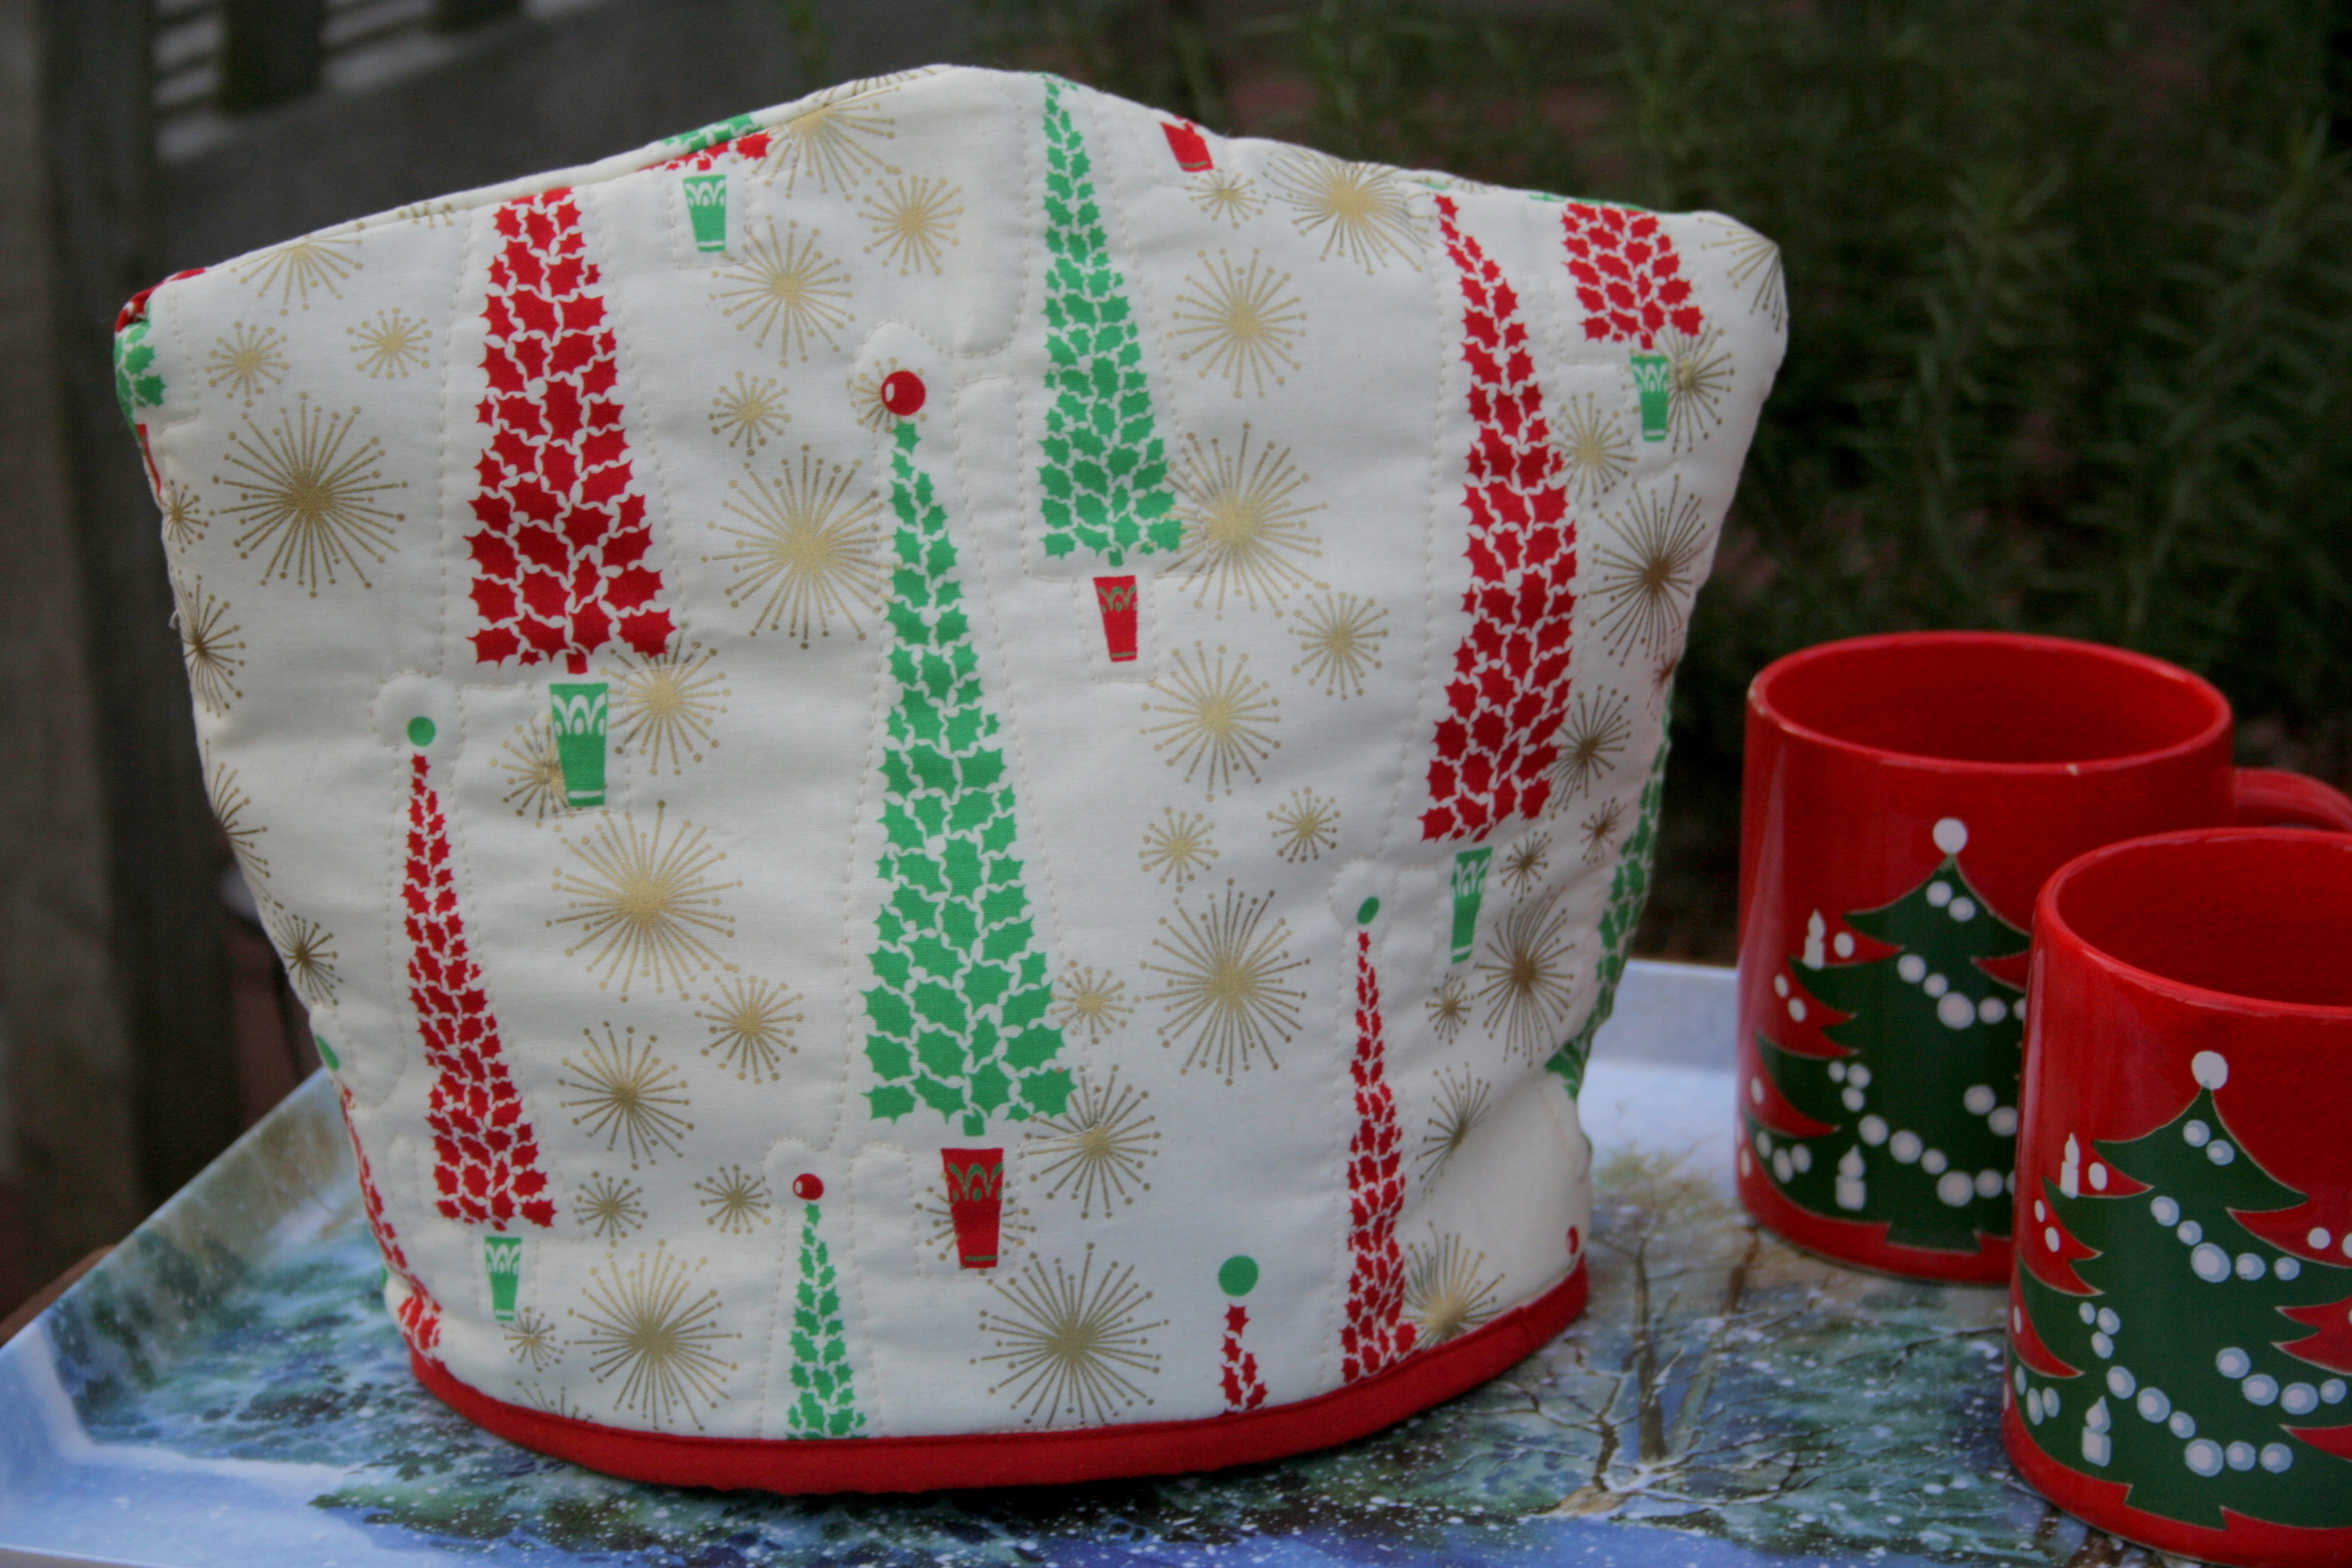
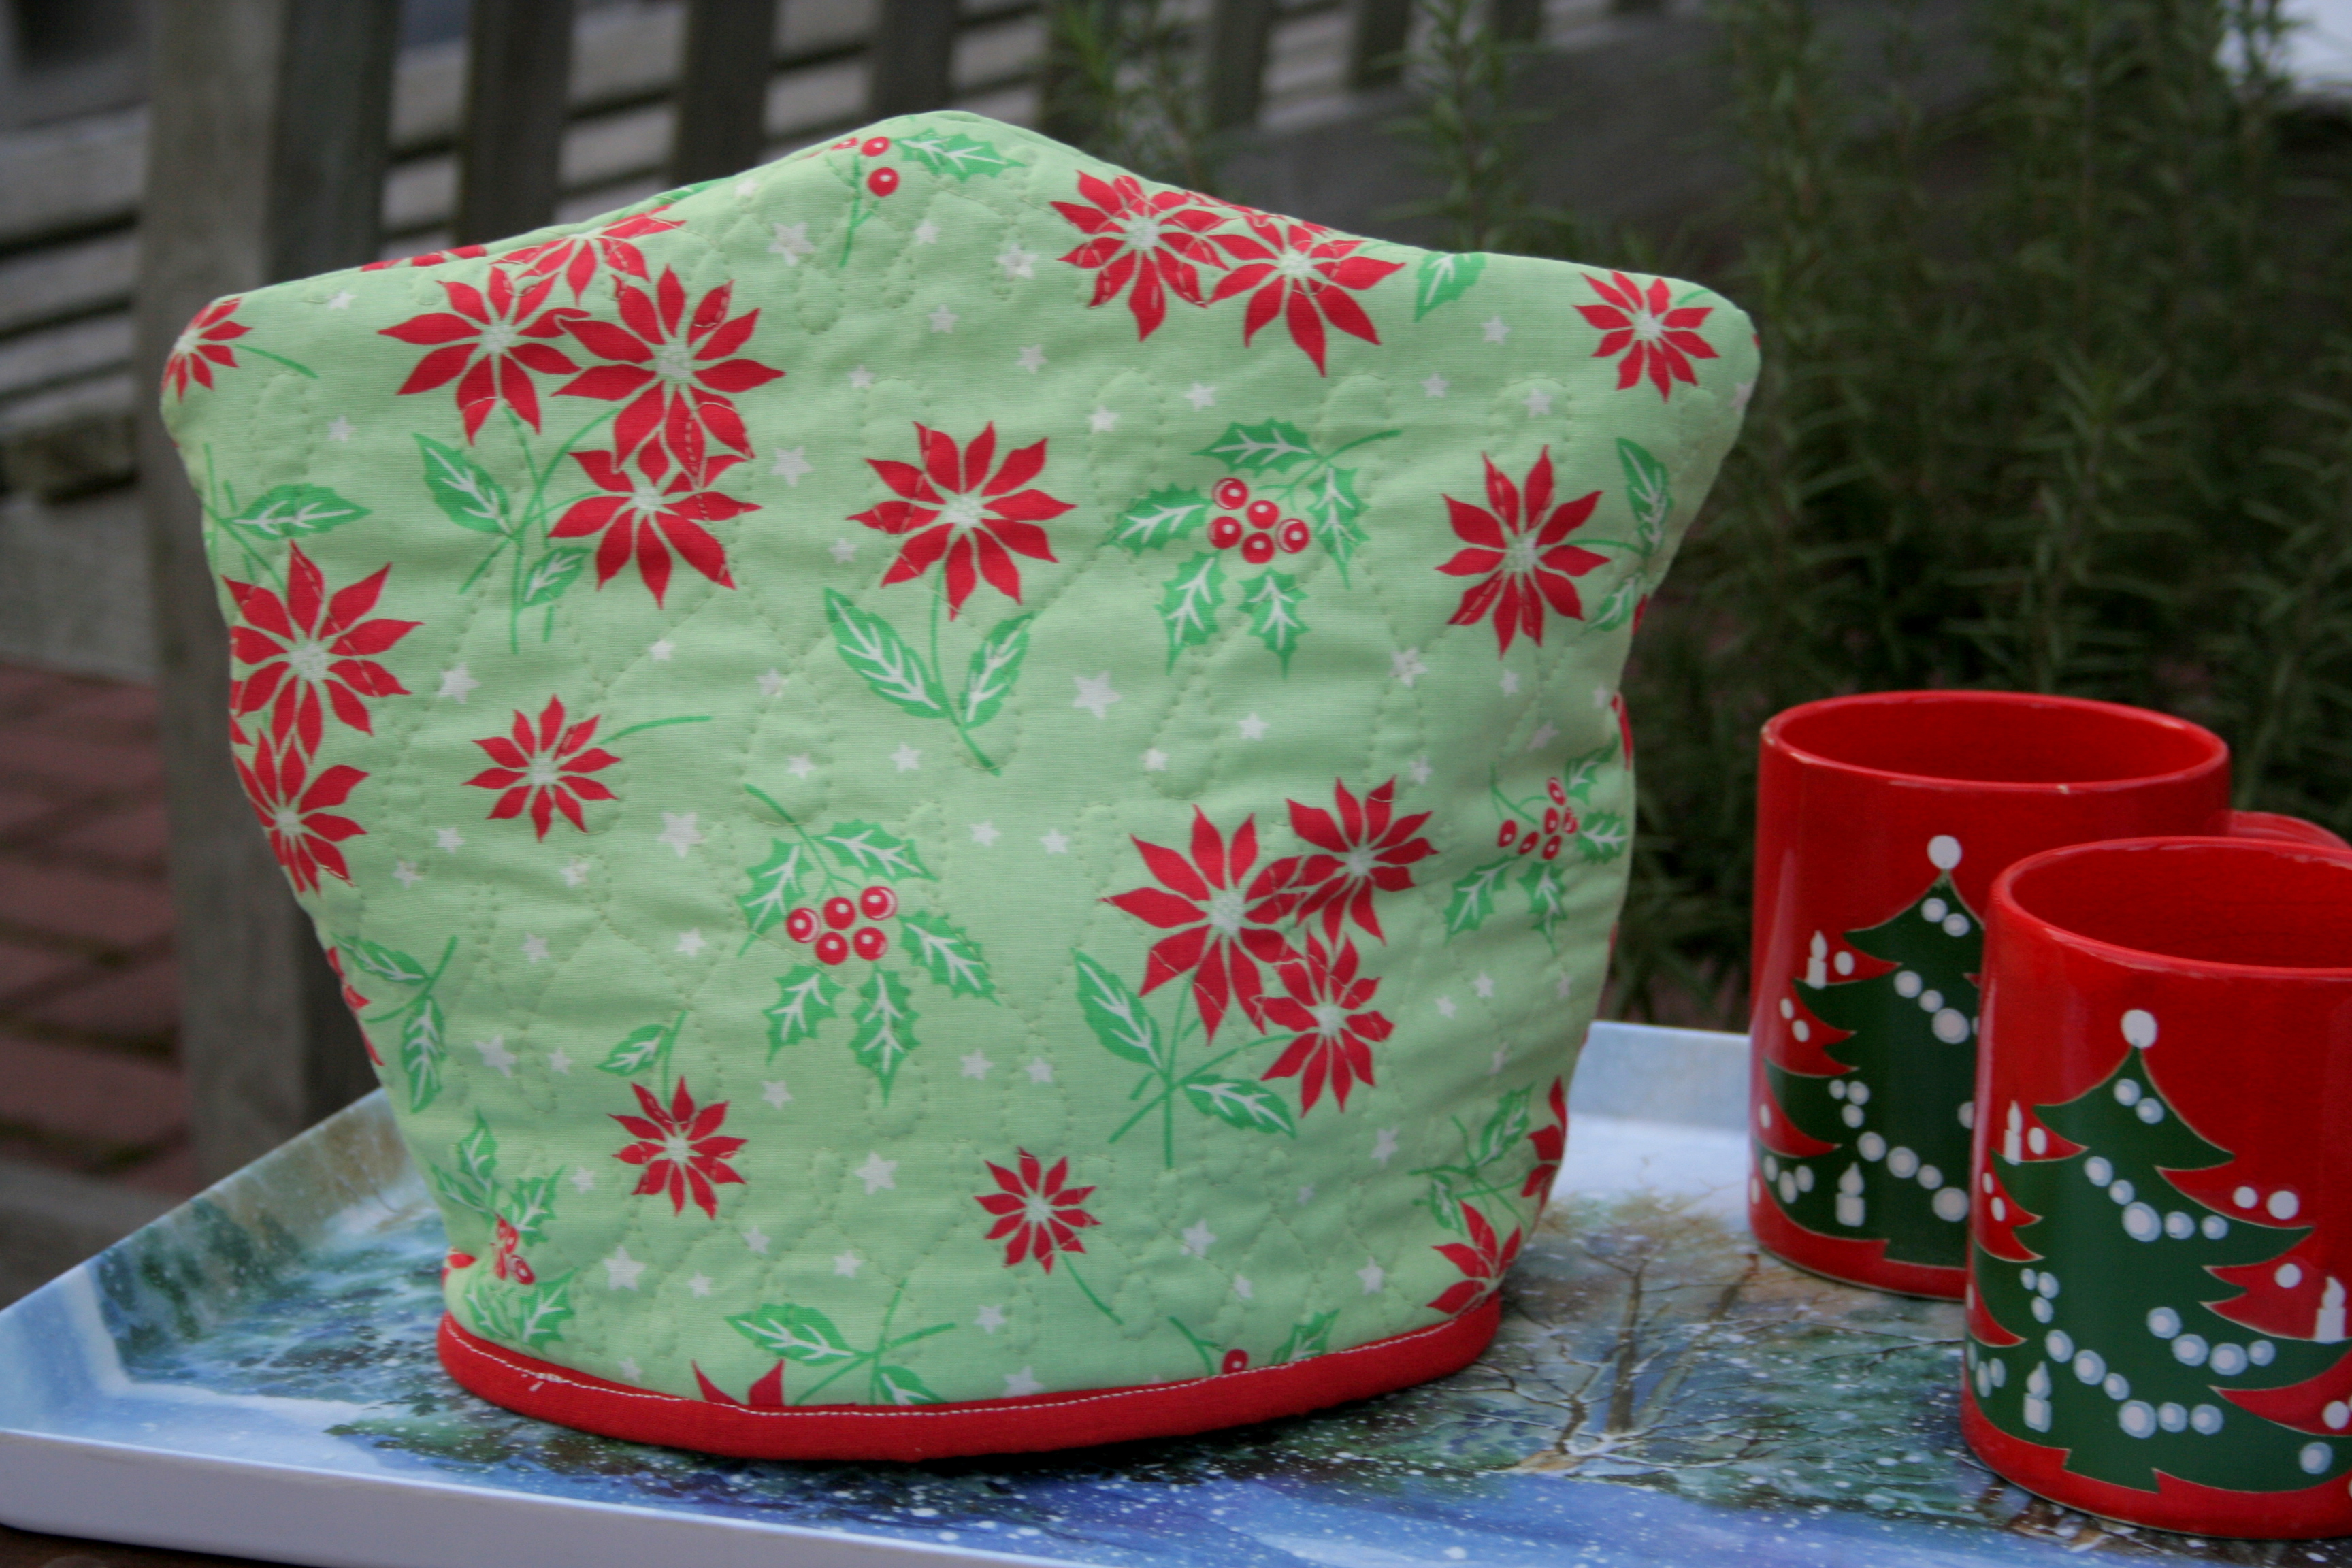
“A tea cozy for every season,” requested my mom when we were talking about making quilts for family members. My mom loves tea and drinks a pot of tea every afternoon–no, she’s not even English!–so it really is a perfect gift.  For Christmas, I gave her the first seasonal tea cozy for the winter holidays, which you can see in my post Finishes New and Old. Today I sewed on the bottom binding, finishing the next seasonal tea cozy, which should take her into summer. I used Yvonne’s (Quilting Jetgirl) tea cozy tutorial, so the tea cozy is completely reversible and is suitable for two seasons in one!

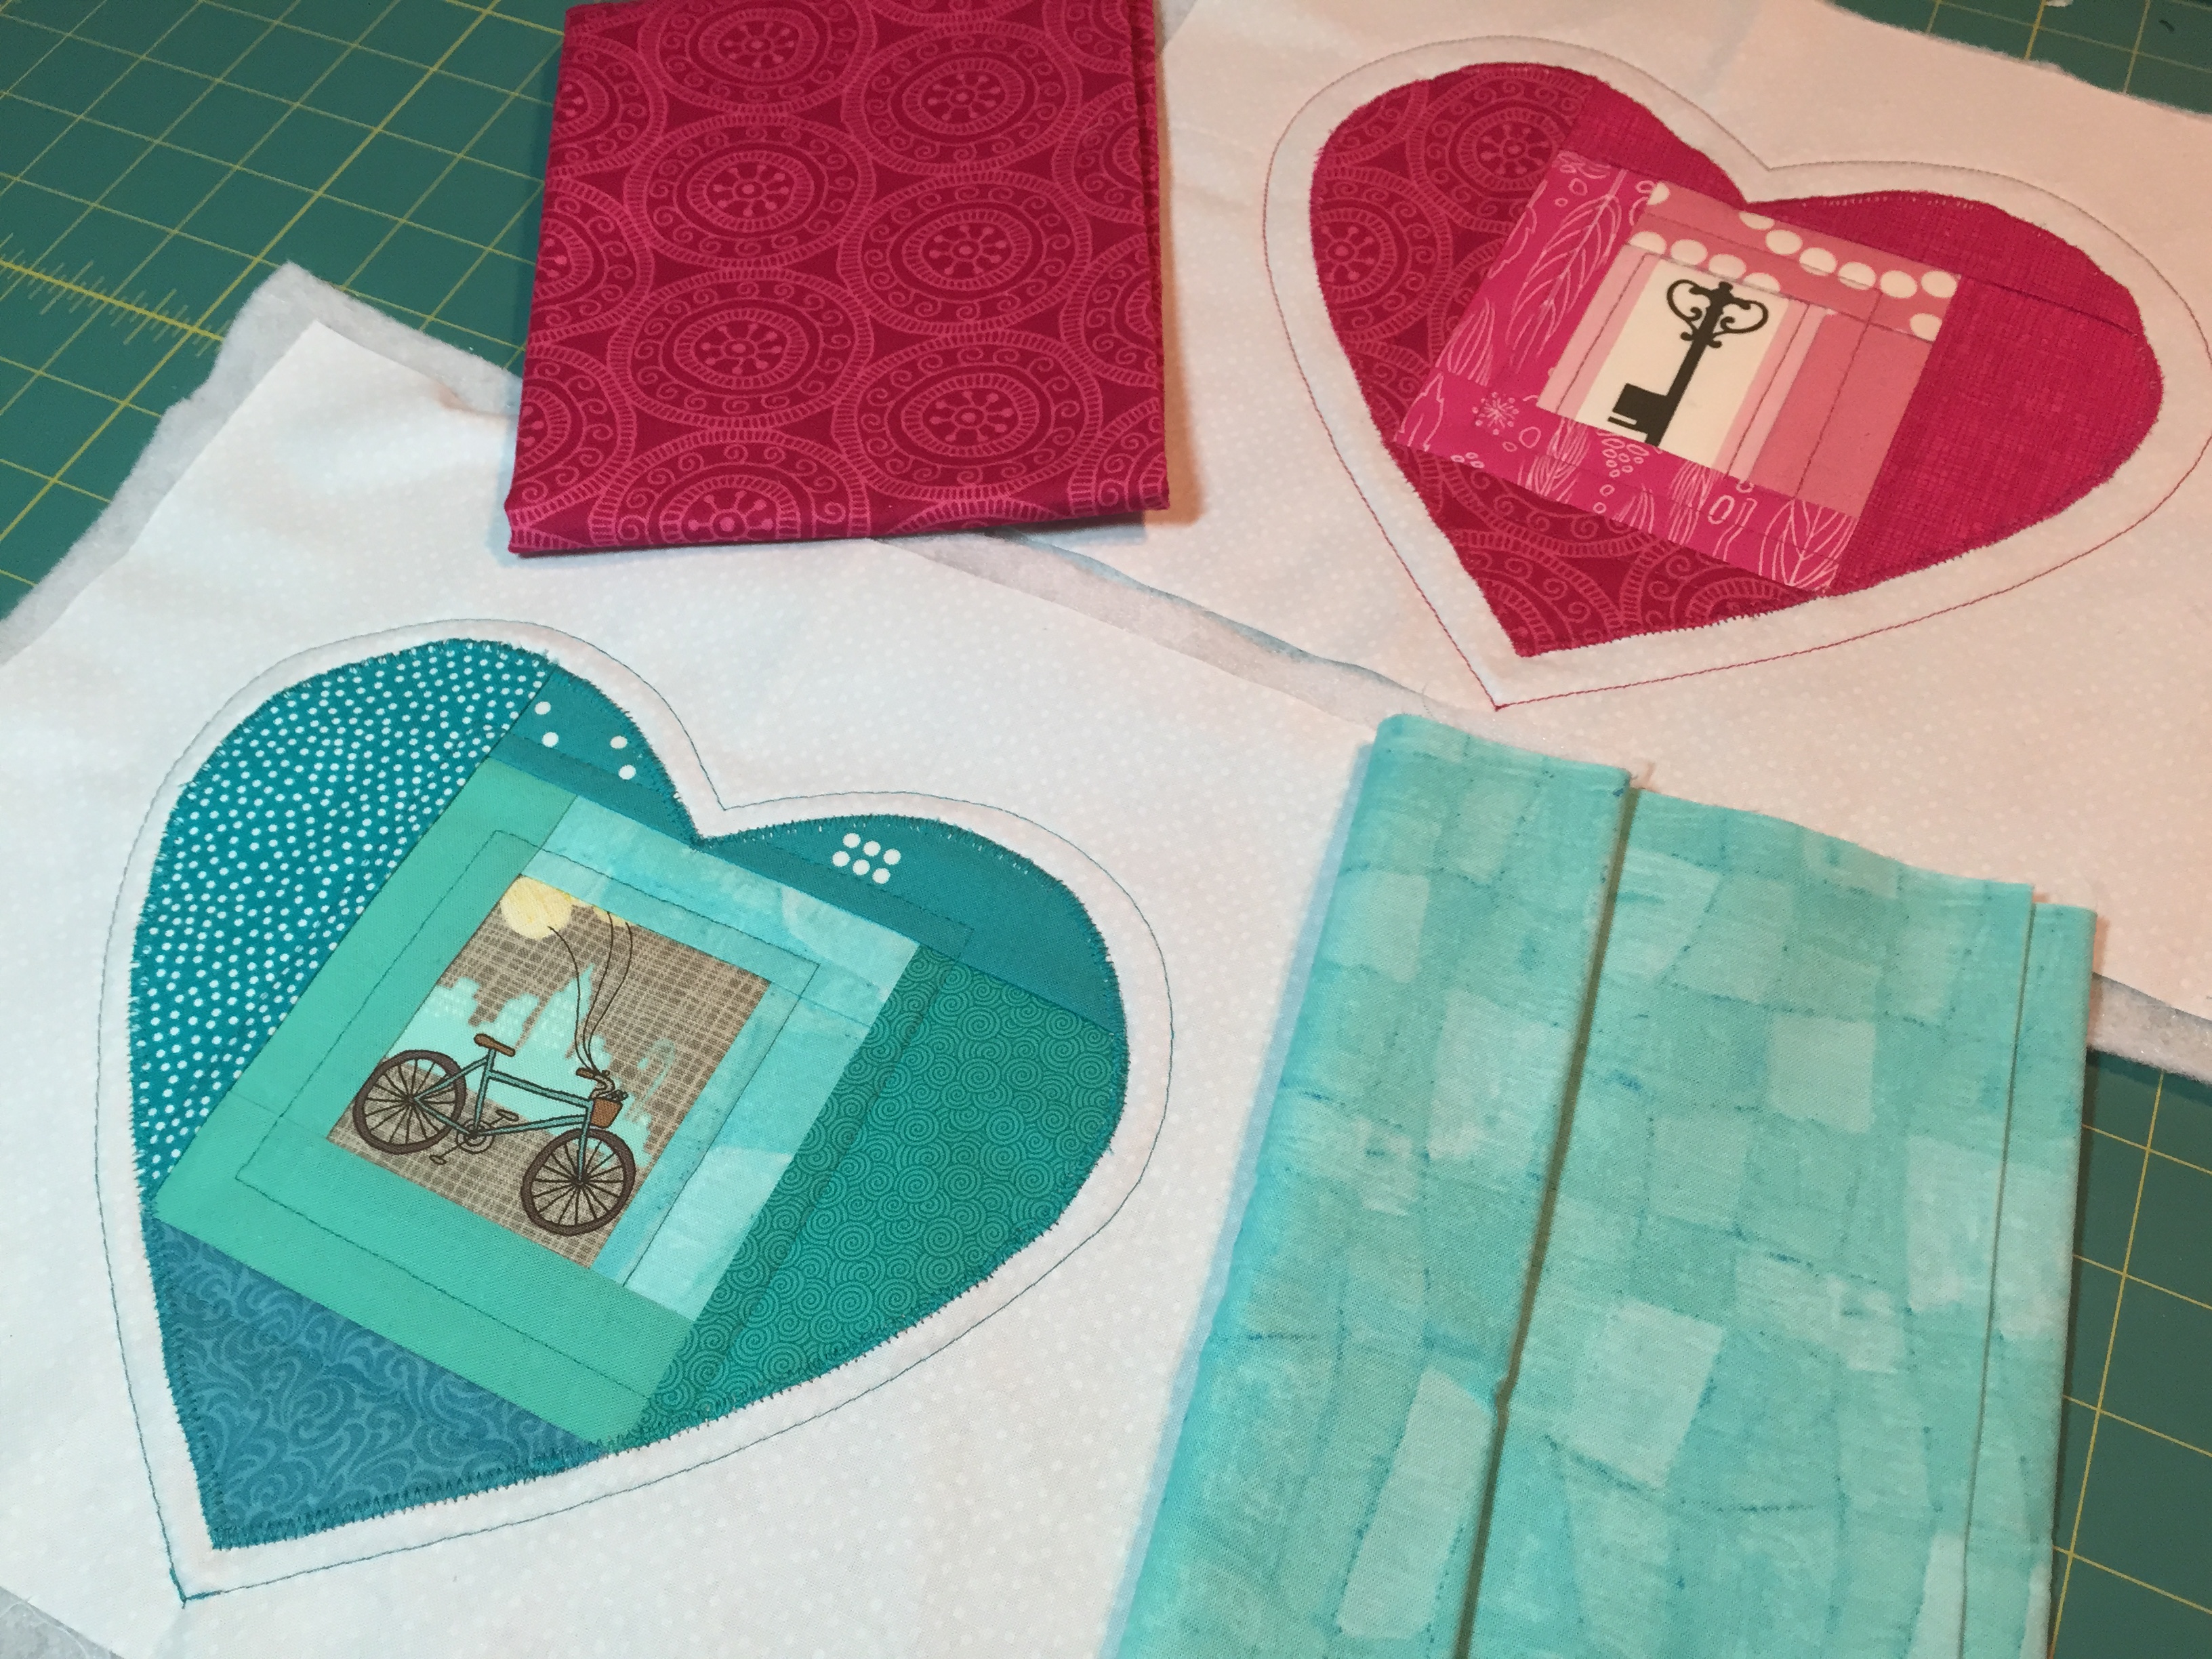
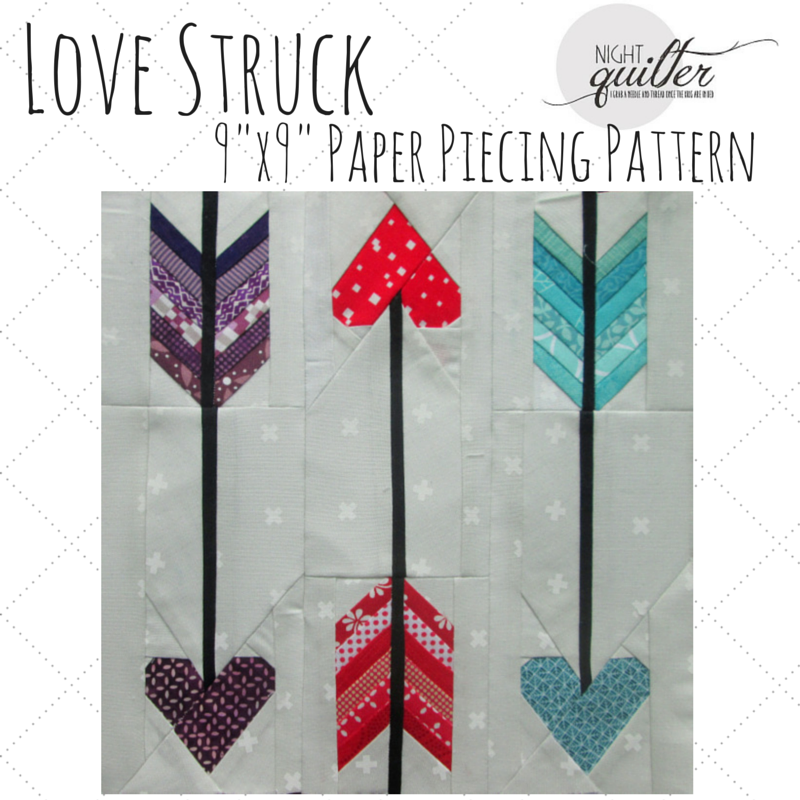
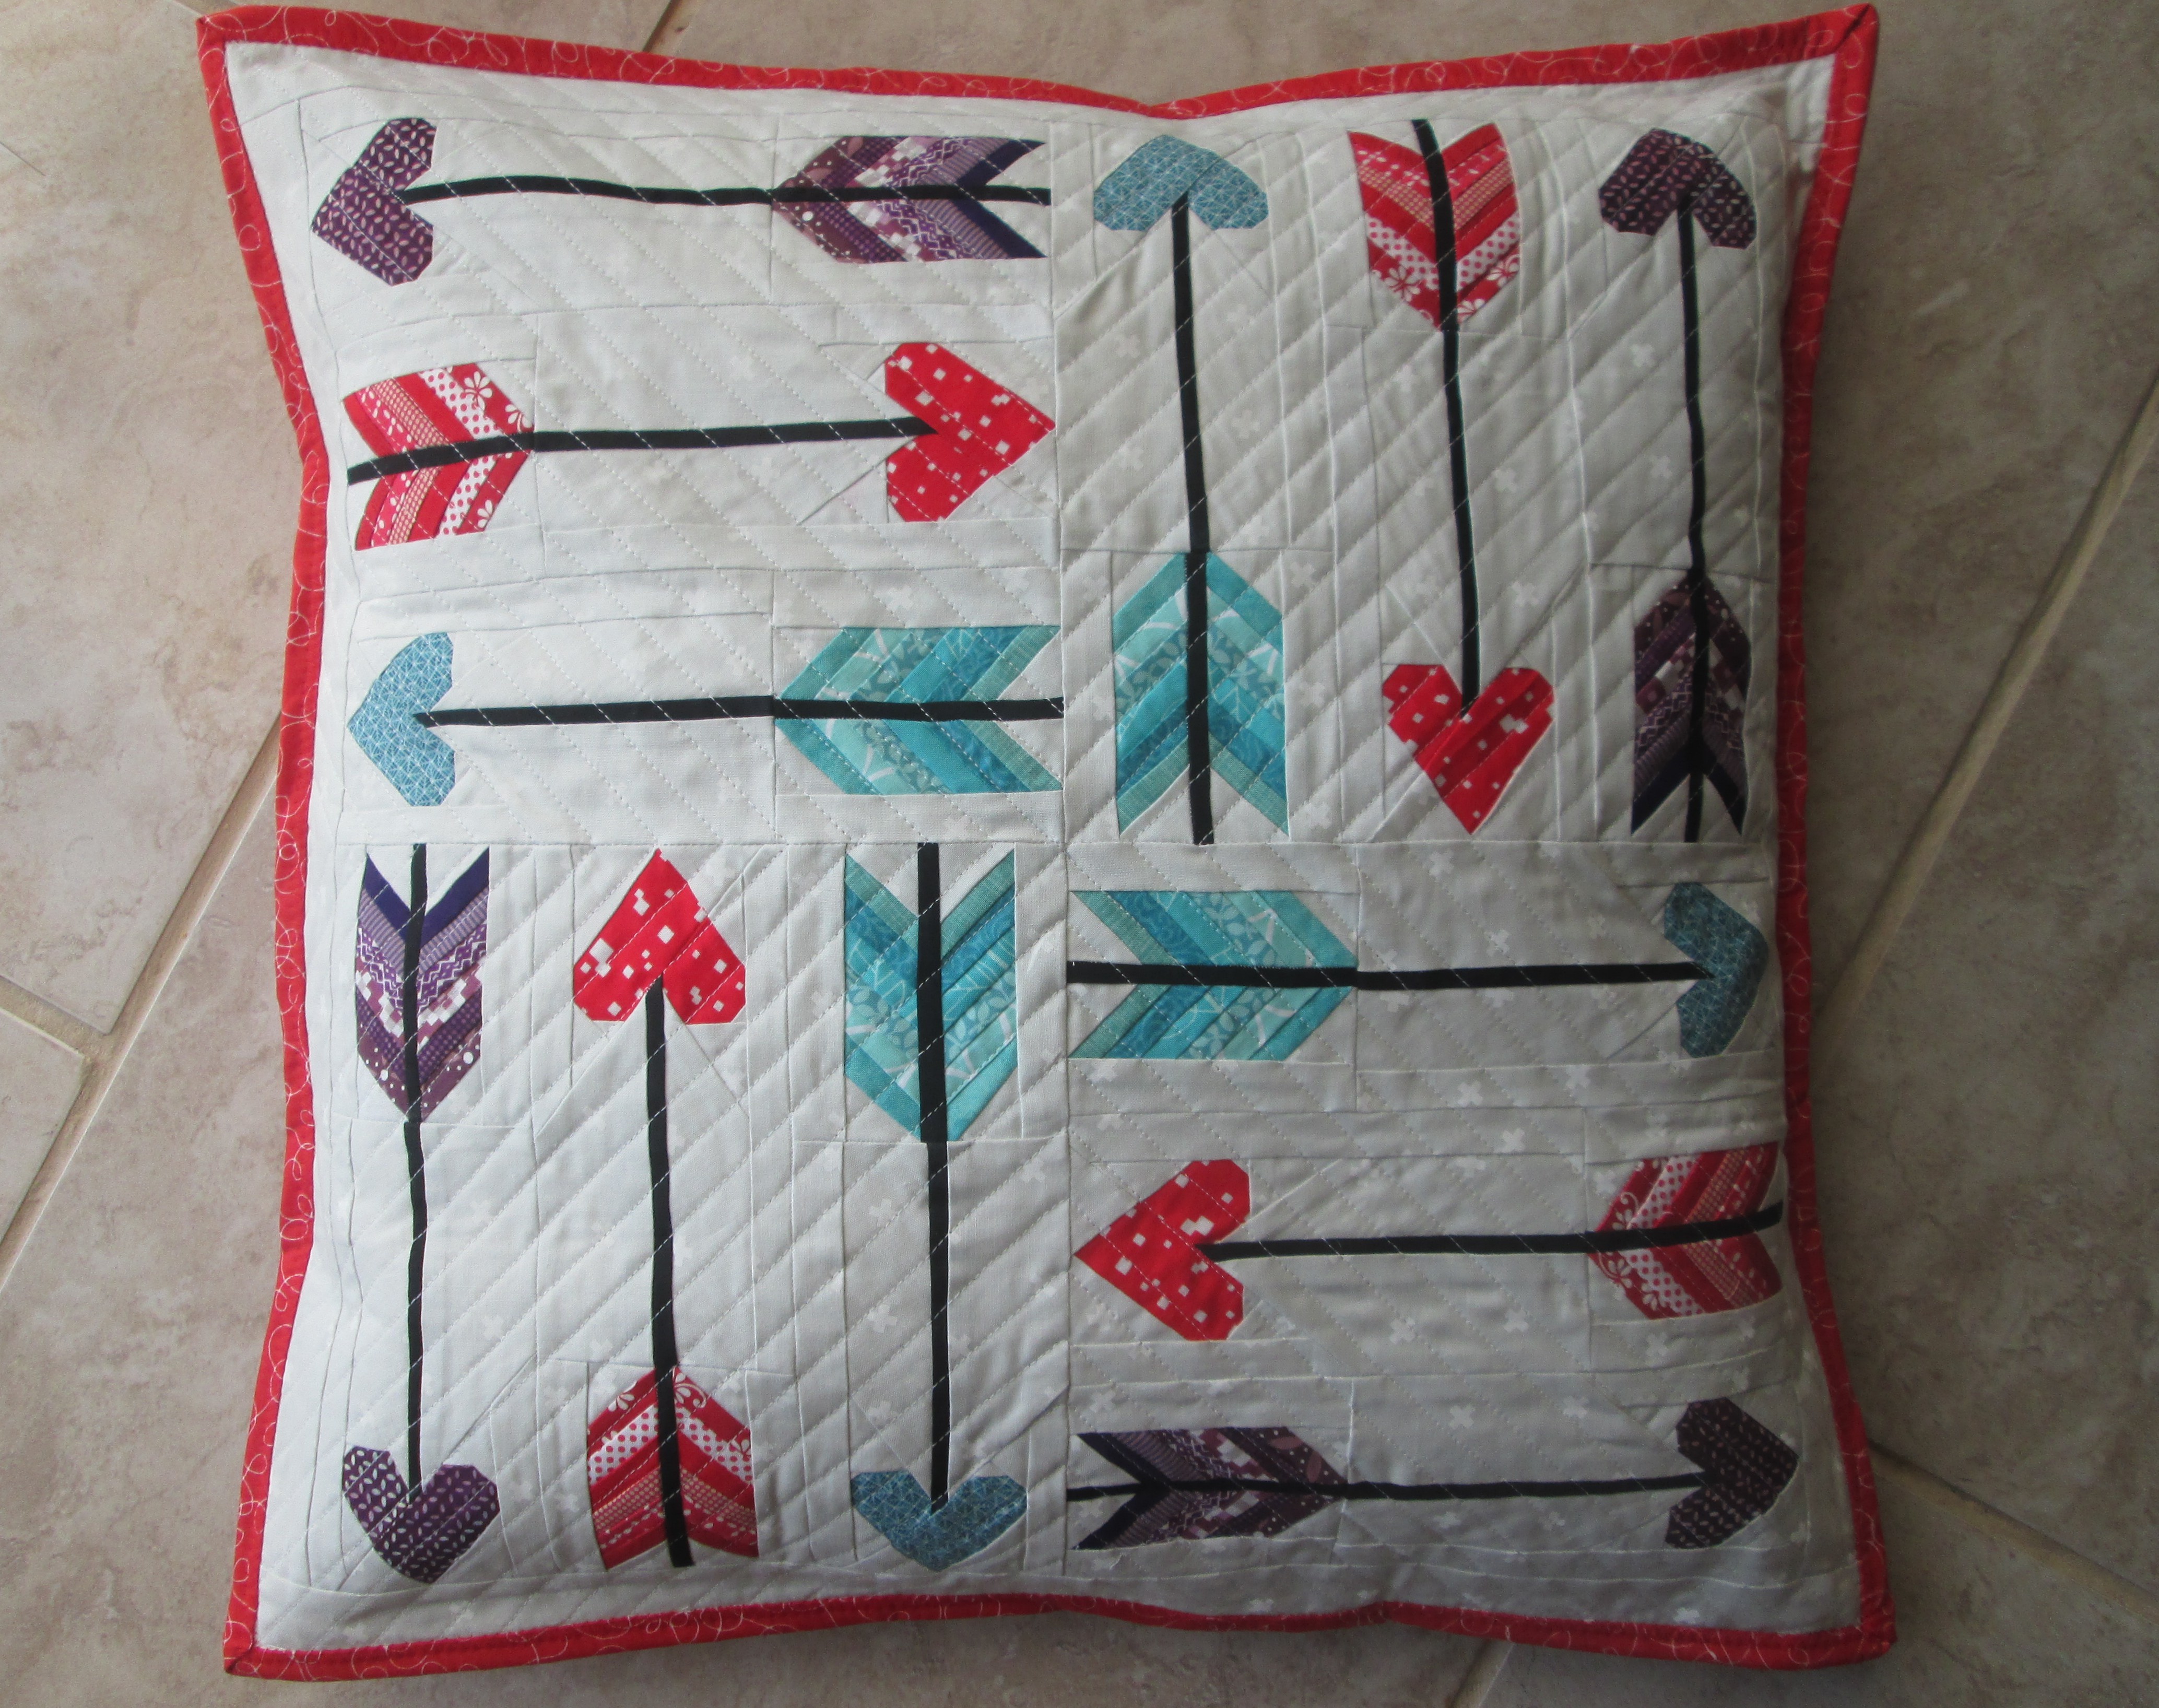
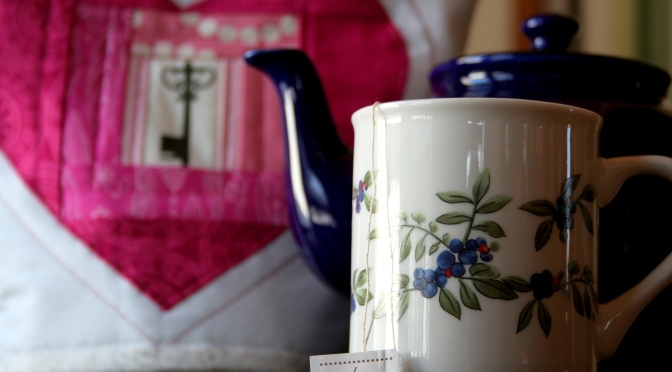
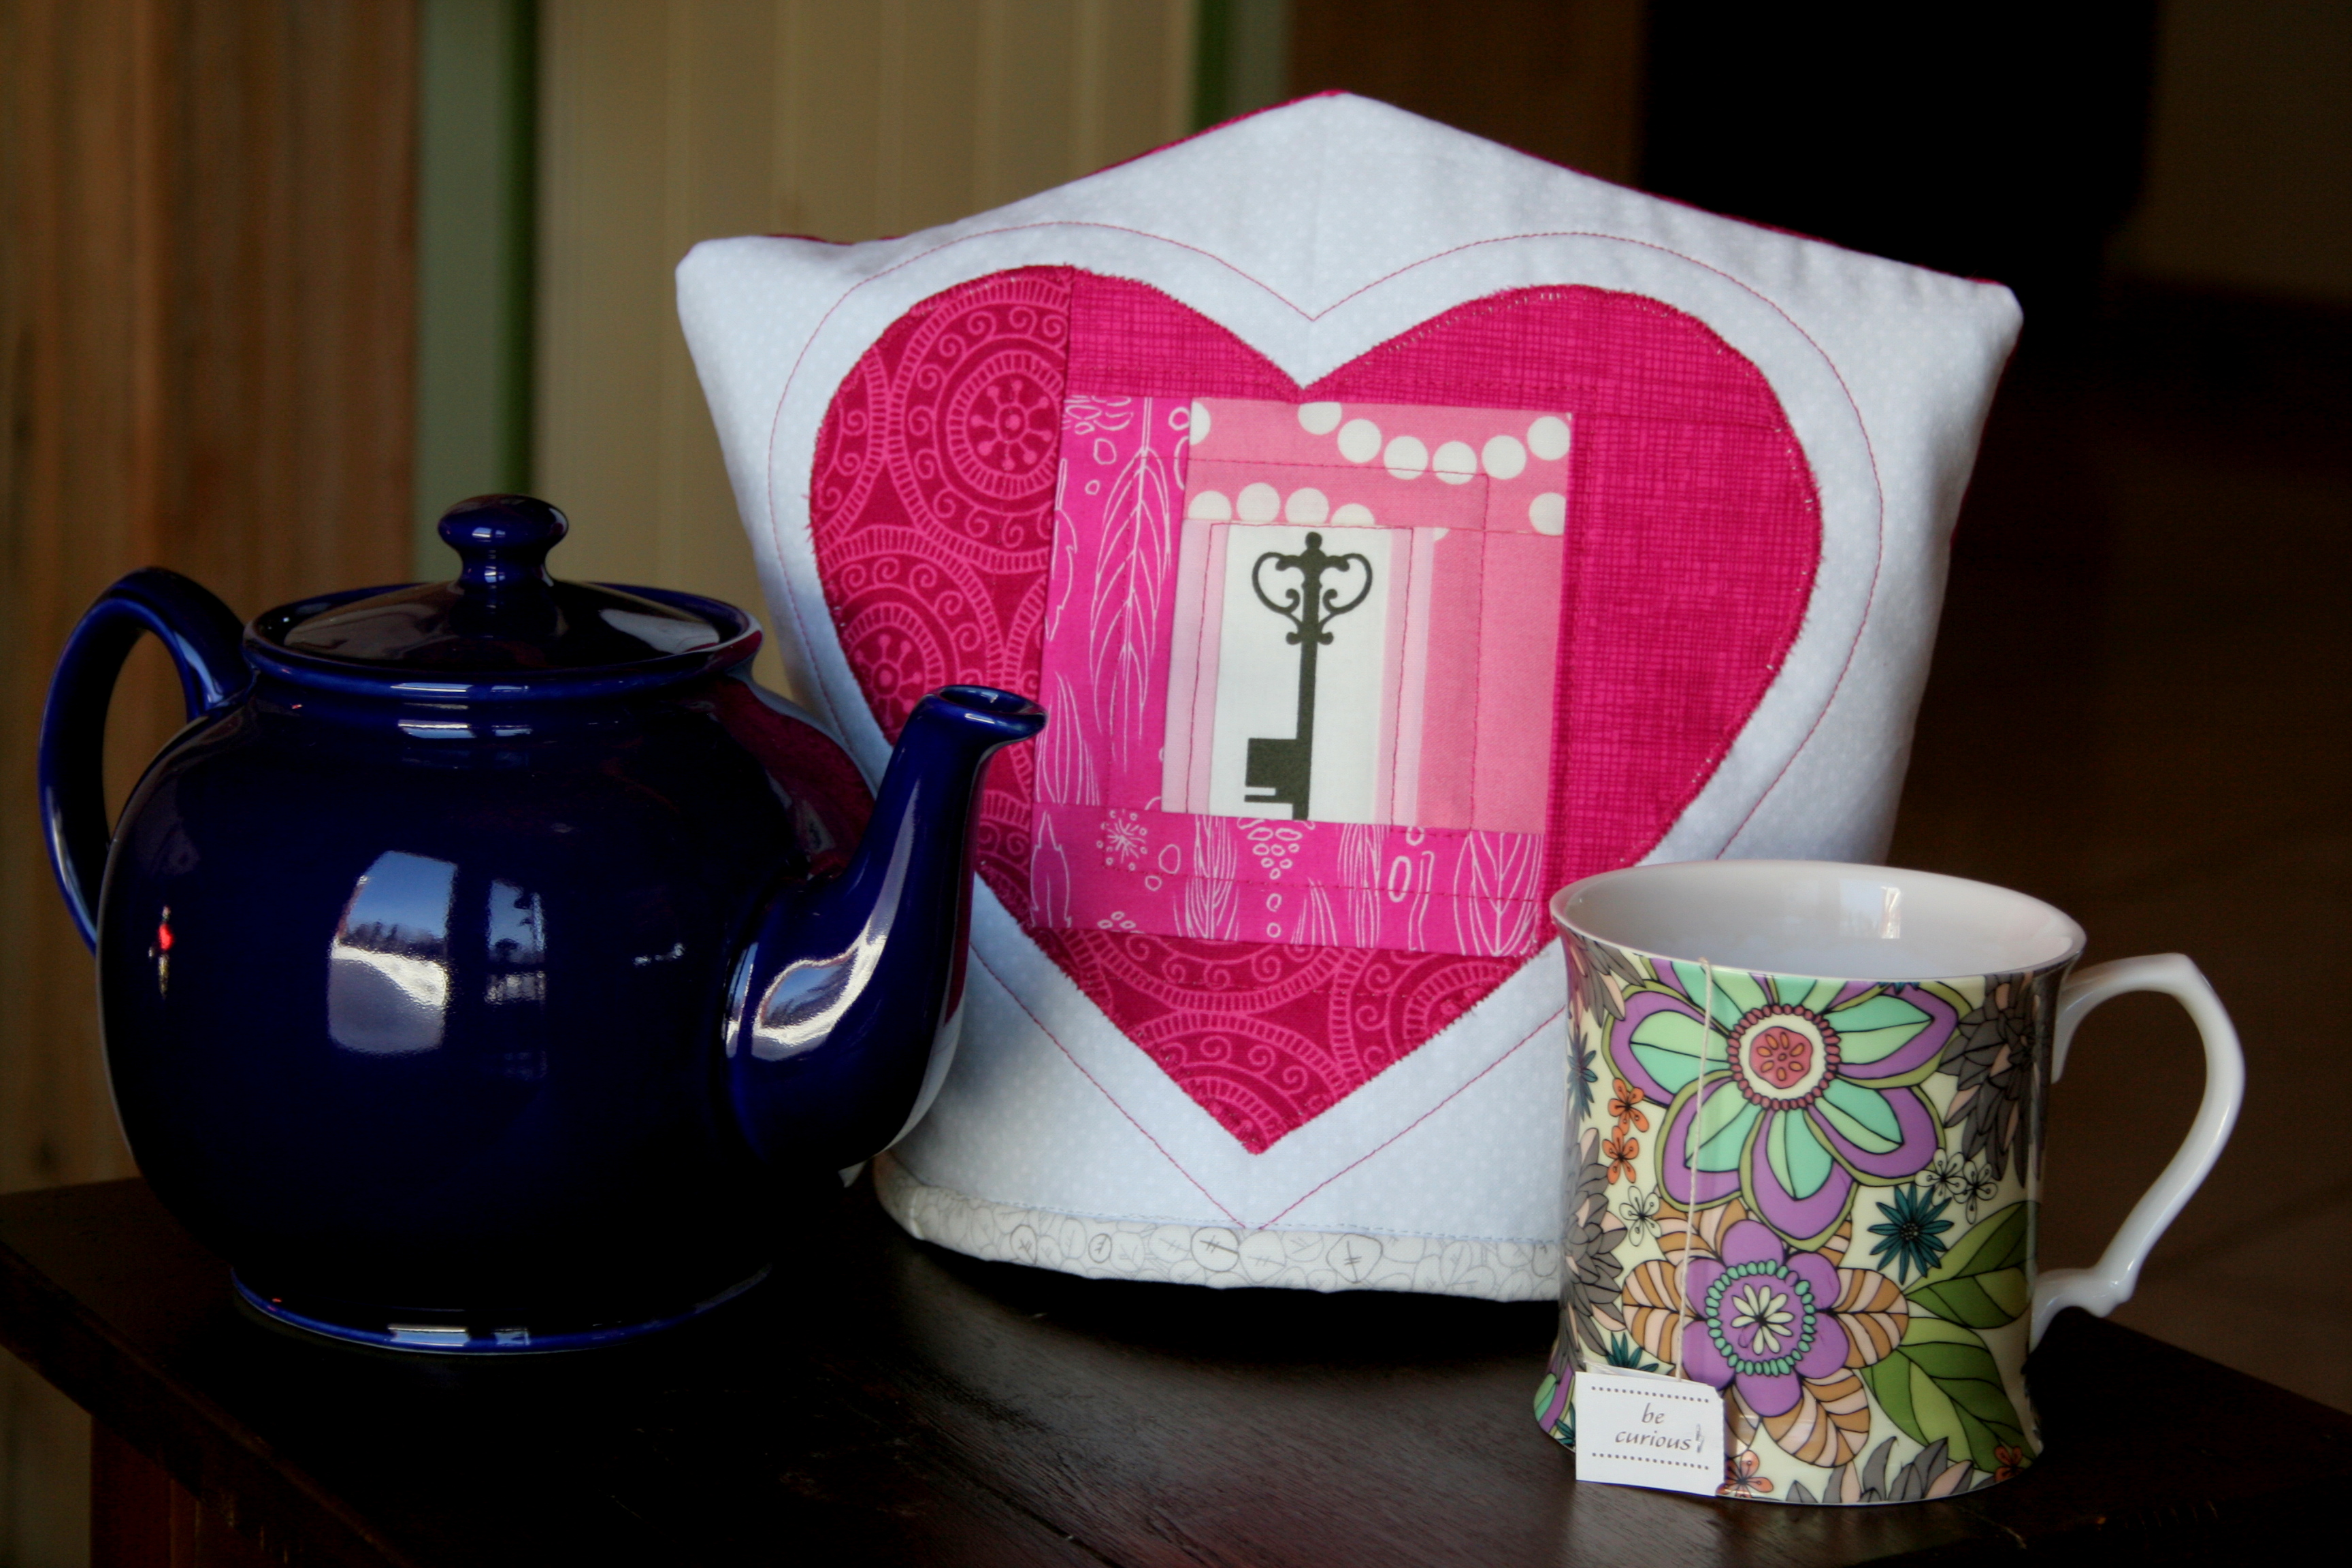
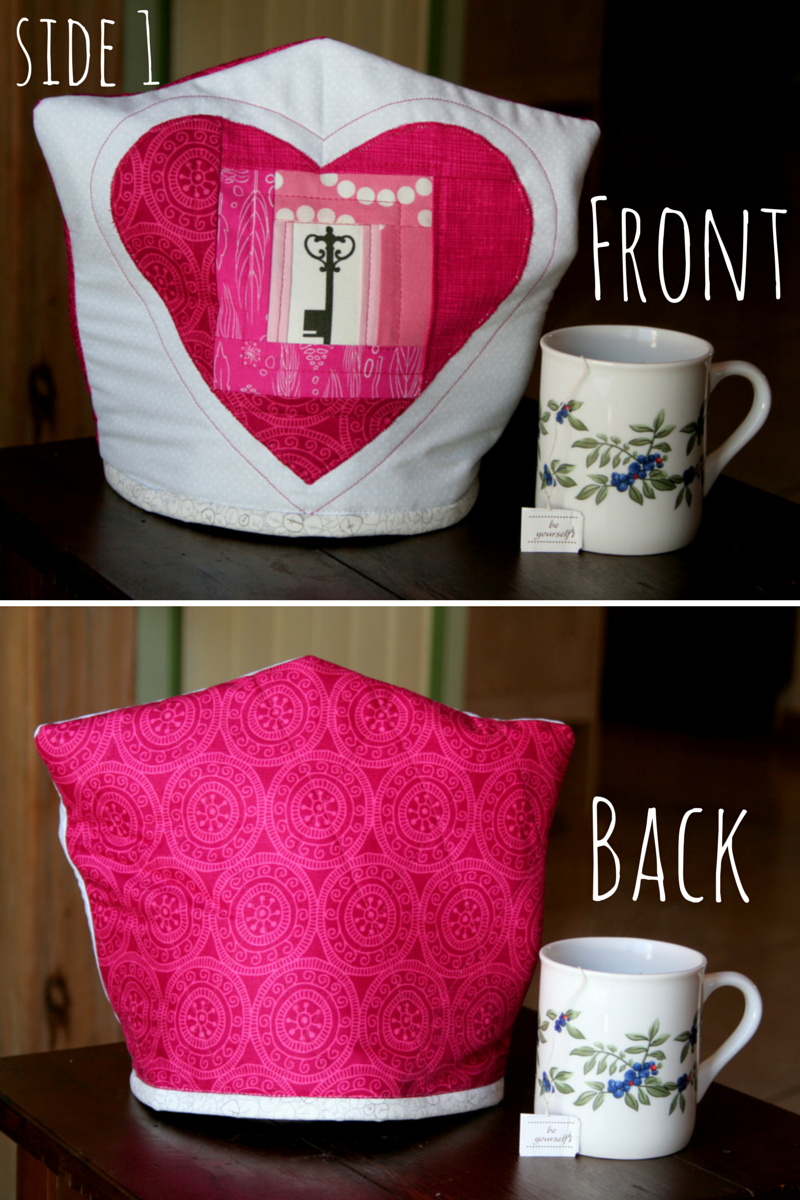
One side is perfect for Valentine’s Day, since I used my Key to my Heart pattern:

tea cozy valentine's day

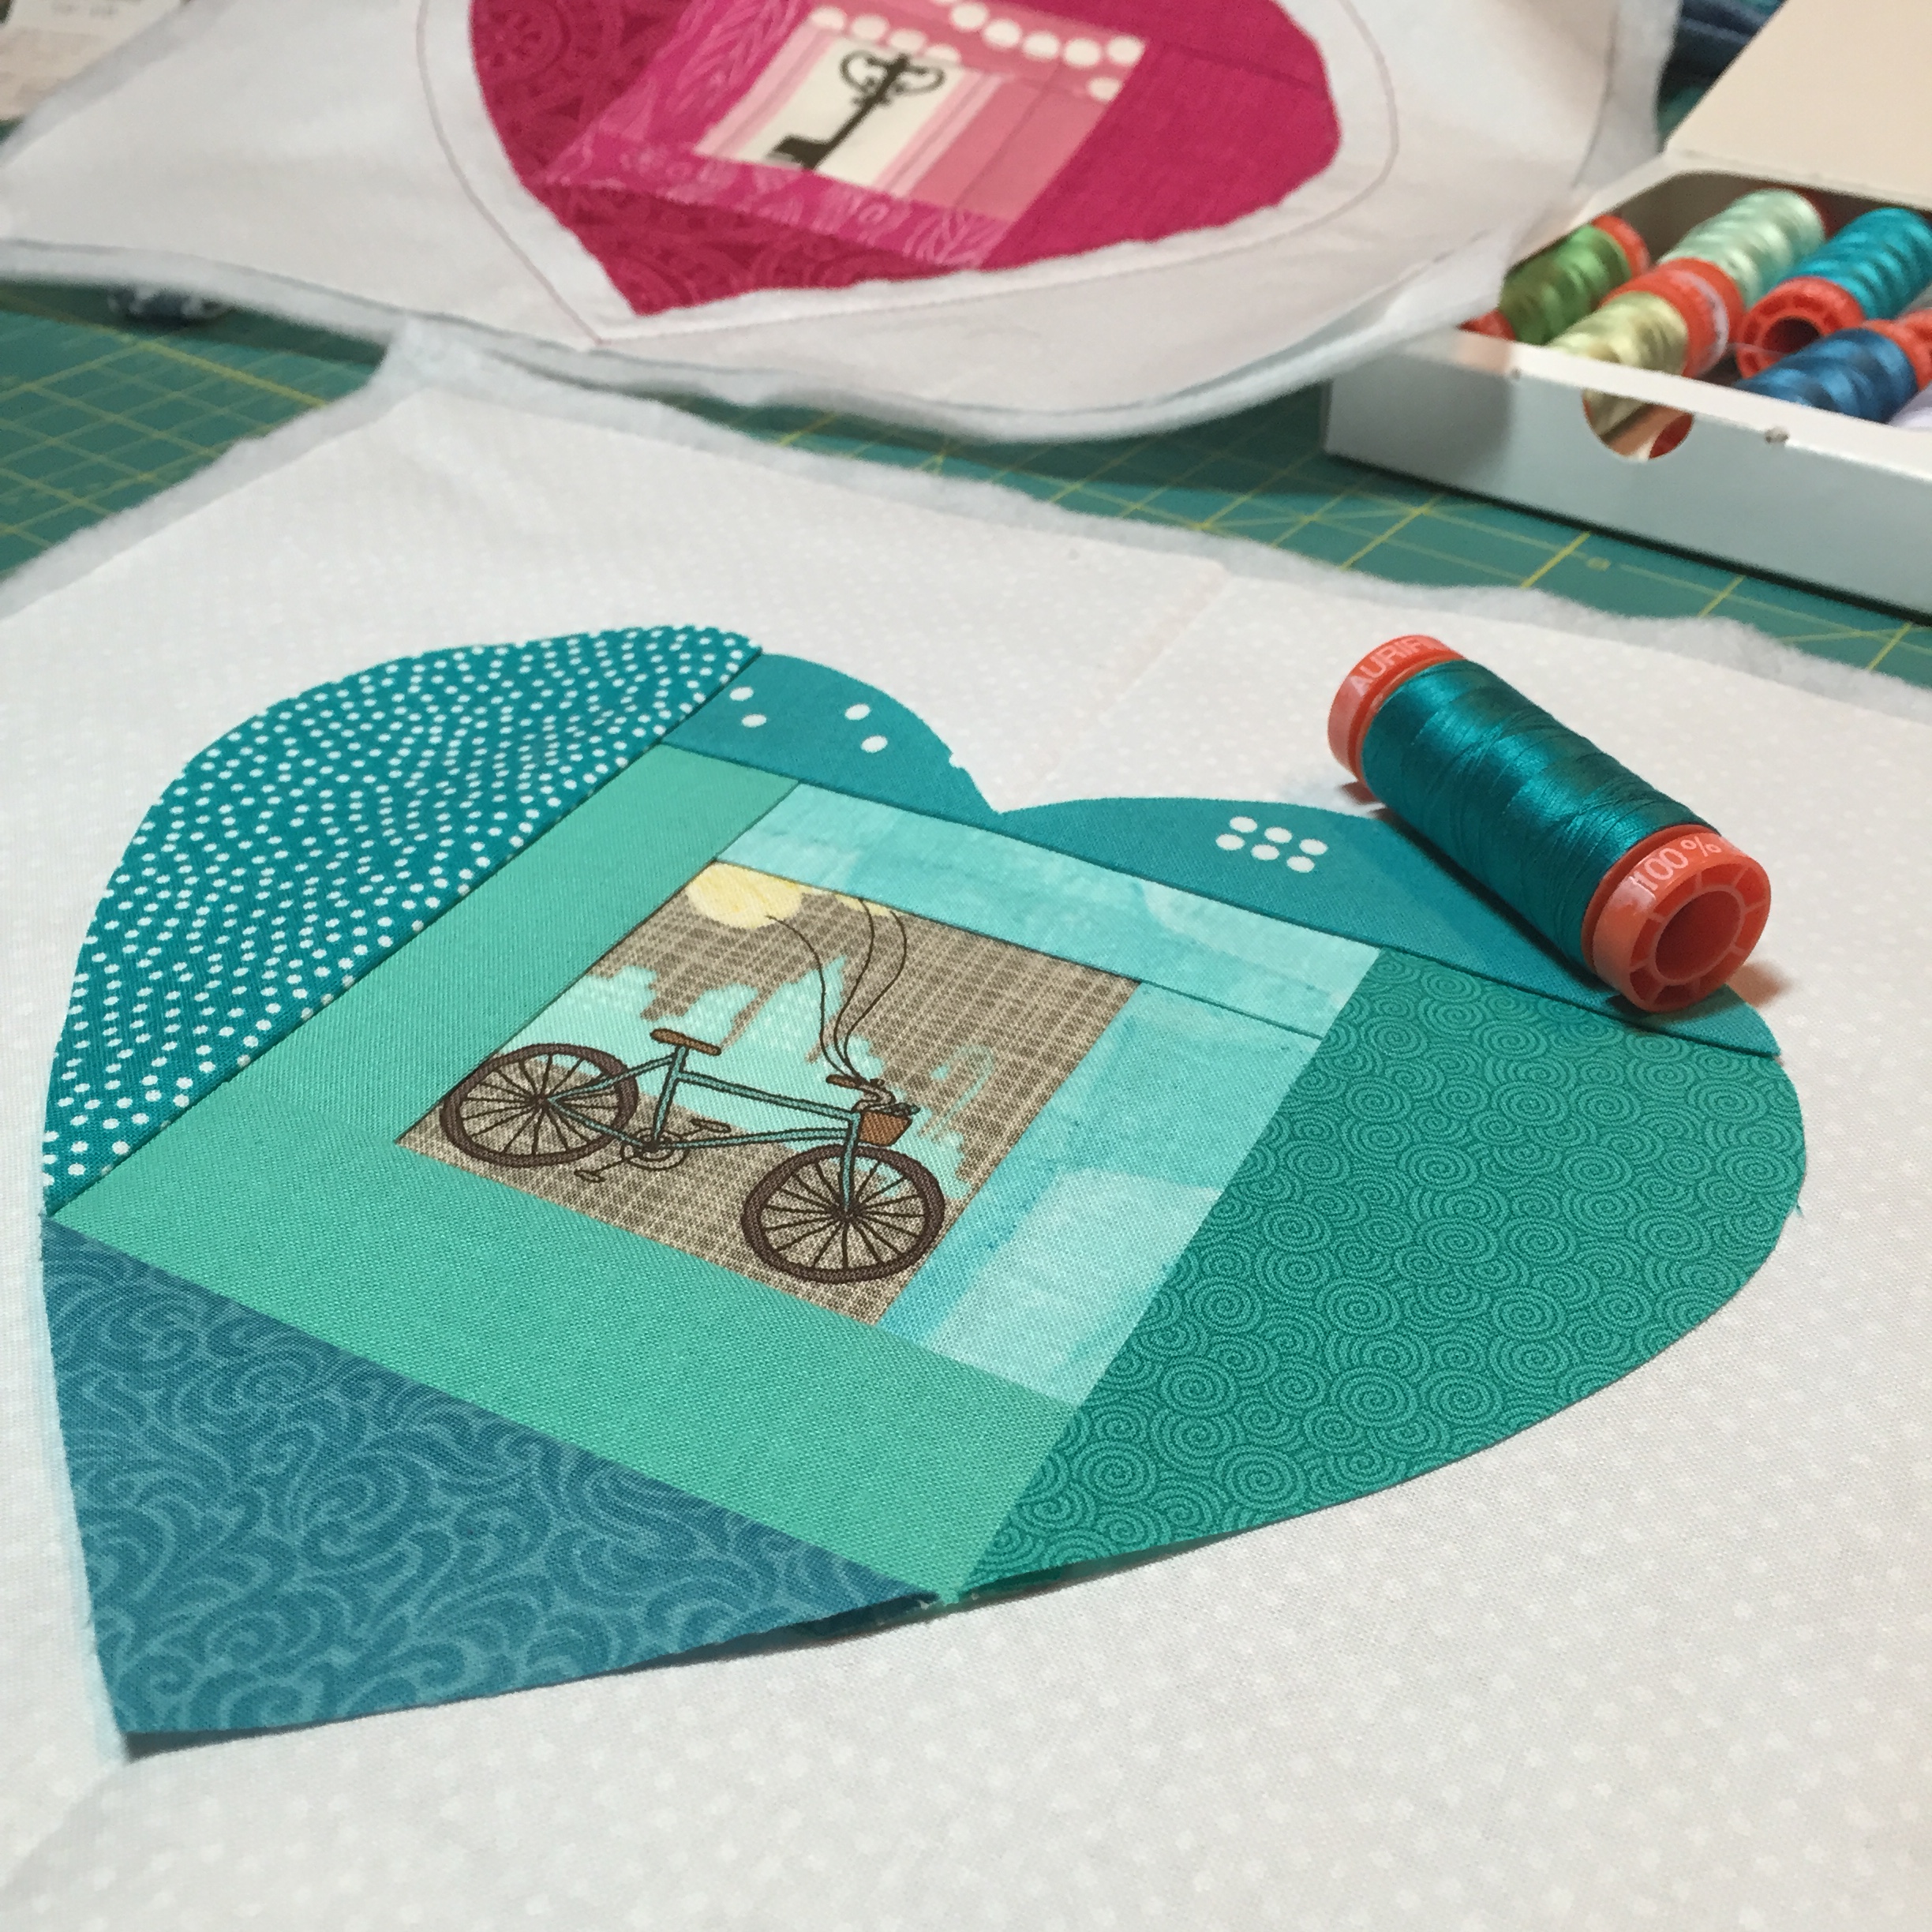
The reverse side features a bicycle inside the heart, which I think will be perfect for spring. My mom also loves bicycling, and she and my dad are known to plan vacations that include cycling from bed and breakfast to bed and breakfast in awesome European countries, where they surely enjoy actual tea time.

bicycling tea cozy

I thought about putting both hearts on one side of the tea cozy, but decided make one the “inside” and one the “outside”, with a coordinating solid backing. This way, one side of the tea cozy can be perfect for Valentine’s Day…

tea cozy valentines dayThen after February passes, you can just flip the tea cozy inside out and the other side is perfect for spring.

spring tea cozy bicycle

I technically made the Valentine’s Day side on the “inside” since I figure the bicycle will probably be shown more often. When turned to the Valentine’s Day side, the tea cozy is a little bit snug on my teapot (as you can see in the photo above), but I’m not too worried. I know my mom has a few different tea pots and I’m sure it will fit on one of them!

Now all I have to do is encourage my kids to finish their cards for Grandma (my mom) & PopPop (my dad) and get this all in the mail so it arrives in New Jersey before the 14th. I’m excited that I finished it in time, and hope my mom loves it as much as I do. This “tea cozy for every season” project is making me want a tea cozy of my own!

valentine's tea cozy

I’m linking up with Crazy Mom Quilts for Finish it Up Friday.

Key to a Cyclist’s Heart

Despite 18″-24″ of snowfall over the past 48 hours, we managed to keep our power!! Huzzah! That means I was able to sneak some sewing time in between the outdoor snowy play and the indoor snuggly game playing and movie watching time. I’ve been working on a second version of my Key to My Heart pattern (only $2 on Craftsy and Payhip), with the plan to make them into another seasonal tea cozy for my mom. I’m fairly certain my mom doesn’t read my blog, so I think the gift surprise is safe. If I’m wrong and my mom is reading this, —hi, Mom!!– I hope to get it in the mail so that she gets it before Valentine’s Day.

key to a bicyclists heart
I love matching thread! Aurifil hasn’t let me down yet!


key to a cyclists heart quilt

I can see myself making this block with MANY different fussy-cut centers. This one will become another reversible tea cozy, using Yvonne’s tutorial on Quilting Jetgirl. I was toying around with the idea of making one side both hearts, and the other side solid, but I think I’m going to mix it up. One side of the tea cozy will be the pink heart and pink solid fabric, and the other side will be the bicycle and teal fabric. That way, this tea cozy will be seasonally appropriate throughout the spring and summer, too! Key to my heart tea cozy progress

I’m linking up with Freshly Pieced for Work in Progress Wednesday.

Finishes New and Old

Remember back before Christmas, when I only showed you tiny peeks at most of my projects since they were to be given as gifts? Well now that the holidays are long over, now that I’m back and getting into the groove of home life, now that I finally have a free minute to blog about them,  now I can show you the full gifts!

I also have finalized and posted another Valentine’s Day themed foundation paper piecing pattern, which goes live in my Craftsy (for US buyers) and Payhip (for international buyers) today! It’s a day full of finishes, both new and old. A picture is worth a thousand words, so without further ado…

Open Wide Zippered Pouch by Noodlehead

I made this pouch for my sister, since her favorite colors are teal and lime green. The zipper installation was my FIRST ever zipper, and I think it came out quite well. I used linen blend fabric leftover from my Go Anywhere Bag, and I think my sister loved it! Anna from Noodlehead has the best tutorials, and this one was a perfect first-zipped pouch tutorial.

noodlehead wide open zipper pouch teal lime greennoodlehead wide open zipper pouch teal lime greennoodlehead wide open zipper pouch teal lime green

One thing I learned while making this pouch, though, is that when the directions say to “align… the side/bottom seams” while boxing the corners, you really need to line them up perfectly. The bottom and side seams for mine (as you can see in the photo above) did not line up perfectly, since I flew past that little bit of instruction, but now I know for next time! I’m hoping that the chocolates inside the pouch distracted my OCD sister from this slight misalignment! (Love you, Lucy!)

Reversible Tea Cozy

When talking to my mom about quilting about a year ago, she made it clear that she thought making a quilt was too much work and too time consuming, and therefore she did not want me to make her a quilt. She instead requested “a tea cozy for every season”, since it’s a quick project that can be completed in a couple hours. She also drinks tea from her tea pot every afternoon, so it will be well used and loved. It has taken me a while to get this first one made, but I don’t think the next one will be far behind. I used the fabulous tutorial by Yvonne at Quilting Jetgirl. I definitely will be using her tutorial again, since the tea cozy fit my mom’s large teapot quite well. Here are the two Christmas-themed sides of the tea cozy I made for my mom.

Reversible tea cozy christmasReversible tea cozy christmasReversible tea cozy christmas

A New Paper Piecing Pattern!

And finally, a recent finish: a new paper piecing pattern called Love Struck. Special thanks to Julie from That’s Sew Julie for her awesome pattern testing! This pattern includes printable foundation paper piecing templates including two “printer pages” to help save paper when printing multiples, clear assembly instructions, a coloring sheet on which you can try out color schemes before beginning, and sewing tips along the way. You can find in on Craftsy here (for those in the US) or on Payhip here (if you’re international). Both this and my Key to My Heart pattern are on sale for $2 until Valentine’s day!

Love struck pattern

We’re getting lots of snow this weekend up here in Maine, so I know what I’m doing all weekend–sewing (and playing with my kids in the snow). If you’re looking for a good weekend project, turn this block into a festive table runner or pillow. Here’s the pillow Julie made from four blocks. AND she says she “whipped up this whole thing in a week while taking care of five kids, one sick, and getting a double crochet hat order together.” Holy smokes, Julie! You’re amazing!!

love struck pillow by julie schloemer

Get the pattern here:

Craftsy (if you’re in the US)
Payhip (if you’re international)
…or go to Julie’s blog and comment to enter for a chance to win a free copy of the pattern!

If you do decide to make this pattern, share the love and tag me @nightquilter on IG or twitter, and use #lovestruckpattern. I’d love to see!

I’m linking up with Crazy Mom Quilts Finish it up Friday and TGIFF. Happy weekend sewing!

Much to Sew, About Nothing (to Blog)

This is a tough time of year for me in terms of blogging. I mostly like to share photographs of my progress and projects, but this time of year I’m spending every free second frantically trying to get projects done (and not very many free seconds blogging). On top of that, I’m currently working on two secret projects and three Christmas gifts, so there’s not a whole lot I can really share in full. I’m considering taking an official “Christmas vacation” from my blog, but also don’t want to miss all of you too much.

For now, I decided to take some crazy close-up photographs of some of my works in progress to share with you in an aura of mystery. Here are some of the things I’ve been working on. Go ahead and guess what they are, if you want! It reminds me of the backs of Ranger Rick magazines I read as a child, where they had a grid of super macro photographs of everyday objects and you had to guess the object. Have fun!

secret sewing peek

secret sewing peek

secret sewing peek

secret sewing peek

secret sewing peek

I also have to include this process shot, completely unedited. This was my first time using my new Massdropped pink clover clips, and this one glows in the dying light. I think it’s such a cool photo!

secret sewing peek glowing clover clip

If you’re a quilter-blogger who also has a lot of holiday and family obligations this time of year, what do you do to ease your stress levels? Take a break from blogging? Let go of obligations or personal expectations? I’d love to know!

Ready to Go Anywhere: My First Bag!

I did it! I made a bag! It’s definitely not perfect, but for my first bag, I am SO happy with it. I followed Anna from Noodleheads pattern for the Go Anywhere Bag, and it was quite easy to follow, even for an absolute beginner like me.

go anywhere bag by noodlehead first bag

Going into making this bag, I was extremely, unnaturally scared of the whole process. I was seriously terrified! A huge thank you goes out to Sarah Fredett from Smiles too Loudly, for being there as real-time support on Instagram when I first got started on the pattern. Sarah walked me through the tangled mystery of interfacing, and helped me gain that first bit of confidence to forge ahead. Thank you SO much, Sarah!

go anywhere bag detail

Anna’s pattern was very clear and specific, going as far as to suggest little triangles at the tops of each pocket to reinforce the opening (genius!?). The images in the pattern were a great help for me, a visual learner. The steps were clear and well sequenced, and I feel like I was able to follow along without too much reading ahead or back-tracking to make sense of it all. It is my first bag ever, but most definitely not my last! (I’ve already bought a bit of the coveted Anna Maria Horner Field Study Feathers-Parenthetical Linen in the Deep colorway for my next bag. Shhh!).

inner pocket and snap in go anywhere bag

While this bag did not include the installation of a zipper, I’m proud to say that not only did I create pleats for the first time, but I also installed two magnetic snaps and sewed inner pockets (not to mention taming the dreaded interfacing). Go me!

go anywhere bag top view
Top view of the Go Anywhere Bag. Pleated pockets!

I think of myself as a very practical person, so choosing a white-based fabric for the outside was initially a hesitation. Before making the bag, I figured since I loved the fabric so much, I would go ahead and use it for the front and back pockets (aka the feature fabric), but would only use the bag for special occasions. Now that the bag is complete, I can’t help but use it as my everyday purse. Sure, it probably will get dirty, but it’s pretty fabulous in the meantime!

Like I said, since it’s my first bag, it’s far from perfect. I had quite a bit of difficulty maneuvering the whole thing in a smooth manner through my domestic machine, so there are wiggle waggles in the stitching here and there. All you expert bag-makers extraordinaire (Hillary, you’re on the top of this list!)–how do you smoothly finagle thick layers of bag under your machine?! I am clearly in need of some tips!

imperfections in sewing bag
Wiggle waggle stitching.

I also made the executive decision to create two impromptu pleats in the back pocket to ensure that the front and back pocket tops lined up with each other. The alternative would have been a smooth back pocket, but completely unaligned pockets on one edge (shudder).

Extra impromptu pleats on back pocket.

go anywhere bag ready to go anywhere

All in all, making this bag was a really fun activity. I’m proud of myself for biting the bullet and trying something new, and I’m excited to try making more bags! Next up will be a zip pouch–small, but with a (dun dun DUN) zipper!

I didn’t get very many great photos of my bag, since I had my usual helper with me. He’s pretty cute, though, huh? It’s worth the bit of blur, and he certainly seemed ready to go anywhere with my new bag! (I’m leaving out the photos of him actually taking off running with my bag, since I realized post-photo that our messy house litters the background!)

my bag photography helper

I’m linking up with Crazy Mom Quilts Finish it up Friday. Bag #1: done and done!