Whoa summer! What better post to spearhead my return to blogging than this one!?
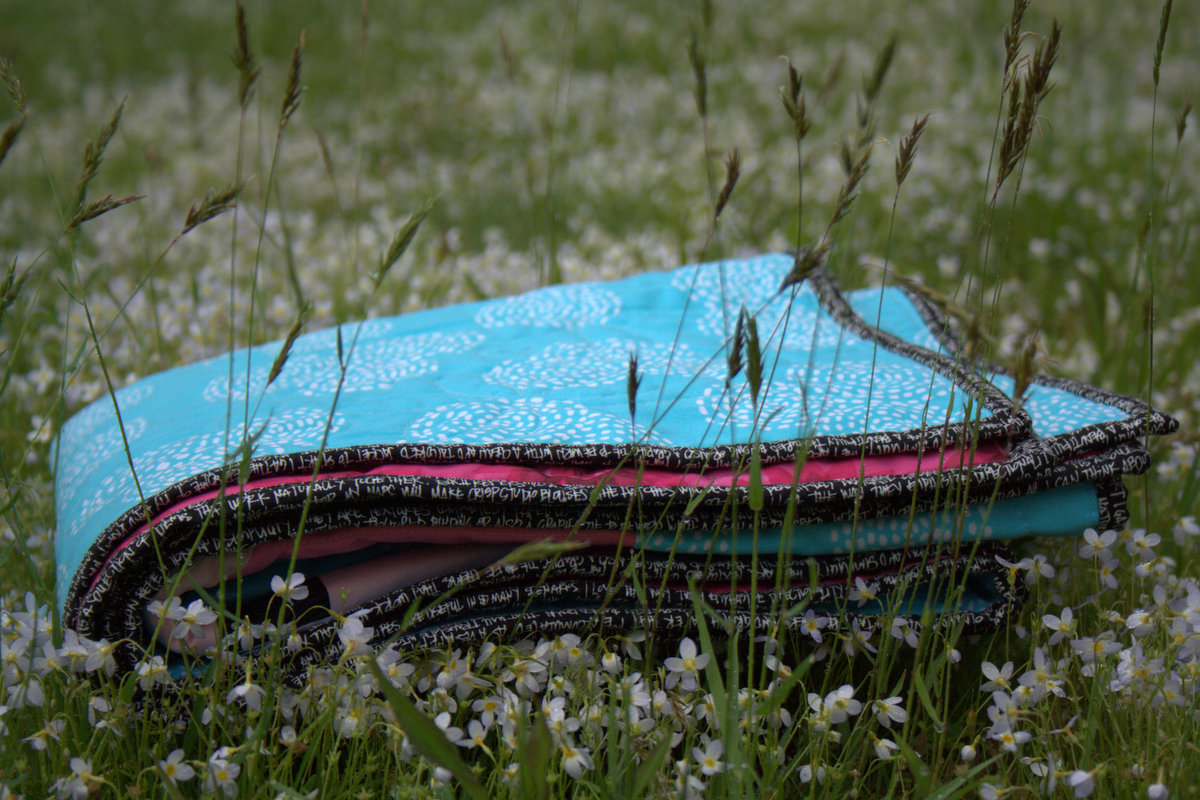
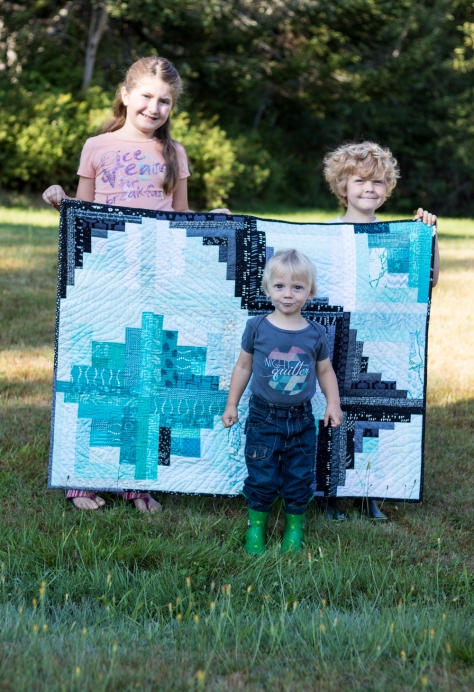
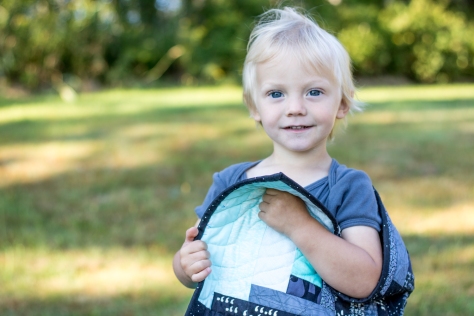 This is a bittersweet post to share. Finn’s Milestone Quilt, the quilt that I created to document his first year of life, sewing and photographing one block per month, is finally finished. It’s quilted and bound and was gifted to my sweet third child for his 2nd birthday nearly 3 months ago. Yes! Baby Finn is officially into toddlerhood and joining the ranks of the twos (I daren’t call them “terrible”).
 Finn is jumping into the twos with a gusto, expressing his emotions and emphatically requesting (demanding?) “I do it! I do it!” for just about every activity in life. He’s a joyful, social boy who absolutely adores his older siblings, and thusly, mimics their every move. While heart-meltingly adorable, this poses difficult when the 5 year old pitches a fit and storms off in a rage because he can’t cut up all the fruit and vegetables in the house and make soup in a giant pot on the stove at 8 in the morning. I should note that if he ate the soup, I would have no problem with this plan. Finn will watch, then as soon as Max storms off, will exactly replicate his angry sounds and stomps and follow him in an adoring rage. Life is… fun.
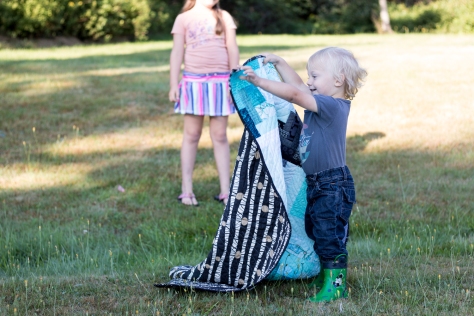
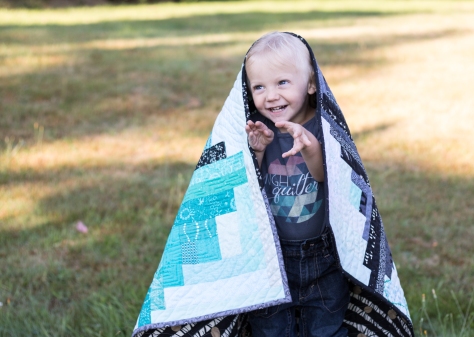
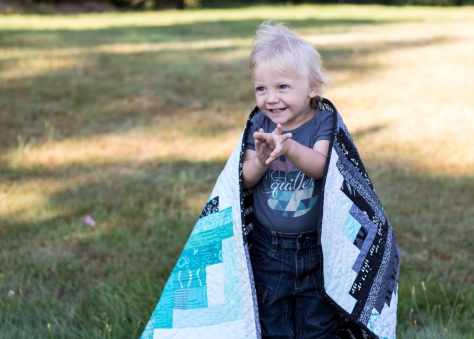
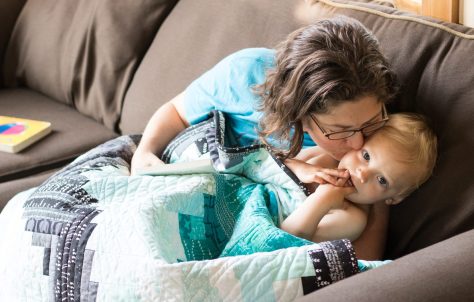
 Truly, though, I’m blessed. Even on the most challenging days, I know that I will look back at these years with longing, wishing for Finn to come ask for kisses only so that he can impishly wipe them off with a giggle, then ask for more. Remembering how magically a mommy kiss can heal a hurt, and how simply holding my hand makes even a fearful task manageable. Wouldn’t it be fun to be able to hold onto the blissful moments, and like childbirth, block out the chaotic torpedoes of childhood destruction? Or will I miss those too? Only time will tell. For now, I’m happy to have completed Finn’s quilt and hope to see him drag it around behind him on his adventures.
Now, how about a bit about the quilt?
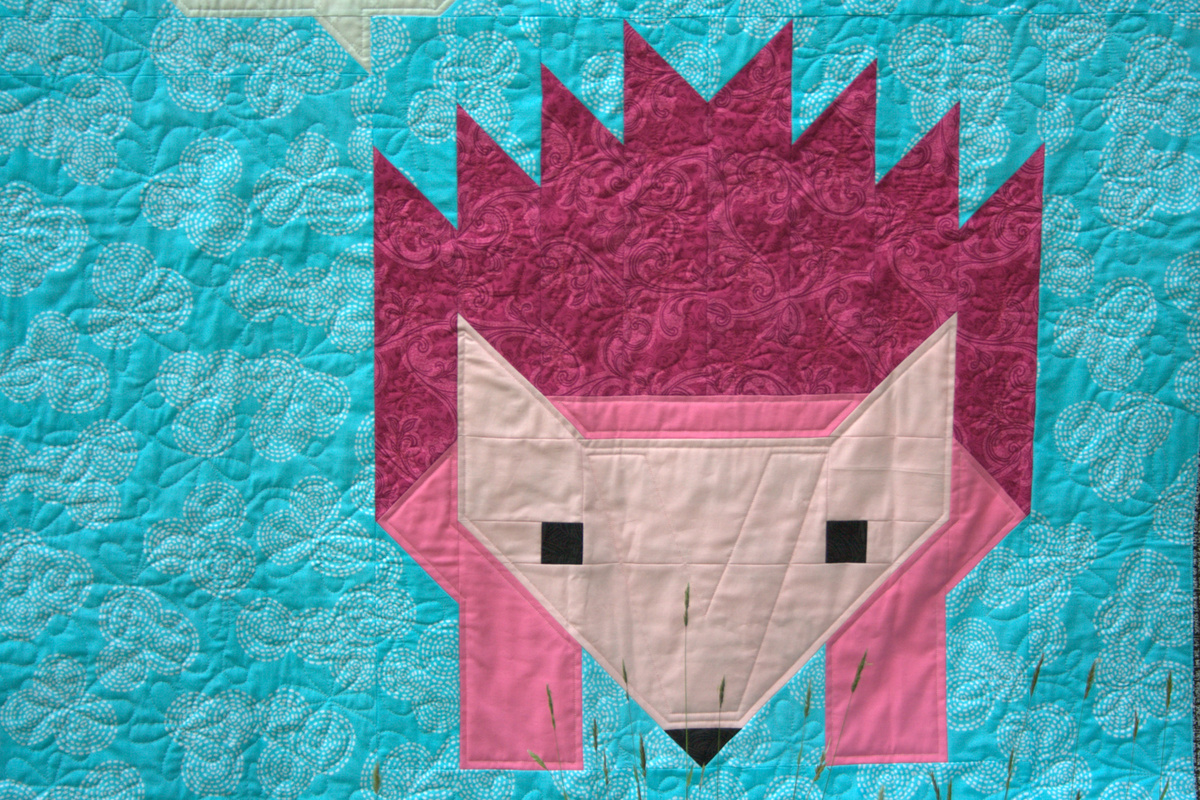
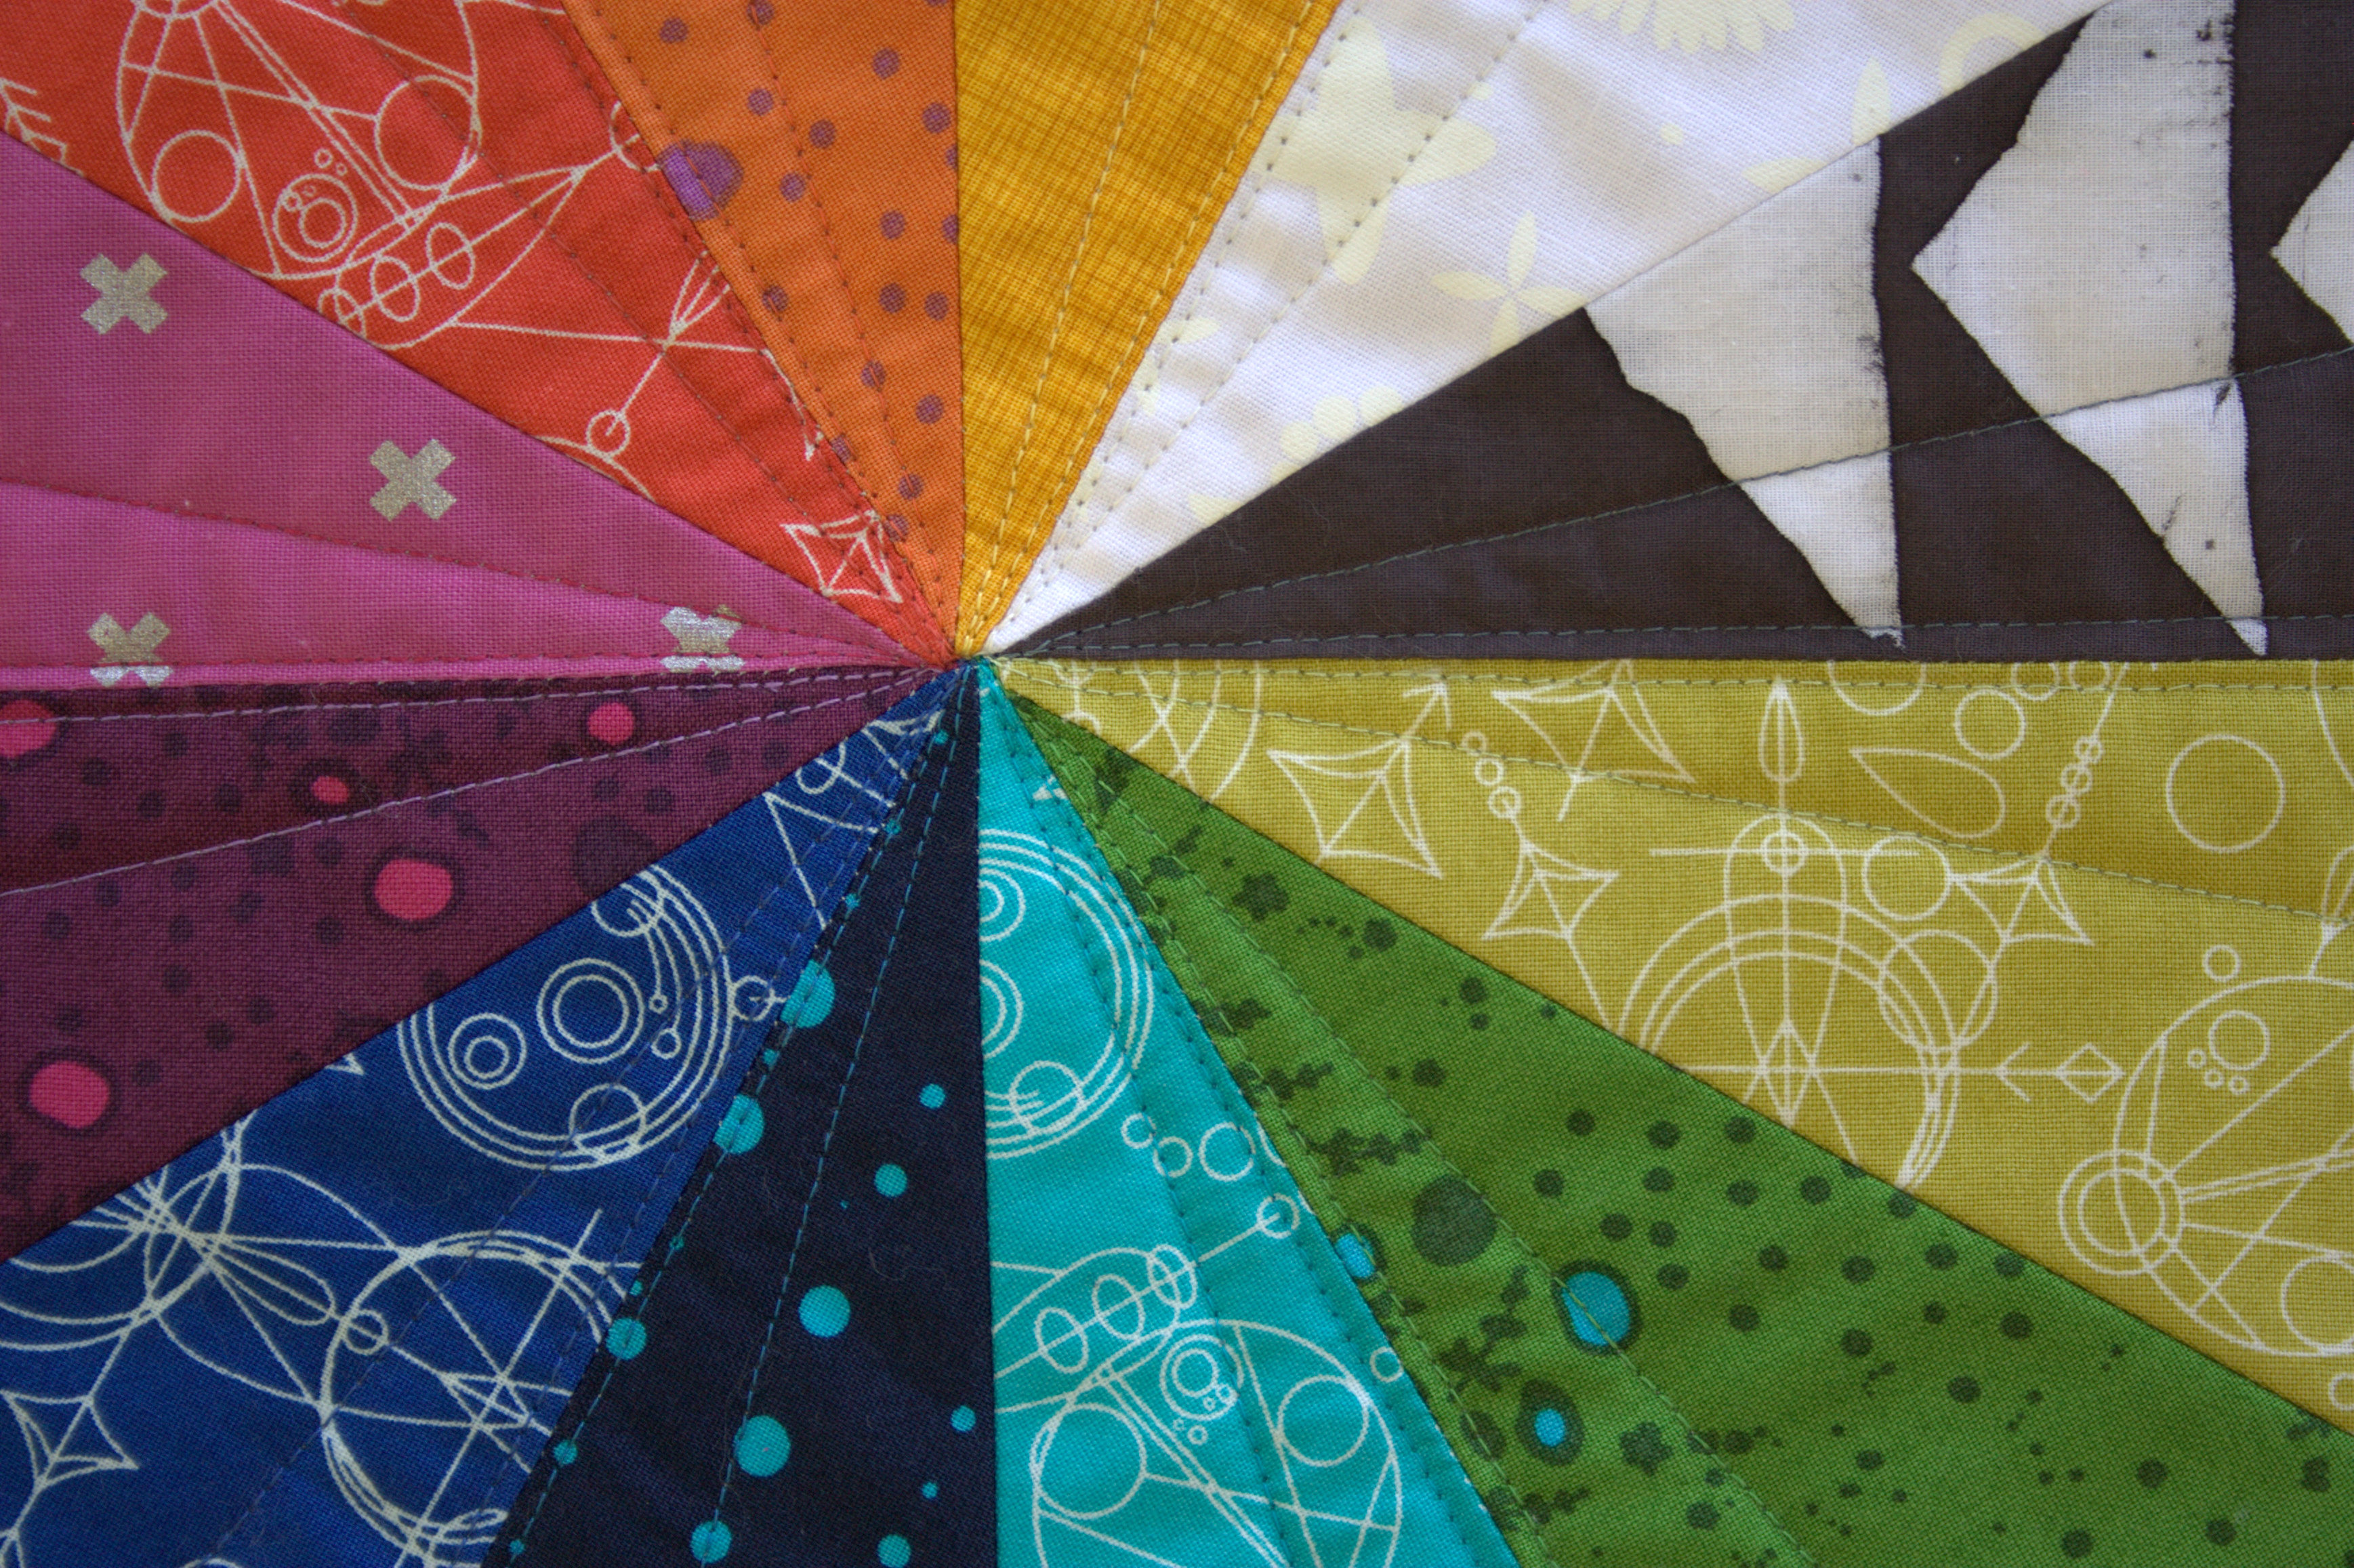
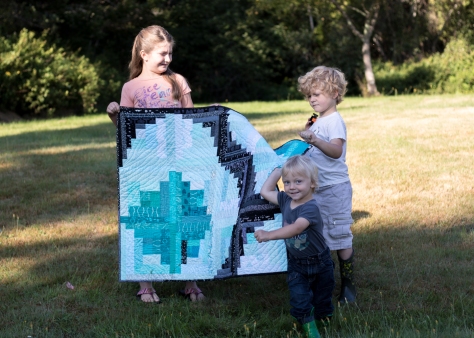
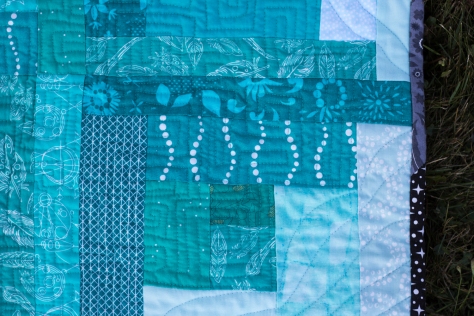 After debating whether to use different quilting designs in different sections, or going with an all-over quilting design, I decided to mix it up. I quilted with a variety of Aurifil thread to blend with the different sections of the quilt while creating a variety of textures. I used 40wt 1148-Light Jade with 50wt 4093-Jade in the bobbin for the dark turquoise sections, using a free motion quilting boxy spiral motif.
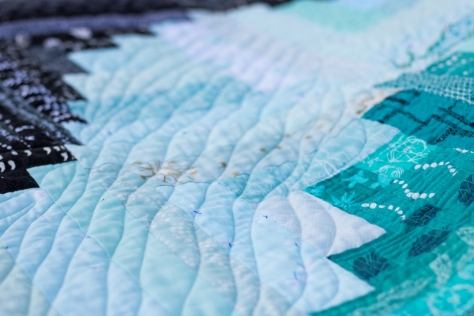 I used my go-to 50wt 2600-Dove to quilt wavy straight lines with my walking foot in the lightest areas, creating a smooth flowing feel.
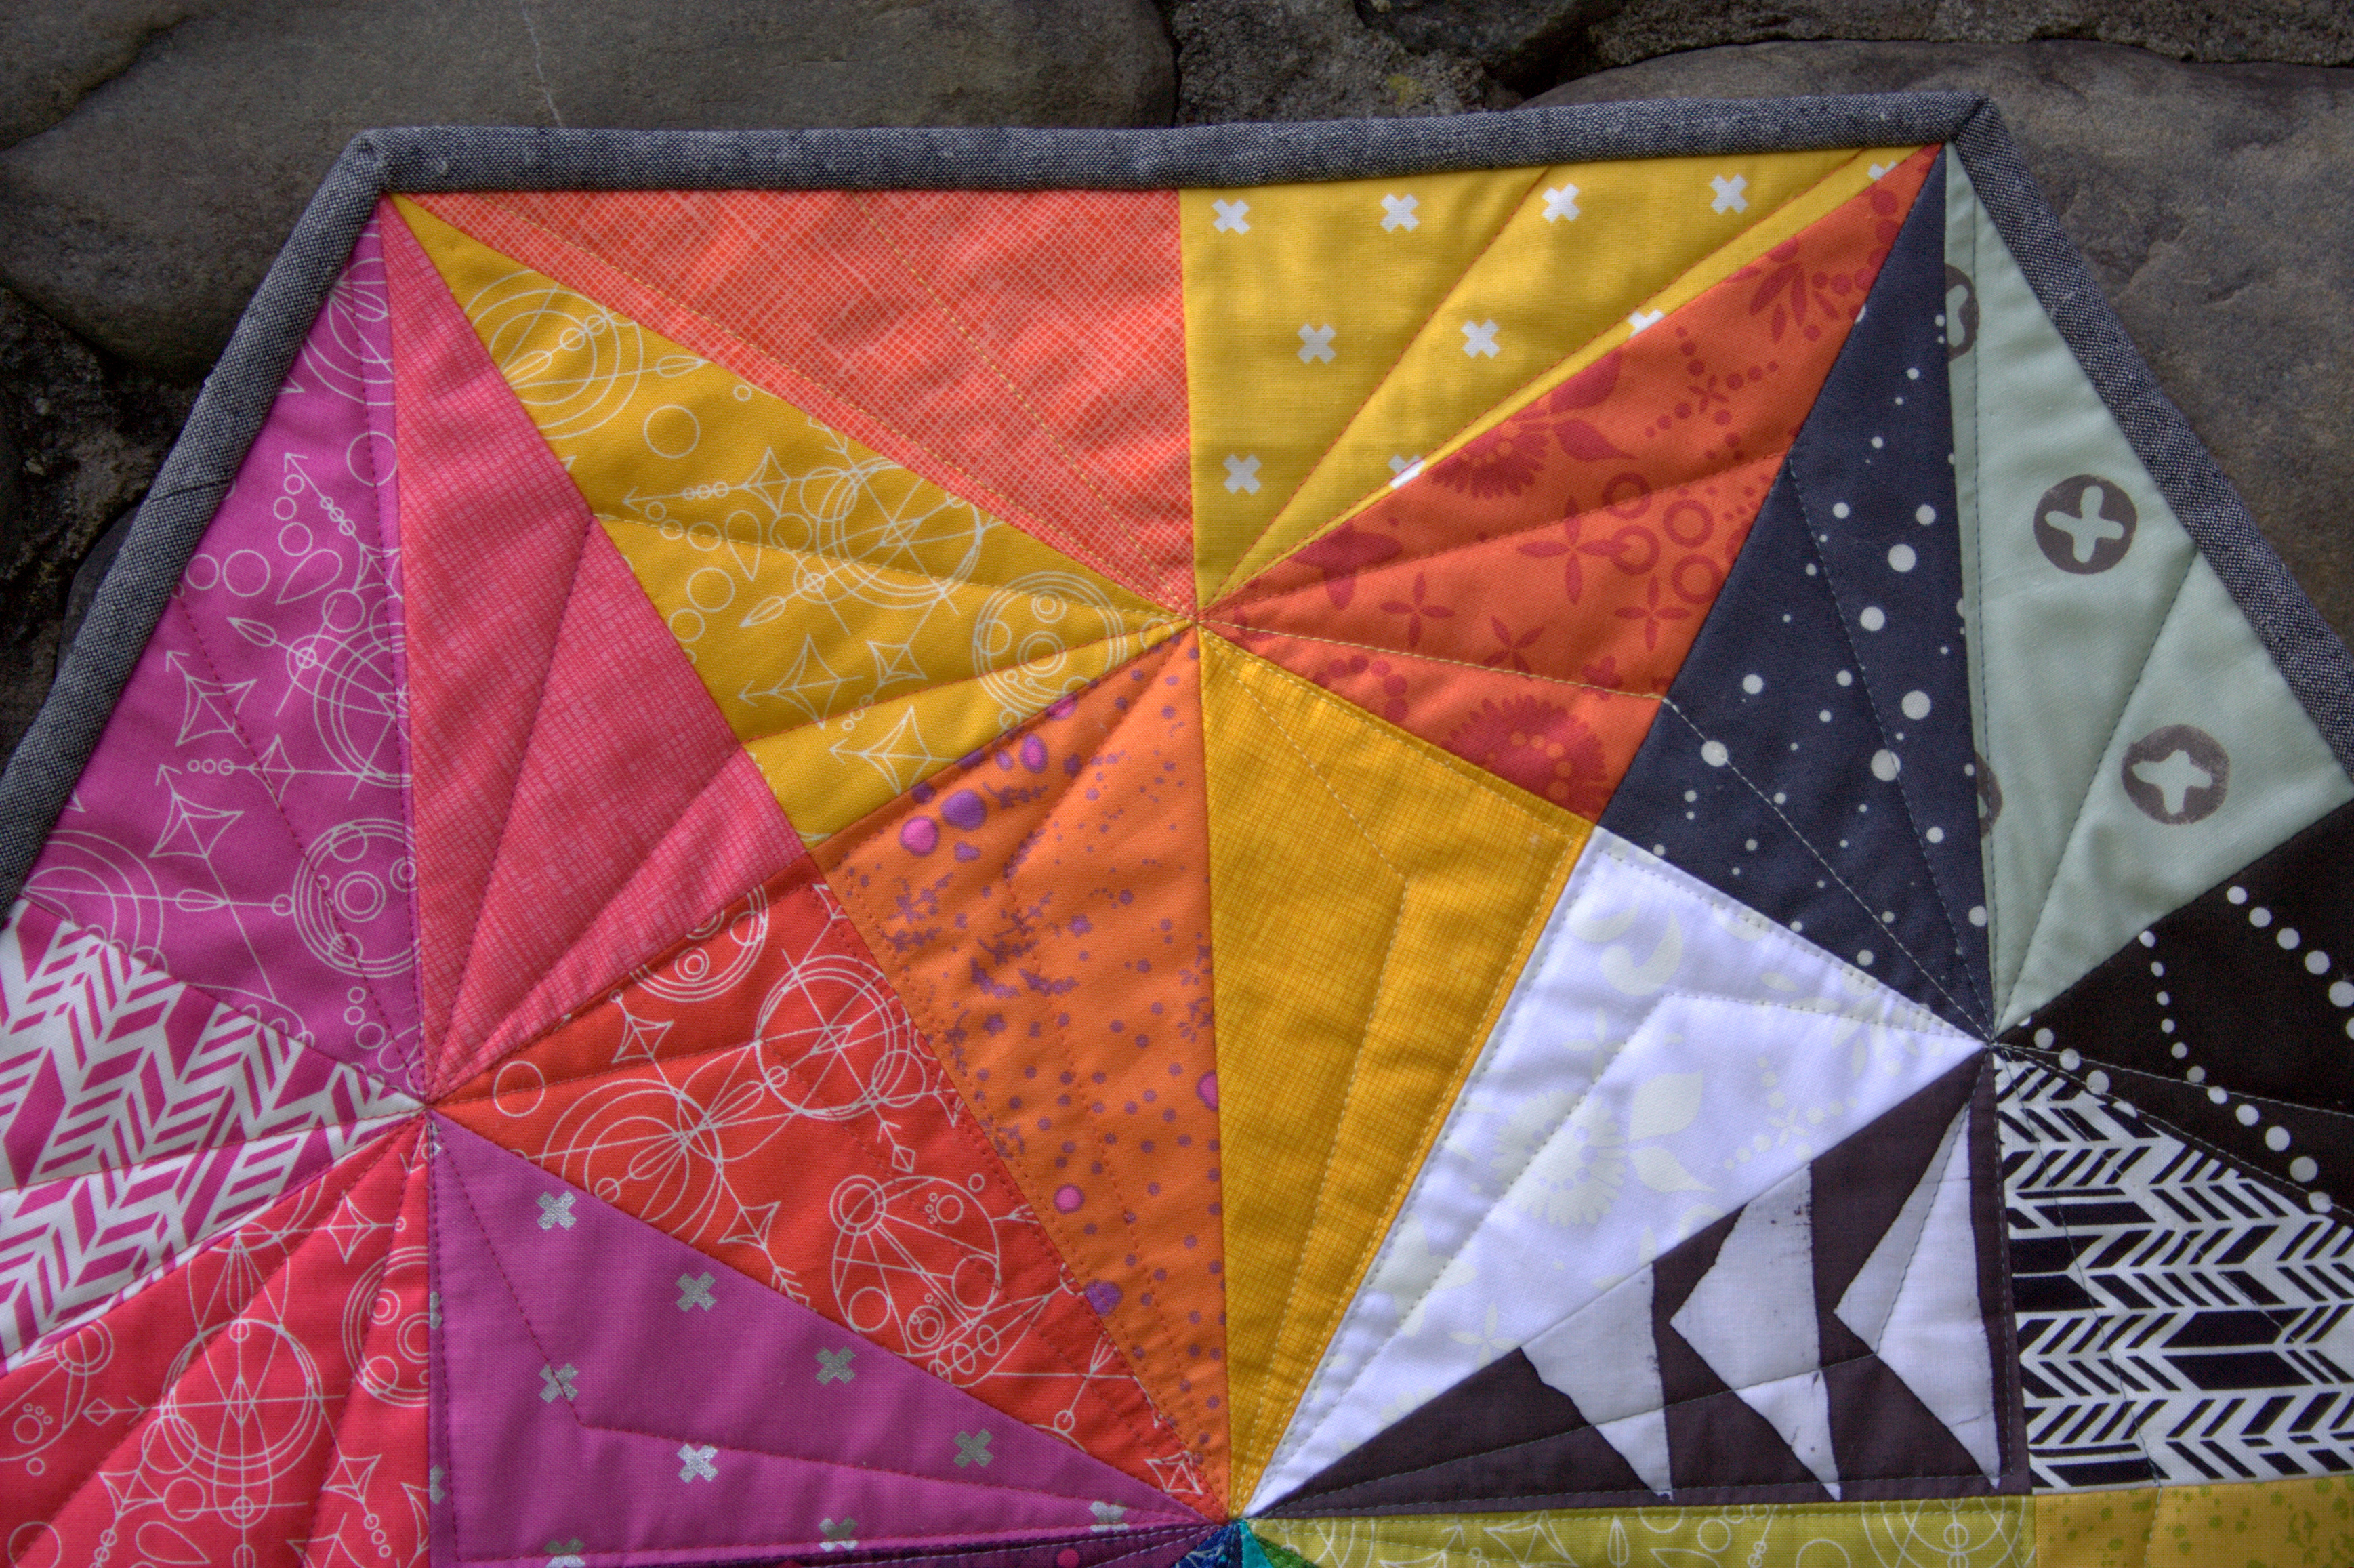
 Then I used 50wt 2692-Black to stitch nearly in the ditch, tracing the seam lines in the black log cabin section. This helps define the log cabins while emphasizing their boxy nature. I like the way the squared quilting in the darker sections plays with the smooth flow of the quilting in the lighter section. I certainly need to practice my free motion quilting more, but I’m happy with this quilt finish!
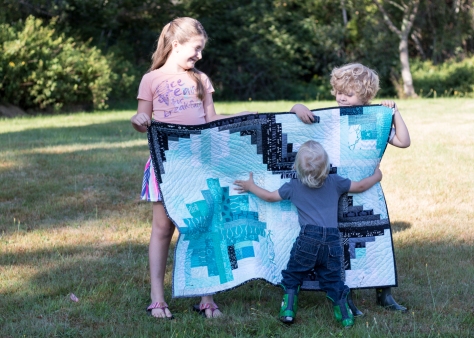
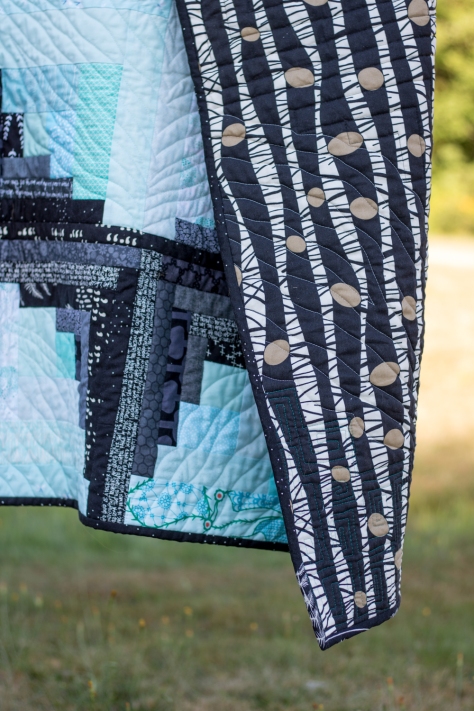 I opted for the Stoff fabric that looks like birch trees as the backing, and honestly until writing this post, I forgot that I had mentally decided on the *other* fabric I bought back when Finn was 10 months old! Oh well, the birch trees look lovely, too!
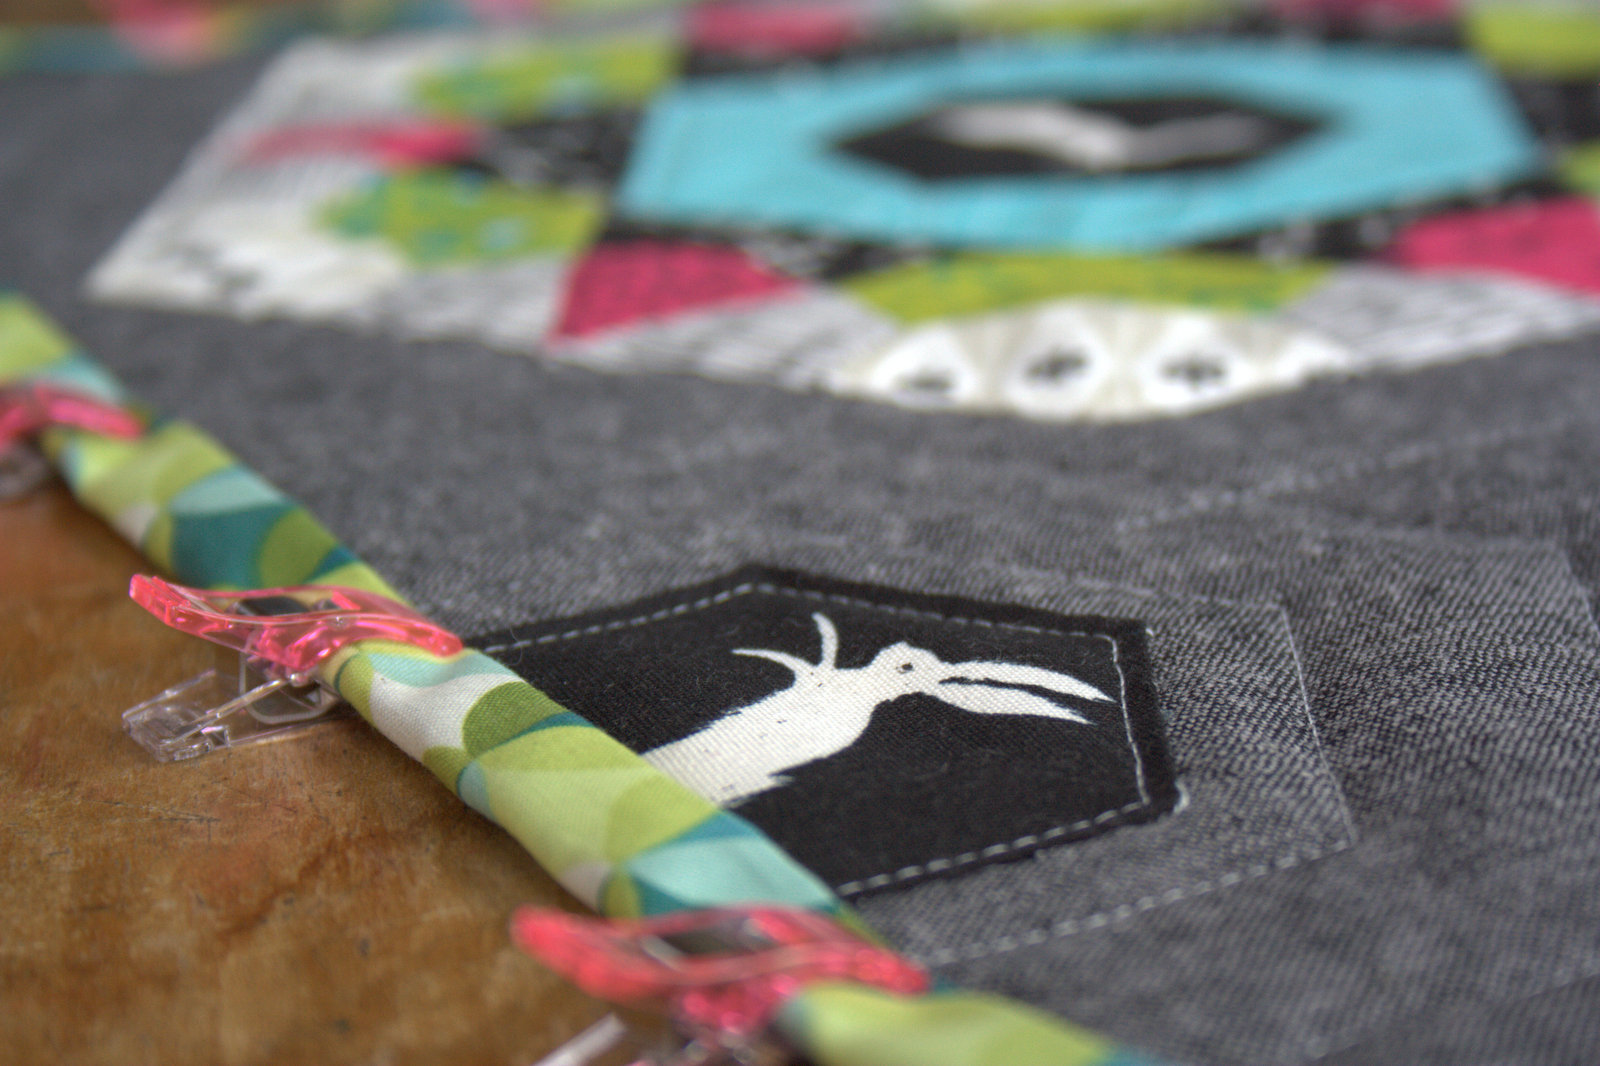
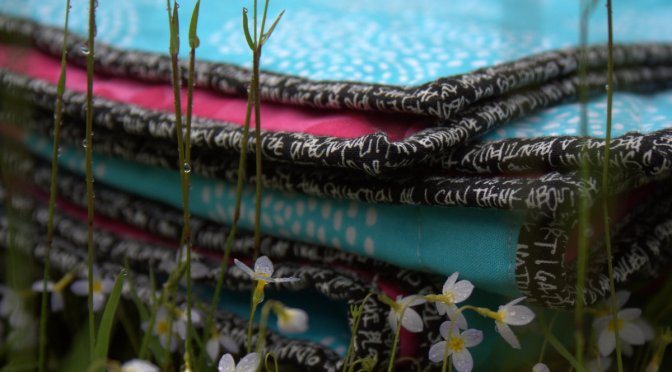
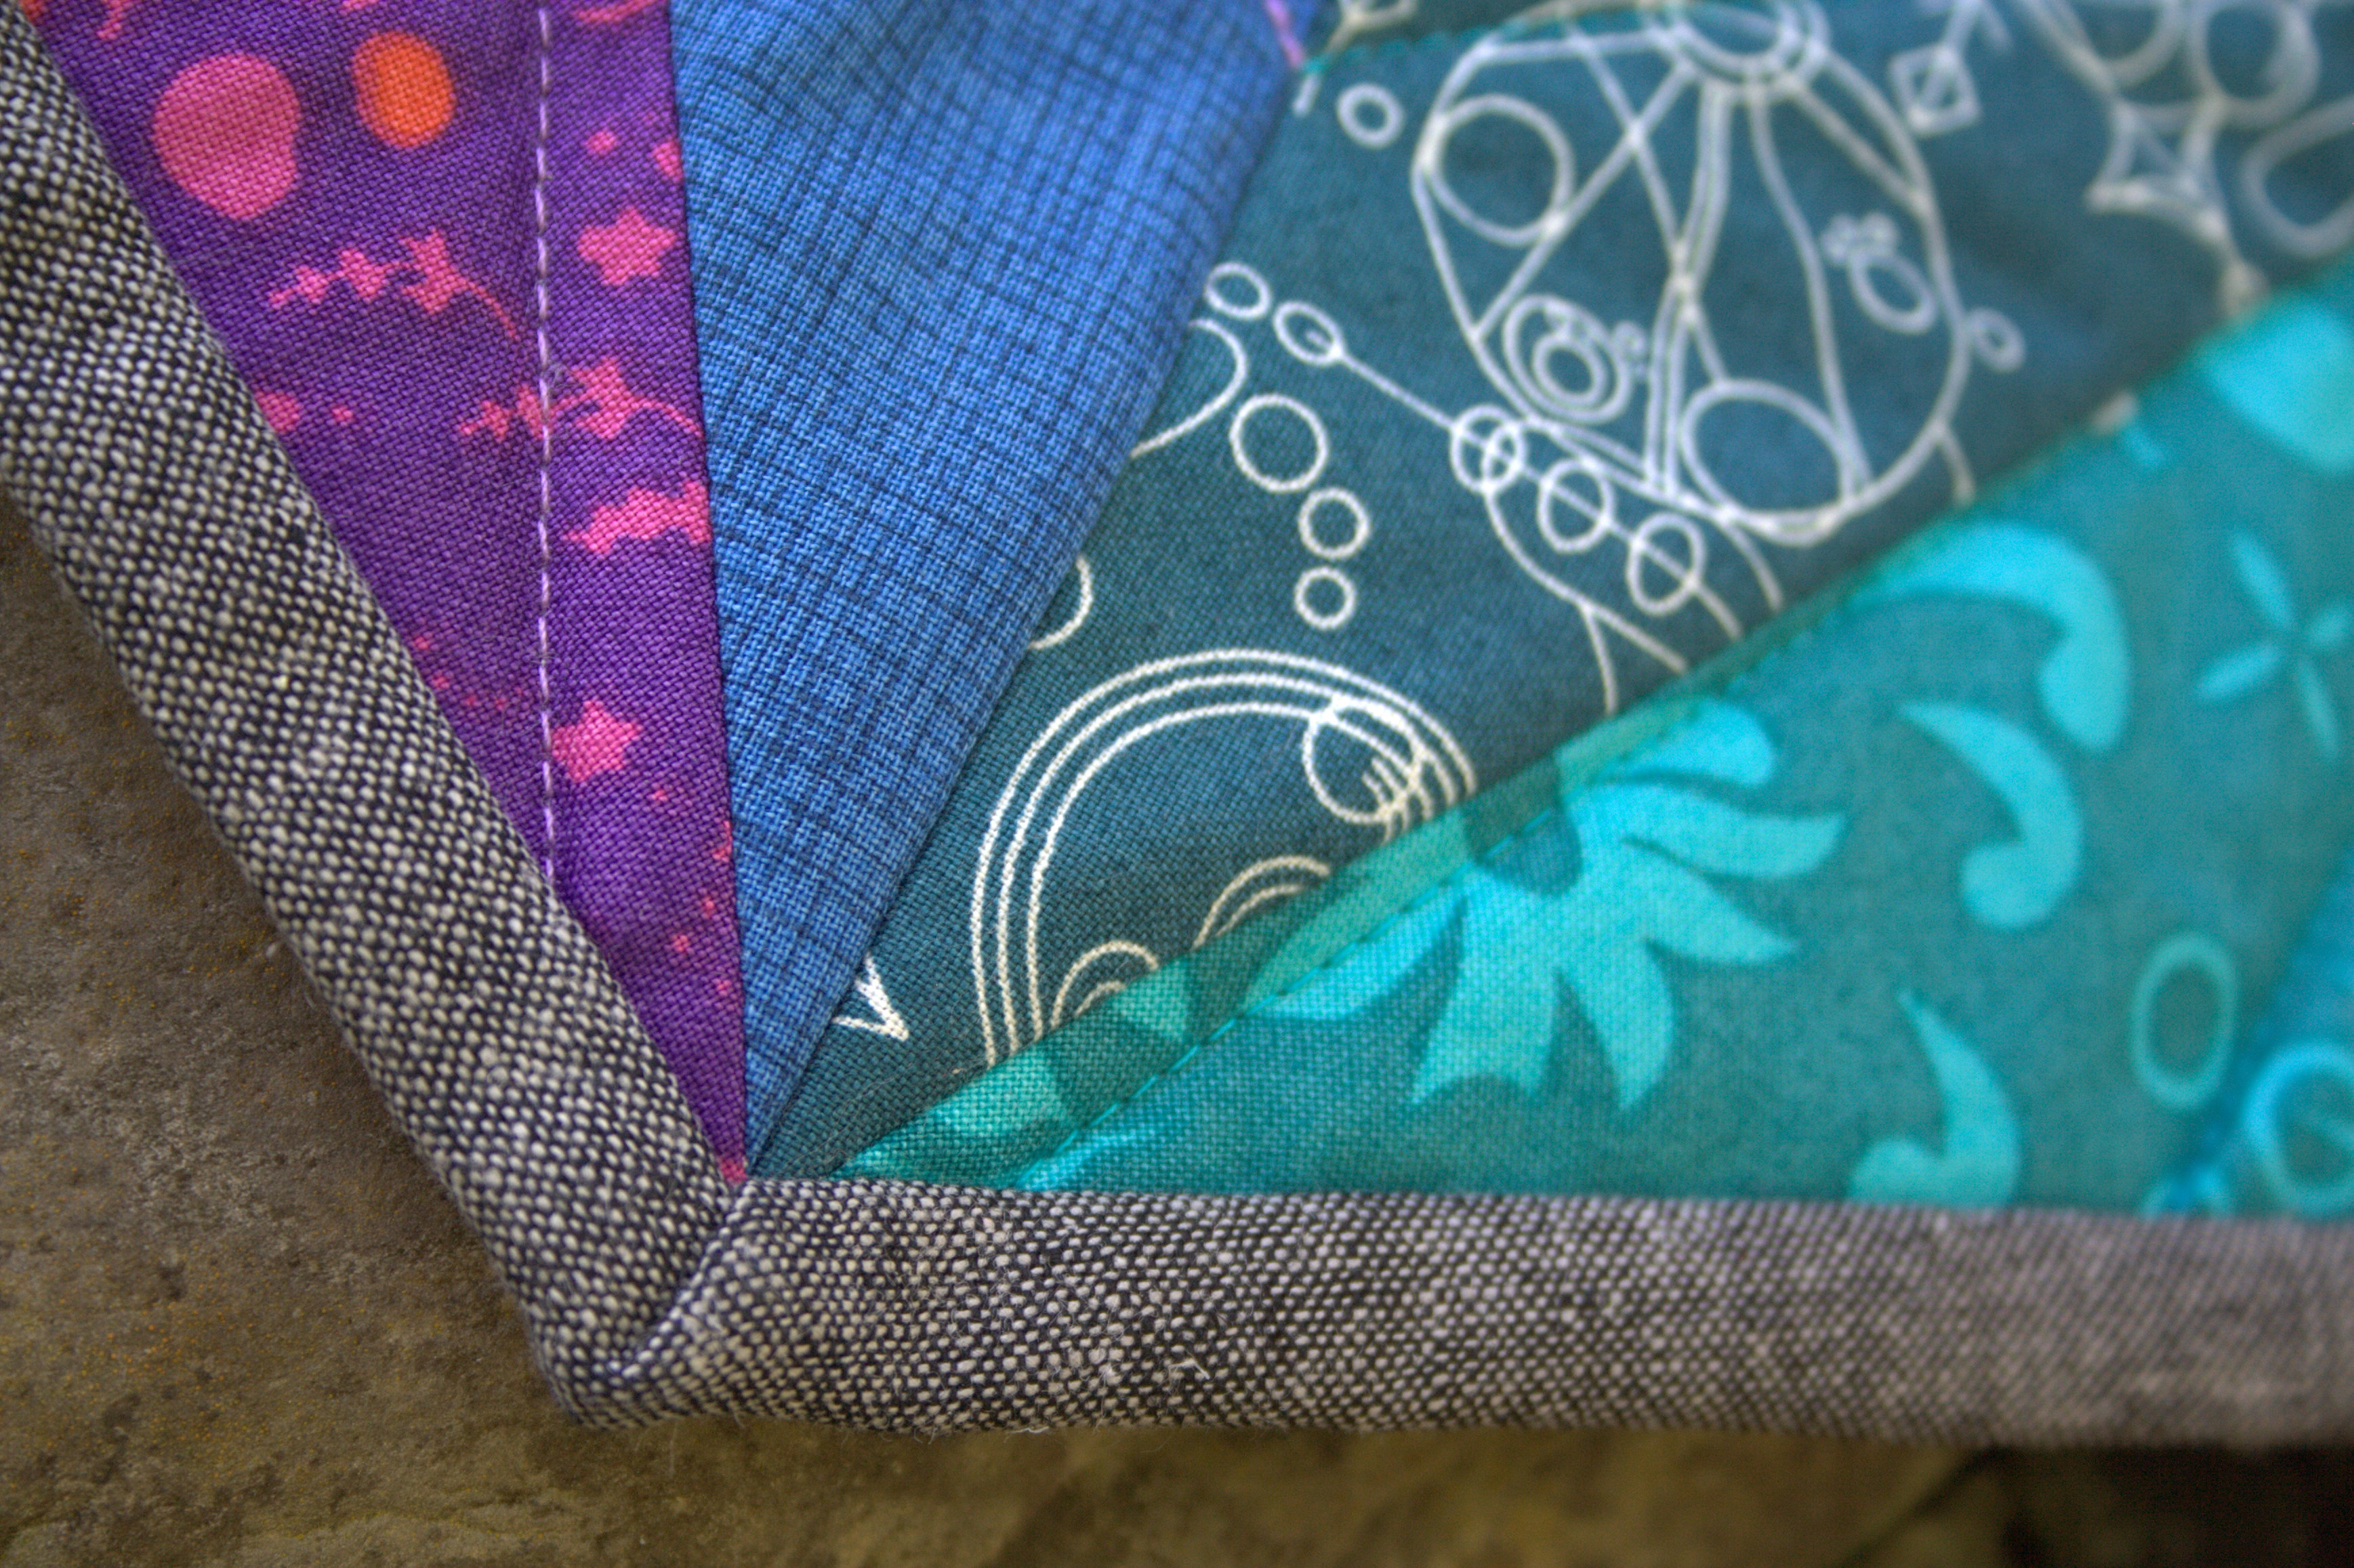
 I used a scrappy binding, perhaps for the first time, using up some of my black and dark grey strip scraps. I machine stitched the binding to the front of the quilt, and then hand stitched it to the back with 50wt black Aurifil thread. Normally, for a baby quilt I would machine stitch the binding completely, but I wanted some extra time to reflect on the making of this quilt, and stitch my love into it just a tiny bit more. Or maybe I’m finish-averse. I haven’t decided yet! Either way, I know that if the binding ever begins to fall off, I know just how to fix it, so no worries! I think it will be nice and secure.
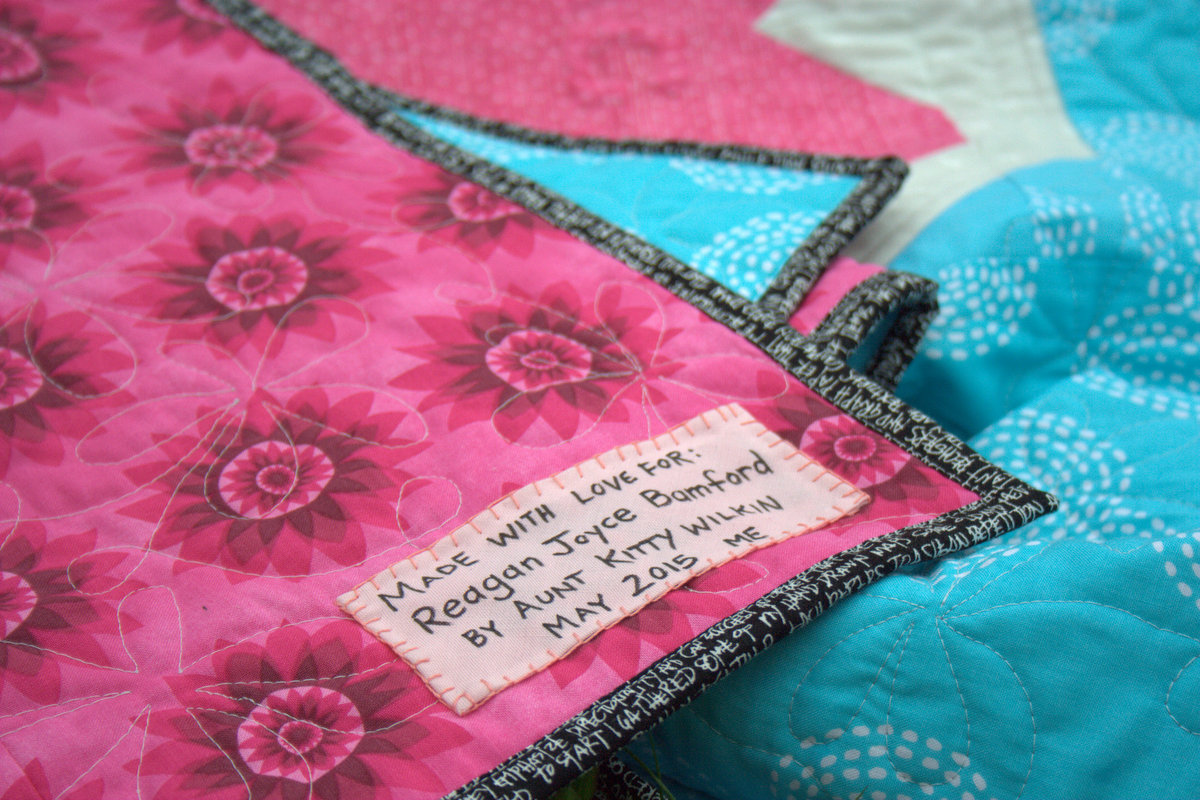
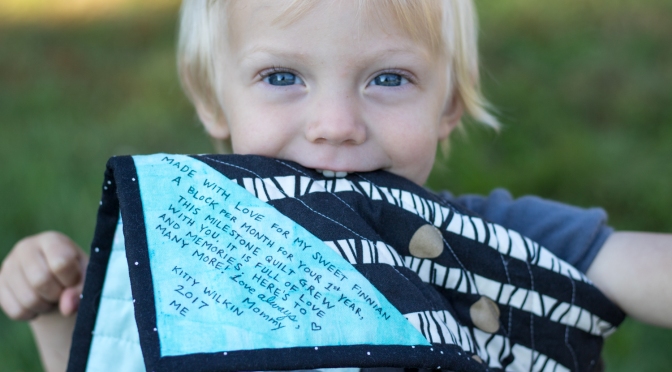
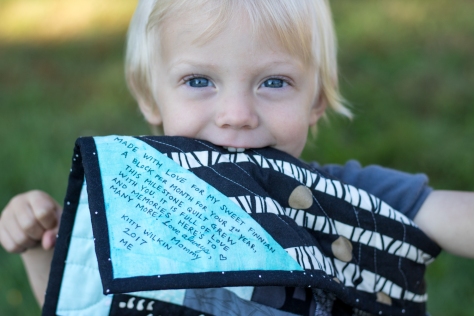 I hand wrote a label and stitched it down with the binding on one of the back corners. Doesn’t it look delicious? For as easy as labels normally come to me, this one was tough. I wanted to write more than the usual “Made for x, by y, date, location” but also didn’t want to write a novel. I definitely could have written a novel. This will have to do. My love is there. My silly boy clearly knows it! (Click the photo above to see a larger version for easier reading).
 So, thus ends the era. The exciting, fun, endearing, and so sentimental Milestone Quilt project has officially come to an end. Finn will continue to grow, quilts will continue to be made, but I can’t help but be more than a little sad that this project is finished. Next up: I hope to create a photo book with all of the progress photos and growth updates. One more way to drag this project out juuuuust a little bit longer! I will also be lecturing about this and other quilts to mark milestones at QuiltCon 2018 in Pasadena, so please come have a listen if you are attending QuiltCon!
I also started another version of a milestone quilt in my Summer Adventure Quilt, about which I’ll share more updates shortly! Just because you don’t have a newborn baby doesn’t mean you can’t create a quilt to document your days!
Thank you so very much for joining in with this fun project, and I hope it has inspired you to find ways to make the creation of a quilt a manageable task even when impossibly busy, and to find ways to document your days through the construction of a quilt. Here’s to the next fun adventure!
For direct links to each of the monthly posts, visit the Milestone Quilt page here. Later in the week, I’ll link up with Let’s Bee Social, Crazy Mom Quilts Finish it up Friday, and TGIFF hosted at Finished or Not Friday since this is a pretty epic finish and I’m excited to finally share it!

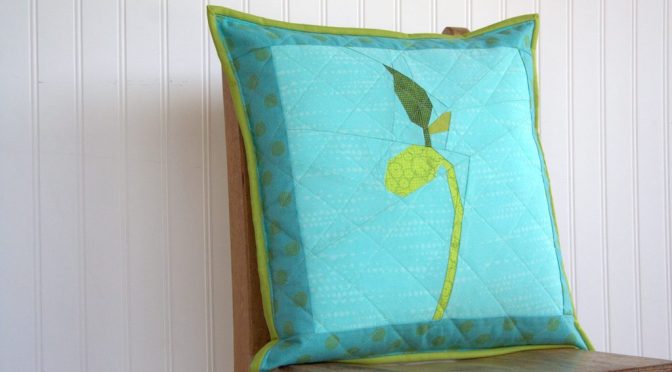
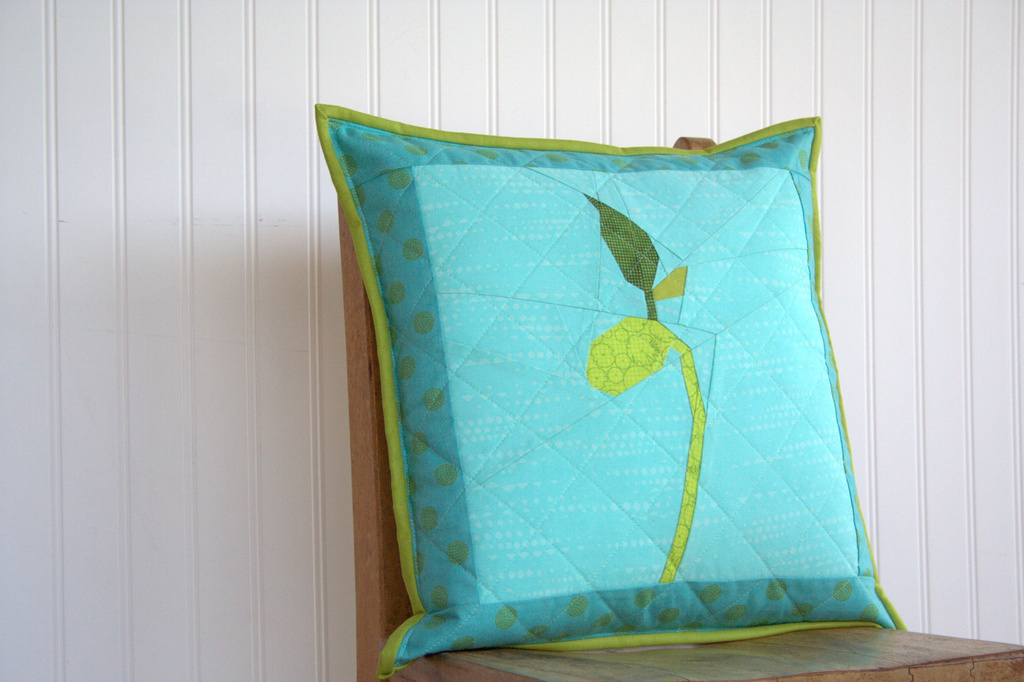
 My husband has been requesting a pillow made with
 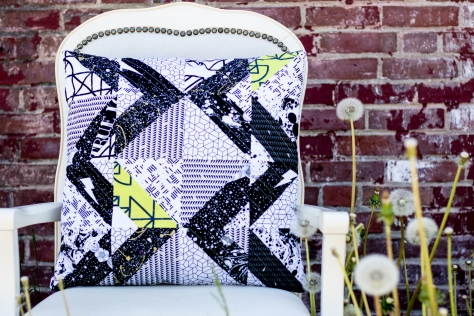 I made 16 quick blocks using the white heavy fabrics and black-heavy fabrics from
 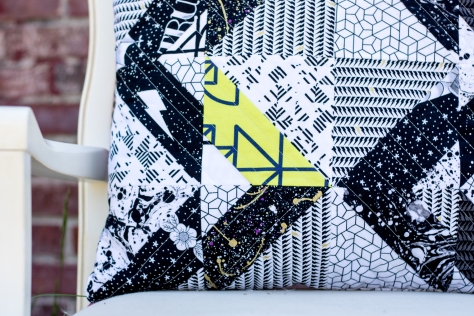 I quilted it with straight lines on my Bernina 560 using my walking foot and 50wt
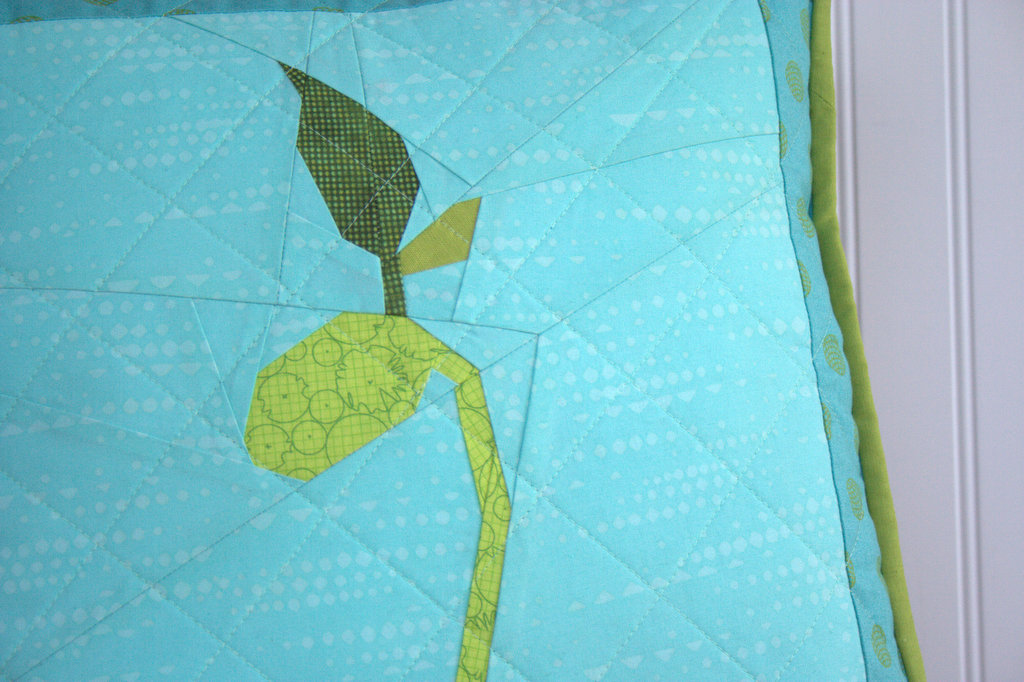
 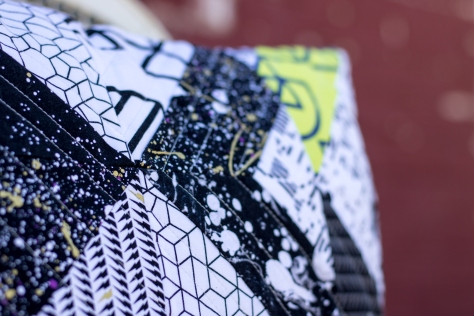 I threw in a few sharp angles to help keep the edge, and staggered the distances between lines for some fun.
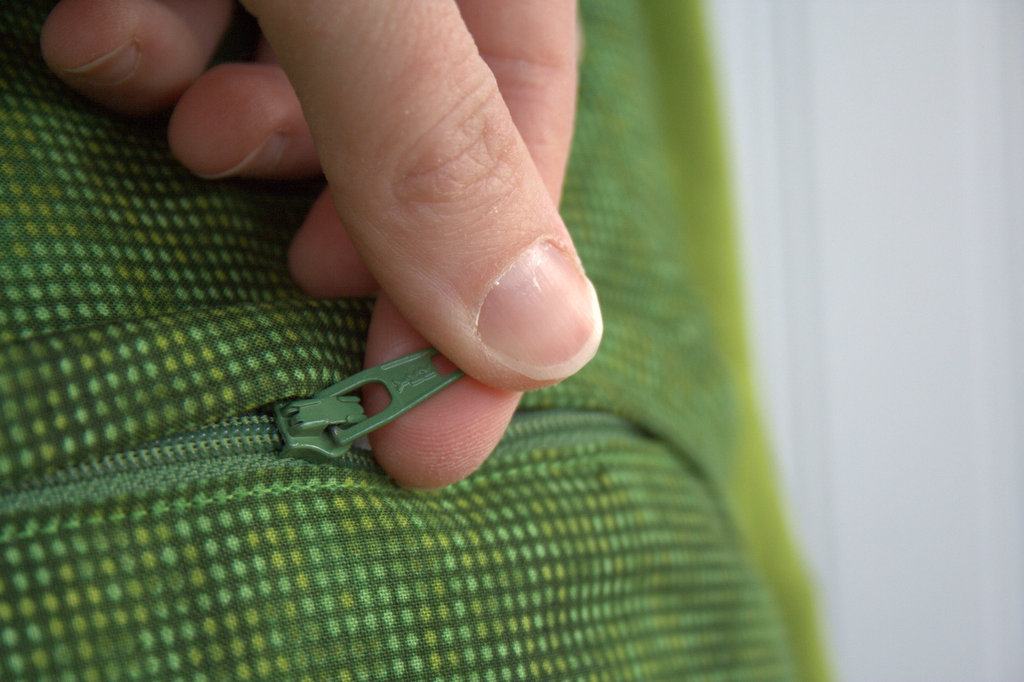
 I used the large scale Wound Up in Bright for the pillow backing, and closed it with my first ever side-seam zipper.
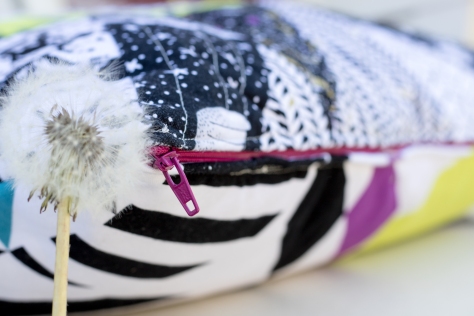 I love how this magenta zipper I had on hand coordinates with the pink from the Wound Up print. Perrrrfect. I do need quite a bit of practice with sewing zippers, but we won’t focus on the wobbles and such. The pillow was well received and lives happily on our couch. Now I just need to make about 5 more to cover the rest of our *cough-cough-ugly-cough* couch pillows, and then redo our living room decor to match our more modern design aesthetic. All in good time, right? (haha laugh with me here).
 I did enjoy making this pillow, though, and I’m happy I can finally say I’ve sewn something for my husband. Today is our 10th wedding anniversary, too, so it seems fitting that I share this true love pillow gift!
 The first spot that seemed like it could potentially work was the shaded side of a cafe. The dark blue-grey surface first attracted my attention, and the fact that it was in full shade was a big plus. However, it seemed flat. Above you can see try #1. I did a full photo shoot here, just in case I didn’t find anything better. Fortunately my nearly 5 year old son was asleep in the car, and my 2 year old was content to watch from his carseat. After the shoot, I drove around a bit more seeing if I could find a better spot.
 The second spot I tried was a rusted metal shed in a back parking lot, which I spied while turning around to get back to the main road after my first attempt. This was a bit more of the urban feel I was looking for, but still a bit flat. A bit of graffiti or added interest would have made this potentially a winner, but still, I felt there had to be a better spot. While running back and forth from the shed to the trunk of my car, I spotted the back of a red brick building. The big concrete slabs and tall seeded dandelions are what attracted my attention most. Rather than move my car again, I simply carried everything the extra 50 feet to this next, winning location and had at it!
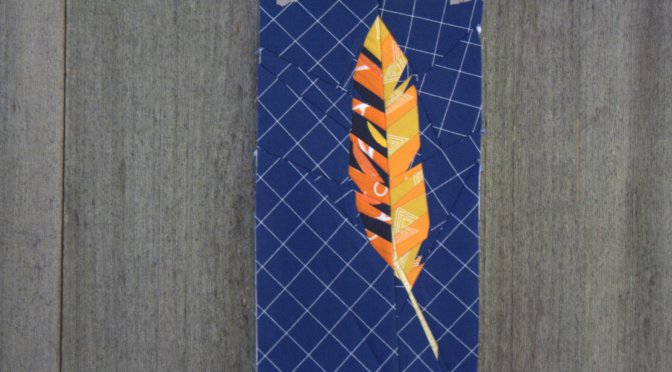
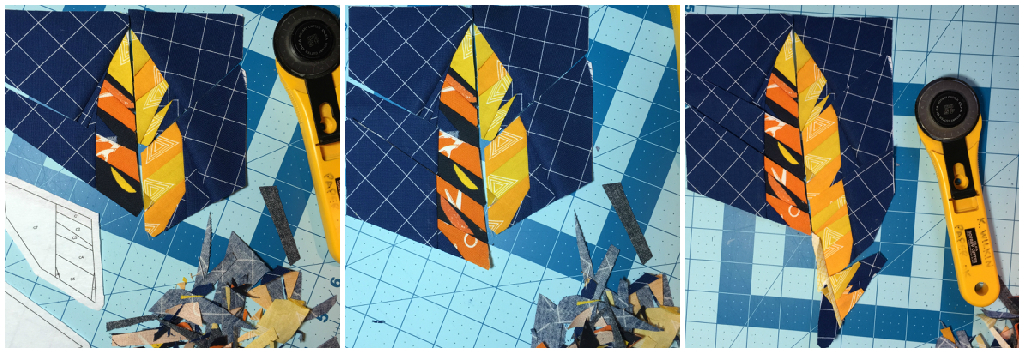
 I made this
 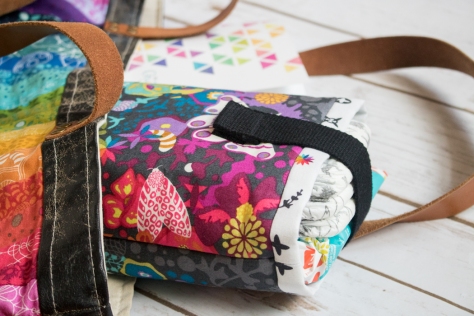 I used my all time favorite
  Of course I had to plan it so that the rainbow star from Artifact was visible right on the top. I should have given myself a tiny bit more space in that seam, but I’m not losing sleep over it. It’s gorgeous anyway!
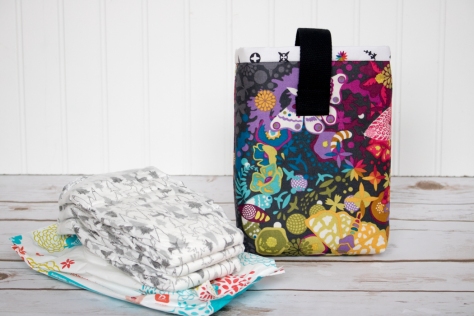
 Now instead of having a purse filled with diapers and wipes floating every which way, I can have a beautiful and function space to store them compactly, not only making the inside of my purse a bit more organized, but also making it easy for me to visually check that I have a diaper for my little one before I head out!
 Since pens are another item I’m often digging for in the chaos within my gorgeous bag, I decided to store two of my favorite micron pens tucked in the corner of the diaper pouch, so that they are easily found when I think of something to add to my
  This pouch also perfectly coordinates with the amazing Alison Glass fabric bag my husband bought me for my birthday last year, made by the ever talented
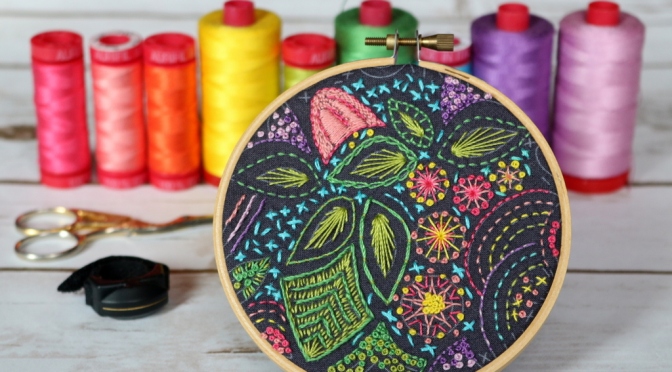
 I’m so happy I obliged, because I just love this little hoop!
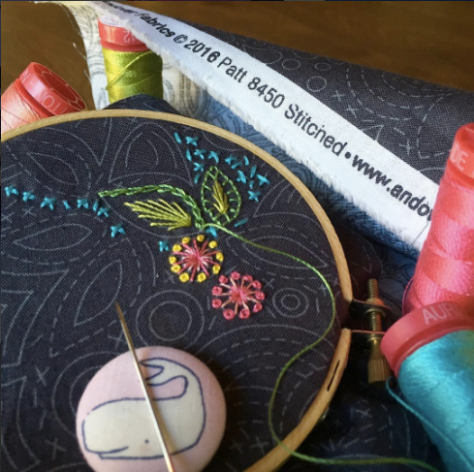
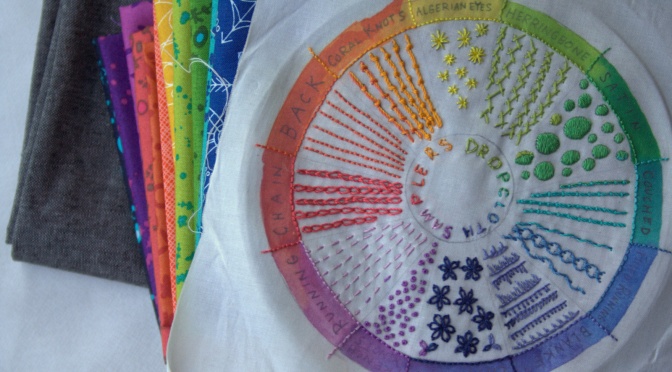
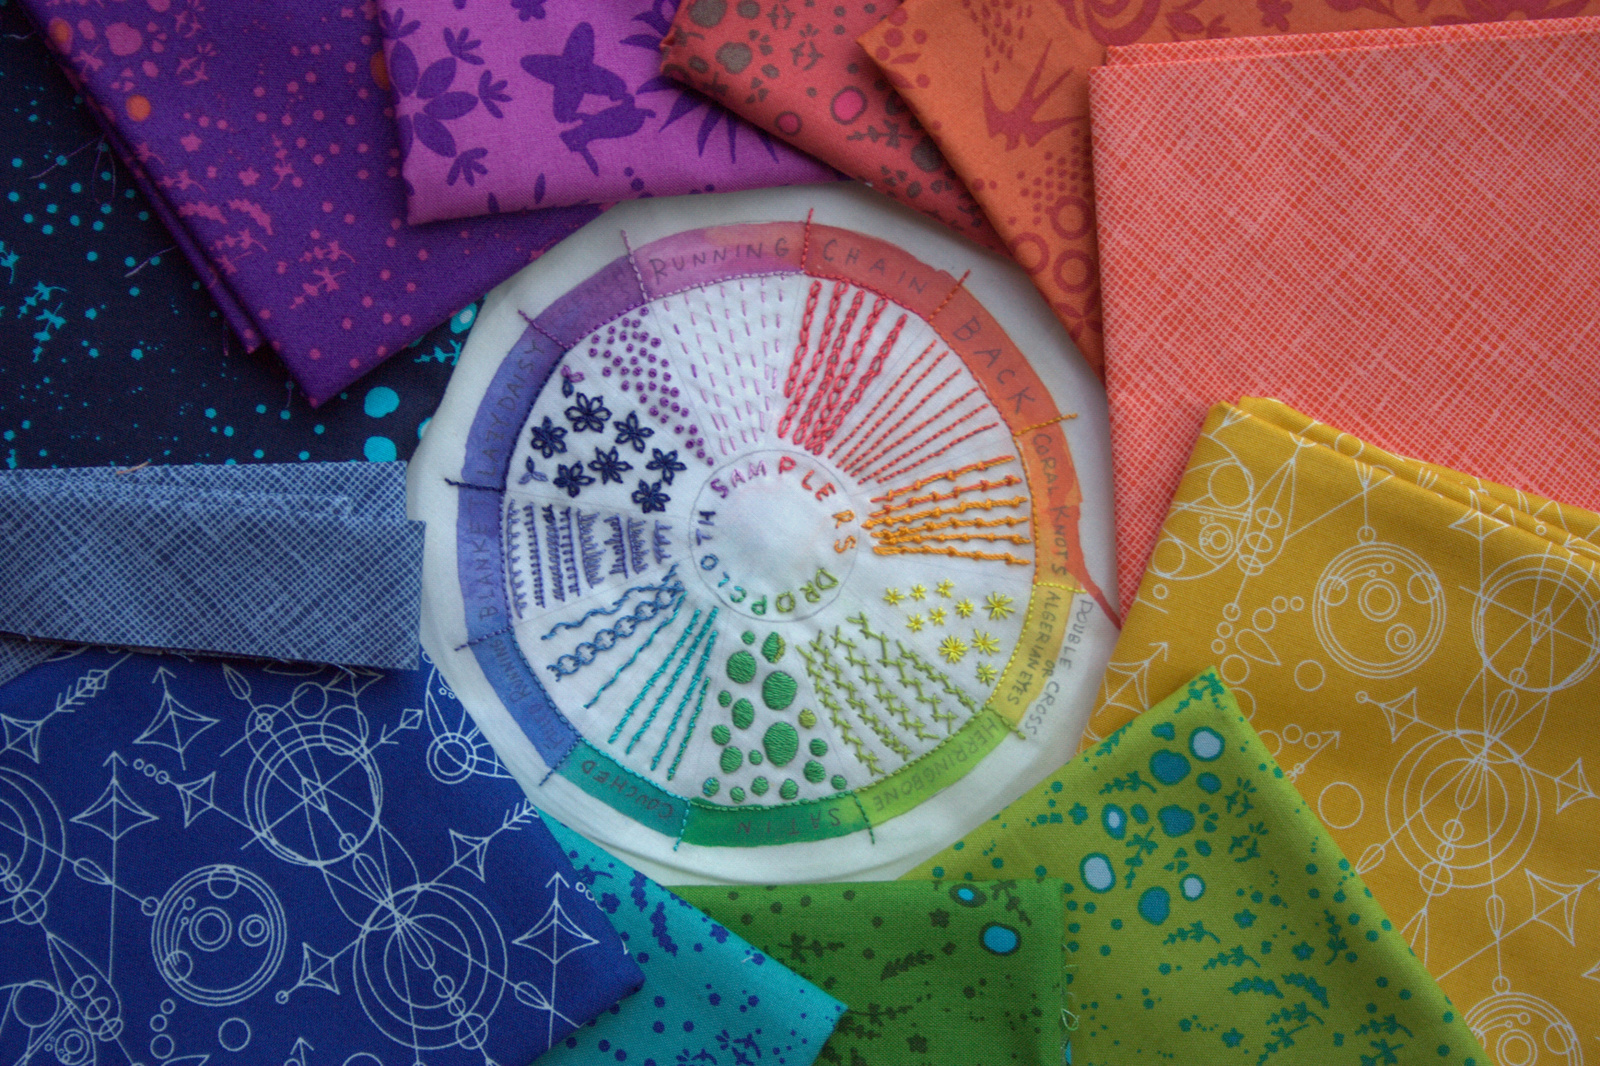
 I stitched whatever I wanted, wherever I wanted, and tried many different stitches.
 I used Aurifil 12wt thread from my stash, in colors (left to right from photo above): 2530-Blossom Pink, 2435-Peachy Pink, mystery orange–the only Aurifil tag that has ever fallen off a spool!, 2120-Canary, 1147-Light Leaf Green, 2884-Green Yellow, 5005-Medium Turquoise, 2540-Medium Lavender, and 2515-Light Orchid. I used a single strand for all except the turquoise x’s, for which I use two strands. If I were to do it again, I would probably stick with a single strand since I love the crisp aesthetic that results.
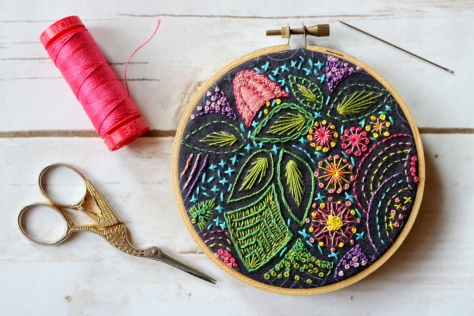
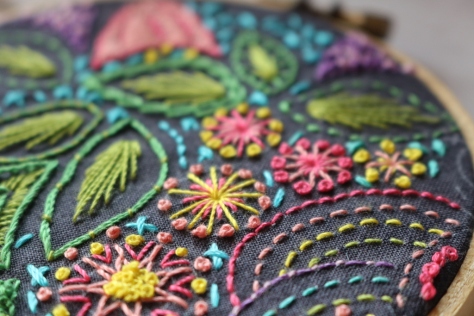
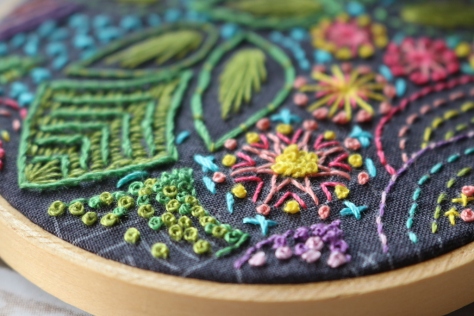 Toward the end, I went a little crazy with french knots, but I do love them so and they make a great “filler” around the edges.
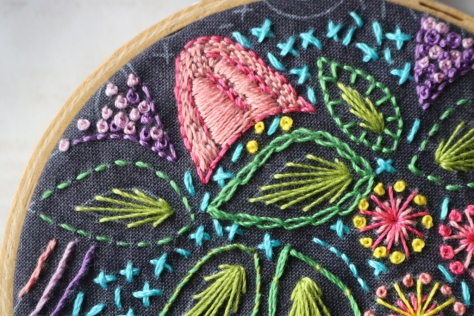 Since the pattern is printed on the fabric, there was no actual end, so it was up to me to decide how close to the edges to stitch. At first I thought I’d leave a bit open, but I just couldn’t stop stitching. As it is, most stitches extend to the absolute edge of the hoop. I kind of love it.
 I finished it using the methods (minus the plan-ahead phase, since I didn’t plan ahead lol) shared in