Welcome to the final–yes, the very last!!!–block tutorial for the 1930 Farmer’s Wife Sew Along, hosted by Angie at Gnome Angel and sponsored by Fat Quarter Shop and Marti Michell. If you’ve made it this far and have completed all of the blocks, congratulations!! You have finished quite an amazing accomplishment! If you haven’t completed all of the blocks but are still following along, bravo to you as well! And welcome to the club 😀
 Since at this point in this Sew Along, I’m sure there are hardly any techniques or block approaches that need additional guidance, I decided, with the approval of Angie, to approach this tutorial a little differently. Today my tutorial will focus on “what next?” Now that this epic sew along is officially complete and you may or may not have all 99 of the blocks sewn, I will reflect on and share a few different approaches you might want to take.
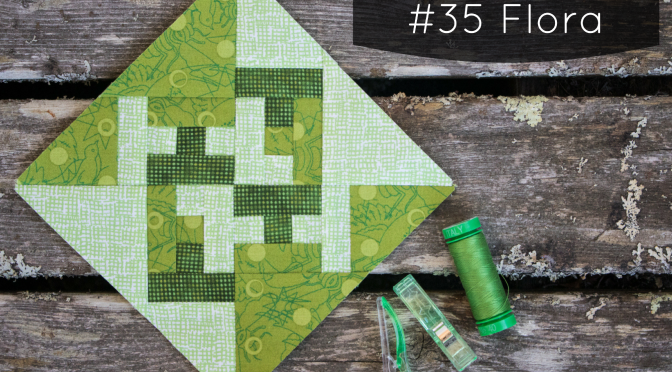
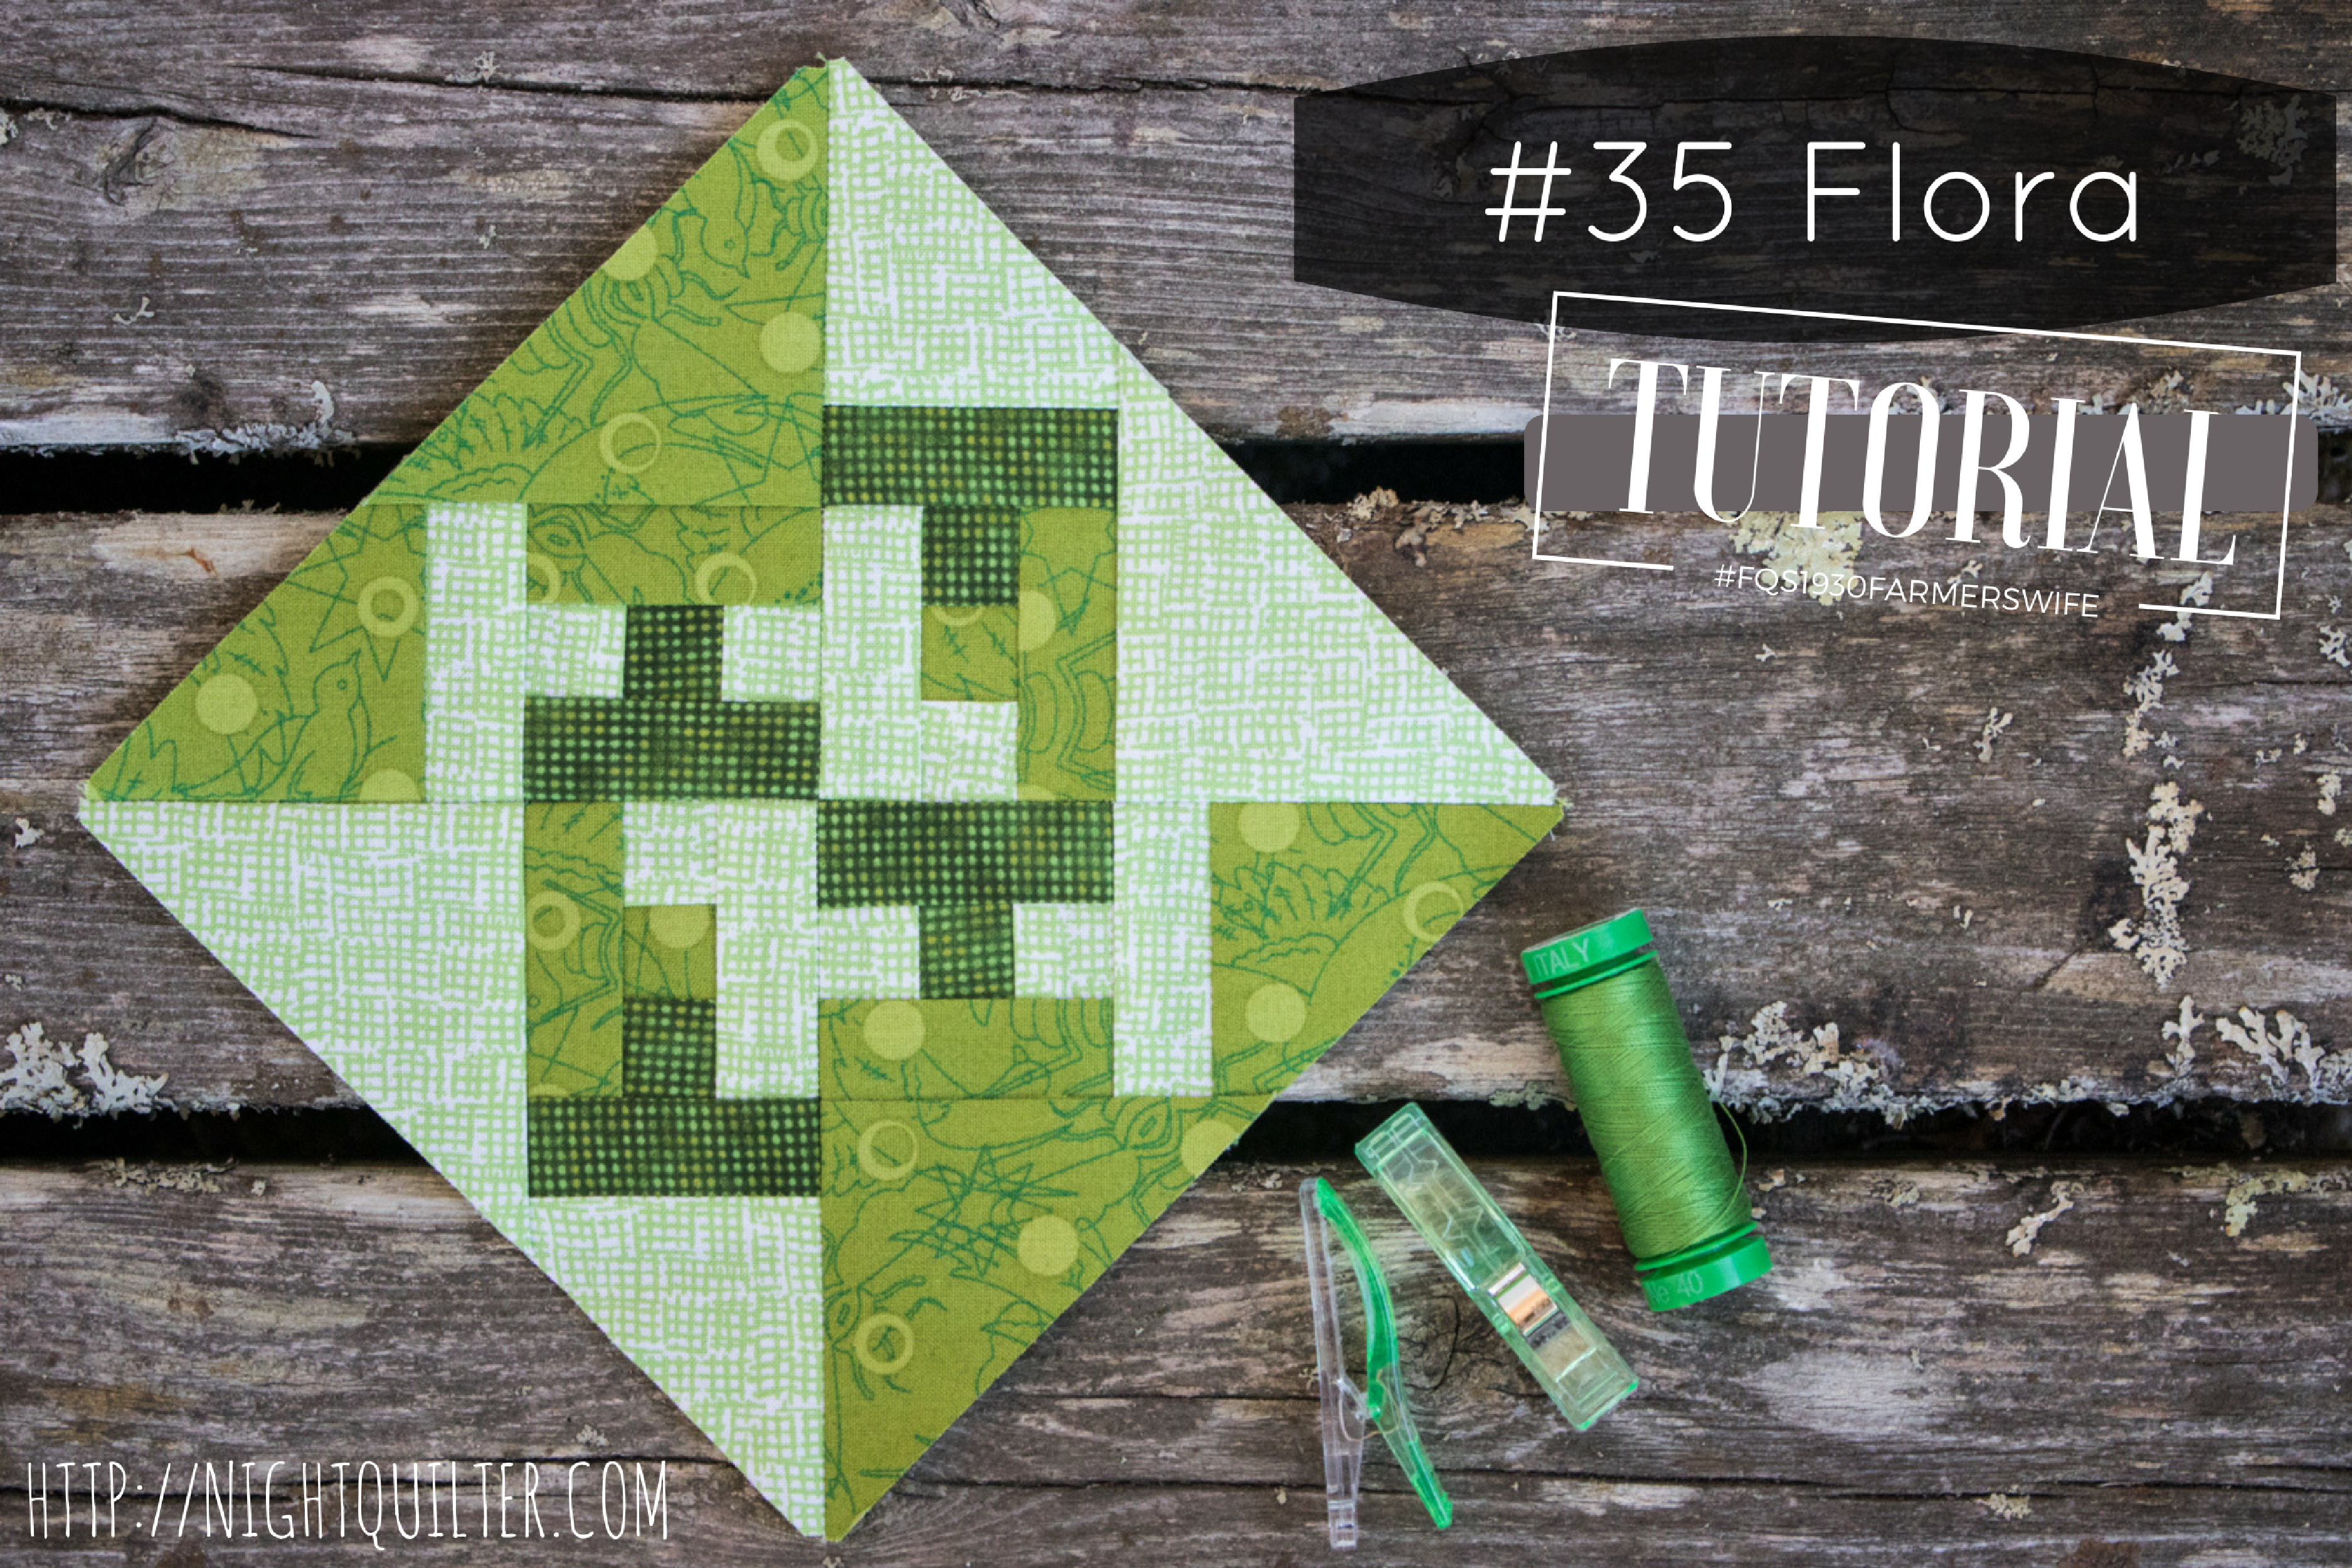
Tips for Foundation Paper Piecing Flora
First, let’s get Flora’s construction covered. I foundation paper pieced my block, so for those of you who do not know how to foundation paper piece, visit my Basic Foundation Paper Piecing tutorial here, as well as the Foundation Paper Piecing tutorial guest post I wrote for the Andover Fabrics blog. Trust me, it is a technique worth practicing and mastering, since it opens a whole new world of sewing possibility!
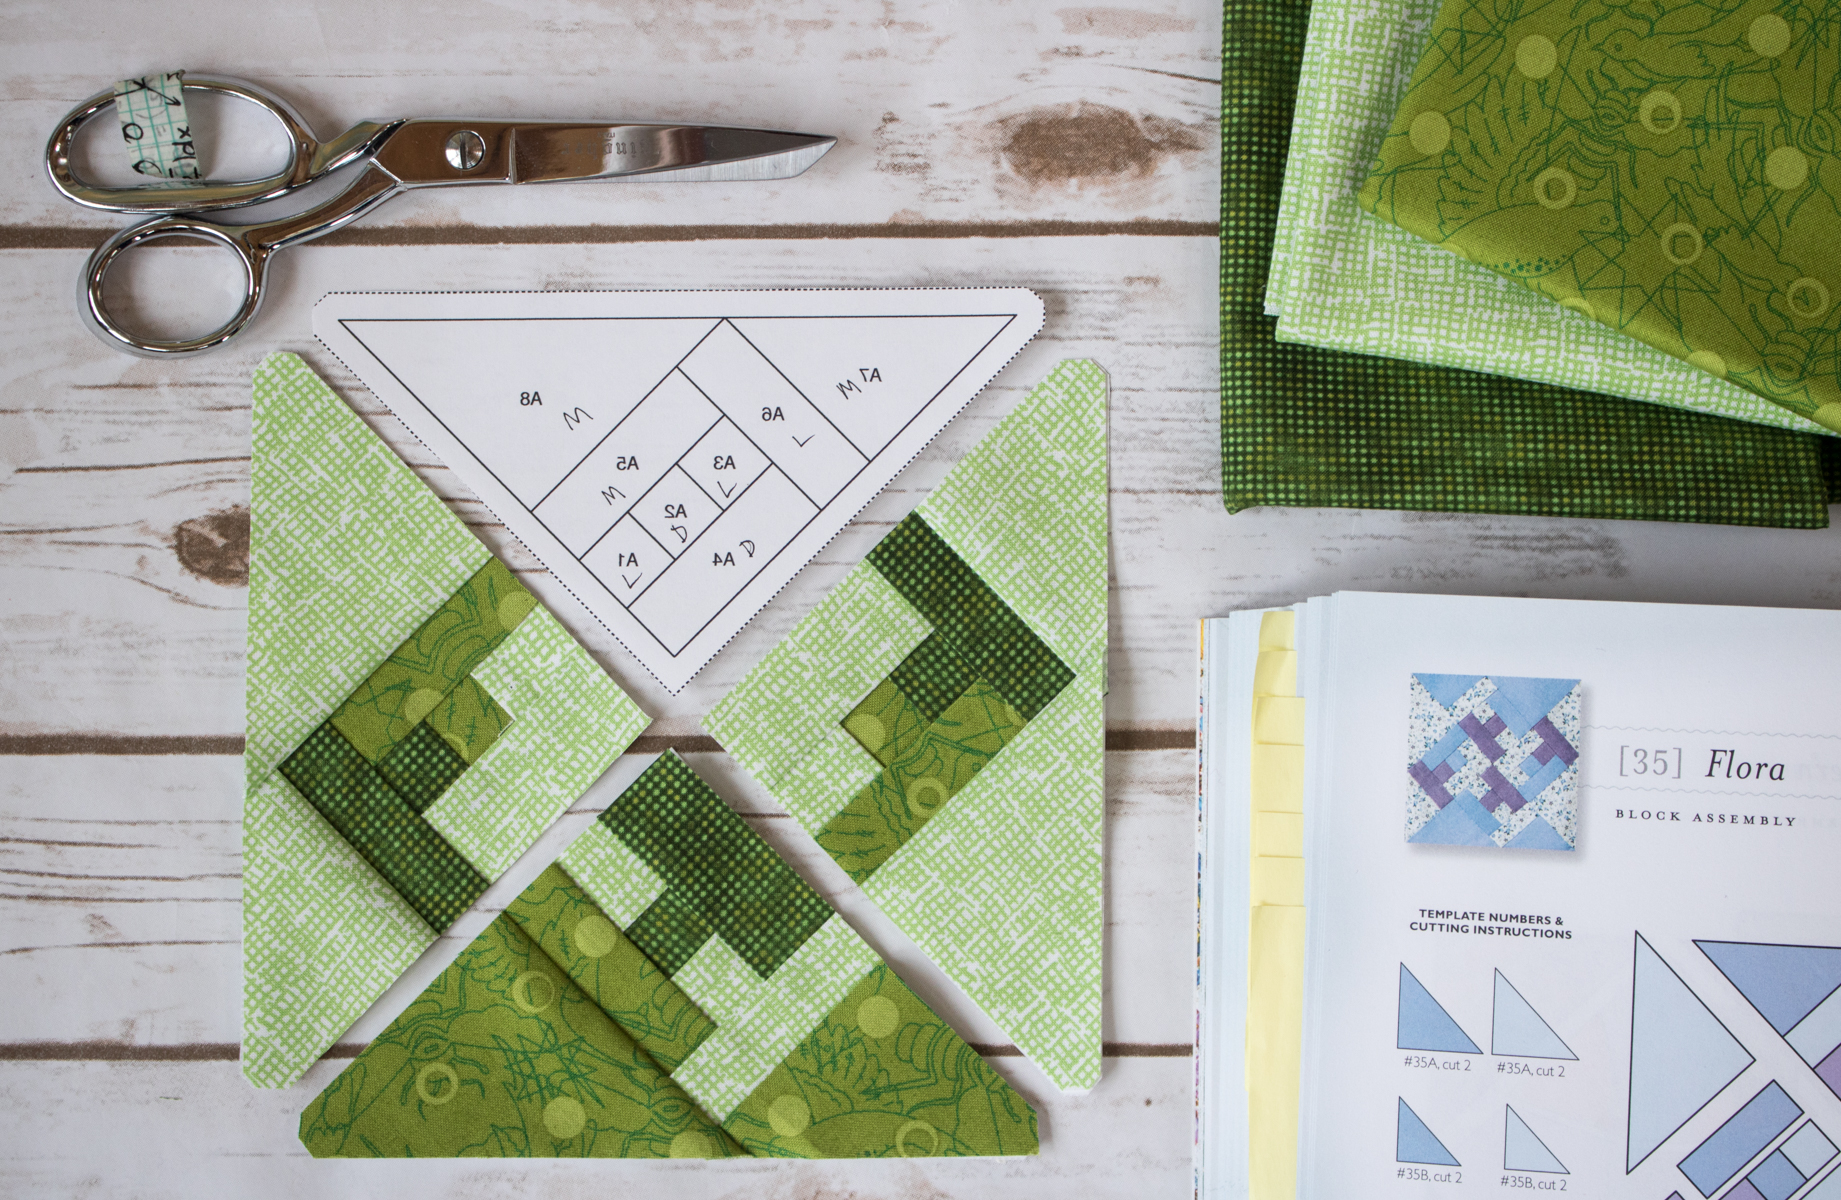 Since this block is not symmetrical, I printed a mirror image of the templates to help ensure I matched the color placement to that in the book. I selected simple dark, medium, and light green fabrics and carefully marked each piece of the template with a D (dark), M (medium), or L (light) before sewing so that once I had my fabric bits cut, I could chain piece the templates without too much thought. Those two preparatory steps (printing mirror image templates & marking each section of the templates) helped make the actual stitching of this block quick and smooth.
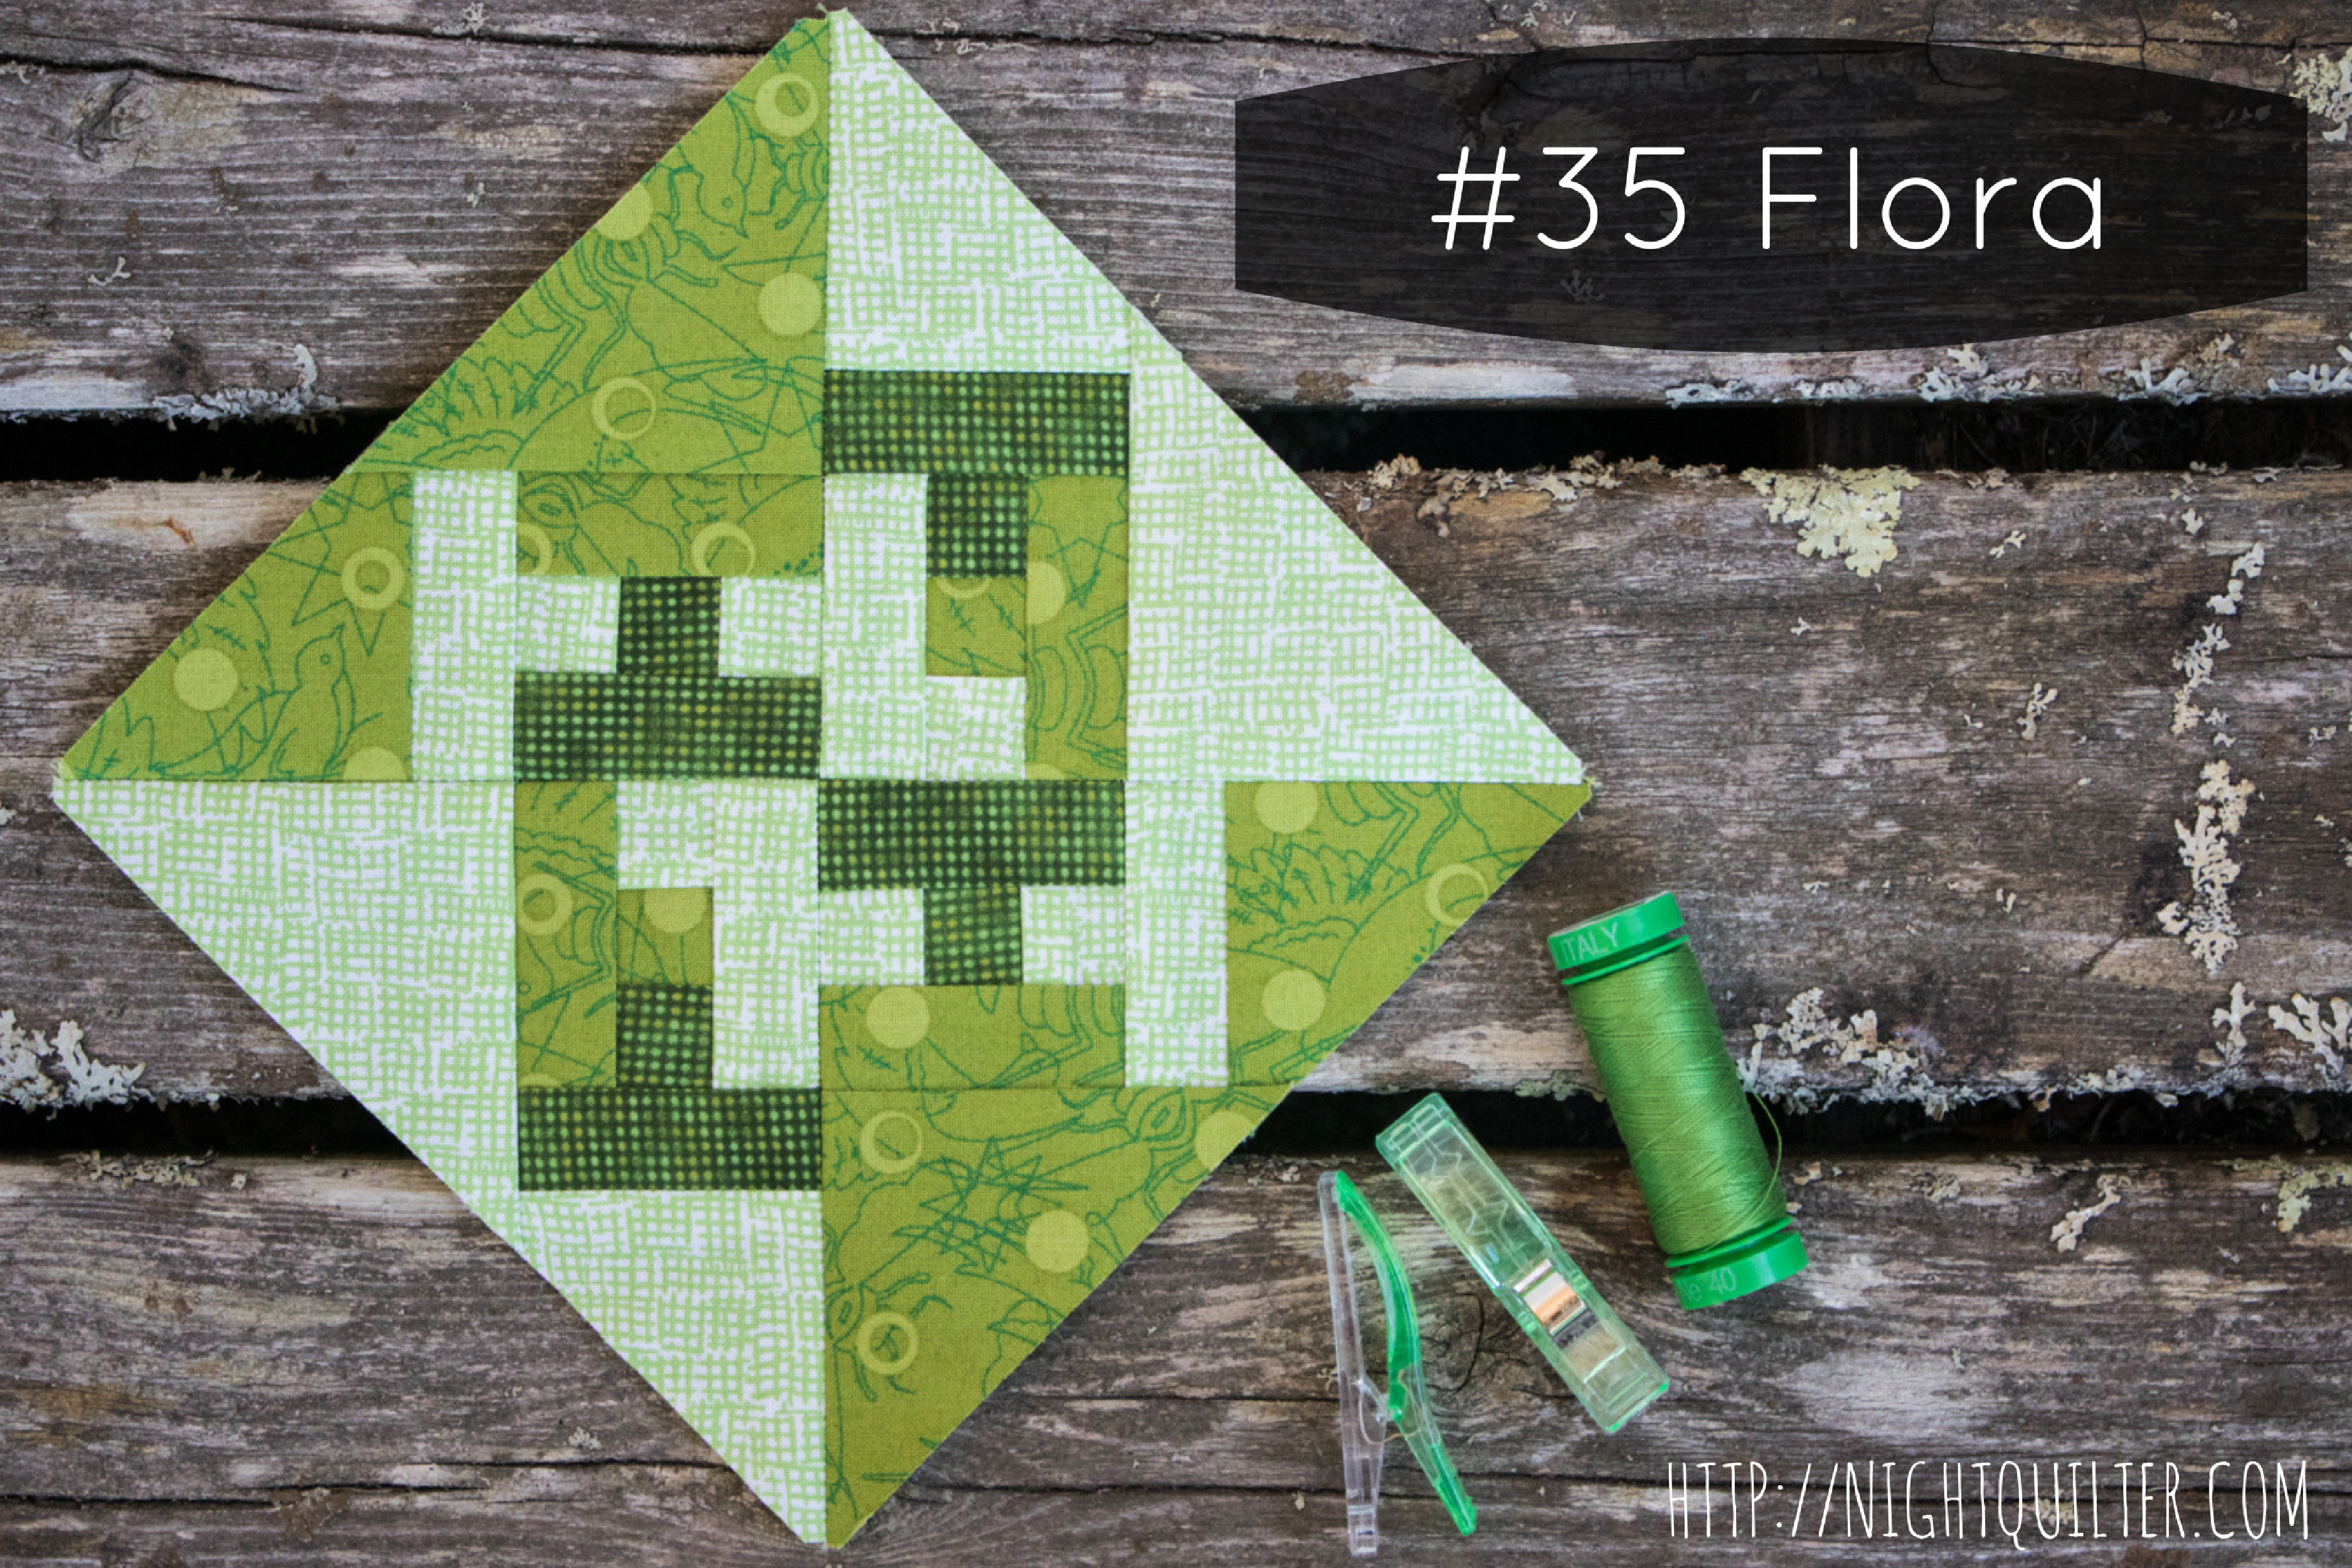 The final block has been sewn! Congratulations! So now what….?
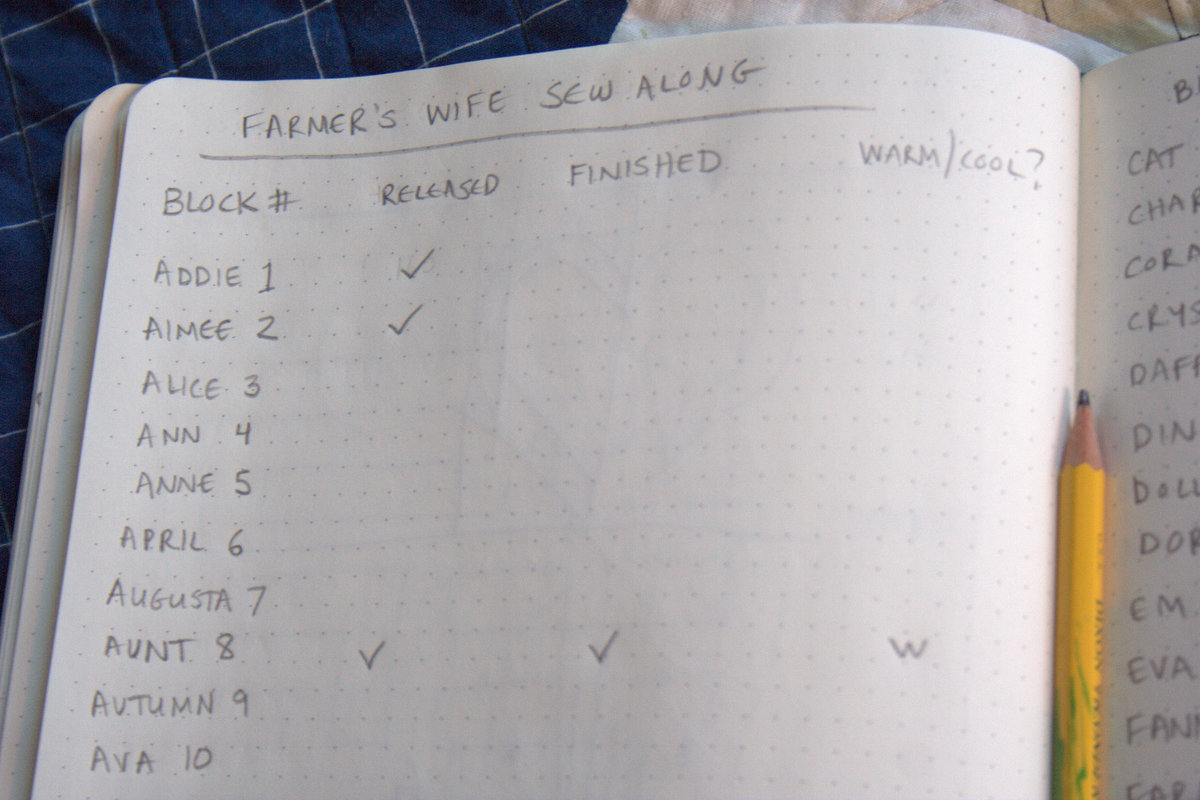
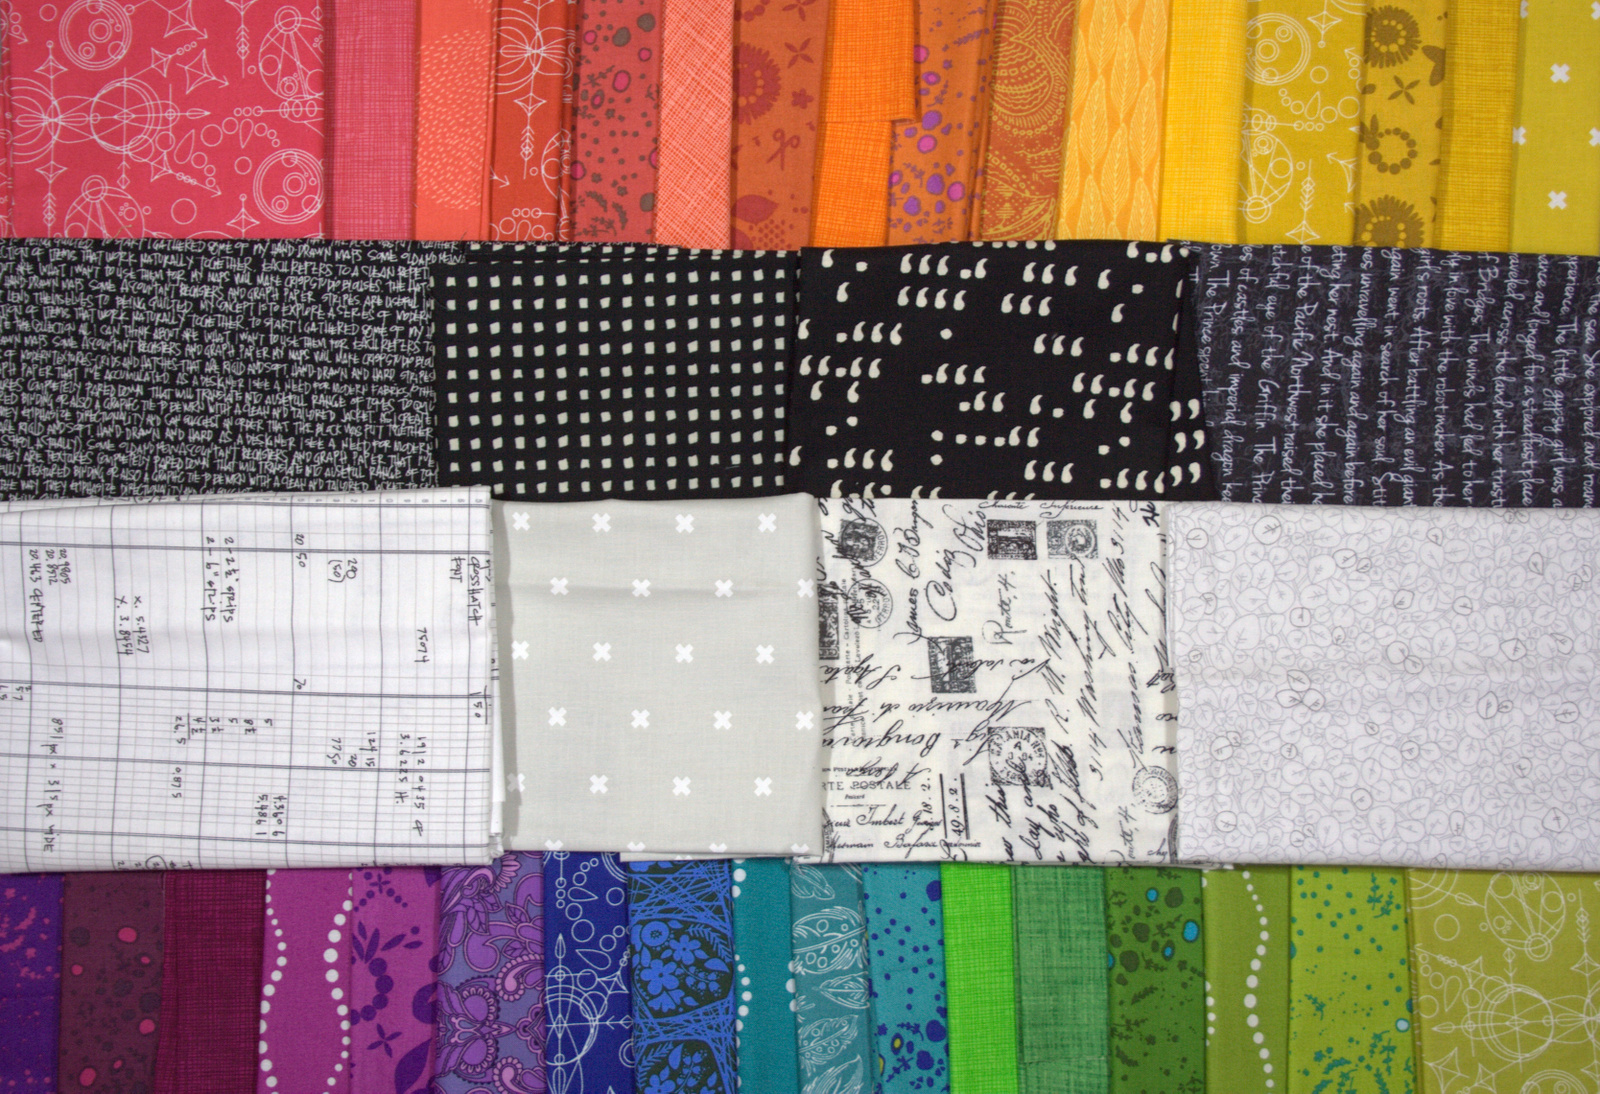
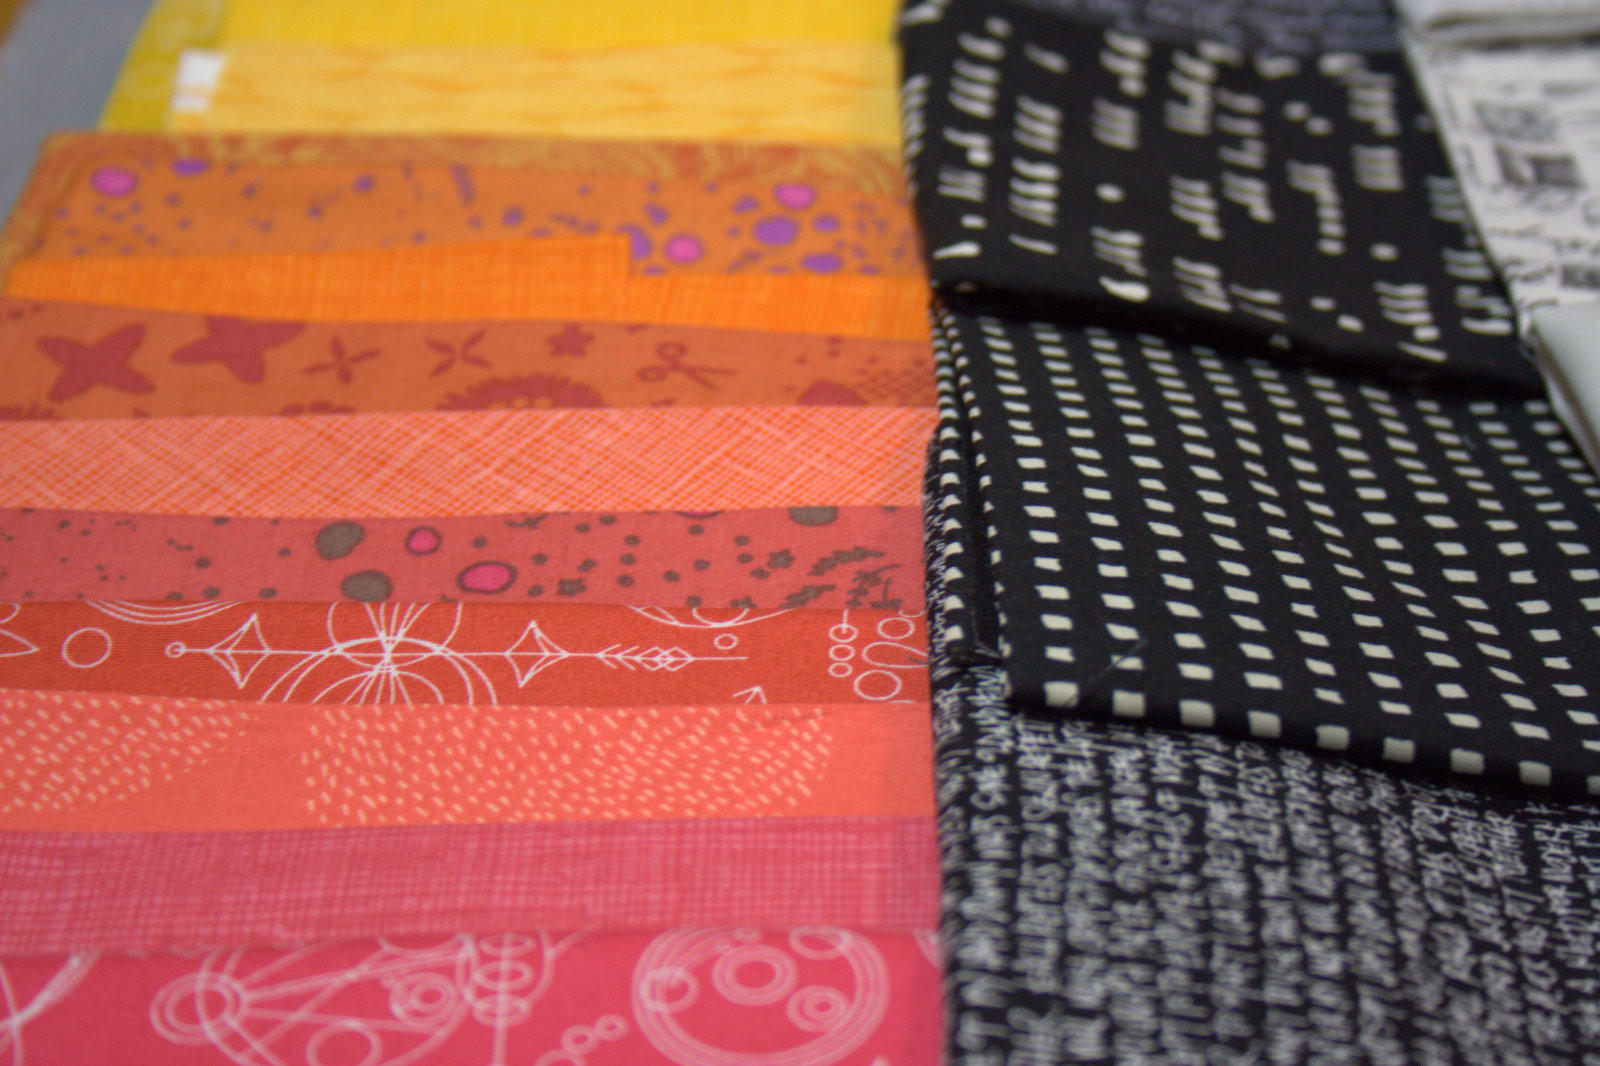
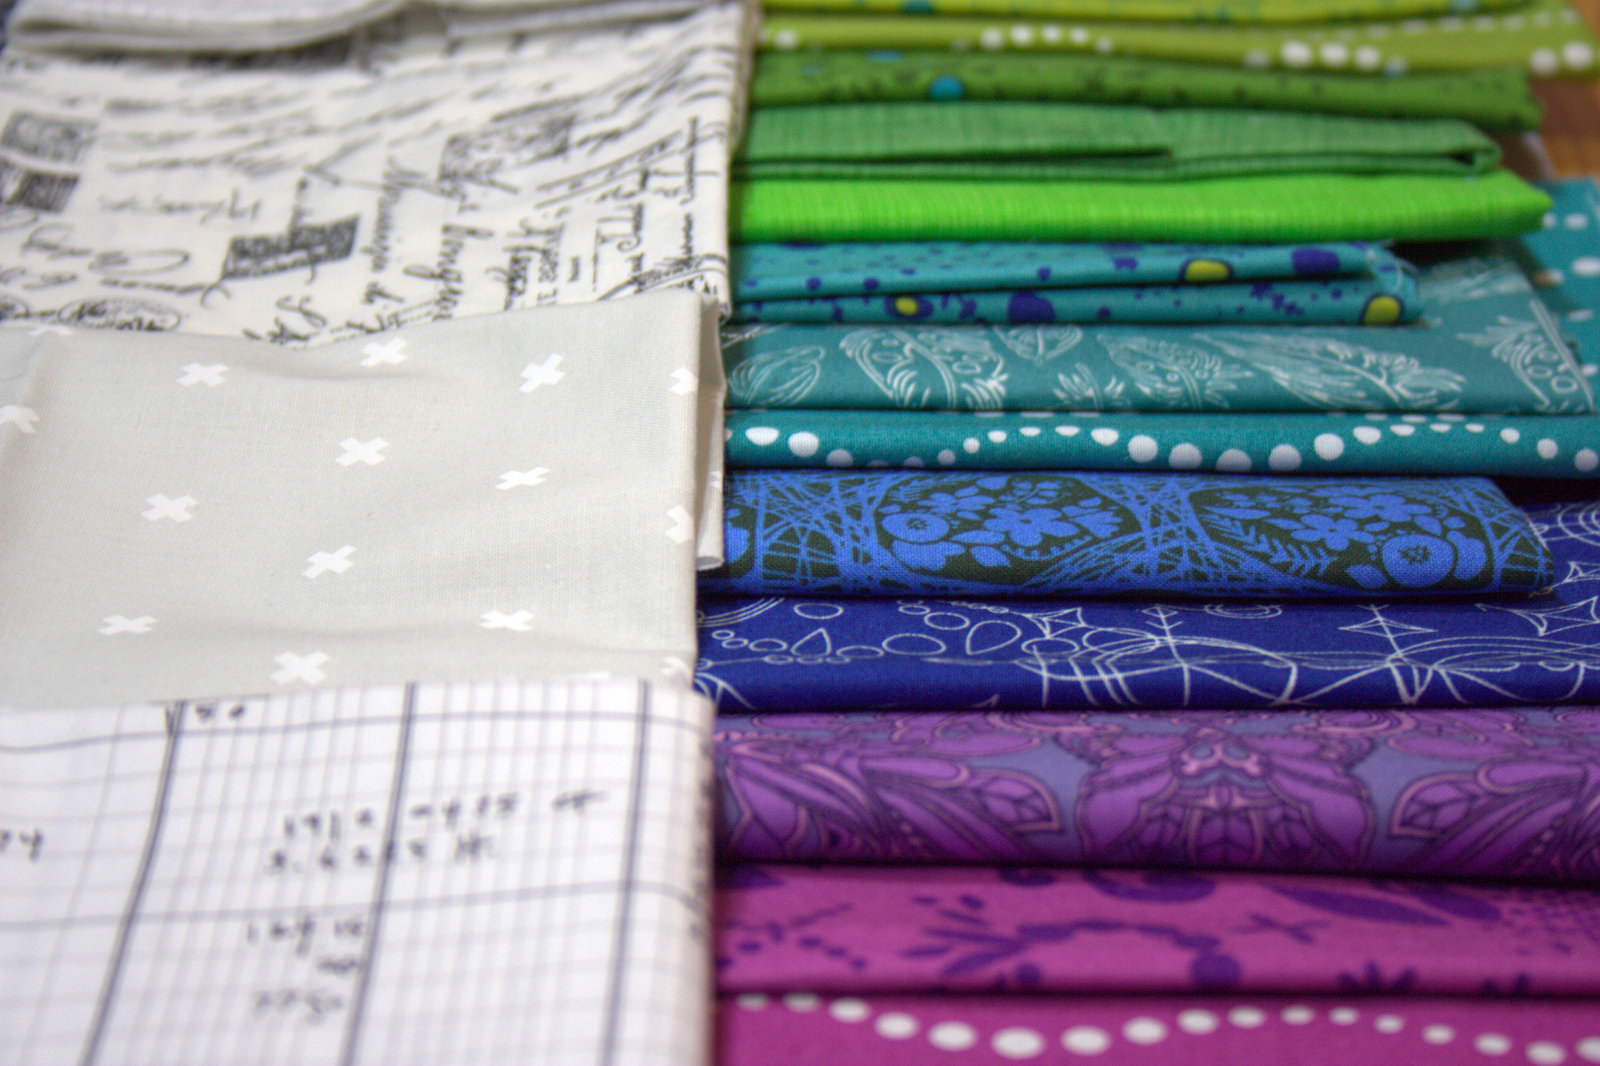
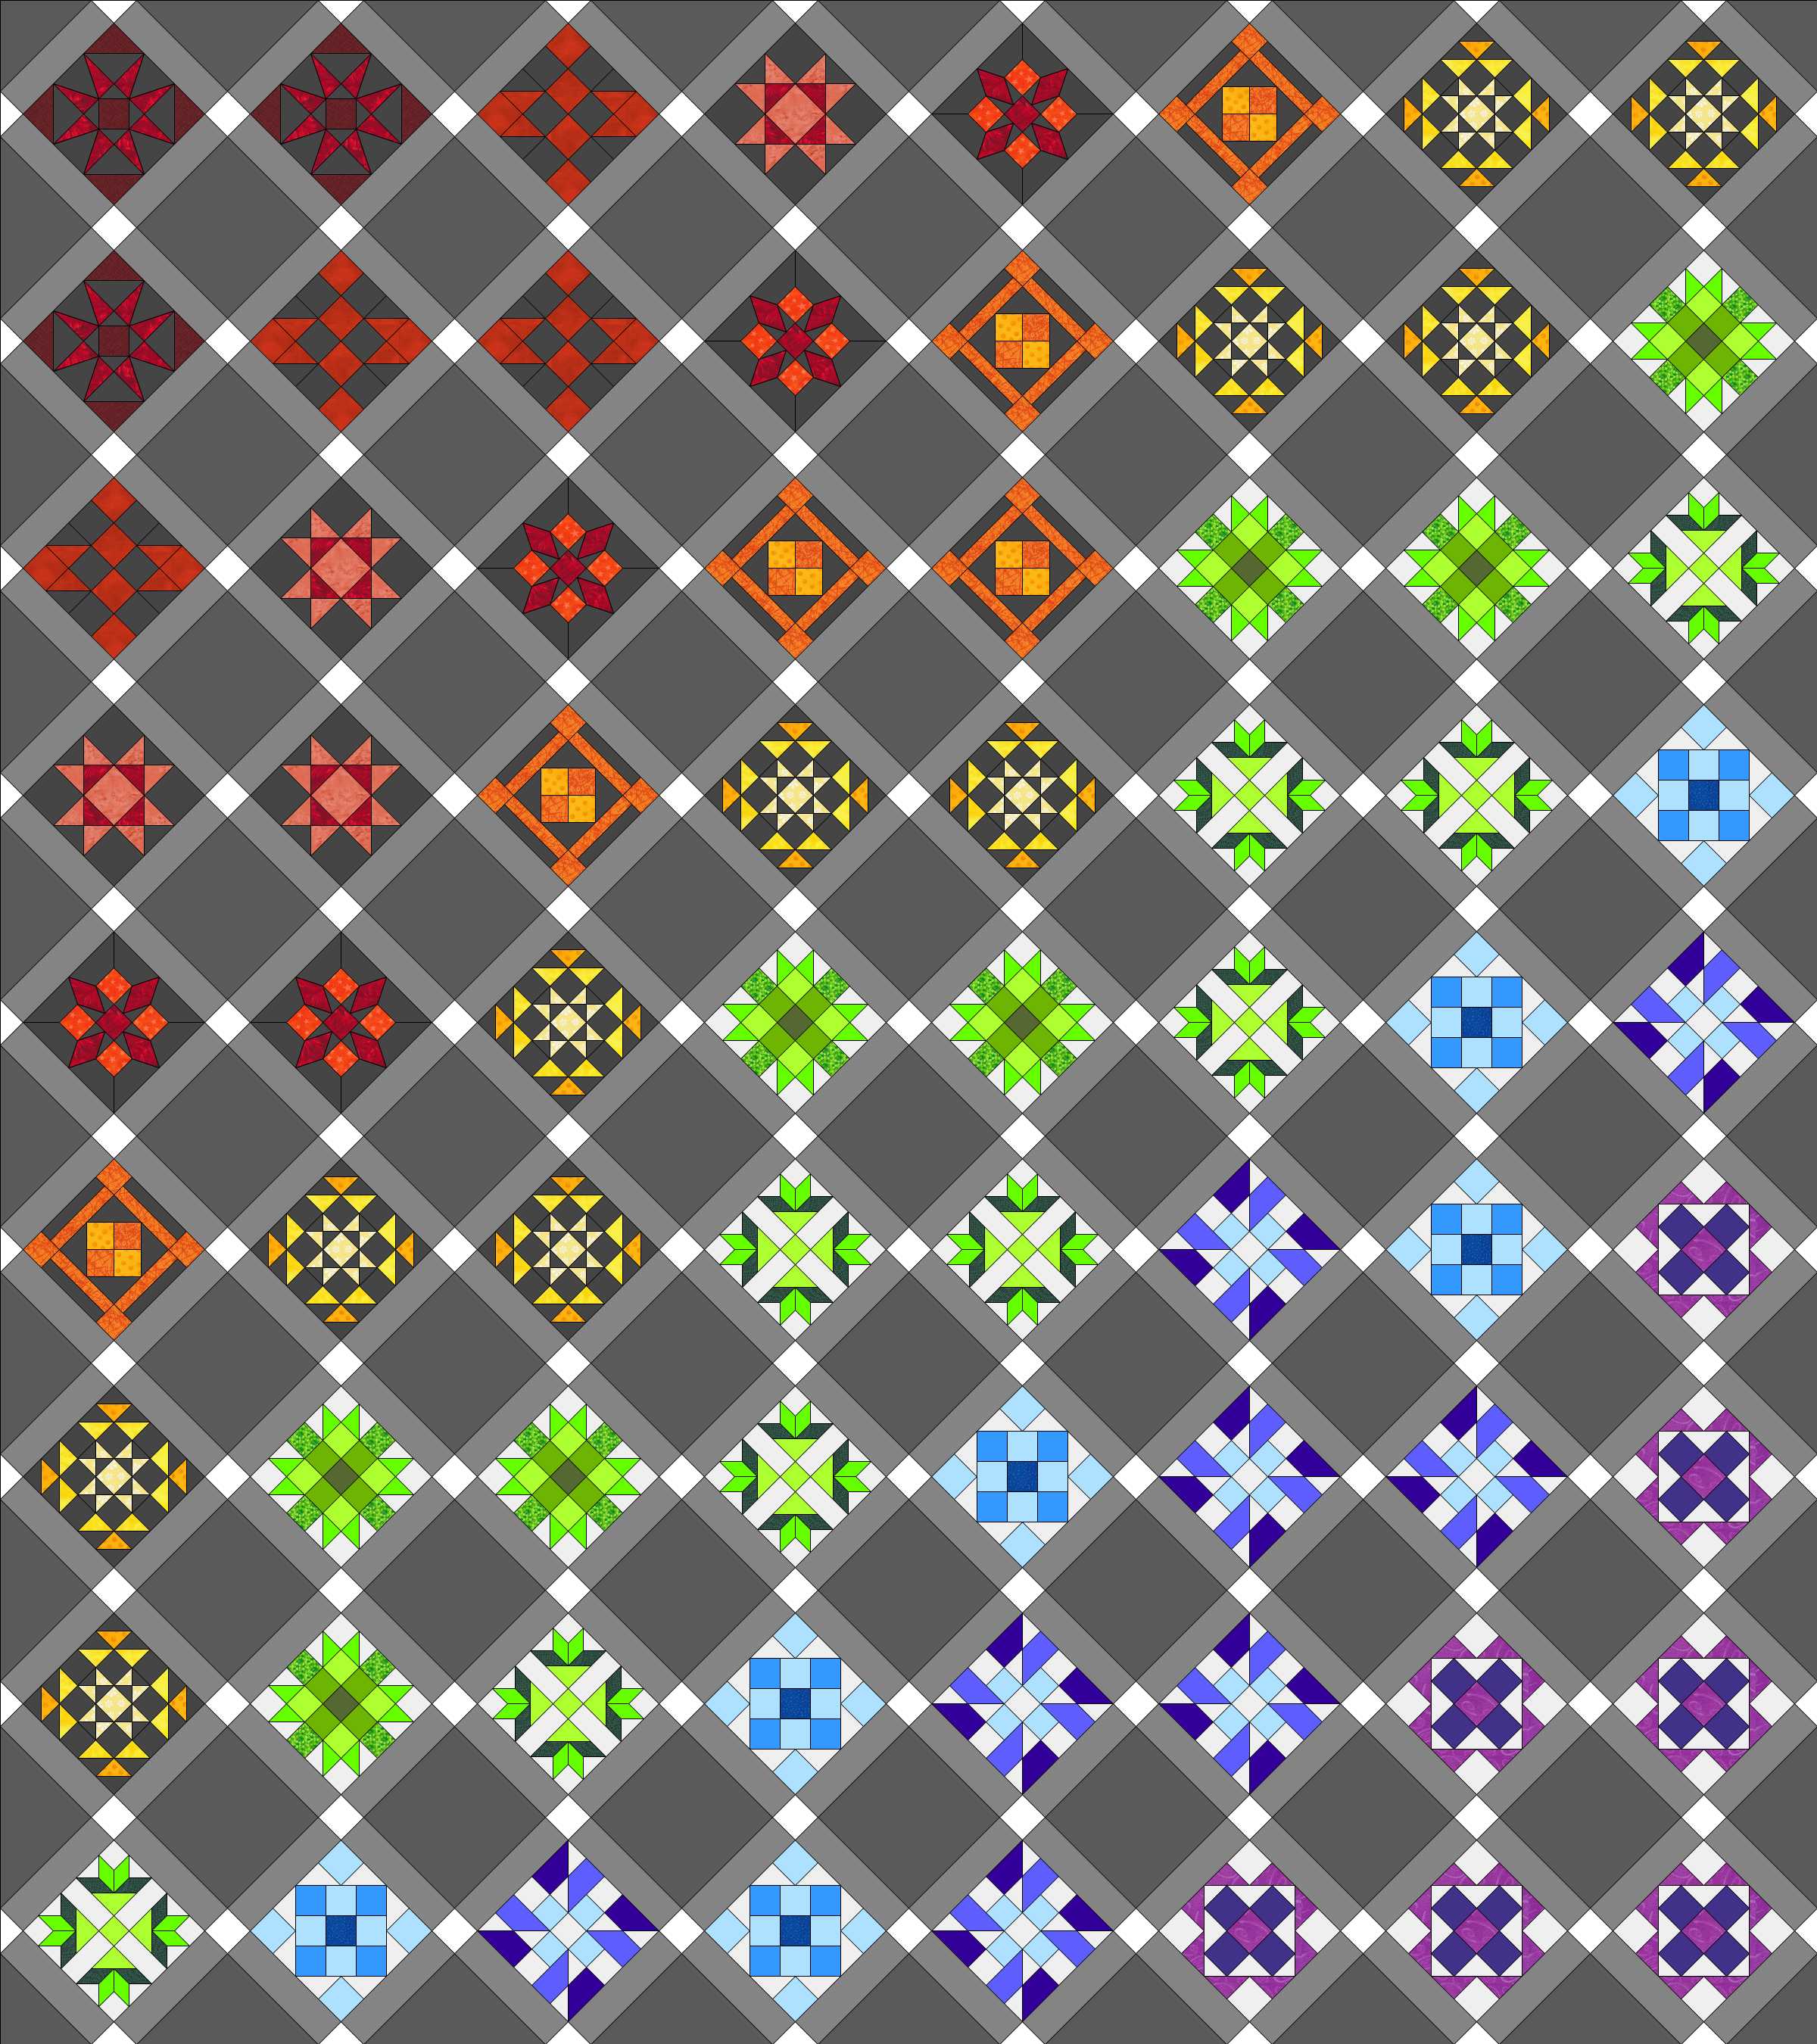
 If we reminisce back to October 2015 when we first began this sew along, I originally planned (hoped?) to make 72 blocks instead of the full 99. I planned to sew some with cool colors on a white/low volume background and warm colors on a grey/black background and set them with solid blocks between. It seemed like a solid plan at the time, back when I had in my head that I was making “just a little 6″ block every week”. As you all know at this point, though, these little 6″ blocks pack a punch, often with 30-60 pieces and taking hours to construct. I’ve accepted that the 72 block plan just isn’t in the cards for me at this point in my life. I’m totally ok with that. If you find yourself in the same boat, here are some options.
Keep Plugging Away
One option is to keep plugging away at the blocks with the goal of completing all of them eventually. If you want to be sure to complete them in a timely fashion, you may want to set a new goal for yourself and try to hold yourself to it. Perhaps you could aim to make one block per week, at least 3 weeks out of every month. Or you could plan to make 1 block every 2 weeks, where week 1 is spent selecting fabric and cutting and week 2 is spent sewing the blocks together. If this is your choice, make a plan, write it down, and forge ahead!
Change your Block Setting
Adjusting the way you set your blocks could also help you get a decent sized quilt from the blocks you’ve made. If you have made all 99 blocks, you could set your blocks with simple sashing and have a nice, huge quilt.
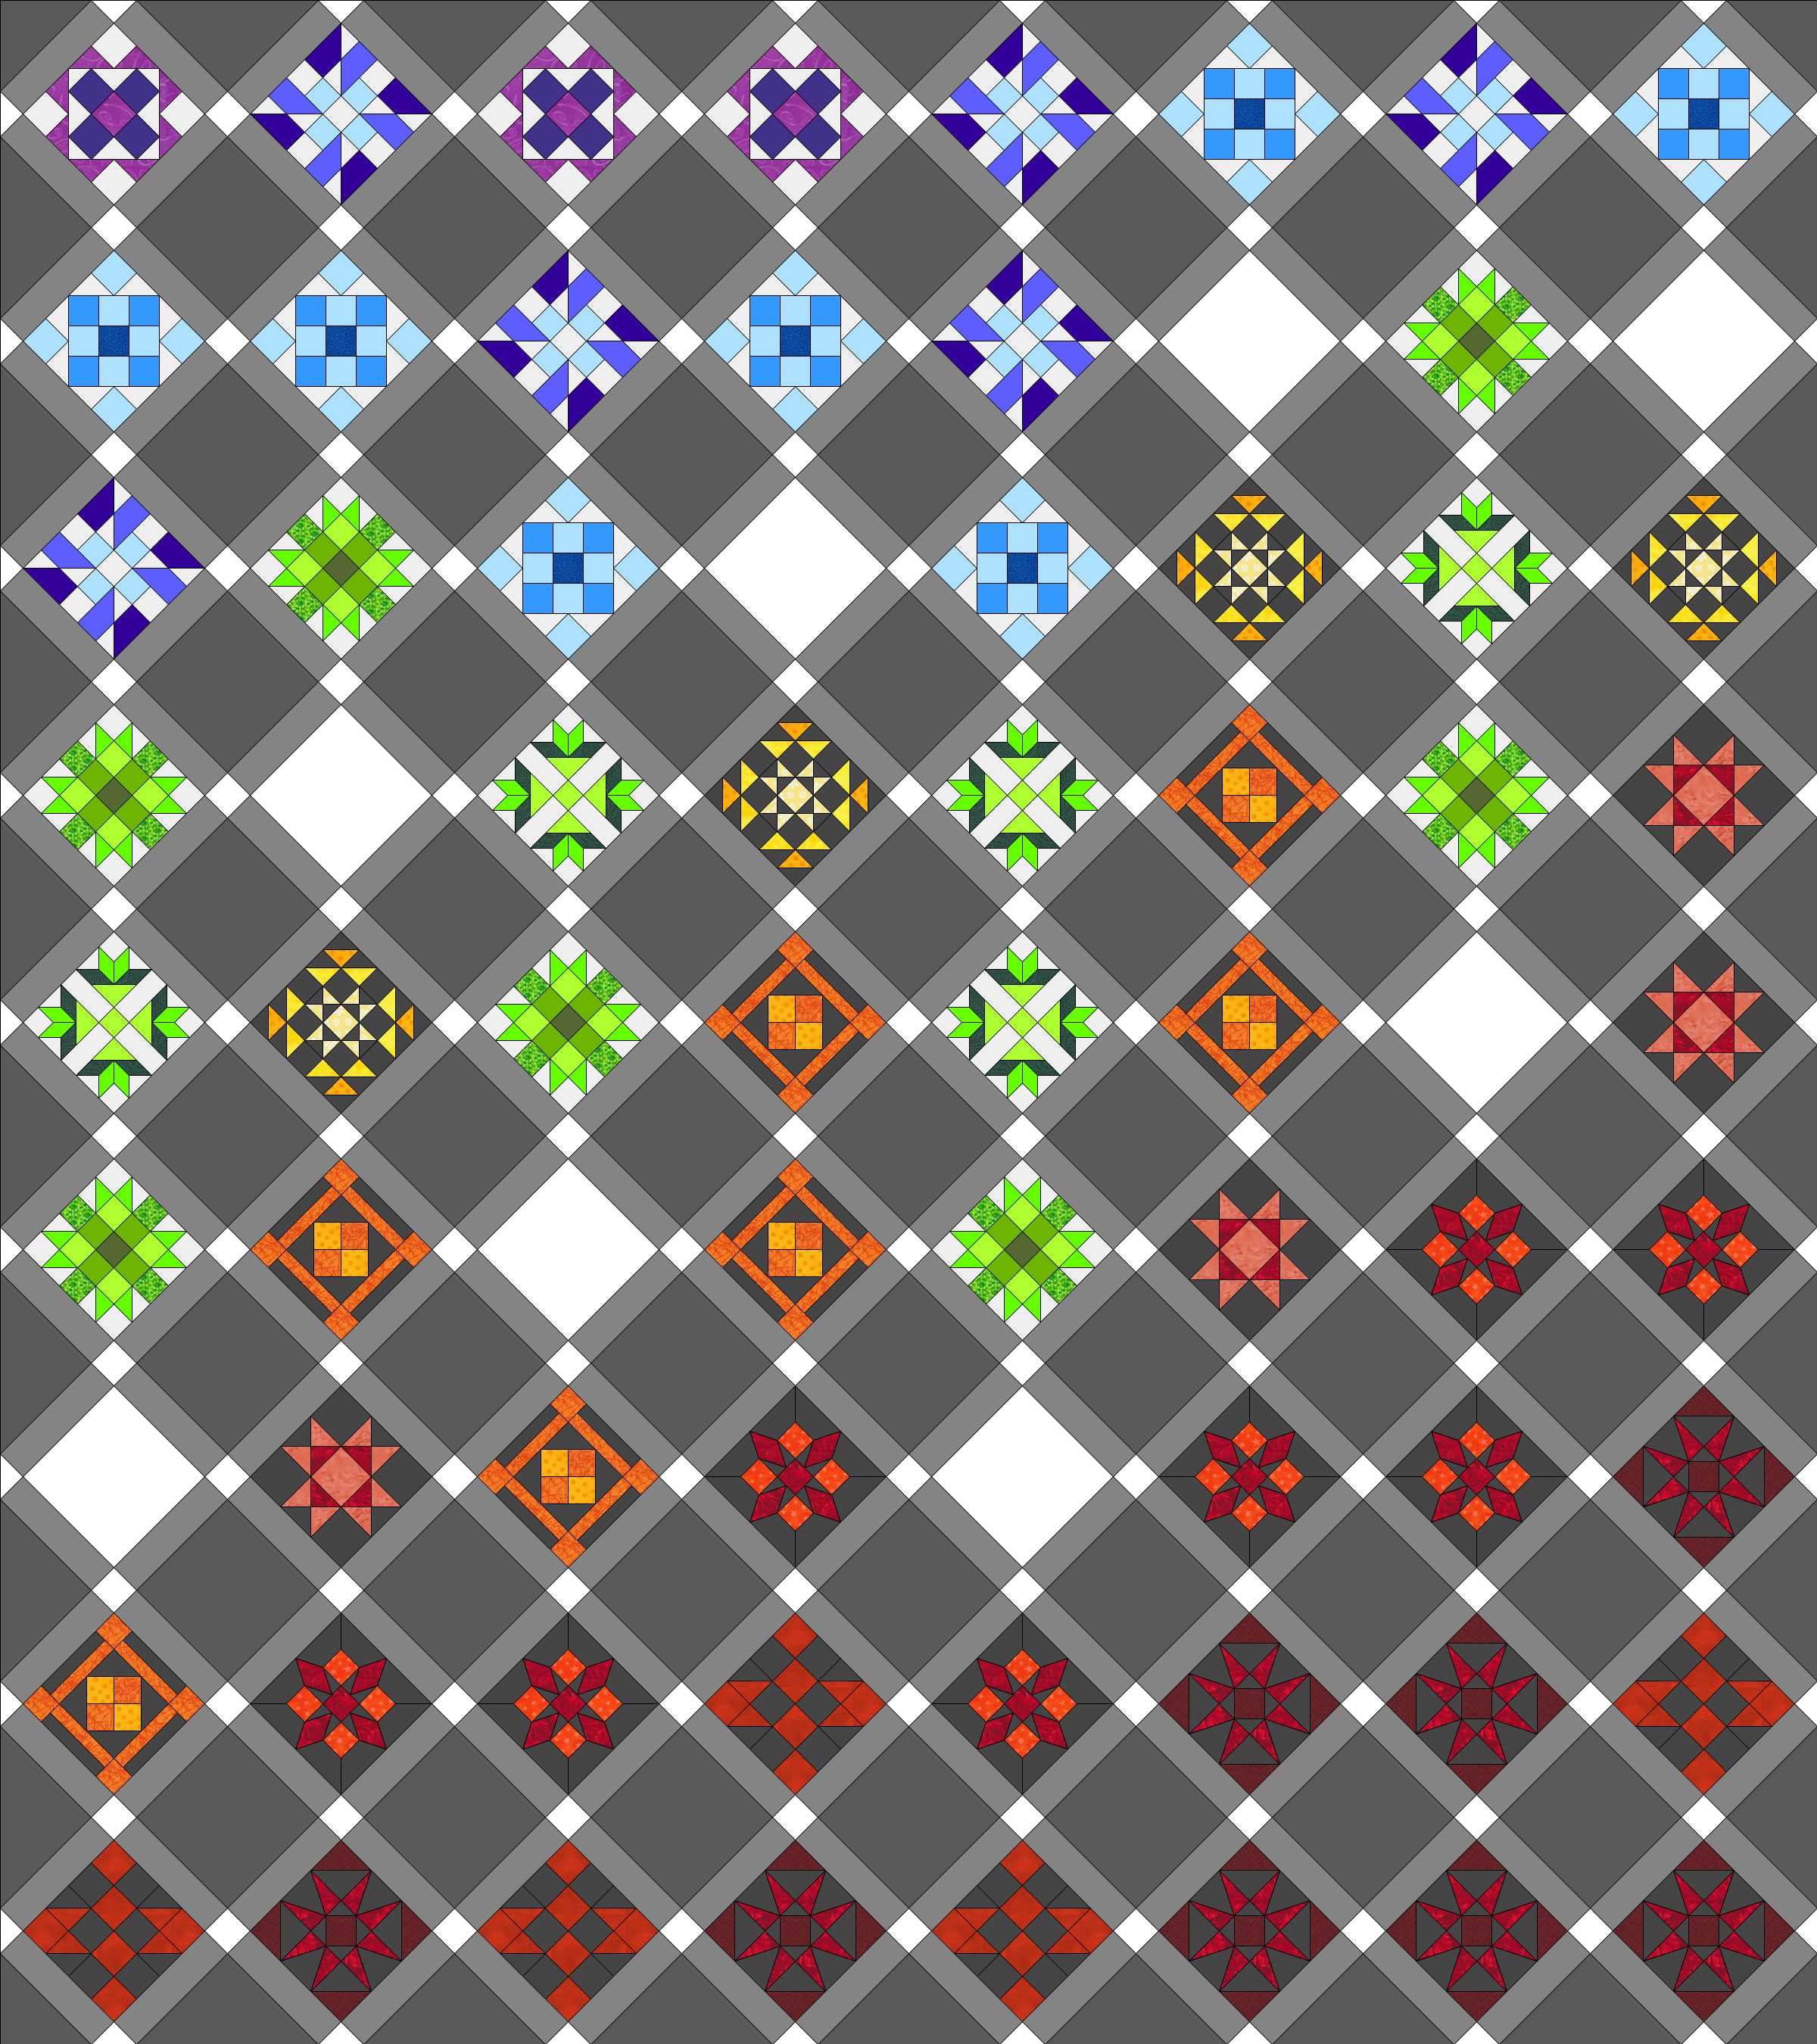
 Adding solid blocks between each Farmer’s Wife block can help you get the most bang for your buck with however many (or few, in my case) blocks you’ve made. Add sashing and that will make your quilt even larger relative to the number of blocks you’ve made. My original mock-up includes both the blocks between each Farmer’s Wife block, and sashing, so you can reference that (included a few images up) for a visual.
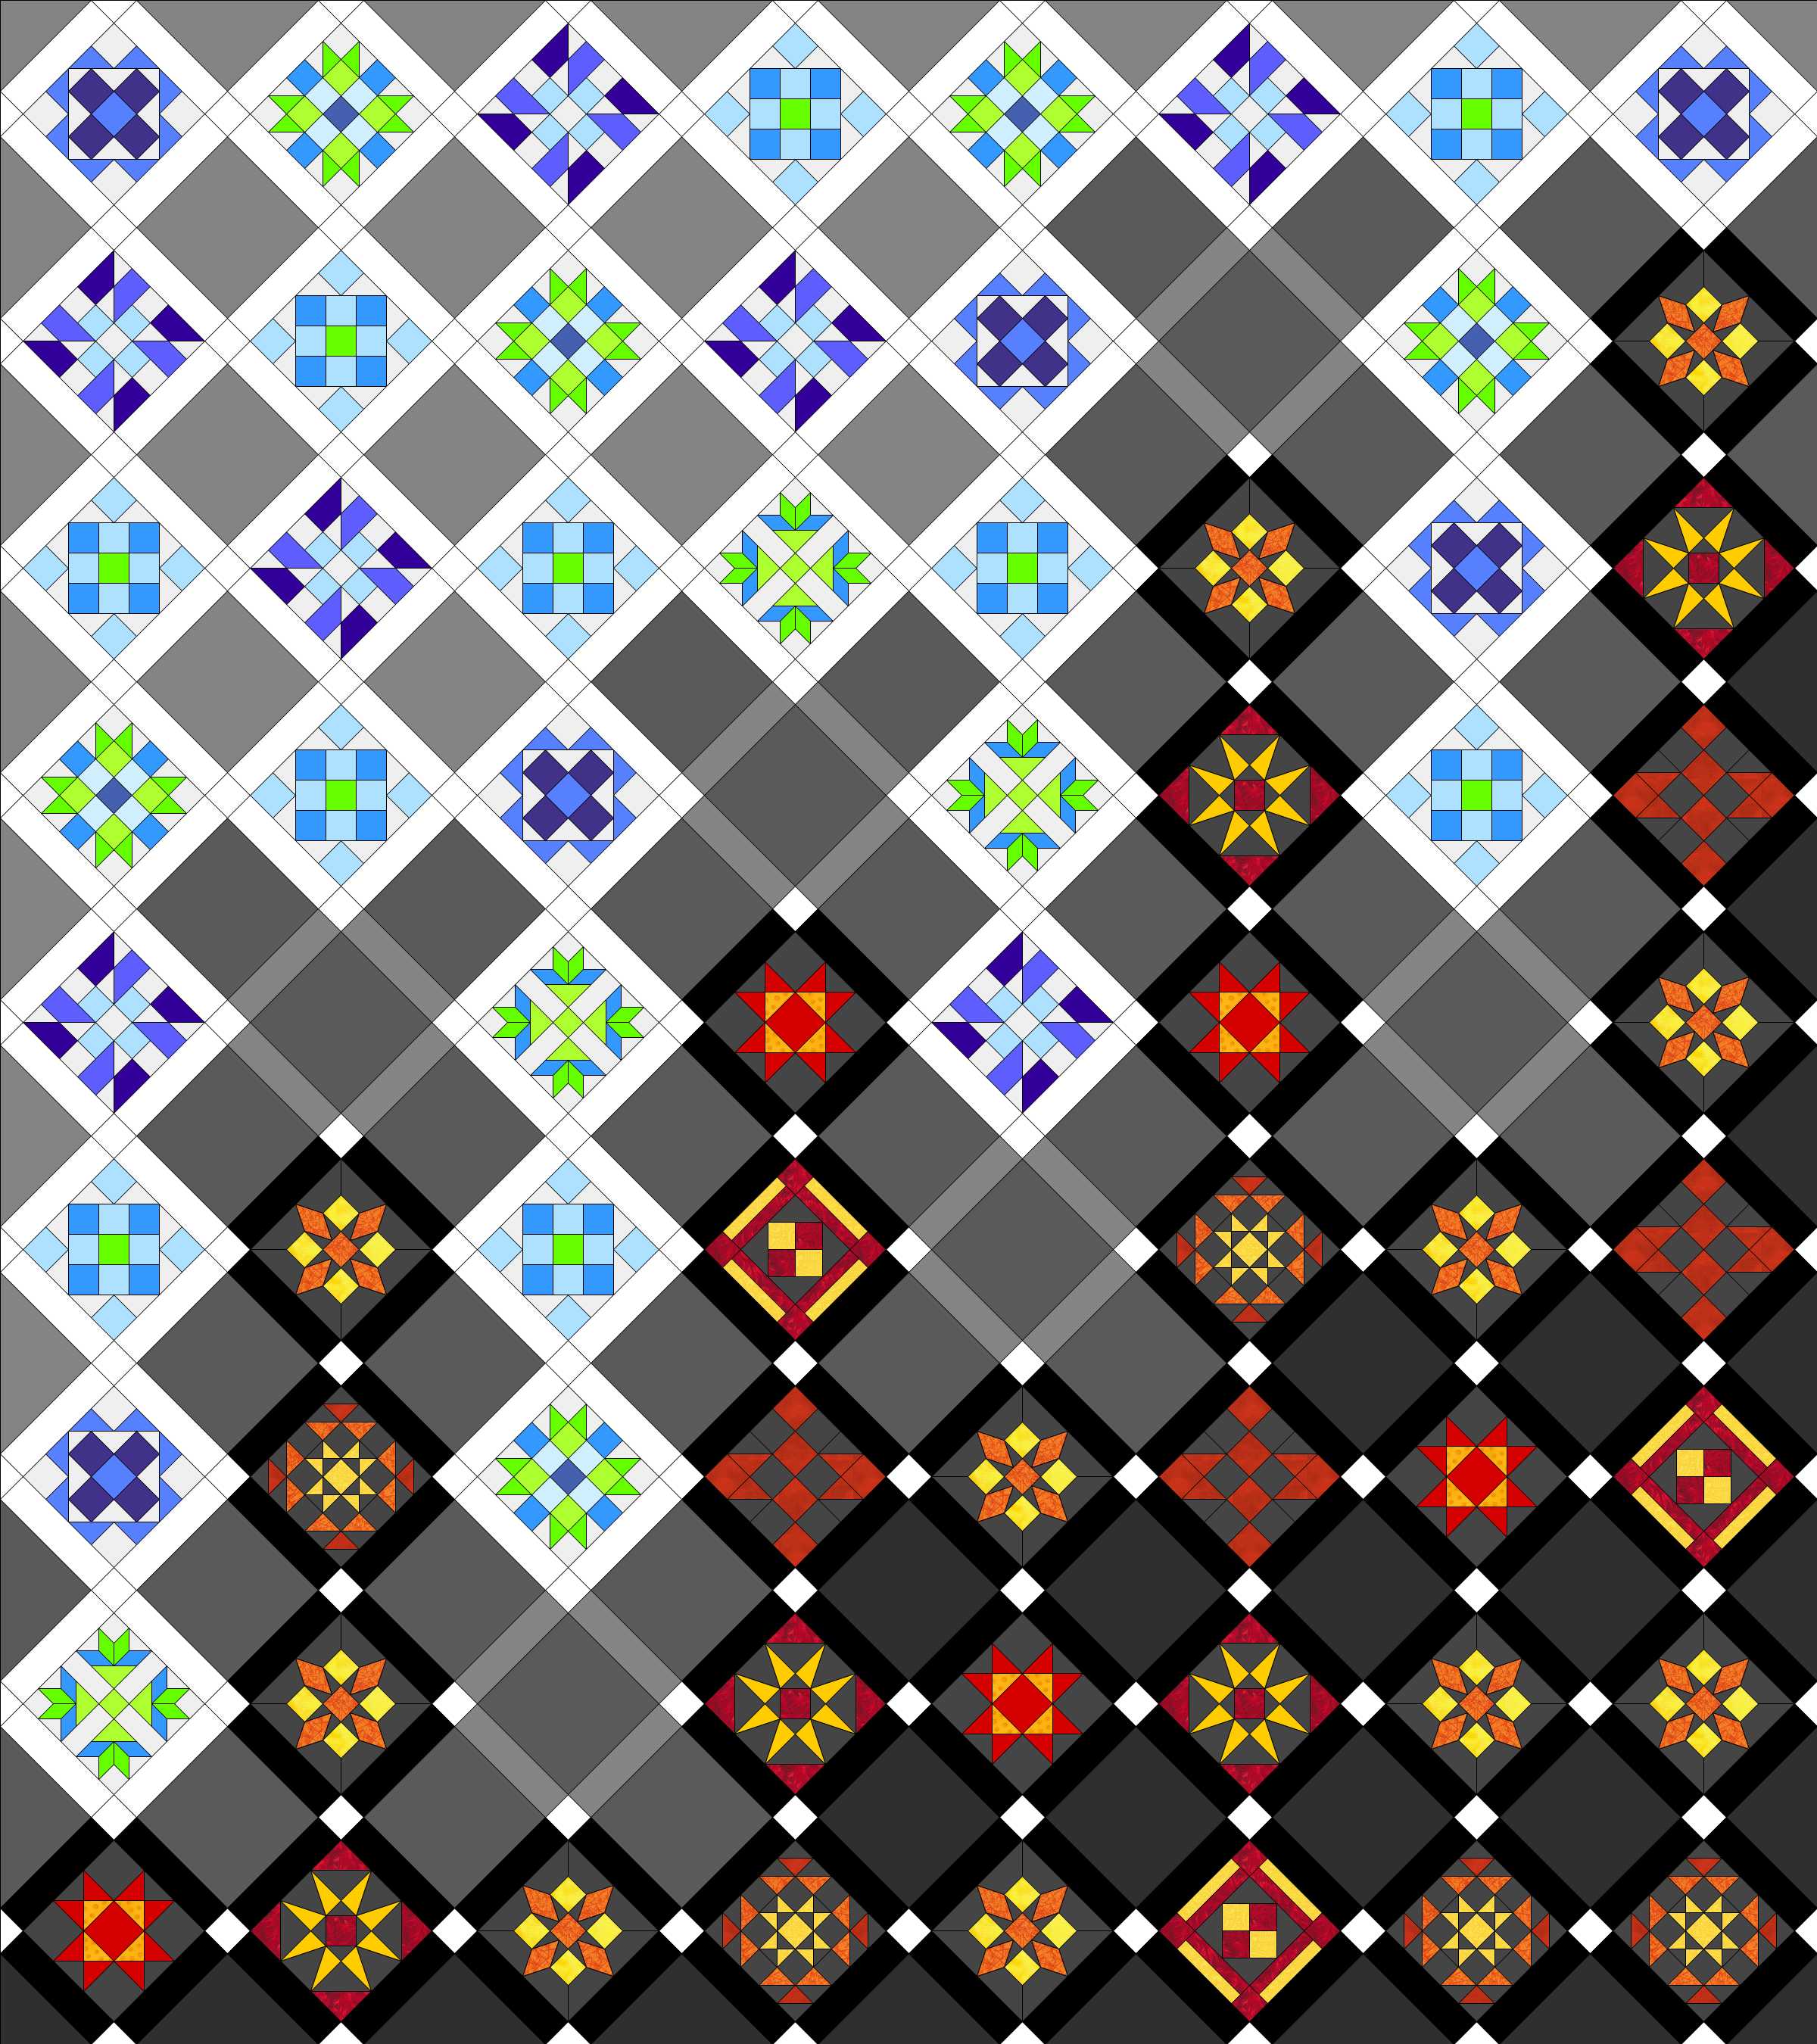
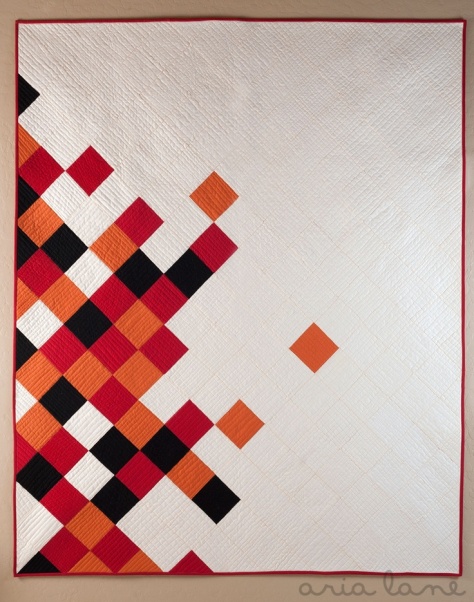 Or you could think even further out of the box and arrange your blocks in a more modern, negative-space filled setting. I love the idea of arranging blocks similar to the design in Alyssa Lichner’s Concerto Quilt pattern for Aria Lane!
Make a Smaller Quilt
If you made less blocks than you initially had planned, you could always make a smaller quilt! Lap quilts are all the rage these days, right!? Are any of your local farmer friends having a baby anytime soon? A good handful of these blocks could be beautifully worked into a “Farmer’s Baby Quilt”. With these intricate blocks, you don’t need many of them to make a gorgeous quilt.
Placemats & Pillows!
If, like me, these 6″ blocks showed you who’s boss (and it wasn’t you) and you only ended up successfully making a bit over a dozen of them, they sure would make beautiful placemats or pillows! Both placemats and pillows are handmade items that are often seen and appreciated daily, making sure your painstaking efforts will be appreciated to their fullest.
 I’m actually thinking the blue unicorn block I made very well might have to become a pillow for one of my kiddos. It will surely be cherished that way.
With all of those options on your plate, your beautiful Farmer’s Wife blocks are sure to find their way into a finished work of beauty instead of floundering in a pile in your sewing space, right?! Choose your own adventure, enjoy the journey, and thanks so much for joining in on this wild Farmer’s Wife Sew Along experience!
So which adventure will I choose?
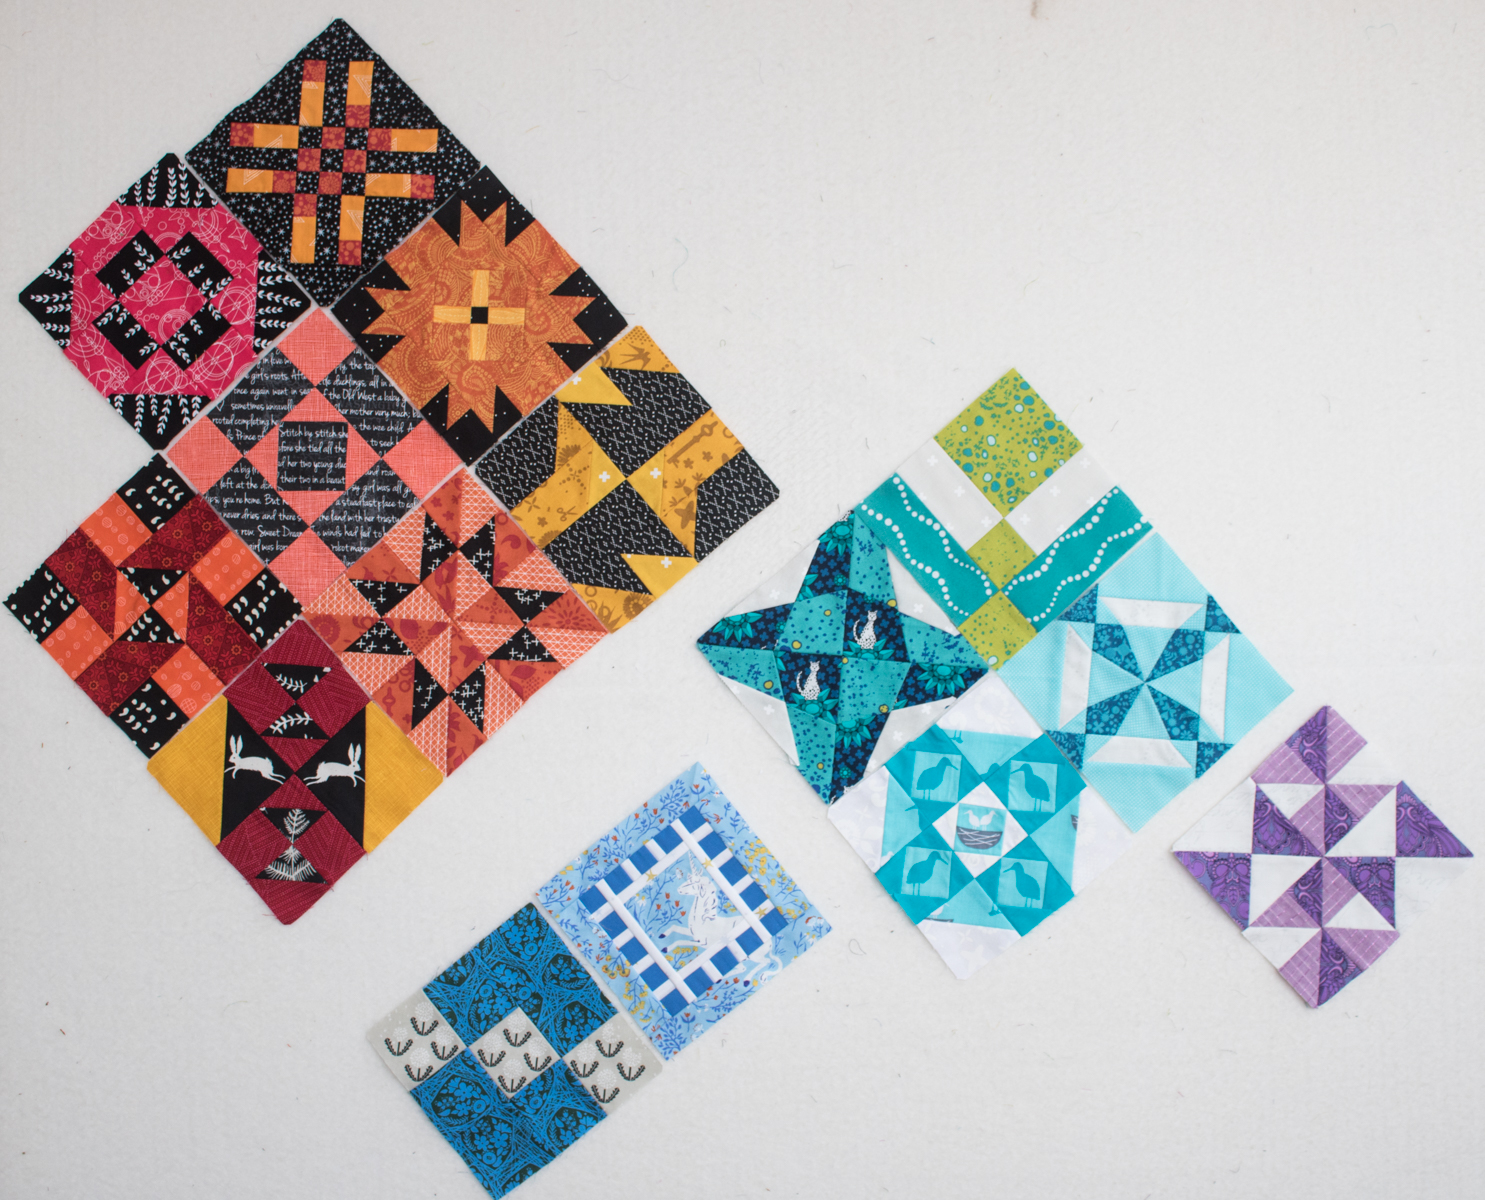
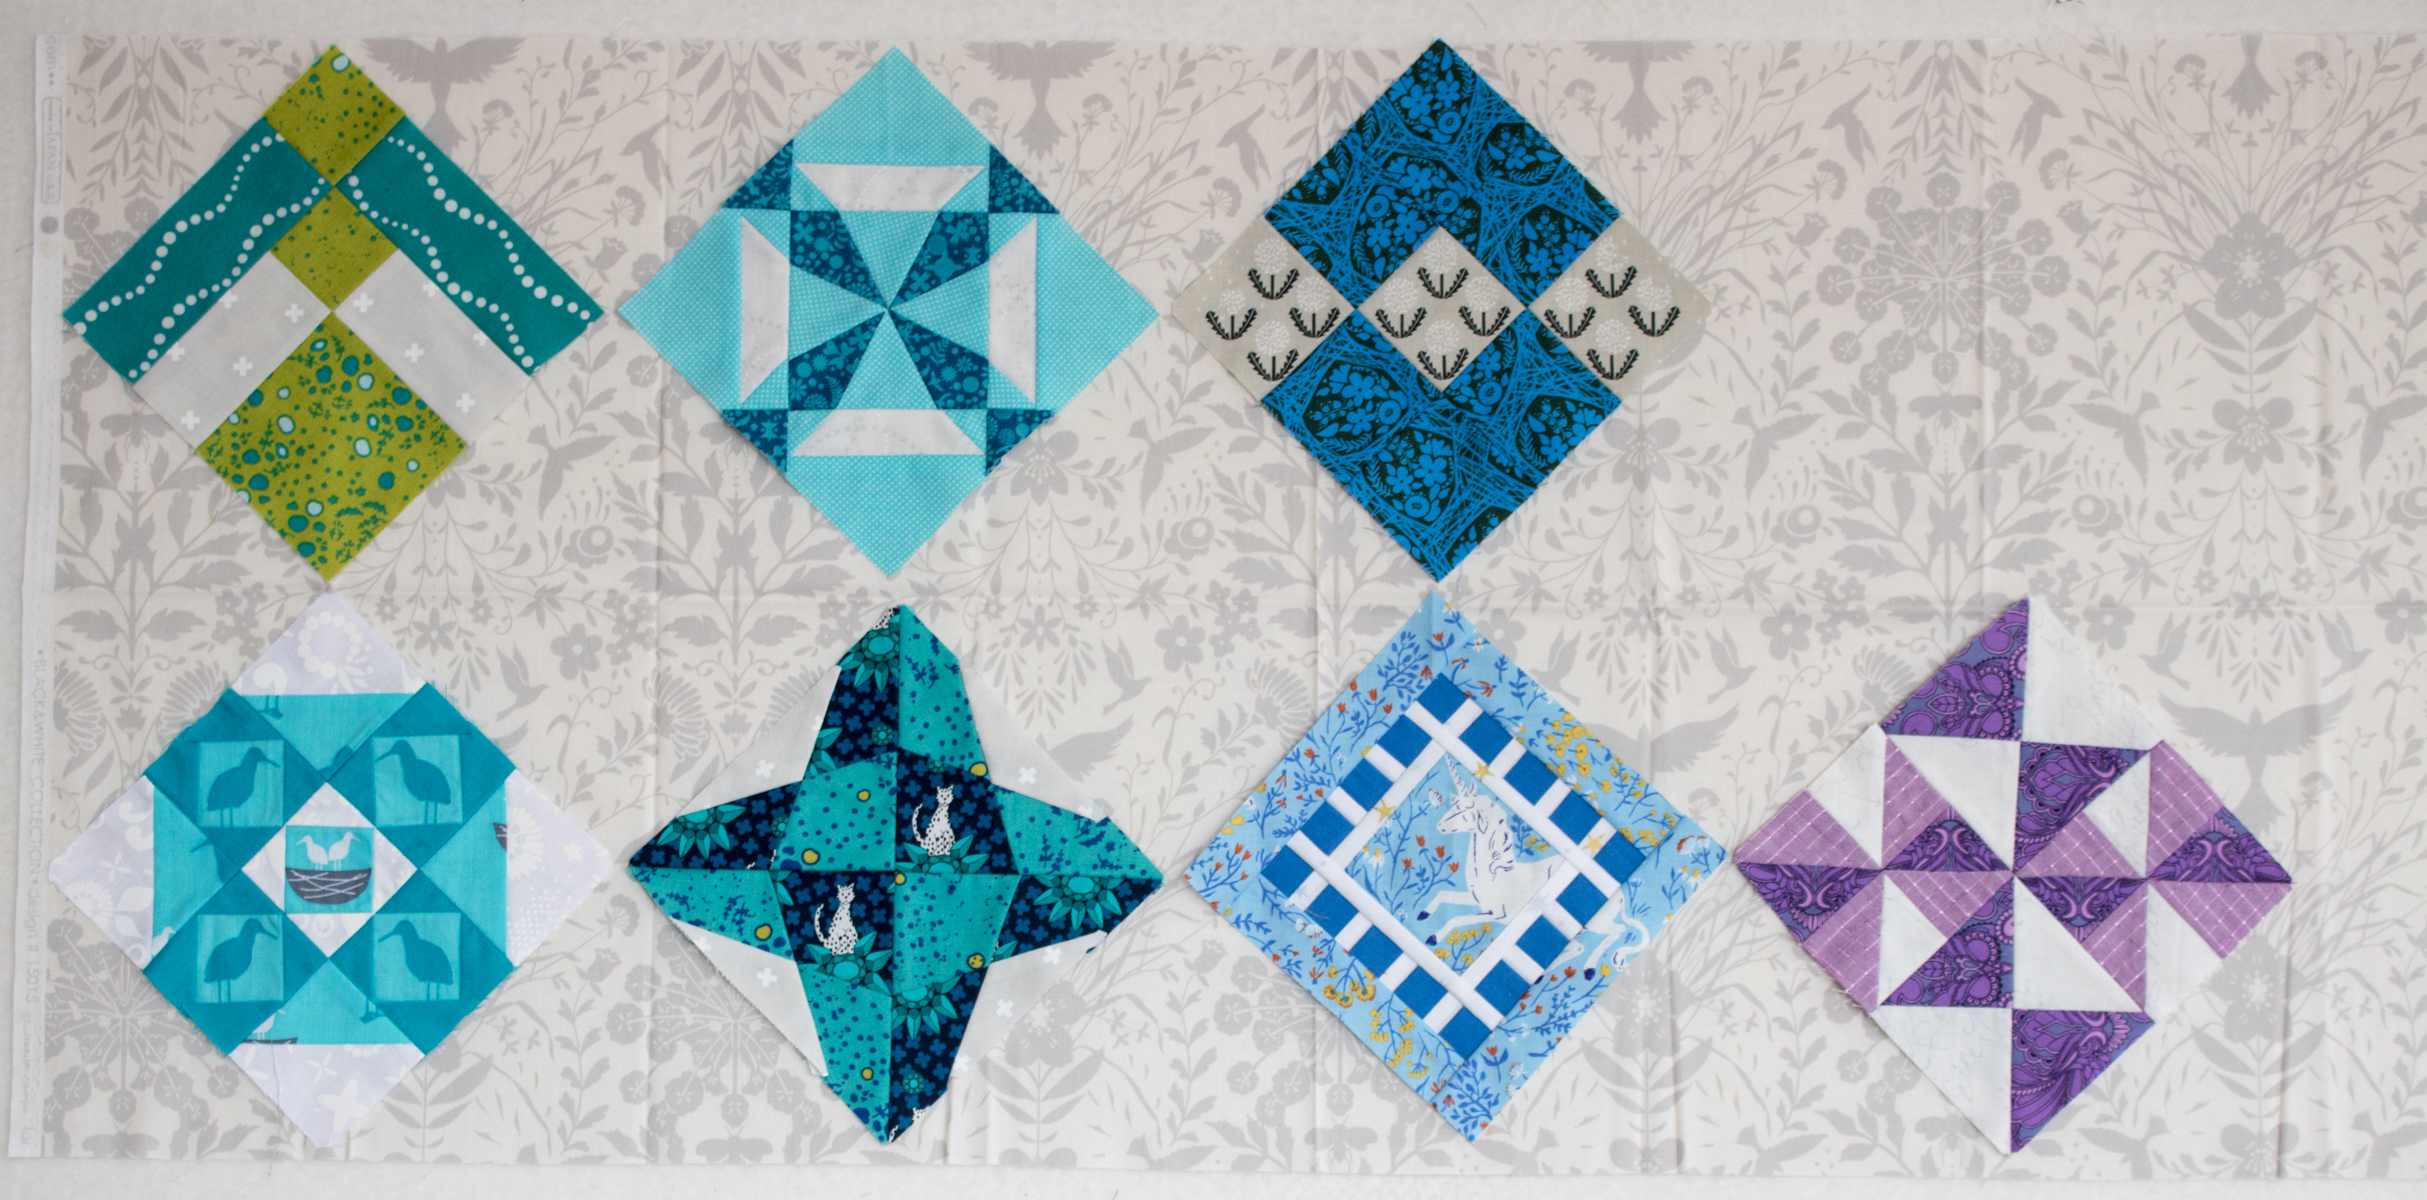
Once I completed Flora, I pulled out all of my completed blocks and put them up on my design wall to take stock of my progress. As seen above, I finished a whopping 16 blocks. I am not counting the three blocks that have foundation paper piecing templates printed, cut out, and fabric pulled, since they are not yet sewn, but I do plan to make them eventually.
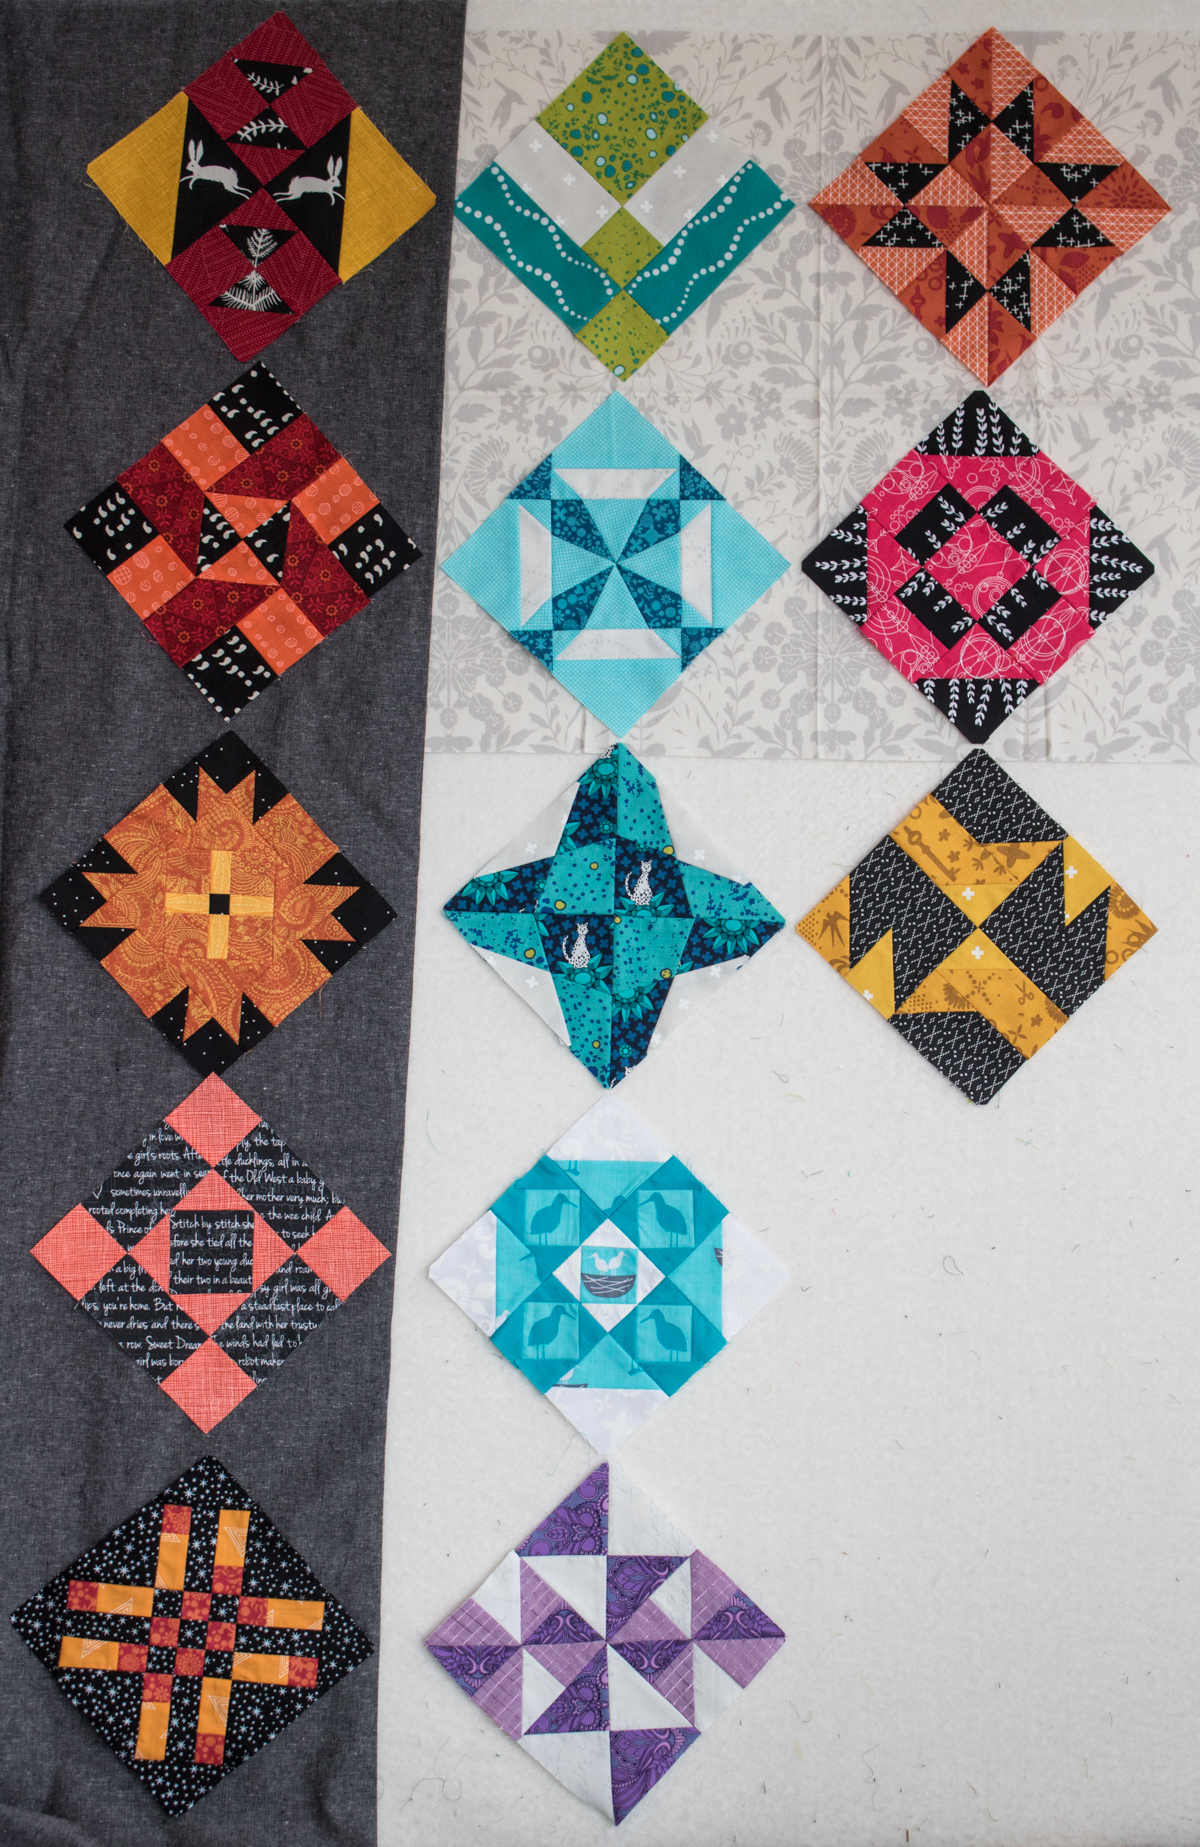 At first I considered the “Make a Smaller Quilt” option, and thought perhaps I’ll make a few more blocks to fill out a lap sized quilt in my original layout. Note that these photos are from a purely planning phase–fabric slapped up onto my portable design wall simply for the benefit of playing with different arrangements visually. It’s wrinkled and wonky and that’s all part of the fun!
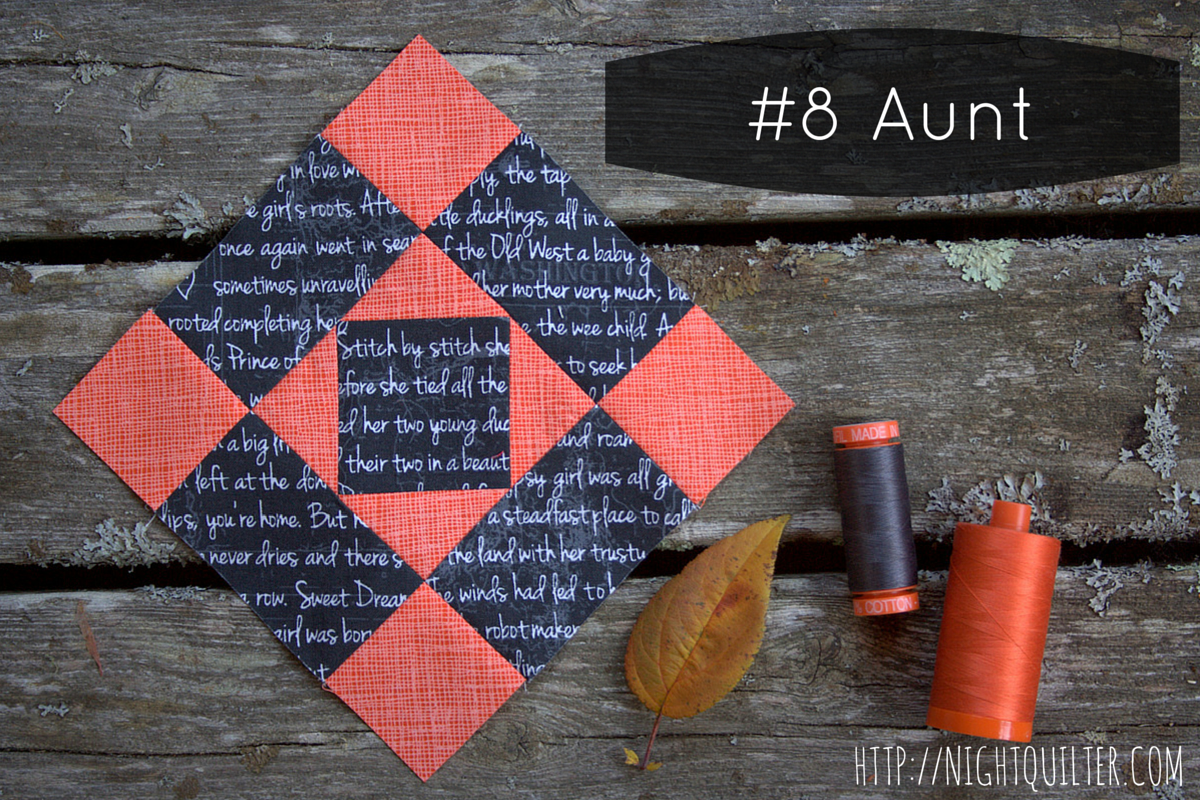
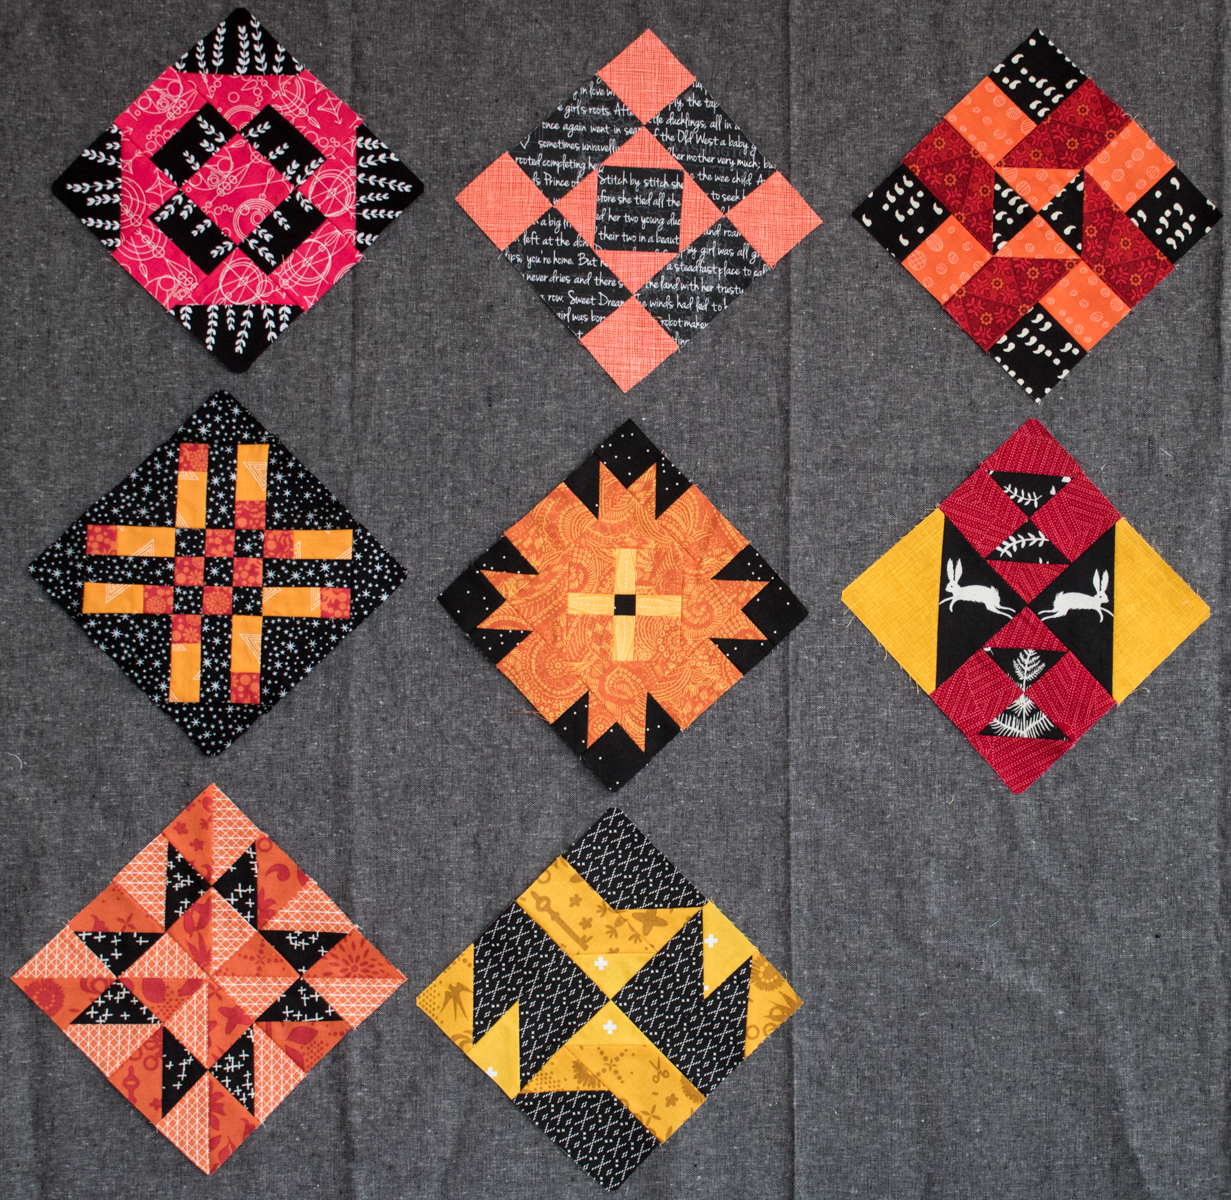 Since I made the warm colored blocks with a dark background and the cool colored blocks with a white background, I probably will stick with those for sashing and background blocks.
Once I began writing this post, though, the negative-space filled setting inspired by the Concerto Quilt is really calling to me. I may opt to plug away and make some more blocks, with the end goal of setting them in a fade out pattern similar to the blocks in the Concerto Quilt. Time will tell, and since I know that I want to make more blocks before settling on any of the options, it’s absolutely okay to choose later!

Flora is going to go live in my Greenery 2017 quilt, though, since the block reminded me strongly of dappled light through the treetops and I thought adding a Farmer’s Wife block to my year’s Greenery project would be the perfect touch! The quilt is already a green melting pot of blocks from all of the sew alongs and bees I’m joining this year so it feels only right that a Farmer’s Wife 1930s block join the ranks.
The moral of this story is: There are no rules. This is your quilt. You can do anything you want to with these blocks! Enjoy the adventure!
Important Links
- All the block tutorials by Angie and bloggers.
- FAQs for the sew along.
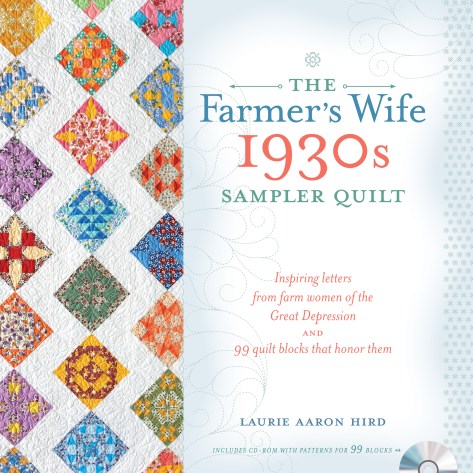
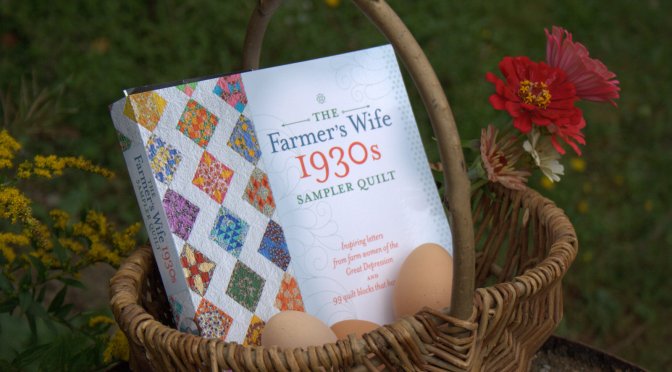
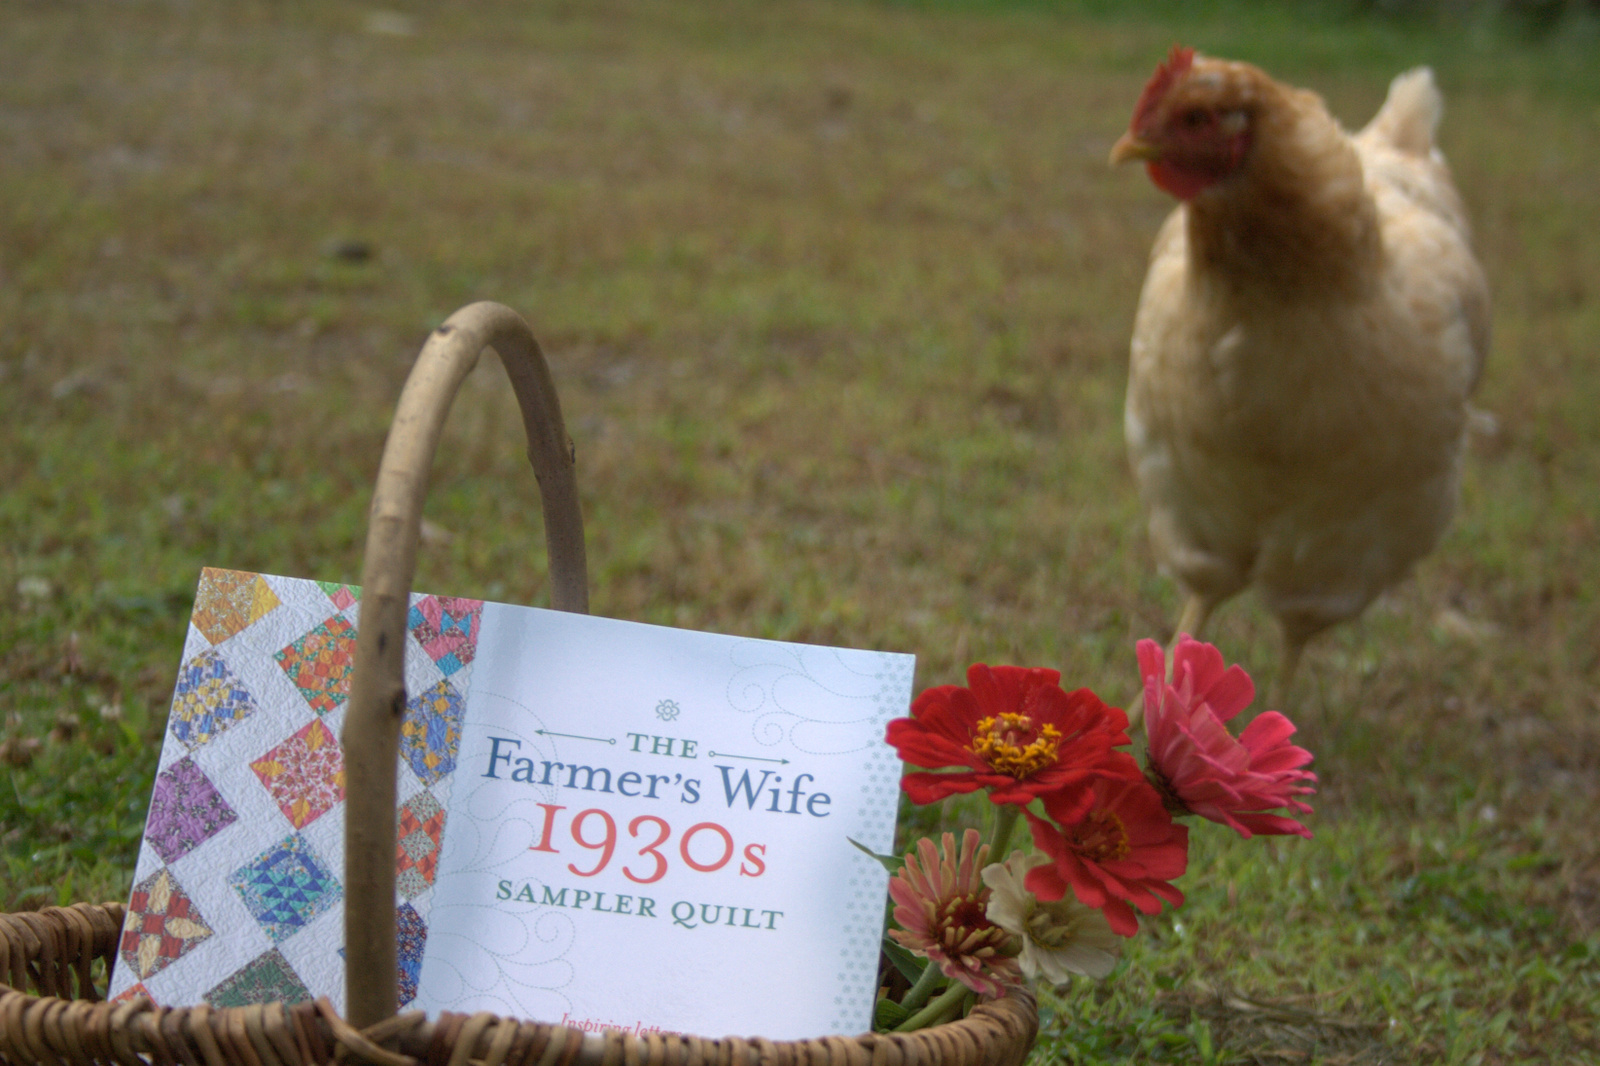
 The Farmer’s Wife 1930s Sampler Quilt: Inspiring Letters from Farm Women of the Great Depression and 99 Quilt Blocks That Honor Them by Laurie Aaron Hird for Fons & Porter/F+W; RRP $28.99 – Click here to purchase.

 Each of these Farmer’s Wife blocks manage to pack quite a punch in the little 6 1/2″ space. My method of attack when deciding how to piece each block has been consistent: how can I piece this with as little muss and fuss as possible? With Sylvia, at first I was thinking chain piecing would be the way to go, since it would help minimize the teeny tiny pieces in the inner borders I’d need to cut and sew. Looking at it more closely, I decided that with this block, even chain piecing would require piecing TINY bits, cutting, and then piecing again. Plus, sixteenths of an inch!? No thank you! Finally, I decided that foundation paper piecing was the way to go, since:
 Ready to get sewing? Make sure you have a grasp on how to foundation paper piece, and let’s make Sylvia!
 As soon as I saw this block, I knew that I wanted to meticulously cut the center square. I’m arranging my blocks on point, so be mindful of your own plans before meticulously cutting your fabric! (I call “fussy cutting” meticulous cutting, and you can read why
  Mark the specific piece you want to meticulously cut. I went a little overboard on marking mine for the sake of clarity here. I circled the number but also traced just outside the line of the particular piece, both with bright pink sharpie. Simply circling the number would probably suffice!
 Cut out the center of the piece, creating a window that is exactly the size of the piece you want.
 Draw a 3/8″ seam allowance around the window. I used a green micron pen for this example to ensure the line didn’t get confused with the printed lines on the paper.
 Cut along the line you drew.
 You should how have a planning template to help you cut your fabric for fussy cutting. Notice that I placed my planning template onto the fabric upside down. This is because in foundation paper piecing, we are sewing the block on the reverse side of the template. It did not matter too much for this particular piece, since it’s a square, but always be mindful of directionality of the fabric as well as wrong side-right side. If need be, mark your planning template with “right side up” or “wrong side up” so that your fabric is cut properly!
 Between sewing the fabric on the reverse side of the paper, having the block broken into sometimes odd sections before sewing, and the many pieces involved in most foundation paper piecing patterns, it is in your best interest to color code your paper template before beginning to sew. This way, you can be sure you sew each fabric in the proper place.
 Especially when first getting started with foundation paper piecing, one of the biggest tips I can offer is to be generous with your fabric pieces. It’s better to have to trim a bit more off than to be short and have to rip stitches! For my bright blue squares on Sylvia, I cut the fabric into 1 1/2″ squares, which as you can see includes ample overhang.
 This tip goes for bag-making as well: just because there is a template created for a perfectly rectangular piece, it doesn’t mean you can’t use your rotary cutter and ruler! The outer pieces of Sylvia can be easily cut using a rotary cutter and ruler, which will save time with paper removal at the end. Since these pieces are not easily measured (let’s avoid using sixteenths of an inch if we can help it!) simply cut out the foundation paper piece templates and use them as a guide when rotary cutting. Use the foundation paper piecing method to piece the center portion, then add the D, E, H, and I rectangles using traditional piecing methods. Easy peasy!
 And there you have it. Sylvia, in all her glory.