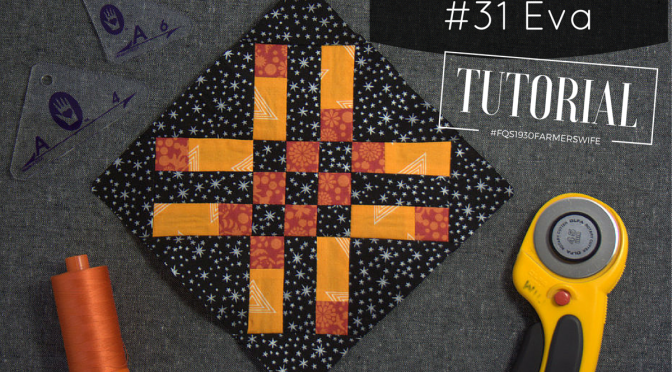
Today is my day to share the Block 31 Eva tutorial for the 1930 Farmer’s Wife Sew Along, hosted by Angie at Gnome Angel and sponsored by Fat Quarter Shop and Marti Michell.
 As with Autumn, a first look at block 31 Eva may cause you to balk: 37 pieces in one 6″ block, and many of them are tiny squares!? But with a creative look at the block construction, Eva can come together smoothly and without too many teeny pieces. This sew along continues to show me that there is nearly always a faster and easier way to approach block construction than purely cutting out all of the pieces and sewing them together. With a few shortcuts and piecing tricks, Eva comes together quite smoothly. In this tutorial, I’ll show you how to use strip piecing to save a bit of time and create larger, more manageable pieces, and fill in the gaps using Marti Michell templates (Set A) or rotary cutting to help make putting Eva together smooth and enjoyable.
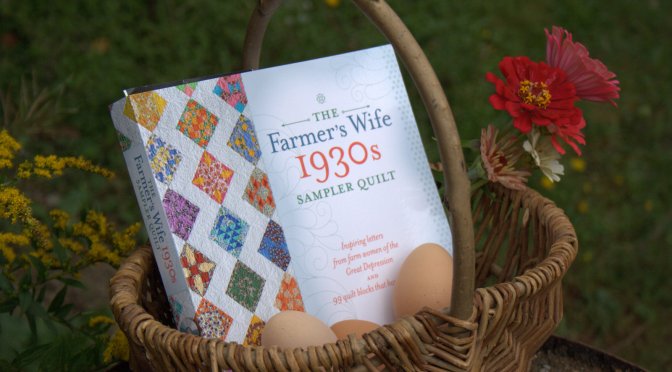
Note: Exact measurements for the pieces needed to construct this block will not be provided in this tutorial in order to protect copy write. It is a prerequisite of making this block that you have a copy of the book, The Farmer’s Wife 1930s Sampler Quilt: Inspiring Letters from Farm Women of the Great Depression and 99 Quilt Blocks That Honor Them. All measurements can be found in this book and its associated media. That said, even if you aren’t sewing along with us, I think you will find some really helpful tips in this tutorial that will help you look at all block construction more creatively!
Reflection on the Letter – Two Little Sparrows
The letters in this book continue to move me in their honesty and relevance in my life today. It’s amazing how similar the worries of today are to those of the farmer’s wives back in the 1930s. Losing sleep over financial stability seems to me to be part of the human condition. Especially at our current stage of life, growing a young family, recently having bought our first home, and working hard as a one-income family of five so that I may be a full time mom raising our children, my husband and I unfortunately do not escape the worries of making ends meet. Mrs. P. G.’s dream of two sparrows drawing nearer together when faced with the winds of adversity really resonated with me, and gives me renewed hope that “every little thing, is going to be alright” (thanks, Bob Marley, and Mrs. P. G.).
Tutorial
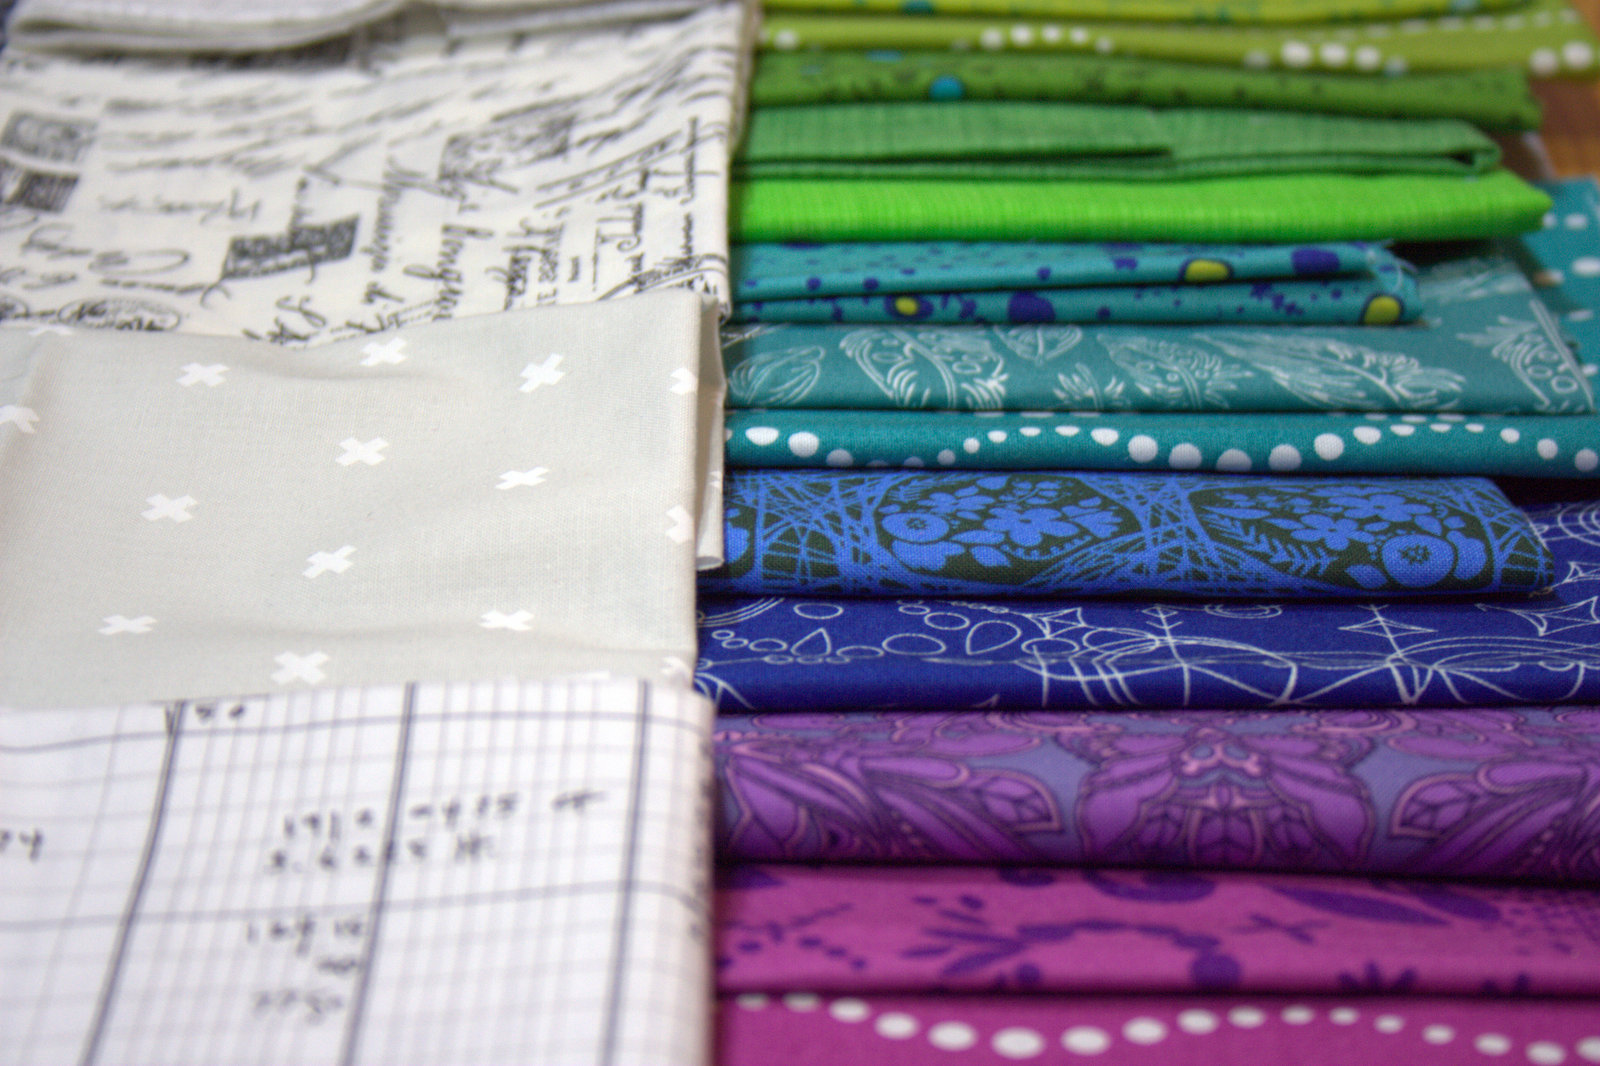
For this block, I specifically chose fabrics with small or nondirectional prints, so that I could quickly strip piece the components without worrying about fussy cutting or directionality. Note that I am arranging my final layout on-point, but for the purposes of being consistent with the diagram in the book, this tutorial pieces the block squared. If you plan to set your blocks on-point, be sure to account for that with any directional fabric placement.
 When broken into more manageable pieces, this block is composed of the center 9-patch, two pairs of mirror image blocks, and 8 surrounding triangles, cut with templates and/or a rotary cutter. I first made the blocks using strip piecing to speed up the creation of the components, and then sewed them all together. Let’s break it down.
Making the Center 9-Patch
In the book, the cream and yellow fabrics were used to make the #31E 9-patch. Choose your coordinating fabrics (I used black and orange and will refer to the fabrics as black and orange throughout).
 Cut one (1) 1 3/16″ x 19″ long strip of your cream equivalent fabric (I used black). Subcut two (2) 4″ long pieces. Set the remainder of the strip aside.
Cut one (1) 1 3/16″ x 16 1/2″ long strip of your yellow equivalent fabric (I used orange). Subcut one (1) 4″ long piece and one (1) 1 3/16″ square. Set the remainder of the strip aside.
*Measurement tip: 3/16″ is halfway between 1/8″ and 1/4″. Since the 1 3/16″ measure was used so often in cutting for this block, I marked it with painter’s tape on my ruler to help avoid confusion.
 Sew black strips to orange center as shown. I prefer to press my seams open for ease of matching seams and reduction of bulk. Feel free to press open or toward the darker fabric.

Cut into three (3) 1 3/16″ wide strips as shown.
 Next, carefully unsew one of the black squares. Sew the orange 1 3/16″ square to the other side to make the center strip for the 9-patch.
 This is a great time to use a leaders and enders project to help smoothly sew these tiny pieces without the fabric getting bunched in the machine. If you don’t have a leaders and enders project in progress, sew through a scrap piece of fabric before sewing the tiny squares together. This will help your stitches stay smooth despite the tiny fabric size!
 You now will have your three strips for your 9-patch.
 Carefully sew them together, pinning just after each seam join. Press seams open. Above shows my block, front and back. Note how nicely the pressed-open seams sit! Set your 9-patch aside.
Making the Mirror Image Blocks
In the book, the cream, yellow, and blue fabrics were used to make the remaining blocks, each comprised of a #31C and two #31D-#31E units. (I used black, orange, and yellow-orange fabrics and will refer to them as such throughout).
 Cut one (1) 1 7/8″ x 11″ piece from your blue-equivalent fabric (I used yellow-orange). Retrieve the fabric strips set aside during the 9-patch construction, and subcut one (1) 1 3/16″ x 11″ strip from the orange. From the black strip, subcut four (4) 1 3/16″x 2 5/16″ pieces. If you have the Marti Michell template set A, the A-3 template is exactly 2 5/16″ and can be used to easily cut the pieces.
 Sew the orange to the light orange as shown. Press seams open. Subcut the strip set into eight (8) 1 3/16″ segments. Using a ruler marked with painter’s tape as shown previously in this tutorial will help this step go quickly.
 **MIRROR IMAGE ALERT** At first glance the blocks above may look the same, but notice that they are actually mirror images. The two on top are mirror images of the two on the bottom. Carefully arrange your pieces as shown above, paying very close attention to the direction of the orange bits: orange bit facing down on the left and up on the right for the top two; orange bit facing up on the left and down on the right for the bottom two.
 Very carefully sew the blocks together, pausing midway to double check the alignment before sewing the second strip onto each center. Press seams open. Set these four blocks aside.
Cutting the Triangles
In the book, the cream fabric was used to make all of the triangles that comprise the background of this block. I used black fabric.
 Cut a 2″ x 18″ strip of black fabric. Using Marti Michell templates A-4 and A-6 or the templates provided in the media associated with the book, cut four (4) #31A and four (4) #31B pieces. The photo above demonstrates how to efficiently cut the pieces from the 2″ strip. One more #31A (the large triangle) and one more #31B (the smaller right triangle) remain to be cut in the photo above.
Assembling the Block
Now you have all of the components necessary for piecing Eva! Grab all of your blocks and triangles and let’s lay them out. Here is where the mirror image blocks can get easily mixed up. Take your time, cross referencing with the picture in the book or the photo above to make sure that all of your pieces are heading in the proper direction.
 *Note: The orange squares all converge in a horizontal strip in the center of the block. If an oval is drawn horizontally across the center, it should contain all orange squares.
Once you are sure you have your layout correct, I suggest that you take a photo with your phone for reference. Refer to it before each step, since it’s much easier to take a second look than to rip stitches to resew (ask me how I know! I began assembling the block before realizing that two of my orange bits were facing the wrong direction. Hello, bff seam ripper!)
 We will assemble this block in diagonal strips. Begin by sewing the large #31A triangles to either sides of the top right and bottom left mirror image blocks, and the top left and bottom right mirror image blocks to the center 9-patch. Press seams open.
 Next, sew the #31B triangles onto each unit.
 Finally, sew the top right and bottom left units to the center strip. I find it helpful to pin just after each seam match for perfectly matched seams. Between the pressed-open seams and the pin *just* after each seam, my block comes together just how I like it!
 Viola! There you have Eva, easy peasy! I love the look of this block set squared, but since my quilt blocks will be set on point, I decided to have her orange strip head uphill, since optimism makes the world a brighter place, and the letter encourages sticking together in the face of the winds of adversity. Chin up, here we go!
Thank you so much for joining me today and I hope you found this tutorial helpful!
Important Links
- All the block tutorials by Angie and bloggers.
- FAQs for the sew along.
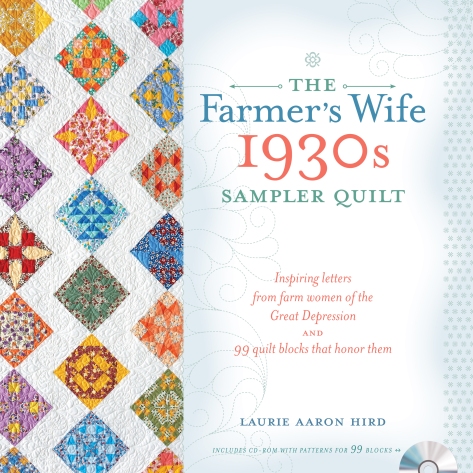 The Farmer’s Wife 1930s Sampler Quilt: Inspiring Letters from Farm Women of the Great Depression and 99 Quilt Blocks That Honor Them by Laurie Aaron Hird for Fons & Porter/F+W; RRP $28.99 – Click here to purchase.