Tag Archives: ocean

Quilt Theory Debut – Ocean Path

quilt theoryIt’s finally time to share one of the big “secret sewing” projects I’ve been working on behind the scenes for the past few months! Those of you who are also on social media have most likely seen the announcement that I have teamed up with six (6) other pattern designers to launch a new company called Quilt Theory. Today is my day to introduce you to my pattern called Ocean Path, its inspiration and creation, and tell you a bit more about Quilt Theory. You also will have a chance to win a copy of my pattern, Quilt Theory coloring pages, and all of my Art Gallery Pure Elements scraps (enough to get you amply started on your very own Ocean Path Quilt) and Aurifil thread.

Ocean Path

ocean path quilt white brick quilt theoryFirst, I’d like to introduce you to Ocean Path, my contribution to the debut Quilt Theory pattern line. Our underlying theme for this first collection of patterns was “Where can your quilt take you?” since the designers that comprise Quilt Theory live all across the country.

ocean path quilt theory pattern
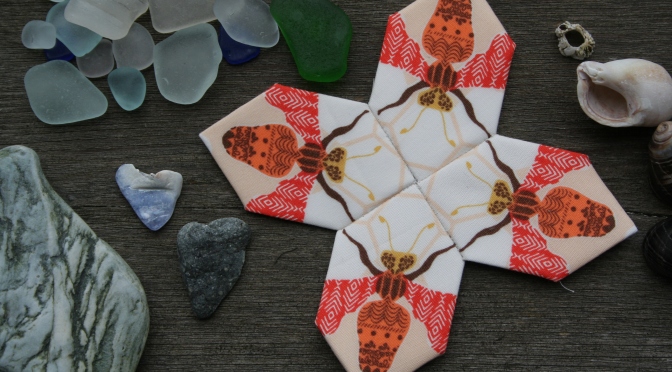
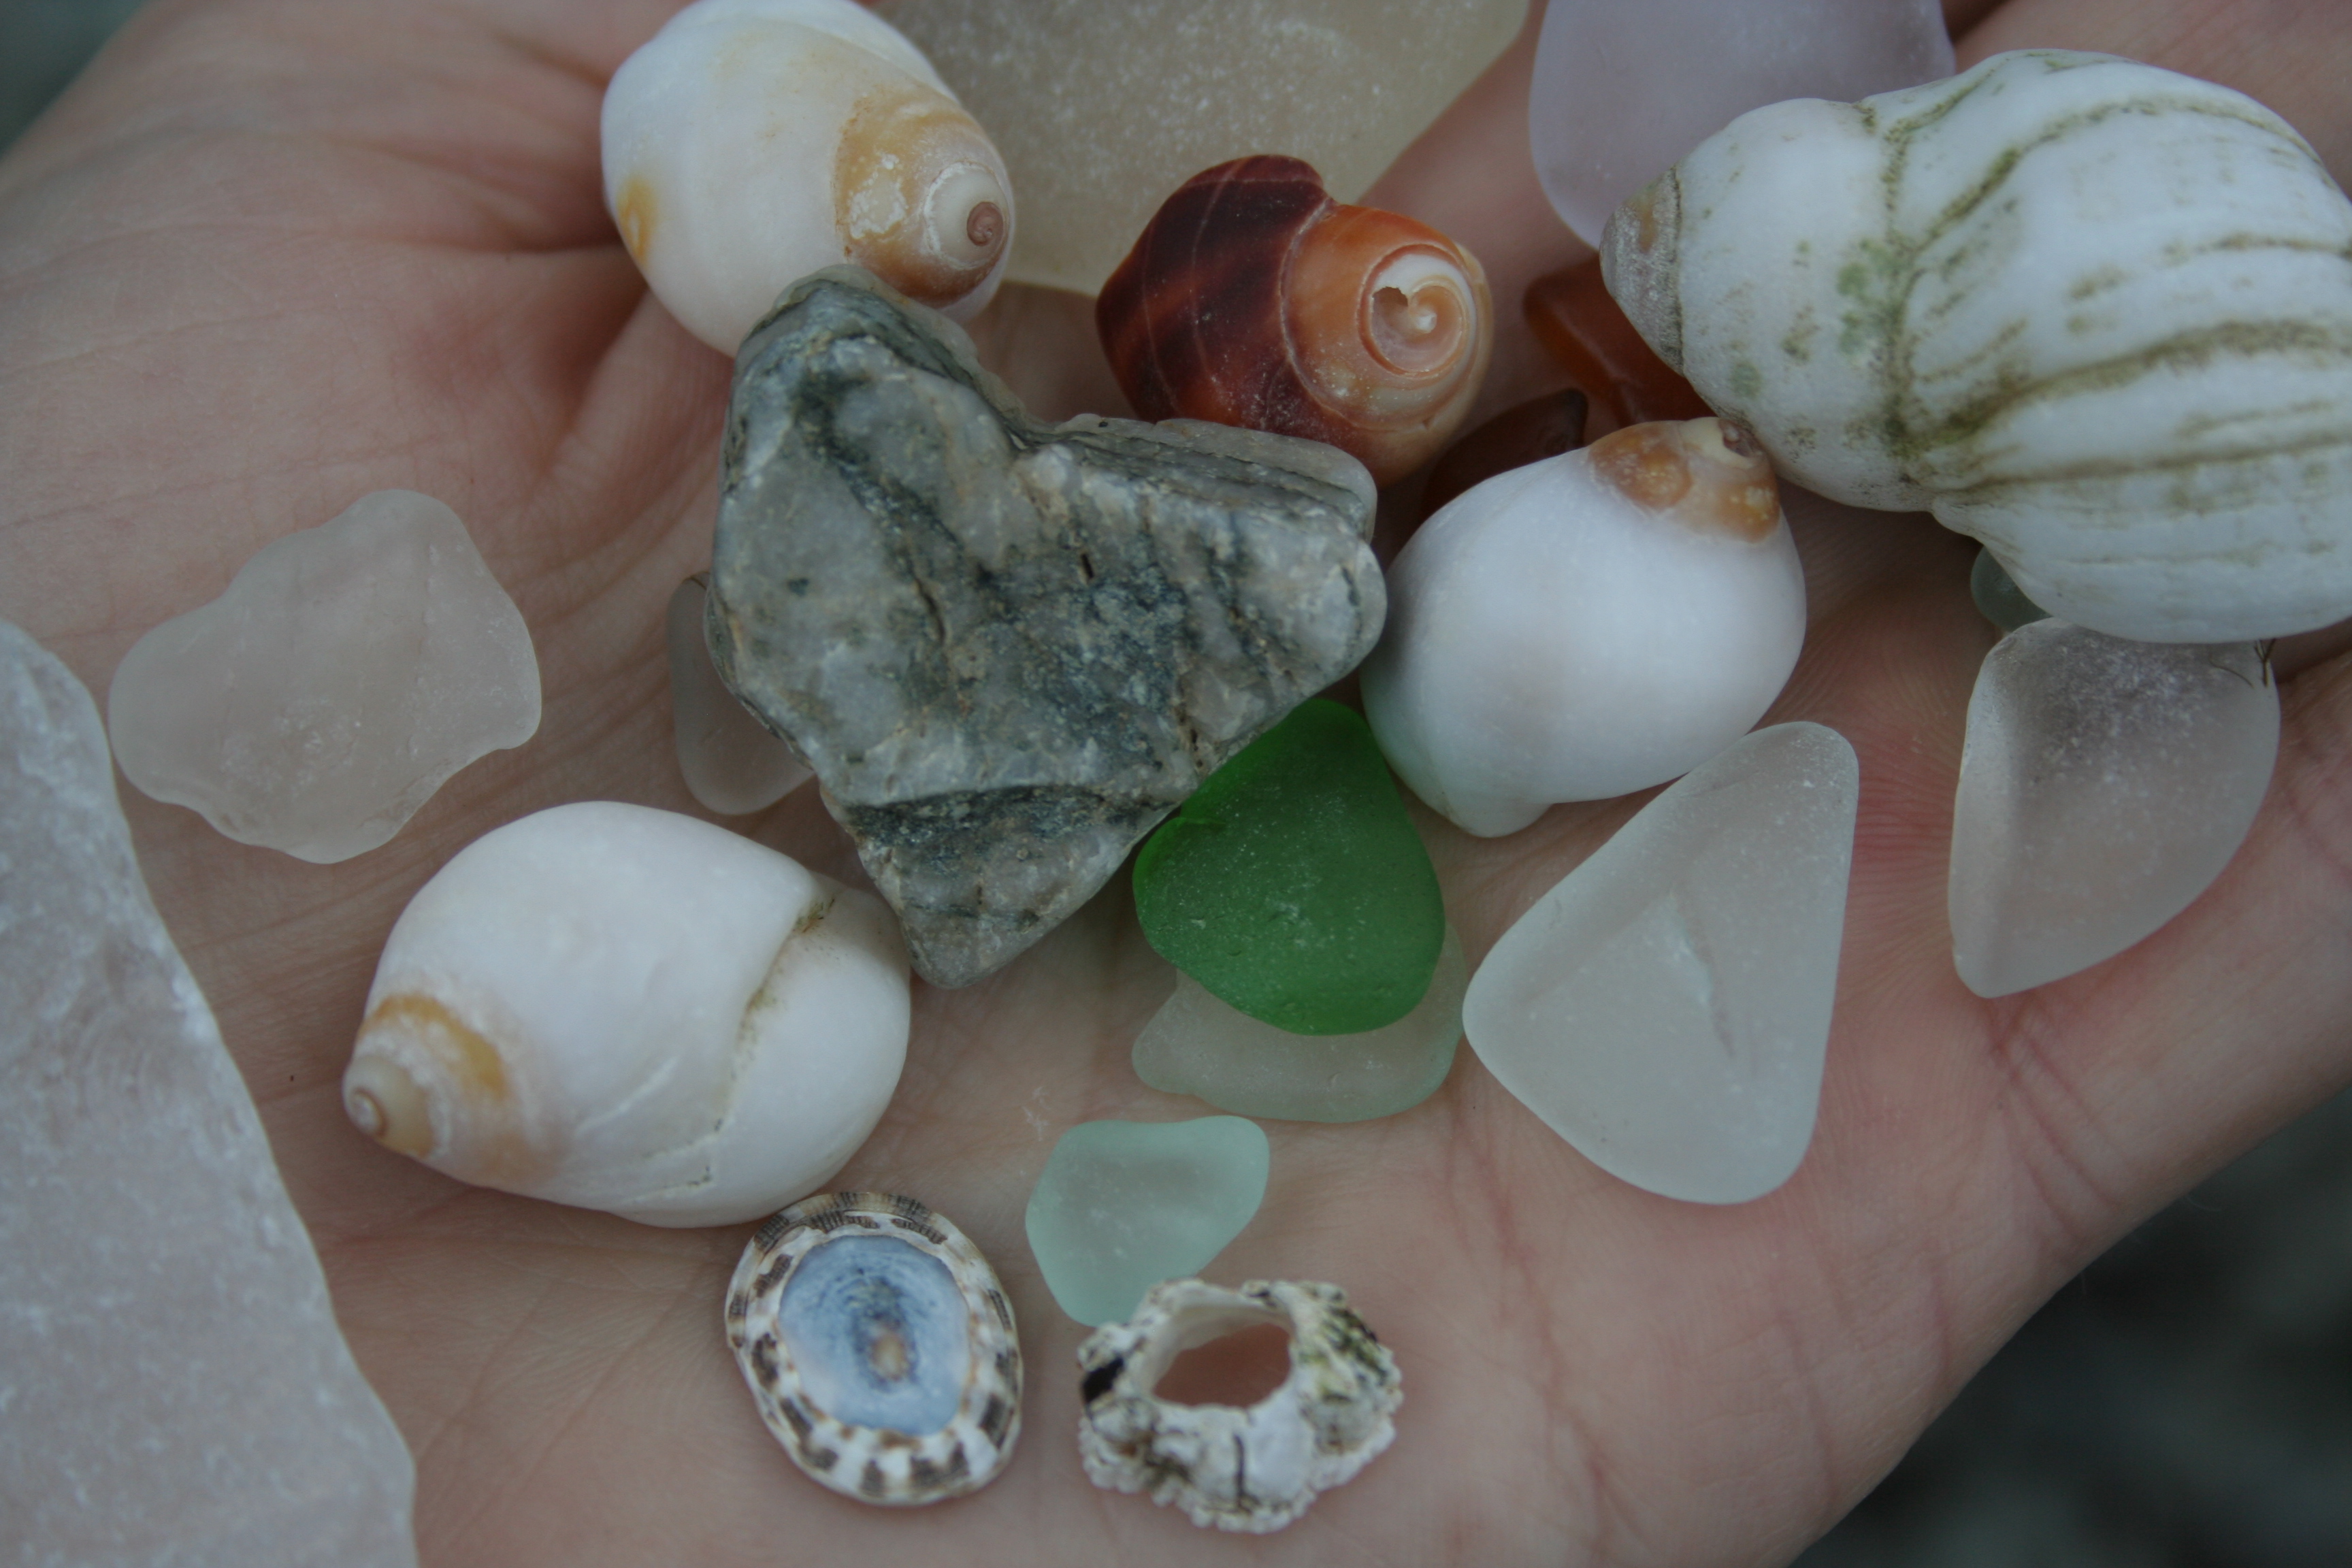
Living in midcoast Maine, an ocean path felt like the perfect inspiration for my quilt. I wanted to embrace the simple beauty of nature while providing a pattern that could be adapted to fit any color scheme, style, or decor.

quilt theory ocean pathI should note here that the stunning photos included in this post were taken by Michelle Bartholomew all the way across the country in Washington state. Michelle is the mastermind behind Quilt Theory, a talented quilter and photographer, and I’m so grateful to be working with her!

ocean path quilt theory pattern
Oh, how it glows!

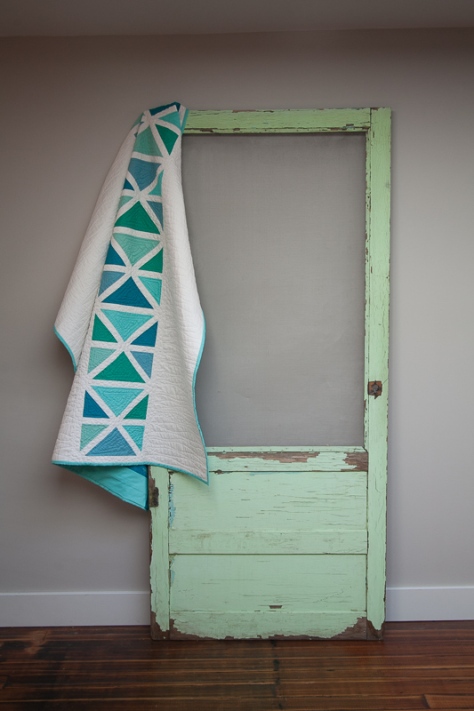
There’s something about the simple beauty of the ocean–the clean lines, soothingly subtle color play, and oh so much space to breathe that makes my heart happy–-and I aimed to captured it all in this simple yet striking pattern. I would like to think that you can take a stroll along the coast through the making of the Ocean Path quilt.

quilt theory ocean path
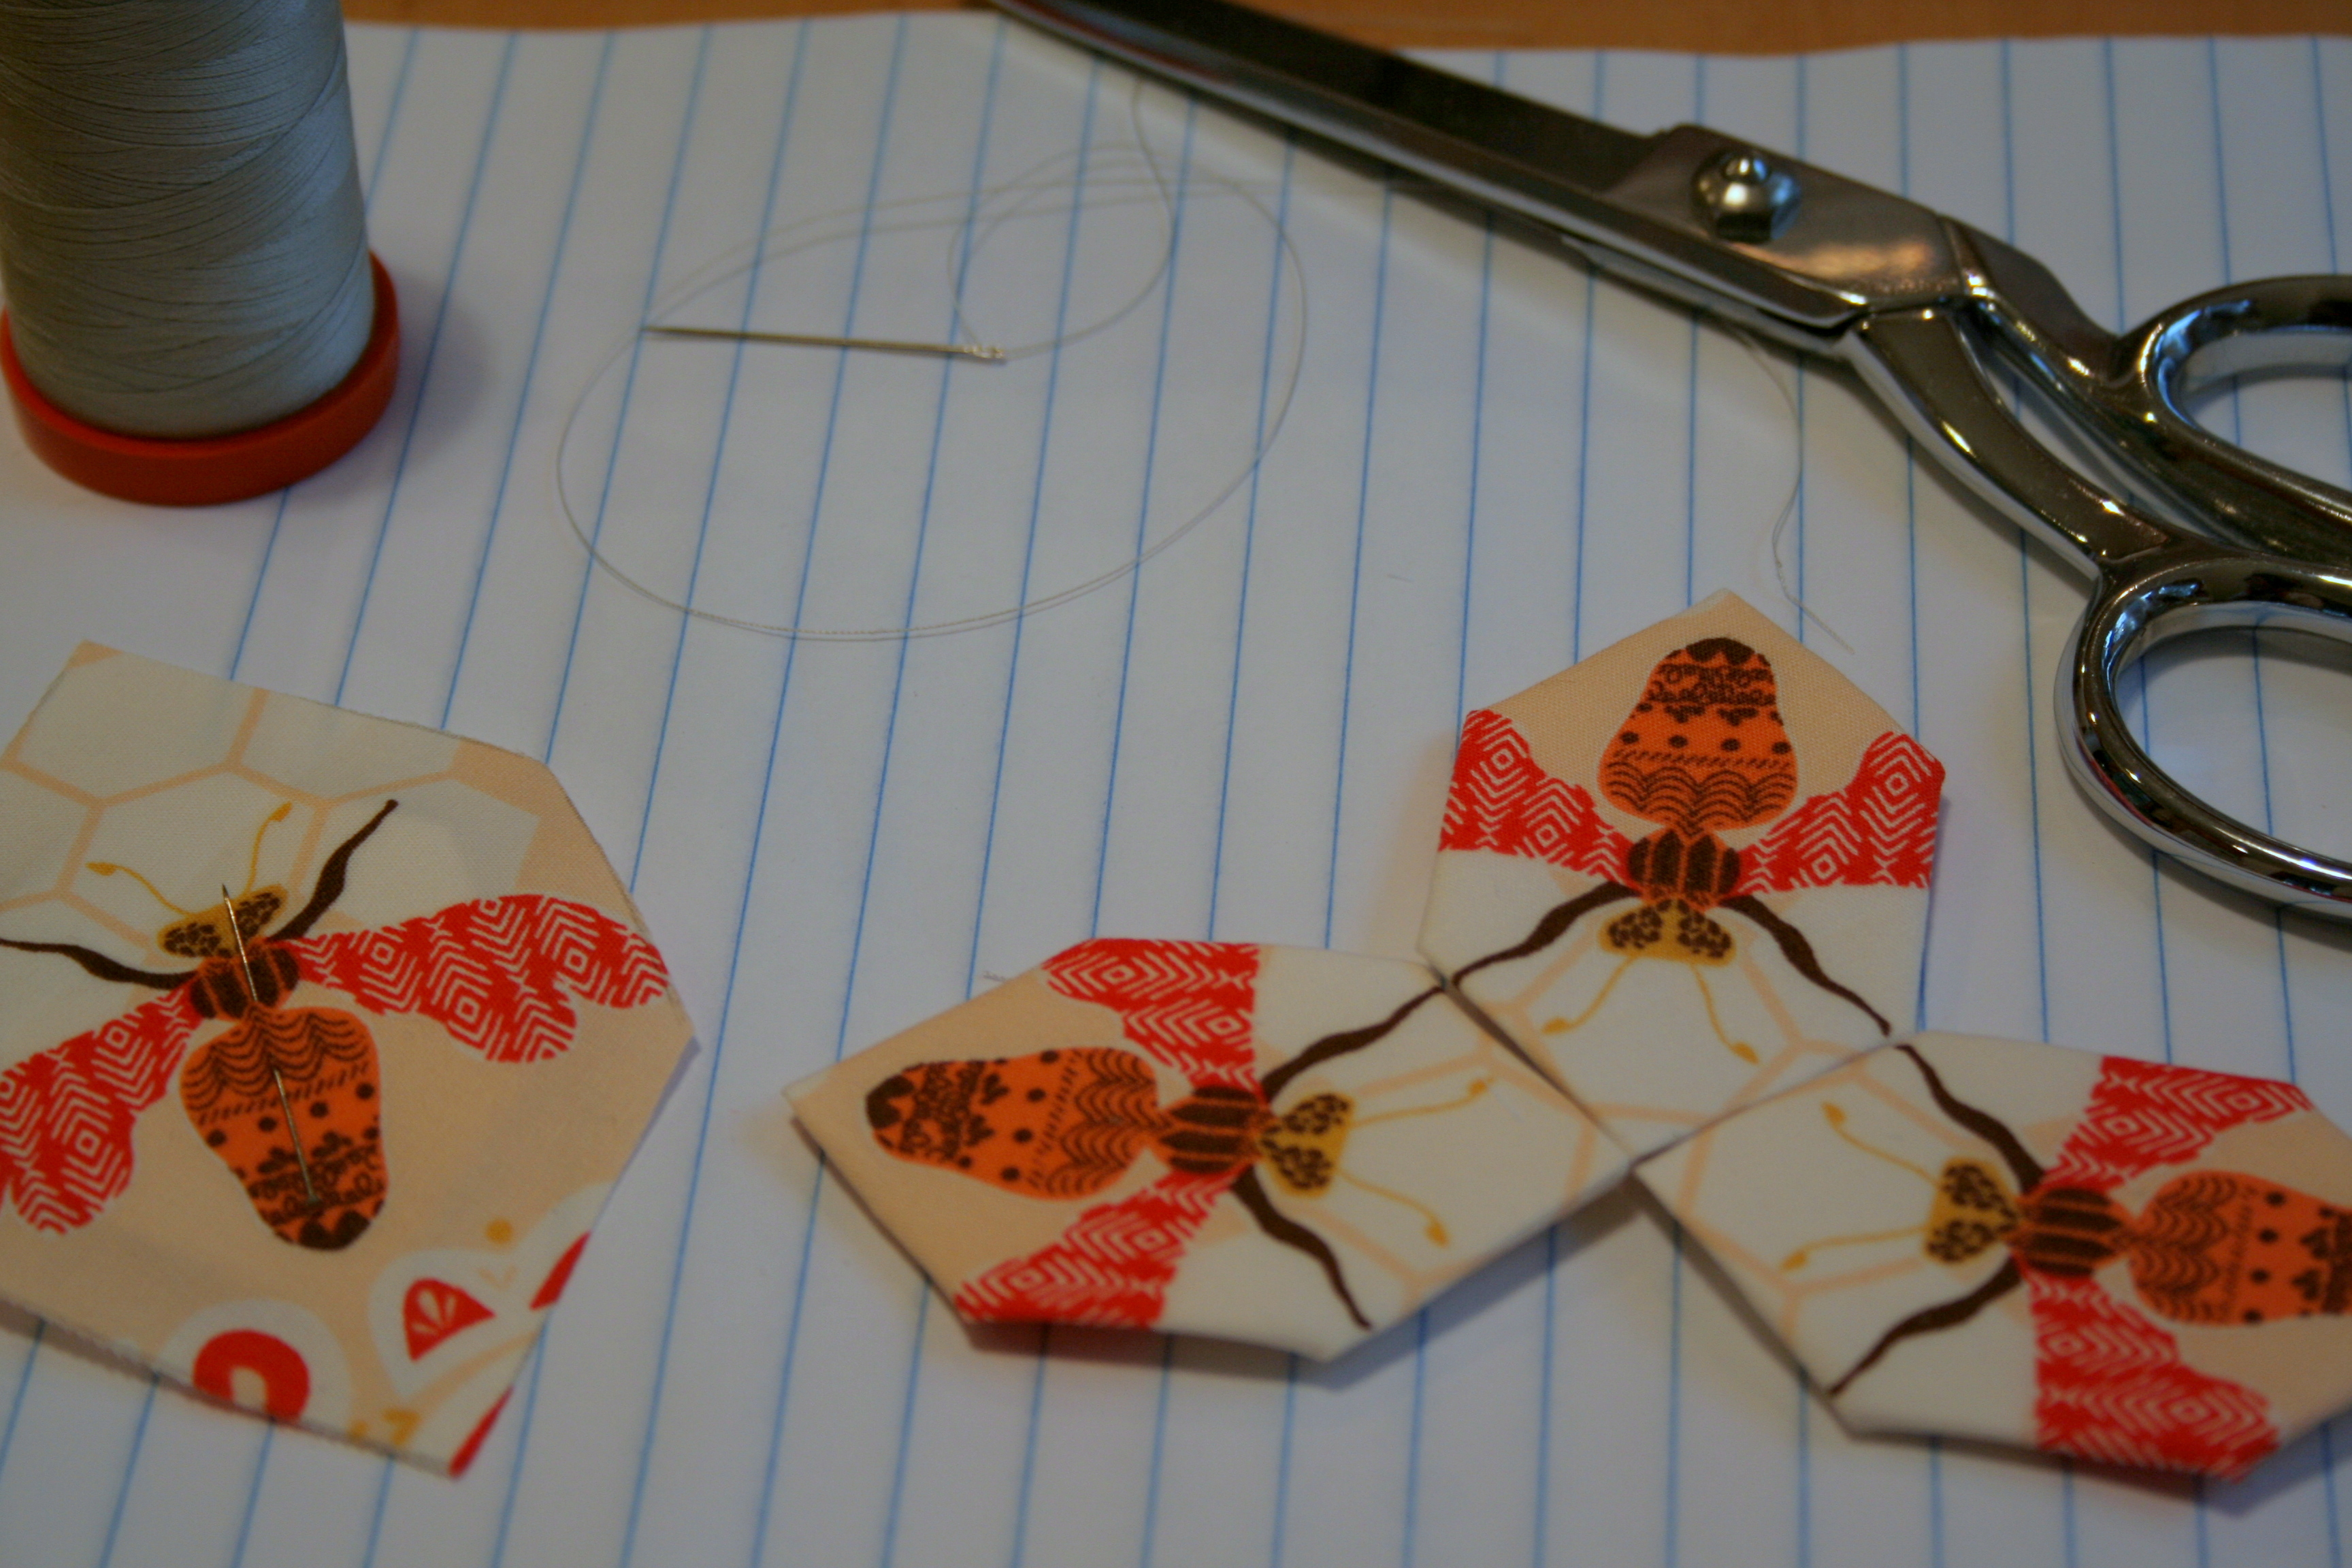
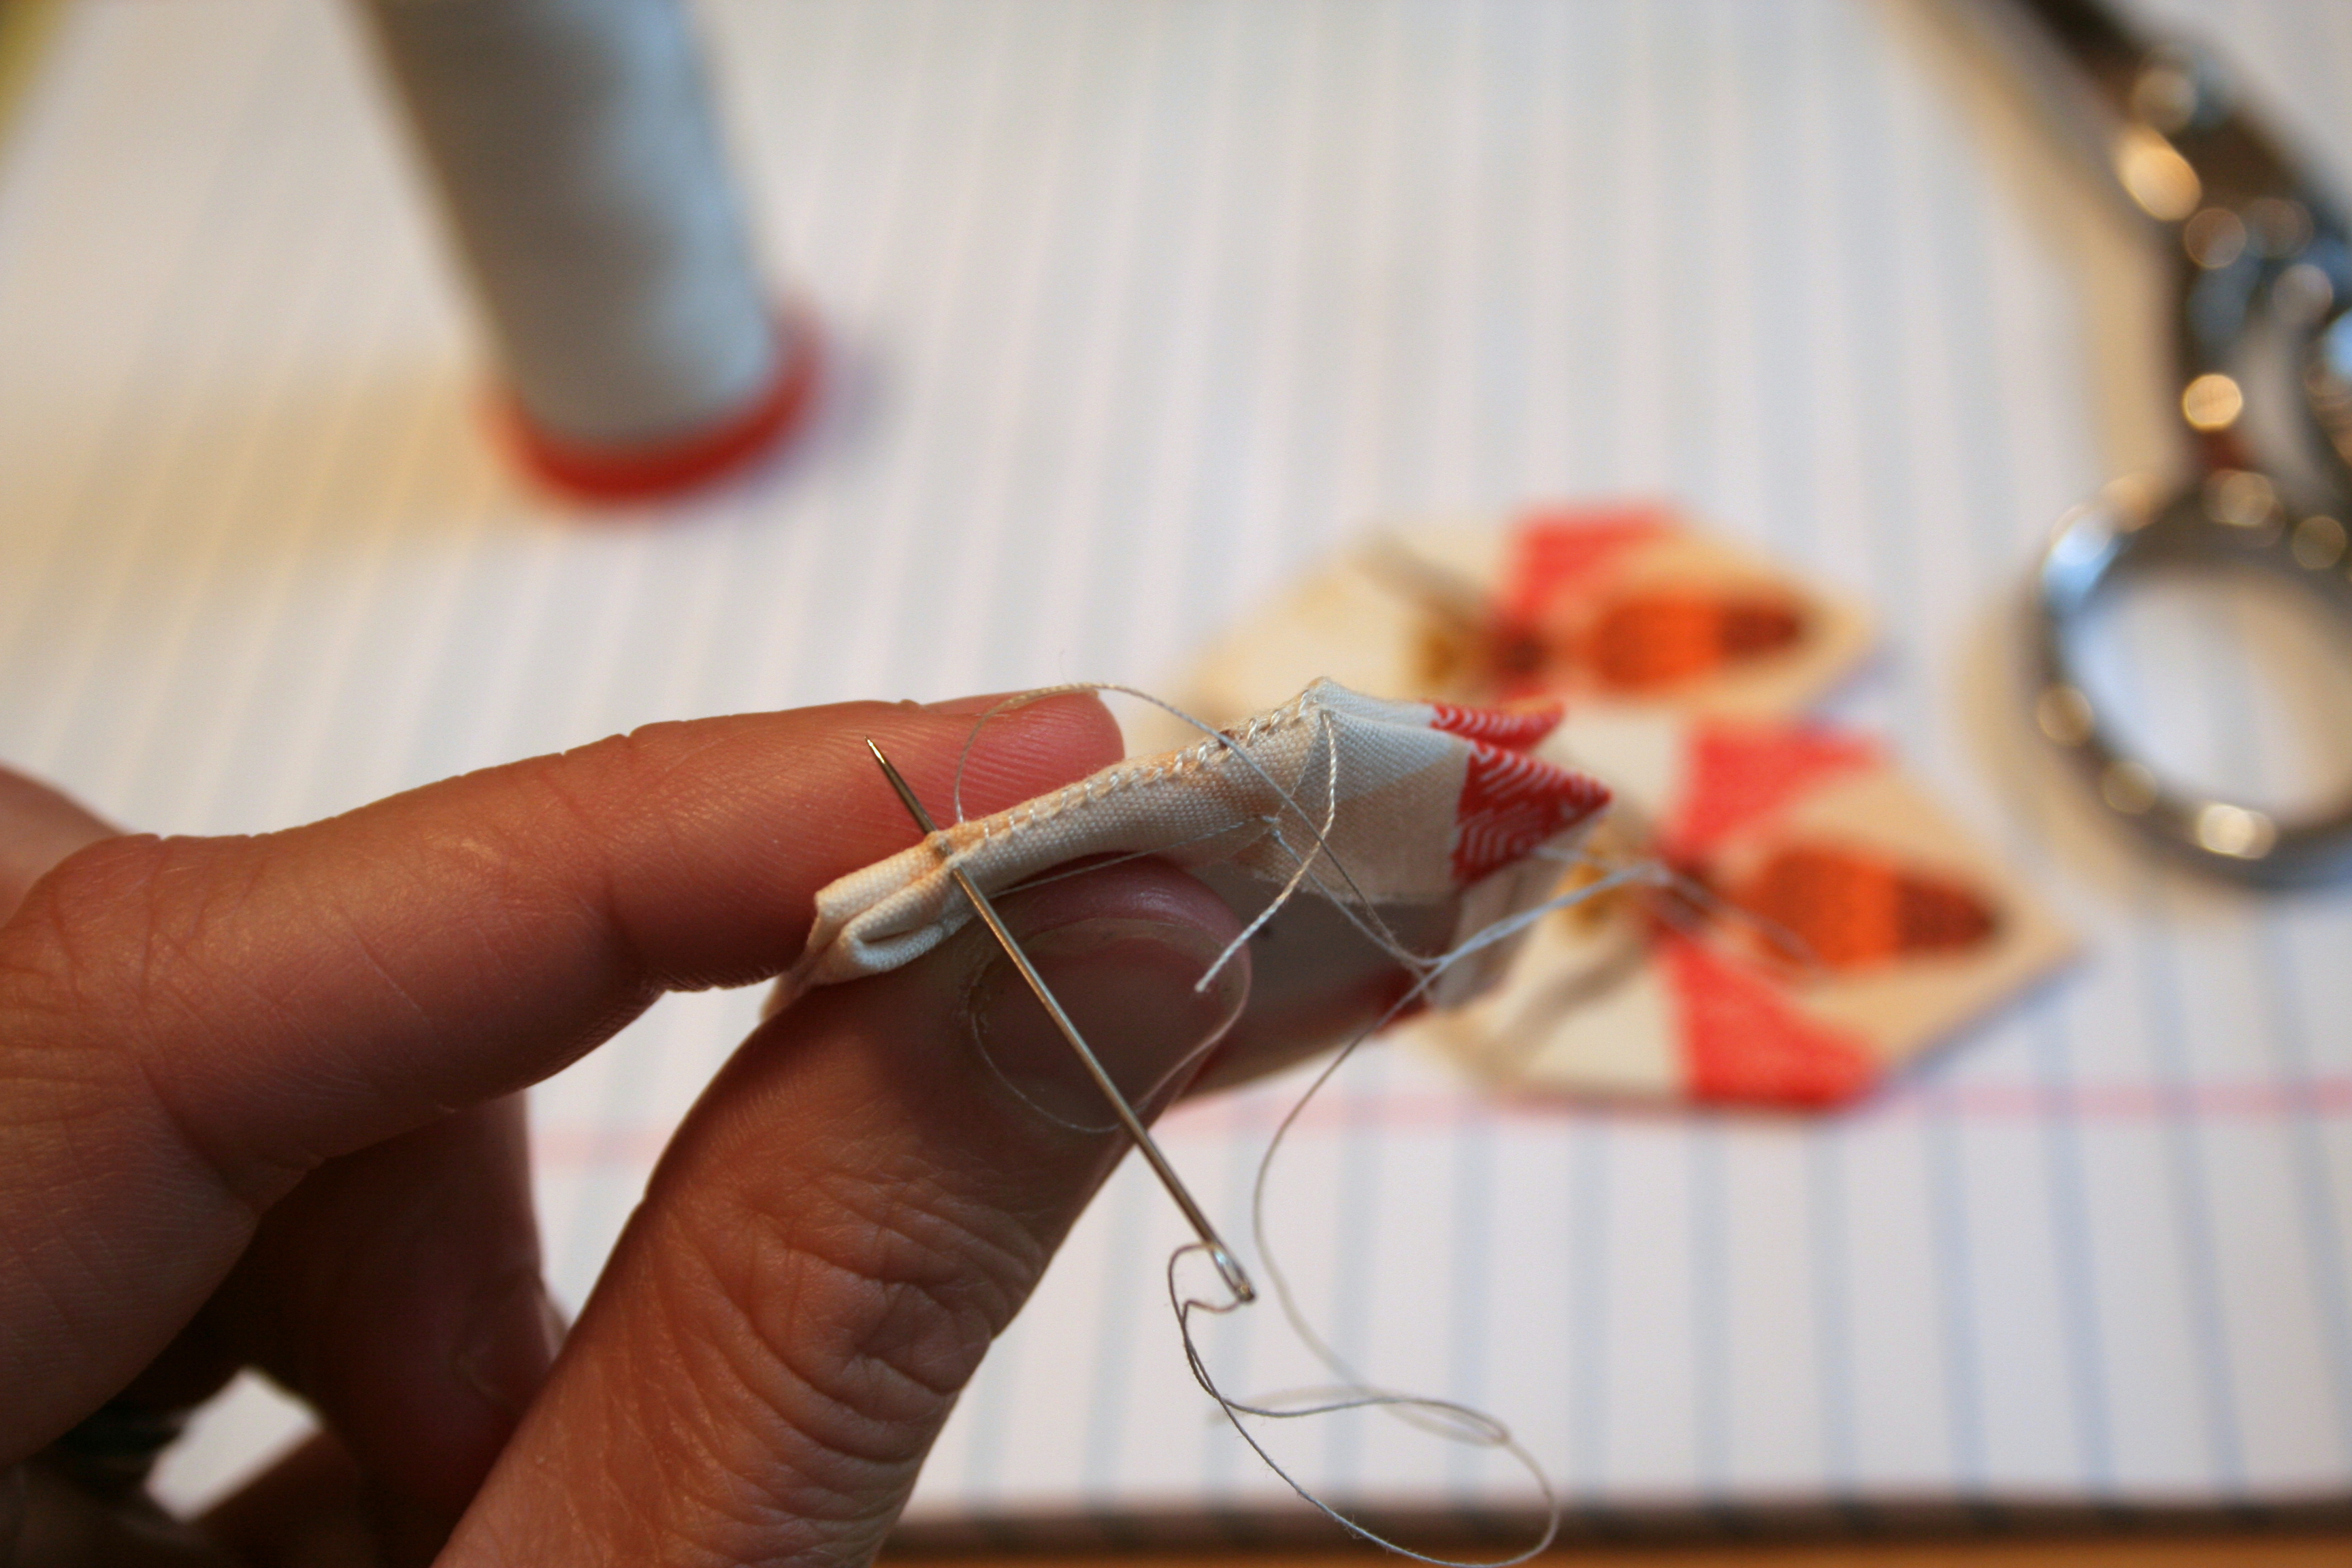
Using simple construction from easily cut triangles and sashing, this quilt comes together in a breeze. Generous negative space provides room for intricate free motion quilting, or you could finish it with simple modern straight line quilting.

quilt theory ocean path
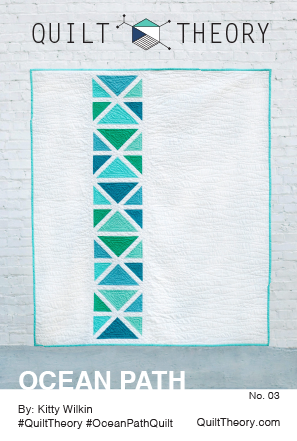
Many thanks to Art Gallery Fabrics for providing the beautifully soft Pure Elements fabric for this quilt. I used Tile Blue PE-418, Emerald PE-417, Ocean Waves PE-442, Warm Wave PE-464, and Mirage Blue PE-424 for the feature triangles. The background and sashing are Snow PE-433. The backing is Seawater NE-123 from Skopelos by Katarina Roccella, which is the absolute perfect fabric to back this design!

quilt theory ocean path urban in cashmere
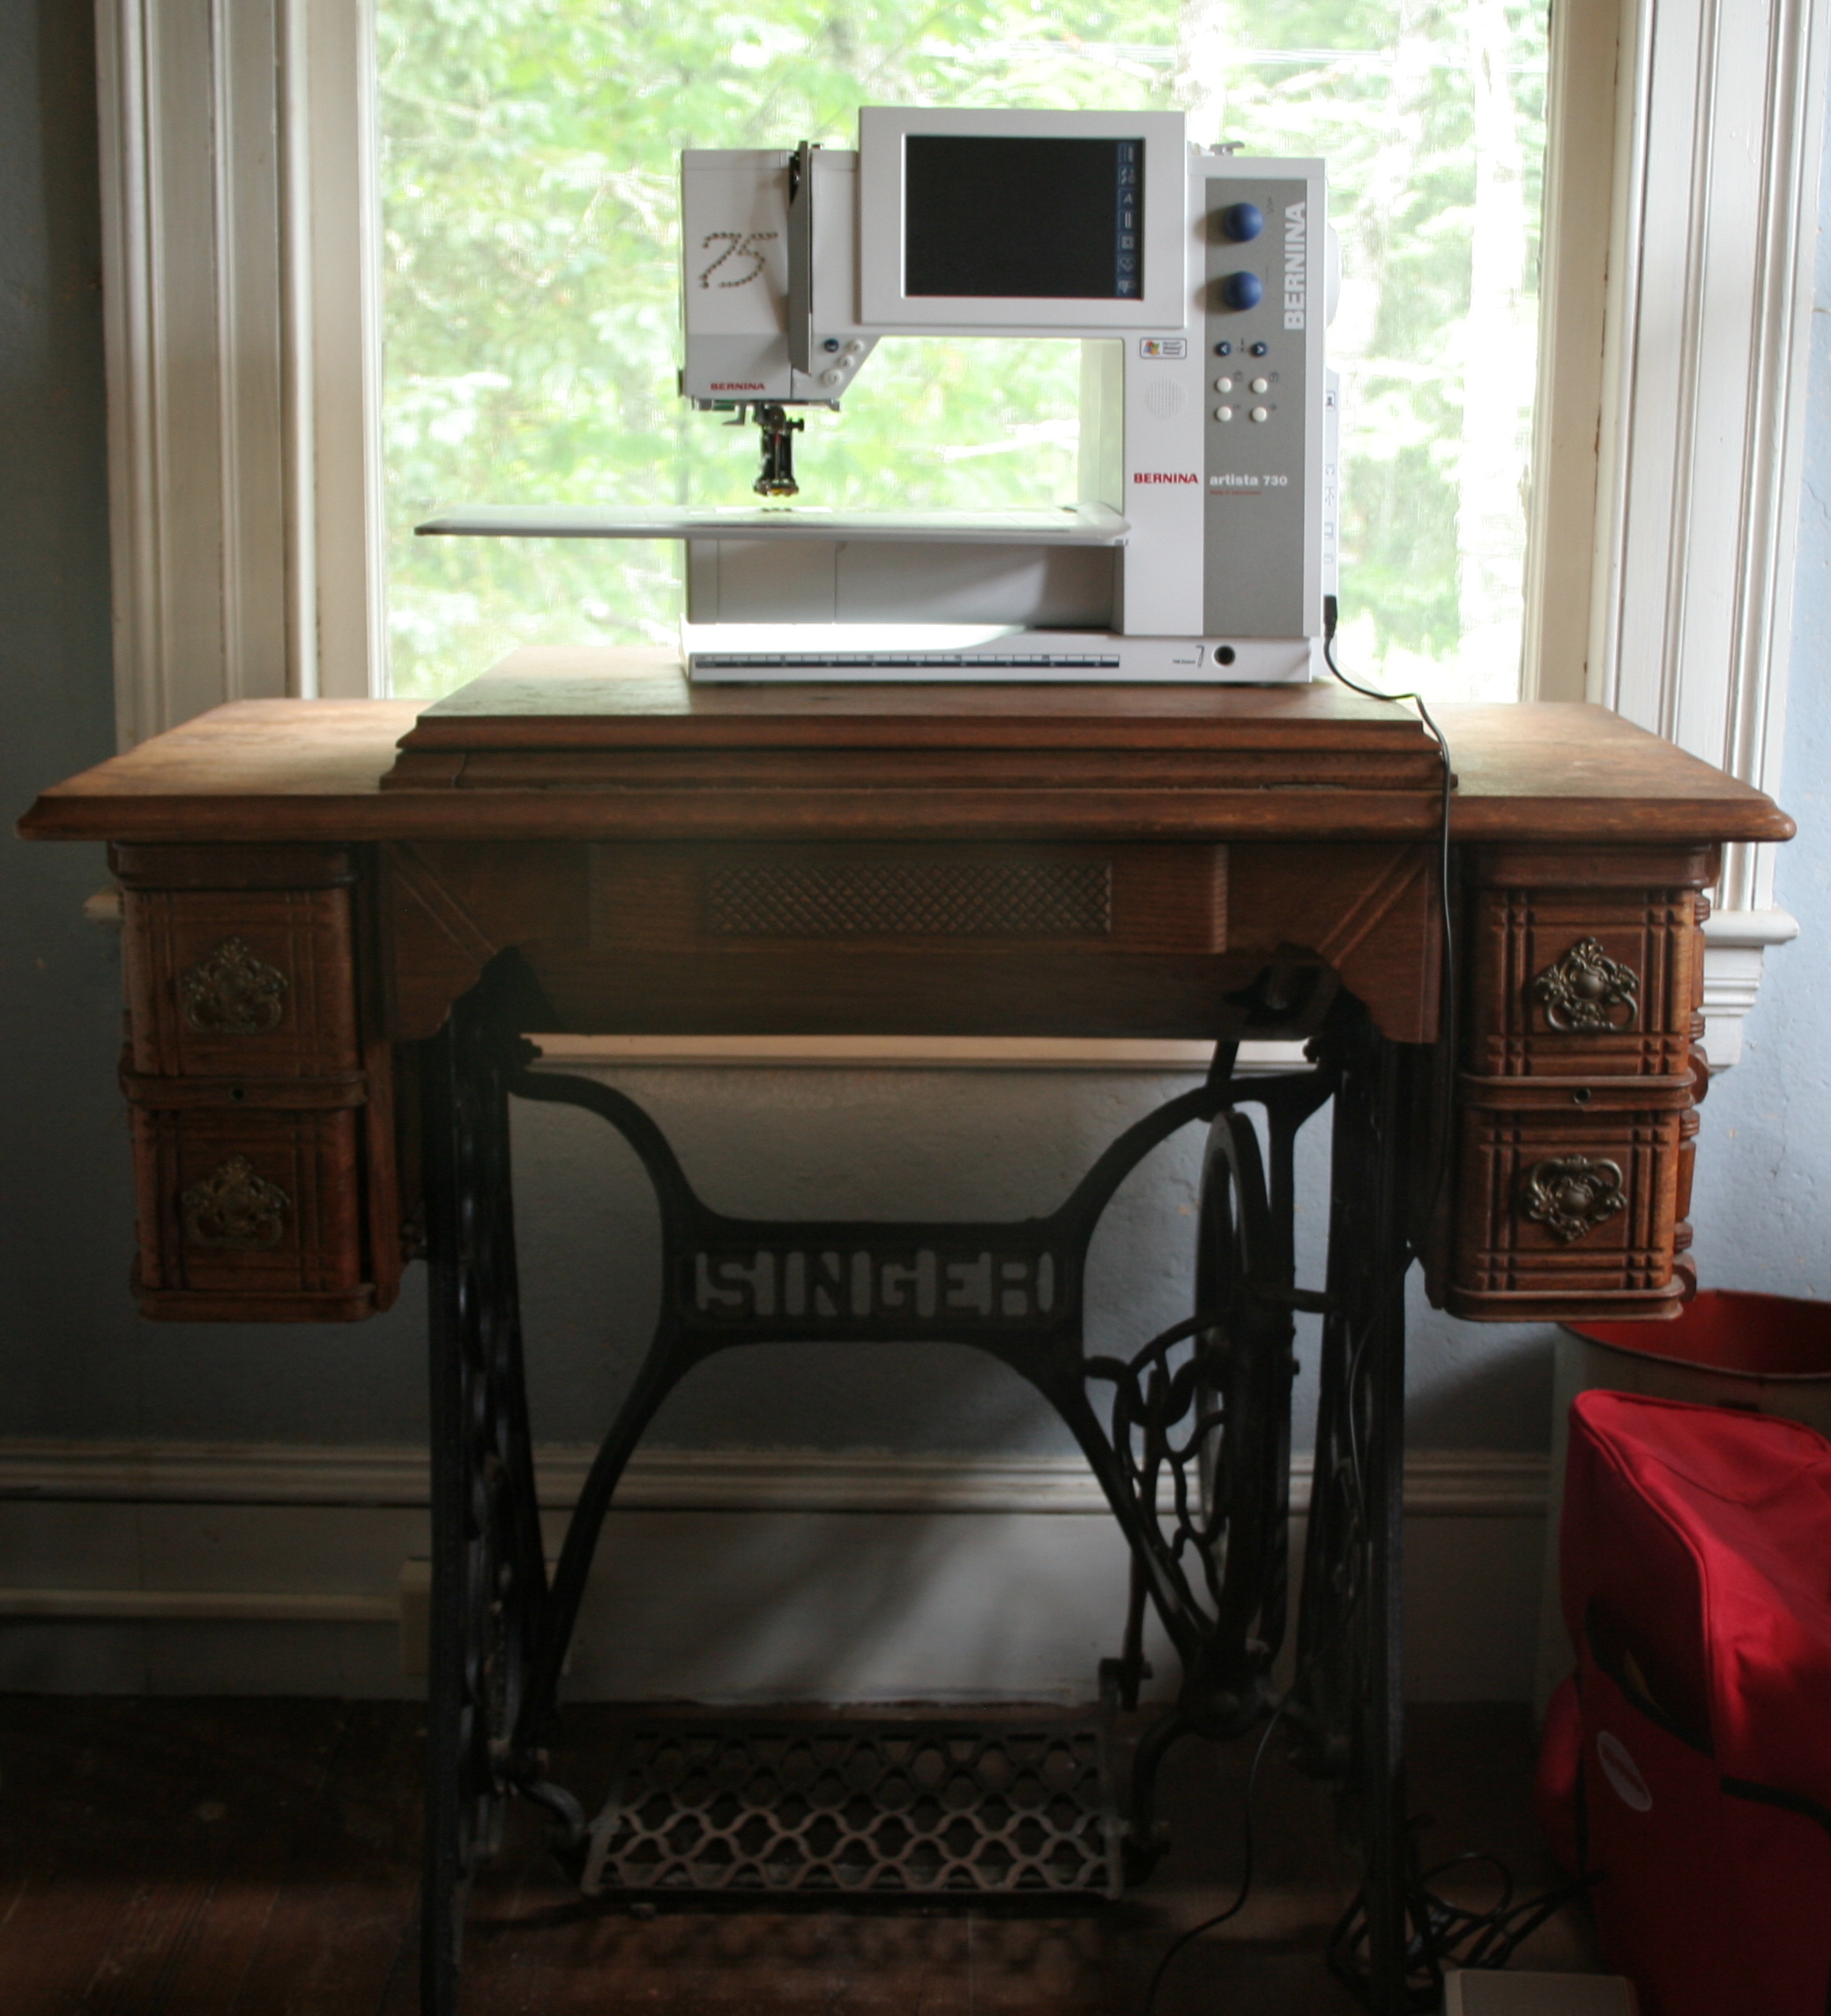
I quilted Ocean Path with echoing, organic triangles within each colored portion using 50wt Aurifil variegated 4654-Seamist. I quilted the bulk of the background with organic horizontal wavy lines with 50wt 2021-Natural White using the walking foot on my Bernina 560, and went a little wild and free motion quilted pebbles into all of the sashings between the triangles and drifting out into the wavy lines. It was one of those times that once I had the vision in my head, there was no turning back. I’m excited to report that it turned out pretty much the way I hoped! I did all of my piecing with 50wt Aurifil 2021-Natural White and 2600-Dove. Many thanks to Aurifil for providing the thread!

I think Ocean Path would look equally striking in many other color combinations–from fiery reds and oranges on a dark background, to the soothing calm of cool colors on a light background. I can’t wait to see your version!

quilt theory ocean pathAll of the Quilt Theory patterns are simple enough to be printed on 4″x6″ cards or a single page downloadable pdf. At only $3 each, they are perfect for gift giving or collecting, too!

About Quilt Theory

Let me tell you a bit more about the designers behind Quilt Theory.

Quilt Theory pattern mosaic
2016 collection of Quilt Theory patterns.

In February 2016, a group of quilters connected to cultivate relationships with others running businesses in the quilting industry. A tight-knit group was quickly woven together as we shared successes, answered questions, and supported one another. What started as a way to collect real-time insight and expertise quickly evolved into an opportunity to collaborate.

Our goal at Quilt Theory is to create simple and modern quilt patterns, and we challenged ourselves to design a line of patterns printed on small cards. As a group, we have become a strong team as we worked through pattern writing, testing, editing, and quilting.

quilt-theory-designers-row
Quilt Theory Designers (l to r): Cheryl Brickey-Meadowmist Designs, Daisy Aschehoug-Ants to Sugar, me!, Yvonne Fuchs-Quilting Jetgirl, Lorinda Davis-Laurel, Poppy and Pine, Stephanie Palmer-Late Night Quilter & The Quilter’s Planner, Michelle Bartholomew

Quilt Theory designers have been featured in 20+ major quilting publications and international quilt exhibits. Combined, we have 47 years of quilting experience, and we are excited to share our debut collection for Fall 2016.

How to buy or stock Quilt Theory patterns

You can buy either individual or a pattern collector’s package of PDF patterns through our Quilt Theory website right now! 

Pattern cards will be coming soon to a local quilt shop near you! If you are a quilt shop and want to carry our patterns, set up a wholesale account here, or order through Checker Distributors.

Want to buy the cards, but don’t own a quilt shop? Let your local quilt shop know you want them to carry Quilt Theory patterns (click for a handy note to send to your favorite local quilt shop!)

Now, for the Giveaway!

quilt-theory-ocean-path-4x6-kitty-front-01To celebrate the launch of Quilt Theory, I am giving away a copy of my pattern, Ocean Path (printed or PDF, your choice!) along with a PDF of all of the Quilt Theory Coloring Pages. I’m also including all of the fabric leftover from the making of my quilt, which contains enough fabric to get you amply started on your Ocean Path quilt, plus the rest of my large spool of color coordinating 50wt variegated Aurifil thread in 4654-Seamist.

To enter the giveaway today, tell me what color way you would use to create Ocean Path. Leave a comment and make sure I’m able to get ahold of you if you win.  For an additional entry, leave another comment telling me how you follow Night Quilter (email list, instagramfacebook, twitter, blog follower, etc.) Follow Quilt Theory (facebooktwitter, Instagram, etc.) and tell me how in a third comment for a third entry.

This giveaway is open to US and international participants.  The giveaway will be open until Sunday, October 16th, at midnight eastern time when I’ll select the winner randomly with random.org. Giveaway is open to participants 18 years or older. *If you buy my pattern and then you win it, I’ll refund you or let you pick out another free Quilt Theory pattern! This giveaway is now closed! A winner will be announced shortly!

Be sure to visit the rest of the Quilt Theory designers this week during our blog hop.

Quilt Theory Release Blog Hop Schedule

Friday 10/7 – Quilt Theory
Saturday 10/8 – Yvonne @Quilting Jetgirl
Monday 10/10 – Daisy @Ants to Sugar
Tuesday 10/11 – Cheryl @Meadow Mist Designs
Wednesday 10/12- Kitty @Night Quilter <—-You are here!
Thursday 10/13 – Michelle @Michelle Bartholomew
Friday 10/14 – Stephanie @Late Night Quilter
Saturday 10/15 – Lorinda @Laurel Poppy and Pine
Monday 10/17 – Quilt Theory

I’m linking up with Crazy Mom Quilts’ Finish it up Friday!

Color Inspiration Thursday {11}

This week you will get another glimpse into the colorful world of the Maine coast. Meanwhile, I’m driving all day long with my husband and two small children, off toward Ohio for our next family vacation! You get the better end of the deal, I think, but I hope to have some new fun photographs for next week’s color inspiration.

As always, the color palettes are created using Play Crafts’ Palette Builder 2.1 and my photographs.

seaside treasures color palette

Corresponding Kona cottons from left to right:
Charcoal, Steel, Pewter, Dusty Blue, Sweet Pea, Black

I love to get a really close look at the stones and shells at the beach. What from above looks like a bunch of rocks, when inspected from an inch or two away, is an entire world of complex beauty. Tiny bits of shell, stone, sea glass, and even pieces of sea creatures create a gorgeously intricate scene.

yellow bucket in the surf color palette

Corresponding Kona cottons from left to right:
Steel, Fog, Wasabi, Yarrow, Sunflower, Raffia

Vacationing with children, there are sure to be little splashes of color in the form of buckets, shovels, and other beach toys. I couldn’t resist a photo of this bright yellow bucket in the surf, and I love the color palette that resulted. Yellow and gray are GREAT together!

lobster maine coast color palette

Corresponding Kona cottons from left to right:
Pepper, Coal, Spice, Earth, Primrose, Shale

A lobster tail washed up onto the beach, providing the perfect finale for the Maine coast color palettes. After all, Maine and lobster are synonymous according to some people. I have really loved the heavy presence of gray in many of these coastal color palettes, and I love how well gray plays with the pops of color that emerge in other details.

I hope these color palettes inspire you, and I would love to see any quilts that you create using these palettes!

Color Inspiration Thursday {10}

Greetings from the coast of Maine! This week, my family is vacationing on Hancock Point, Maine, with my husband’s family. We’ve had a solid mix of sunny and stormy weather, but the forecast looks promising for the remaining two days of our trip. Despite the rain, I’ve taken hundreds of photos since we’ve arrived (does anyone else have a penchant for filling camera card capacities in record time?!), both of my kids enjoying playtime with Grammy, Grampy, and Aunts and Uncles, and of course plenty of shells and rocky coast. Be prepared for a good month of Maine coast-fueled color inspiration!

Here are the inspiration color palettes for the week, created with Play Crafts’ Palette Builder 2.1 and my own photographs.

crashing tide color paletteCorresponding Kona cottons from left to right:
Baby Blue, Charcoal, Moss, Dresden Blue, Raffia, Biscuit

A Maine coast inspired day would not be complete without a photograph of the gorgeous crashing tide on the seaweed and barnacle-bedecked rocks. I have loved watching the tide ebb and flow, and our view of Acadia (that’s Cadillac Mountain in the background) makes the view that much sweeter. There is something peaceful about the gentle sway of the seaweed as the waves bring the tide in or out, even with the smashing spray on the rocks. I love this color palette exactly as it formed. To me, it’s quintessential Maine coast: peaceful and earthy.

peach starfish and child color palette

Corresponding Kona cottons from left to right:
Steel, Sable, Smoke, Black, Moss, Charcoal

Exploring the treasures that abound along the coast is especially exciting with my two- and four-year-olds. There is nothing like the endless wonder of a child encountering nature’s beauty. This starfish is being gently held by my normally rambunctious two year old son. He didn’t even throw the rock into the water after holding it–amazing!

sea glass maine coast color palette

Corresponding Kona cottons from left to right:
Ash, Shale, Old Green, Stone, Black, Charcoal

Never in my life have I found more perfectly polished and abundant sea glass than on this private home’s beach on Hancock Point. I love sea glass, and simply stacked on a smooth, dark, Maine stone, this palette brings me so much joy and peace. A bit of gentle turquoise (Shale meets Old Green) and light grays, with the solid foundation of the black/charcoal stone.

Enjoy these first peeks into my week. There will be more Maine coast palettes awaiting you next Thursday!

Vacation Rainy Day Sewing: First Foray into English Paper Piecing

I never wish for rain while I’m on vacation, and this trip isn’t any different. Sometimes, though, you get rain even if you don’t want it. We are on vacation on Hancock Point, Maine, for the week with my husband’s family. The rental house is right on the ocean and has an amazing view of Bar Harbor and Acadia, located directly across the bay.

Acadia and Bar Harbor as seen from our rental house on Hancock Point, Maine.

Until today, we have had gorgeous weather and have spent much of our time swimming (or quickly dipping, in my case) in the ocean or walking along the beach looking for treasures. I don’t think I could ever tire of gazing at the beauty left by the tides.

Swimming in the ocean in Maine

Rocky coast beach treasures in Maine

maine beach treasures

Today, it is cold, dreary, and pouring. In trying to beat the rainy vacation day humdrums, I decided to pull out my sewing stuff. This morning I tried my hand at English Paper Piecing, starting with the fussy cut center for a Lucy Boston Patchwork of the Crosses. I must say, handwork is quite fun!

english paper piecing on vacation

Lucy Boston Patchwork of the Crosses EPP

Lucy Boston Patchwork of the Crosses center

I had to unstitch and retry one of the honeycomb pieces since the pattern didn’t even come close to lining up on one side. Admittedly, it wasn’t a whole lot closer after I redid it, but I decided to go with it.

IMG_3680

Having never done any handwork before, I felt like I was flying by the seat of my pants. How far apart should the stitches go when joining pieces? How exactly does one “whip stitch” the corners? I think I did two whip stitches, but it seems to have worked for the moment. I can see the stitches a bit, but my mother-in-law said that the slight peek of stitches is part of the charm of hand sewn creations. I’ll take her word for it.

Beach rainy day sewing patchwork of the crosses

I can certainly see why so many people travel with their English Paper Piecing projects. Progress is made in small bits, so it is easy to pick up and put down as needed. I finished sewing the center four honeycombs together at the breakfast table this morning, and once I figure out what color scheme to go with for the rest of it, I am looking forward to passing the rainy days with stitching.

I also brought my sewing machine with me on this trip. It’s the first time I’ve ever brought a sewing machine on vacation, and I debated for quite a while whether I should take it with me or not. Now, with the next two days forecasted as torrential rain and chilly cold, I’m so glad I did. Not to mention the fact that there is a singer treadle and table right next to my bed in our bedroom.

Singer treadle sewing machine and table in vacation bedroomWhile this treadle is missing its belt and therefore doesn’t work, I am taking it as a clear sign that I was meant to bring my sewing machine on vacation with me. Perhaps this afternoon I’ll do a bit of machine sewing as well!

My loaner Bernina, ready to go on her Singer table.

Do you take your sewing on vacation with you?

Color Inspiration Thursday {6}

Here in midcoast Maine, summer is upon us. The weather has been absolutely gorgeous, and I have been taking full advantage. I have not spent much time in front of my sewing machine, but have spent a LOT of time exploring local islands, playing at the beach, and swimming in Swan Lake with my kids. Today’s color inspiration palettes come from some photographs from our adventures; sea glass on a drift wood log, and a gorgeous iris seen along a wooded path.

The palettes were created using Play Crafts’ Palette Builder 2.1. May you be inspired.

sea glass color palette

 Corresponding Kona cottons from left to right:
Shale, Steel, Charcoal, Spring, Peridot, Blue Jay

iris color palette

Corresponding Kona cottons from left to right:
Black, Forest, Basil, Ash, Magenta, Lavender, Amethyst

Here are some more photos of the gorgeous spots we’ve been exploring lately:

Sears Island, Maine
Sears Island, Maine
Headed toward the sandbar connecting Hutchins Island to Islesboro, Maine.
Playing in tide pools on Hutchins Island.

I’ll leave you with one more adorable color palette.

IMG_2071-palette

 Corresponding Kona cottons from left to right:
Medium Gray, Blueberry, Charcoal, Laurel, Old Green, Indigo

Where is your favorite place for adventure during the summer?

Tutorial: Basic Foundation Paper Piecing

Foundation Paper Piecing is one of those things that when first encountered, may seem daunting enough to send you running for the hills. But once the general concept is grasped, paper piecing opens the door to a whole new world of quilting and fabric-play. Trust me, it’s worth giving it another go. As with anything, the best way to get more comfortable with foundation paper piecing is to practice, practice, practice, and then practice some more. Today I thought I’d share my process with tips along the way, in the hopes that it helps clarify the foundation paper piecing process.

For me, once I wrapped my brain around the fact that I was sewing something backwards while looking through a mirror, it all clicked. I’m a very spatial person, so once I could visualize that the picture was being created on the BACK, I was fine. Yes, the lines along which you sew will be on the back, or wrong-side of your sewn design. Think about that for a minute, and then let’s begin. Take your time, and have FUN!

Basic Foundation Paper Piecing Tutorial

First of all, why paper piecing? The ability to create life-like pictures with fabric is what first got me hooked on foundation paper piecing. Once I got the hang of it, I realized many more benefits to paper piecing:

  • No other method results in such precision and accuracy when sewing. You can make two blocks that are EXACTLY the same without too much muss or fuss about seams.
  • It is a great way to use up scraps.
  • My favorite perk of paper piecing is that it gives me a way to create gorgeous gifts for family and friends without the time invested in sewing an entire quilt. Paper piecing patterns are perfect for wall hangings, table runners, tea cozies, mug rugs, pillows, bags, and even as framed art.

Convinced? Let’s get started!

1. Choose a pattern. I am using my Buoy 1 pattern for this tutorial, since it’s fairly straightforward and consists of only one foundation piece. Summertime is calling my name, so this nautical pattern will soon become a pillow perfect for a beach house or someone’s nautical nursery. Buoy 1 used to be on Craftsy but is now no longer available, so you will need use another beginner pattern of your choosing. My available foundation paper piecing patterns are located on Payhip.

2. Assemble your tools. You will need:
– pattern & paper (I use regular printer paper. Some prefer velum or tracing paper)
– fabric & thread (I love Aurifil)
– rotary cutter and mat
– scissors (be sure to use non-fabric scissors to cut out your pattern. I suggest having fabric scissors, craft scissors, and small scissors for trimming threads)
– ruler (add a quarter rulers work well, but so do any quilting rulers with a 1/4″ measure)
– iron and pressing surface
– sewing machine

preparing for paper piecing

3. Print the pattern with your printer set on “Actual Size” and check the scale. ALWAYS check to make sure the pattern is printed to the correct scale before beginning to sew.

always check the scale

Cut out pattern using craft scissors. Many patterns have a dotted line showing a 1/4″ seam allowance on the pattern. Be sure to check that the seam allowance is included, and if it isn’t, add it on before you cut.

*Here, some people like to color their pattern with colored pencils to help with accurate fabric piecing. I only do this for complicated patterns or when I am using different fabric colors than indicated on the pattern, but you are welcome to get out the colored pencils and do some coloring here if you want!*

4. You’re ready to begin! Cut fabric pieces (or find scraps) to fit spaces 1 and 2 on the pattern. Be sure to include a 1/4″ seam allowance on all sides. Paper piecing is kind of like paint by number, but with sewing, and always in order. You start with piece 1, sew on piece 2, then piece 3, etc.
*When cutting fabric for paper piecing, I am generous in my cutting. I cut pieces that are amply large enough to cover the space and seam allowance and then some–lots of wiggle room. Yes, it may waste a bit more fabric, but it makes the process a lot smoother. To me, smooth (no seam ripper required) sewing is worth more than a few tiny scraps of fabric. Also, when you trim your seam allowances, any large pieces of excess fabric can be used for other pieces of the pattern. Go big!*

getting started5. Here’s where the spatial part comes in, so get ready. Remember, you are using the paper foundation to help you make the pattern on the back, as if you are looking through a mirror. Ready?

Place the fabric for piece 1 on the back of the paper, wrong side of the fabric facing you (against the paper). Hold it up to a window or a light-box to ensure the fabric fully covers the #1 space, plus seam allowances.

positioning the first piece6. Holding fabric 1 in place, position the paper so that the printed side is away from you. Take the fabric scrap for space #2 and place it right side down, on top of fabric 1. Be sure the seam line between 1 and 2 is covered by both fabrics, holding up to the light if needed. The fabrics should now be right sides facing each other, and when you sew along the seam line and fold fabric 2 up, it should cover the #2 space plus seam allowances.

getting started*Before you sew, shorten the stitch length on your sewing machine. I set mine to anywhere between 1.4 and 1.5. That way the paper is very easy to remove at the end.*

7. Holding both pieces of fabric in place, sew along the line between spaces 1 and 2, with the paper on top. Some people like to pin or even glue their pieces in place before sewing, since the fabric is underneath the paper. I personally just carefully hold them in place with my finger. I haven’t had a problem yet, and it’s one less step if that works for you.

sew along lineAccuracy tip: Lower the needle by hand for the first stitch, ensuring that your sewing will be straight along the line. Back-stitch for one stitch at the end to secure your threads.

8. Trim thread ends. (If you want to make yourself a cute little thread catch, I have a free tutorial HERE!)

trim threads

9. Fold the paper down along the seam you just sewed, and trim the fabric to 1/4″.

fold and trim

10. With the foundation paper flat and unfolded, press and set the seam with a hot iron (no steam). Finger press fabric 2 up to cover its space and press again.

press seam

When you hold the paper up to the light, you should see that fabric 1 covers the #1 space and fabric 2 covers the #2 space, with seam allowances.

IMG_149611. Continue this method for the rest of the pattern pieces. Cut, line up, sew, fold & trim, press. Cut, line up, sew, fold & trim, press. Repeat.

IMG_1497
Getting ready to sew on piece 3–front view.
IMG_1499
Getting ready to sew on piece 3–back view. Remember: the fabric has right side facing the pattern paper, with the seam along the top edge. Once sewn, the fabric will be pressed up so that the right side is showing.

If you’ve got the hang of it, you can skip the next few parts and just scroll down to the finishing steps. For those of you who run into tricky spots along the way, here are some additional tips to help smooth the process.

Tips for Lining Up Seams:

If you are truly generous in your fabric cutting, this tip is not as necessary since you’re bound to have enough fabric even if your seams end up being larger than 1/4″. However, if the frugal part of you just can’t cut those fabric bits ginormously, here’s a tip to get accurate 1/4″ seams to conserve fabric. Note that this works best for straight-forward seams, and not nearly as well for long, skinny, tricky angles (I’ll address those in a bit).

accurate seam tip

For this example, I have just sewn on piece 3, and I’m getting ready to sew piece 4.

accurate seams in paper piecing

First, fold the paper along the seam line between pieces 3 and 4.

IMG_1508

With paper folded over, trim the excess of piece 3 to 1/4″ beyond the fold. This will give you an accurate edge with which to line up the edge of piece 4.

line up perfect seams

When lining up piece 4 (white) with the edge of piece 3 (black), if you match the edges, the seam will be exactly 1/4″.  Note that the right side of fabric 4 is facing the right side of fabric 3. Hold in place, sew, and you’ve got as close to a perfect seam as you’re going to get!

Tips for Using Directional Fabrics:

directional fabric and paper piecing

Using fabrics without a directional flow is fairly straight-forward, but if you are using a fabric with a directional pattern that you’d like to keep consistent, it takes a bit more forethought when you cut. First, line up your pattern and your fabric to decide in what direction the fabric should go. To cut the fabric, position the pattern with the printed lines up, and the fabric wrong side facing up.  This way, since you are creating your pattern on the back, the shape of the fabric piece will be accurate (note that the above photo shows the fabric right side up, before pieces were cut).

IMG_1518

Once your piece is cut, proceed as usual, paying close attention to the direction of the fabric. Remember, right side of fabric piece is placed facing the right side of the emerging picture, on the wrong side of the foundation paper.

check direction

Until you get the hang of aligning the fabric correctly, it’s a good idea to check the direction of the fabric before sewing. Unpicking paper pieced (tiny stitches!) seams is less than desirable (trust me, I know!). To check the fabric direction, simply place the fabric wrong side down, hold along seam line, and fold back. Once you are sure the direction of the fabric is the way you want it, fold it back and sew.

Tips for Tricky Angles:

Many angles in basic paper piecing patterns are fairly straight forward. Sometimes, though, you have an angle that really makes you crunch your brain to properly line up the fabric before sewing so that it fully covers the necessary space with seam allowances. Rather than sew, unpick, sew, unpick, sew, unpick, here are some tips to help get it right the first try.

conquering tricky angles in paper piecing

Here I’m trying to piece section 14. When cutting my fabric piece, I’ve been generous with size, and included the angle of the seam I’m about to sew. Note that the fabric is wrong side up, with my foundation paper right side up.

conquering tricky angles

The fabric piece generously covers the space needed, with lots of wiggle room. The angle cut into the piece is key, since that will help align the seam correctly. If just eyeing the angle while cutting doesn’t work for you, you can put your pattern paper on top of your fabric, and using a Herra marker, deeply mark the seam line. Add 1/4-1/2″ to all sides and cut your fabric piece.

IMG_1534

Holding it up to the light, I can see that my fabric piece covers the space, extends amply beyond the seam allowance, and that the general angle of the seam line is consistent with the angle of the fabric piece.

IMG_1535

Here’s the tricky part. Placing your fabric right side facing the wrong side of the foundation paper, line your angled seam edge with the seam line on your block. It will look wonky, and may seem like it is headed in the wrong direction.

conquering tricky angles in paper piecing

Fold along the seam line to ensure the fabric will cover the correct area. Once satisfied that it’s all lined up properly, fold back and sew the seam. With particularly wonky angles, I sometimes pin along the seam line, both to ensure I’m accurately checking the fold, and to hold the fabric in the proper place before sewing.

So now you’ve got the basics of foundation paper piecing! Once your entire block is pieced, square up the edges being mindful to keep the 1/4″ seam allowance around the block if you plan to sew it into a quilt, pillow, or just about anything else.

completed block

I often will leave the paper on if I plan to sew the block to another paper pieced block, since the 1/4″ seam allowance line helps me with accurate sewing. If you are already a pro at 1/4″ seams or are planning on using a single block for your project, now comes the fun part–removing the paper!

removing the foundation paper after piecing

To remove the paper, gently tear away, holding the main block in place and pulling gently away and to the side, similar to how you would tear any perforated piece of paper. With your narrow stitch length, the paper should come away easily.

easy paper removalOnce one side of the paper is off, the other side often will just pop out. Go slowly and tear gently to ensure your seams stay tight. If you end up with bits of paper stuck in the seams, carefully use blunt tweezers to remove the final bits. Alternately, I’ve heard that spraying the paper with water helps with removal. I haven’t had to try it yet, though, so can’t vouch for the method.

enjoy the back of your paper pieced block!I just love the backs of paper pieced blocks. The precision and accuracy, all the little seams that are proof of my cut, line up, sew, fold & trim, press marathon… they make me happy. Take a good, long, admiring look at the back of your block, and then flip it over and admire your finished block. Gorgeous!

I hope this tutorial was helpful, and that you enjoy paper piecing as much as I do. Coming soon on my blog, I’ll talk about what’s next; now that you’ve made your paper pieced block, what can you do with it!?

Do you have any other tips for beginner paper piecers?