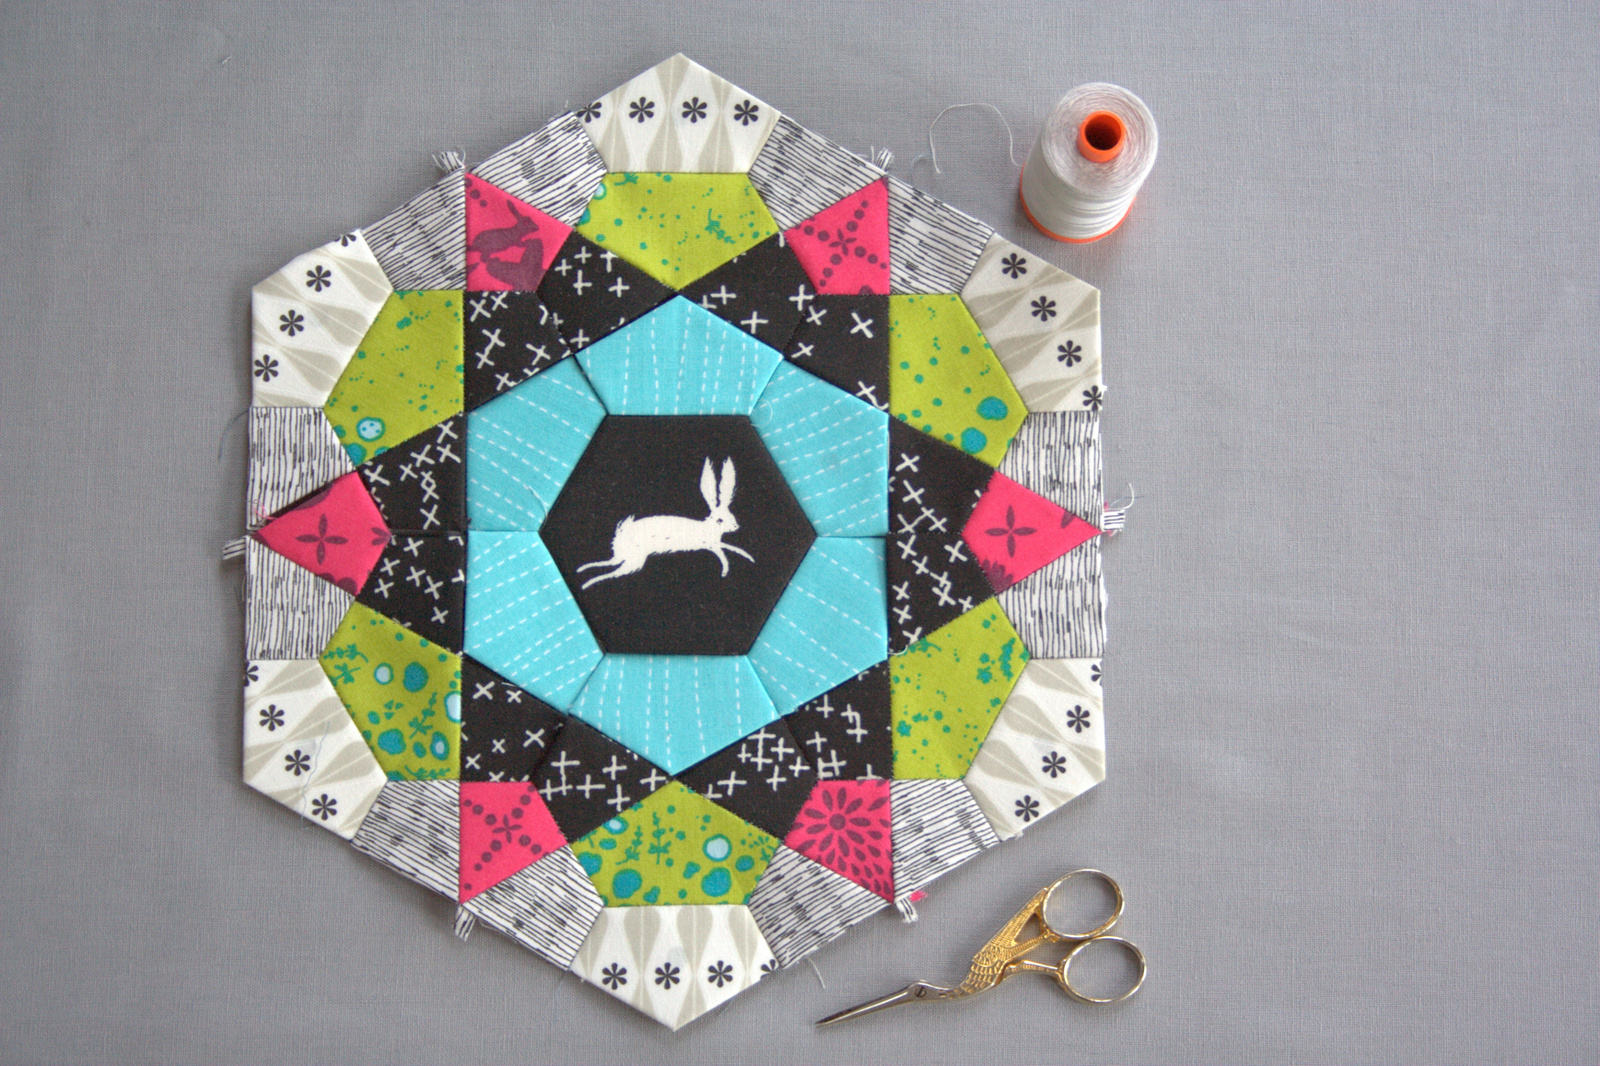
I’m excited to share that today is my Sizzix Design Team debut! Over on the Sizzix blog, I share a tutorial on how to get started on making an awesome English Paper Pieced (EPP) mug rug using the Rose Star die.
Did you know that there are Sizzix dies created specifically for paper piecing!? I cut all of the templates and fabric needed to piece this EPP star all from a single die! Pretty awesome.
In the tutorial, I take you step by step through the process of making and basting EPP pieces, including some helpful tips, so if you’ve been wanting to learn or brush up on your piecing, go check it out!
I completely missed August for A Lovely Year of Finishes (ALYoF), so I’ll just call it summer break. The ALYoF link up is one of the most successful ones at getting me to finally finish projects, though, so I want to be sure to sneak in September’s goal setting post before it’s too late (in other words, before midnight tonight). I’m choosing a quick and easy goal for this month, since there are a lot of behind-the-scenes projects going on, too.
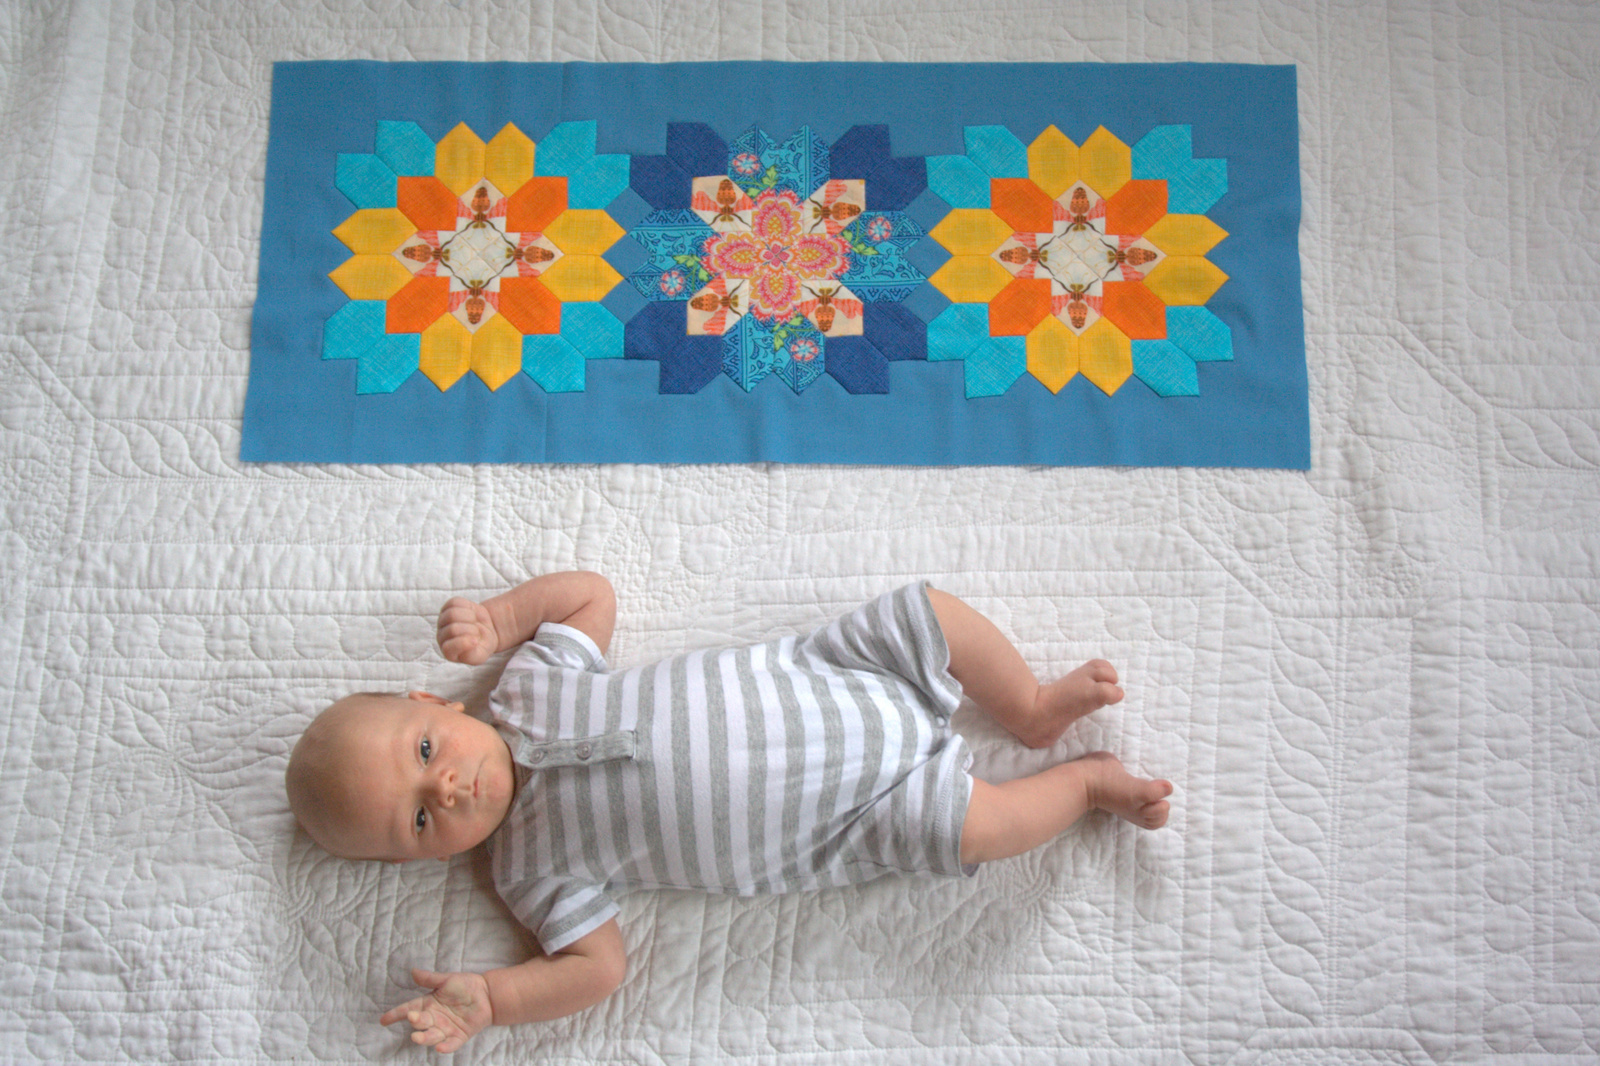
My goal is to finish my Summer EPP Table Runner. I have a small bit of hand quilting remaining, and then I need to bind it. Easy peasey.
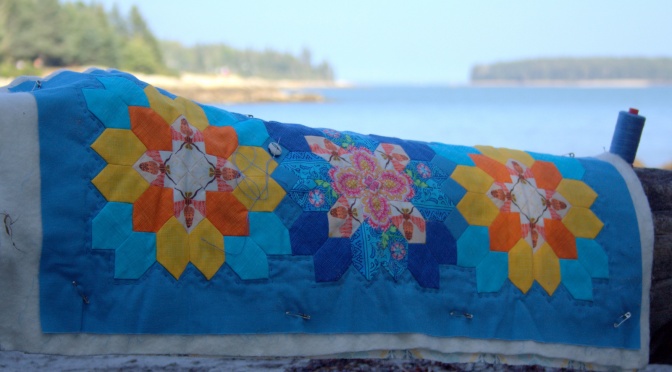
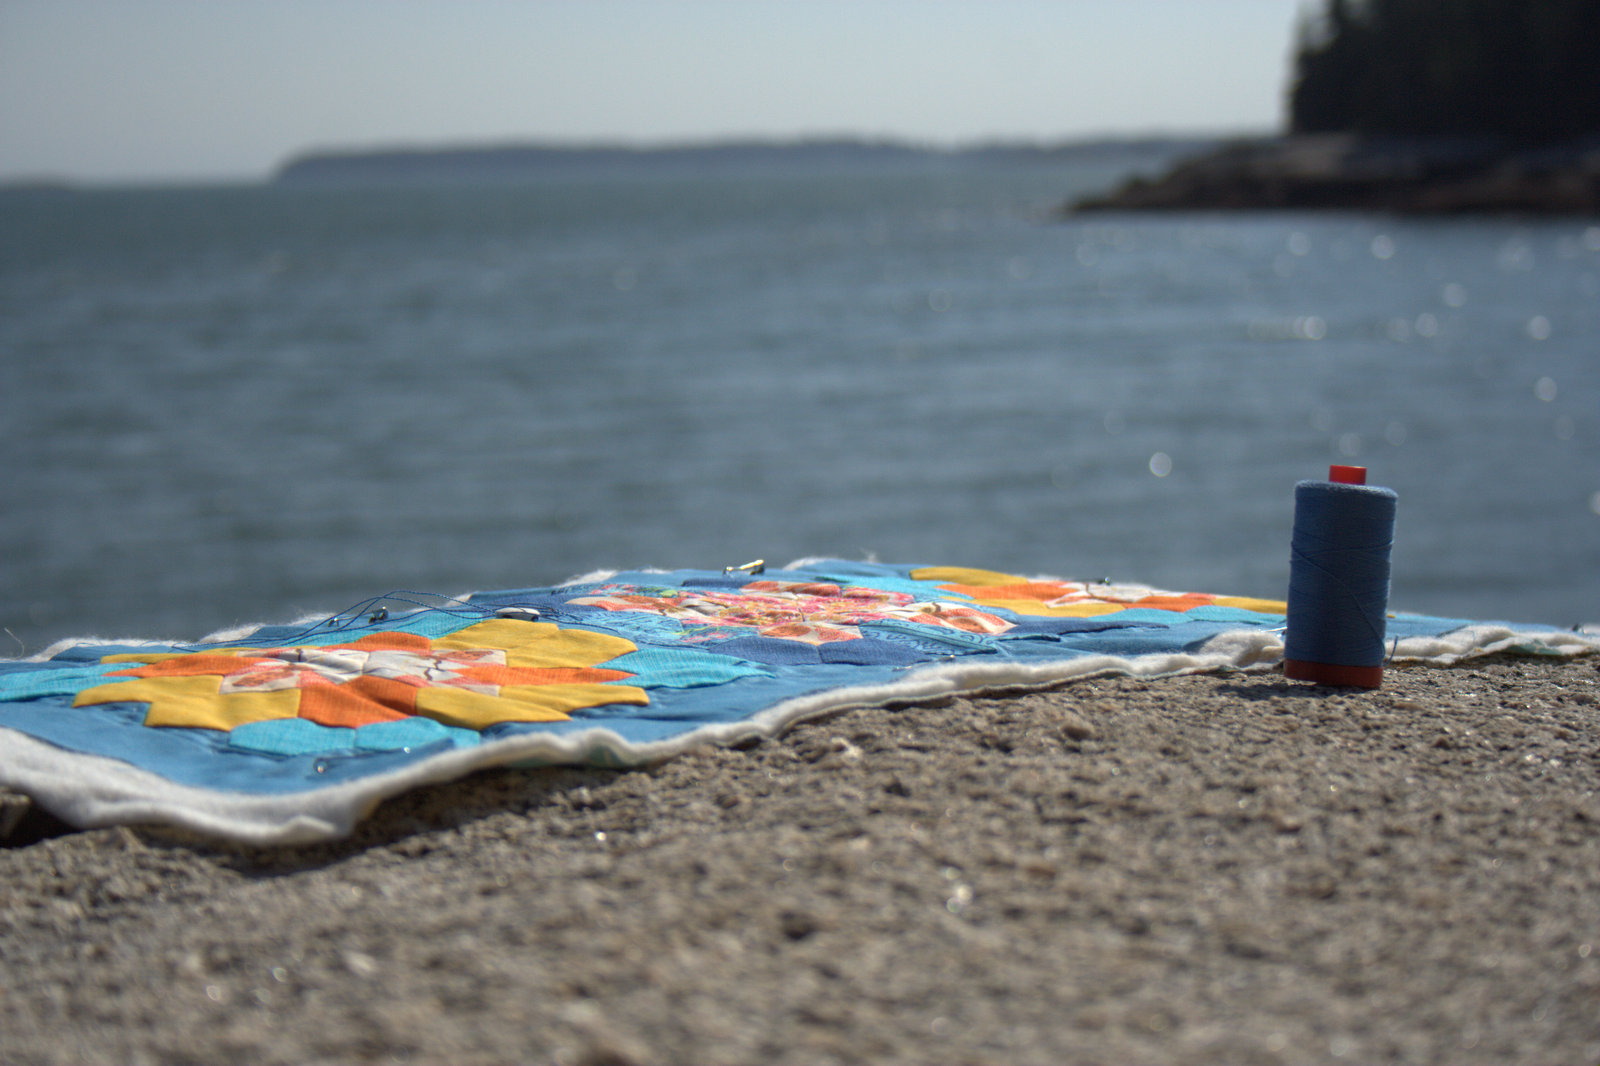
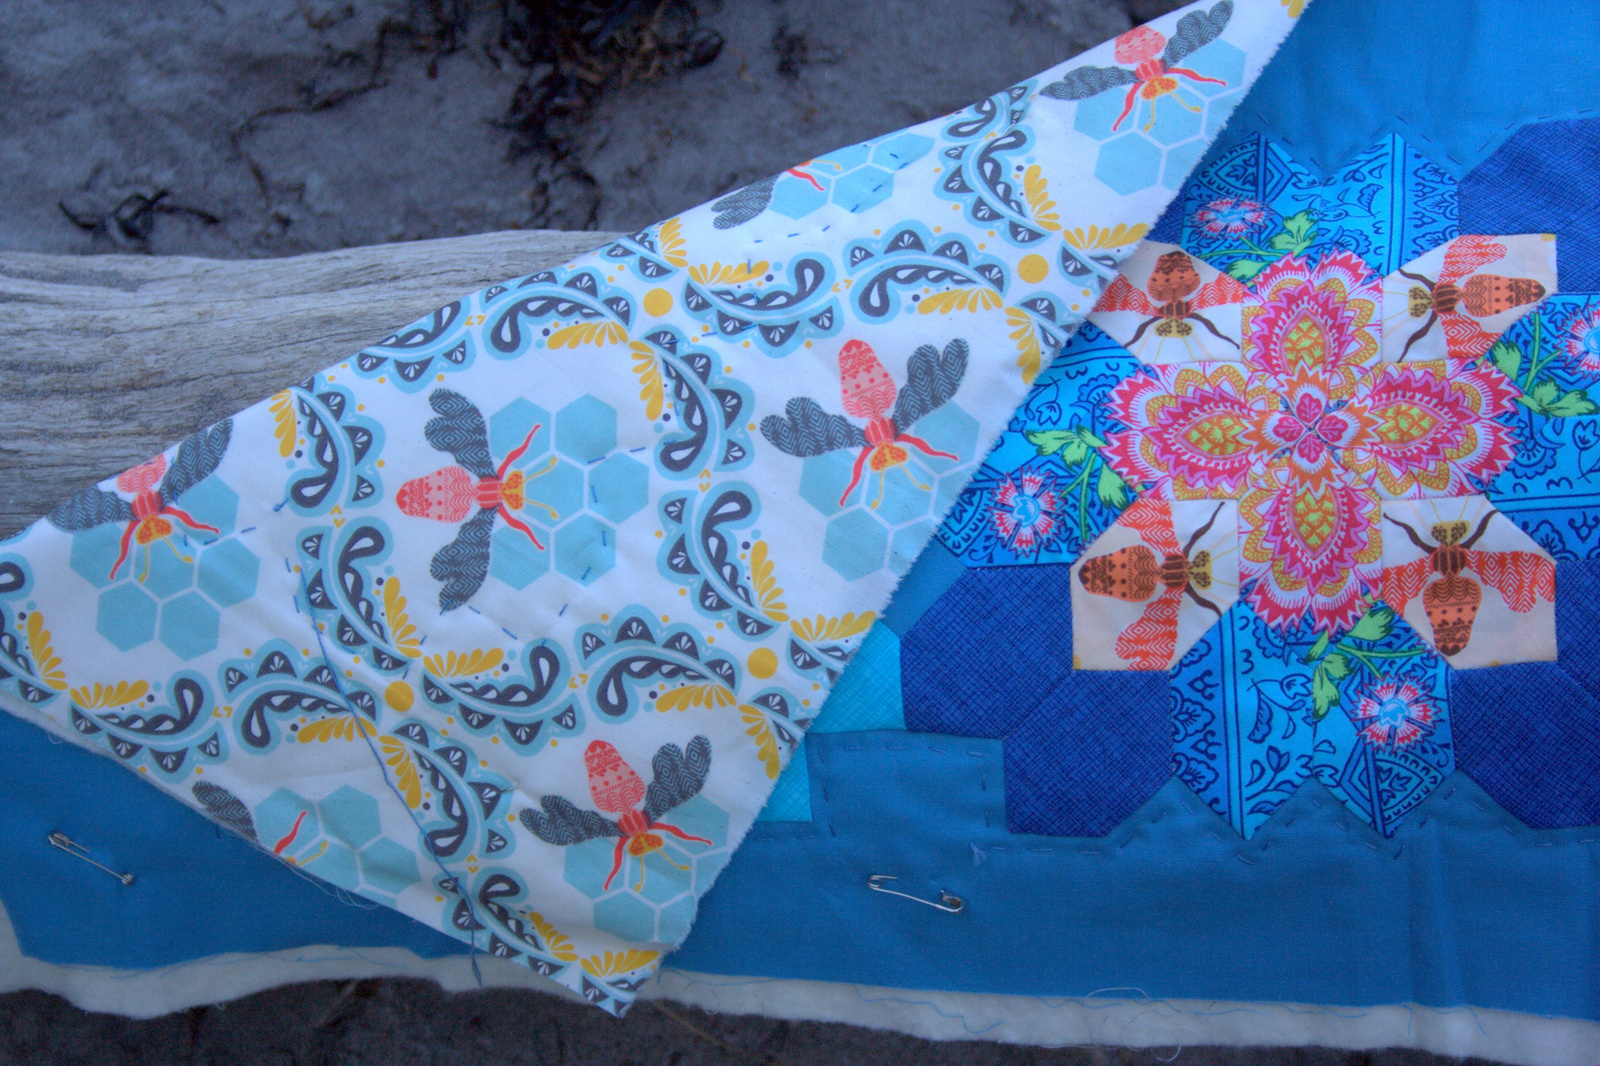
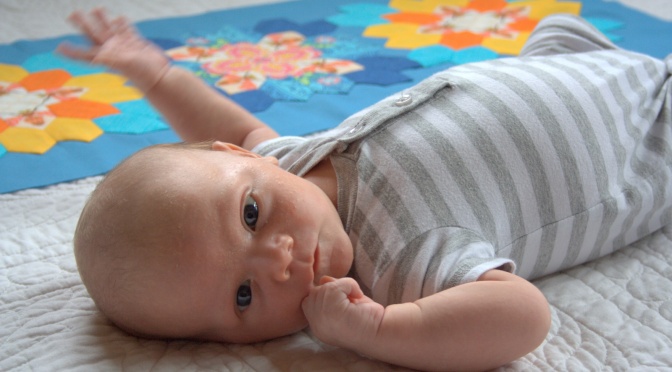
We spent a lovely relaxing family day at the beach today, so I decided to have an impromptu photo shoot. I always carry a couple of hand-sewing projects with me, either a small hand quilting project like this one, some English Paper Piecing, or both! The strong cool breeze of the ocean made the 90 degree day feel absolutely perfect, but it made it a bit tricky to photograph this light weight runner. I took a few photos in full sun, which is typically a photography no-no, but with the gorgeous view and glittering water, how could I resist?
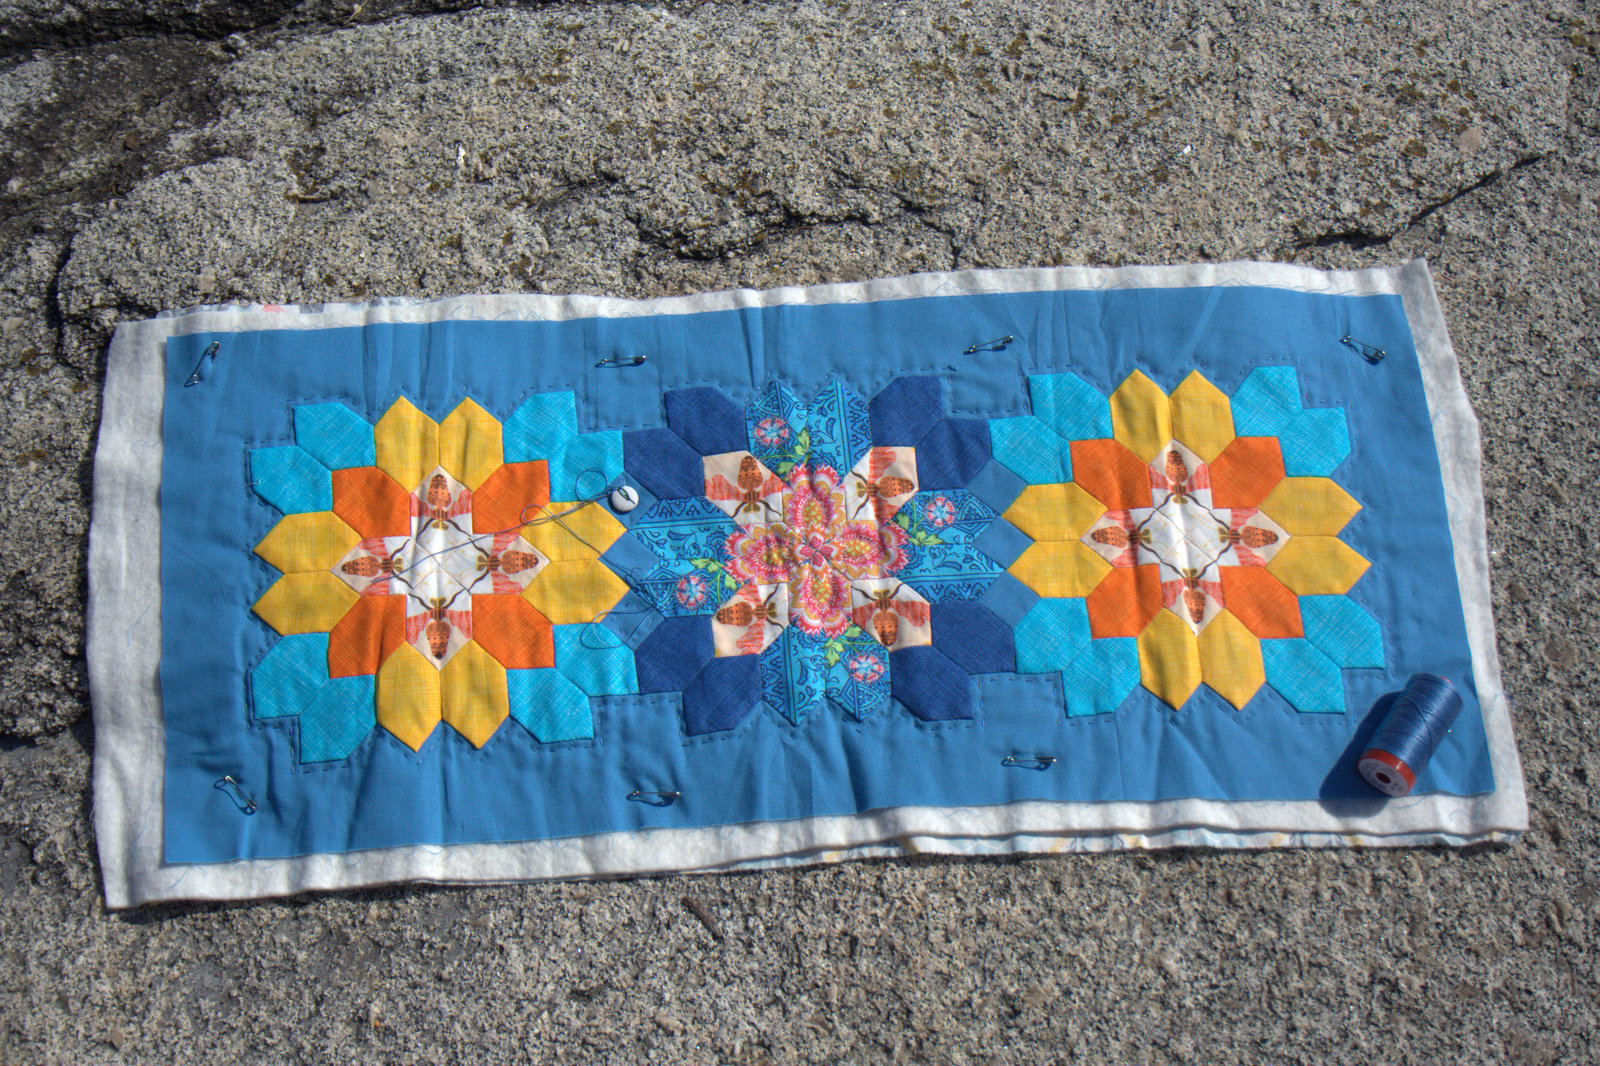
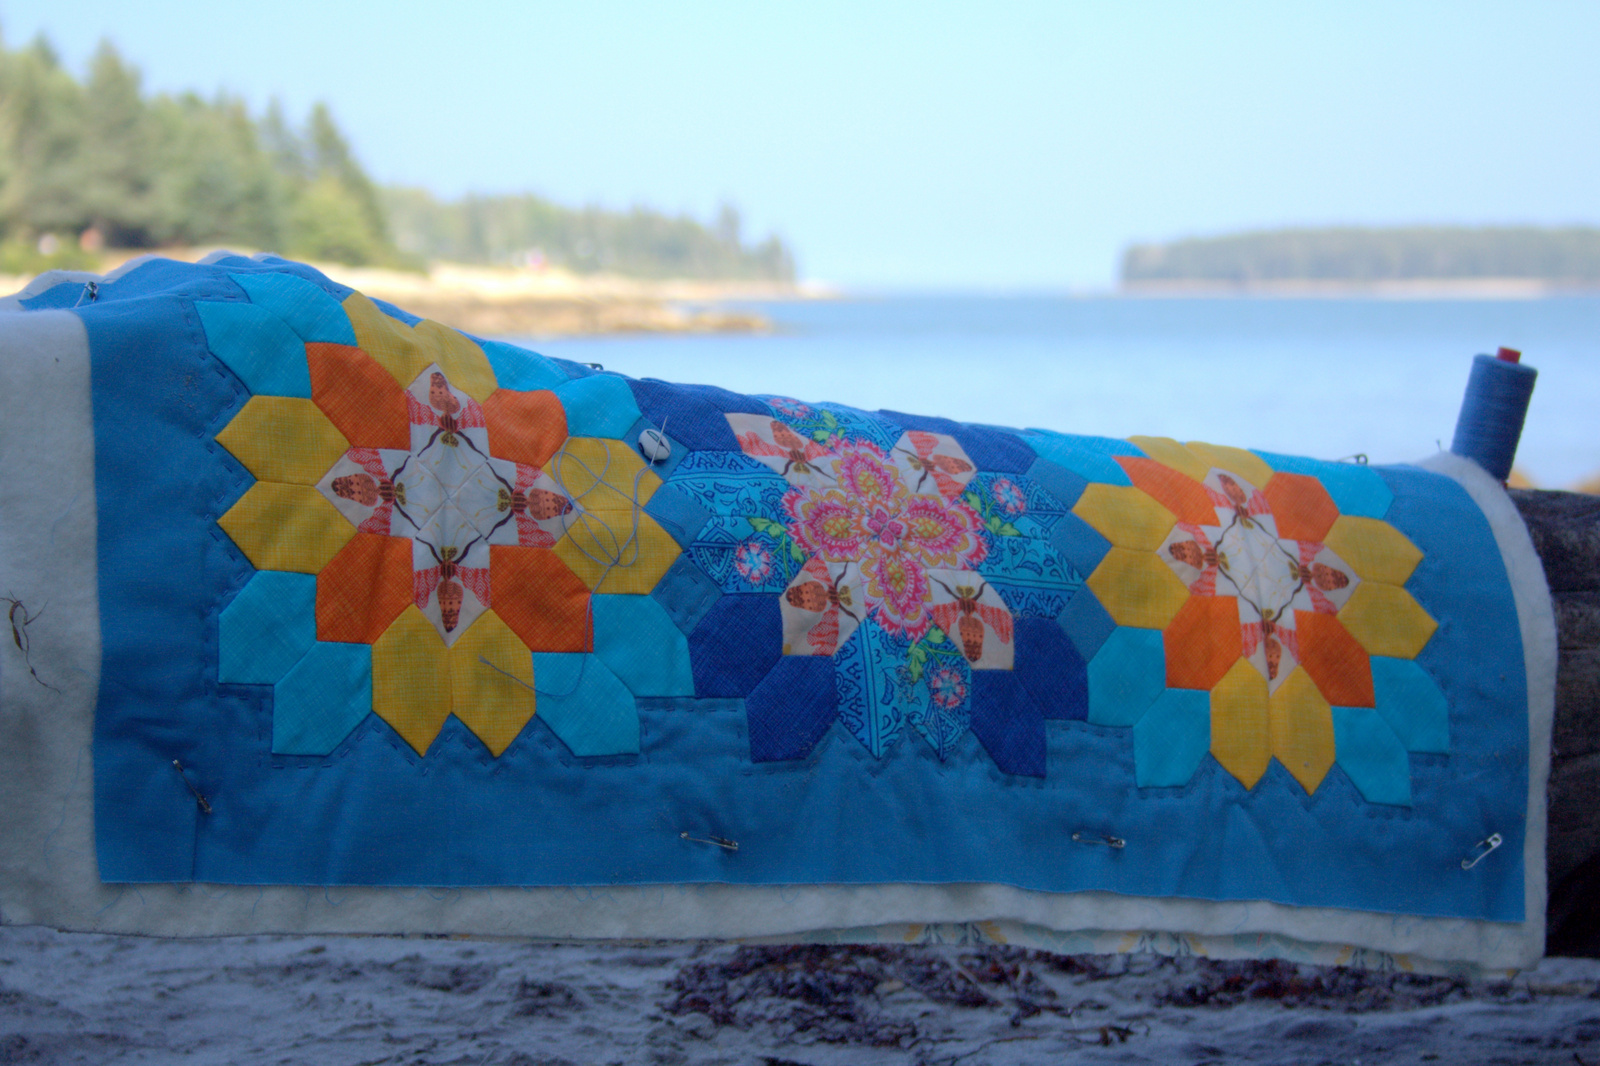
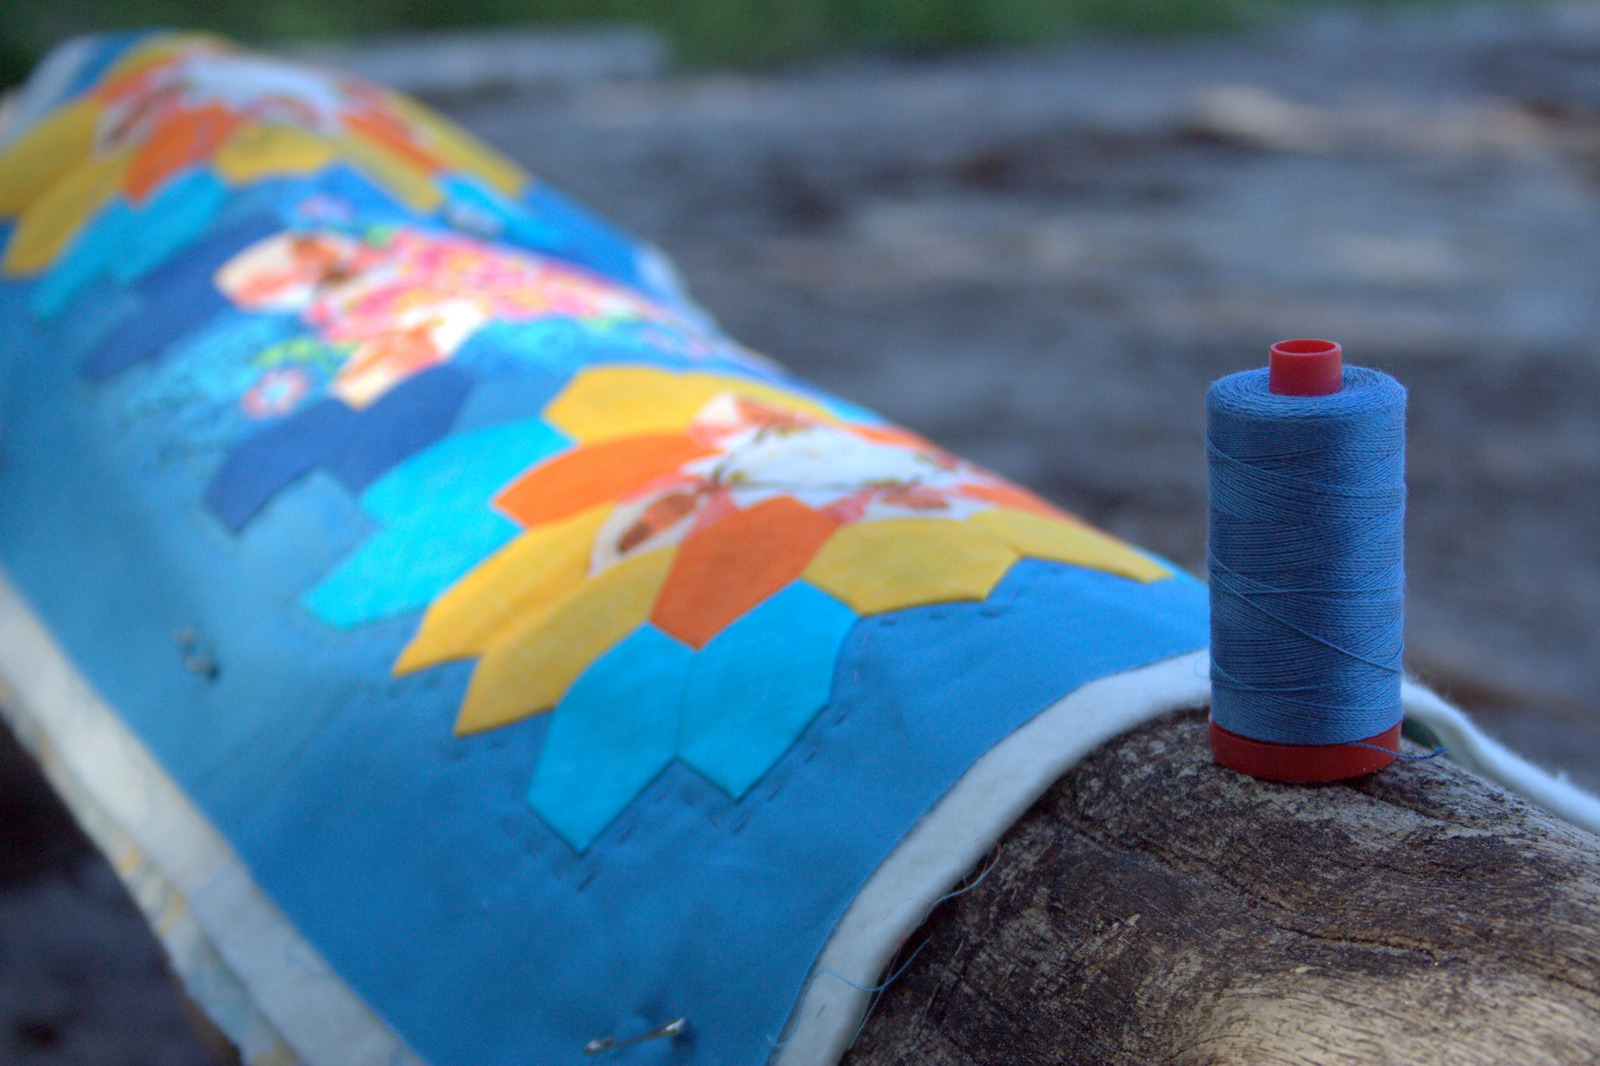
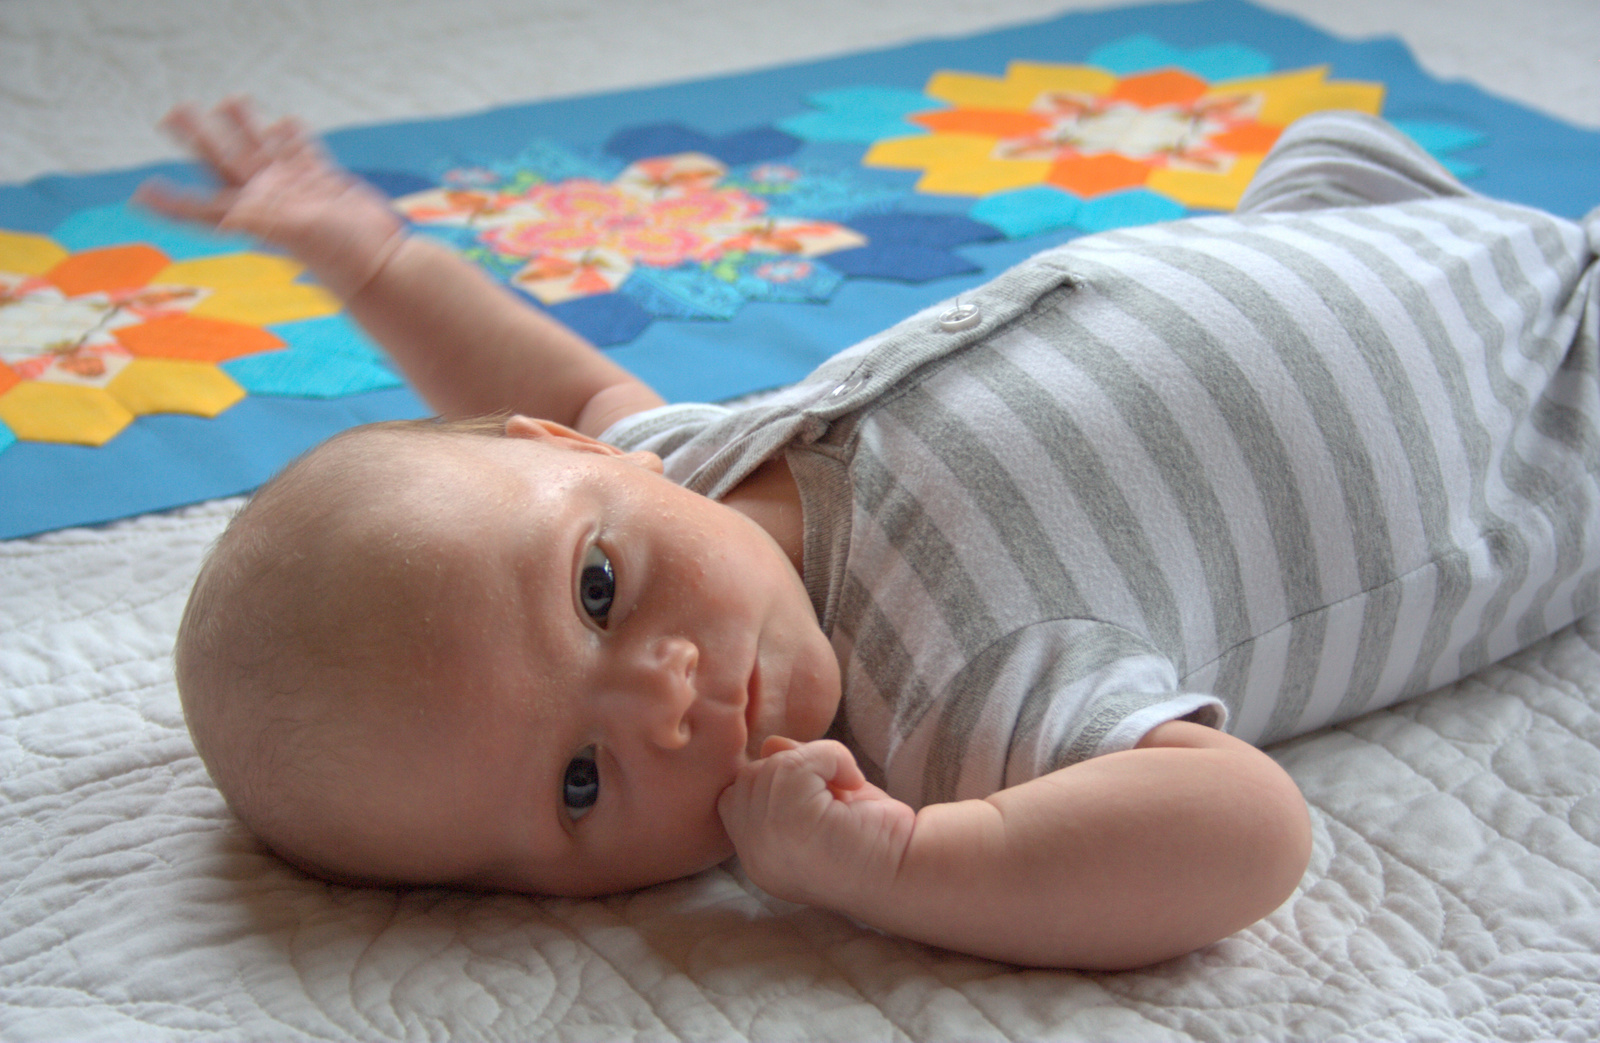
Then I decided that the trek over to the shady half of the beach was worth it. This is just a tiny little lesson in quilt photography. Photographs in full sun result in washed out colors and highly emphasized wrinkles due to resulting shadows (above). Shady photos, however, provide much richer, truer, and almost more gentle colors and a more forgiving look at the quilt despite the lack of an iron’s smoothing touch (below).
I decided to back this table runner in Bee Sweet in the Morning colorway from Bonnie Christine’s Sweet as Honey fabric line. The bees in the table runner top are from the Bee Sweet in the Sunset colorway, so it coordinates fabulously.
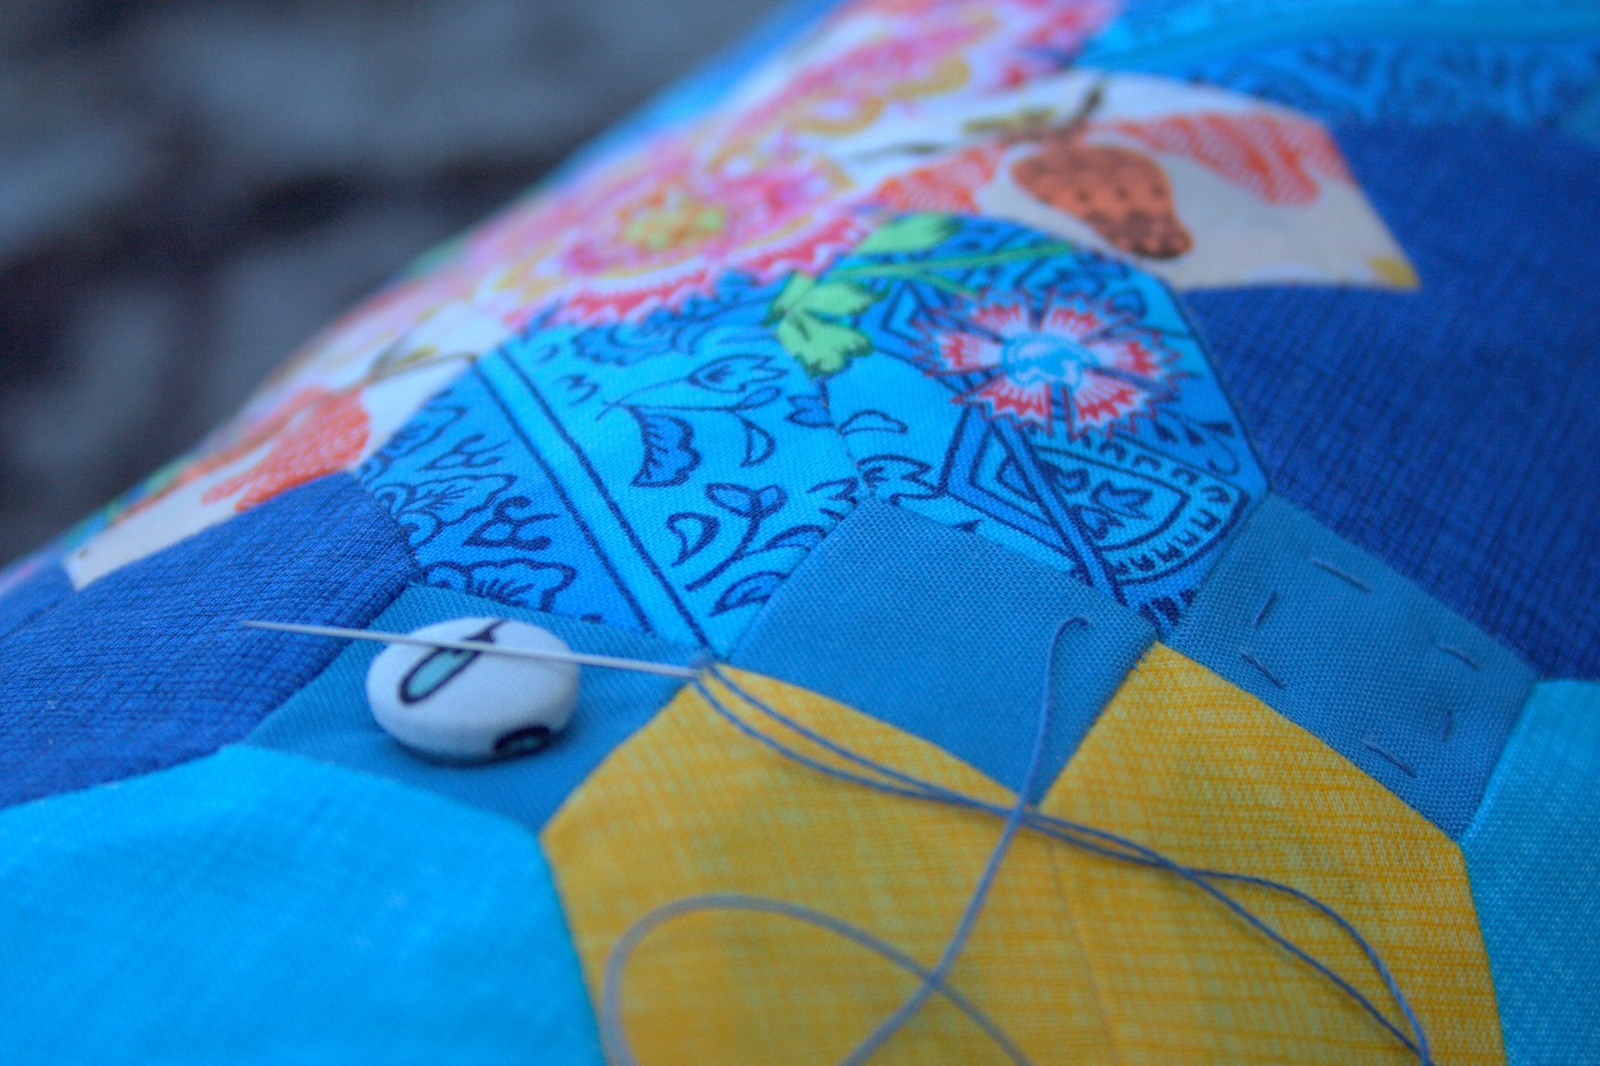
I have only a bit more hand quilting to do, and then I MIGHT do a little bit of machine quilting to make sure all stays nice and securely despite the many inescapable washes that surely await anything that will live on our table.
I’m using 12 wt Aurifil thread #4140 Wedgewood, which is a perfect match. I love the subtle effect of the large quilting stitches in a coordinating color, and I’m very much looking forward to having this table runner finished and on our table. It can be a lingering reminder of our fun and beautiful summer. And it WILL be finished by the end of September!
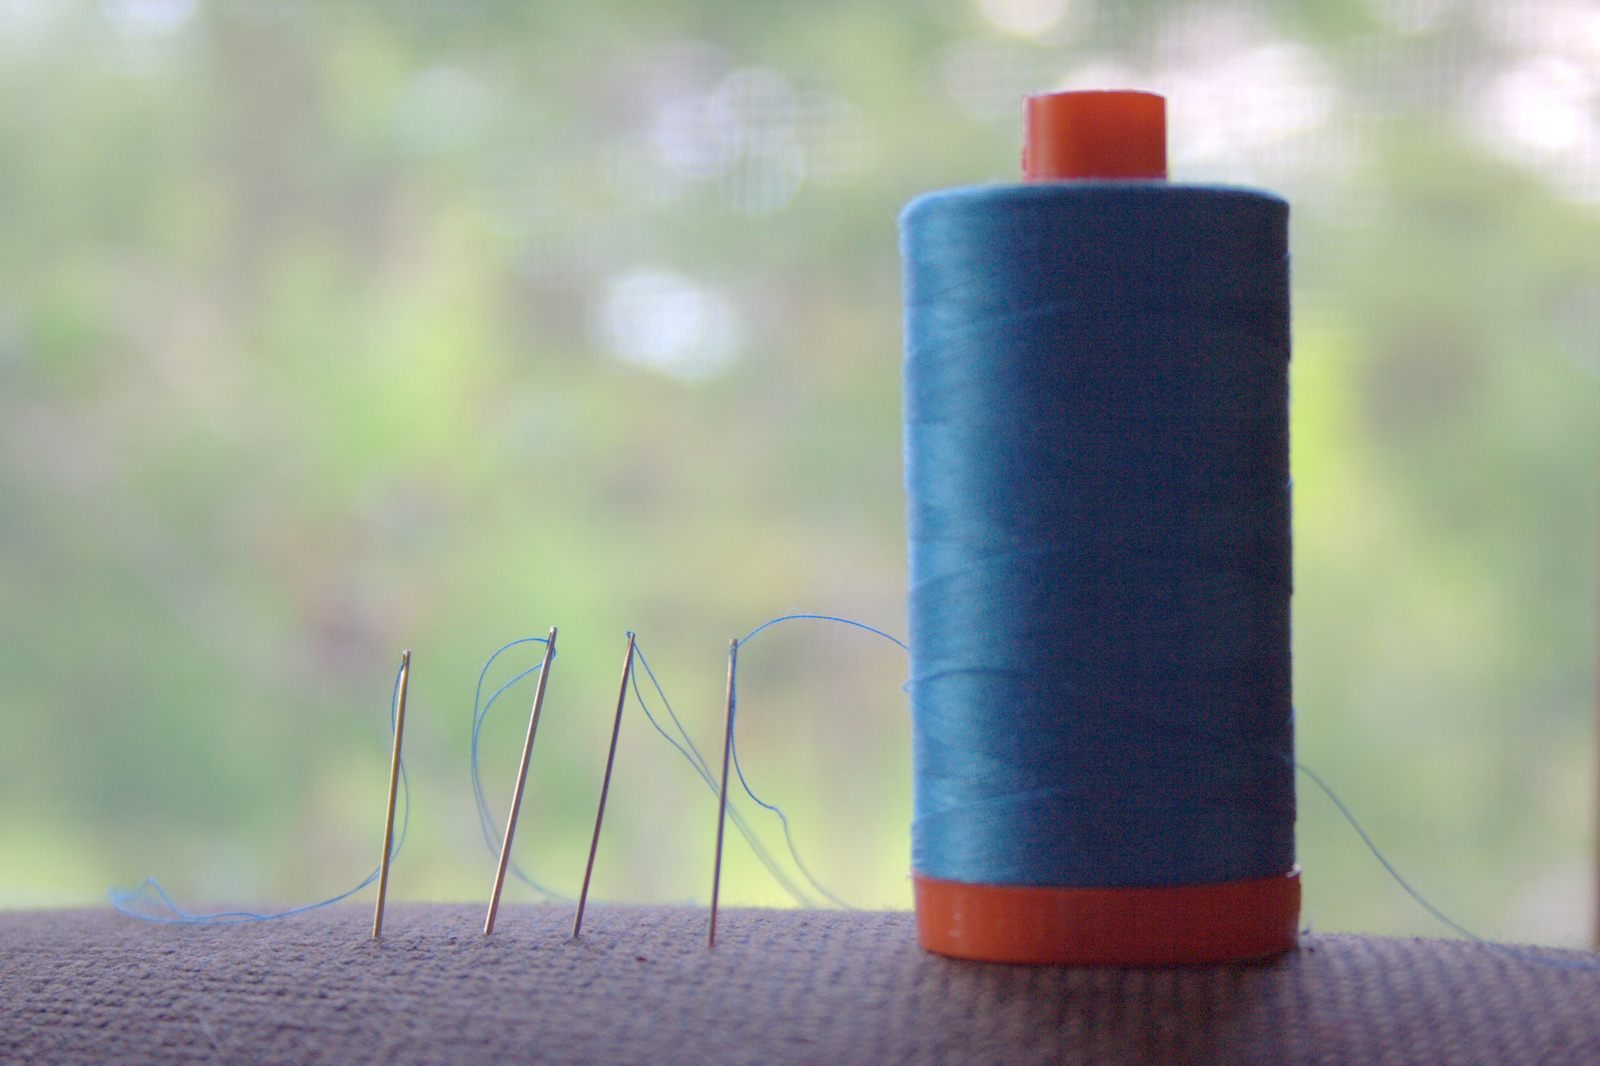
One of the perks of quilting retreats and other social sewing is that little tips are tossed around. Today I’m going to share a very simple yet important tip about using the thread you cut from a spool during hand stitching. As a self-taught sewist, these are the bits of knowledge that I miss, since rarely are there blog posts about the bare basics of sewing. While basting our needle-turn applique projects around the table at the Slow Stitching Retreat, I caught this important tip:
Use the thread in the same direction it comes off the spool. The tail end that you pull to unravel your length of thread should be the side you thread through your needle. The end that you cut should be the knot end. This way, you are pulling the thread through the fabric in the intended direction, which works with the ply of the thread instead of against. Using the thread in the proper direction significantly decreases tangles and twists while stitching. Simple, right?!
I never knew that it mattered which end was which, so I didn’t pay attention while cutting my thread lengths. Now, when I’m pre-threading a bunch of needles for a good binding or hand stitching session, I thread each needle as the thread is cut instead of accumulating a nice pile of threads and then grabbing any which end to thread through the needle.
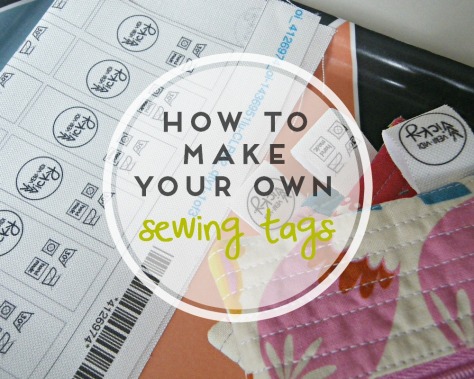
Stephanie’s Tips and Tutorials link ups from previous weeks are filled to the brim with great time savers, tricks, and how-to’s. I’d definitely recommend browsing them with your Pinning finger ready. One of my favorites from last week was this tutorial by Veni Vidi Vicky on how to make your own sewing tags (which could easily be adapted to making your own quilt labels!). She gives great step by step instructions on how to use Spoonflower, which is something I’ve been tempted to do but have yet to try.
Now it’s your turn! Do you have any little tips or great tutorials to share this week? If you do, please link up below!
Powered by Linky Tools
Click here to enter your link and view this Linky Tools list…
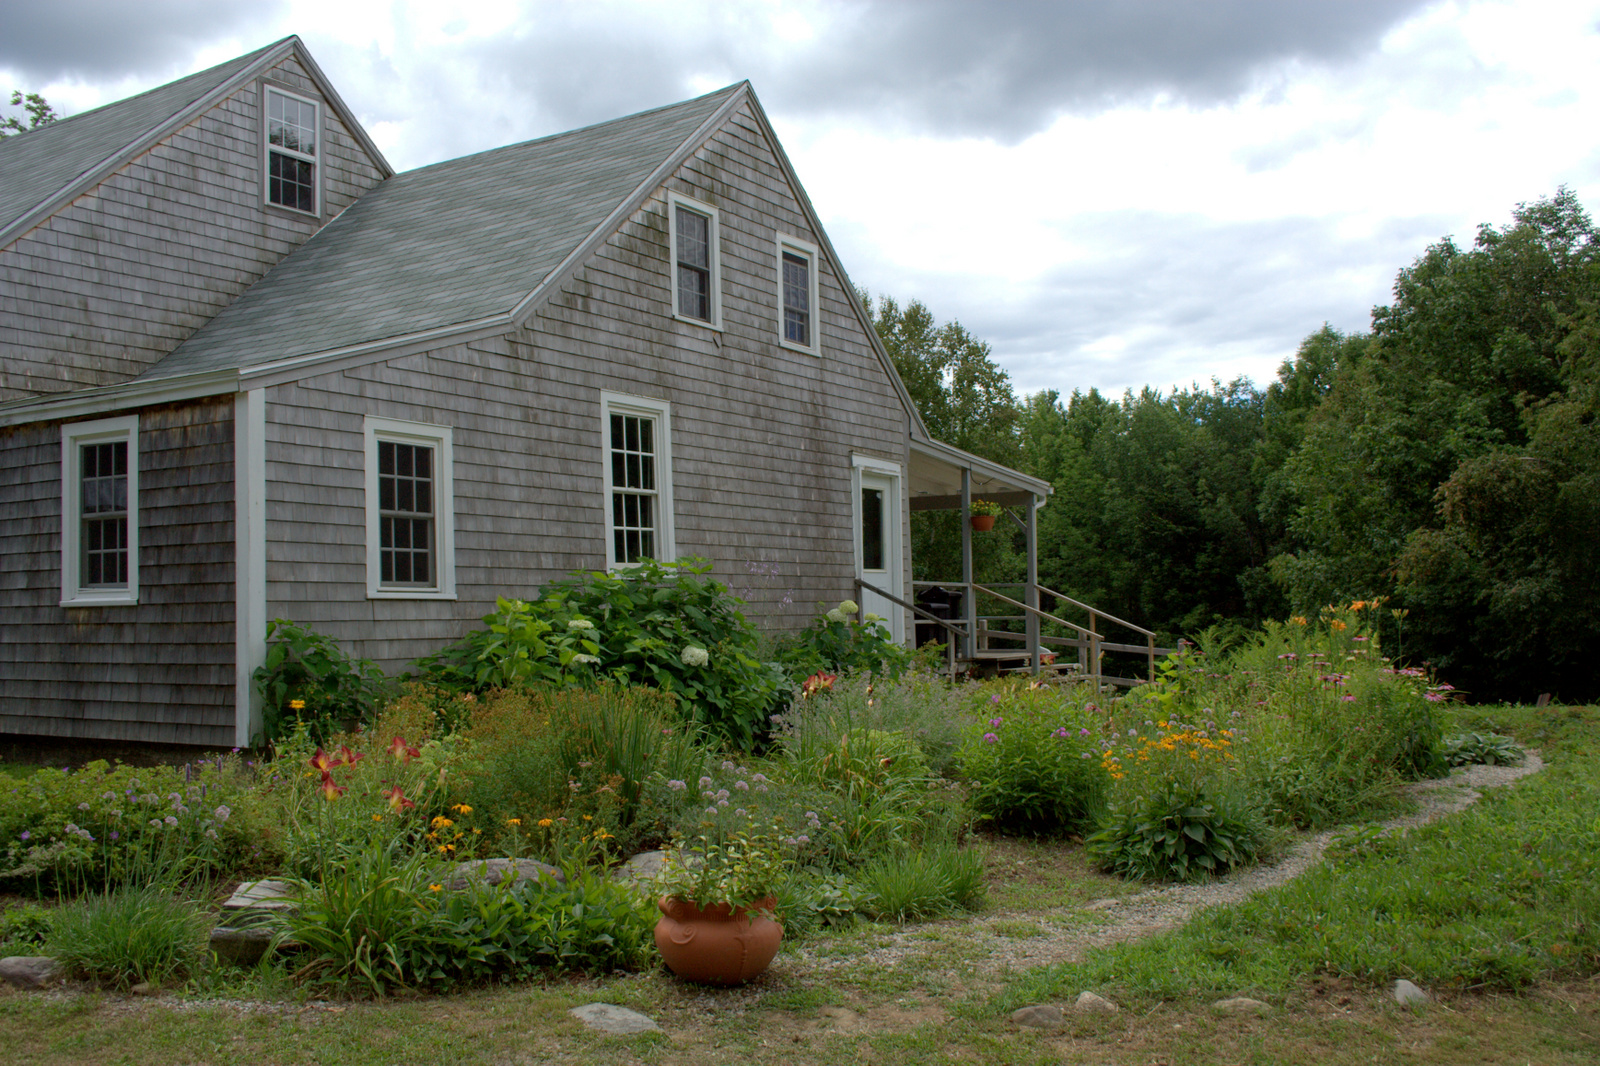
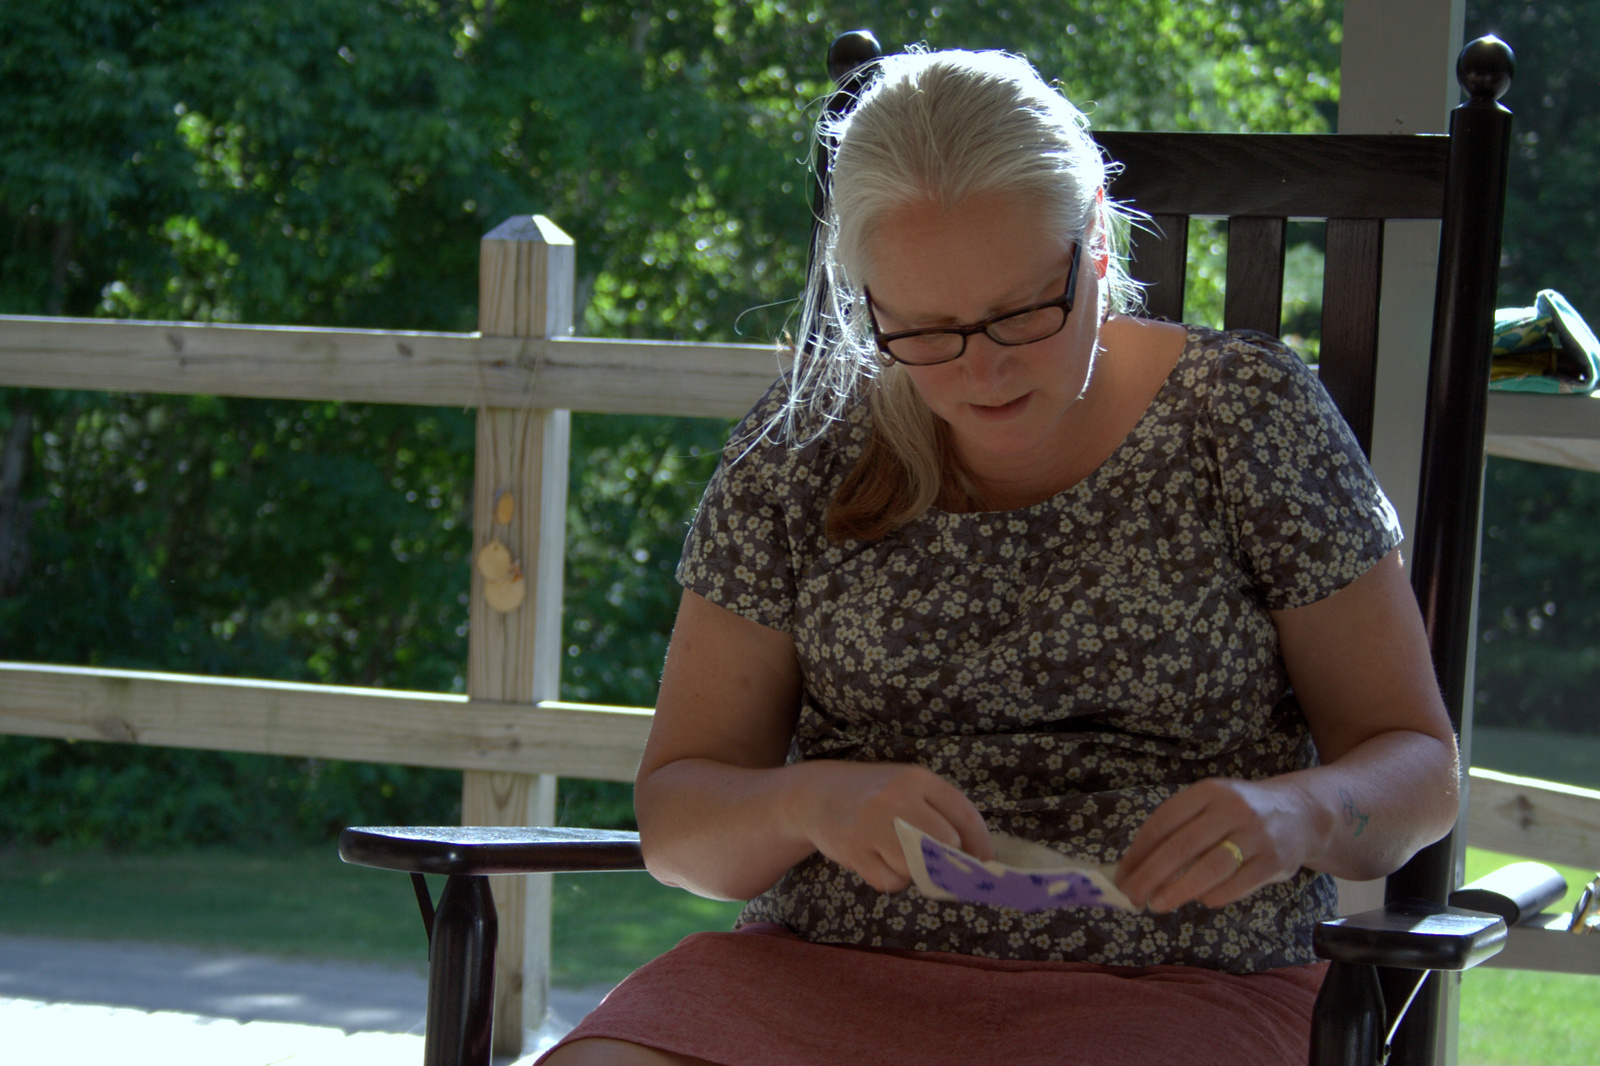
Imagine you’re sitting in a rocking chair on a sunny porch, sunbeams playing at your feet, a cool breeze blowing your hair, fabric in your hands, slowly stitching your way through the day alongside new quilting friends all doing the same, seeing your handwork grow at your fingertips. Bliss, right? Now add amazing quilters Carolyn Friedlander, Chawne Kimber, and Samantha Lindgren as teachers, mentors, and fellow slow stitching friends and there you have the Slow Stitching Retreat at Medomak Retreat Center in Washington, Maine. Last week, I was so blessed to be able to join the retreat for a day, with baby Finn in tow.
The retreat was the brainchild of Sam from A Gathering of Stitches, and was just as blissfully amazing as the name Slow Stitching Retreat suggests. I attended on Thursday, and joined the group learning the Park needle turn applique quilt block from Carolyn Friedlander. Those of you who know me know that Carolyn is one of my all time favorite fabric and quilt designers. I love her architectural influence, highly textured fabric designs, and simple geometric pattern style. It was all I could do not to jump up and down and squeal like a little fangirl when I first met her at QuiltCon. To spend the day learning from her and relaxing with a room full of equally enthusiastic and experienced sewists was such a rejuvenating and inspiring way to spend a day. It certainly helped that Carolyn is super easy going and we all had a great time chatting and stitching the day away.
Getting started: basting my Park blockCarolyn walked around helping and answering questions as we dove into needle-turn applique, some for the first time.
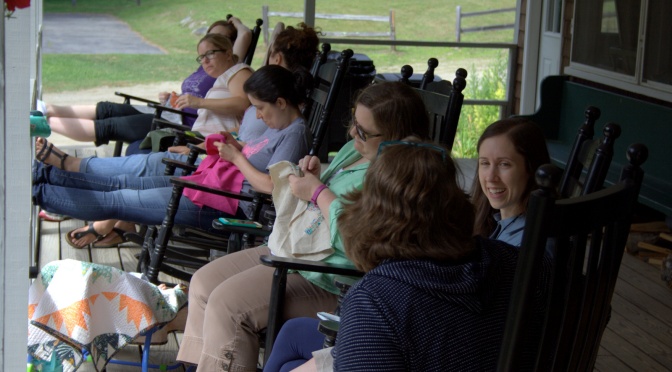
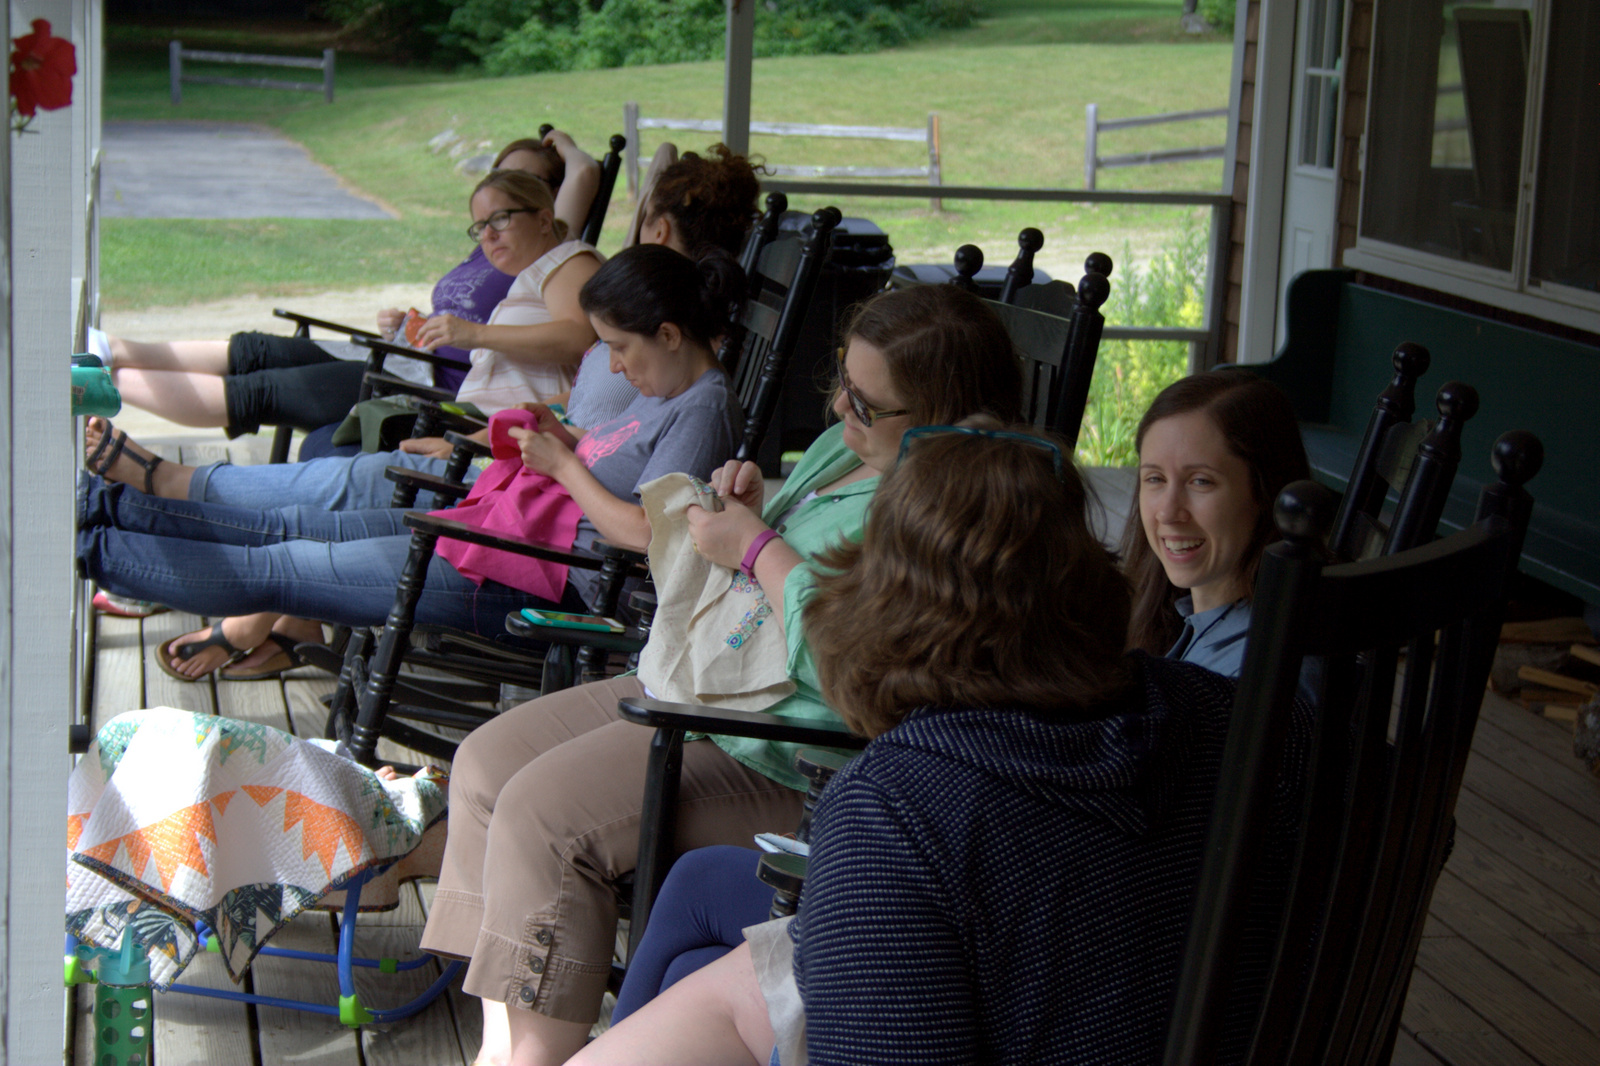
After we all had basted our Park patterns, we headed out to the sunny porch to slowly stitch in bliss. It was a truly fabulous experience, and one I think everyone should enjoy!
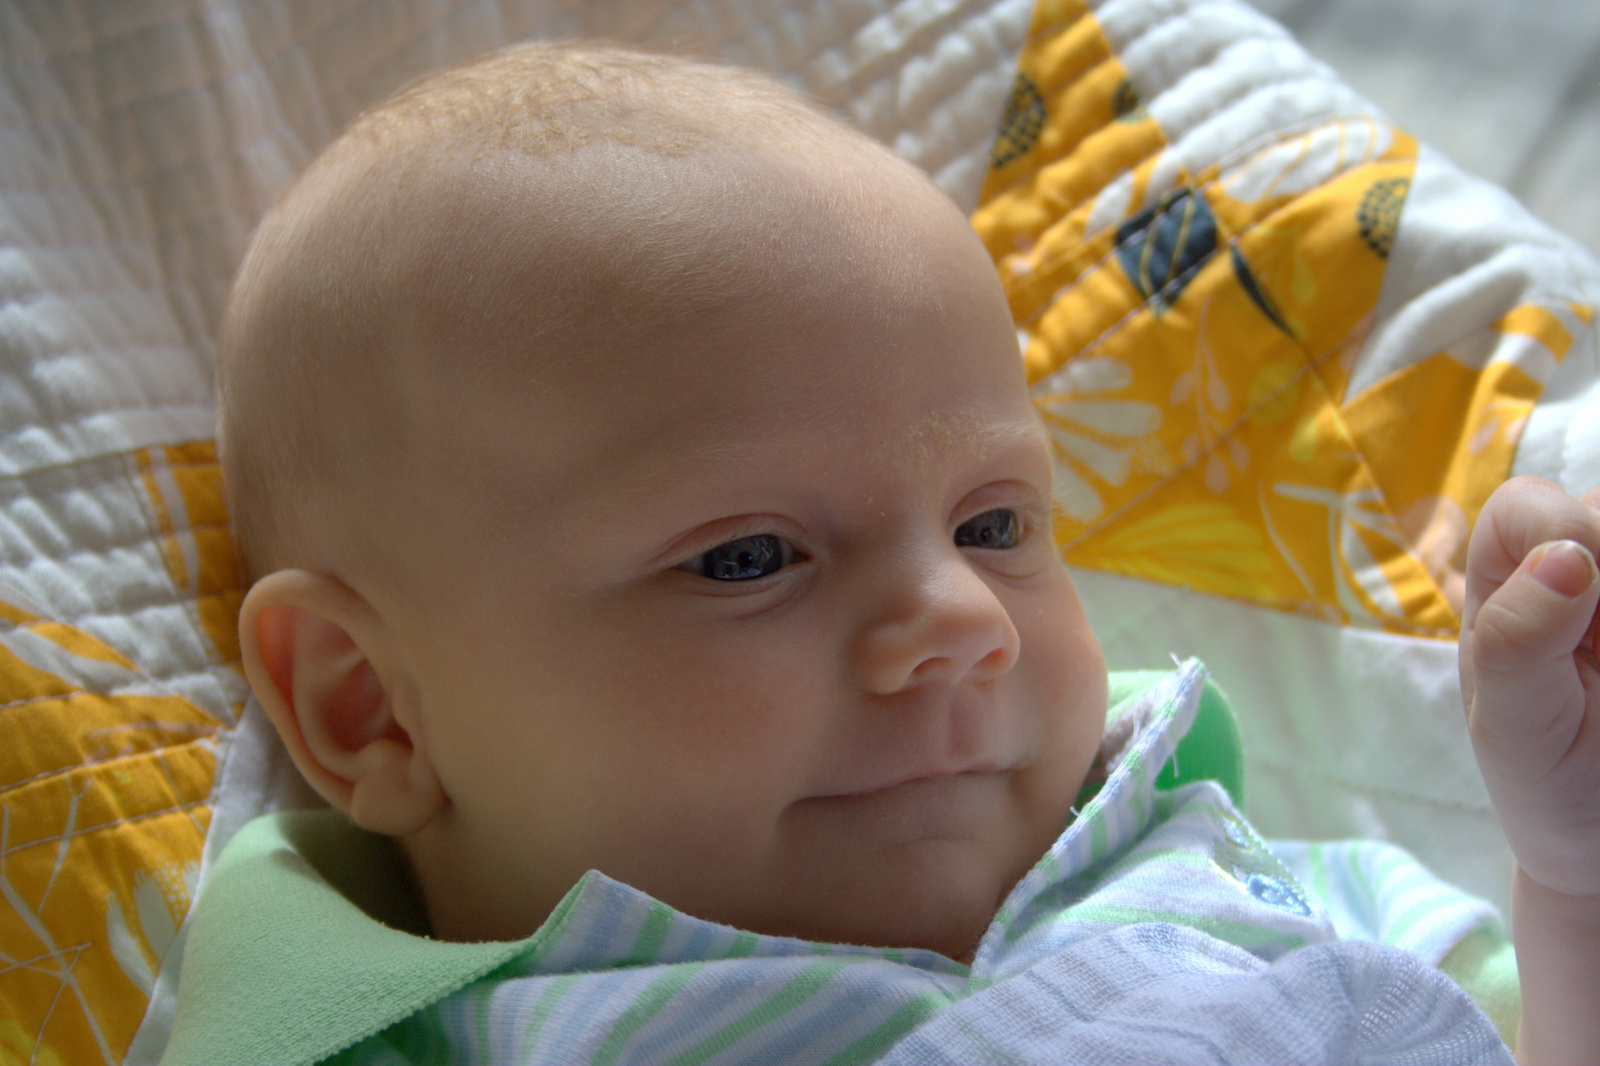
Finn was there with me, of course, and he was absolutely perfect. Honestly, he happily rocked and watched all of us sew, joined in on conversations with his smily baby babble, and was happy all day long. I think he will be a slow stitcher when he’s a bit older, too!
Sam joined us for some slow stitching on the sunny porch. Such a gorgeous day!Carolyn Friedlander doing some slow stitching of her own.
Since I was only able to attend for a day, I wasn’t able to take Chawne Kimber‘s class on tiny stitching. I did sneak over to their workspace to gawk at her amazing creations and talk a bit about her sewing process, though.
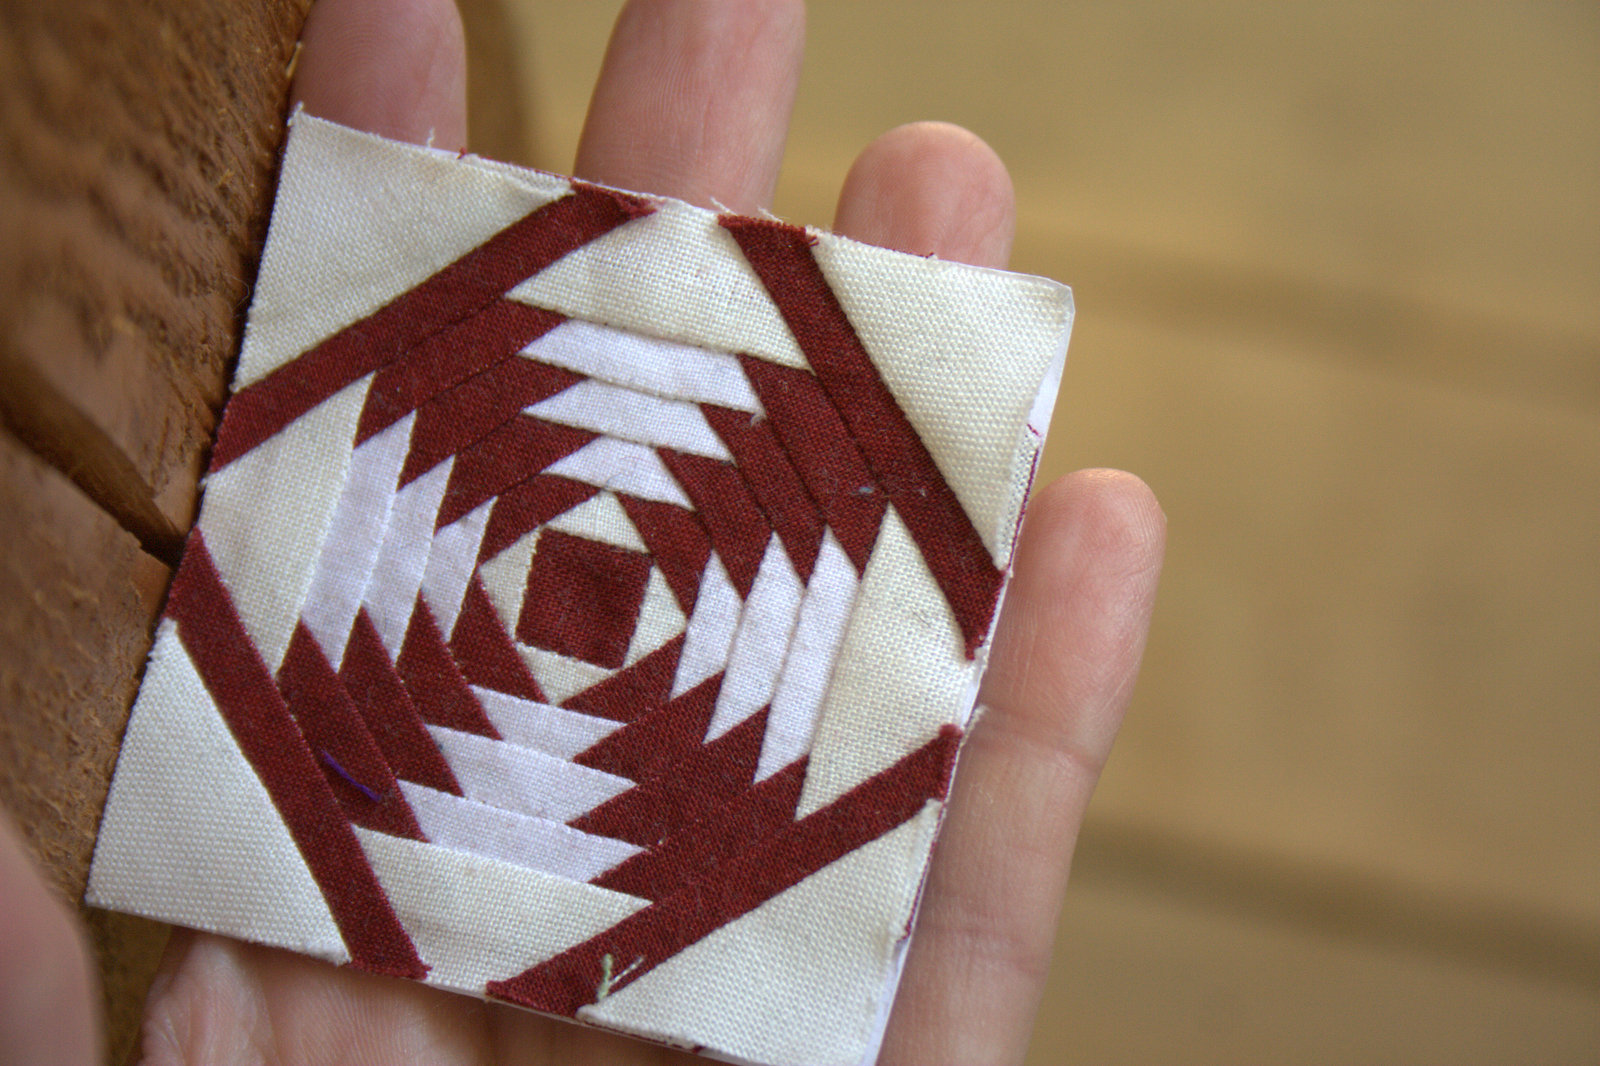
These teeny, tiny bits stitch together into such gorgeous, substantial quilt blocks, it blew my mind. Chawne had a thick stack of many different quilt block samples, all tinier than the tiniest block I’ve ever sewn and all absolutely stunning. They begged to be touched, and then once I touched them, there was no denying: I had to sew a teeny tiny block, even if it was soooo slow that it took me a year to complete. Chawne was also so easy to talk to, and such an inspiration. I wish I could have stayed all weekend and chatted away for hours.
A blurry picture, but meeting Chawne is worth documenting even if it’s blurred!
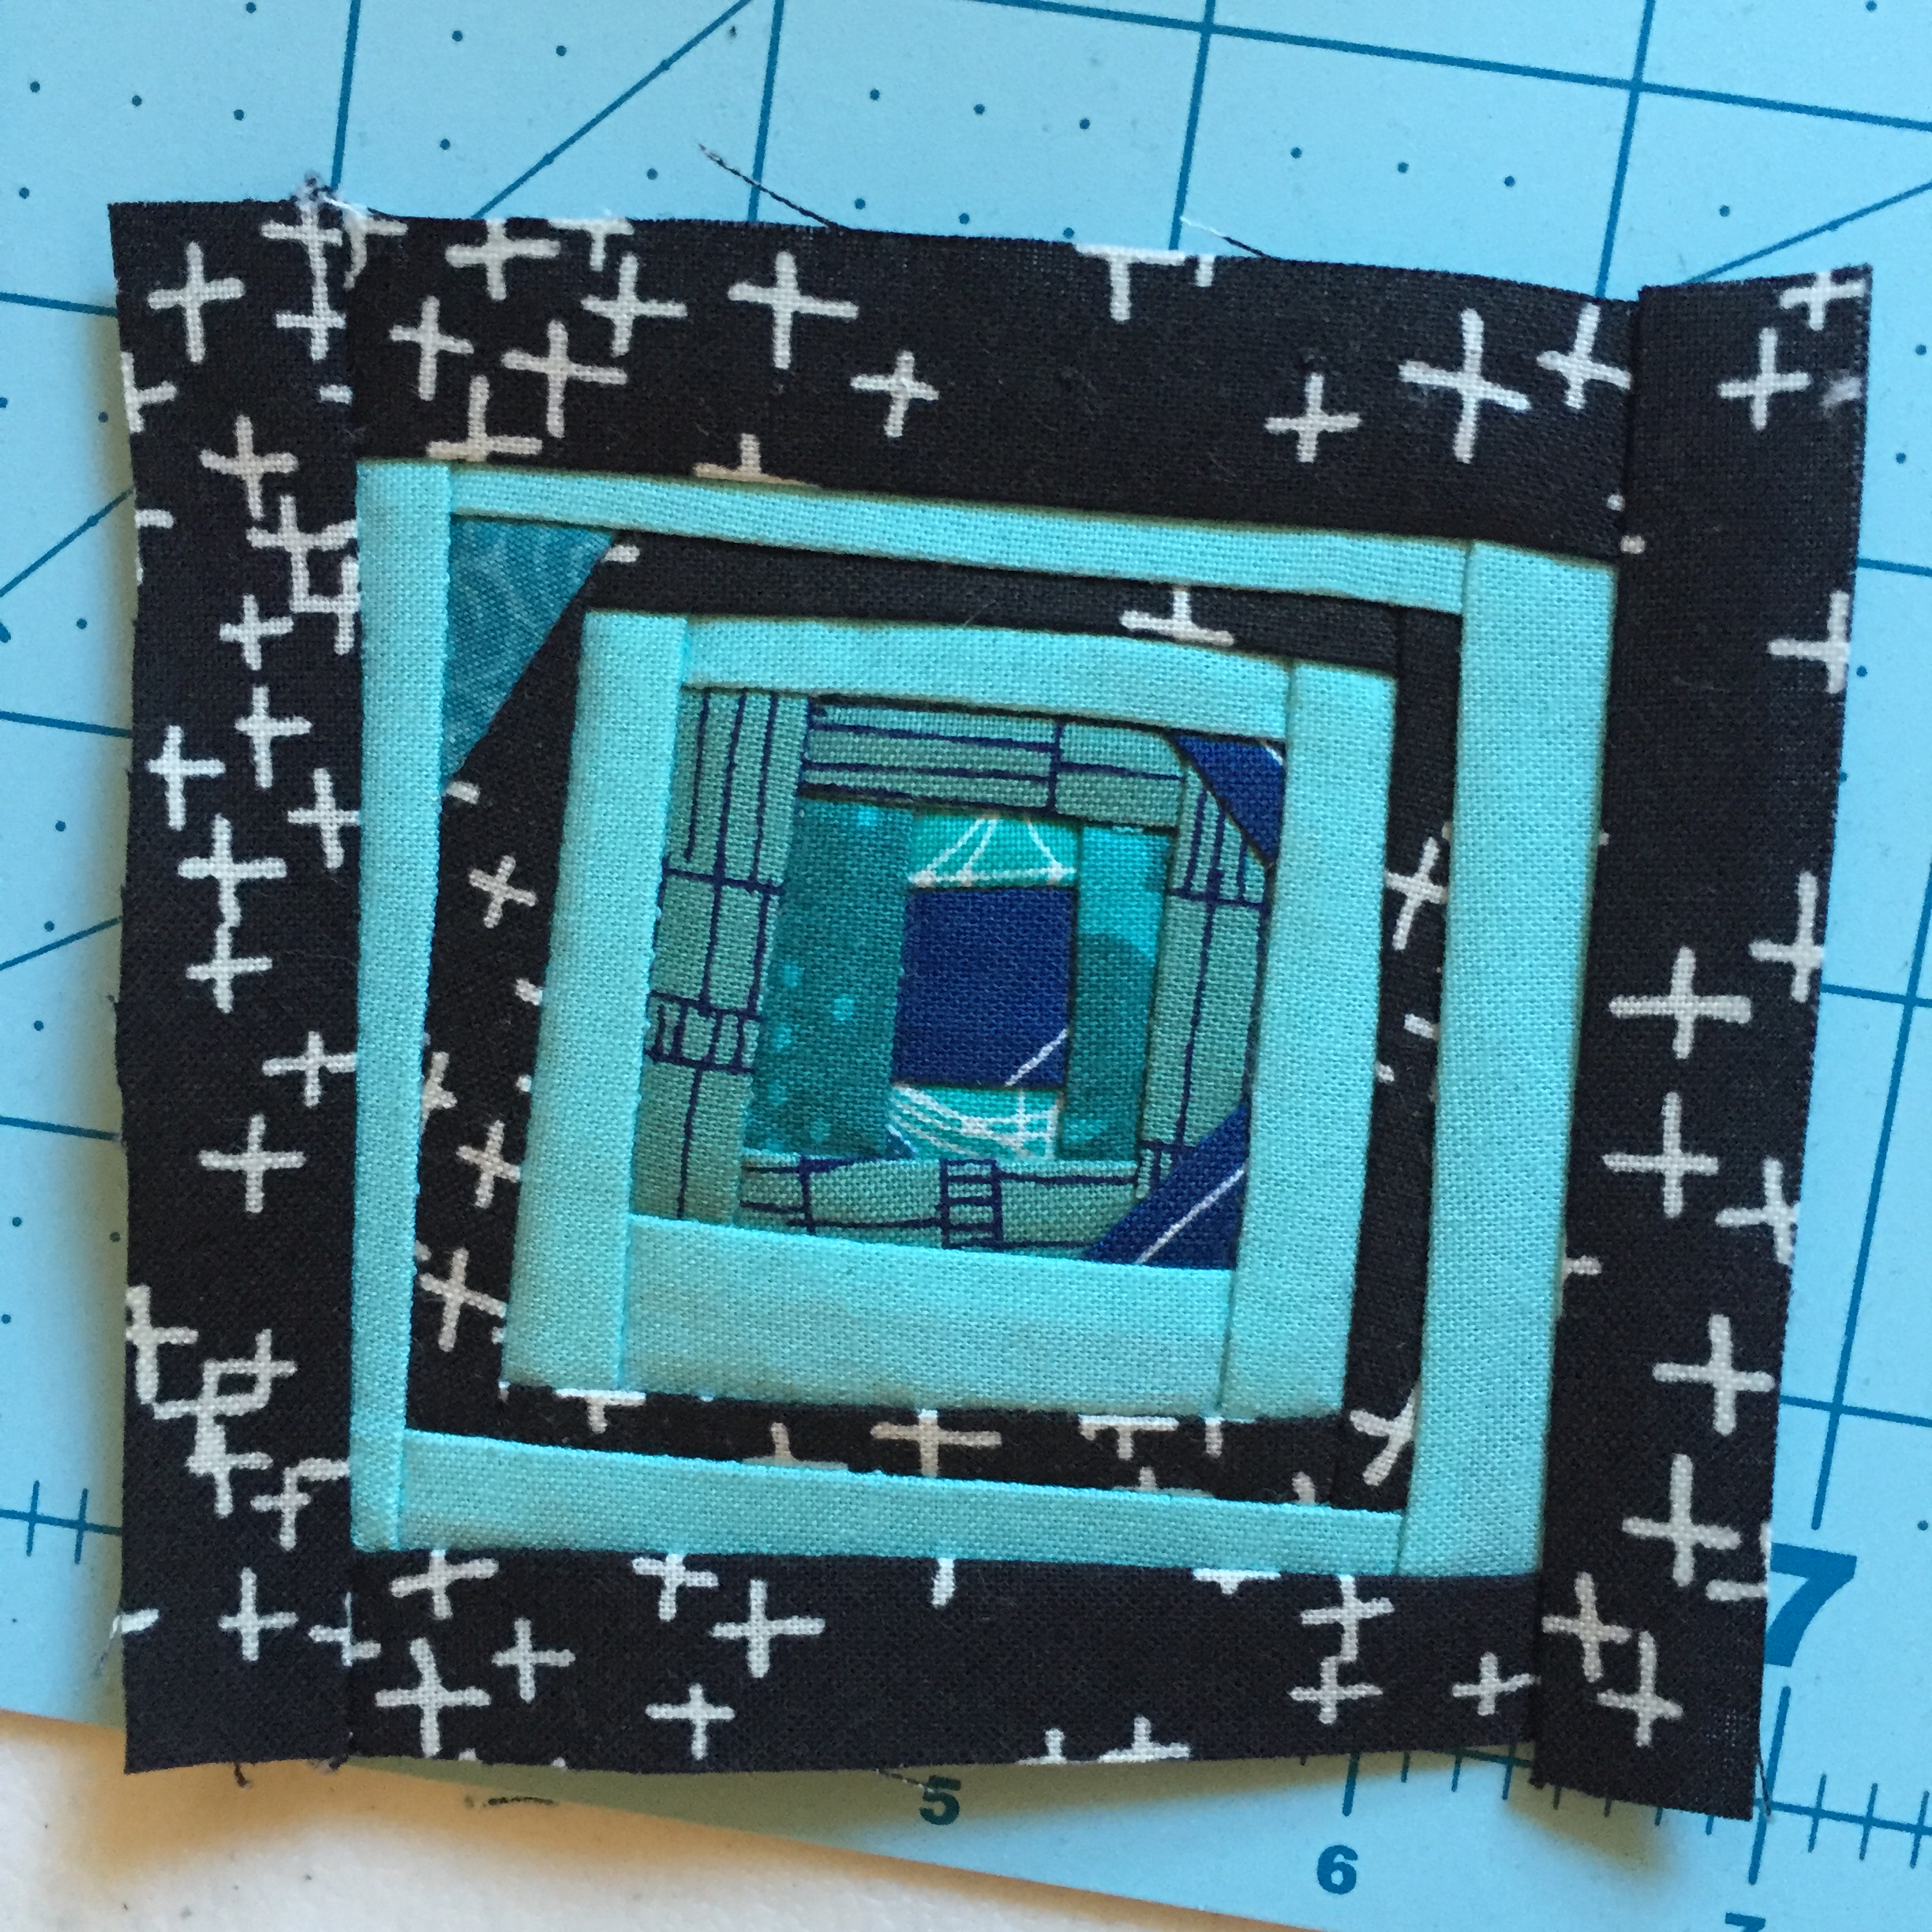
After returning home, I finished stitching the outside edge of my needle-turn appliqued Park block, and I spent two #sewtake20 sewing breaks to get started on a Chawne-inspired tiny quilt block. I’m stretching far out of my comfort zone by going wonky AND tiny!
Here’s my 40-minute, not quite 4″ square quilt block start. I am loving it, and being able to use the scraps of fabric from my “too small to save” bin feels good.
This day spent slowly stitching flew by, but solidified my feeling that quilting retreats should be a part of every sewist’s life. I am very much looking forward to being able to attend a full retreat in a couple of years when my mama milk bar is not in full use, and I plan to start saving pennies now. I’m so grateful that Sam is bringing quilt retreats to Maine with A Gathering of Stitches, and I look forward to seeing what rejuvenating, peacefully refreshing quilt retreats she organizes in the future. Thank you to Sam, Carolyn, Chawne, and all of the other retreat attendees for the lovely day and burst of inspiration.
I’m linking up my tiny quilt block beginning with Design Wall, since all quilt blocks matter, no matter how small.
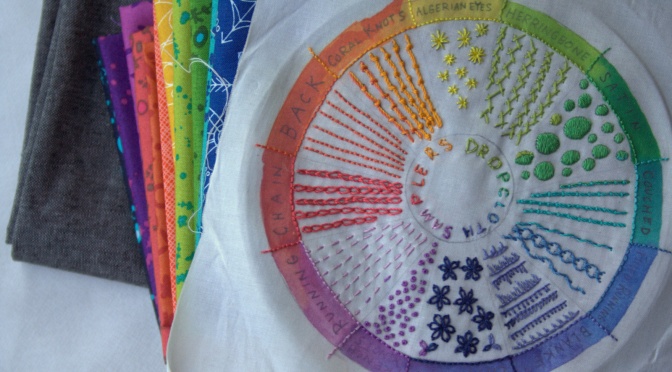
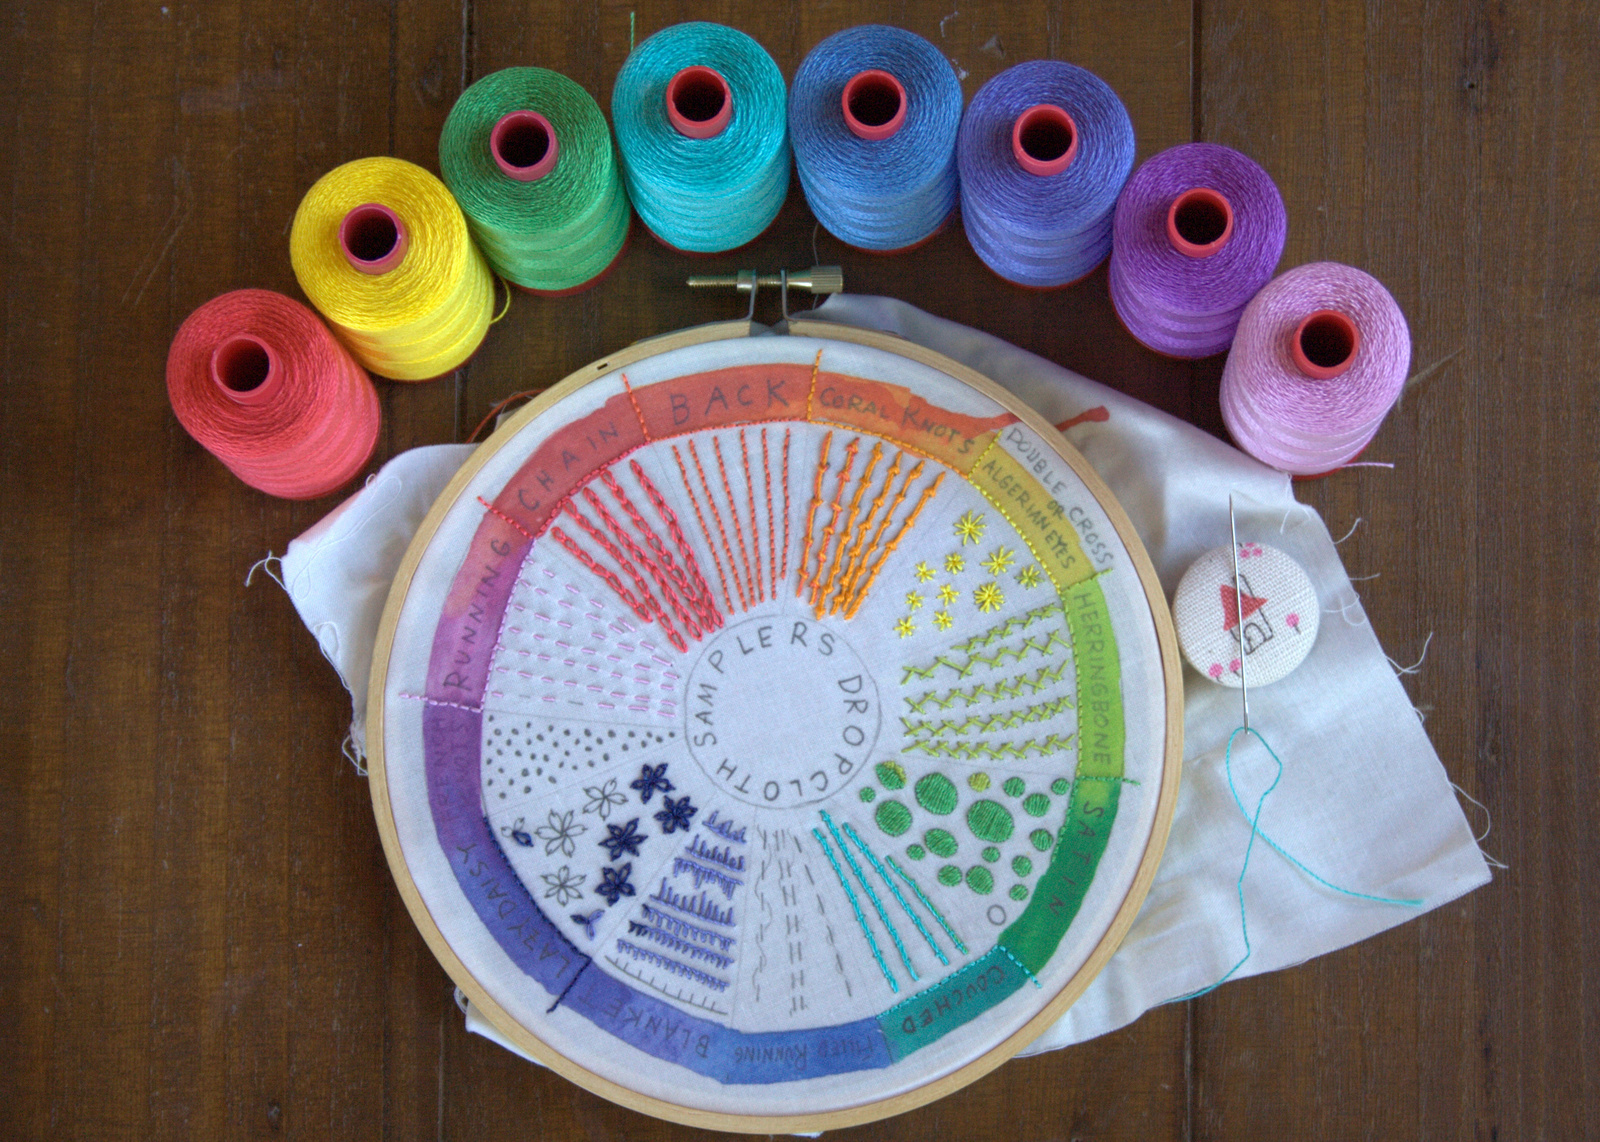
I’ve officially completed my first ever embroidery sampler, and I must say I’m hooked! It has been the perfect project to just pick up here and there while snuggling a sleeping baby and playing with two big kids.
2525 Dusty Blue Violet
2784 Dark Navy
2515 Light Orchid
2540 Medium Lavender
5002 Medium Red
1154 Orange
2145 Yellow Orange
2120 Canary
I love the shine of the stitches created by the Aurifil 12wt, and I’ve already mentioned how nice it was to work with a thread that wasn’t strandy or prone to unravel.
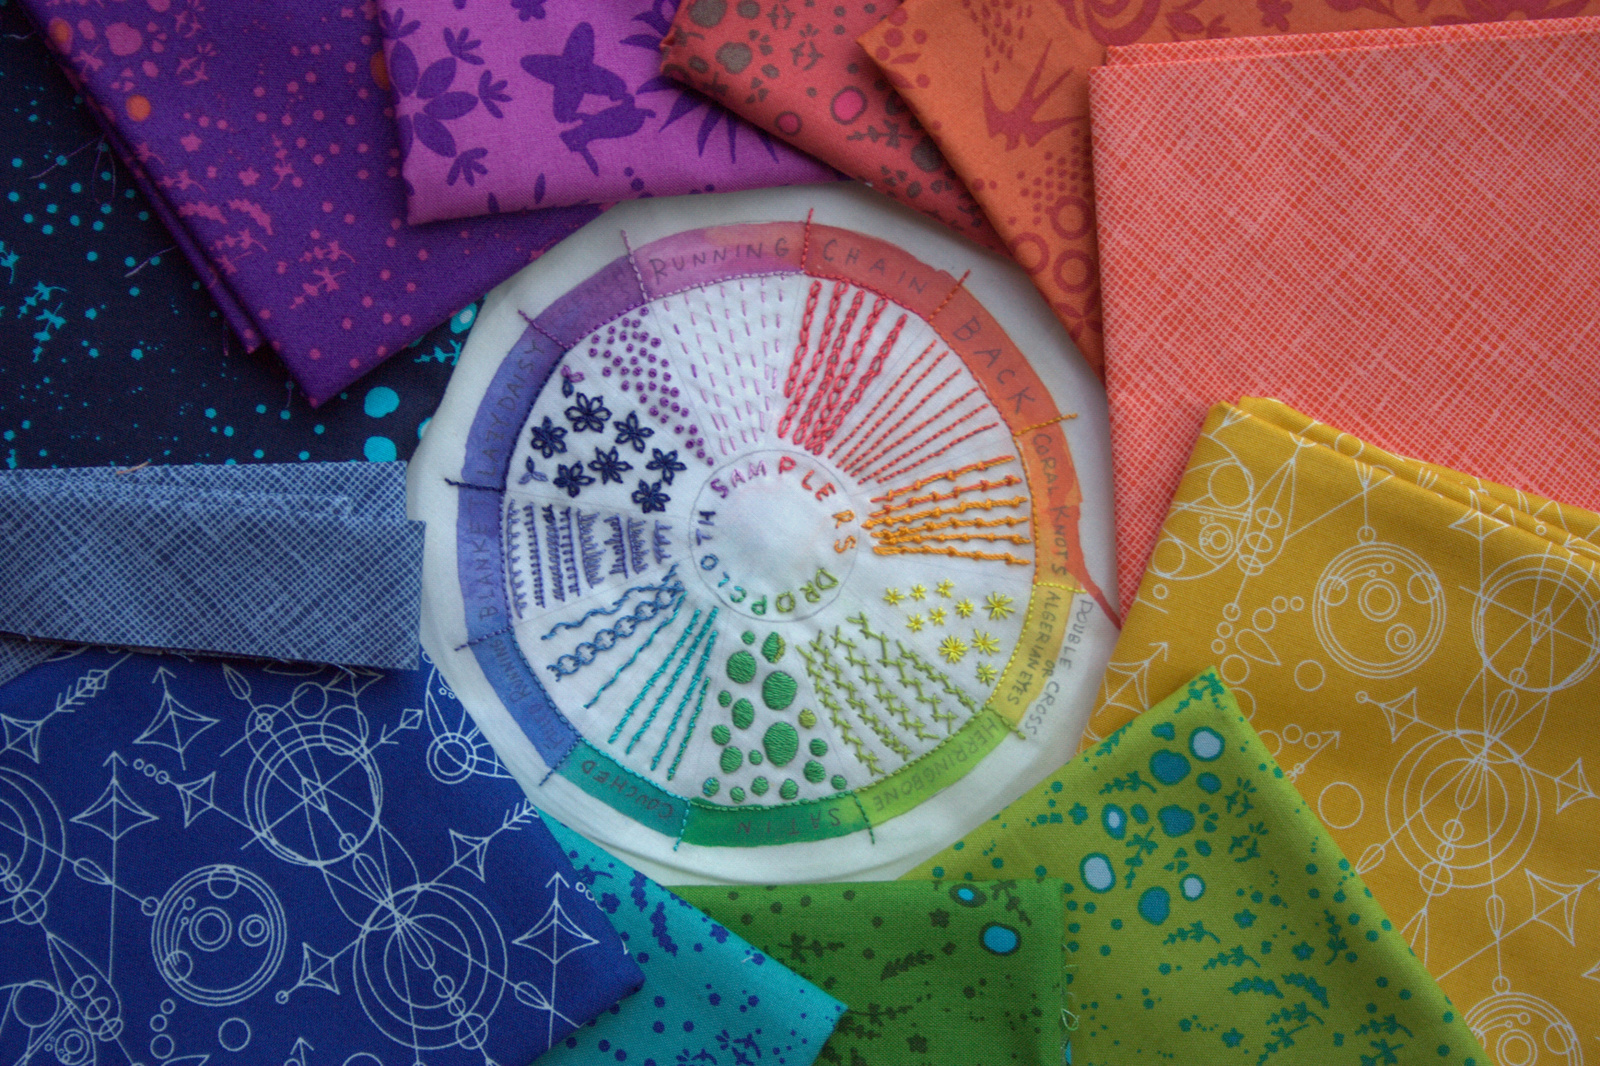
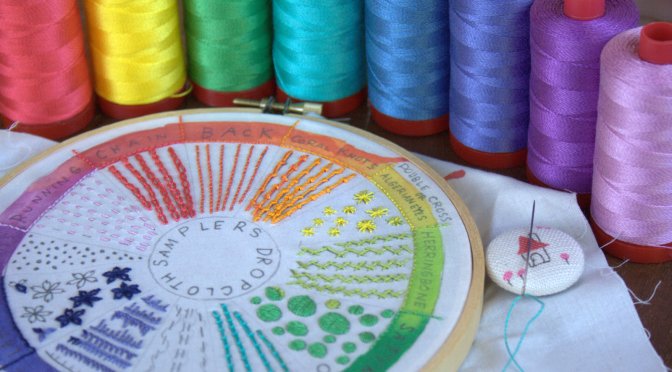
Initially I thought I might finish the sampler in a hoop and hang it in my craft loft as is, but the colors are just so gorgeous that I feel a strong need to draw them out into an even larger creation. I scanned the sampler and played with it in Inkscape a bit to determine a course of action, and I think I’m going to aim to make a larger color wheel using coordinating fabric–mostly Alison Glass Sun Prints, although I’m sure none of you are surprised at that!
Once I visited my fabric stash and did a trial fabric pull, I was completely convinced that a larger quilted color wheel is the way to go.
Really, can you blame me for wanting to use these fabrics in every.single.project!?
I will most likely include my favorite neutral, Robert Kaufman Essex yarn dyed linen in charcoal as the background, although I’m liking the bright colors’ contrast on a lighter background, too.
So, once again, I’ve finished a project only to turn it into a larger, more complex project. But as usual, I am very excited about this project extension! I will be trying my first inset circle as well as practicing curved sewing, in which I have only dabbled early in my quilting foray. I’m also I’m eager to hand quilt the next phase of the project with the Aurifil 12wt to help tie the entire color wheel together.
I’m linking up my Dropcloth Color Wheel Embroidery Sampler finish with Crazy Mom Quilts Finish it Up Friday & TGIFF, even though it’s only the beginning of the next phase of the project. Let the rainbow wheel stitching begin!
Recently I’ve been doing a lot of hand stitching, between finishing the piecing of my English Paper Pieced table runner, and stitching the pieced Lucy Boston blocks down to the border fabric to complete my table runner quilt top. During the past weeks, I learned two tricks that have helped streamline the process, and I’d like to share them with you today. I’ll call it “hand stitching preparedness” since it seems pretty logical, even if both tips were revelations to me.
The first tip came in the form of an Instagram post by Carole Lyles Shaw (@carole_lylesshaw), a simple photo of a few pre-threaded and knotted needles stuck into the arm of the couch to help streamline her binding while watching a game on TV. I saw this and a lightbulb went off in my brain: duh!!
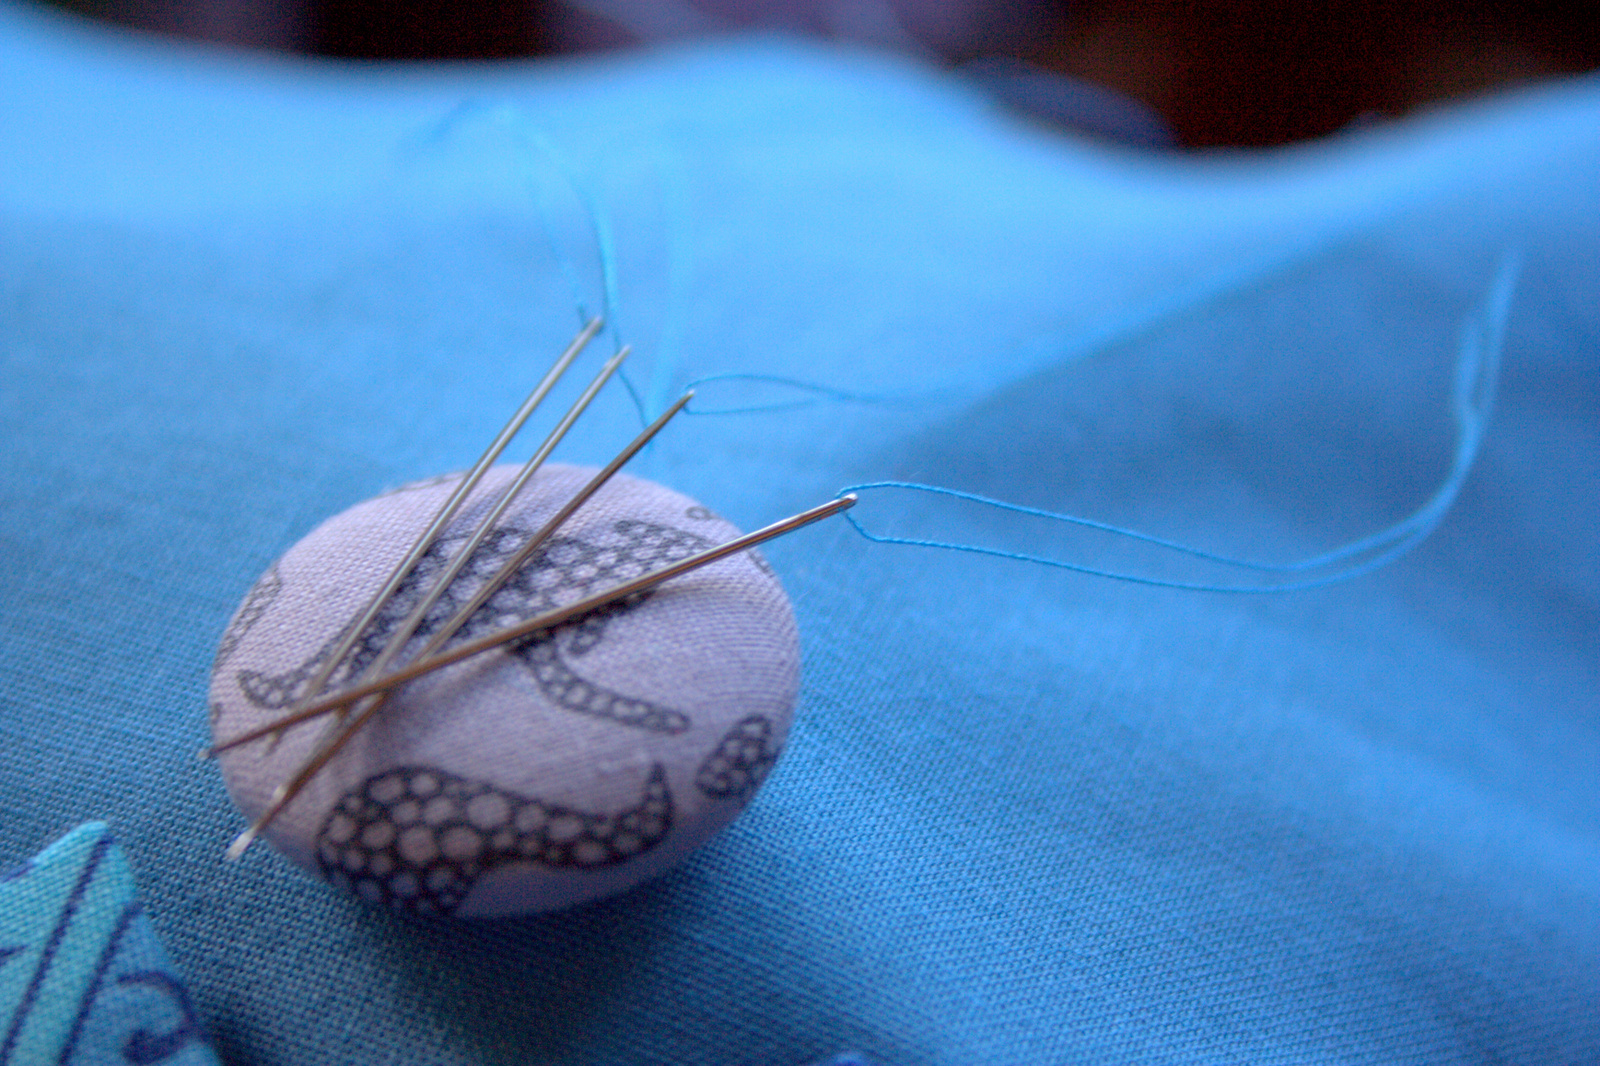
Before sitting down with your hand stitching, whether it be EPP, hand applique, or quilt binding, pre-thread and knot a few needles and have them ready and waiting within reach.
You can keep them in a pincushion nearby (photo above)…
or you can keep them on a needle minder on your actual work…
or you can just stick them into the arm of the couch right next to you.
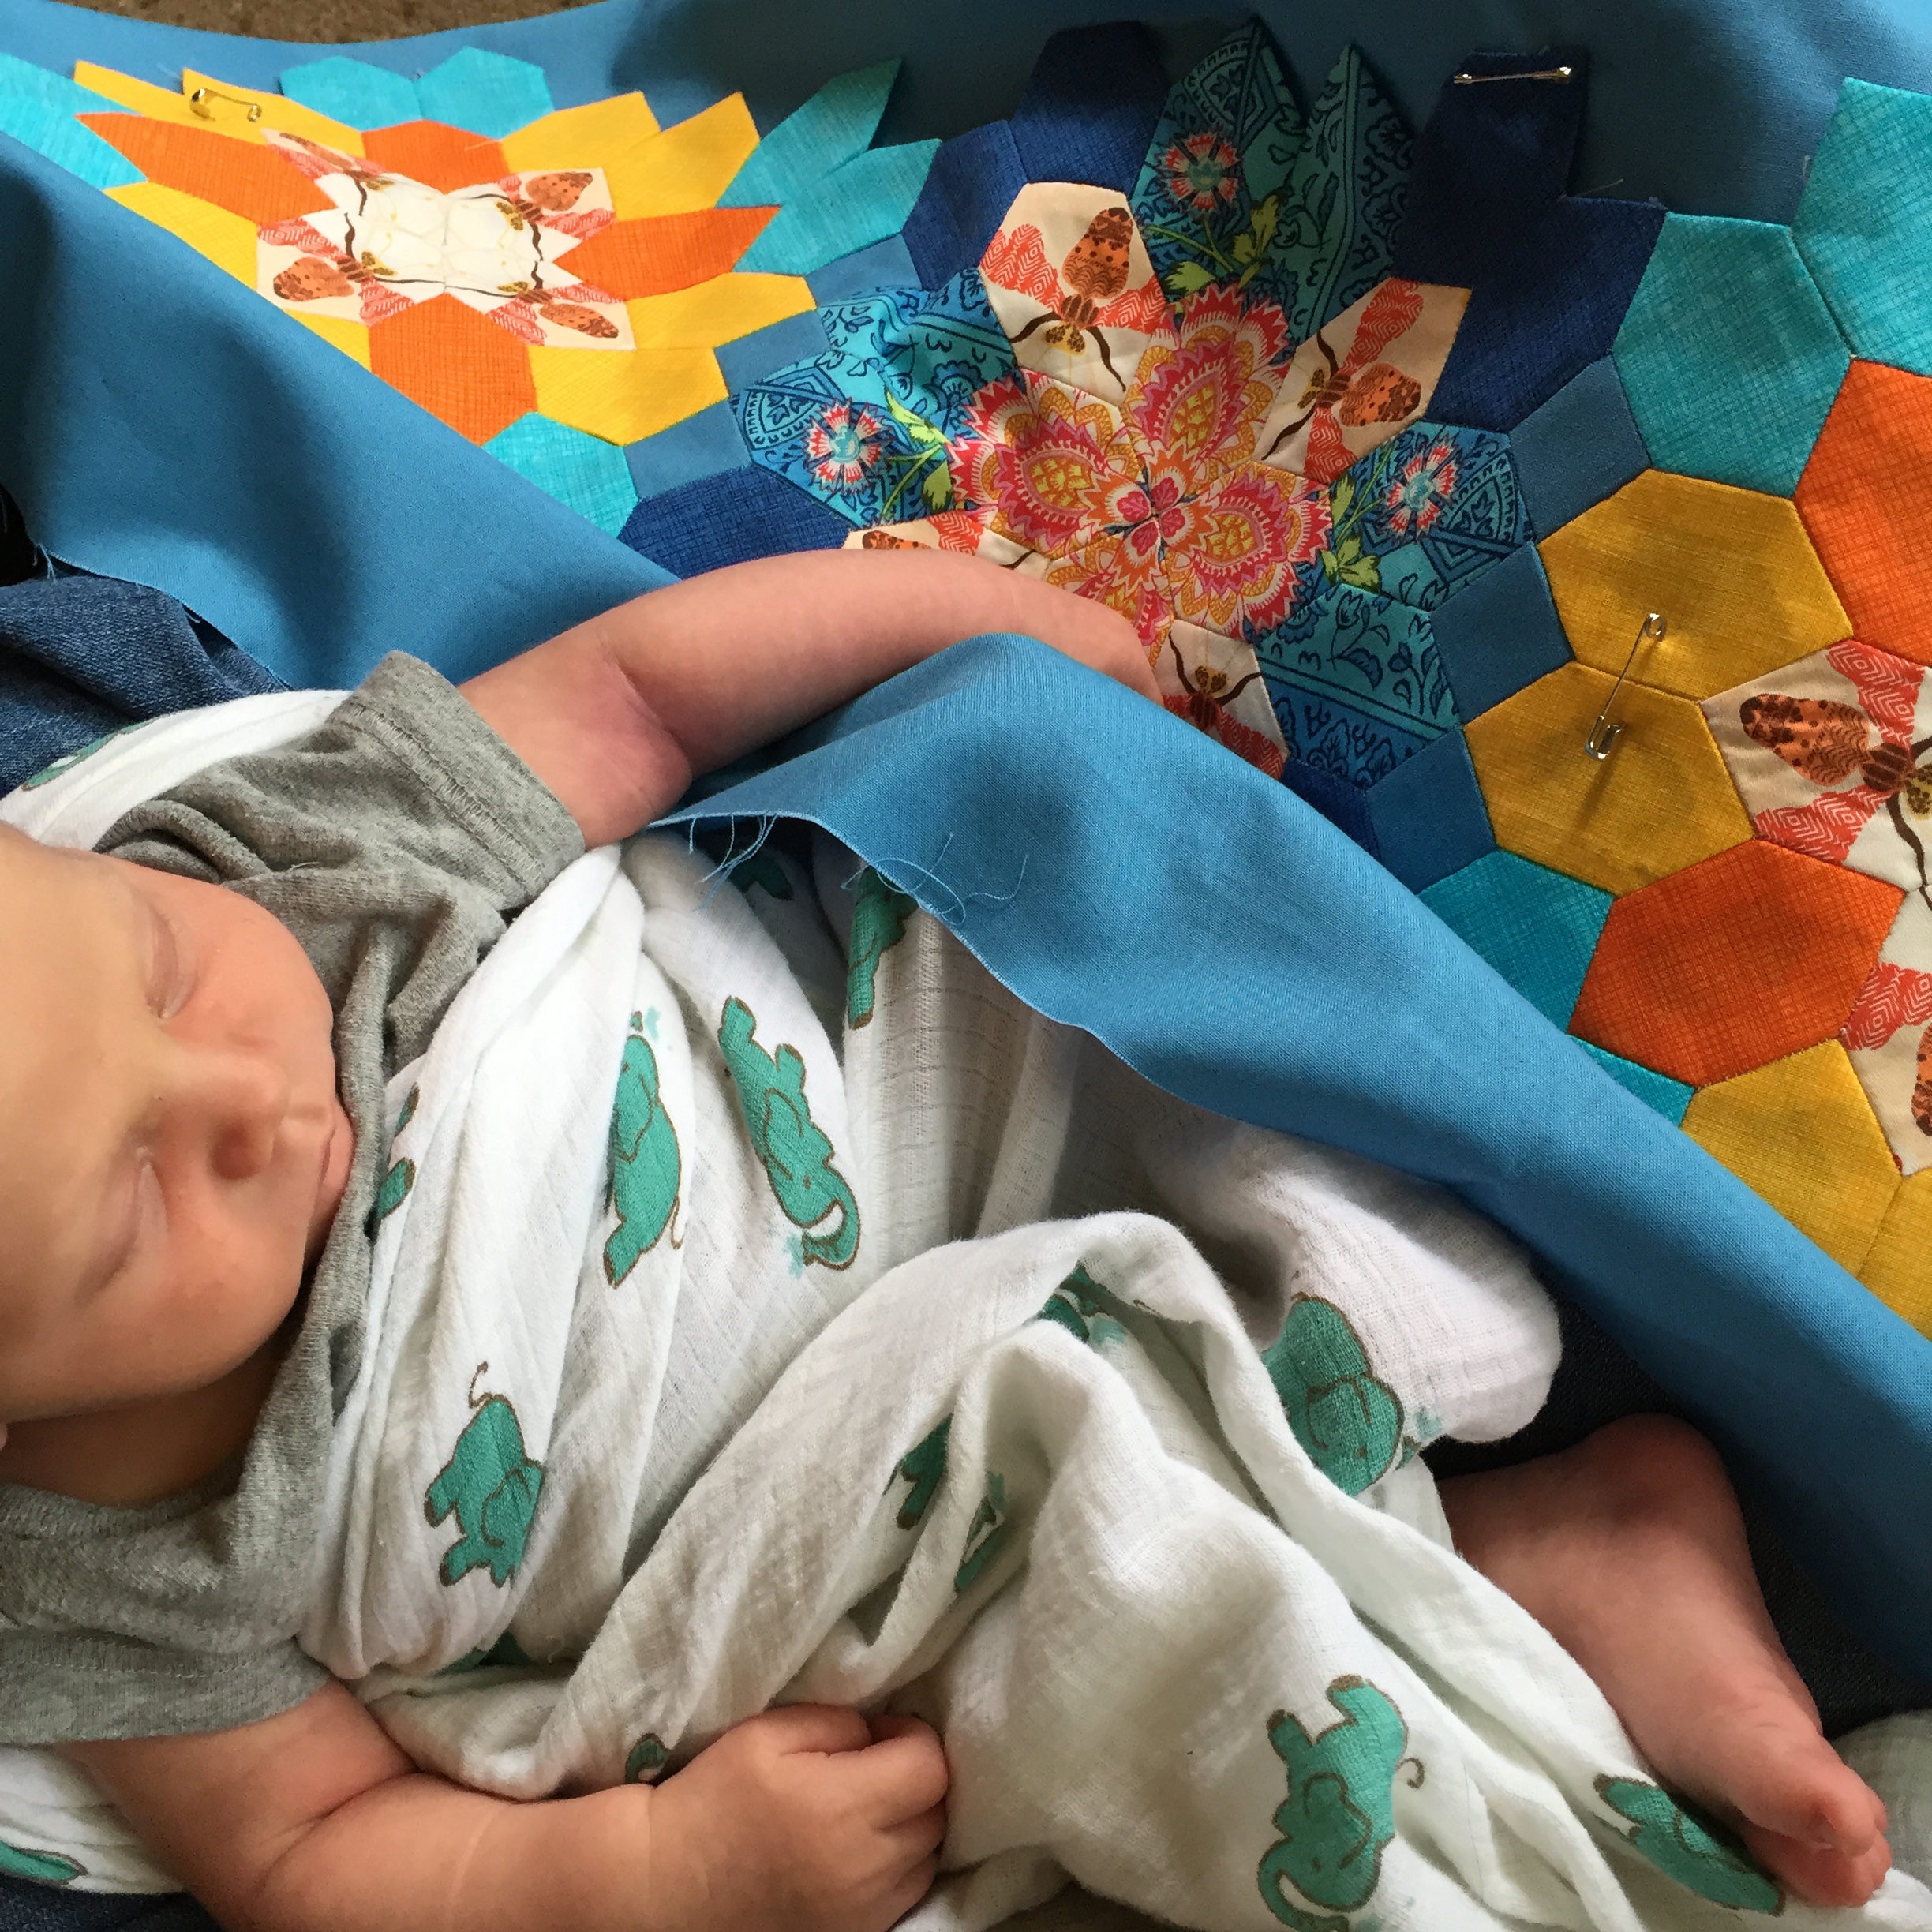
This tip came in particularly handy since I was doing my hand stitching with my sleeping baby in my lap and my scissors, thread, and other sewing tools way up high on top of the bookcase, out of reach of my curious and busy 3 year old. Talk about a game changer! I was able to finish stitching down the blocks without waking my babe or having to juggle a sleeping baby, scissors, and sewing needles to cut new threads as I progressed.
Stunning needlebook made by @mara_makes… isn’t that thread holder awesome!?
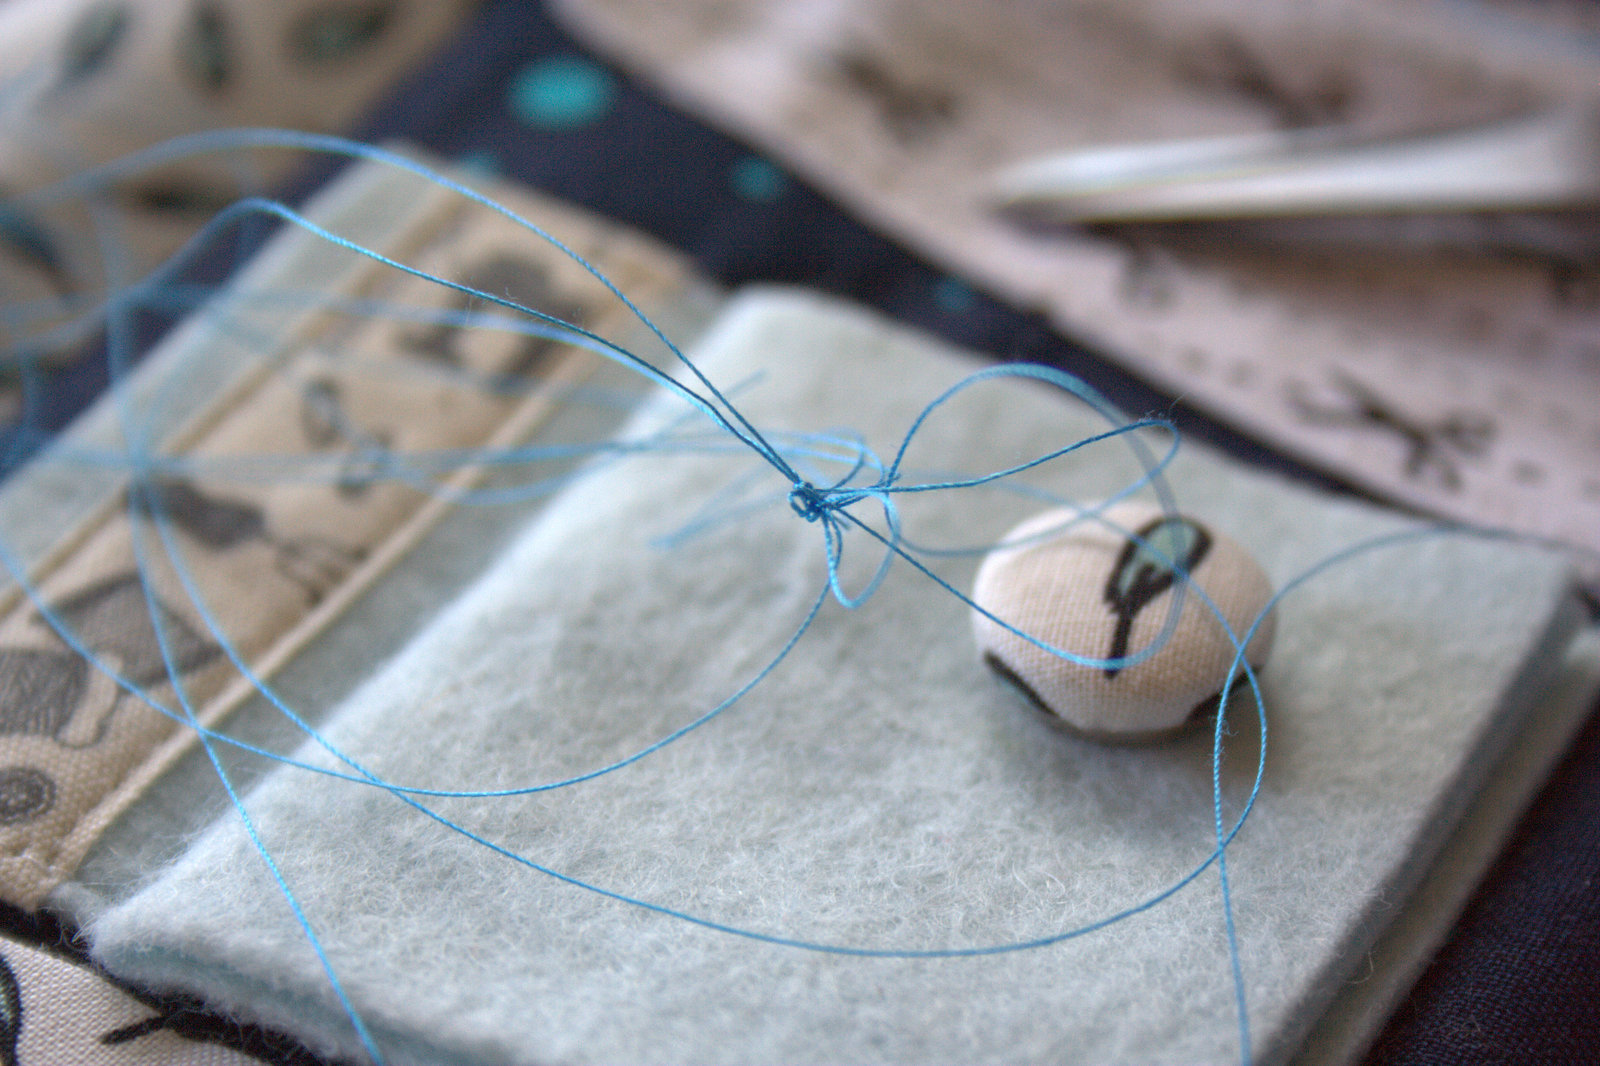
One additional bit of advice I’ll add to this tip is to lay your threads out neatly and separately when cutting them to pre-thread your needles. If you cut them and lay them on top of each other, they *may* make a tangled mess before you can thread the needles successfully.
Ask me how I know this 😉
And finally, learning how to tie a quilter’s knot has saved me a lot of time with my recent hand stitching. That’s one of the downfalls of being a primarily self-taught sewist: you miss the simple basic tricks that well versed quilters take for granted. My friend Stephanie at Late Night Quilter posted this video tutorial a couple weeks ago, and I’ve made dozens of quilter’s knots since.
It’s hard to believe that less than a month ago, I was still pregnant. Yet in early June when I was setting my goal for A Lovely Year of Finishes (ALYoF), my goal was to have a baby!! I also added in a little hand stitching goal of completing my Summer English Paper Pieced (EPP) table runner top. I’m happy to report that I accomplished both of those goals!
Many of you have been appropriately introduced to baby Finn, who made his appearance 5 days into the month. Earlier today, I completed the final stitches attaching the EPP pieces to a solid border, finishing the table runner quilt top just in time.
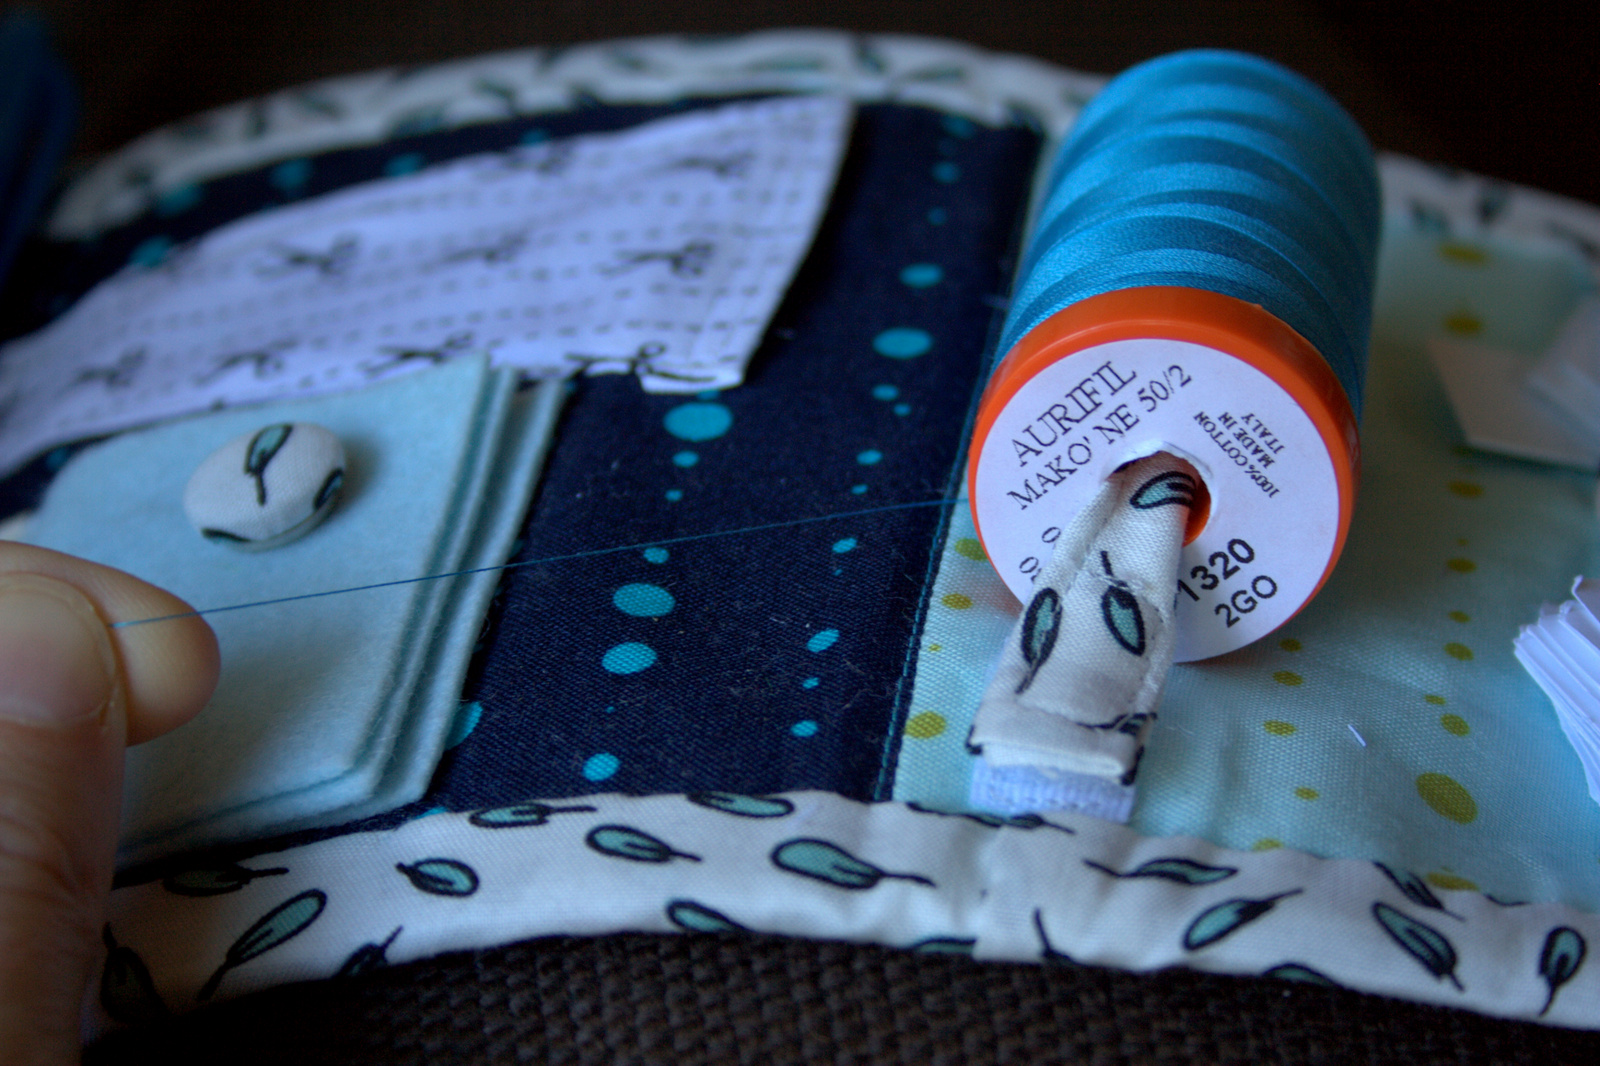
I used blind-ish stitch to sew the Lucy Boston blocks to a solid border fabric.
I used Aurifil 1320 – Medium Teal and a blind-ish stitch, which I hear is a highly favored stitch, to attach the EPP Lucy Boston blocks to a solid border fabric, Moda Bella solid in Coastal. I have not yet cut away the fabric behind the blocks, but I most likely will do so before layering, basting, and hand quilting the table runner.
Now that I’ve grown my Aurifil 12wt thread stash, I’m excited to hand quilt this table runner. I have not yet decided on a quilting pattern, but I probably will go with a simple echo-border pattern. Finn doesn’t seem too interested in the stitching, but that’s ok!
I’m linking up with A Lovely Year of Finishes June Finish Party, and already contemplating my goal for July. I’m really enjoying being a part of ALYoF, since it is a little added incentive to focus on one project and actually make visible progress. This is my fourth successful monthly finish, since I missed the goal setting deadline for January and completely missed May. Not too bad!
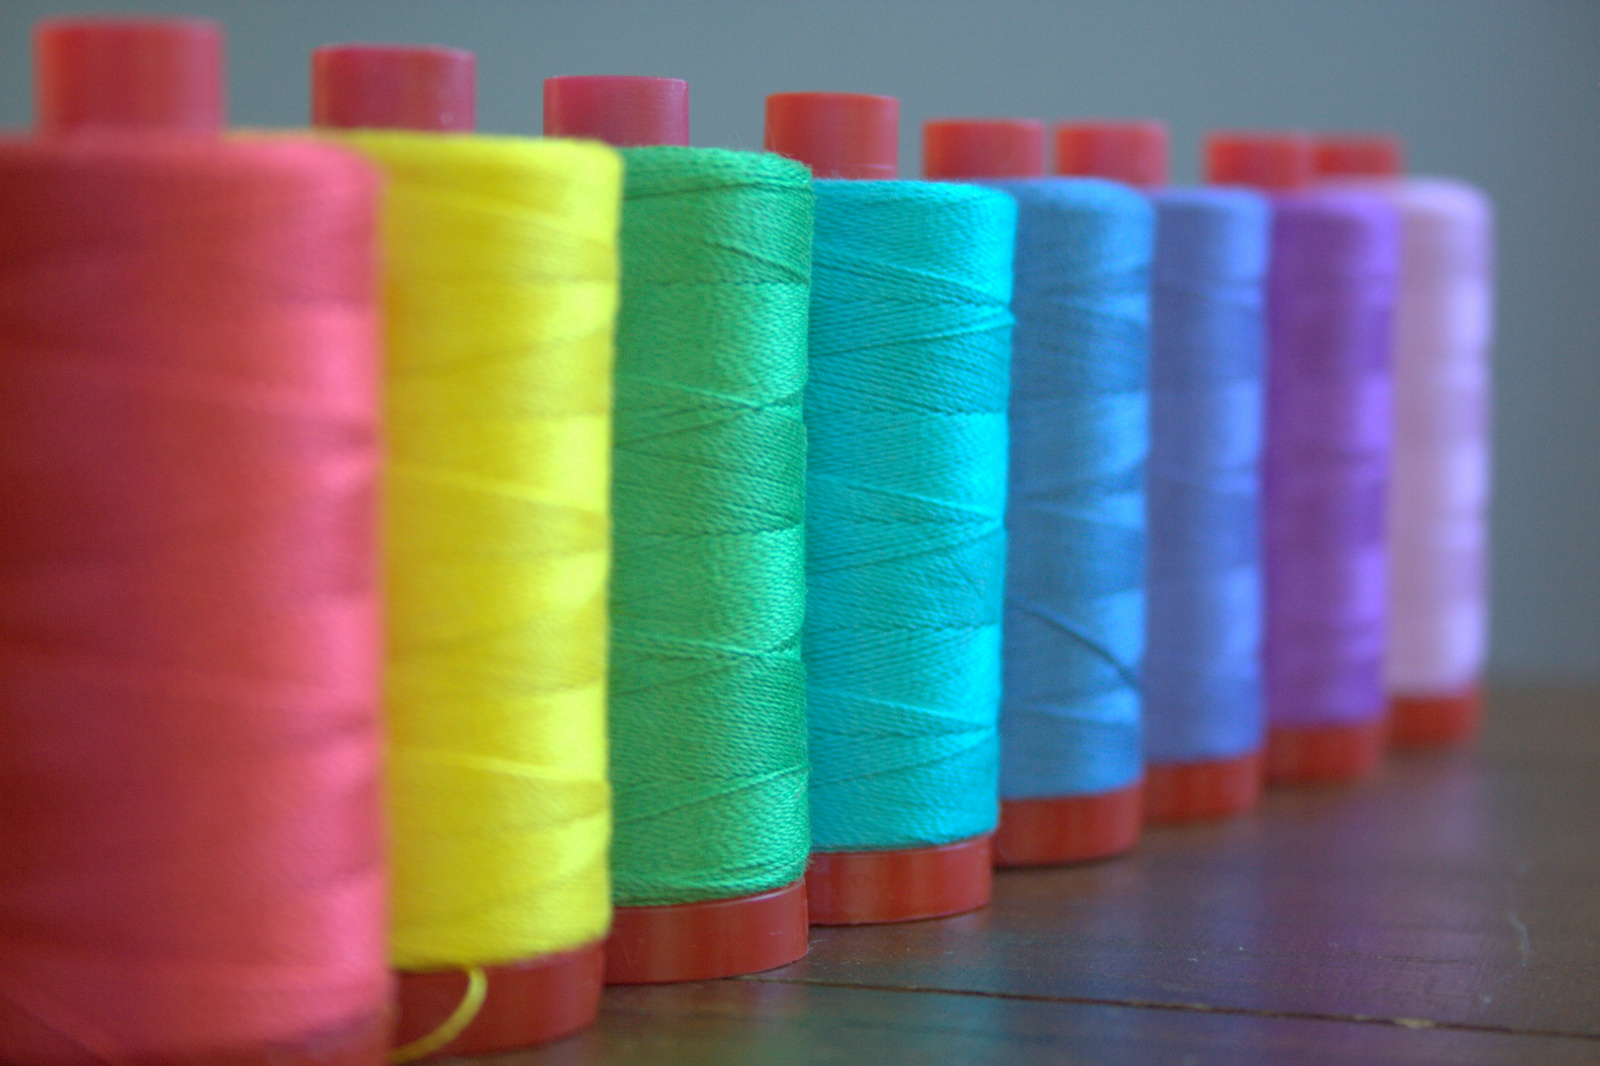
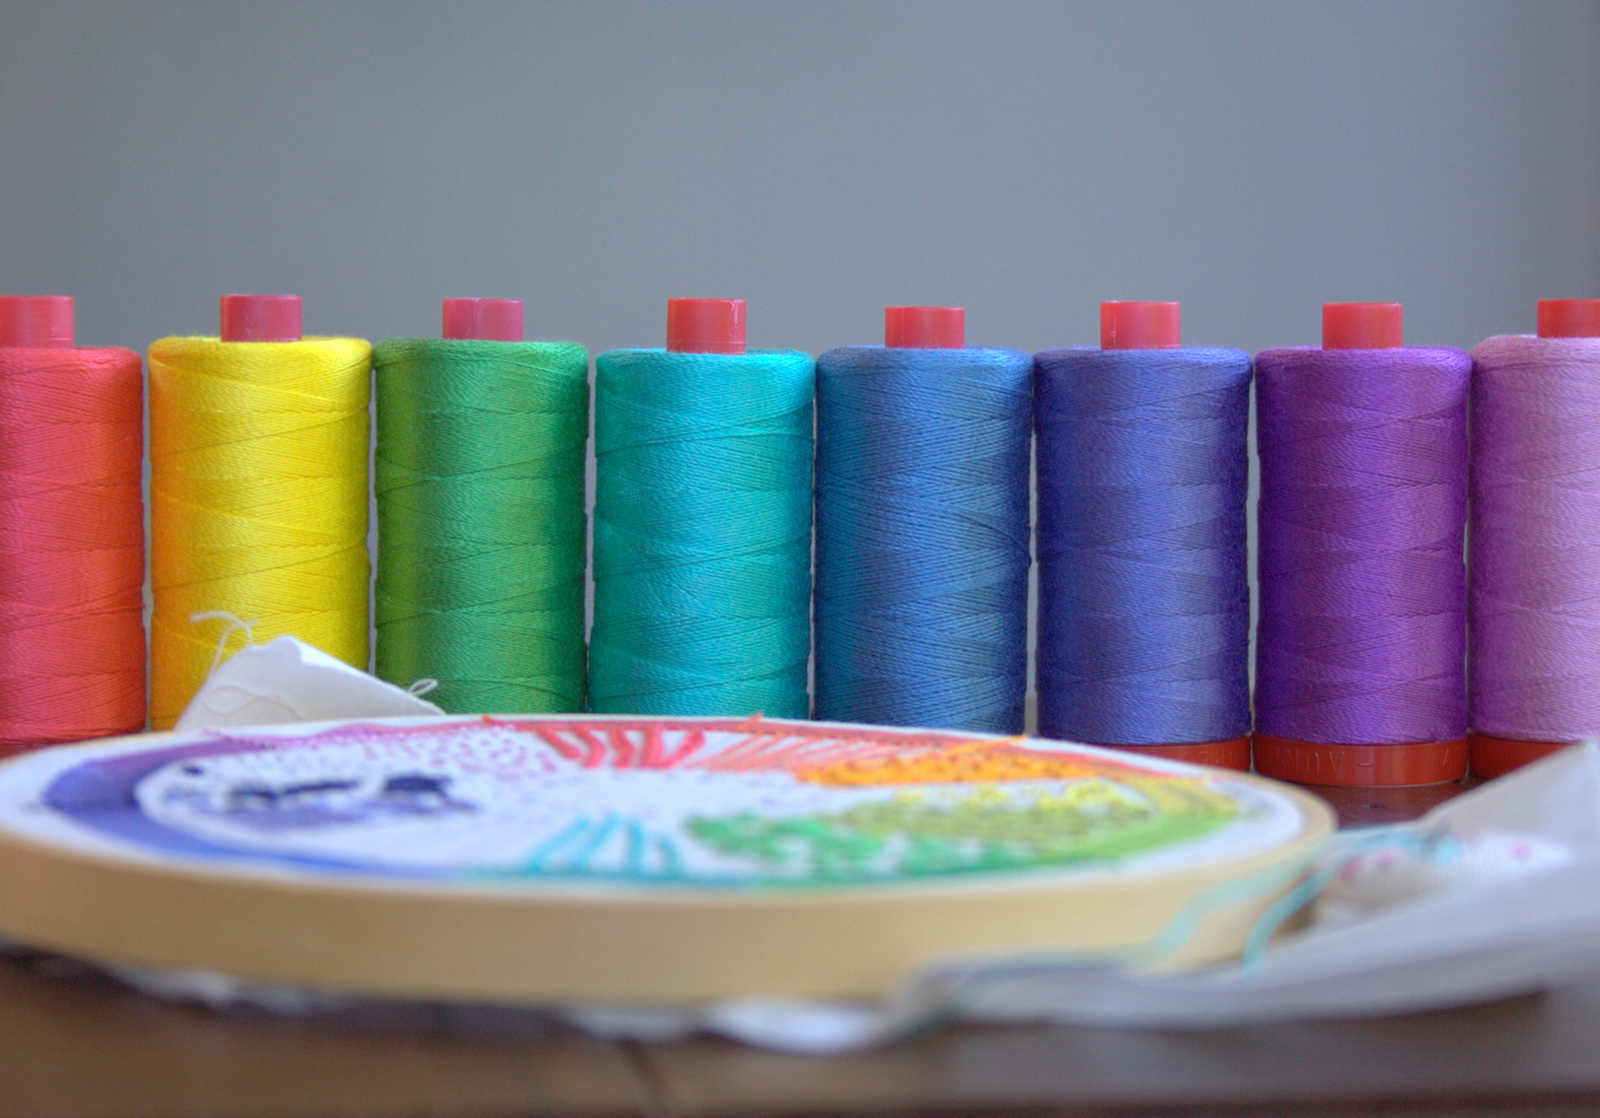
With an infant sleeping and nursing much of the day, and still the help of my husband around the house, I’ve been making good progress on my Dropcloth Color Wheel embroidery sampler. Over the weekend, I received some new colors of 12wt Aurifil (thank you, Alex!) so I now have all of the necessary colors to complete this sampler. I’m already thinking about what I’m going to embroider next, and can’t wait to use the thread for hand–or even machine–quilting, too!
This is my first time trying embroidery, so I’m learning the stitches as I go. YouTube is an amazing resource, isn’t it!? So far, blanket stitch is still the trickiest for me. My favorites are Algerian Eyes, Coral Knots, and Backstitch. In browsing other embroidery samplers, I’m noticing that there seems to be an endless list of stitches to try, but I want to try them all! Admittedly, I’m a bit frightened by French Knots, but will tackle them next. I chuckled at the fact that I was sewing the couched stitch while sitting on the couch (is there a couch-related reason for the name?).
The more I use the 12wt Aurifil, the more impressed I am. I’m a complete beginner at embroidery, so there may be benefits of using a floss or perle cotton thread that are unknown to me, but the smoothness of the Aurifil makes it a dream to stitch with. There’s no unraveling or splitting, and the thread is thick enough to make an impact with only one strand. The colors, of course, speak for themselves: vibrant, bold, and shiny.
I have only a few sections remaining, and then comes the fun of deciding what to do with this once it’s finished. My initial instinct is to finish it in the hoop, but I’m tempted to stitch it into a larger mini quilt for a more finished display.
If you stitch embroidery samplers, how do you finish them?
The fussy cutting fun involved with English Paper piecing (EPP) and Lucy Boston Patchwork of the Crosses blocks hooked me immediately (although I still think it should be called meticulous cutting or assiduous cutting). I’m still wondering what one is to do with these gorgeous blocks other than make a ton and stitch them into a large quilt, though. With the three I’ve completed, I decided to turn them into a summery table runner to match these placemats. I’ve begun to join them together, slowly planning how I want to border these blocks so that they finish as a table runner. This is my first time “finishing” an EPP project, so I’m learning as I go (read: making it up as I go), as I do with most everything.
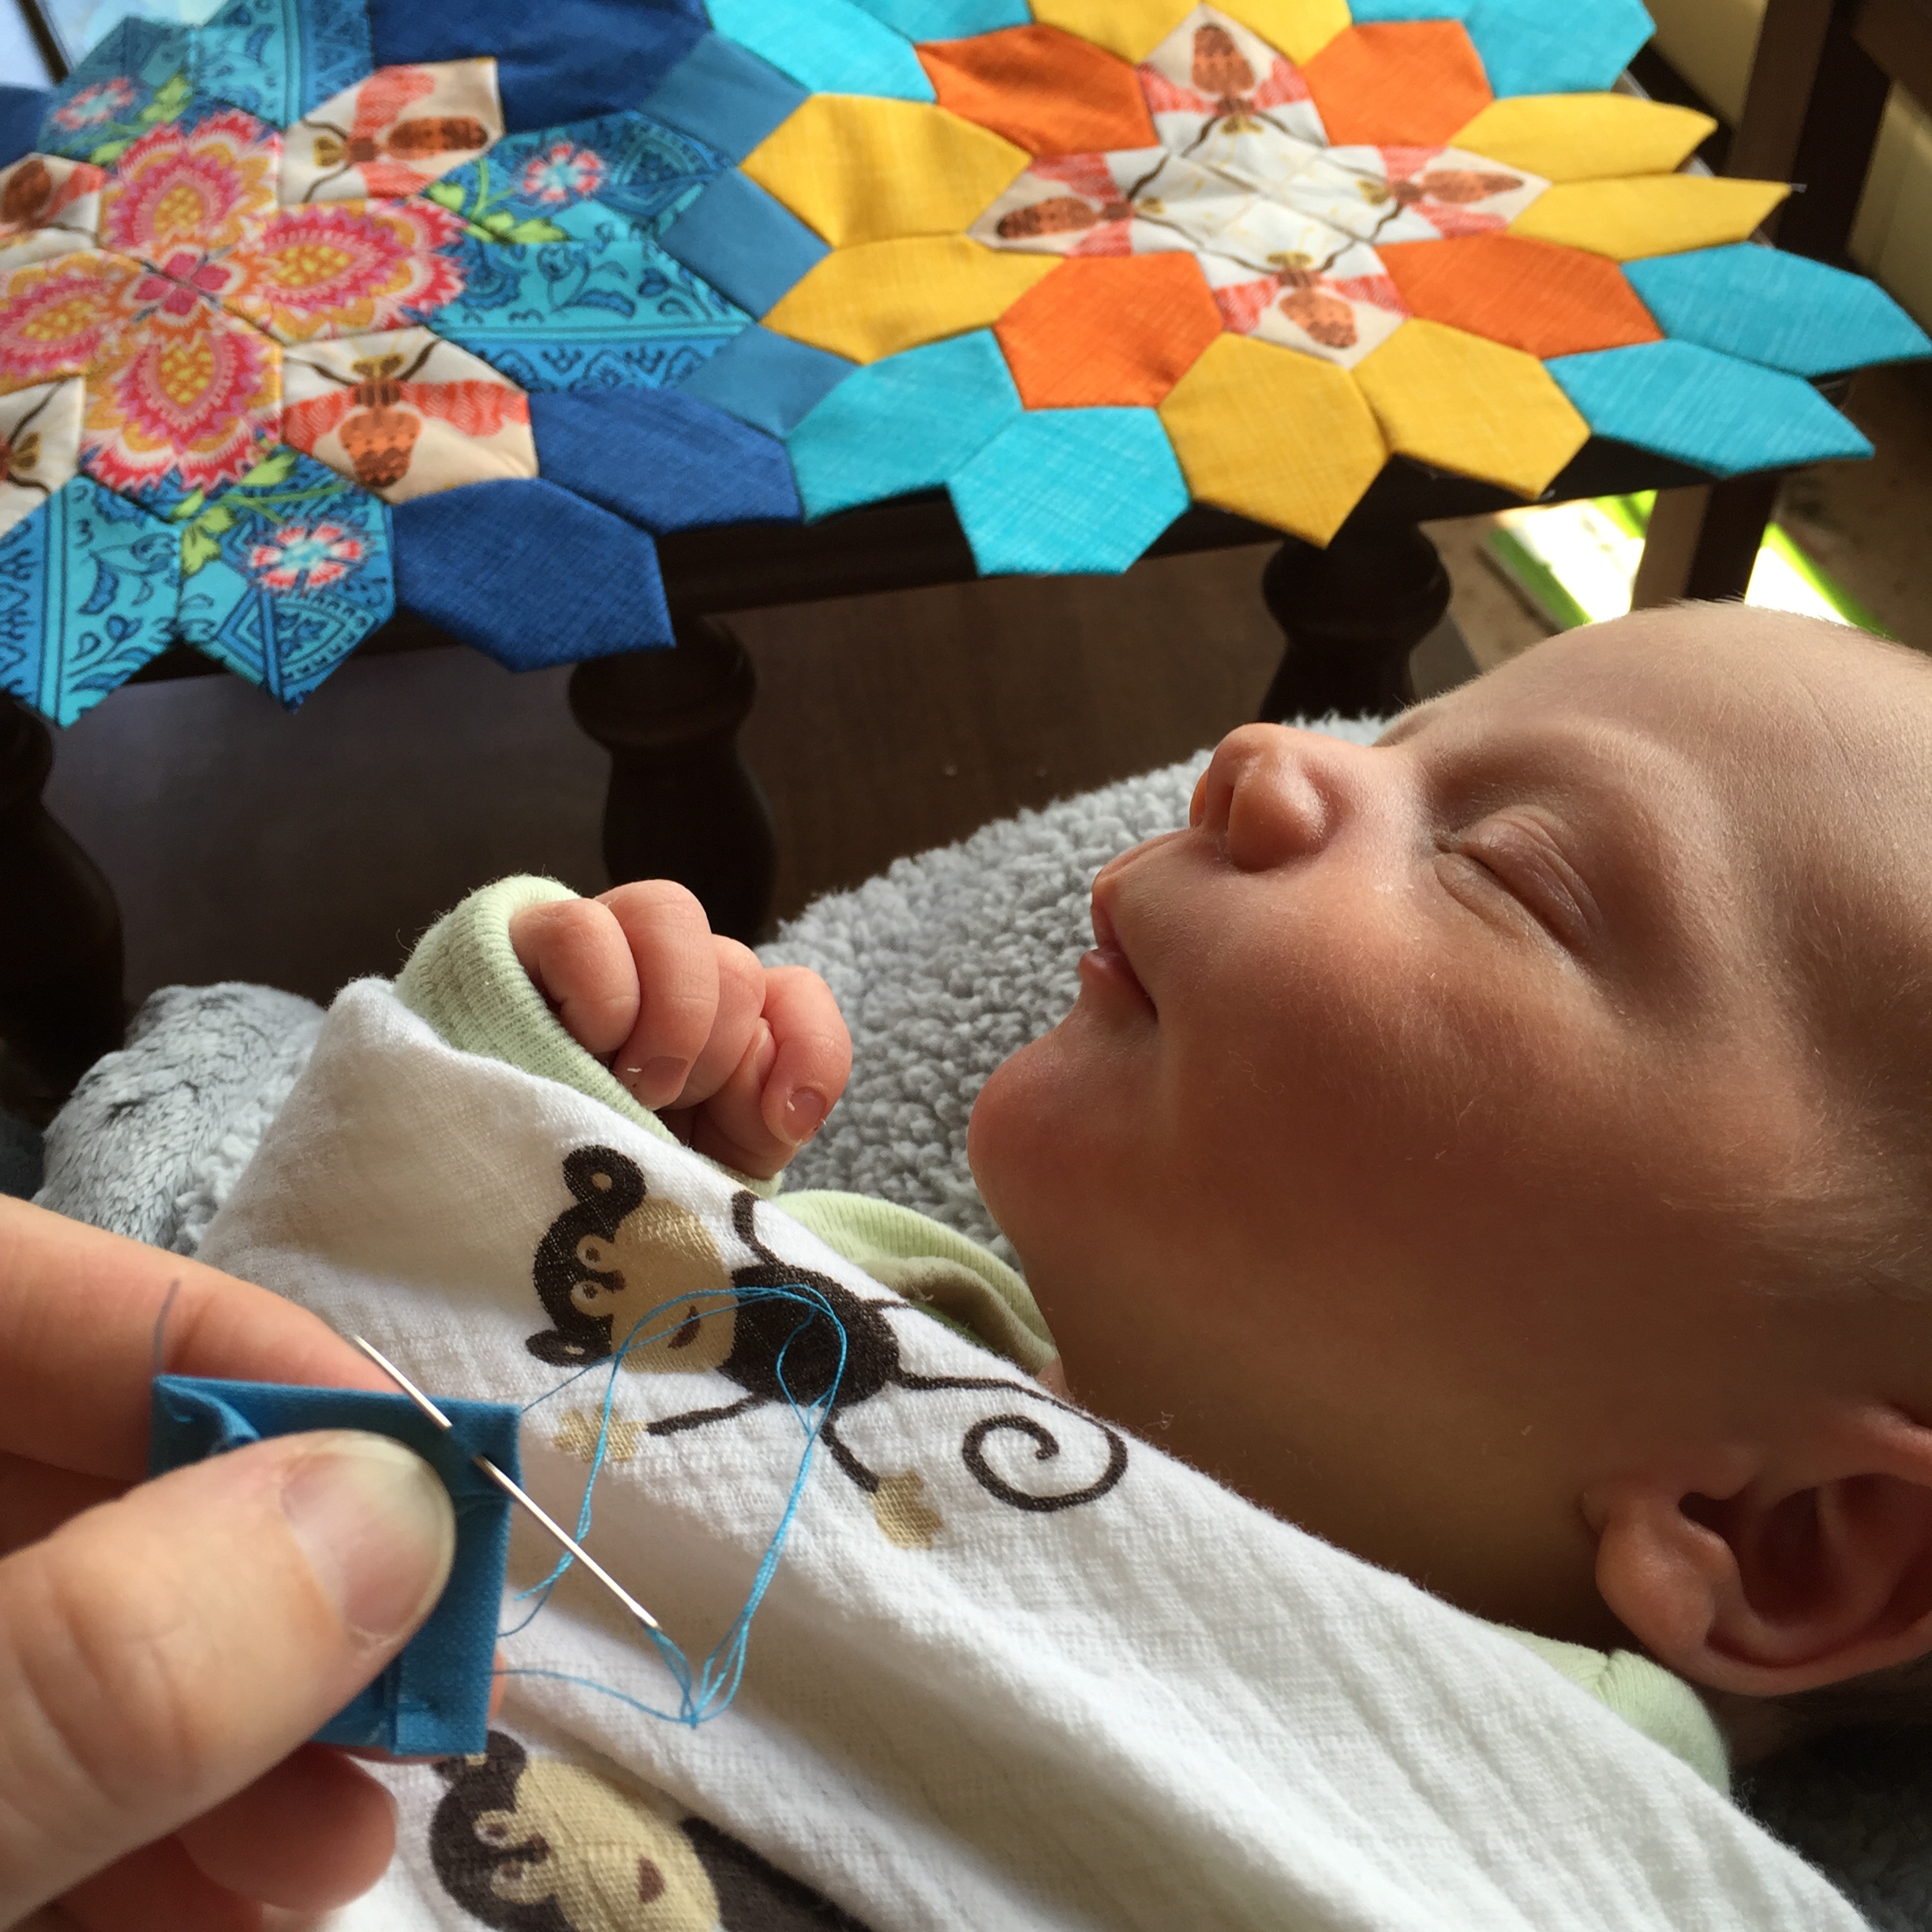
With a newborn snoozing in my lap all day and night, and since I still have the help of my visiting mom and paternity-leave-taking husband, I’ve been making steady progress on finishing the center block and making tiny 1″ squares to join the three together. Even since these photos were taken this morning, the third block is joined as well. There’s not much better than resting with a peacefully sleeping newborn on your lap, doing some stitching while watching the milk drunk stupor reflex smiles.
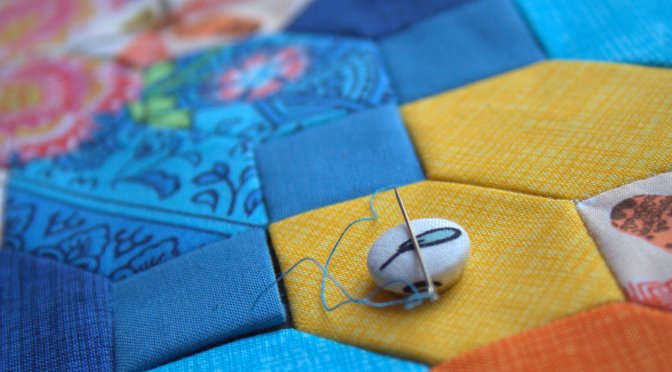
My view earlier today, shared on Instagram.I’m loving the teeny tiny needle minder gifted to me by Mara of @mara_makes on IG.
Since I made my own 1″ square EPP templates with card stock and my paper-cutting rotary cutter, I’m thinking I may just make my own templates for the entire border. In plotting it out, a combination of squares, rectangles, and trapezoids should do the trick (I think).
Have you joined Lucy Boston Patchwork of the Crosses blocks before? What method/shapes did you use? Please link in the comments if there’s a particular method you like, even if it’s just a general EPP tip! I honestly haven’t asked google yet, but I prefer to hear opinions from you, anyway.
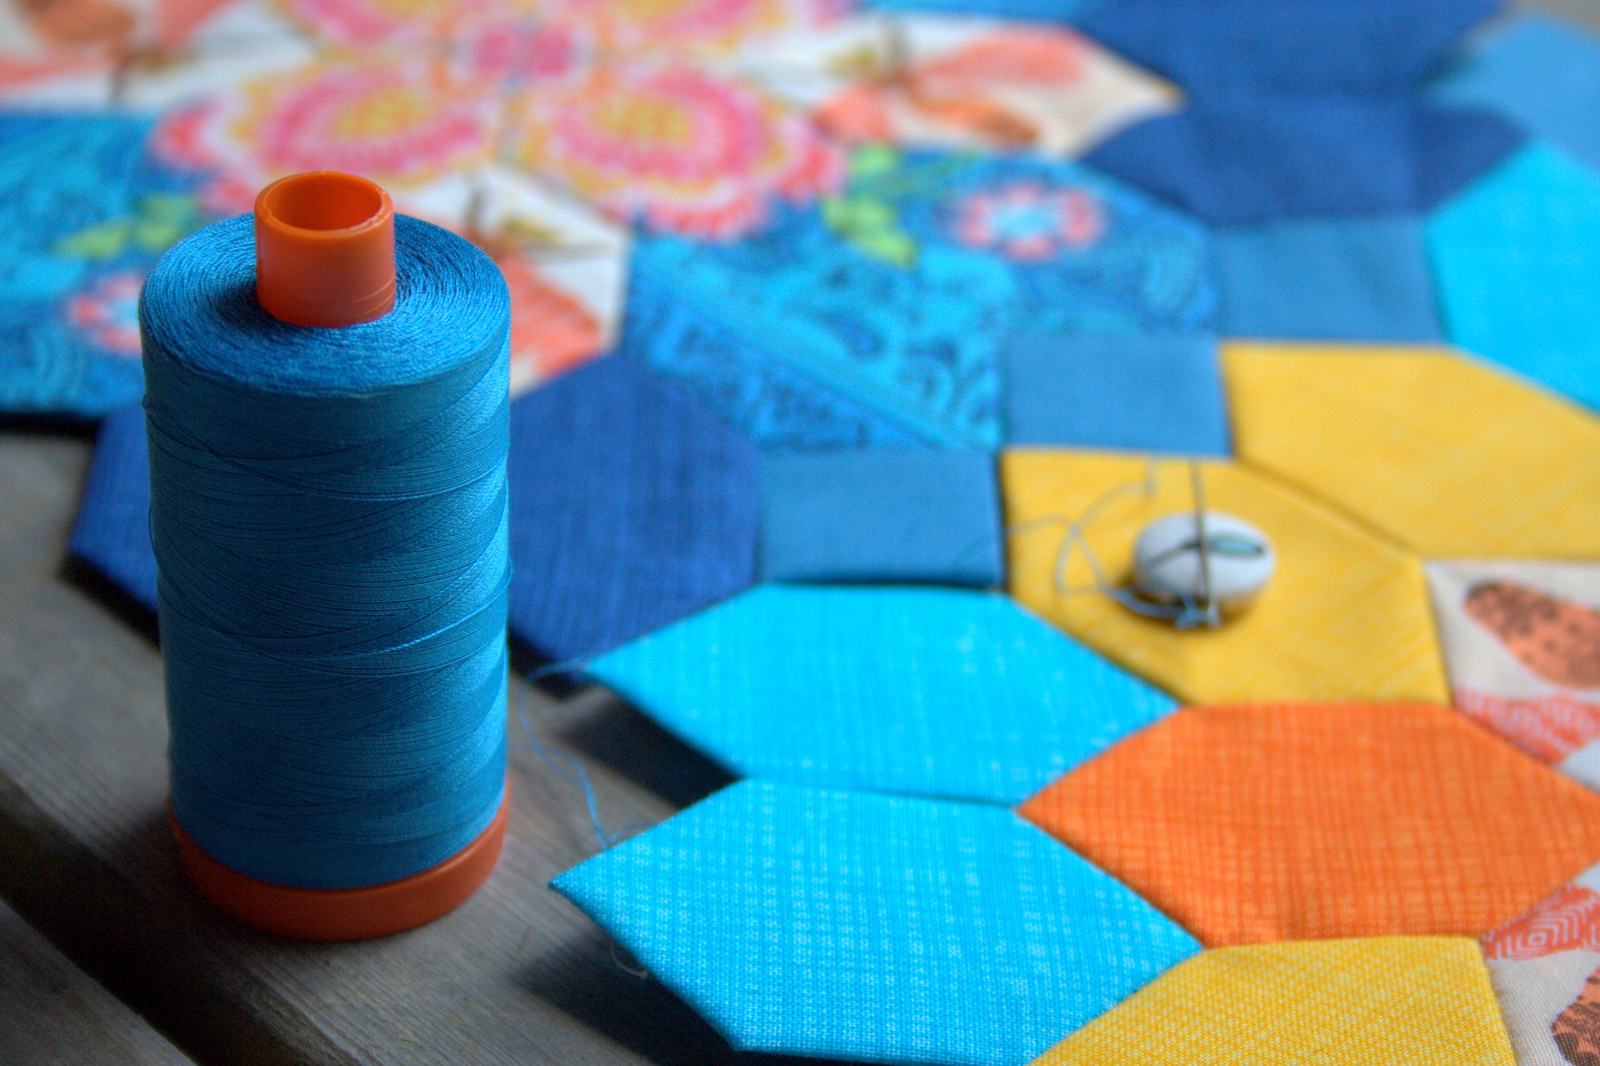
I had been stitching the pieces together using a neutral thread, but decided that since I’m joining a bunch of blues, I should use matching thread if possible. I was pleased as punch to find a perfectly coordinating blue Aurifil thread in my stash (but not overly surprised, since there ALWAYS seems to be a perfect match!) It’s right in the middle of the darker blues and lighter turquoise, and is the perfect color for tying this whole runner together (literally!)
What do you make out of your EPP creations? I am really itching to do some more fussy cutting, but I need to have a project idea in mind before adding another project to my pile.
I completely missed May for A Lovely Year of Finishes (ALYoF). It actually is a good thing, since I was going to make my goal “have a baby“. Here we are in June and I still have not had this baby, which means I wouldn’t have had a successful finish to link up anyway! (Enter: haveyouhadthatbabyyet.com)
For June, my goal is to have this baby! He absolutely must make his way out by the end of the month (fingers crossed for by the end of the week!) Since I know that I need to have some little quilting/stitching project in the works, too, I’m also going to make another small goal: to finish piecing the top of the English Paper Pieced table runner I started last summer.
While going through my mental list of old works in progress I could dig out and make a bit of progress on while waiting for this baby, I mentally stumbled upon my Sweet as Honey EPP table runner. I realized that the color scheme is exactly the same as my newly started summer placemats, and decided it would be the perfect handwork project to add to my active to-do pile.
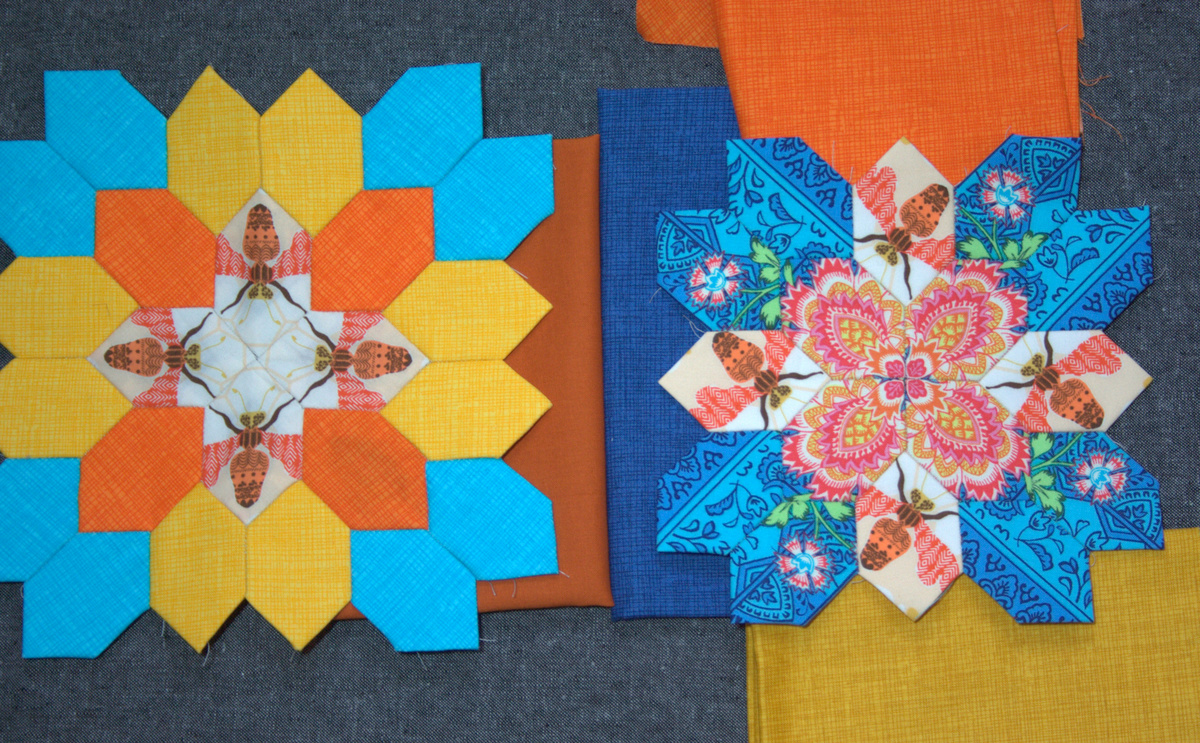
When I last left off on this EPP project, I was planning on making the next row of honeycombs either orange or yellow. In looking at the bundle of fabric for my placemats next to the project, I am going to take a design turn and make the next row of honeycombs for the center Lucy Boston block (the one shown on the right, below) in the dark blue. Then, I plan on making a bunch of 1″ squares (or maybe more honeycombs?) with which to border each of the blocks before joining them together in a row and binding.
Border option 1: burnt orangeBorder option 2: medium blue
I’m planning to buy a little extra yardage of one of the Moda Bella Solids from the August bundle from Fiddlehead Artisan Supply to complete the border squares, and am leaning toward option 2 above: the medium blue. I’m excited and think that this table runner will go really well with my pixelated summer placemats.
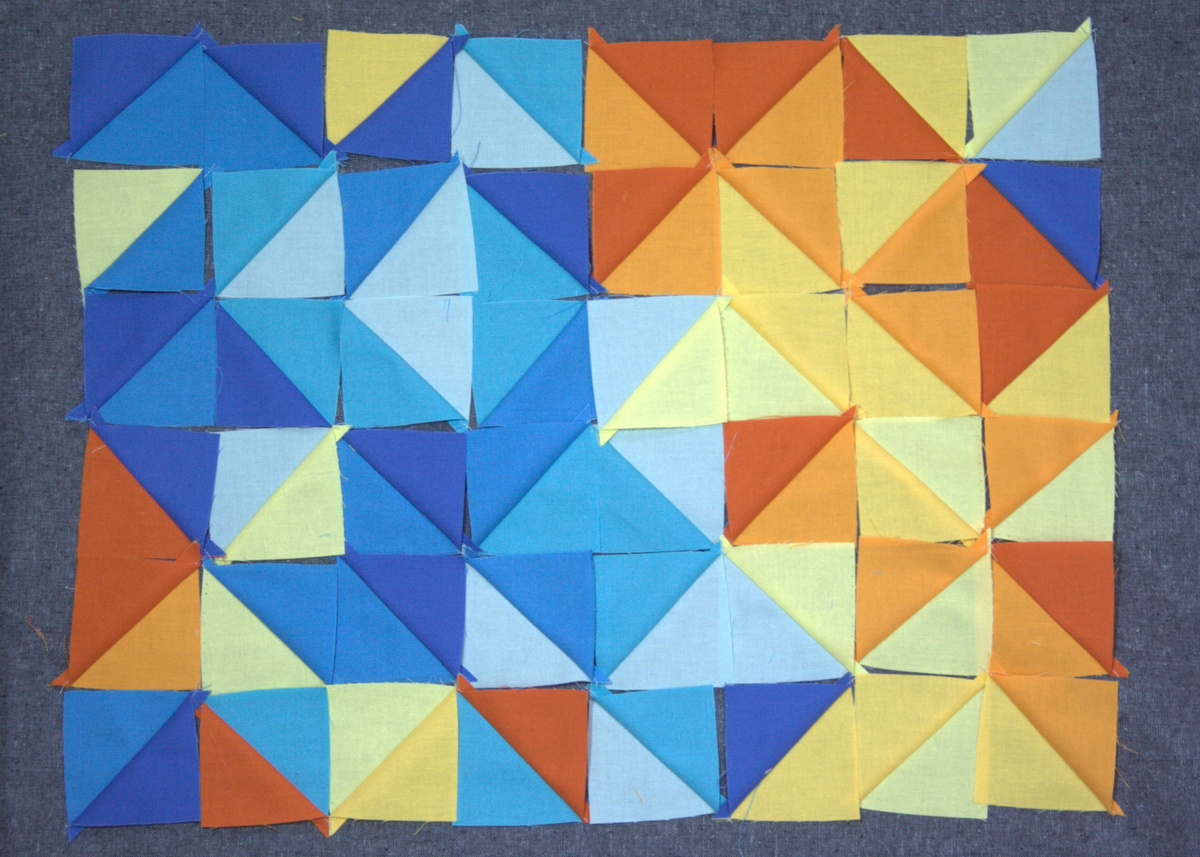
This is only a rough visualization of a placemat, but I’m excited at the potential outcome. It looks like even with only 8 colors, the aesthetic works for me. I love that each placemat will be different, and I am looking forward to playing around with color placement. For this progress shot, the half square triangles (HST) aren’t squared up or sewn together yet, and I may make a bunch more and play around with layouts before sewing them together. According to my initial math, I will be able to make a set of six (6) placemats with my bundle of 8 FQs. I may buy another bundle just to be safe.
In lieu of the popular “feet in the photo” quilt shot, here’s my 41+ weeks pregnant version, posted on Instagram a few days ago (and in posting this, I’m realizing I laid out the bottom row backwards in the photo above!):
For those of you who want to get your hands on an August bundle like the one I’m using for the placemats, use coupon code nightquilter15% to get 15% off your entire order from Fiddlehead Artisan Supply‘s online shop from now through June 21st.
Thank you for supporting my sponsors!
I grab a needle and thread once the kids are in bed


 Did you know that there are Sizzix dies created specifically for paper piecing!? I cut all of the templates and fabric needed to piece this EPP star all from a single die! Pretty awesome.
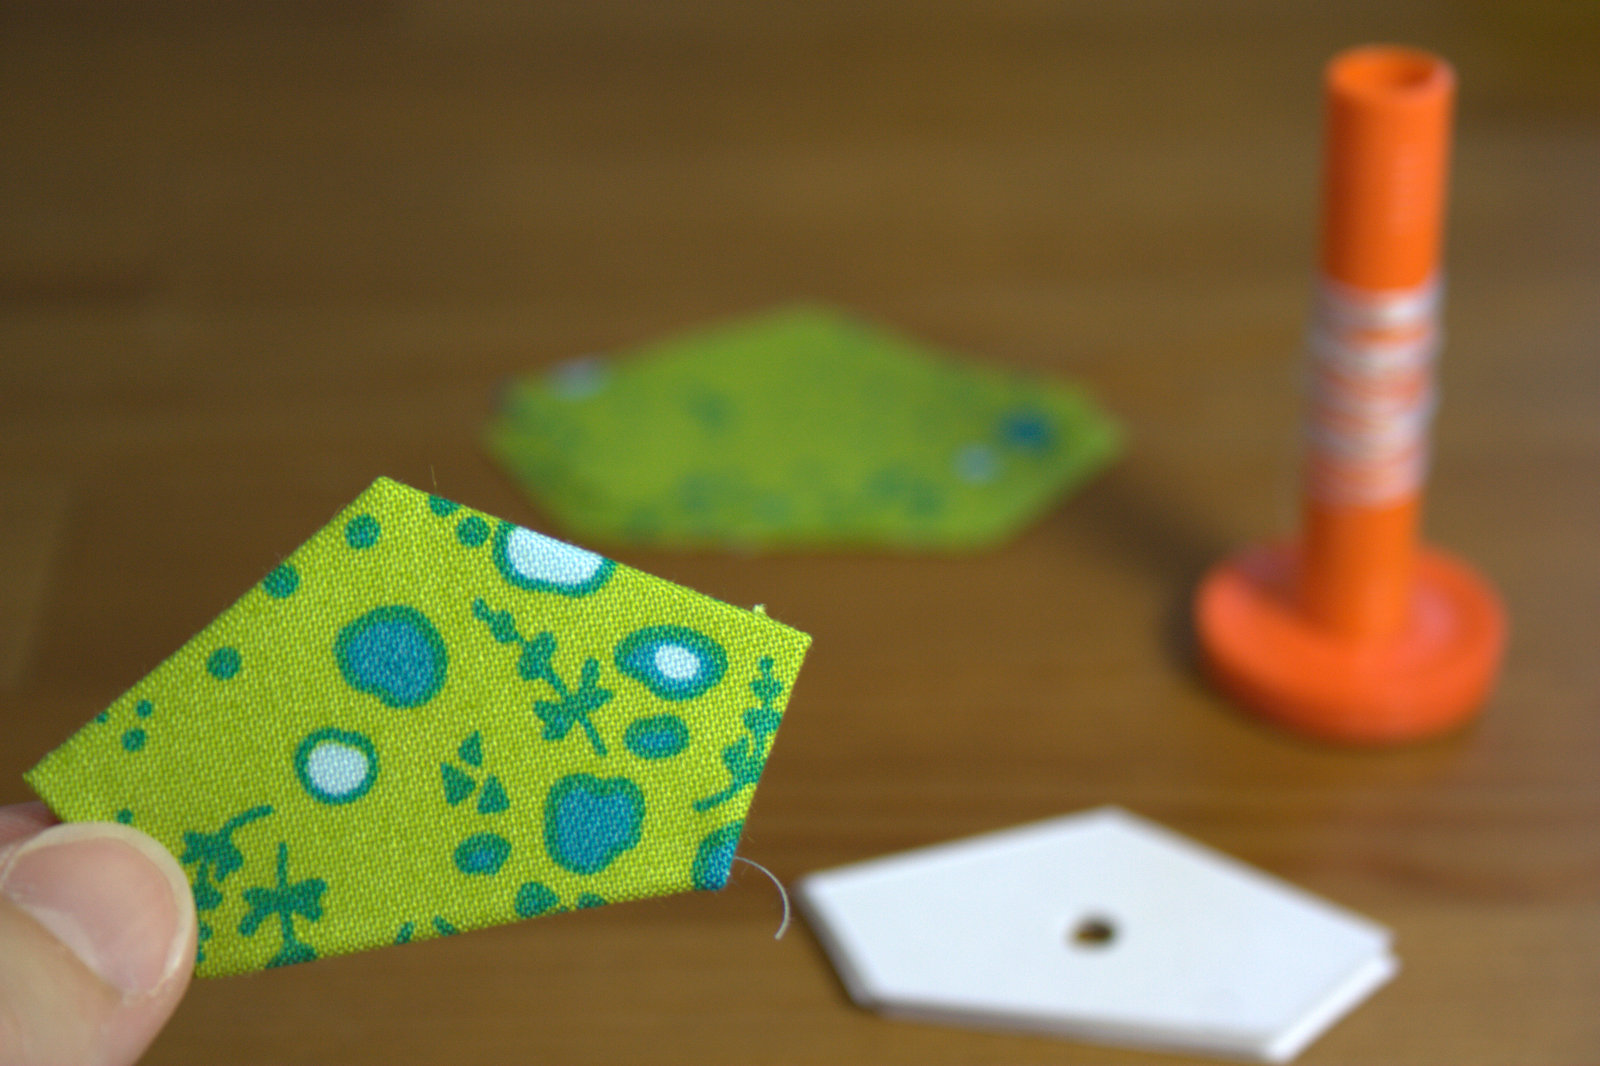 In the tutorial, I take you step by step through the process of making and basting EPP pieces, including some helpful tips, so if you’ve been wanting to learn or brush up on your piecing, go check it out!