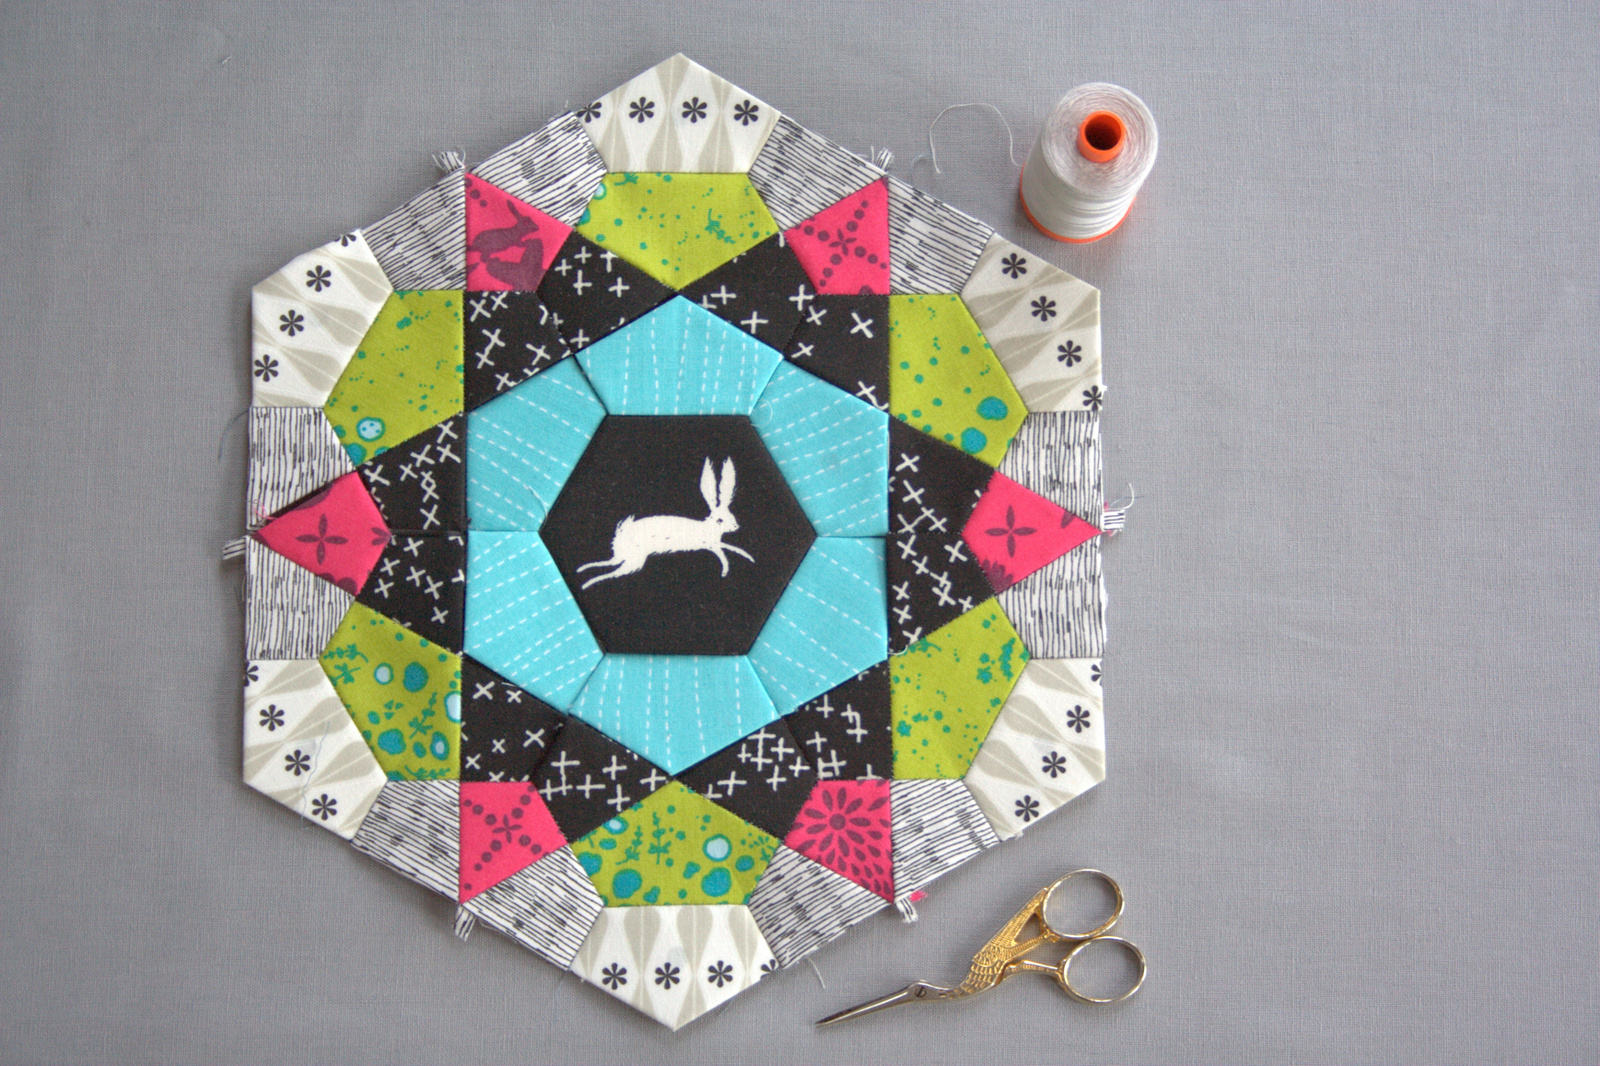
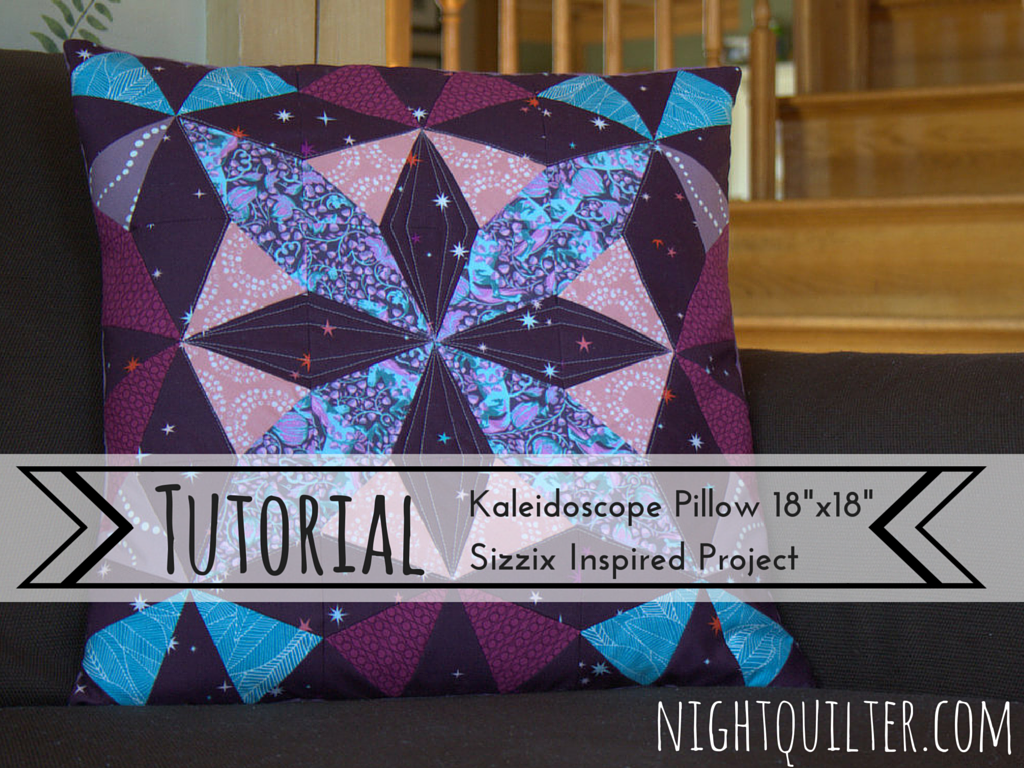
Today I’m going to share a quick tutorial on how to make your very own Kaleidoscope pillow using the Sizzix BigZ L Kaleidoscope die and six fat quarters (I used my Autumn Dusk blogger bundle from Fiddlehead Artisan Supply). For those of you who do not have a Sizzix die cutting machine, I will also include a printable foundation paper piecing option, so read on!
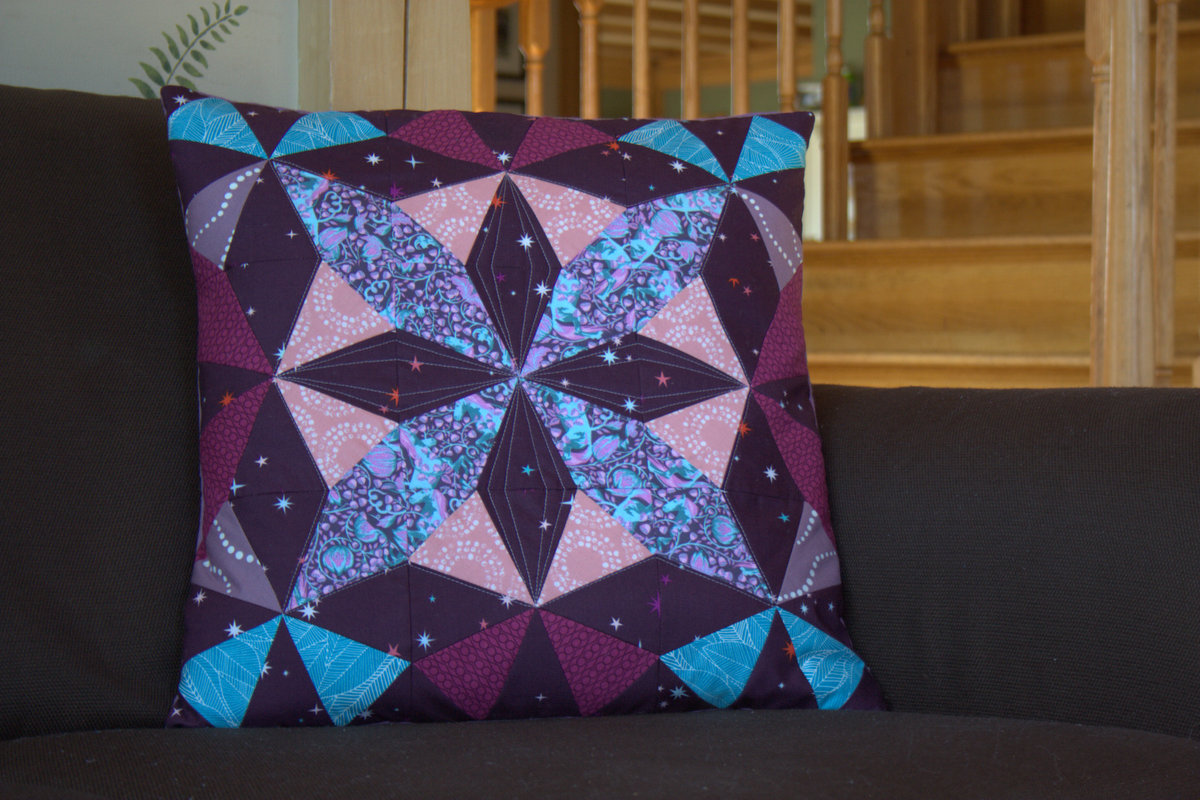 A month or so ago, I selected a blogger bundle for my local quilt shop Fiddlehead Artisan Supply, and called it Autumn Dusk. The colors made me think of the calm at dusk, and I thought it would be a perfect palette for a pillow. Our couch doesn’t have a single handmade pillow, and that needed to change. In thinking about pattern ideas, I came across my Kaleidoscope die from Sizzix and decided to play. Do you have ANY idea how many different patterns you can make with the Kaleidoscope pattern!? It boggles my mind. Peek at the results from a quick “kaleidoscope quilt” google search HERE to give you an idea of the potential.
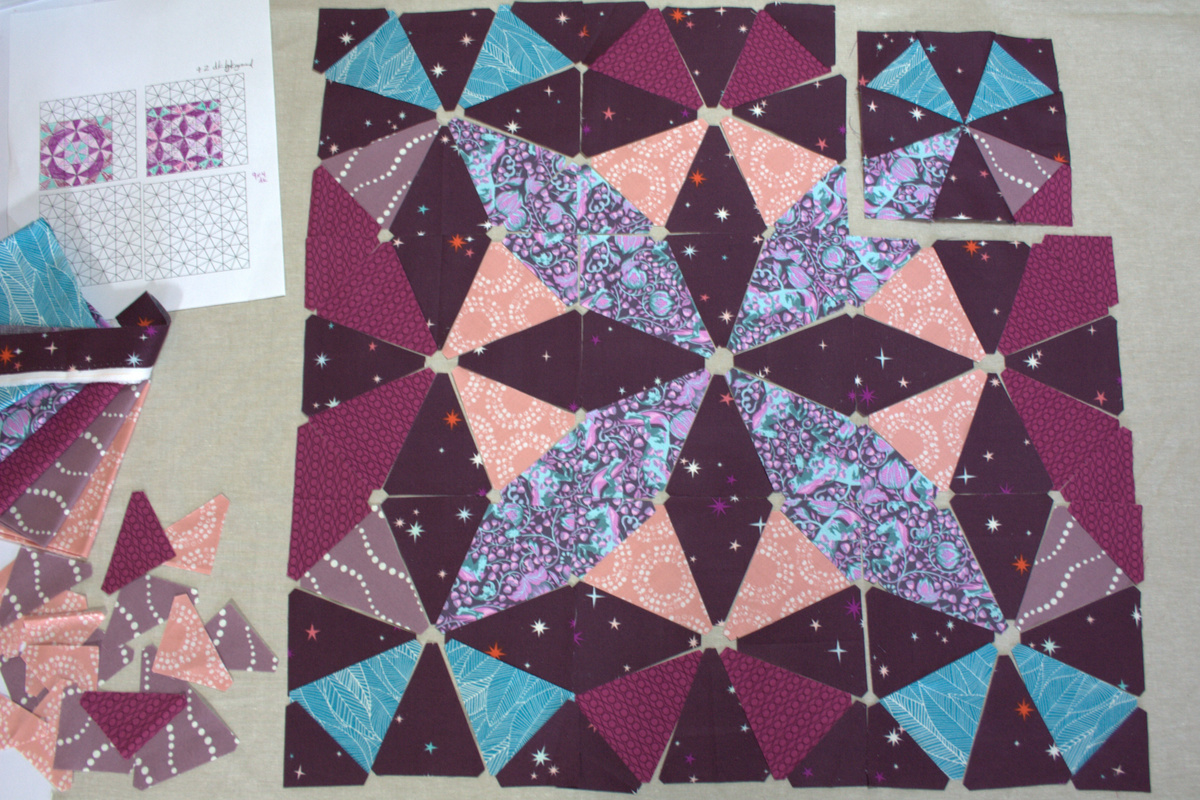
 Trust me when I say the most difficult part is deciding on fabrics and fabric placement.
 This tutorial will include cutting instructions for the same arrangement of nine (9) blocks made from six (6) fat quarters of fabric as I used, as well as assembly and finishing instructions for an envelope-backed 18″ square pillow. If you want to make an identical pillow, you can buy the Autumn Dusk bundle from Fiddlehead HERE, or enter to win a bundle by commenting on yesterday’s post HERE. I have included some affiliate links in this post so that if you click through, I will get a small commission. I only share products I love and use.
Let’s get started!
 Materials Needed:
- 6 fat quarters of fabric (I used the Autumn Dusk bundle) for the pillow front
- 1/2 yard fabric for the pillow back (I used Kaffe Fassett shot cotton in Granite)
- batting (20″x20″ square, and two 19″x12 3/4″ pieces)
- Sizzix fabi die cutting machine
- BigZ L Kaleidoscope die, 6 1/2″
-OR- Print this free Kaleidoscope foundation paper piecing template for a 6 1/2″ kaleidoscope block **This is a temporary hand-drawn version. A more professional, digital version will replace this one as soon as I can solve a printer technical difficulty. In the meantime, this one will work!** - Sewing machine (I use a Bernina 560)
- Iron and ironing surface
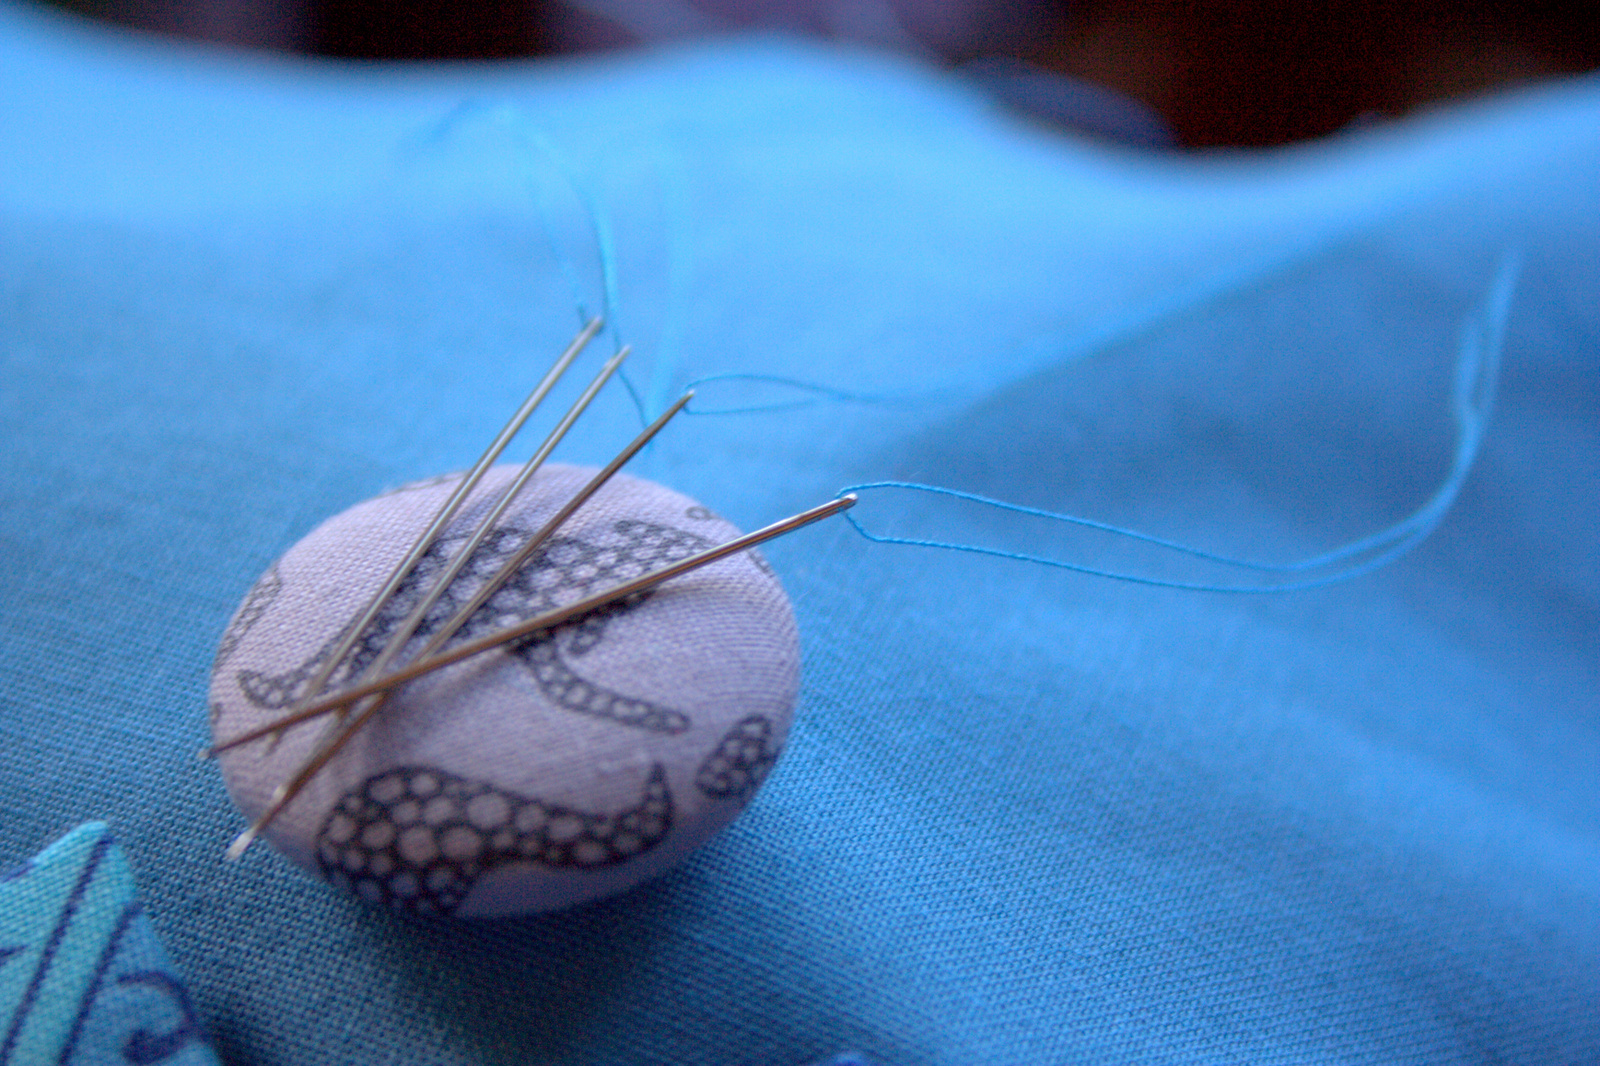
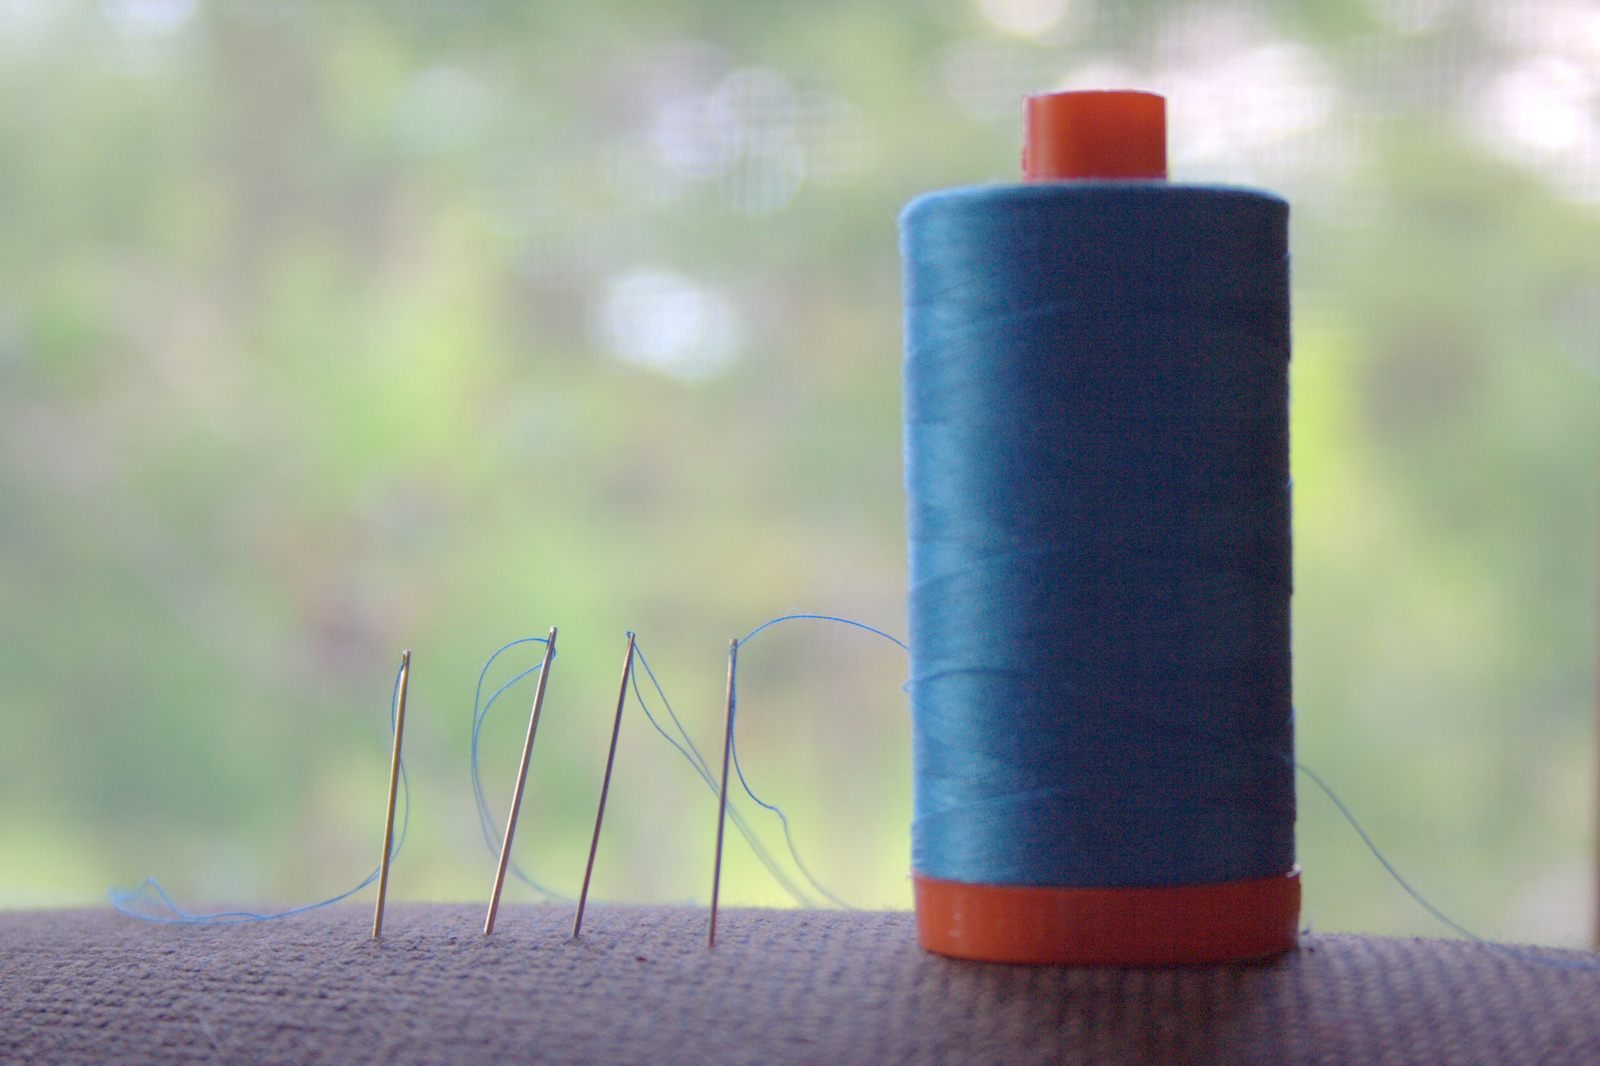
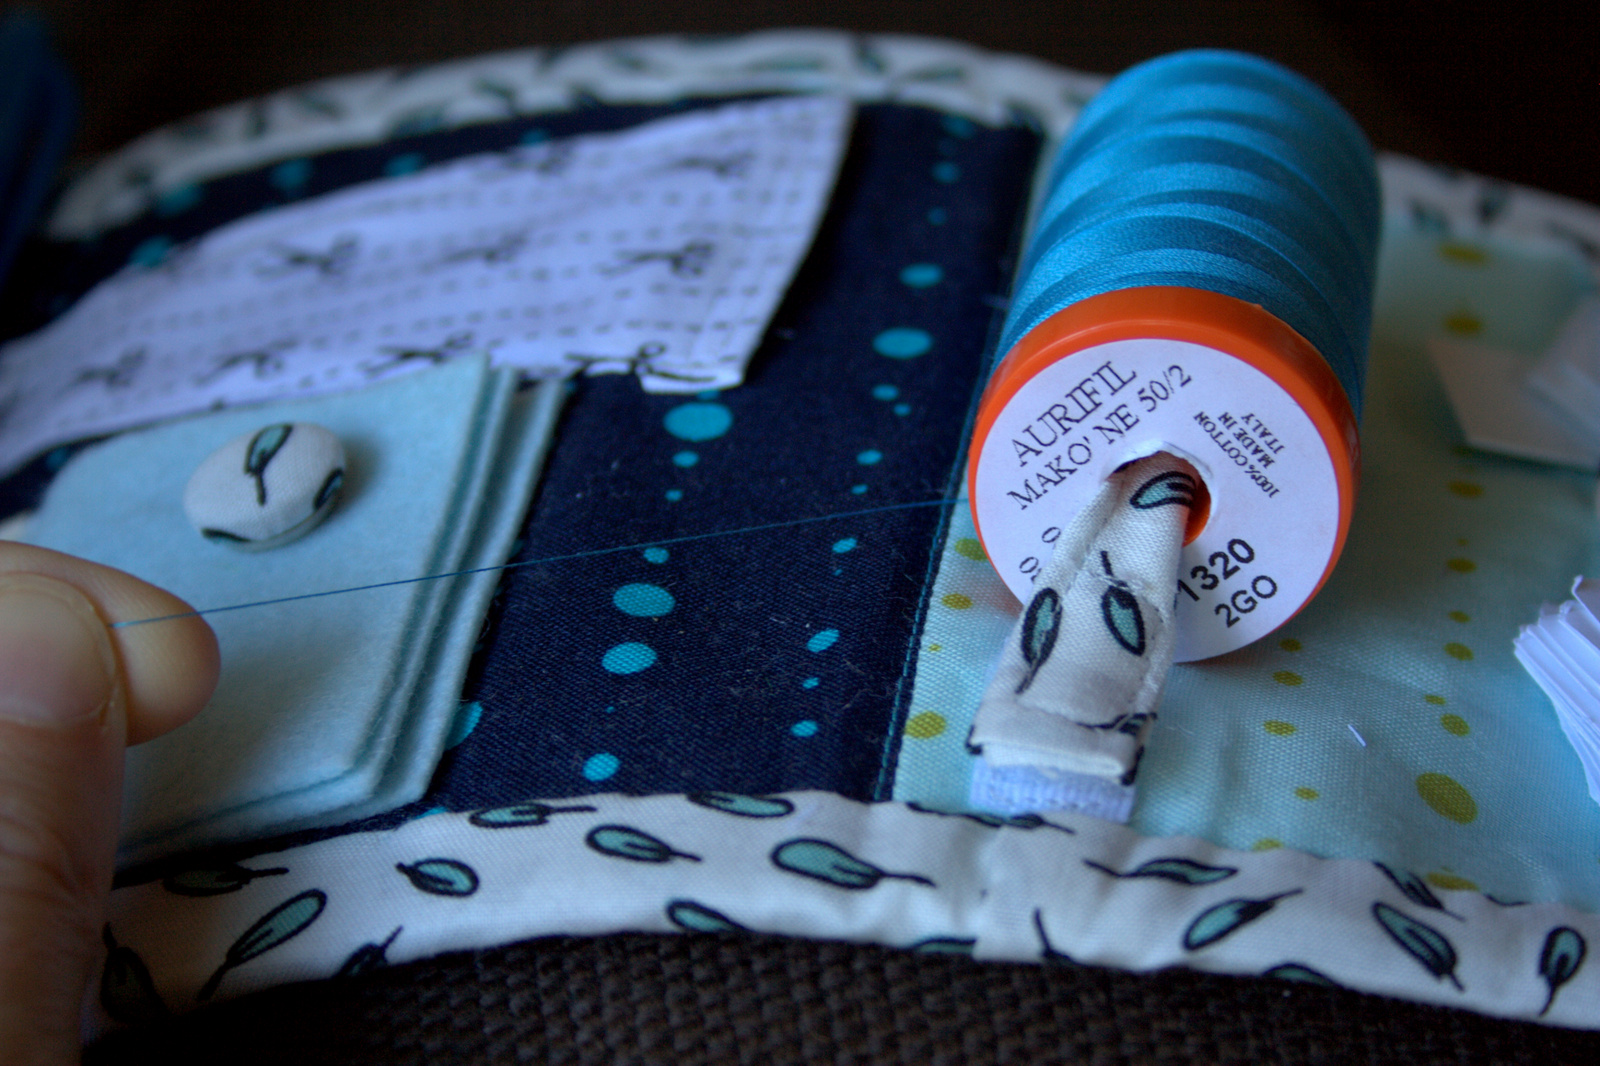
- Thread (I uses 50wt Aurifil 2600-Dove for piecing and 2560-Iris for quilting)
- 18″ pillow form
- Misc notions: pins, clips, seam ripper (I love Clover Patchwork Pins
and Wonder Clips
)
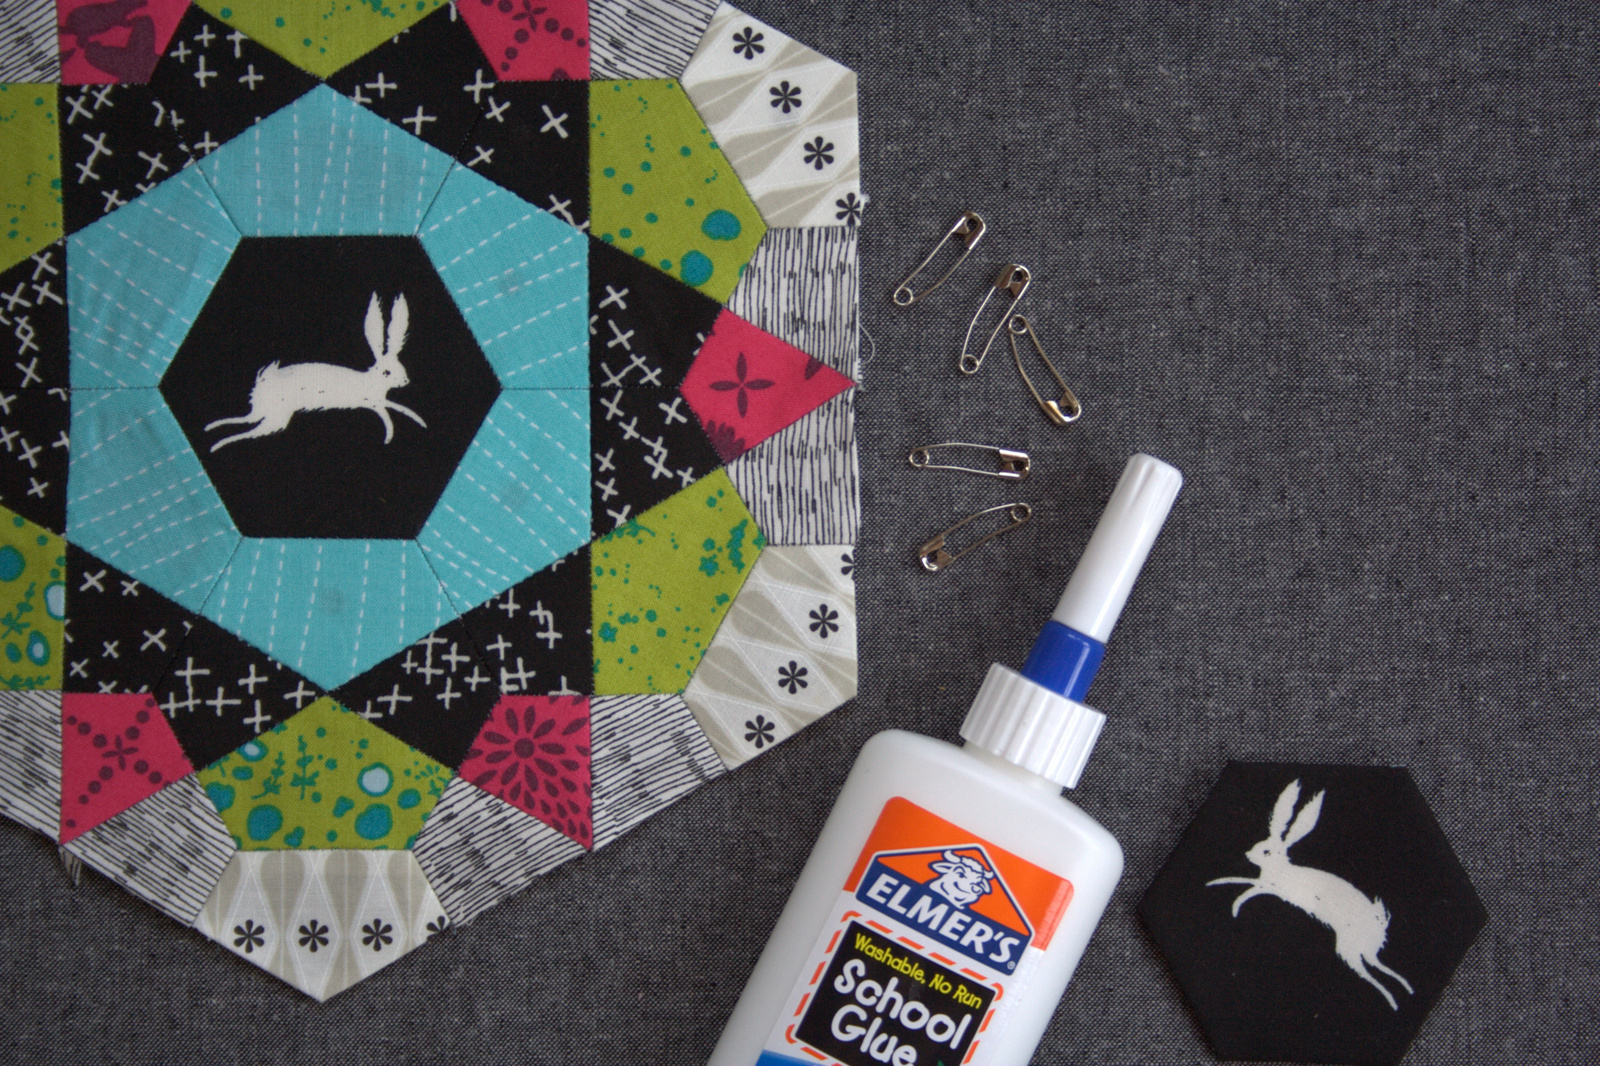
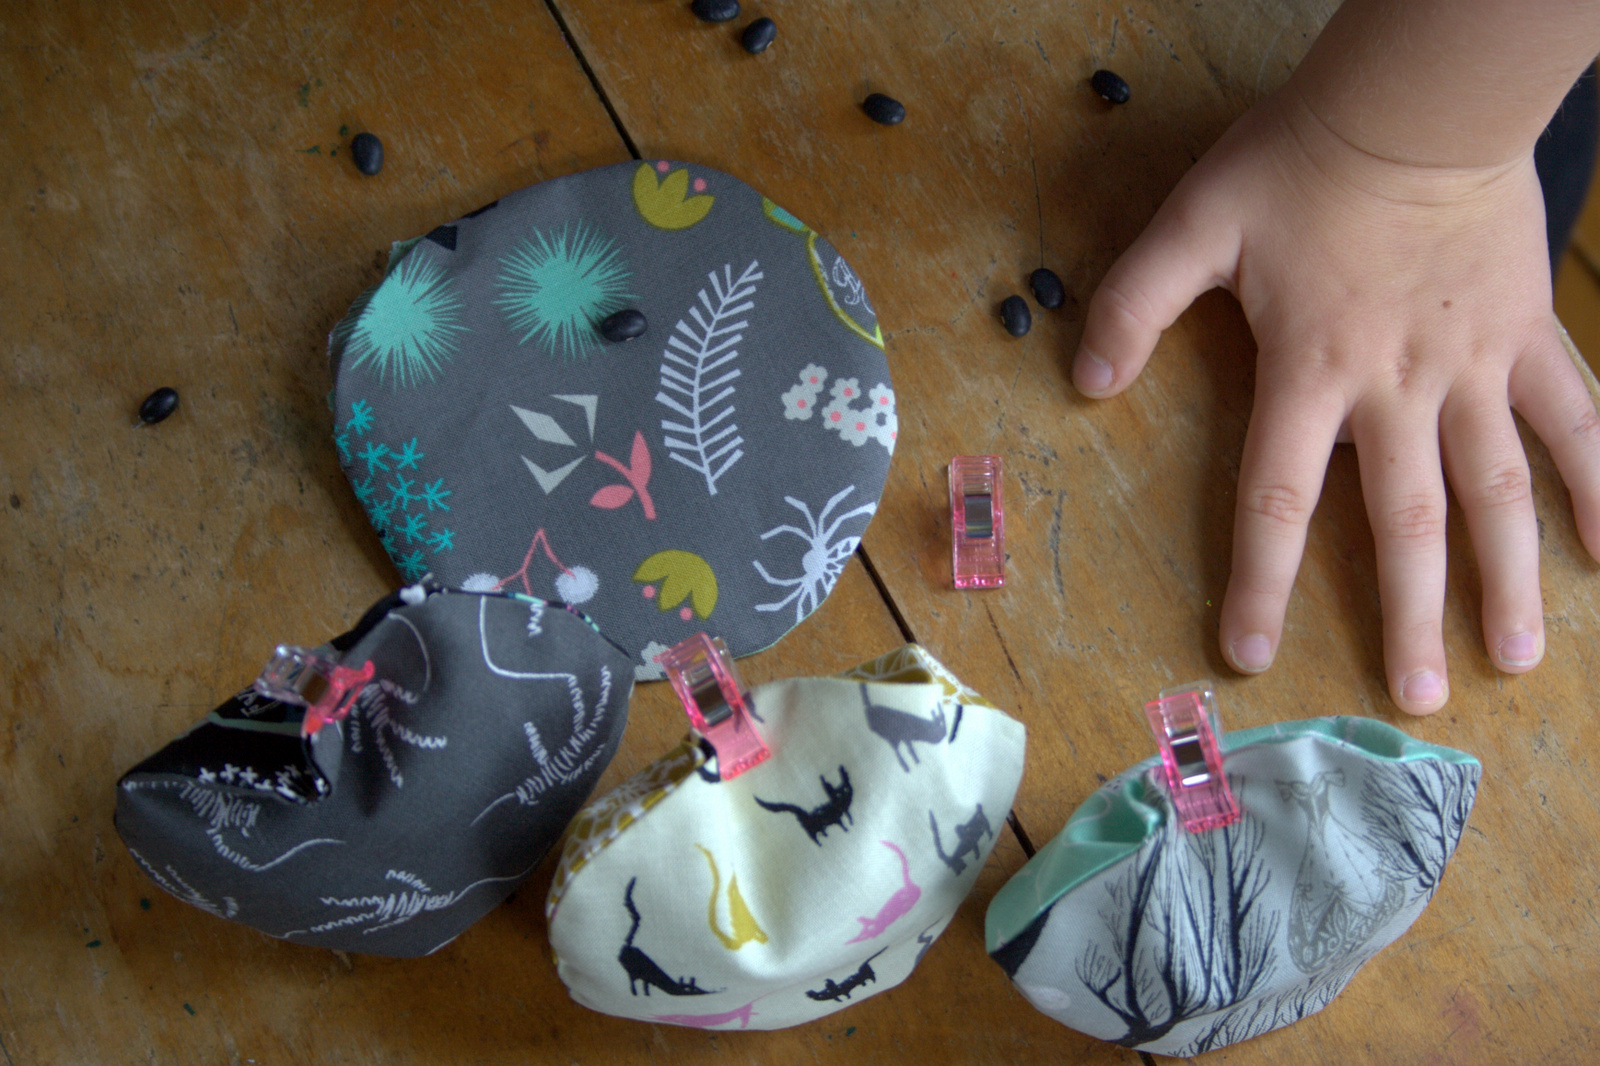
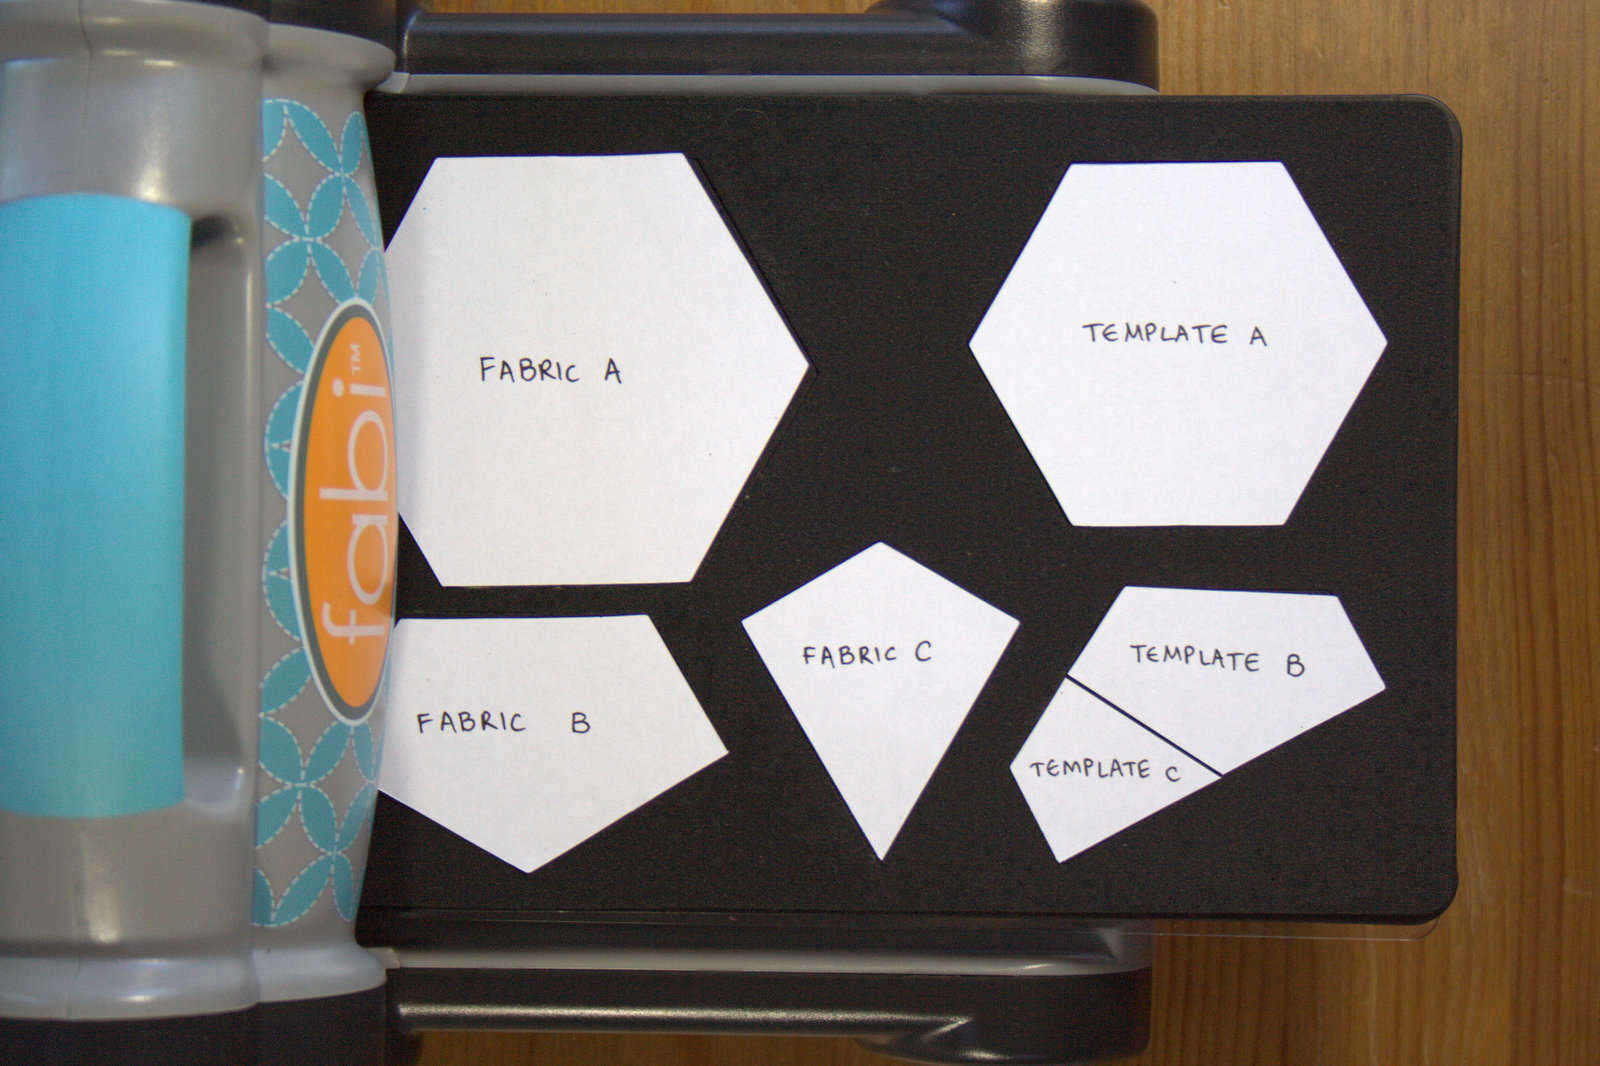
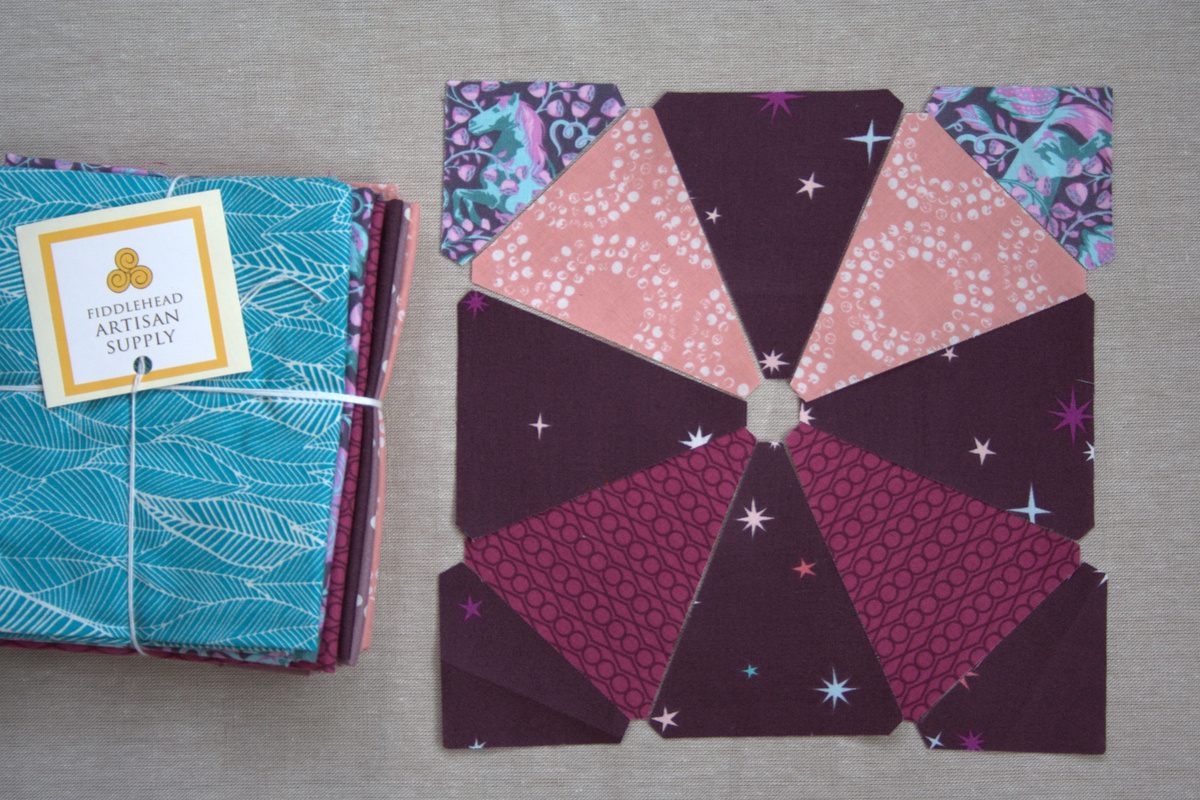
If you are creating your own kaleidoscope version, print out this printable provided by Debby at Quilter by Design and start playing with color combinations. Note that you can emphasize a windmill shape, a star shape, or a circular movement depending on where you position your colors and values of fabric. Once your design and fabric choices have been made, it’s time to cut!
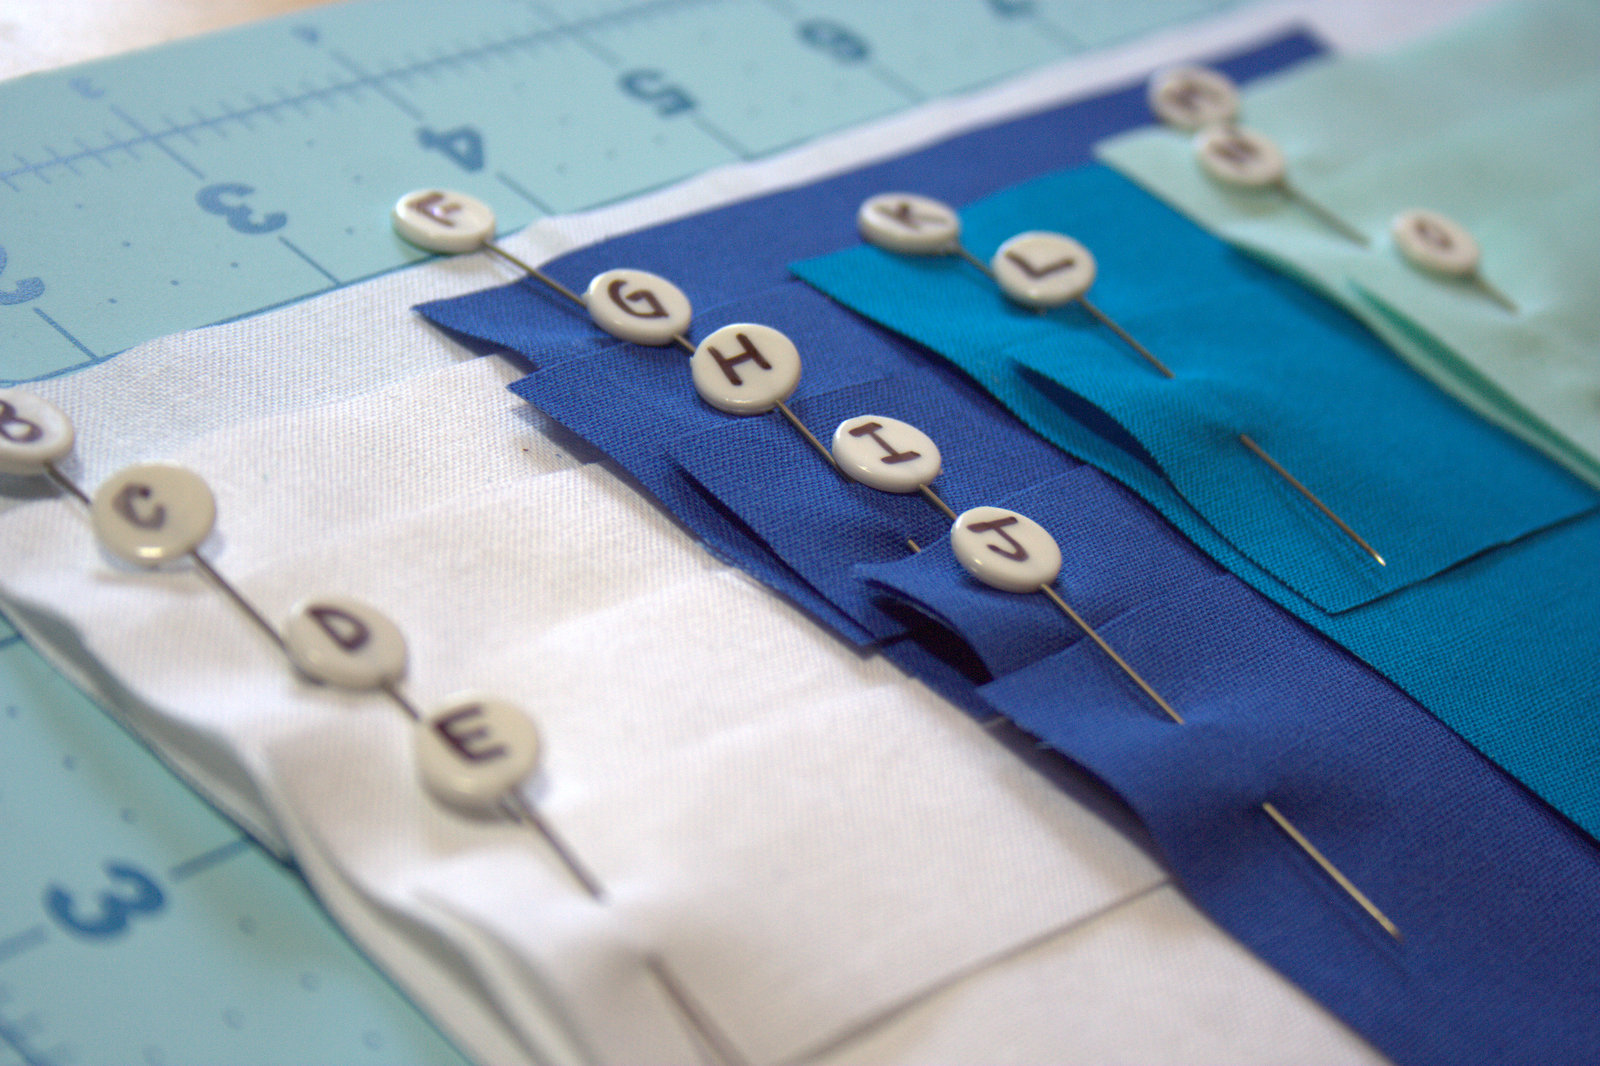
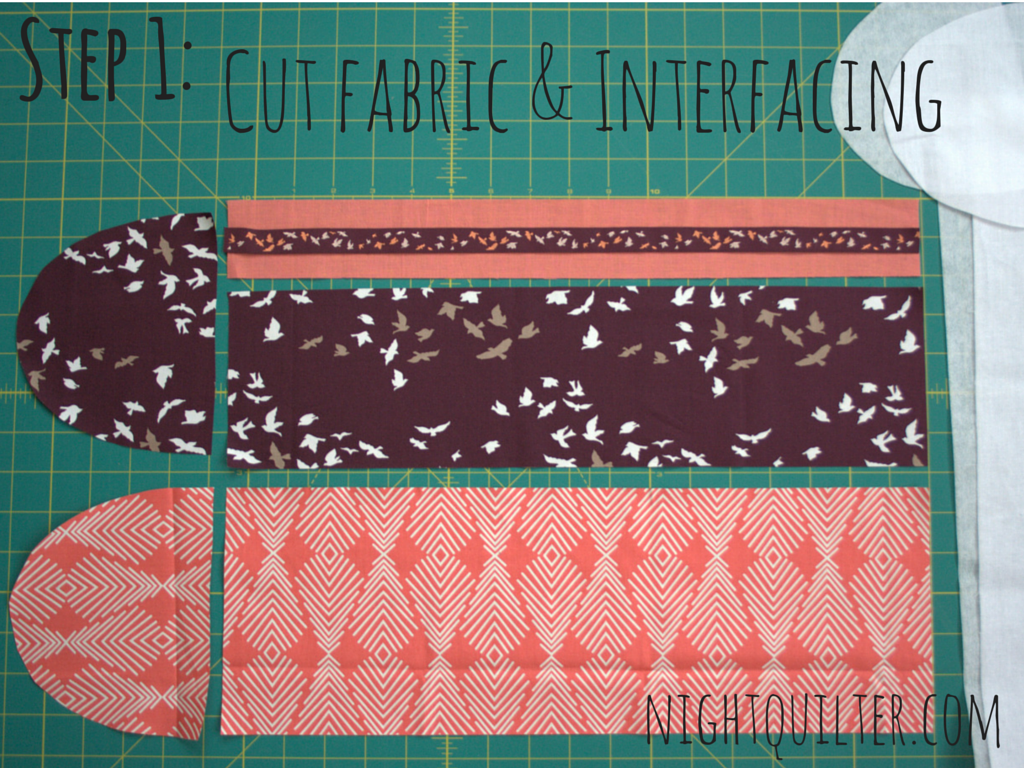
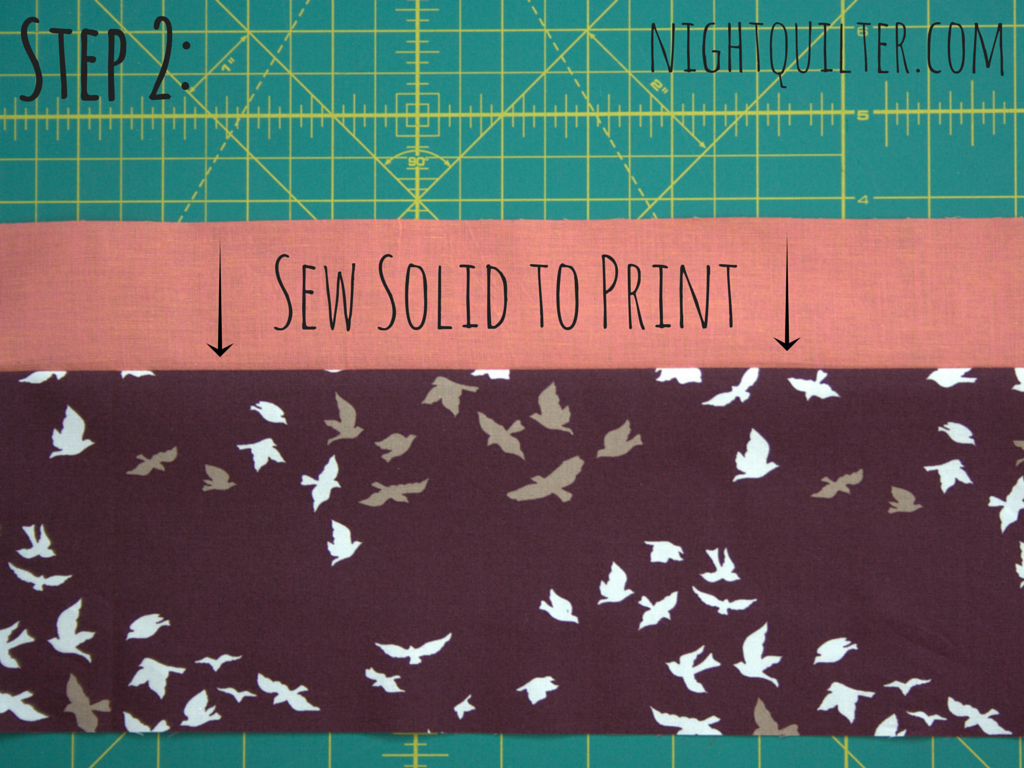
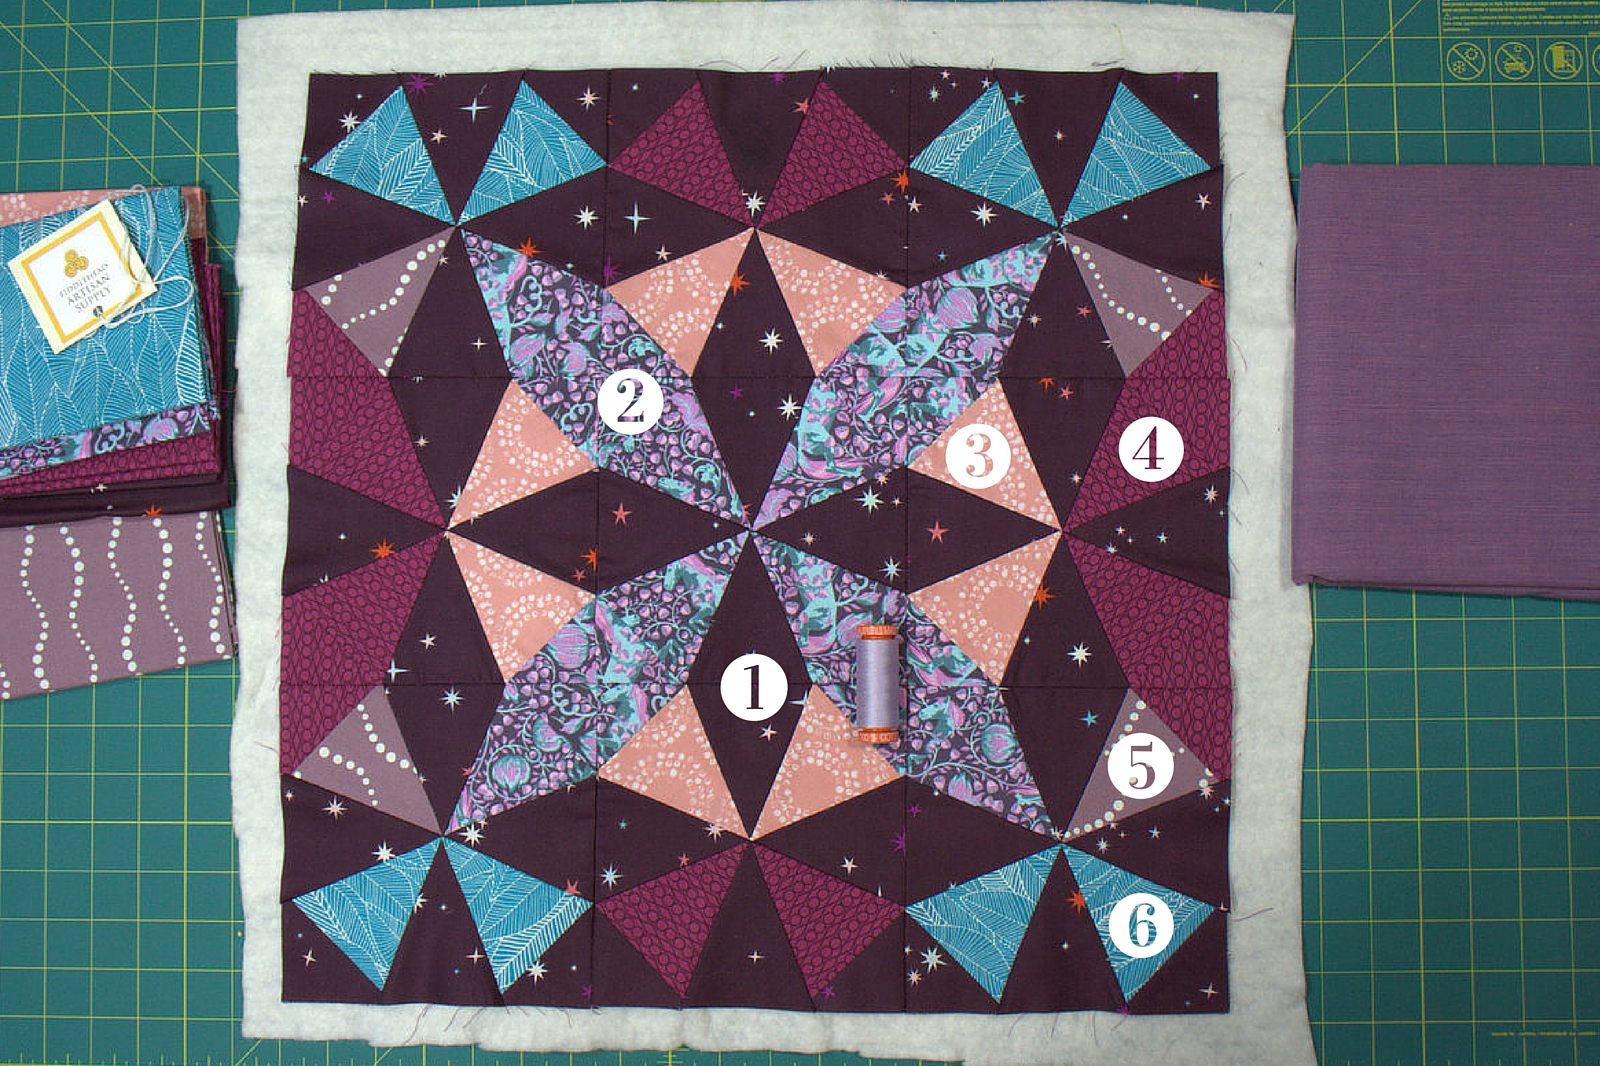 For this pillow, cut the following (refer to the photo above for fabric numbers):
Fabric 1: 36 wedges and 12 corners
Fabric 2: 8 wedges and 16 corners
Fabric 3: 8 wedges
Fabric 4: 8 wedges and 8 corners
Fabric 5: 4 wedges
Fabric 6: 8 wedges
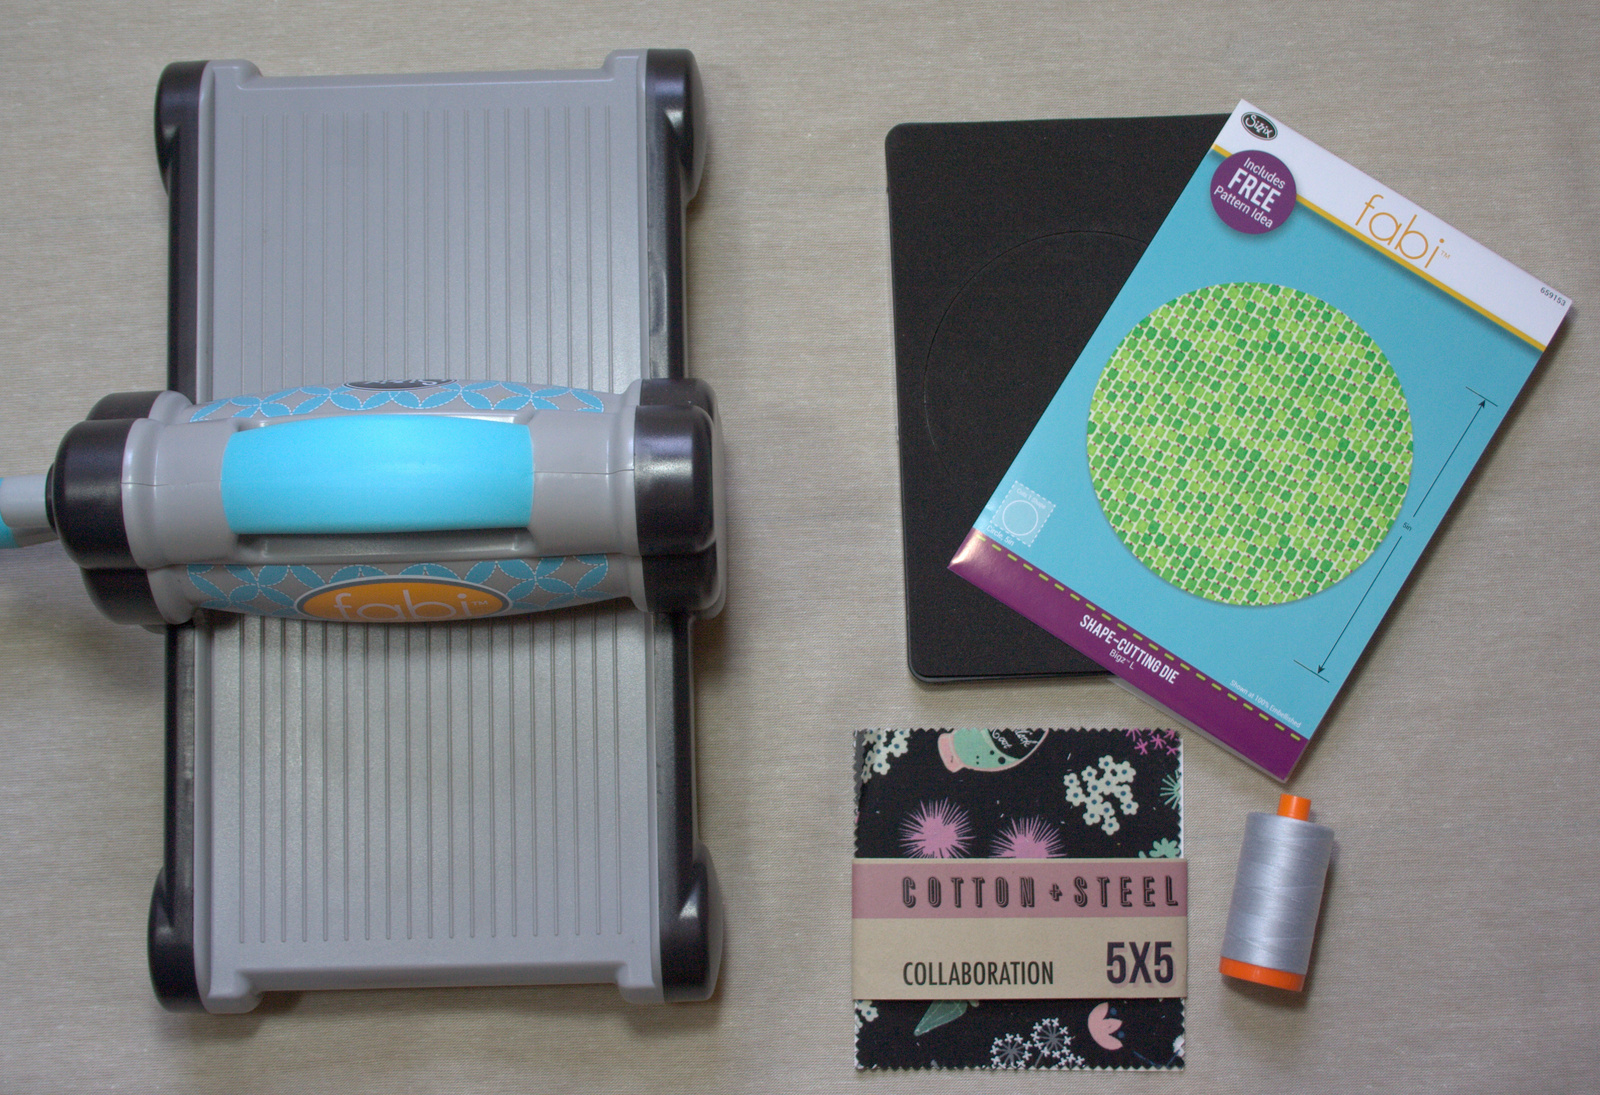
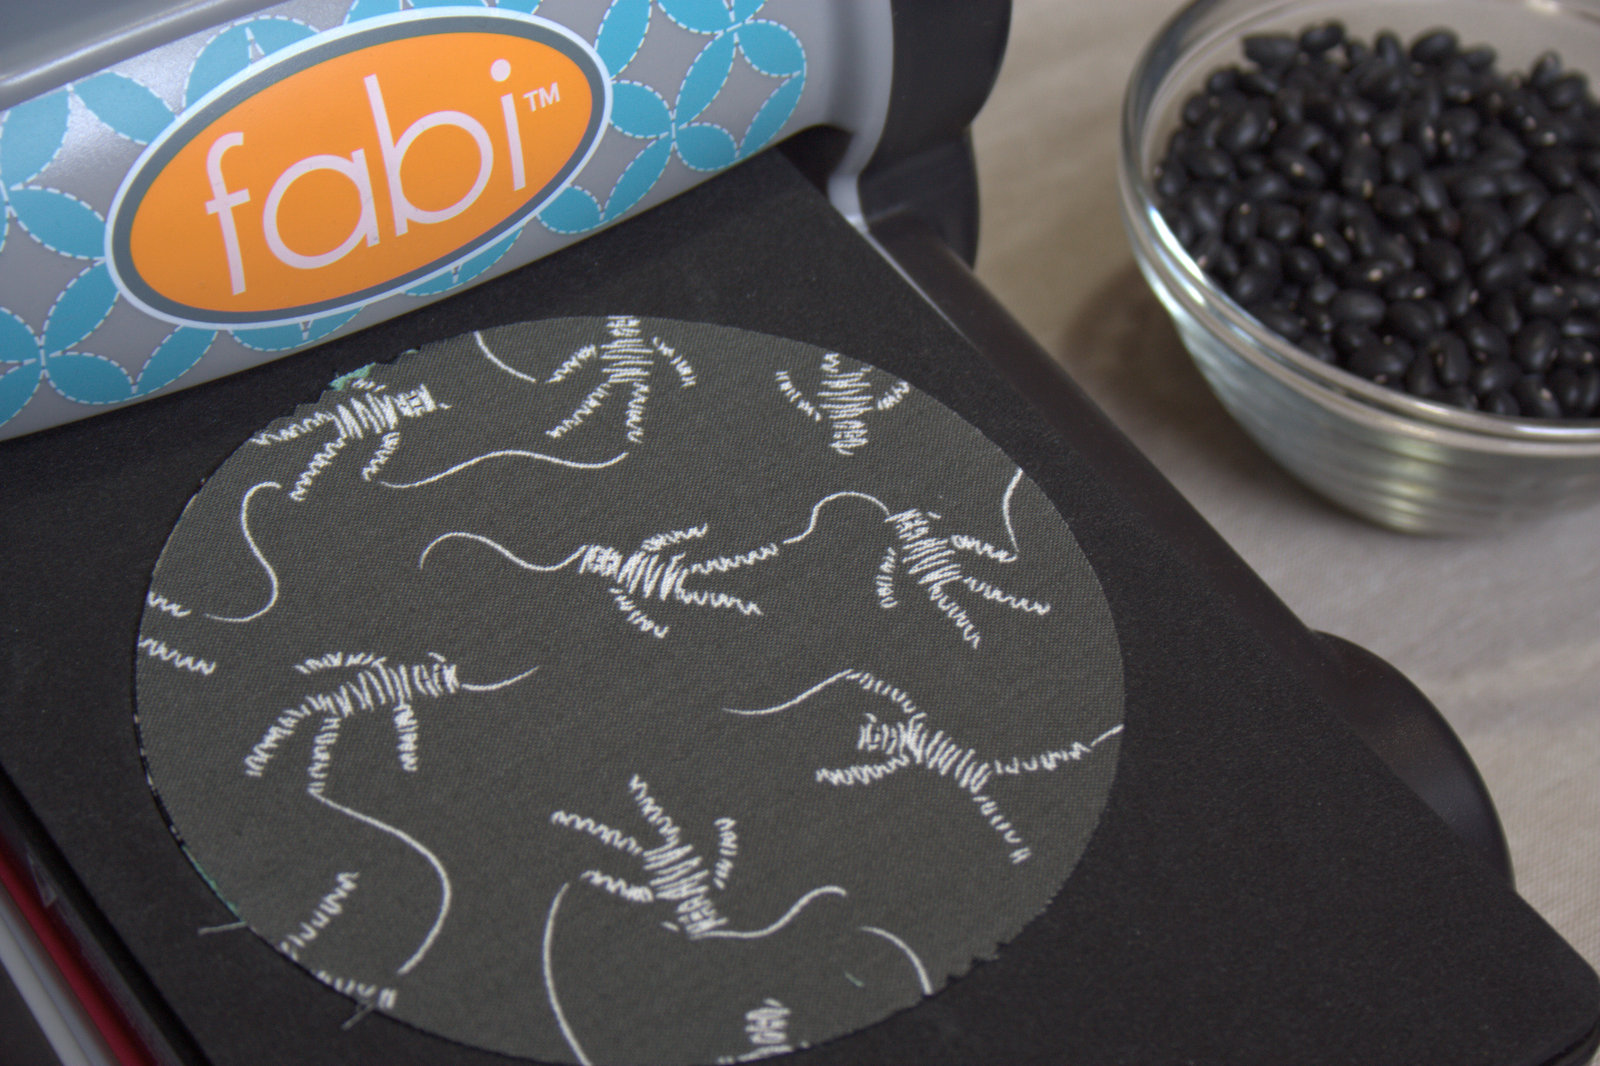
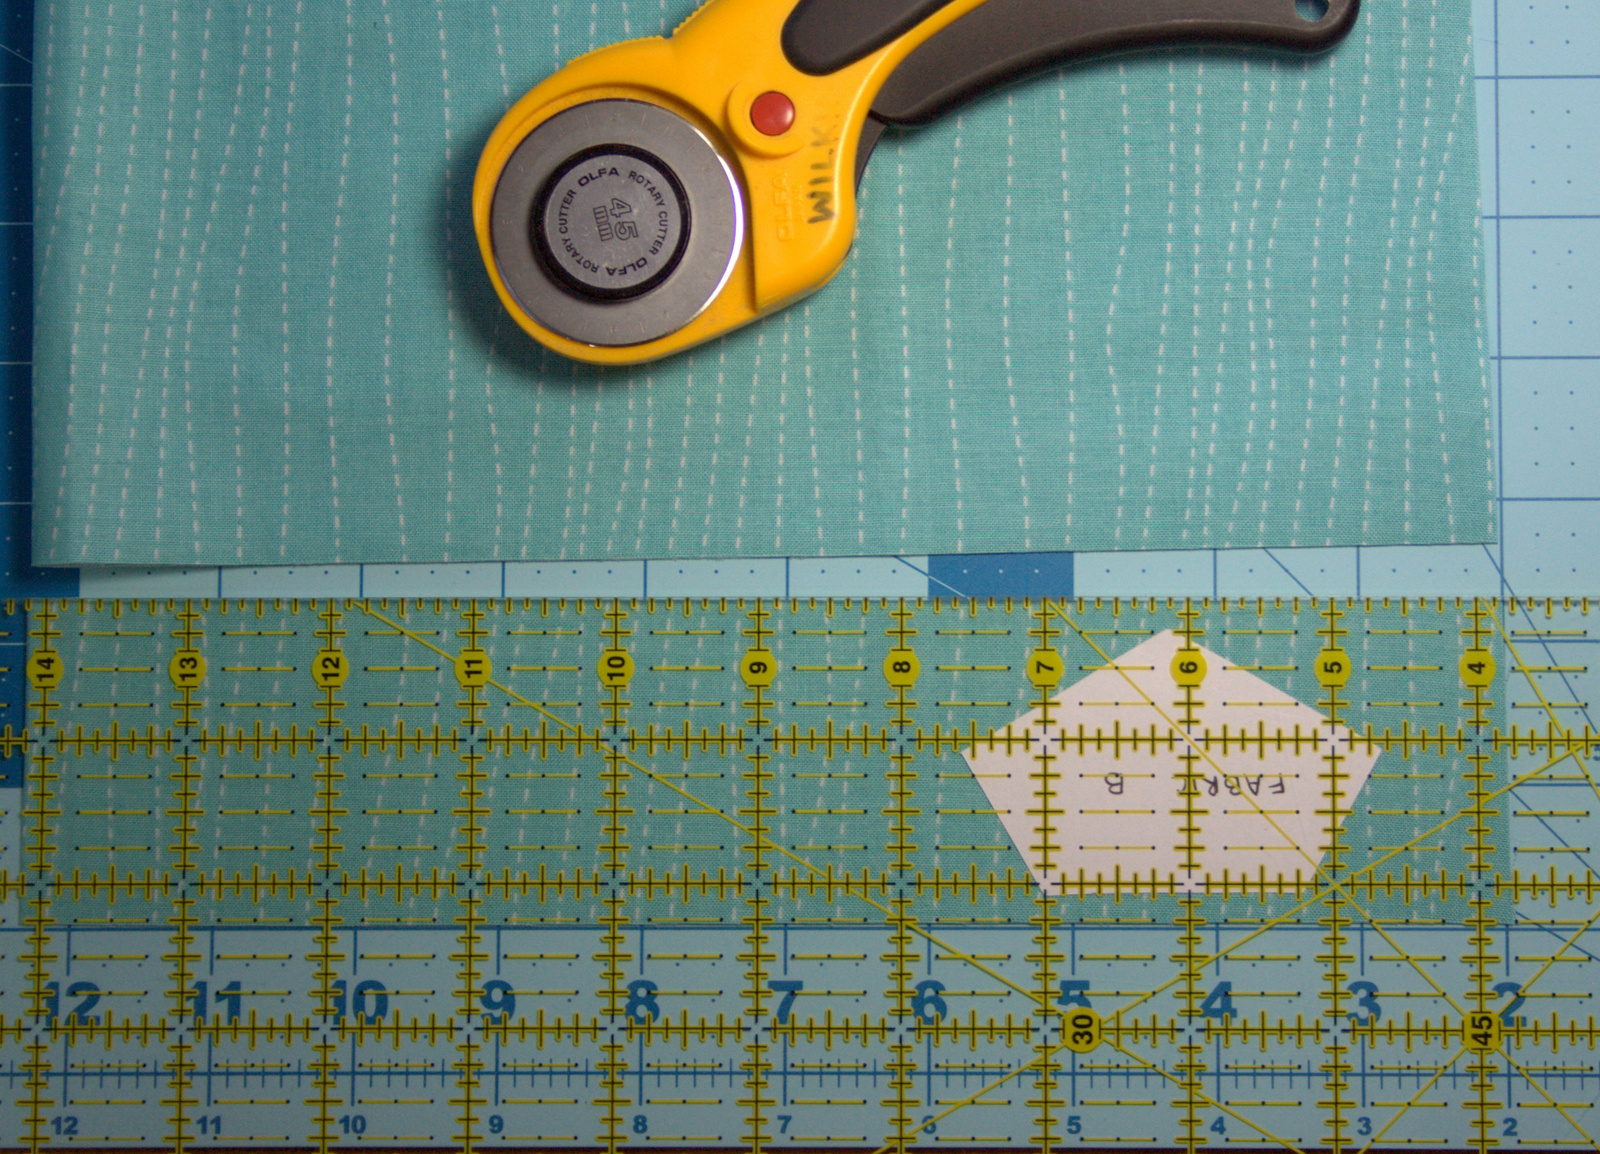
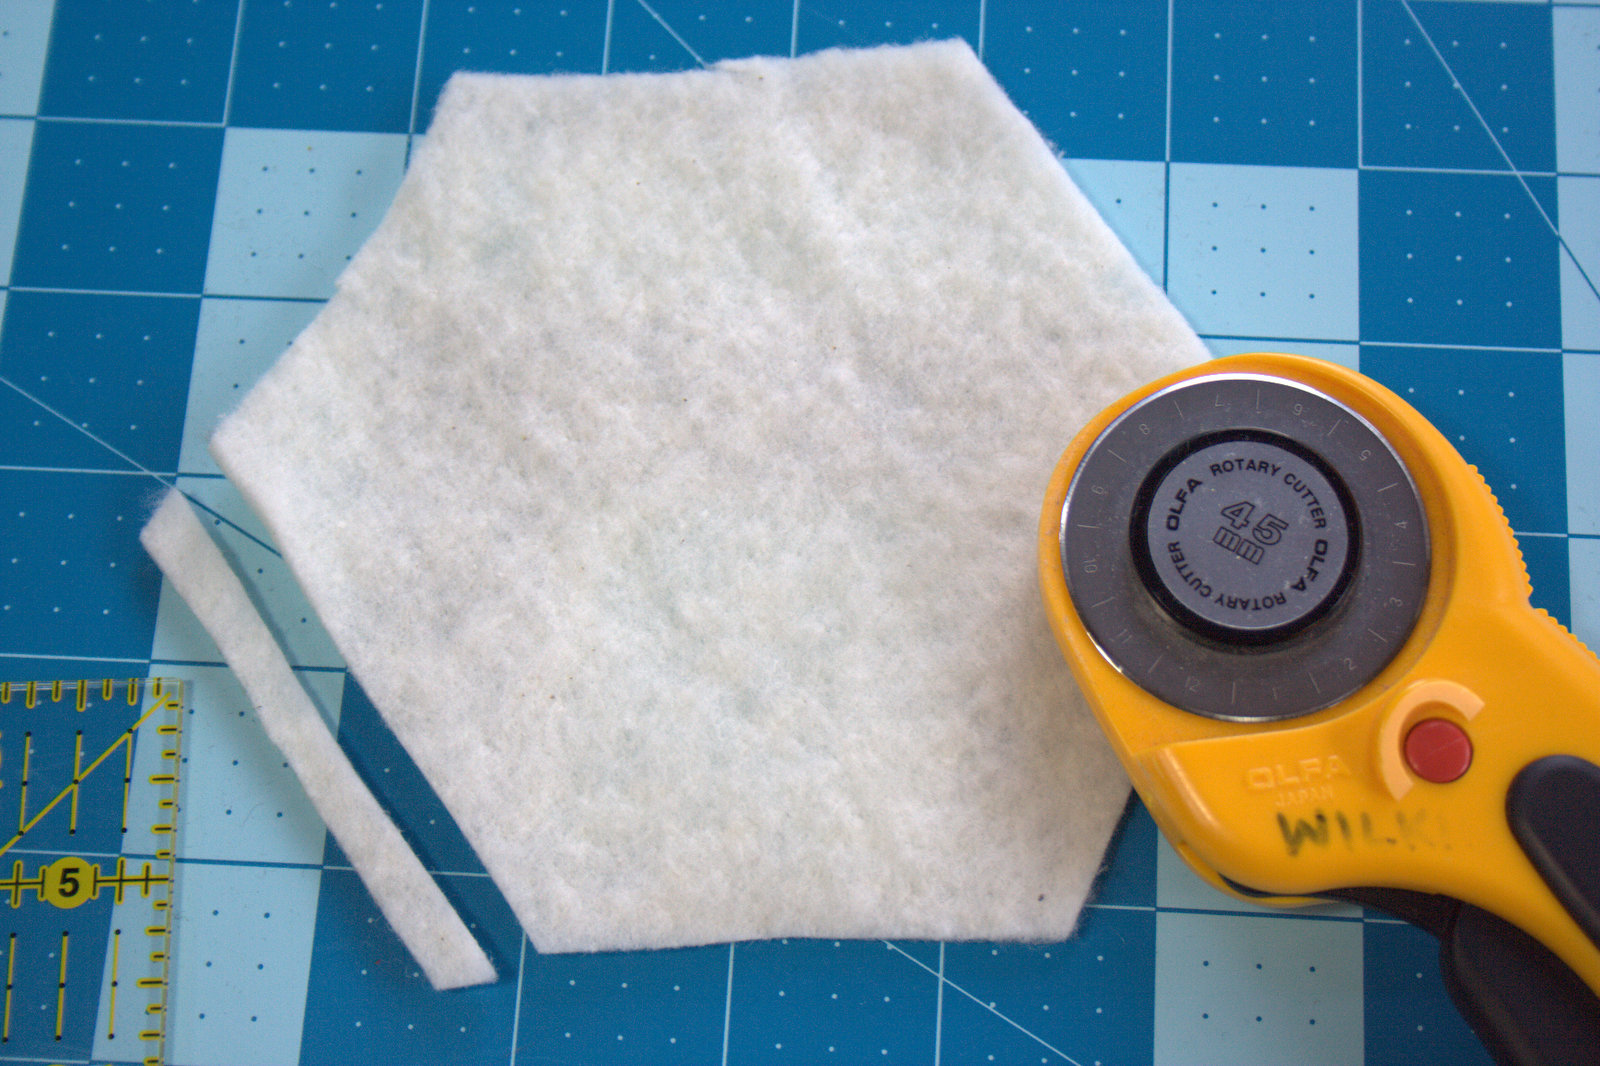
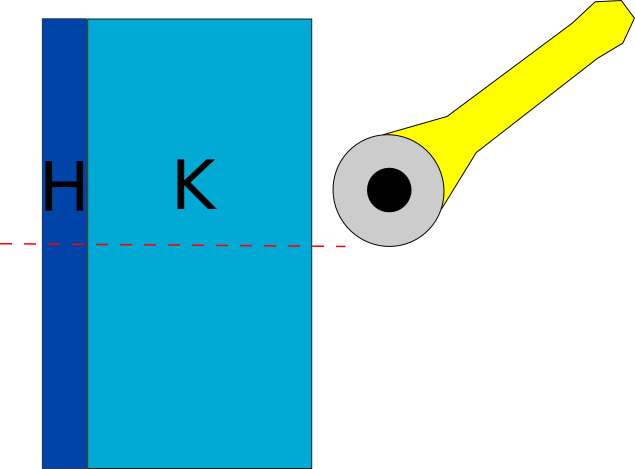
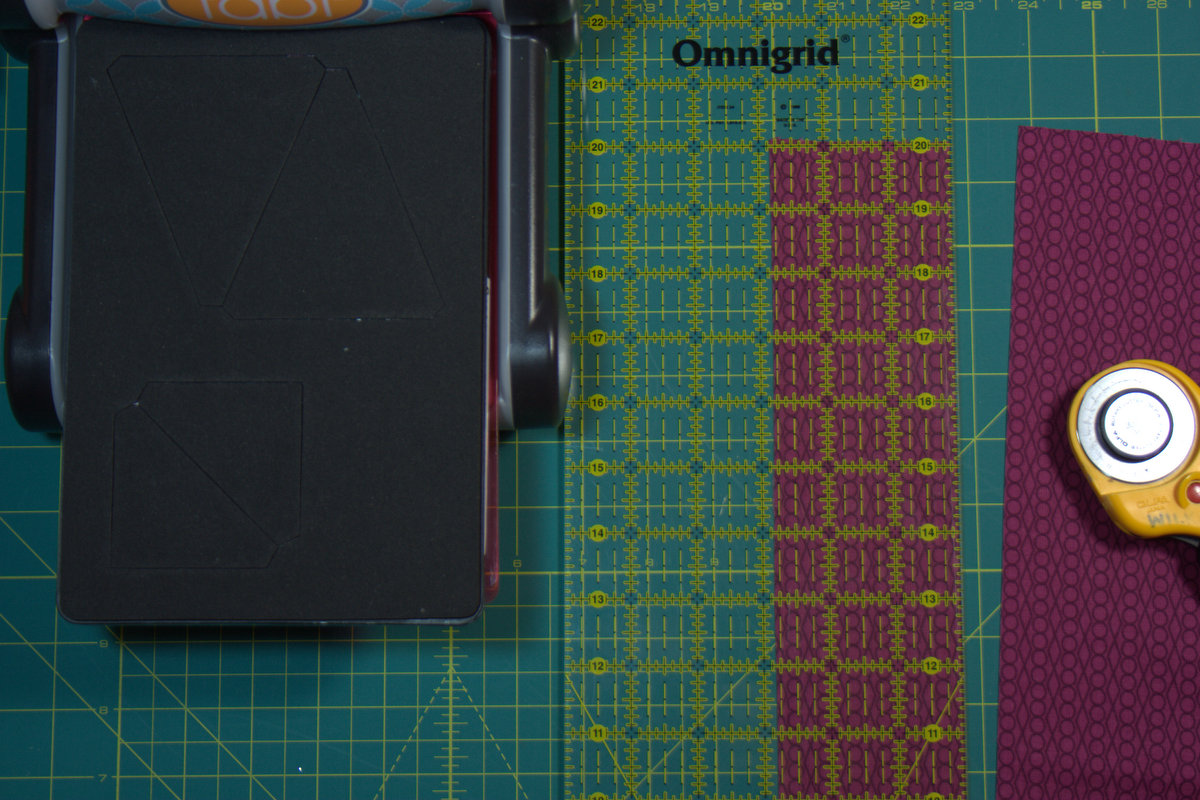 For quick and easy cutting with your Sizzix fabi, cut fabric strips 4″ wide for the wedges and 2 5/8″ wide for the corners.
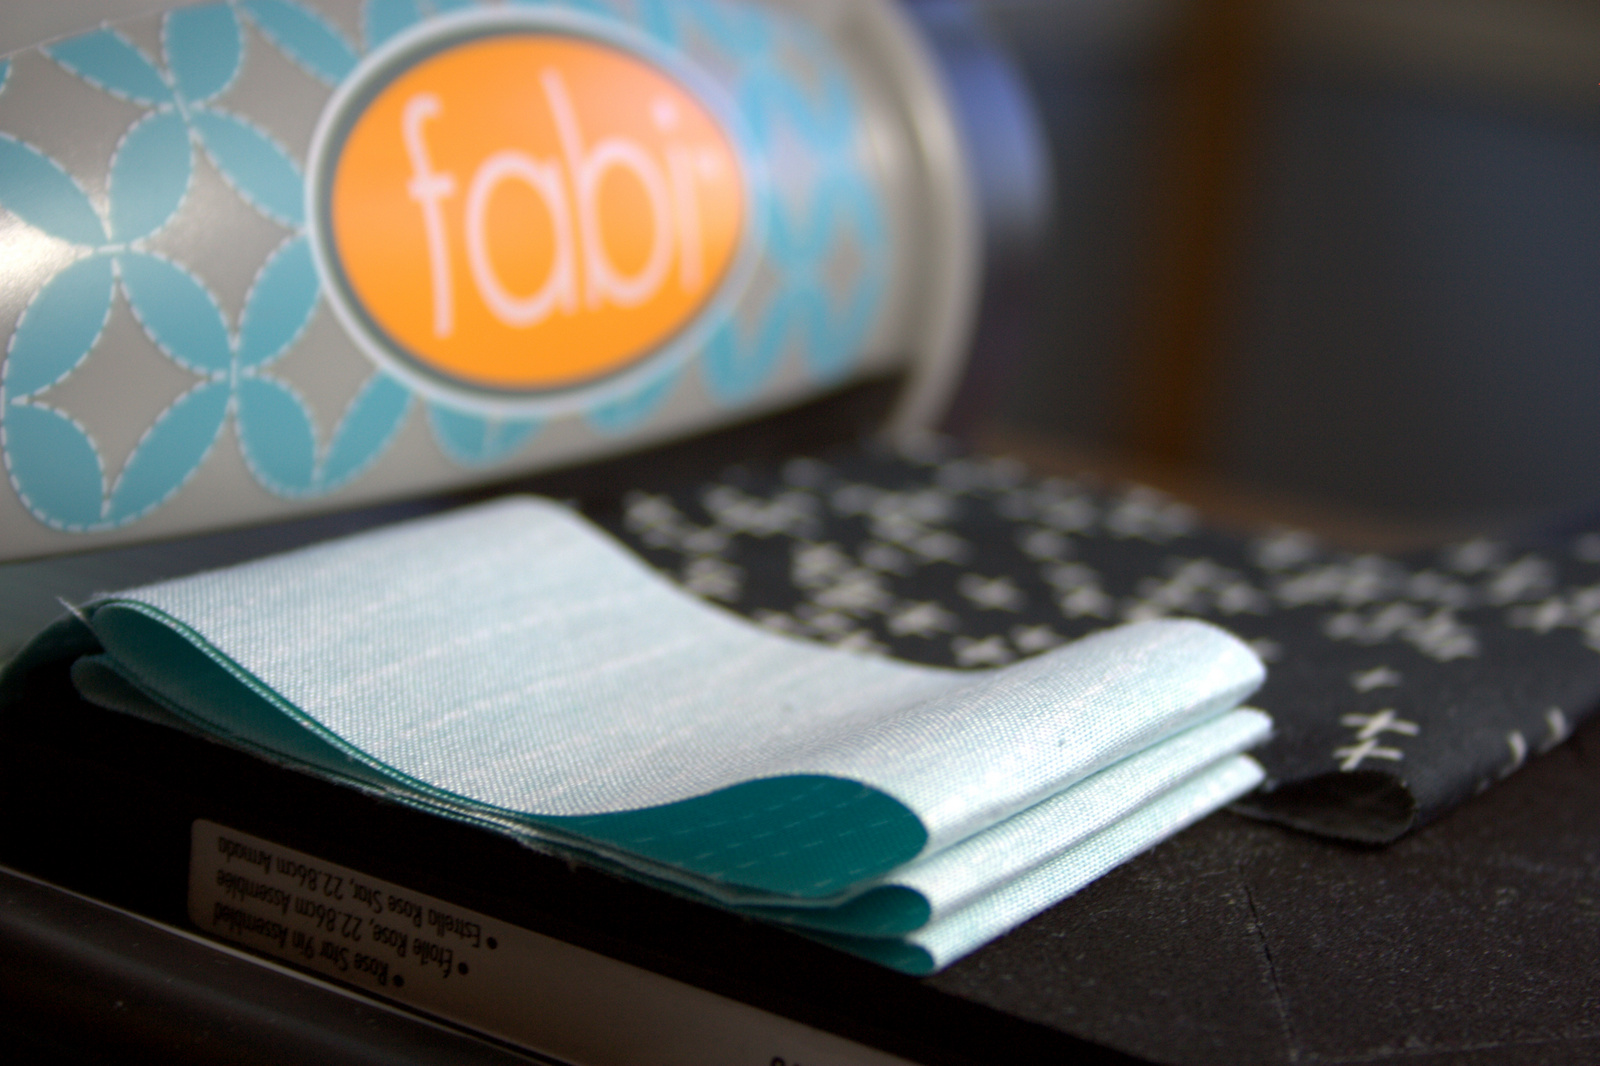
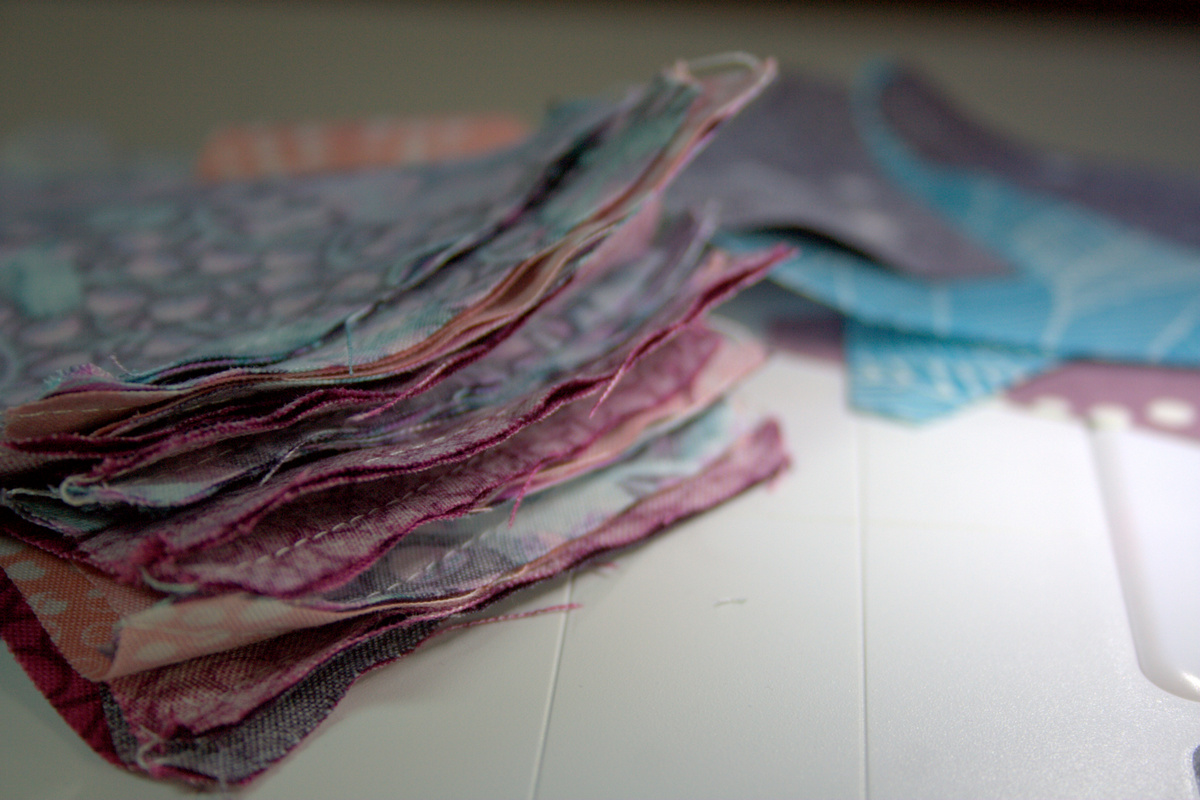
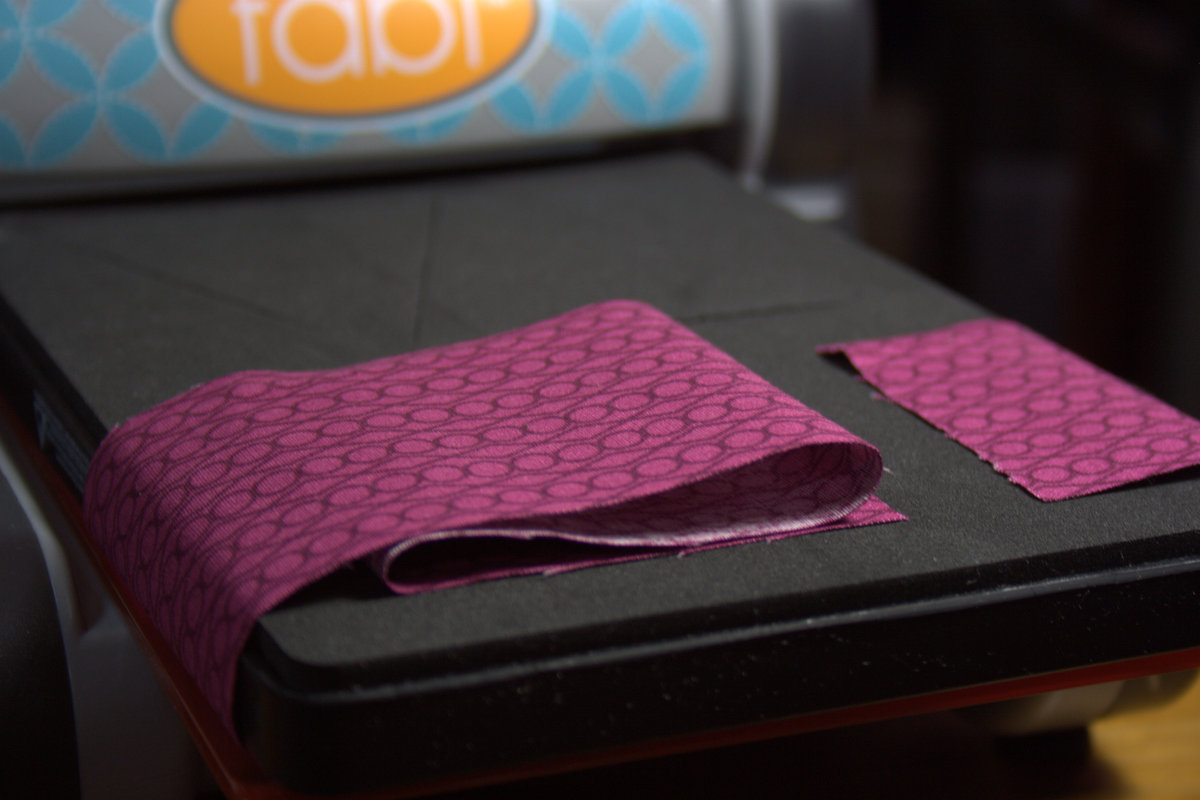 Then you can accordion-fold the fabric over the die and cut 16 of each at a time, since the die has 2 corner and 2 wedge blades and you can layer fabric 8 layers thick. That’s 32 pieces cut per pass, if you plan your fabric cutting wisely! (Note that the image above is to demonstrate the accordion-fold, not the uber efficient cutting!)
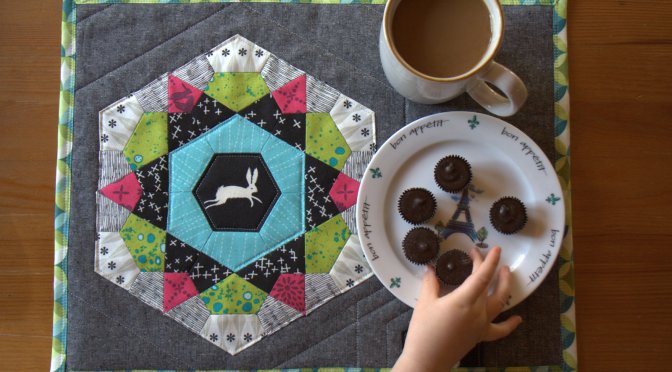
Once your pieces are all cut, lay them out in your desired pattern. Tip: Take a photo with your phone or camera once you’ve decided on a layout. Having this photo handy during piecing will make getting everything in the proper place the first time so much easier!
 Now let’s sew the blocks together!
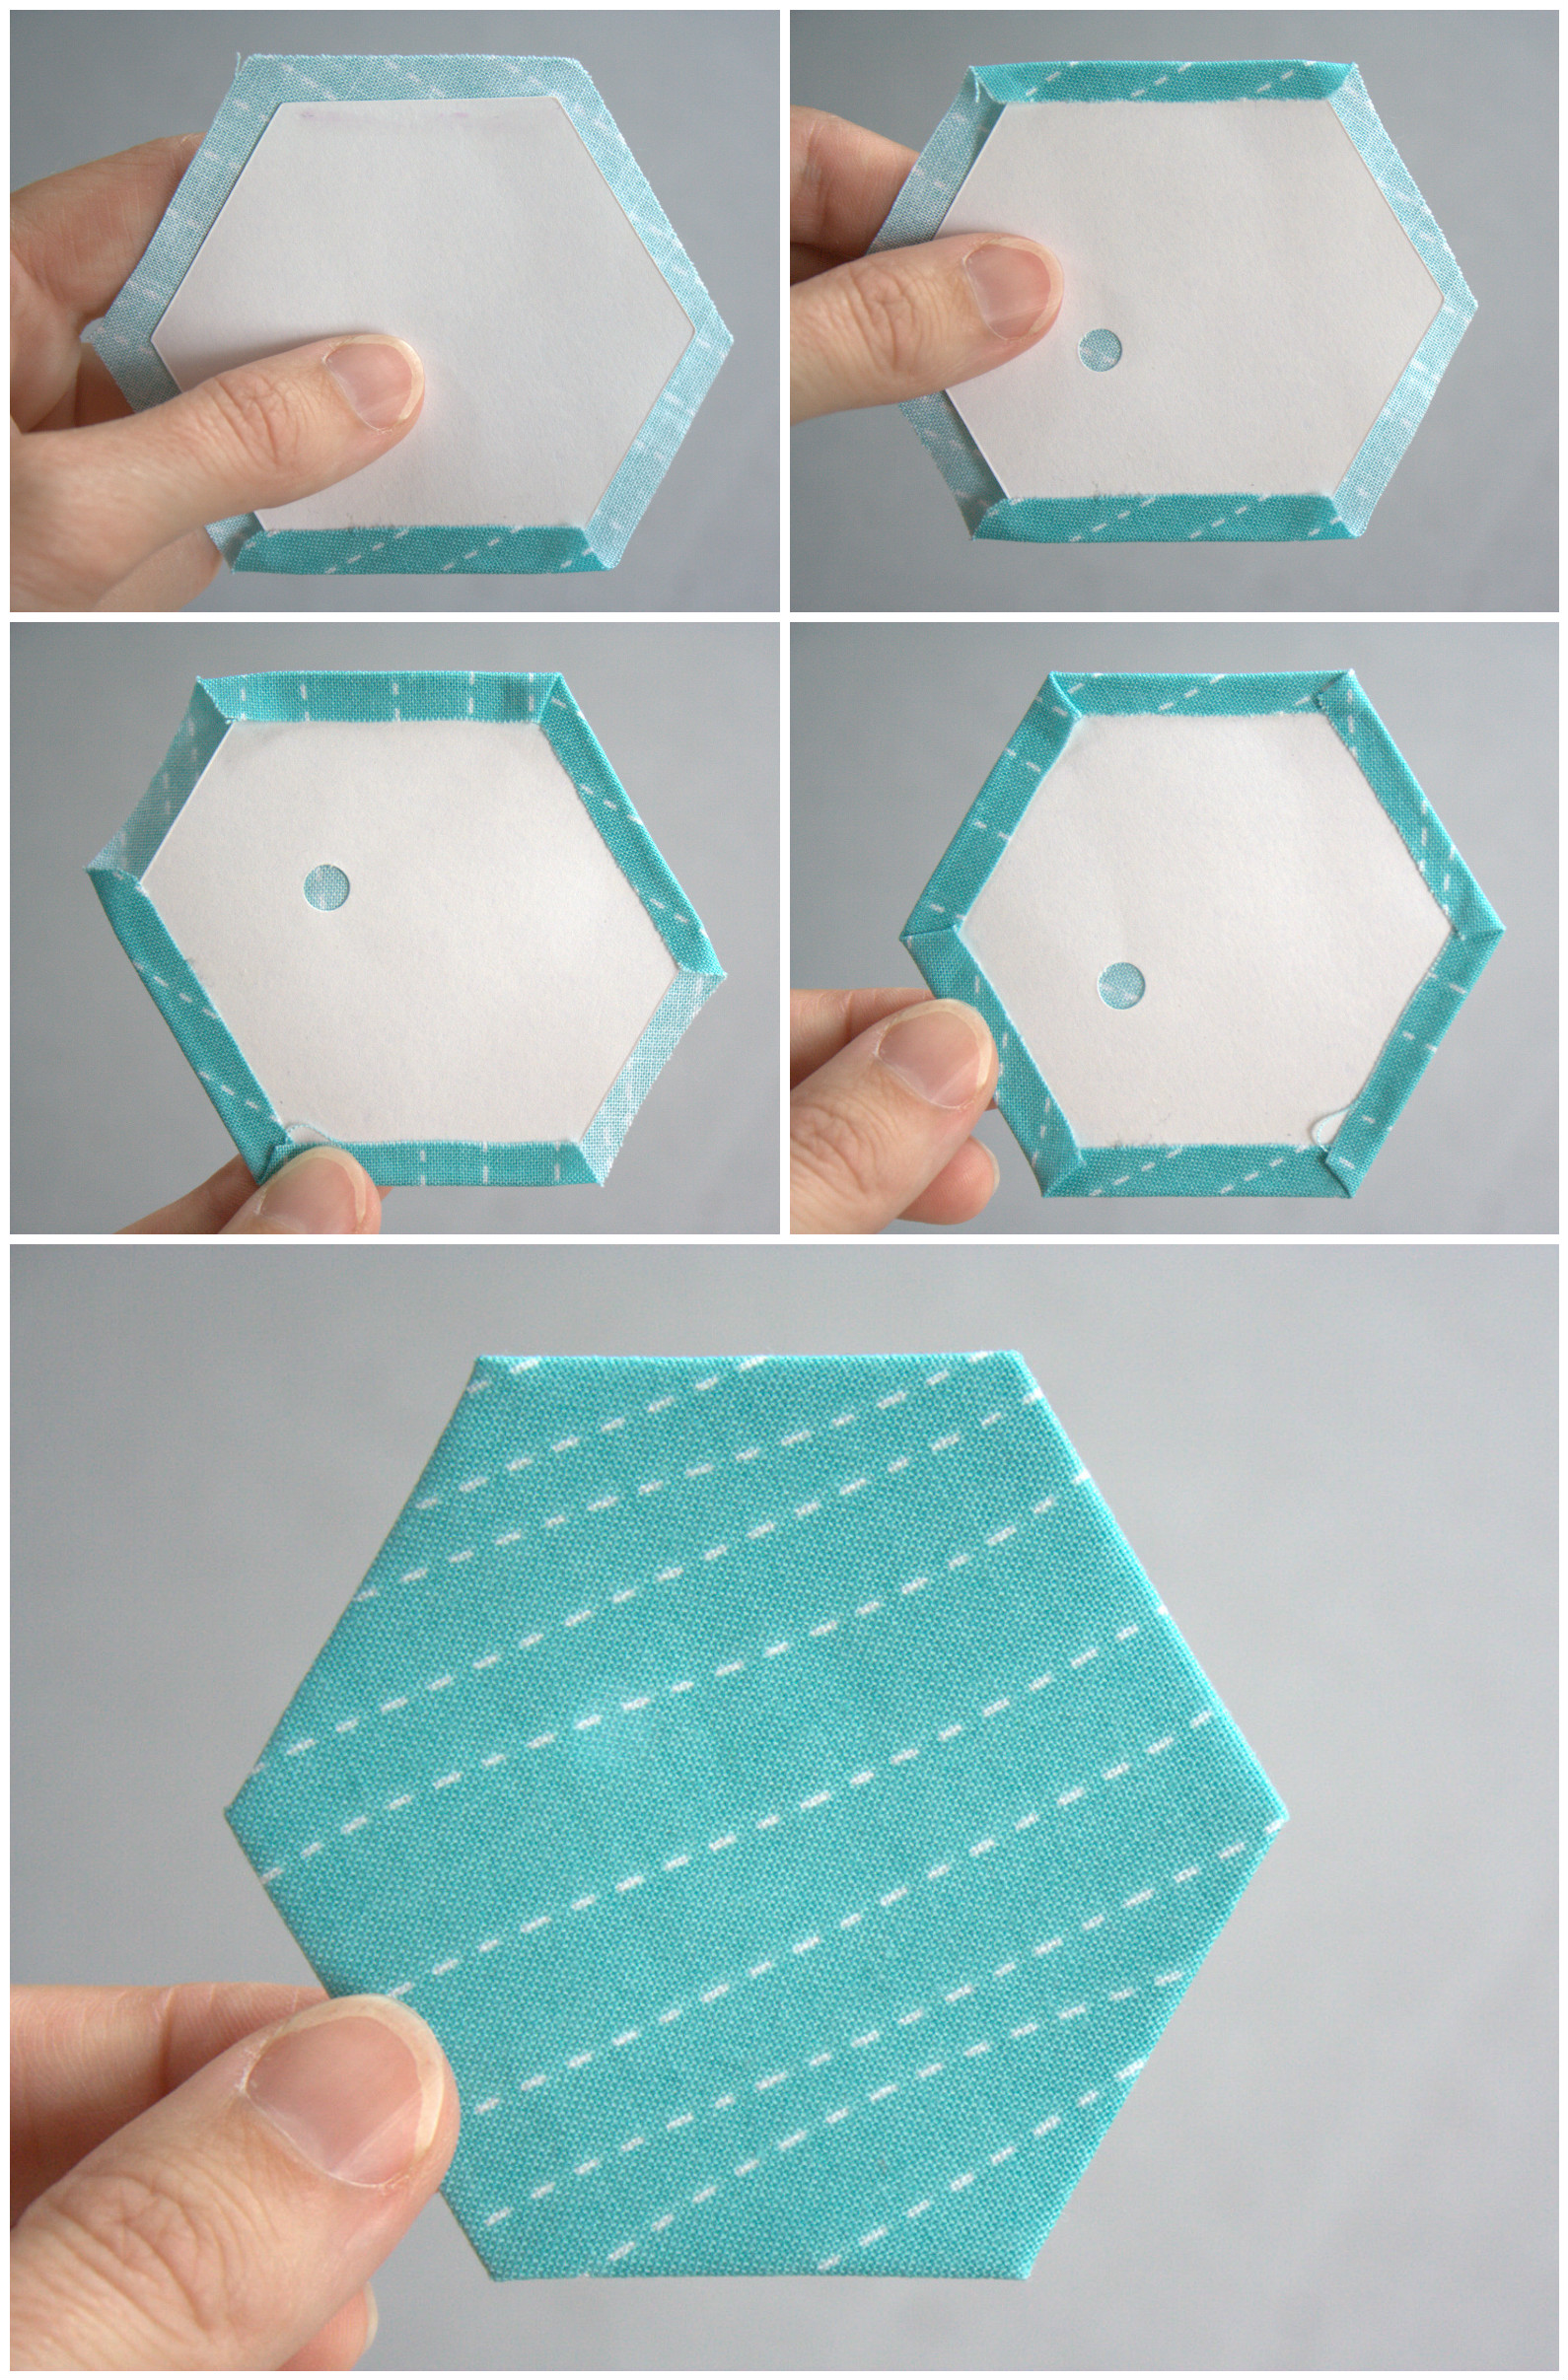
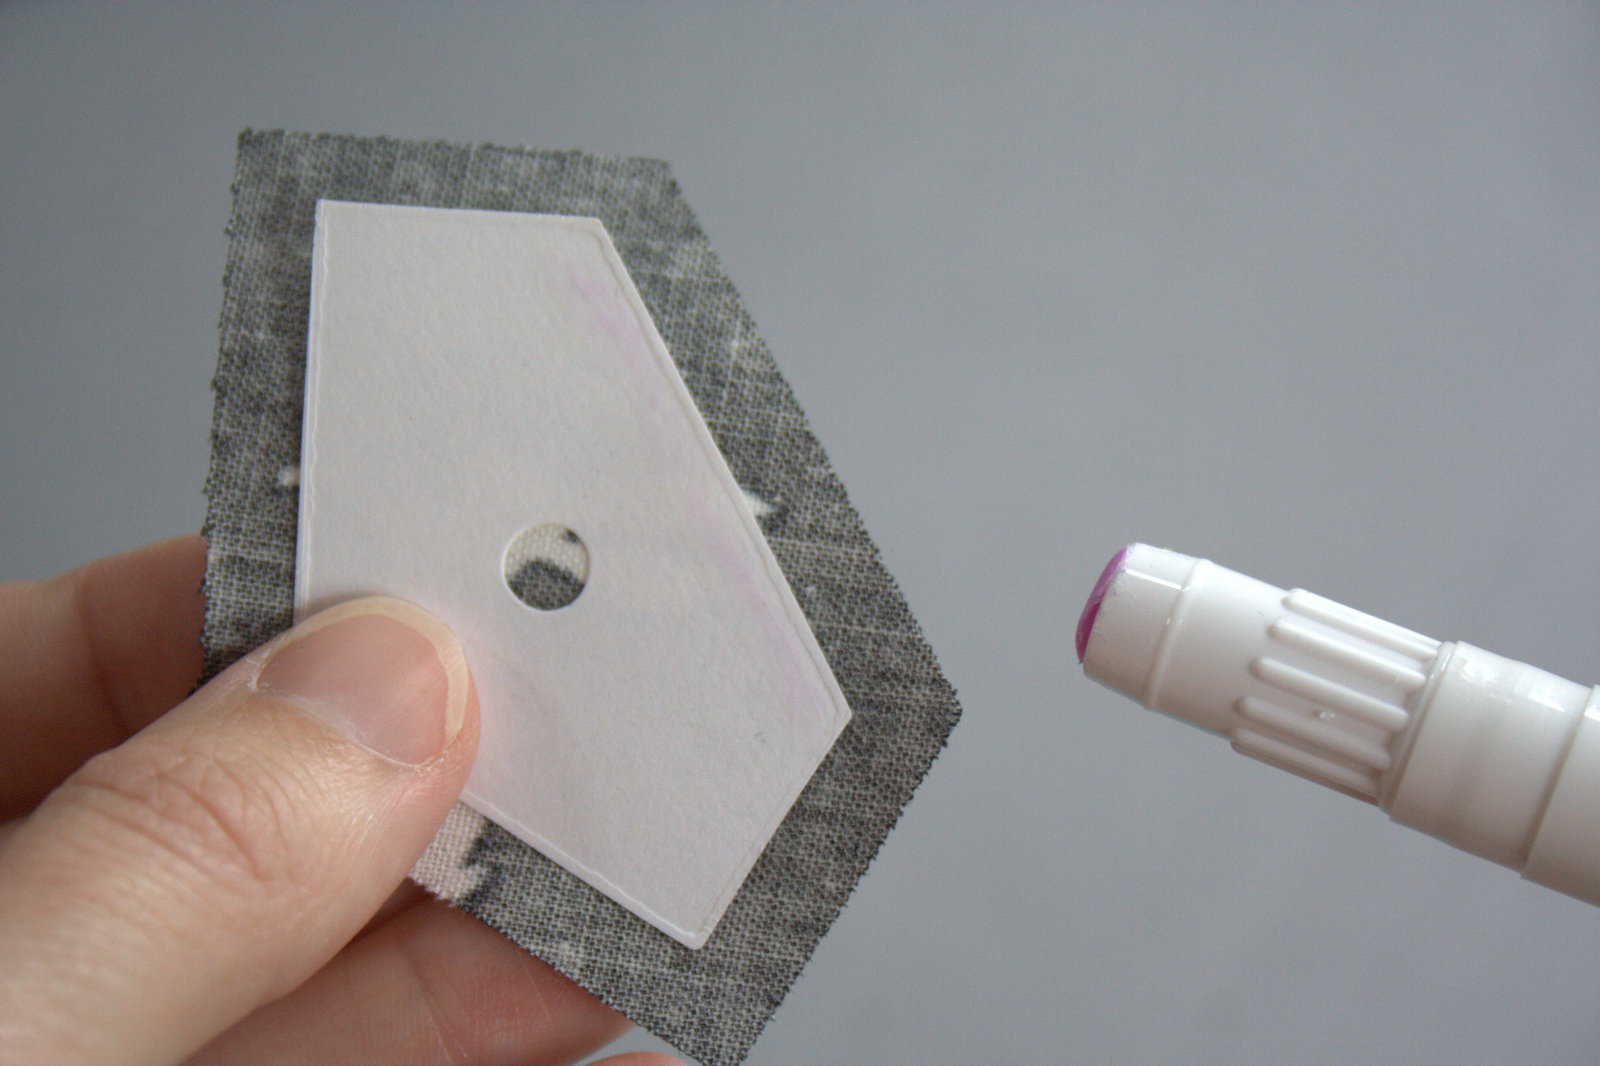
 First, sew the corners onto the appropriate wedge blocks.
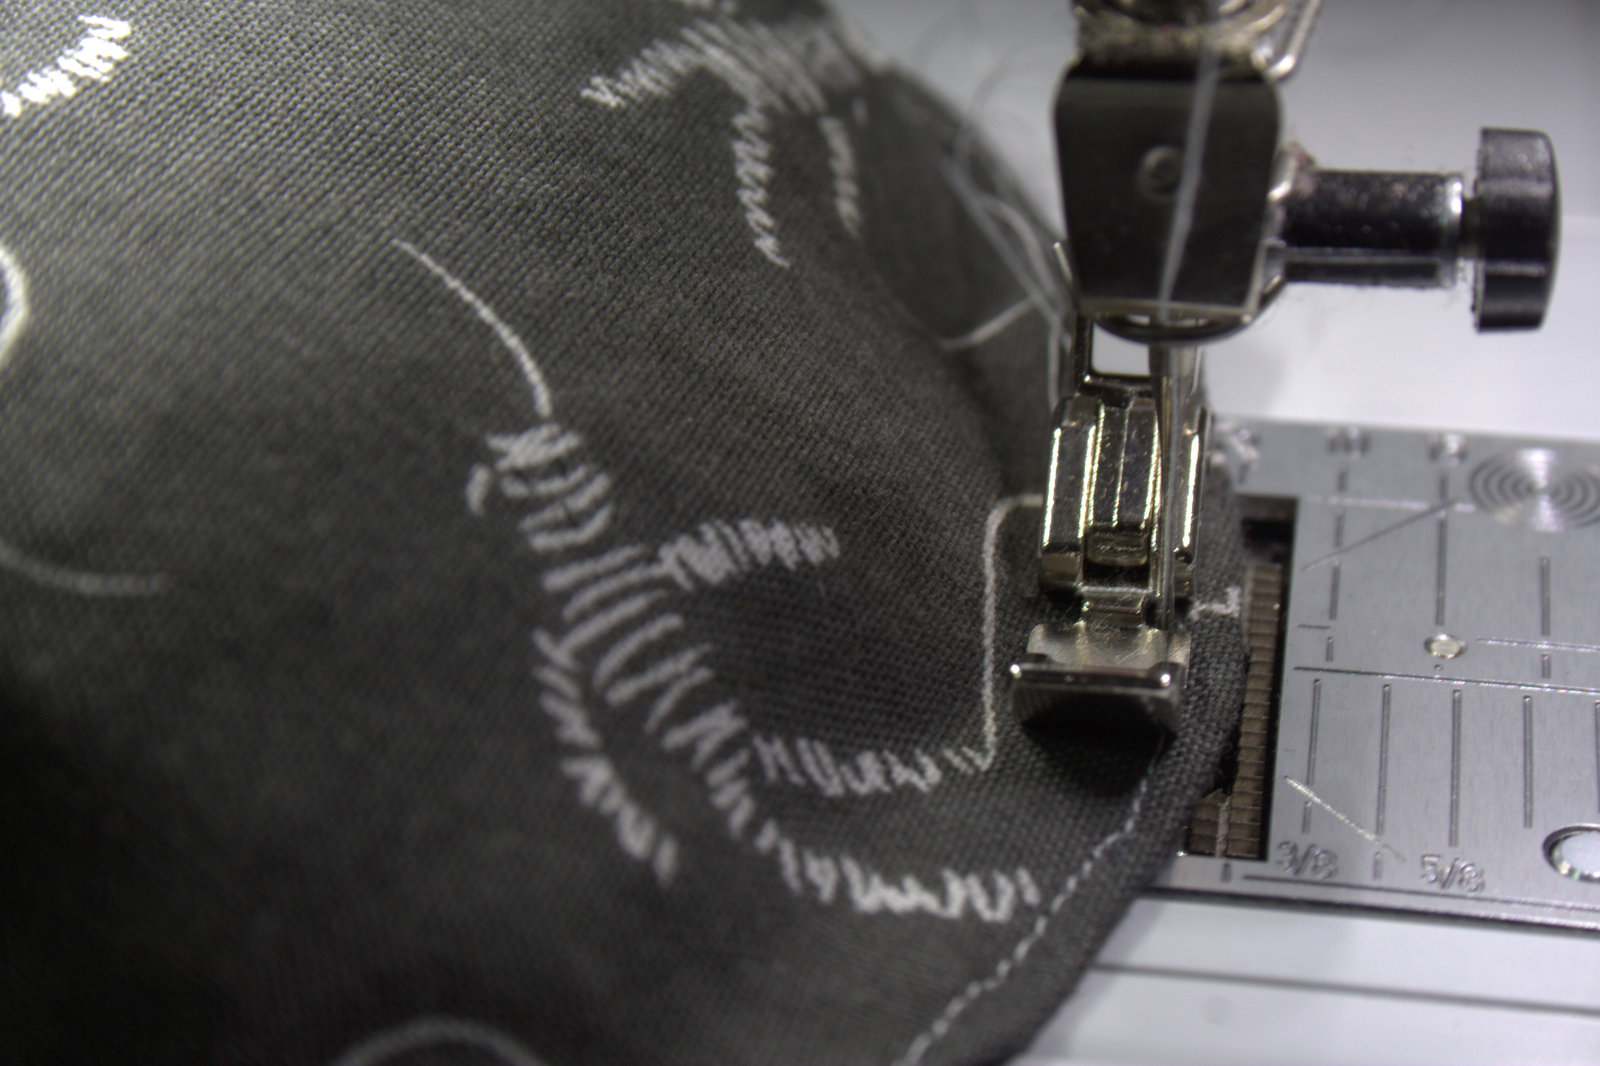
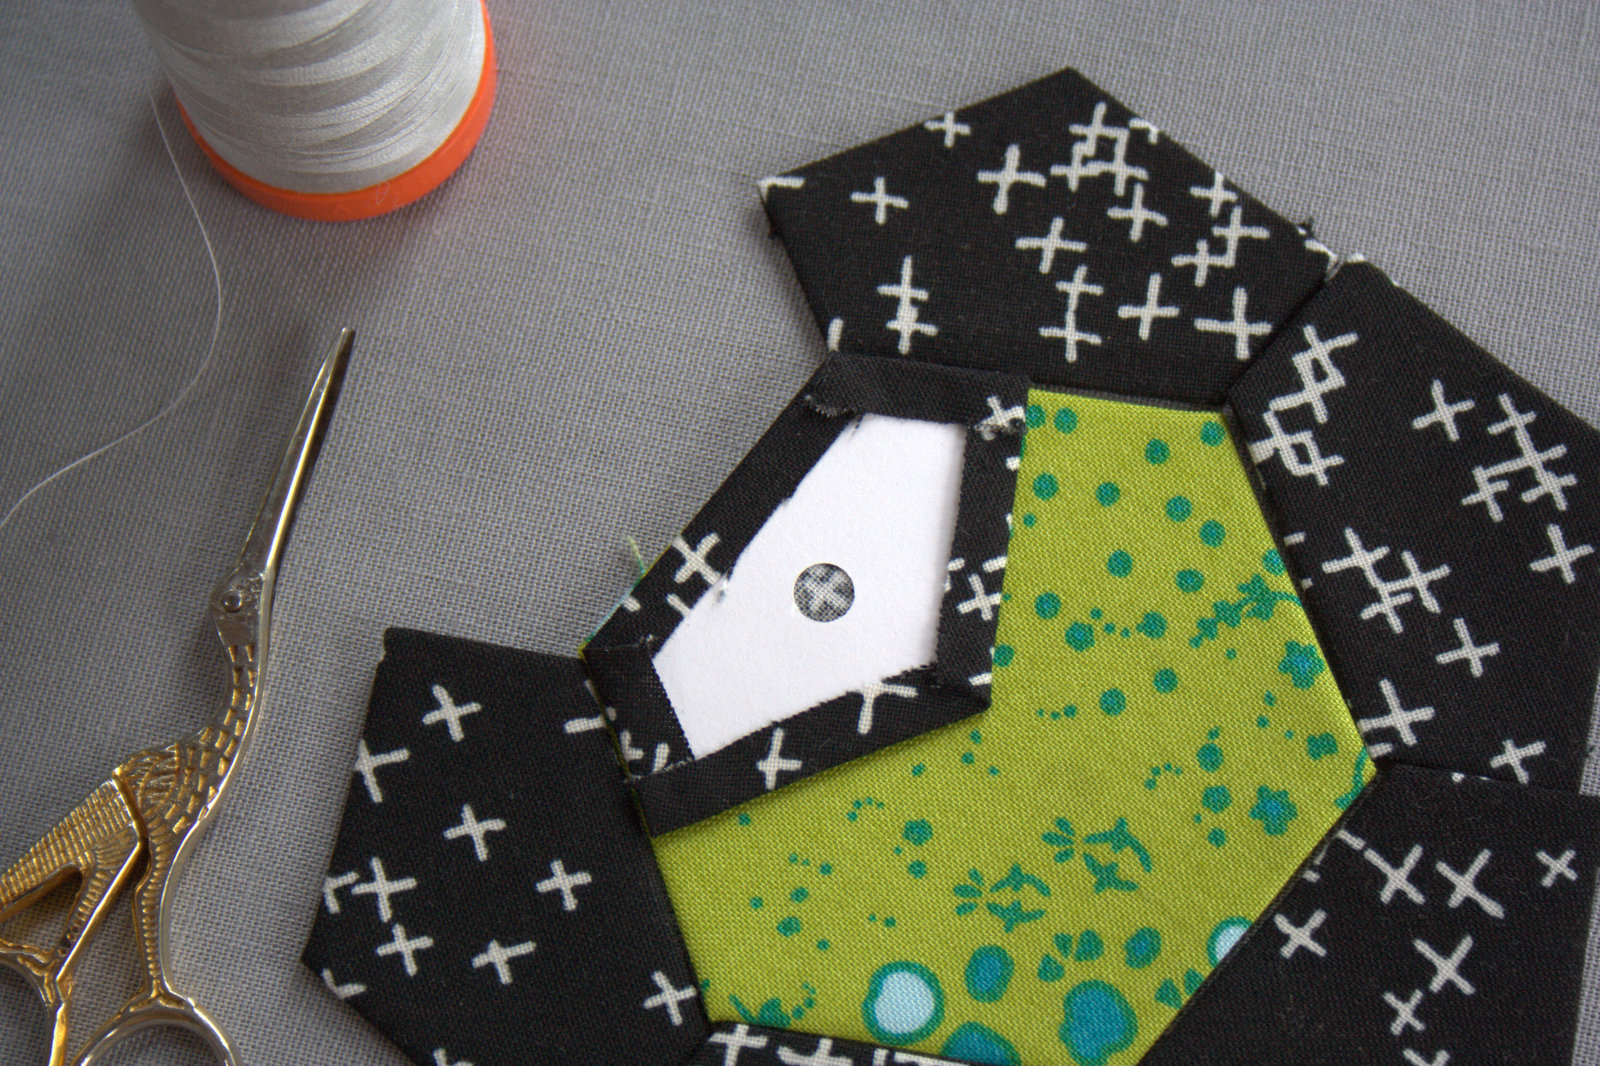
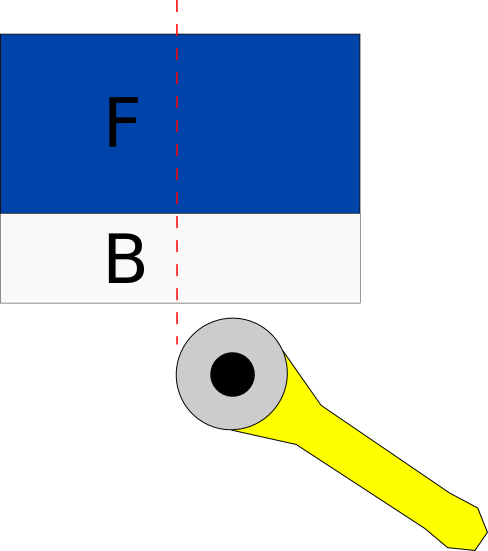
 The notches cut by the Sizzix make accurate piecing easy. Center the corner piece right sides together with the bottom edge of the wedge piece as shown in the inset photo above. Then use the little corners sticking out from the bottom edges of the wedge as a sewing guide. Set seams and press open.
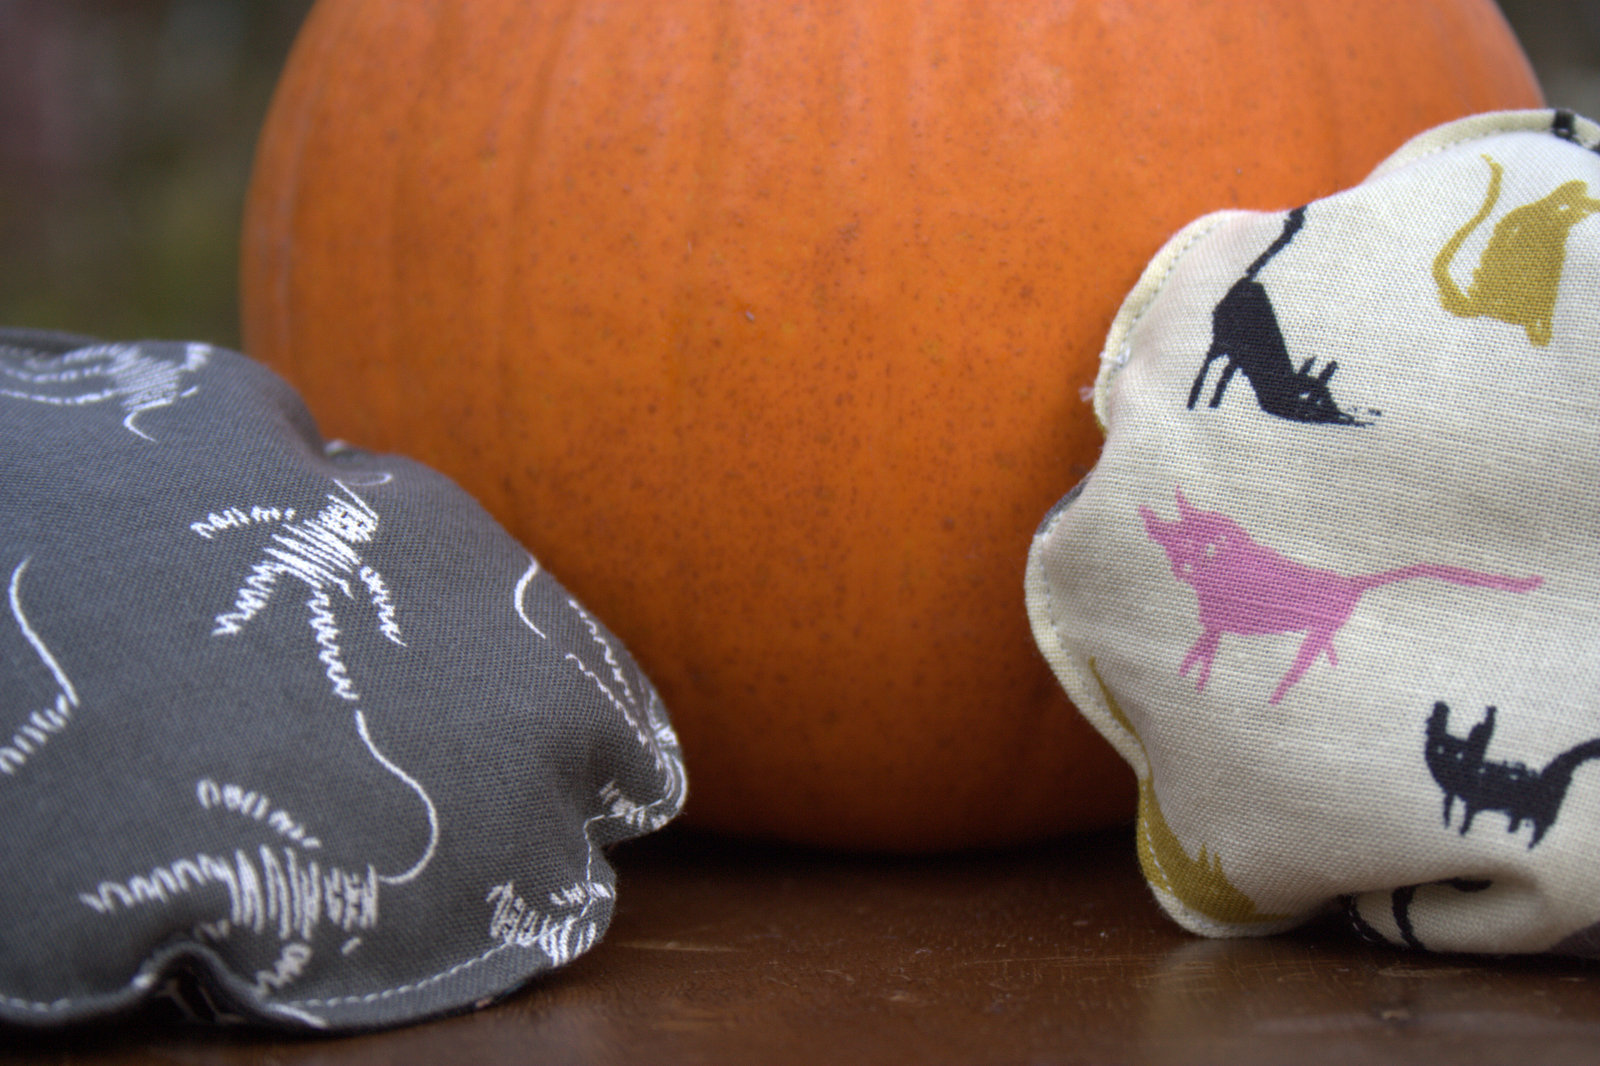
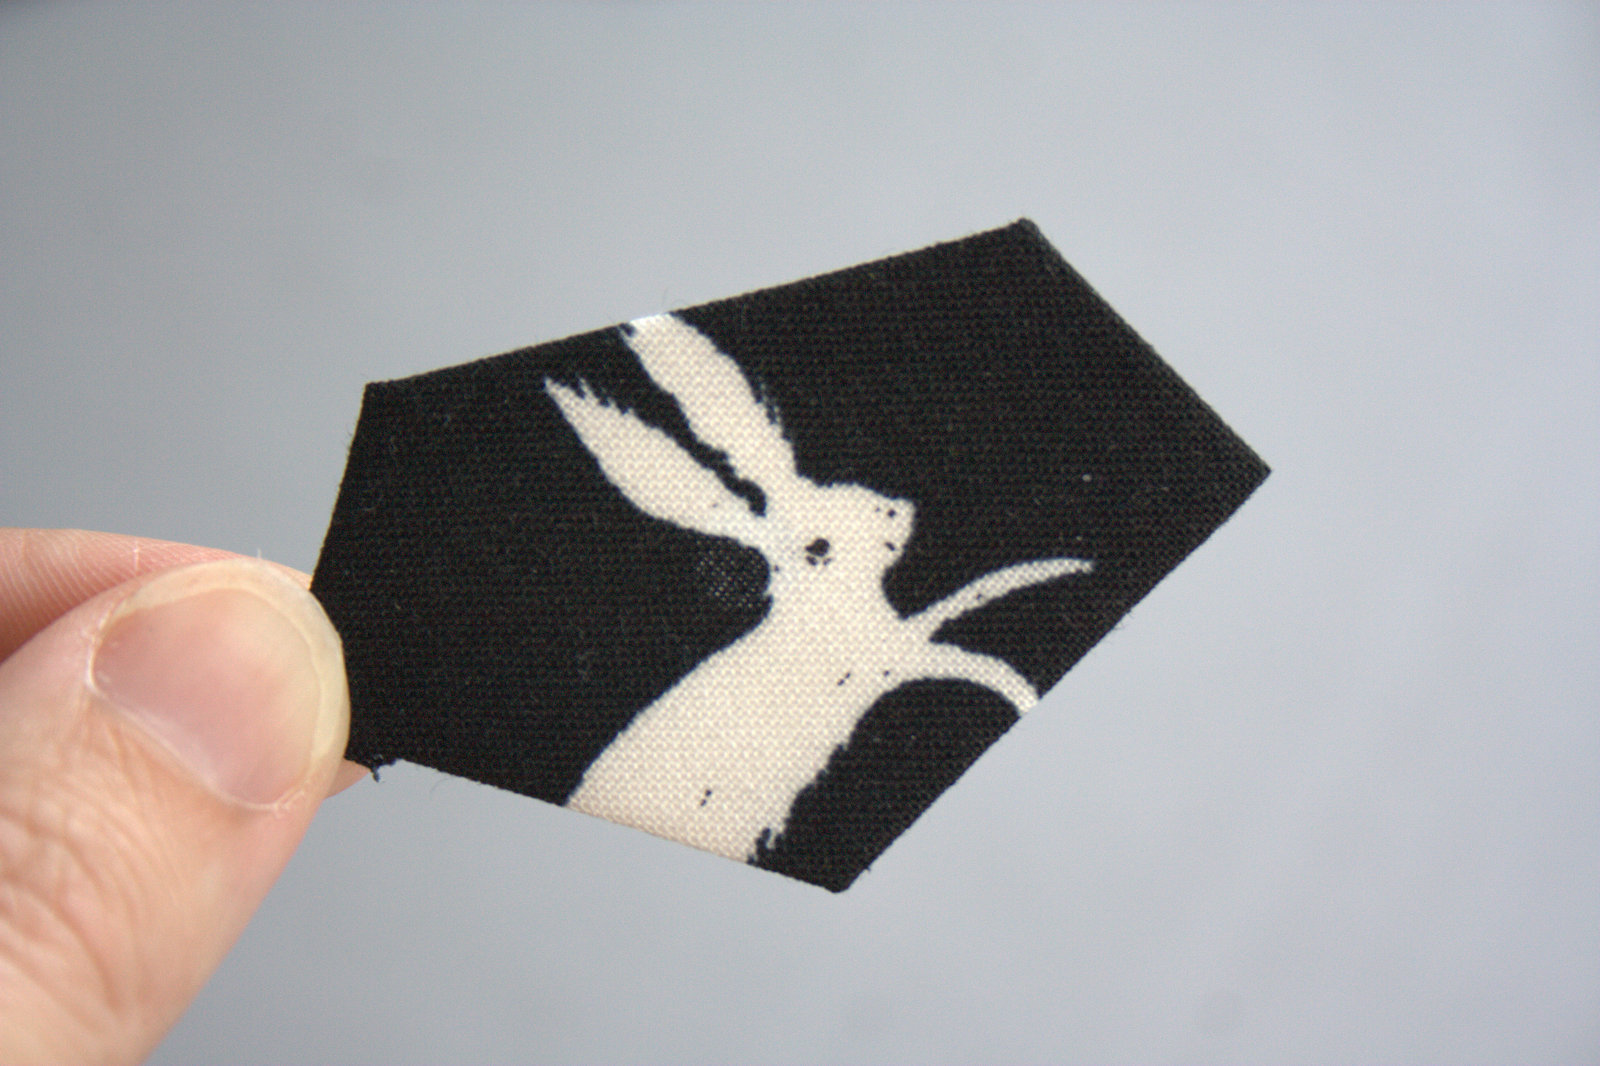
 You will then have this.
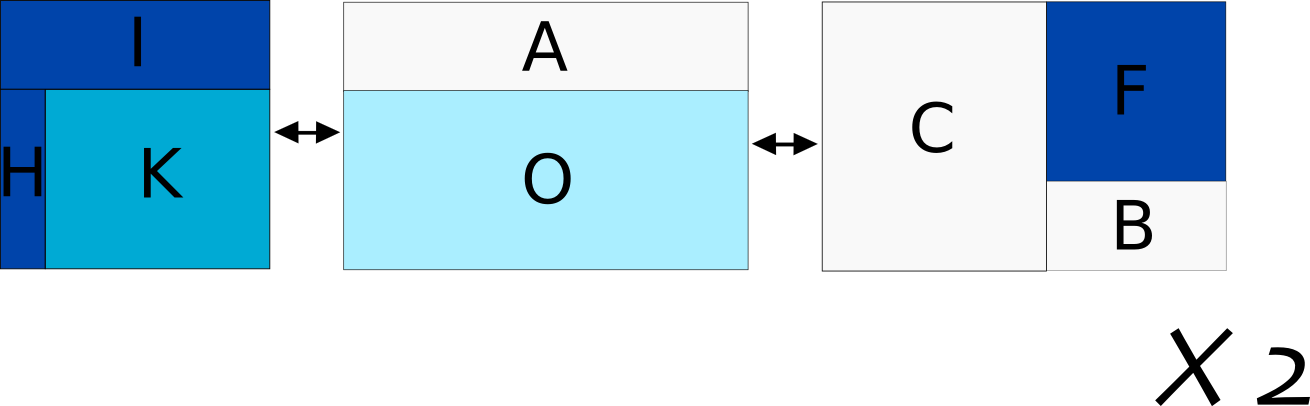
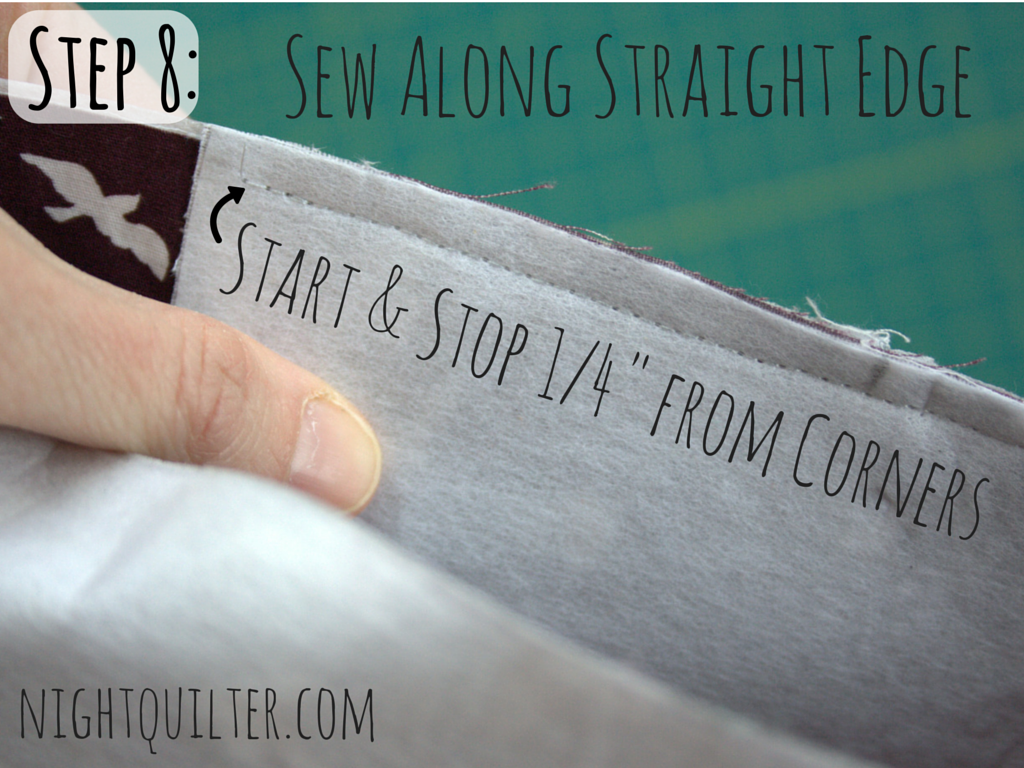
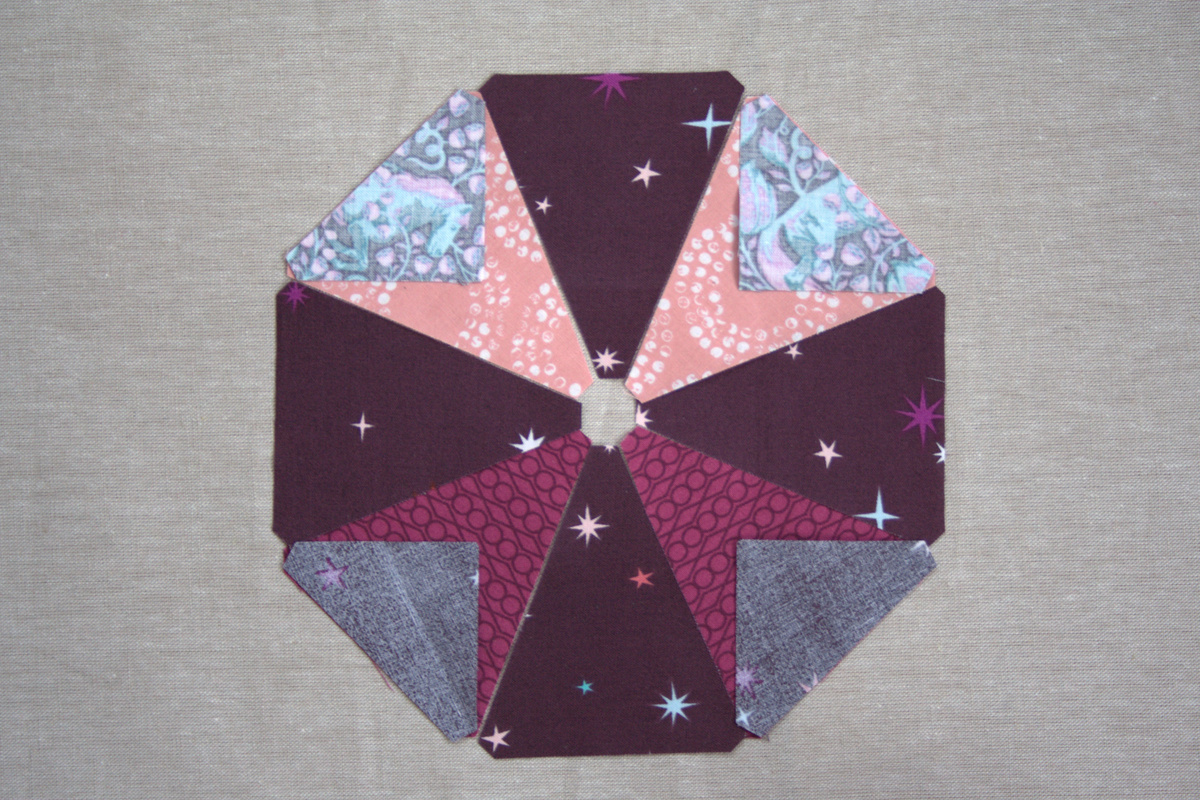
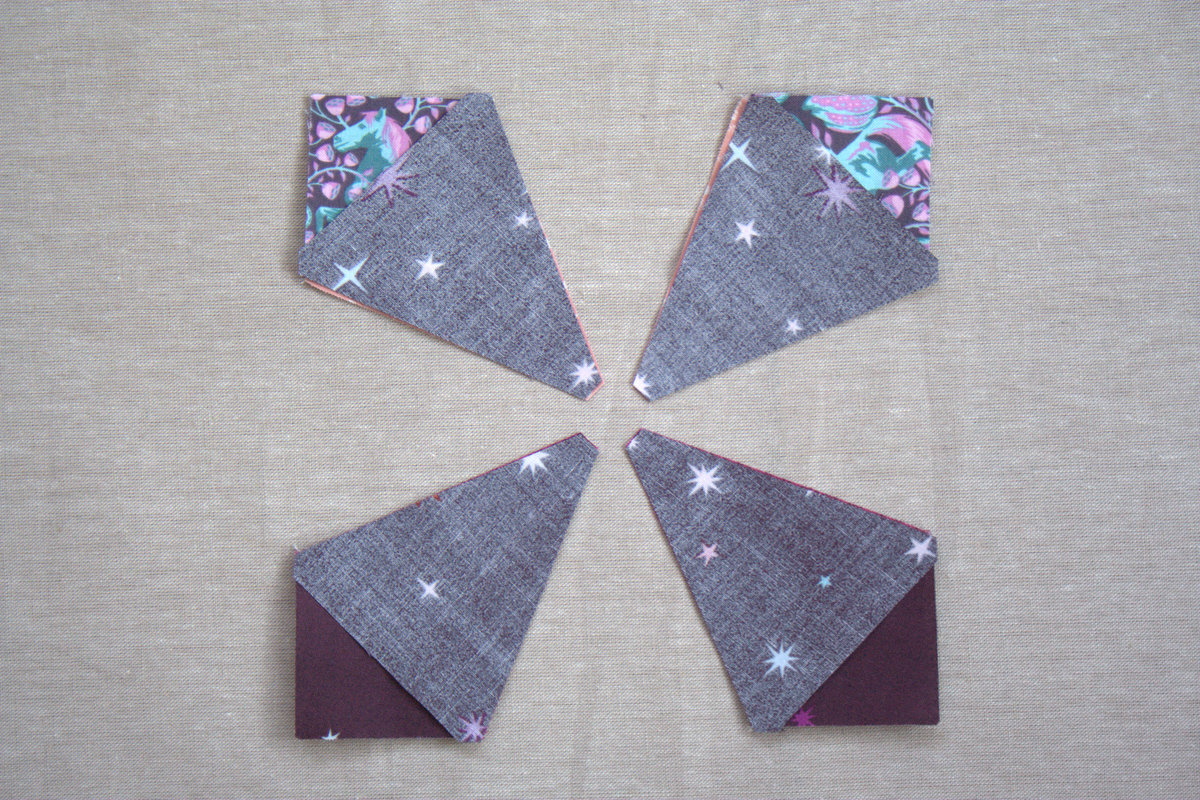 Next, pair each cornered wedge with a background wedge. Be sure to sew along the same side edge for each pair, and begin sewing from the corner edge and not the center point. Set seams, press open. **Note that assembling this block is a perfect time to practice pressing and NOT ironing. Even a little wiggle might stretch sections enough to result in a ripple when the final block is assembled. Press: up, down, up. NOT ironing. Got it!**
 Double check your arrangement with the photo you took before sewing pairs together.
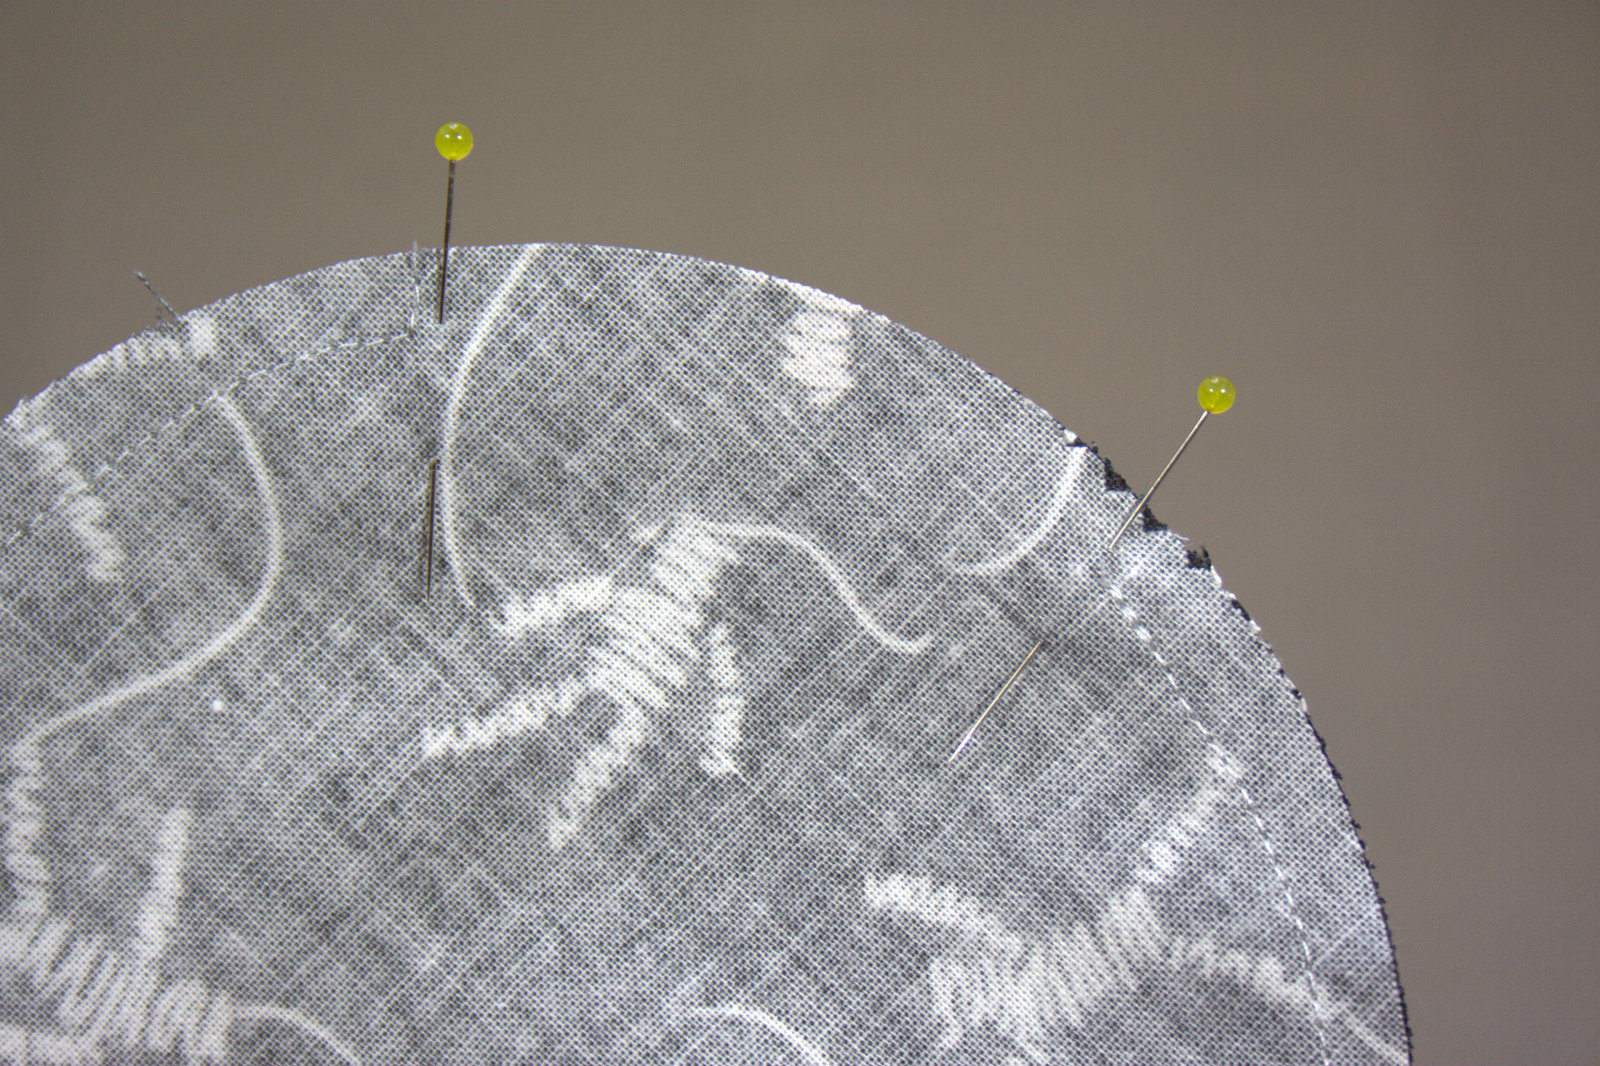
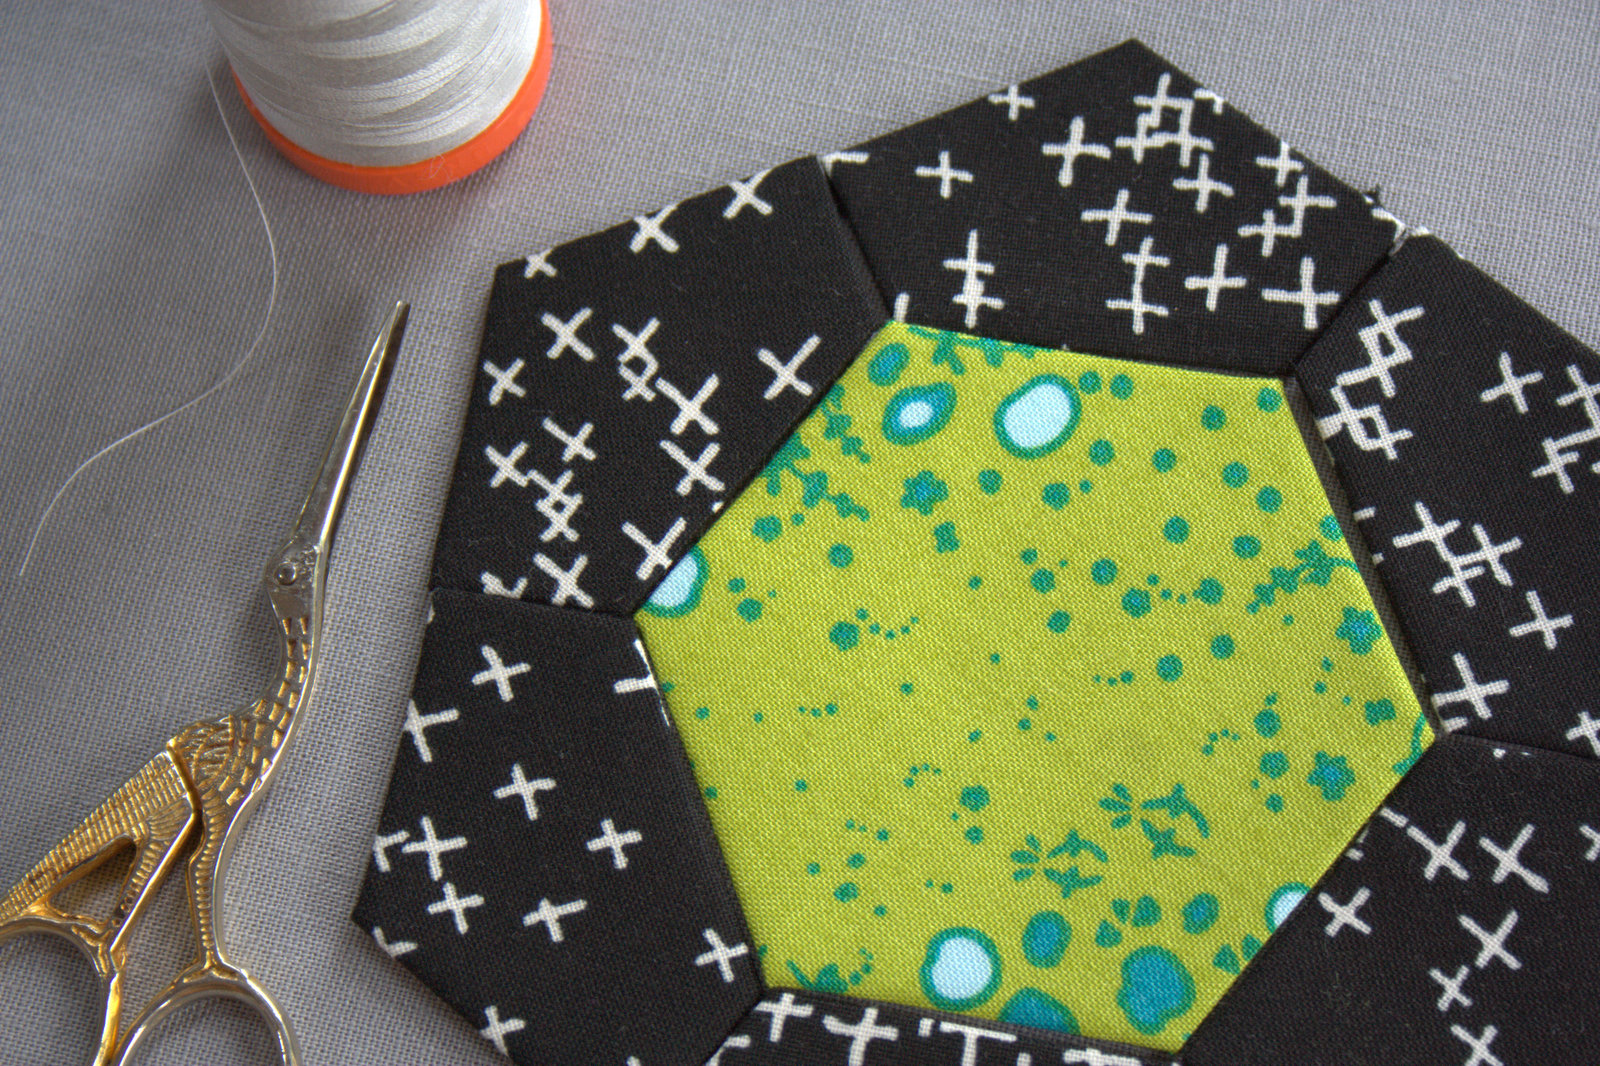
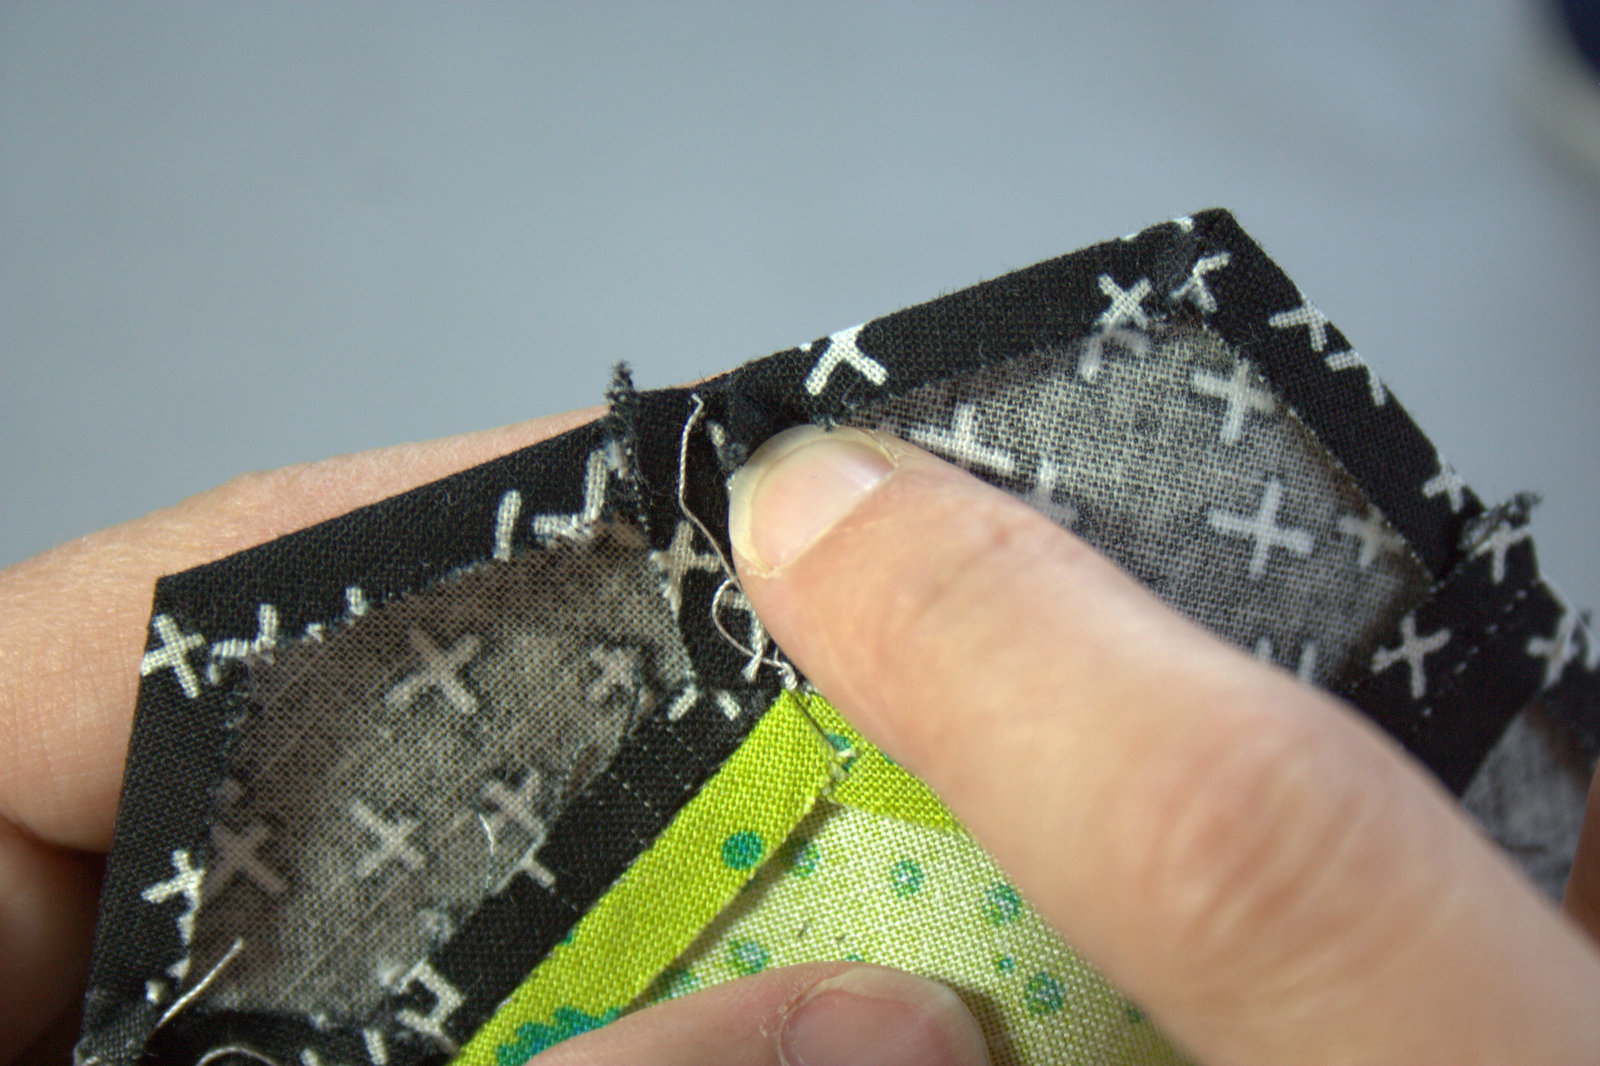
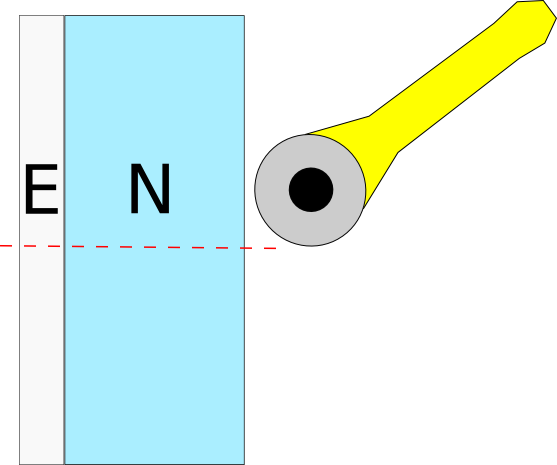
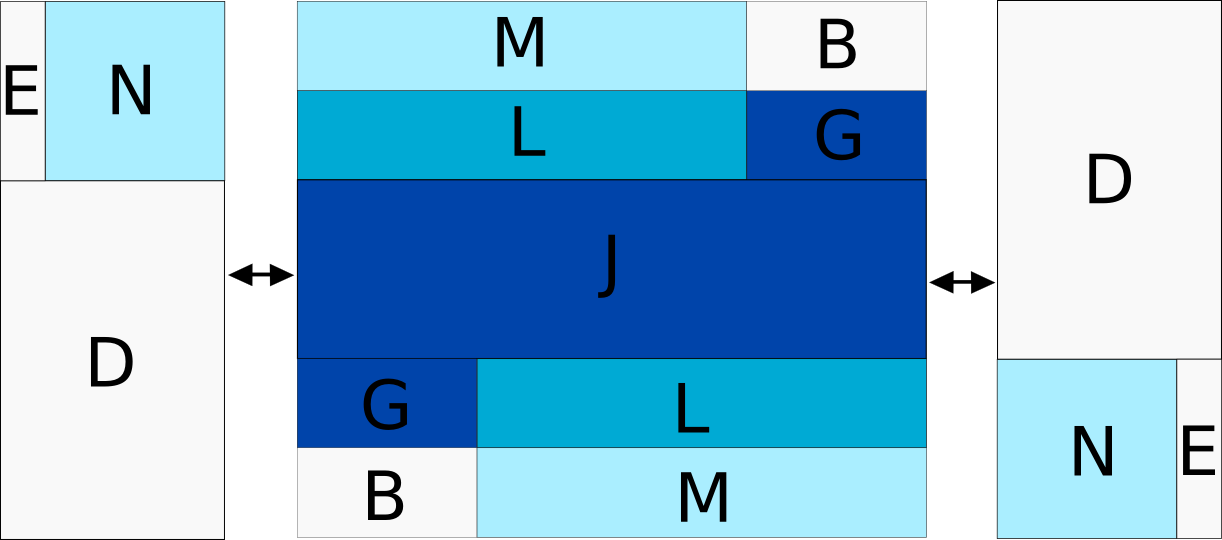
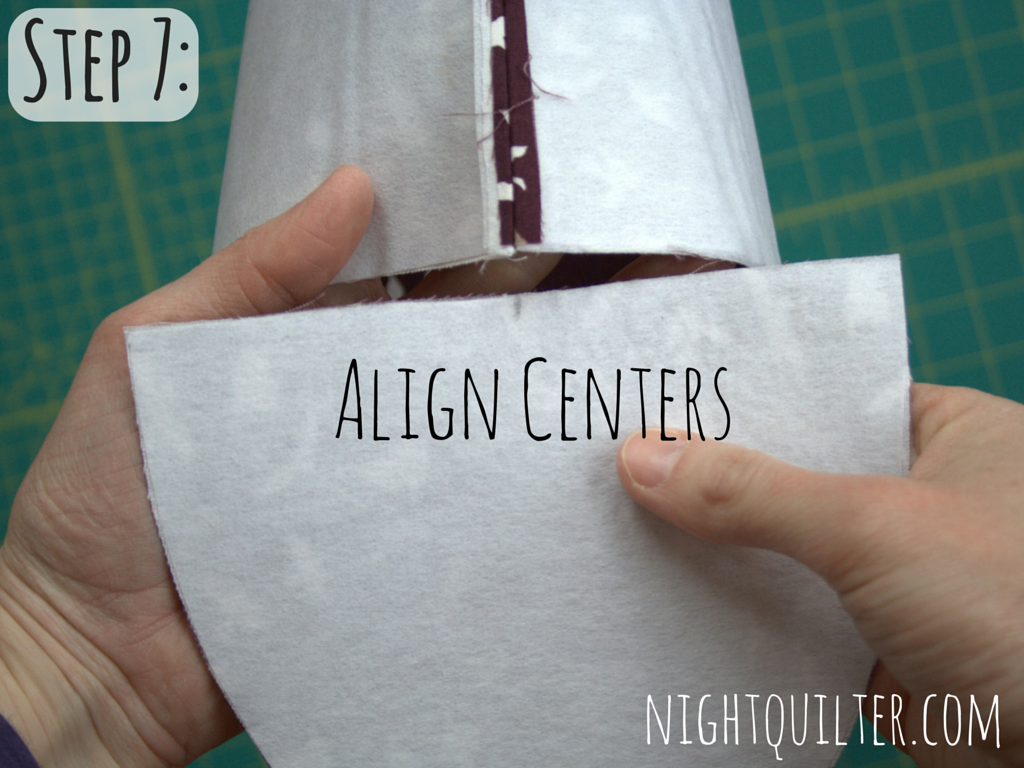
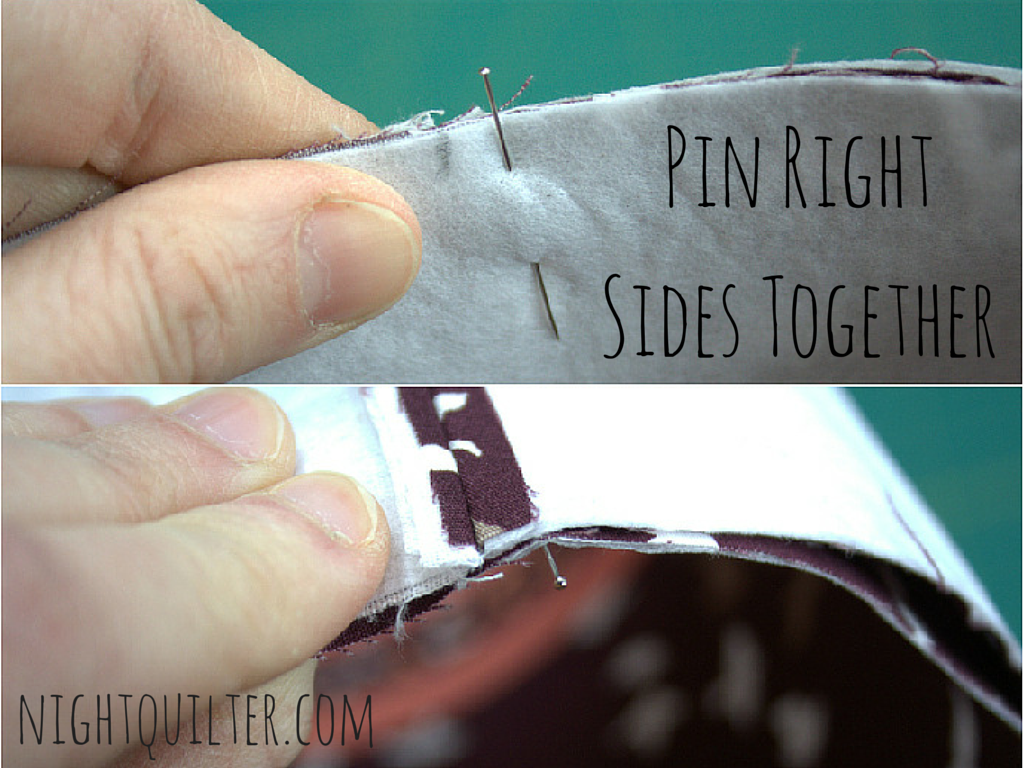
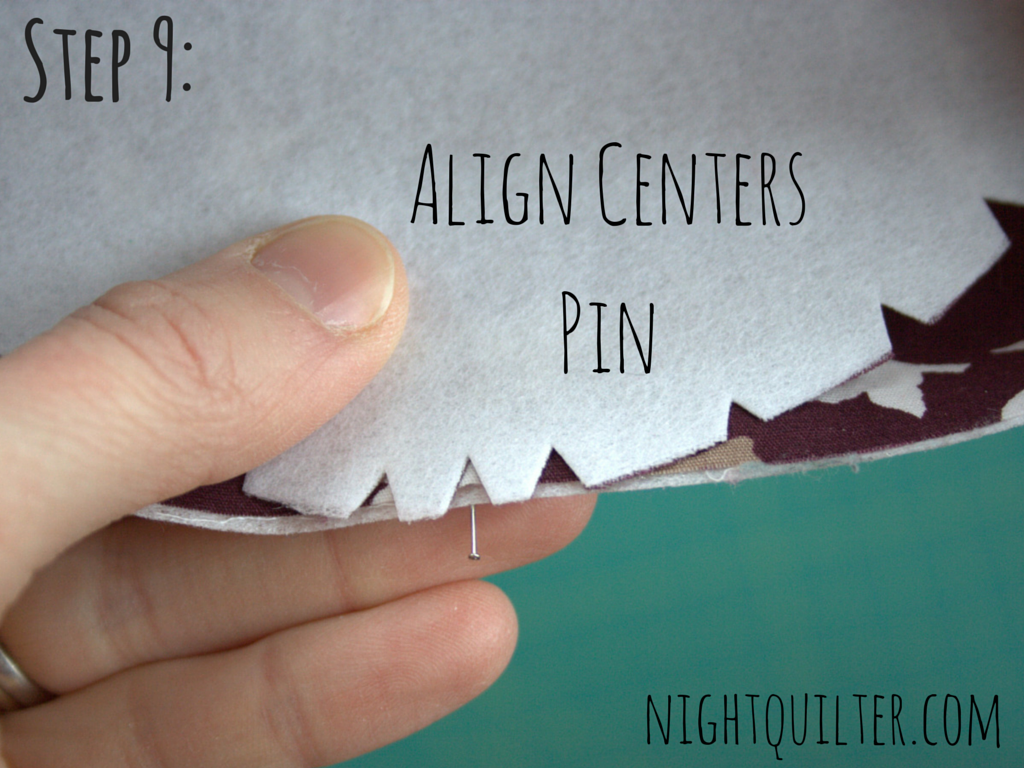
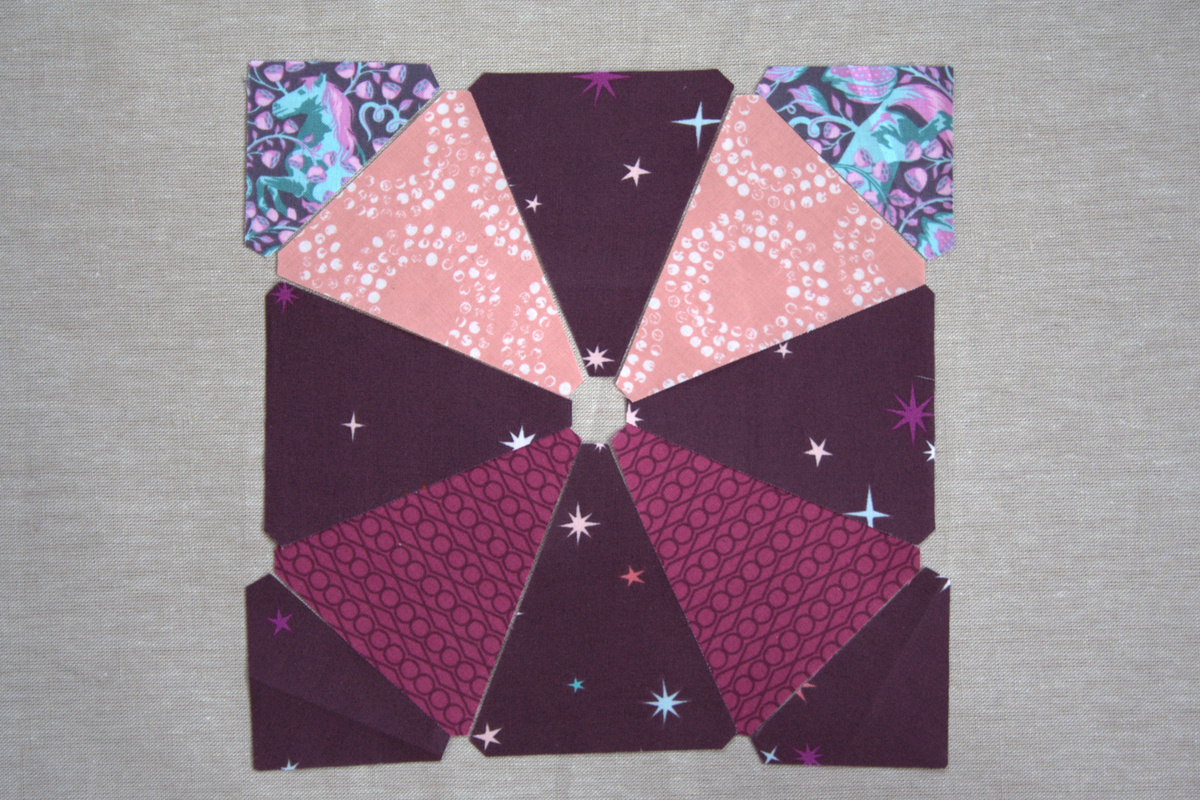
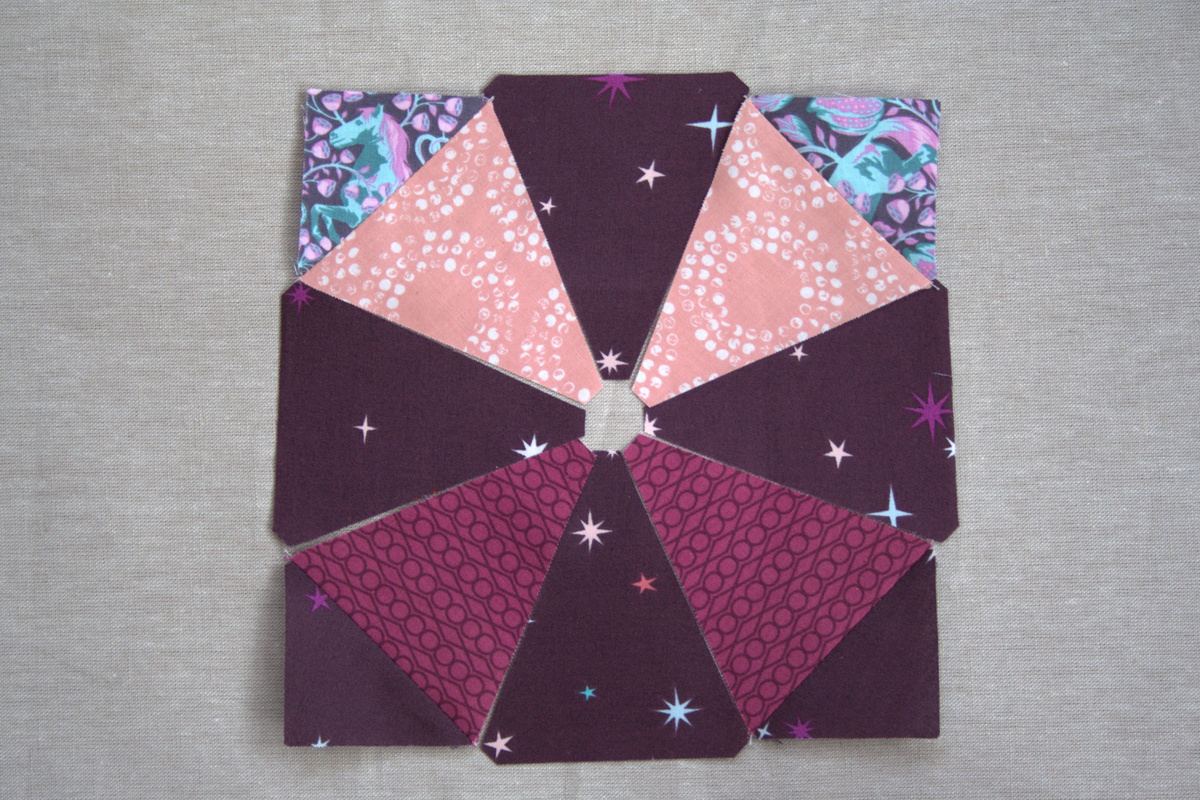
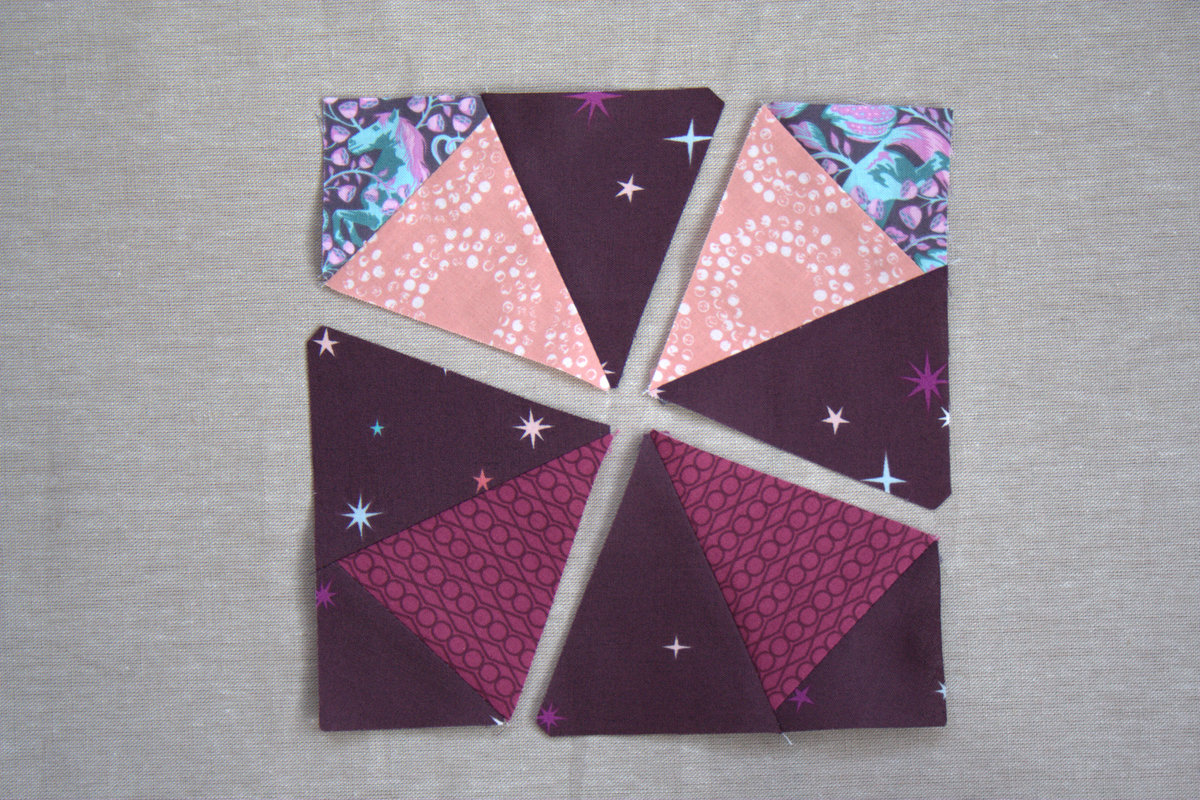
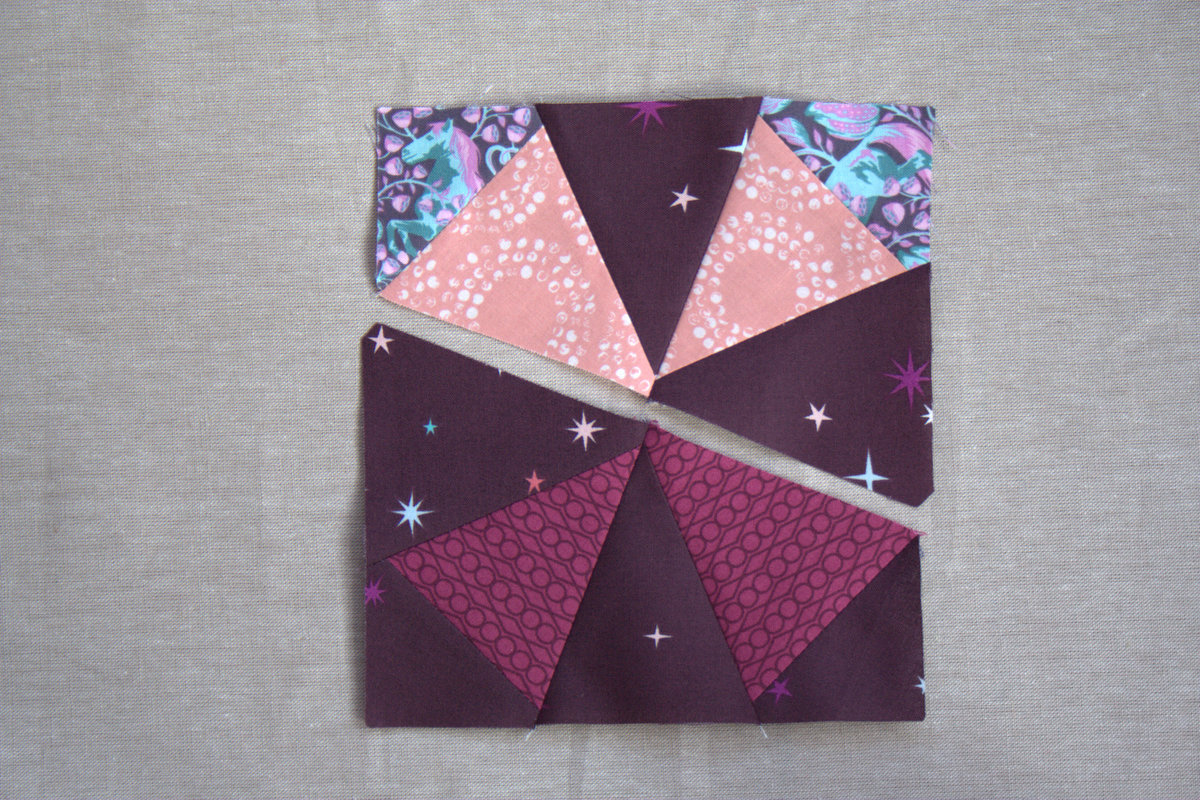 You will now have two halves. Aligning the notched corners and pinning just after the center seam match, sew the halves together. Set seams and press open.
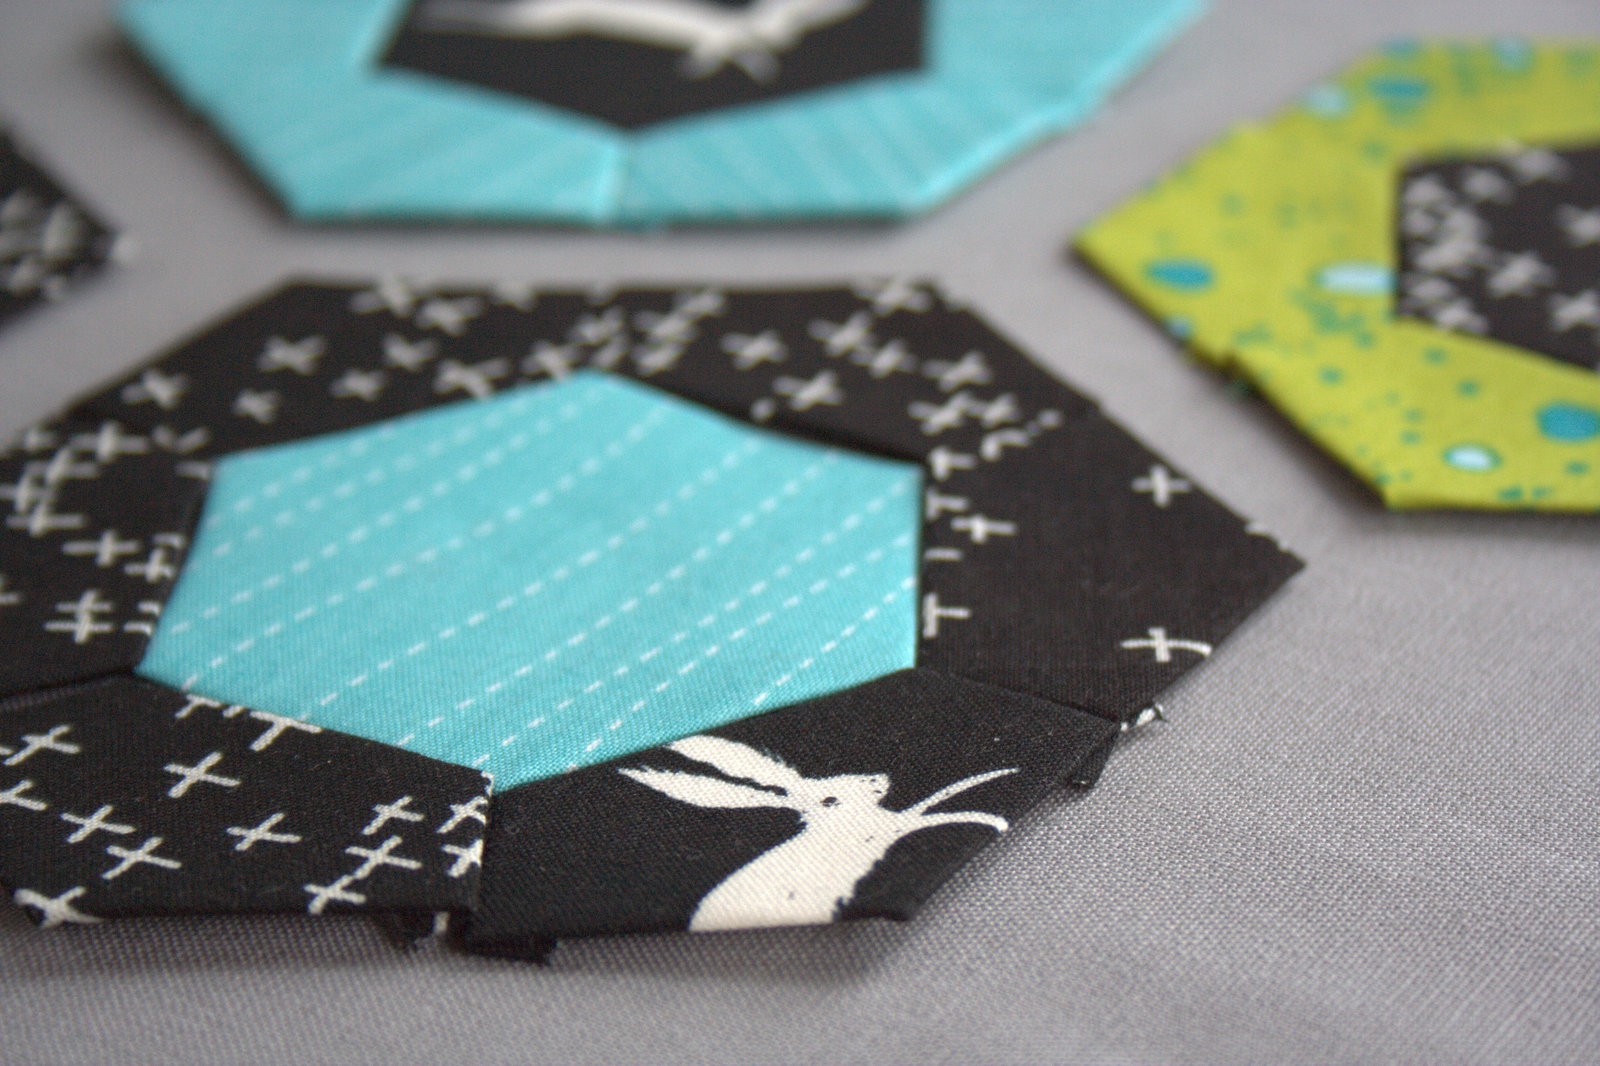
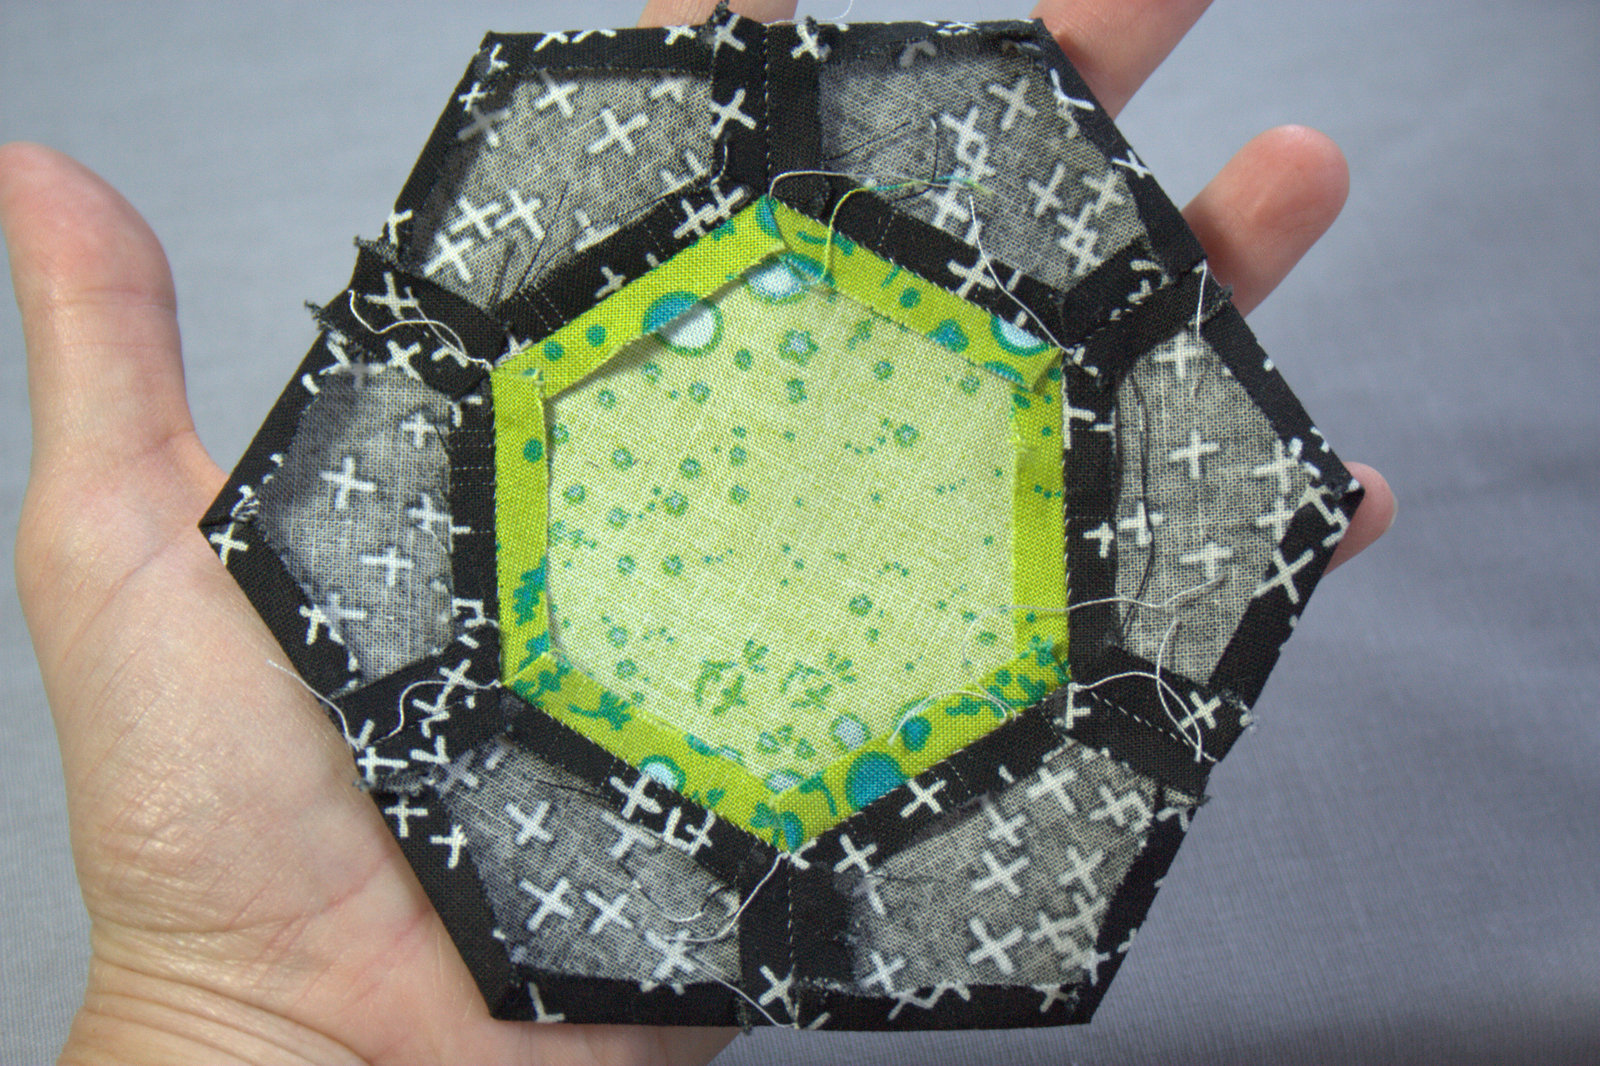
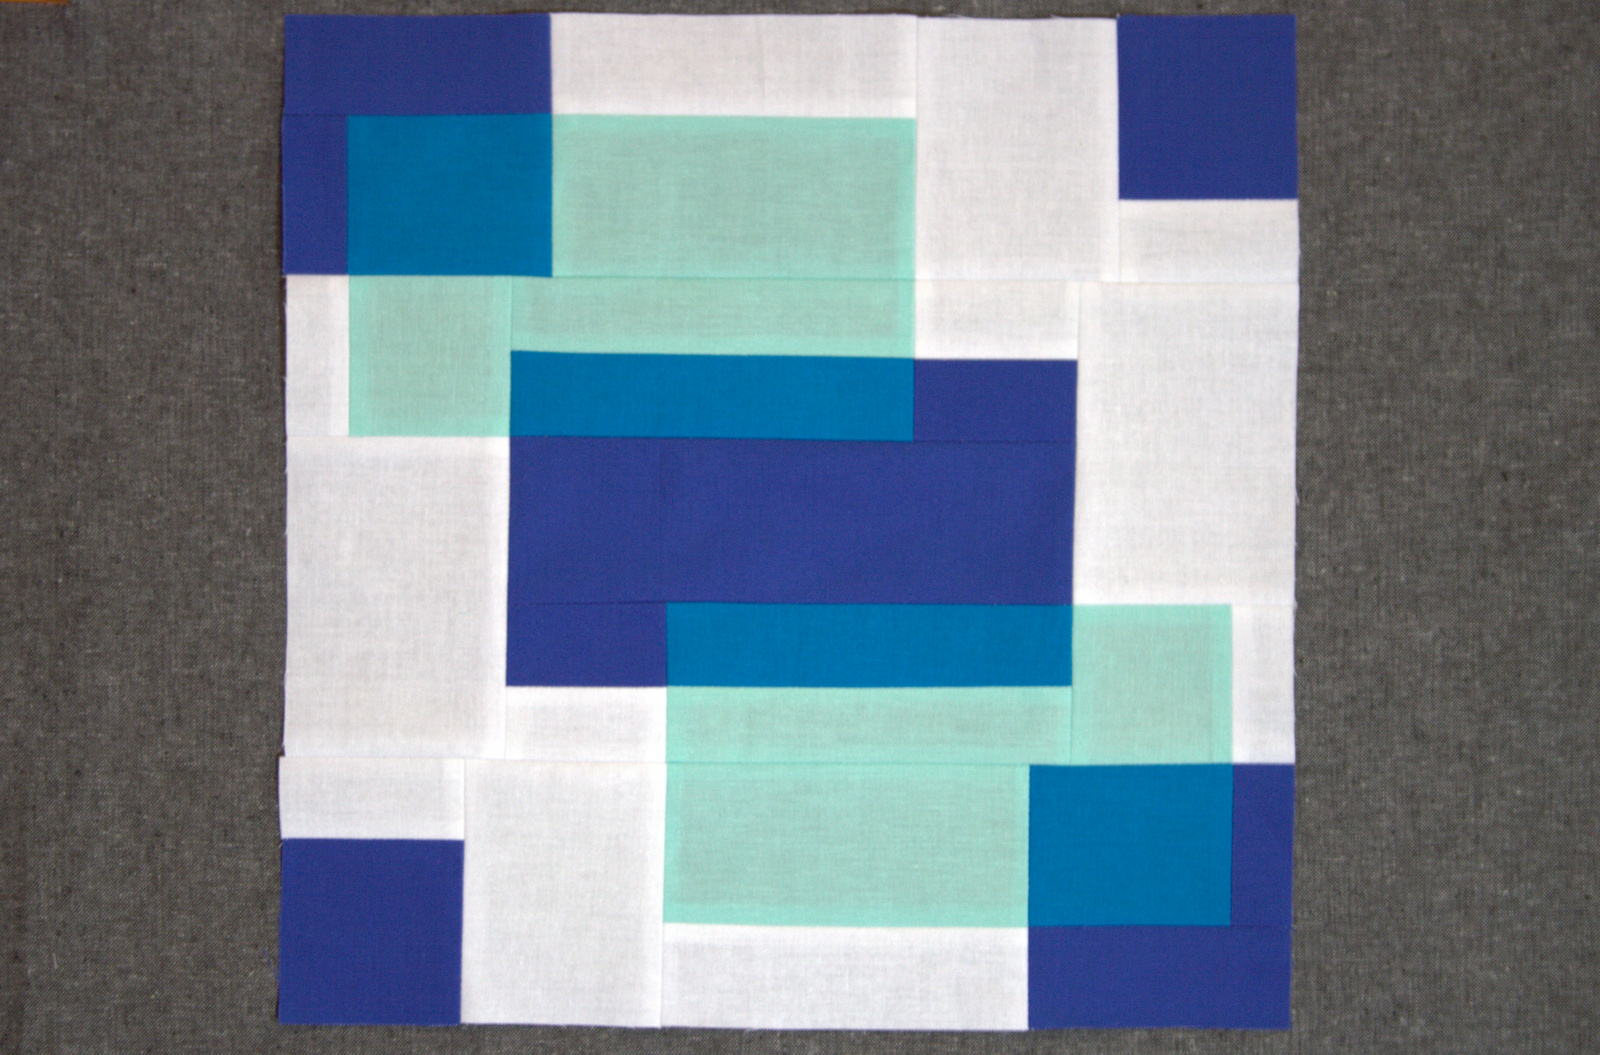
 Ta-da! You have a kaleidoscope block. Make 9 total.
 Feel free to chain piece these blocks, but have your layout photo handy. Lay out your pieces and confirm arrangement before sewing each step.
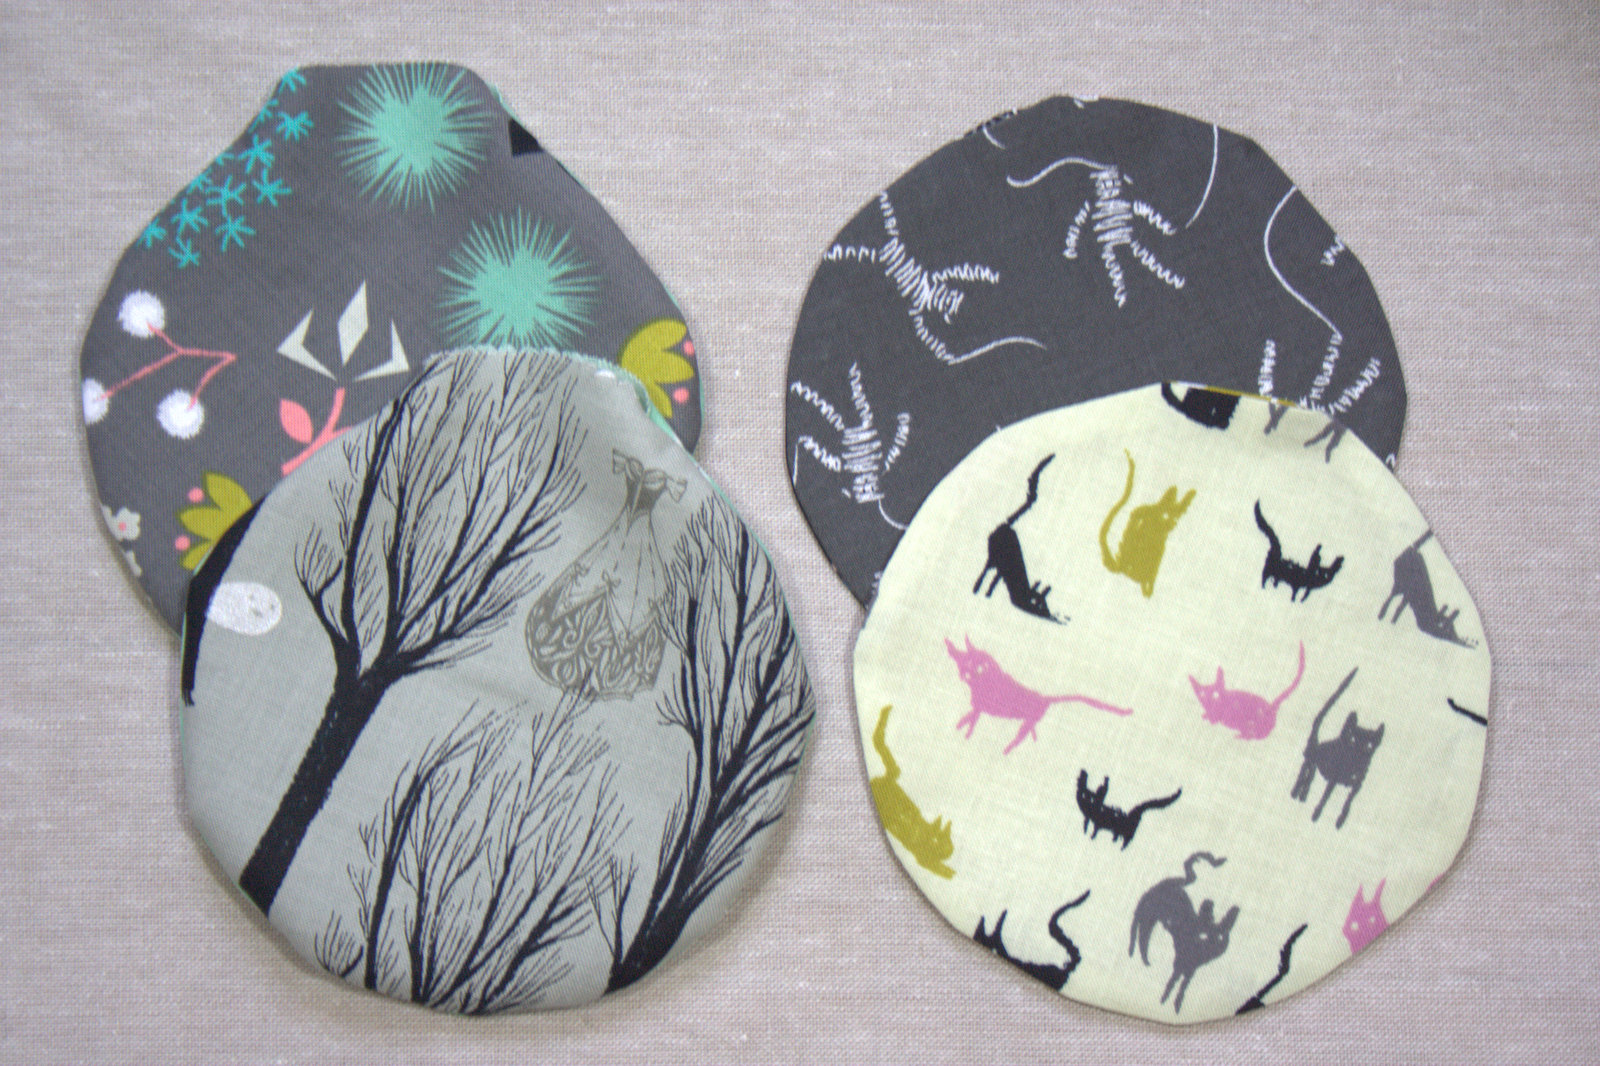
 Arrange your blocks as desired. Double check that all fabrics are in the proper place.
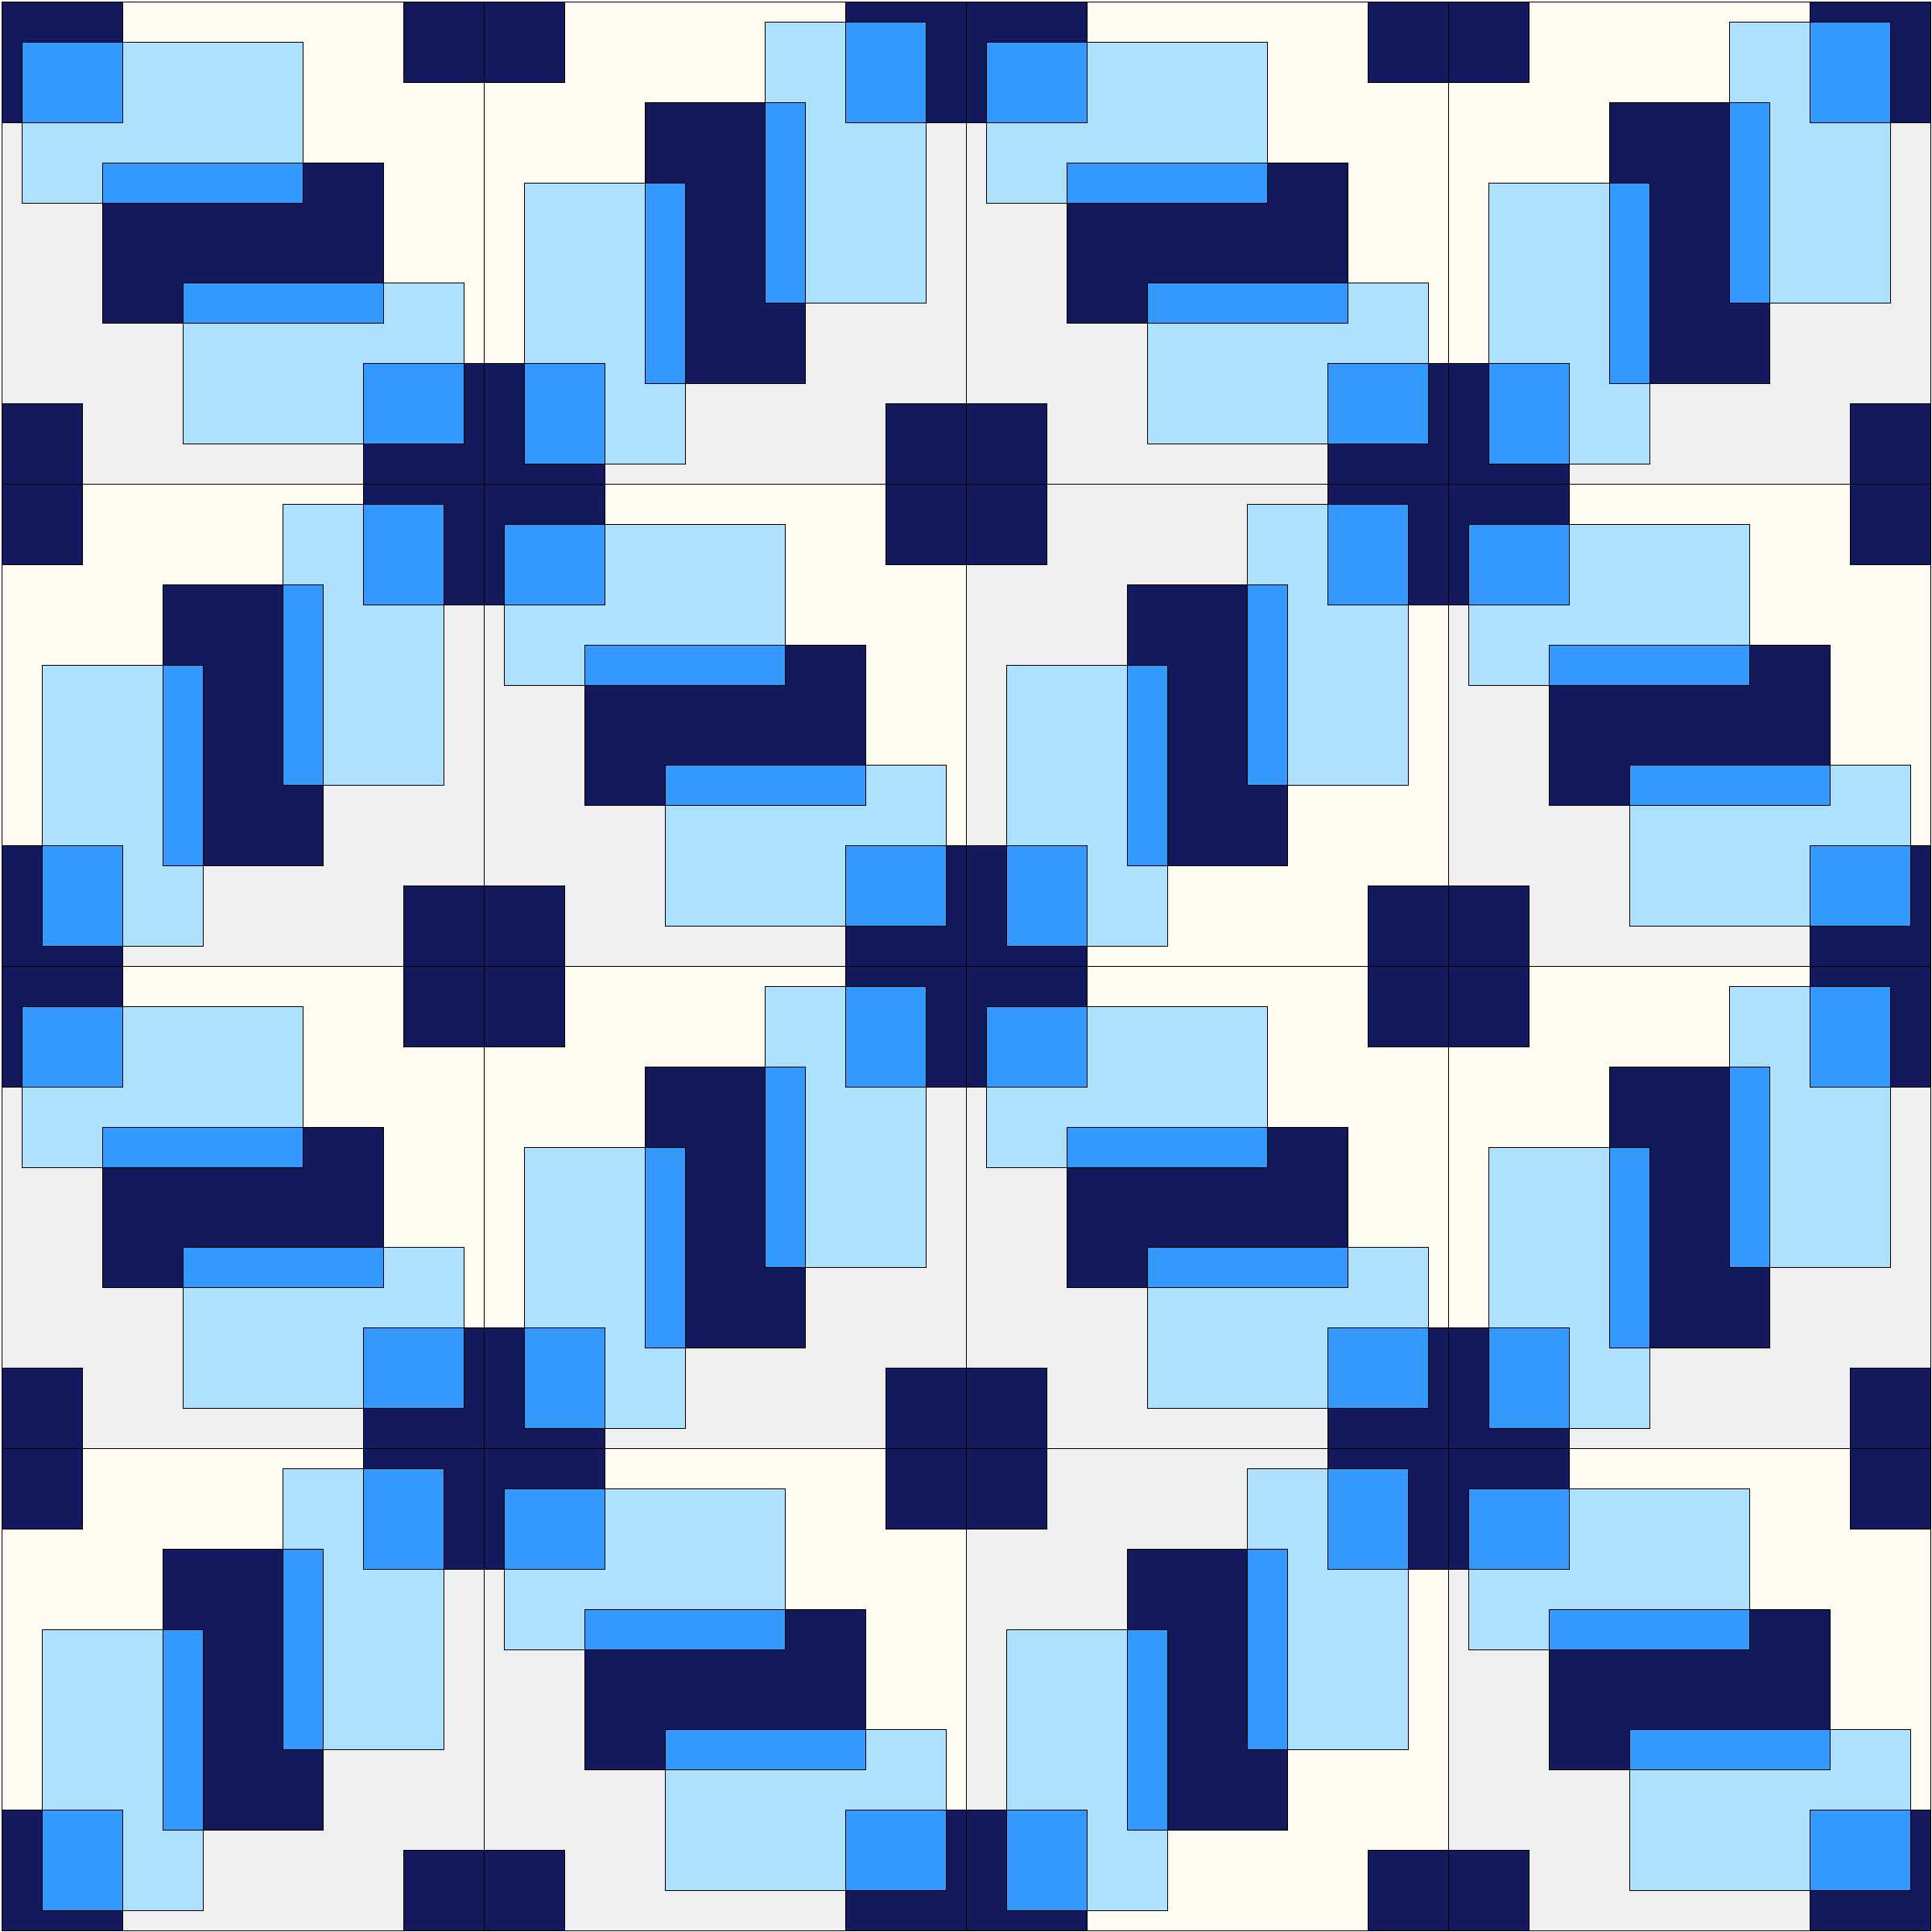
 Then sew the blocks in each row together. Finally, sew the three rows together to complete the pillow top.
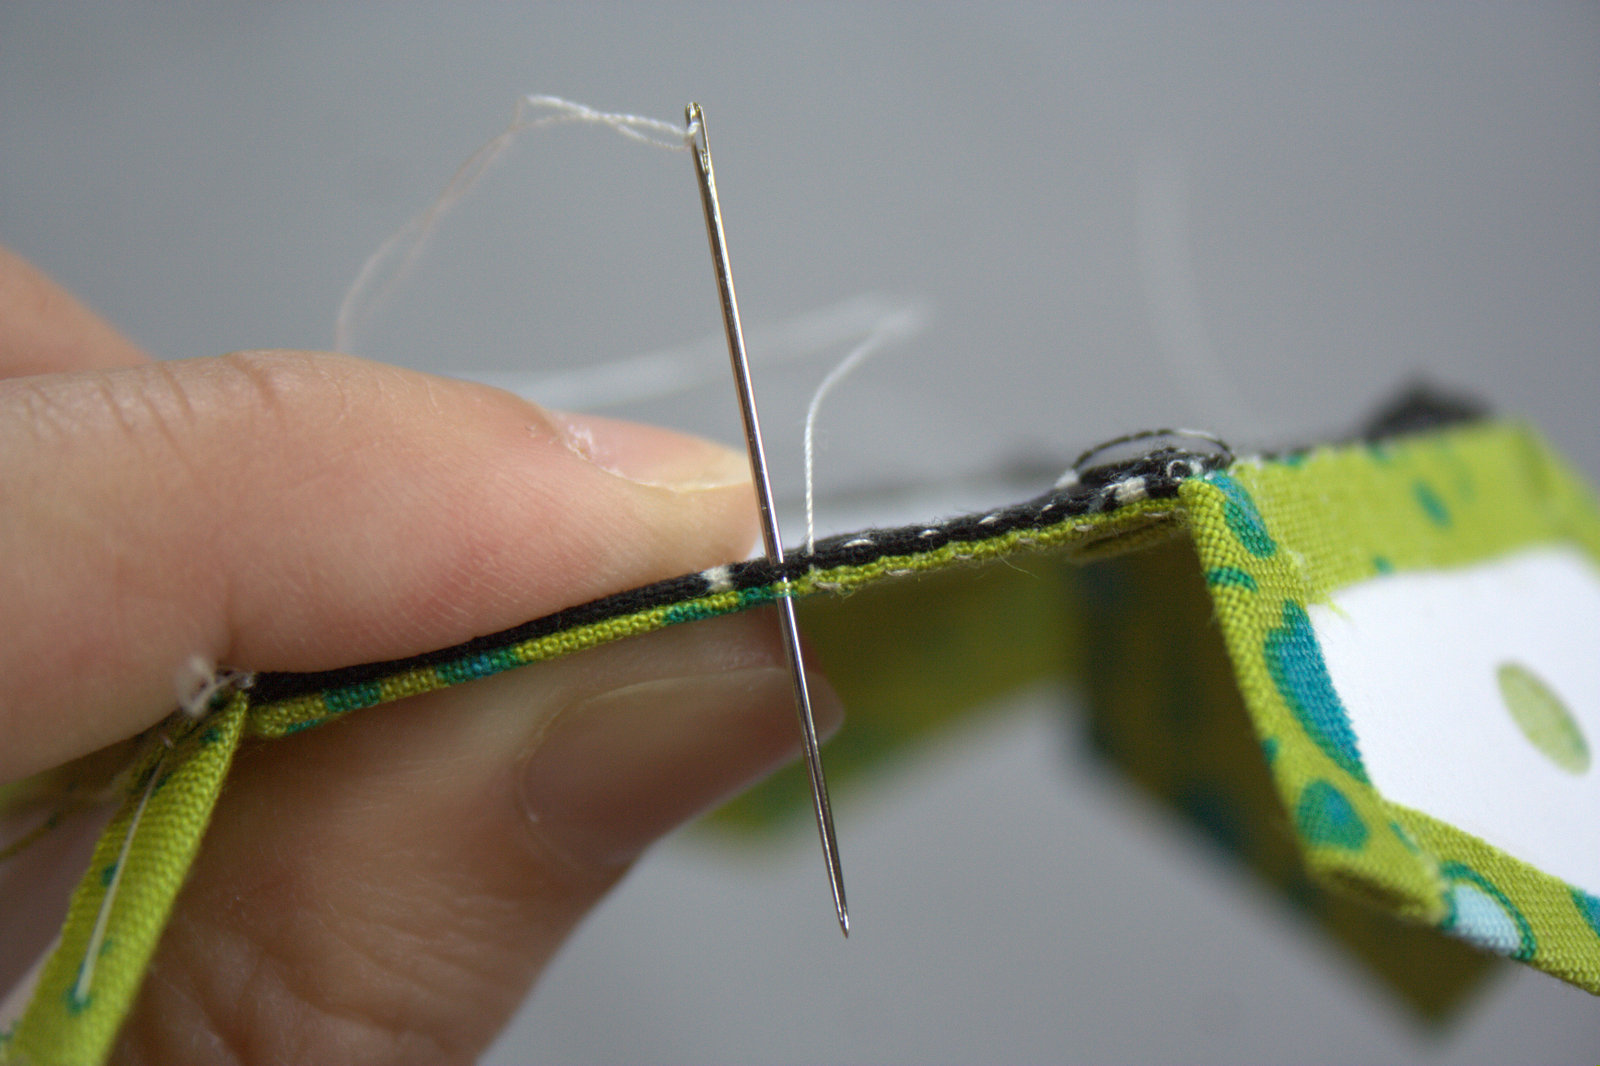
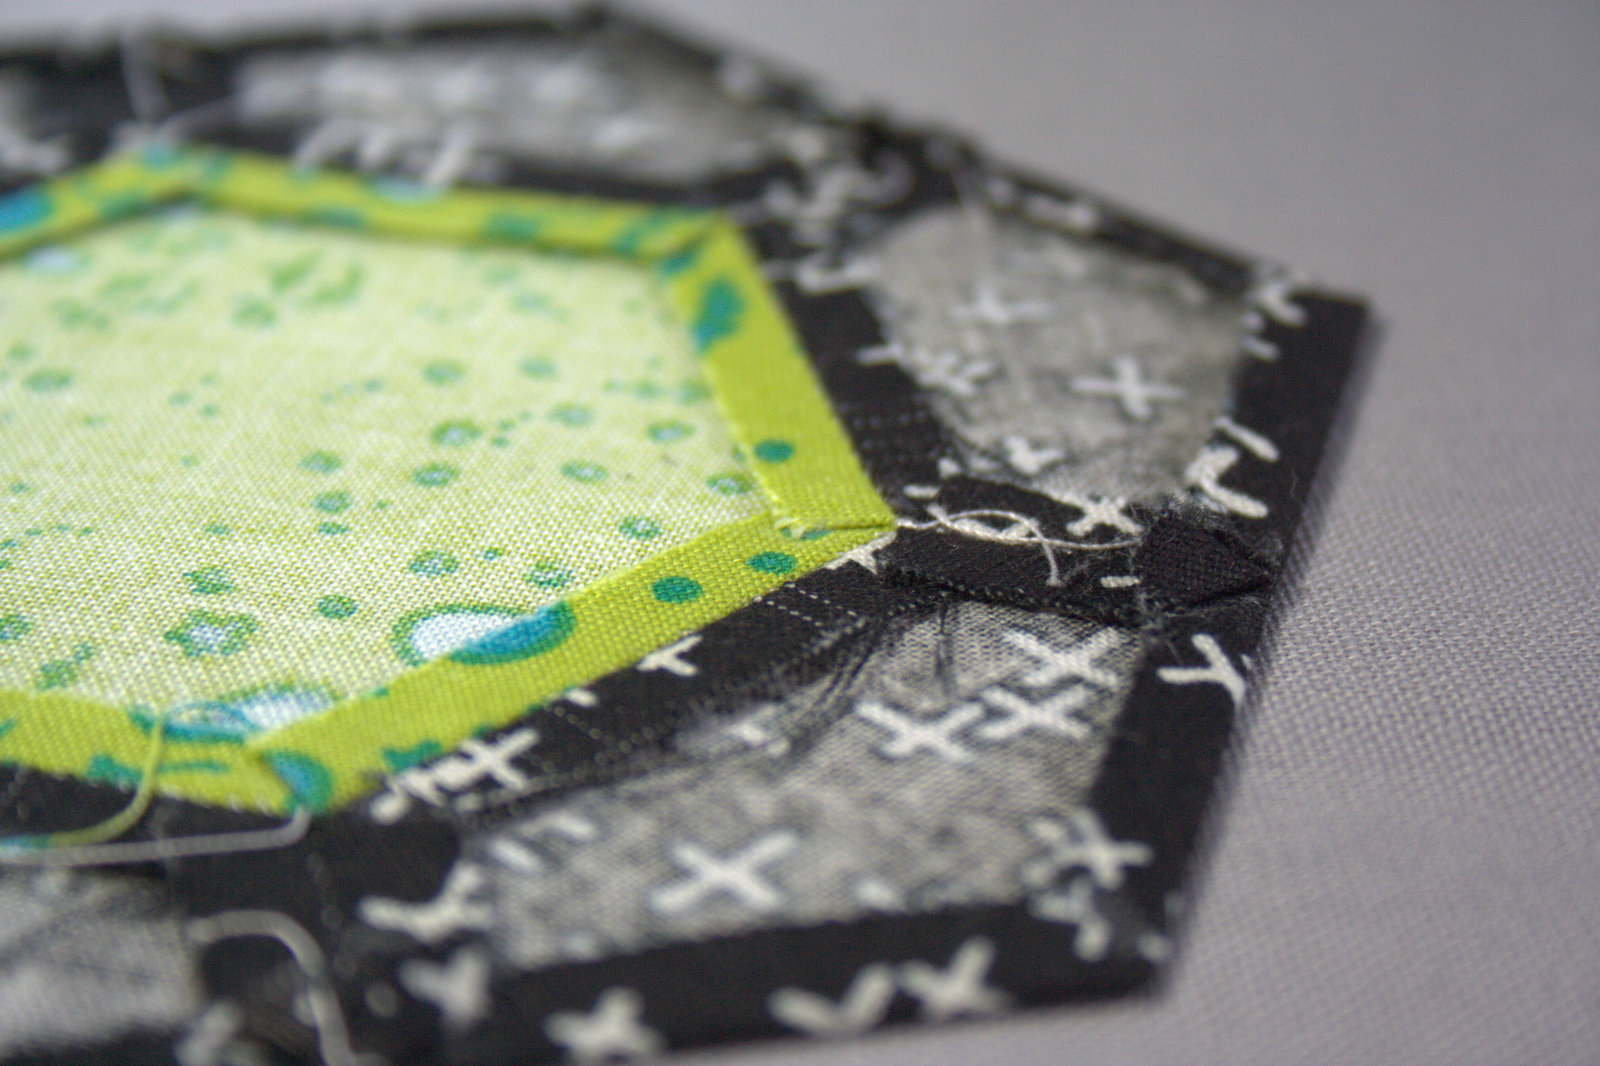
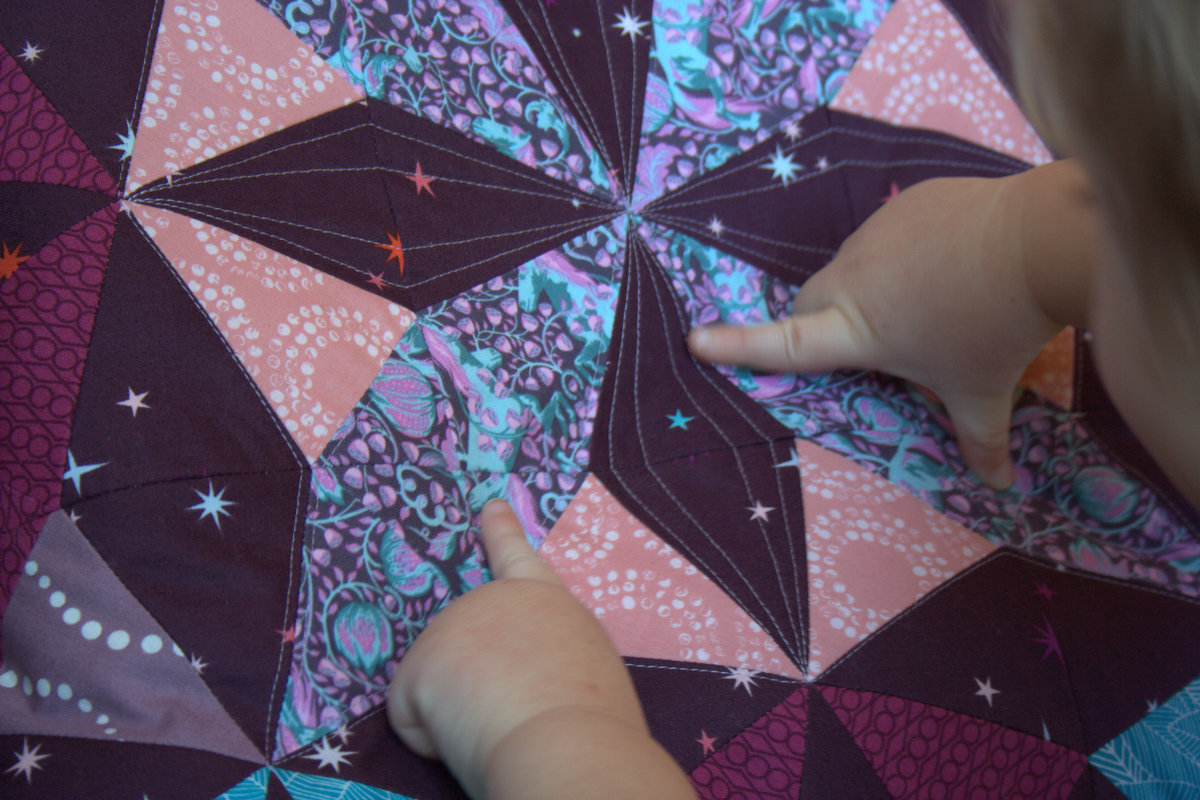
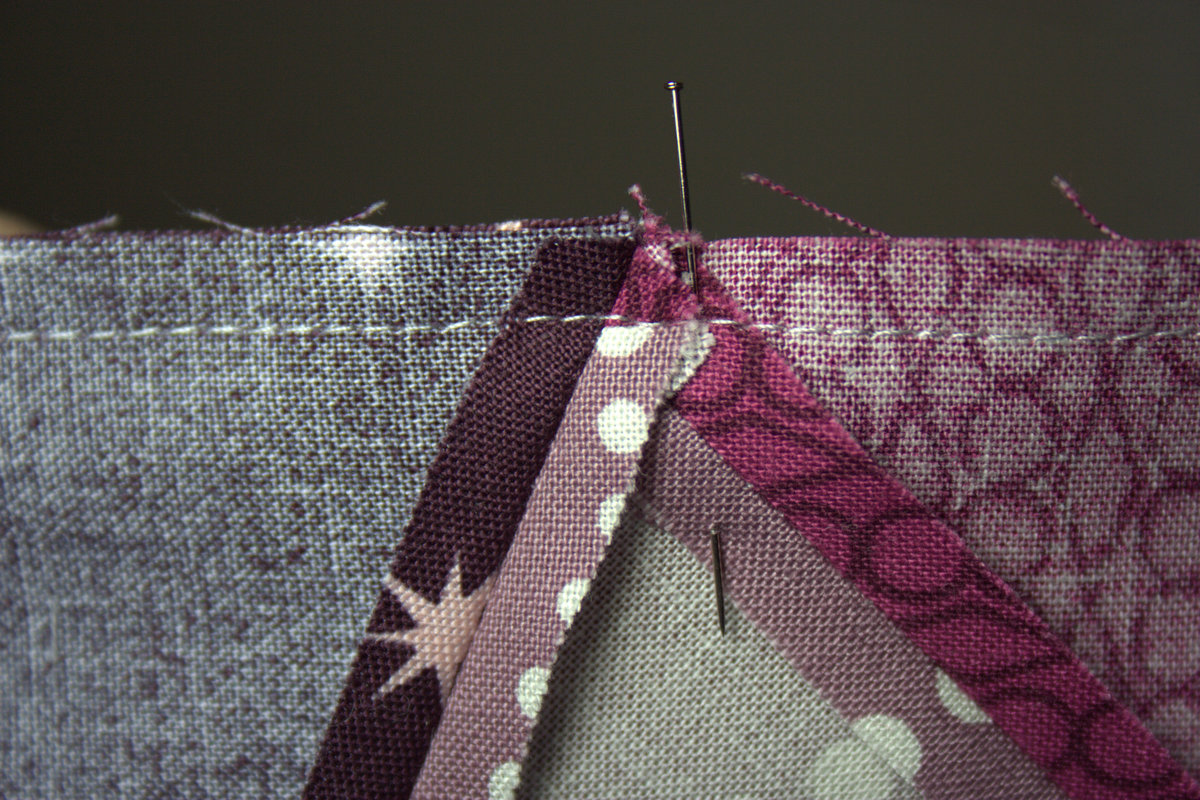 I love how the notches cut by the Sizzix help with every step of the piecing process–from piecing to matching points in the final assembly. When joining your rows, you can use the seam line as a guide to make sure you don’t lose any points.
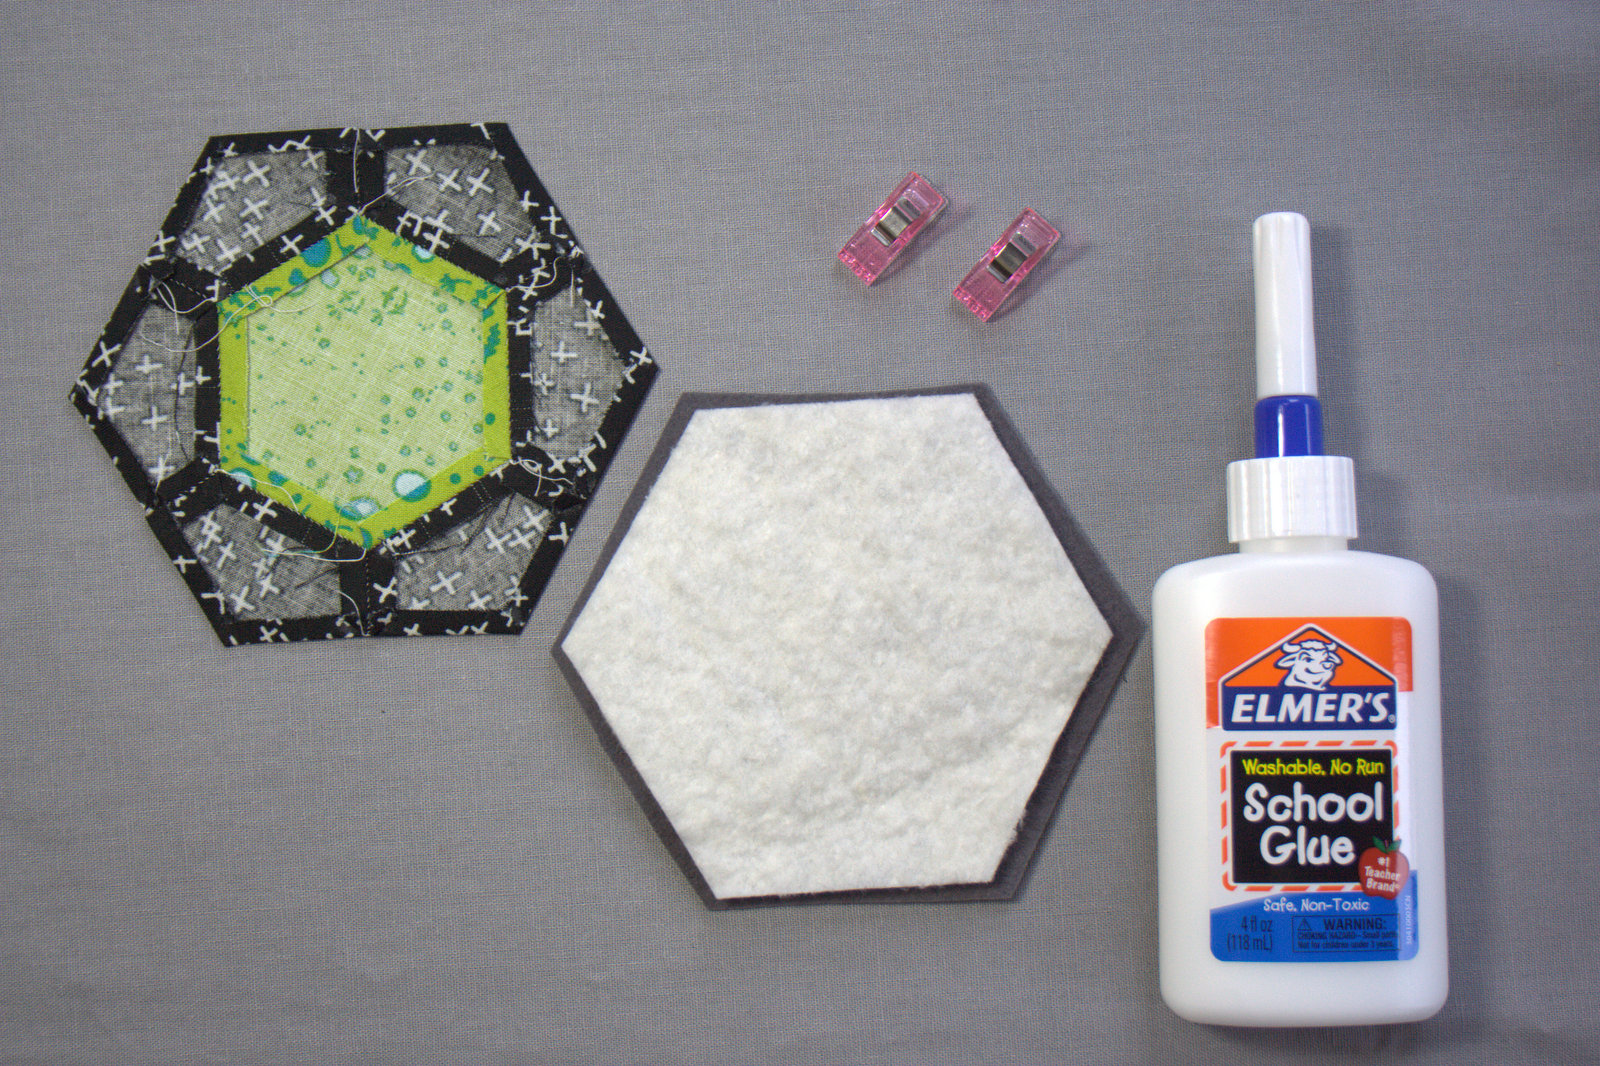
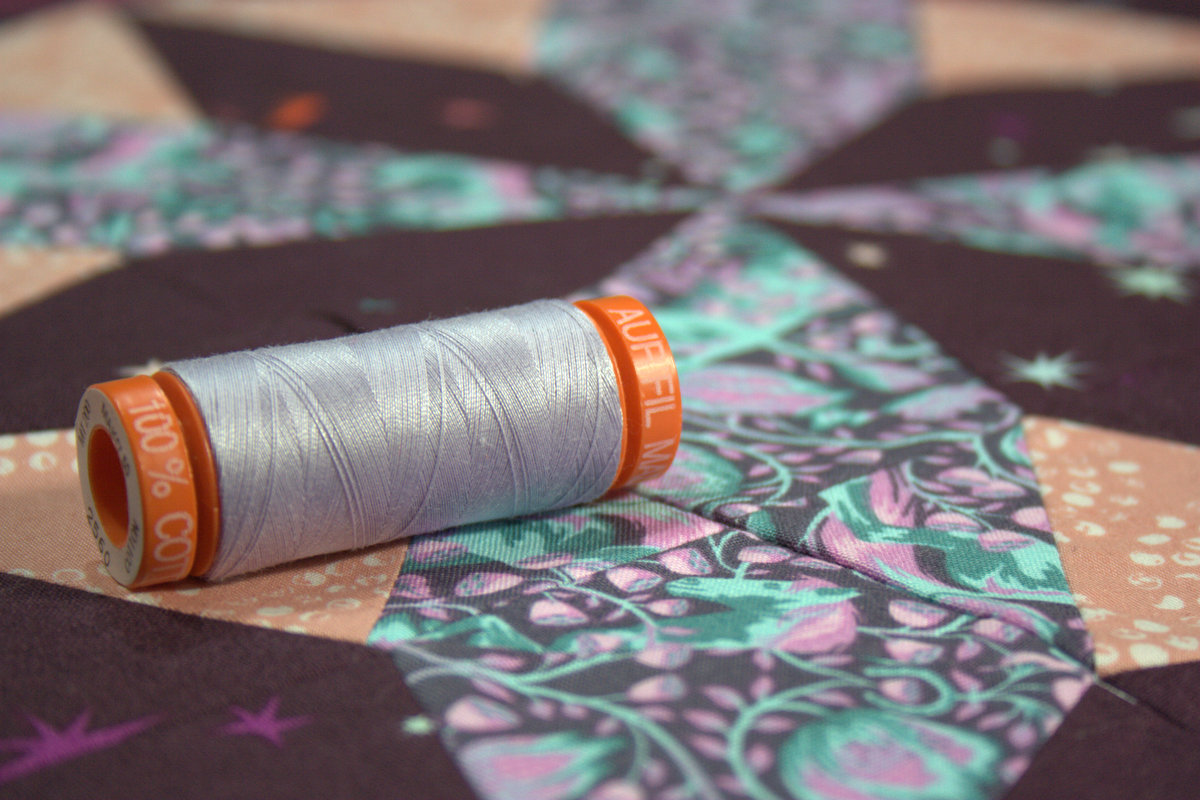 Once your kaleidoscope pillow top is complete, baste it to a 20″x20″ piece of batting (or fuse to fusible fleece), find some coordinating thread and quilt as desired. I used Aurifil 50wt 2560-Iris since it was a nice gentle purple and matched my light colors while providing great contrast with the dark background.
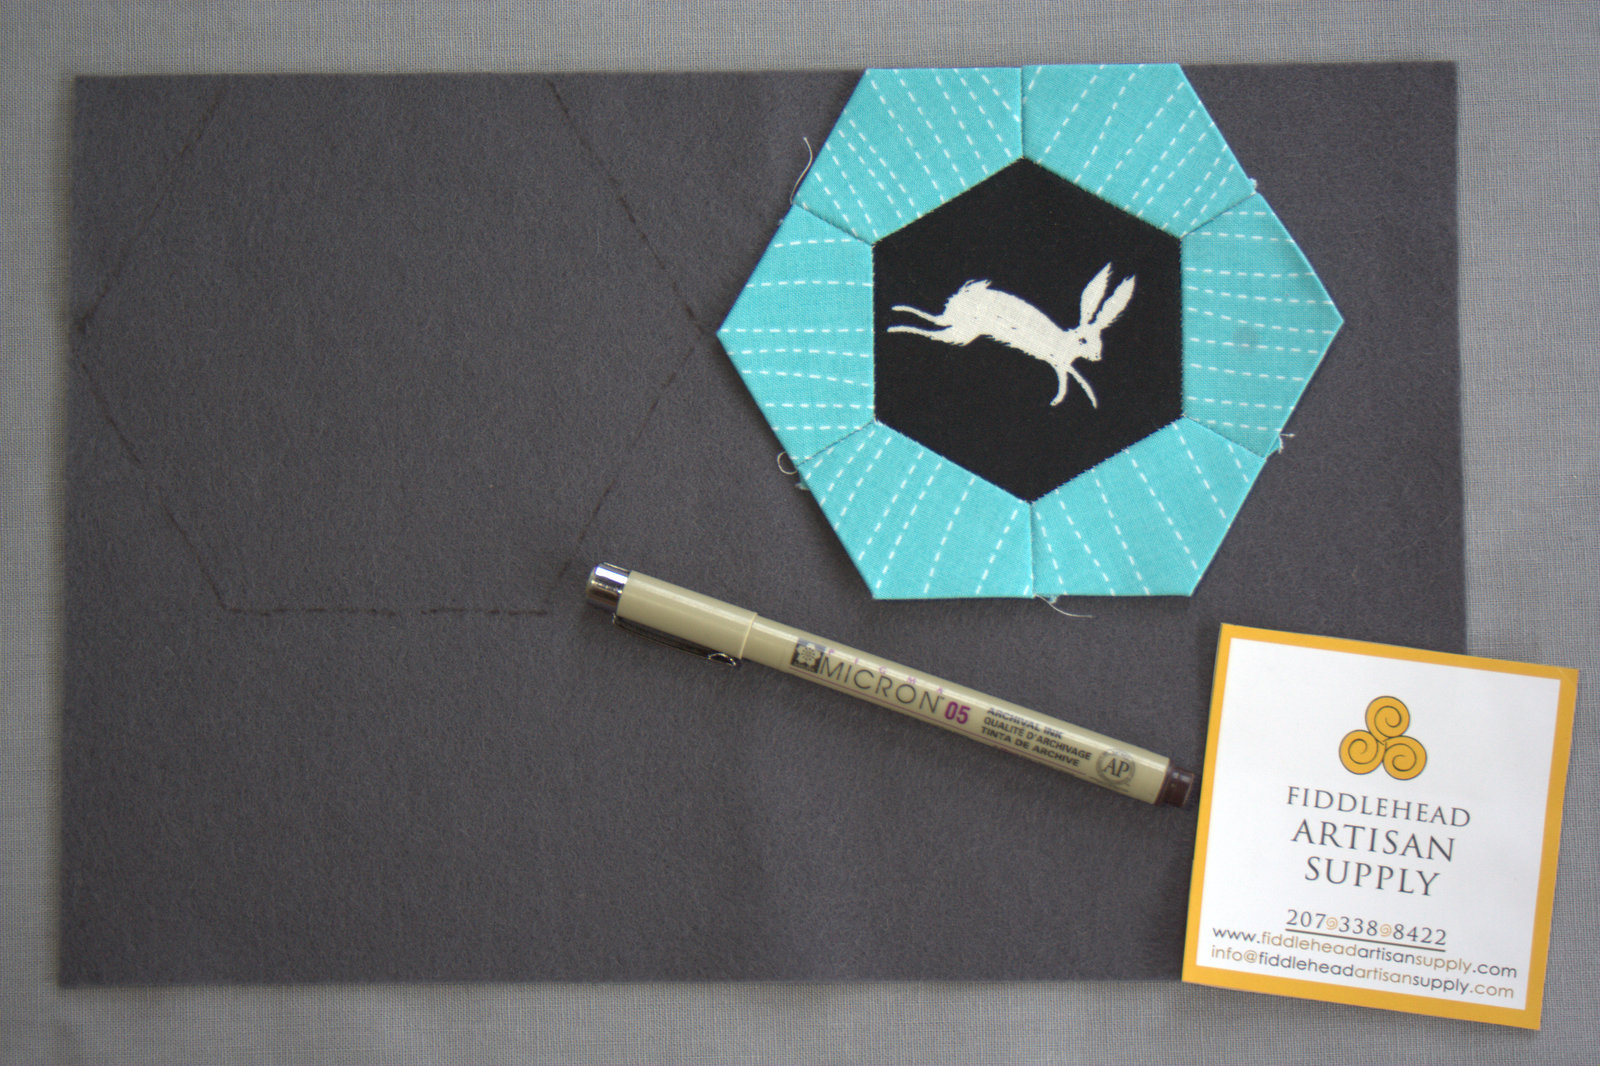
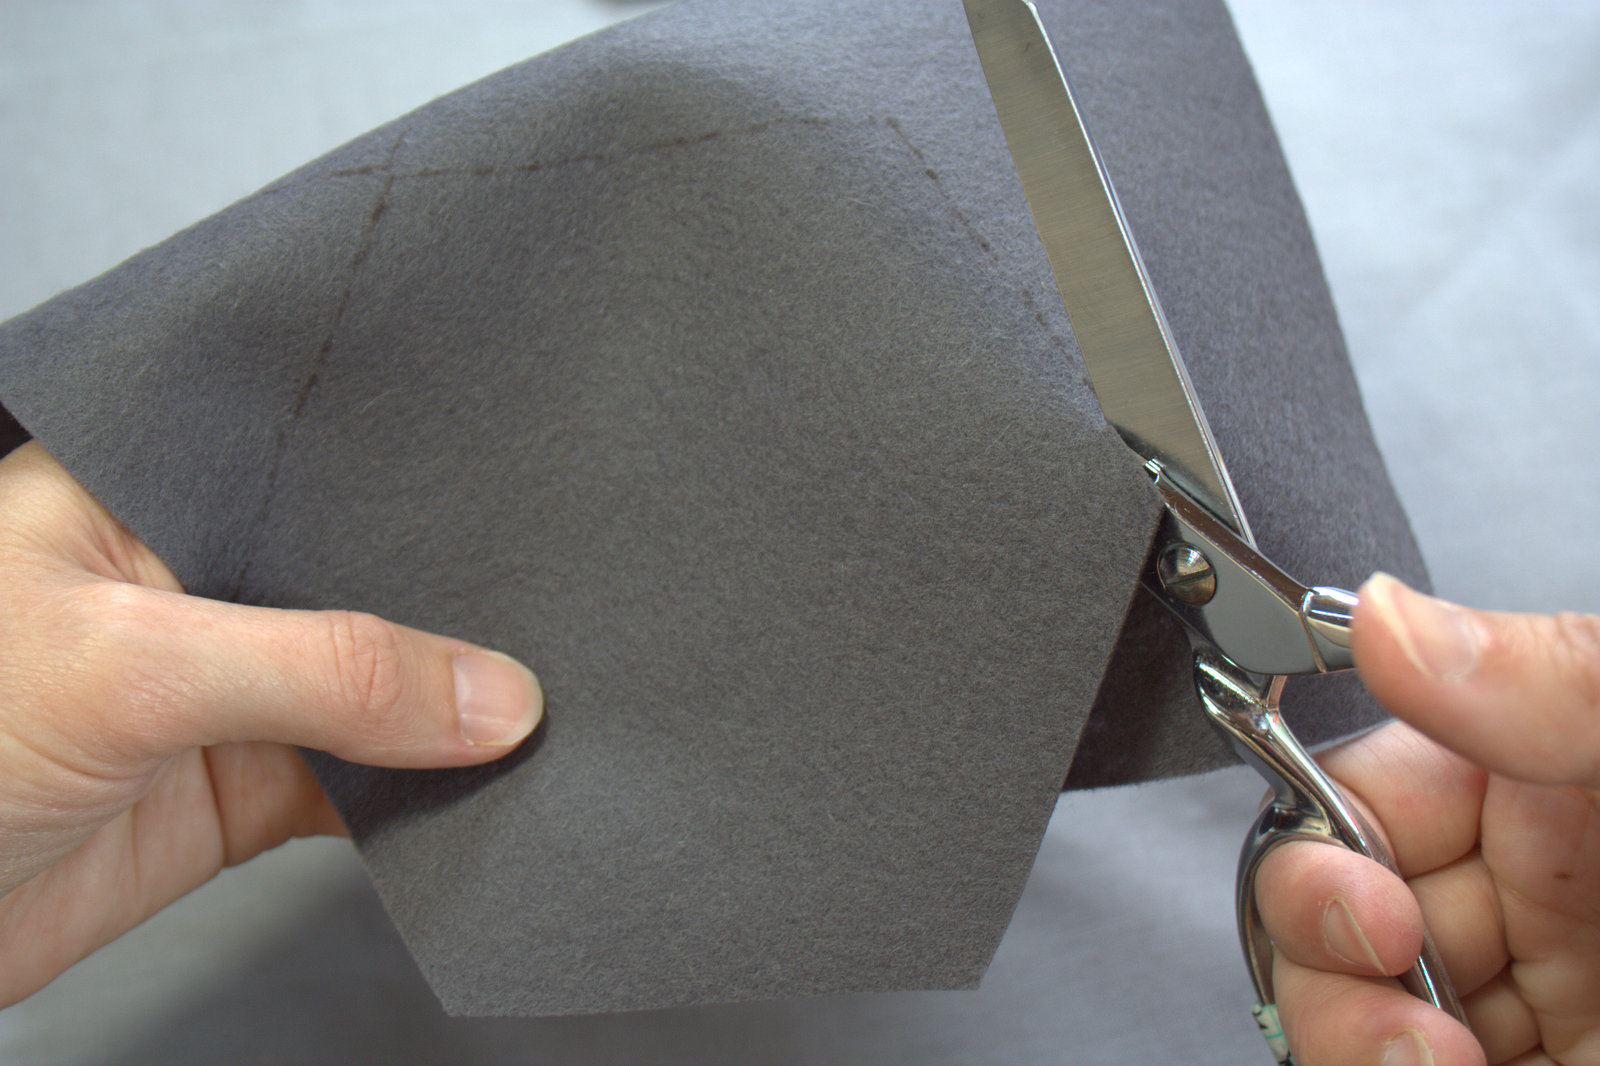
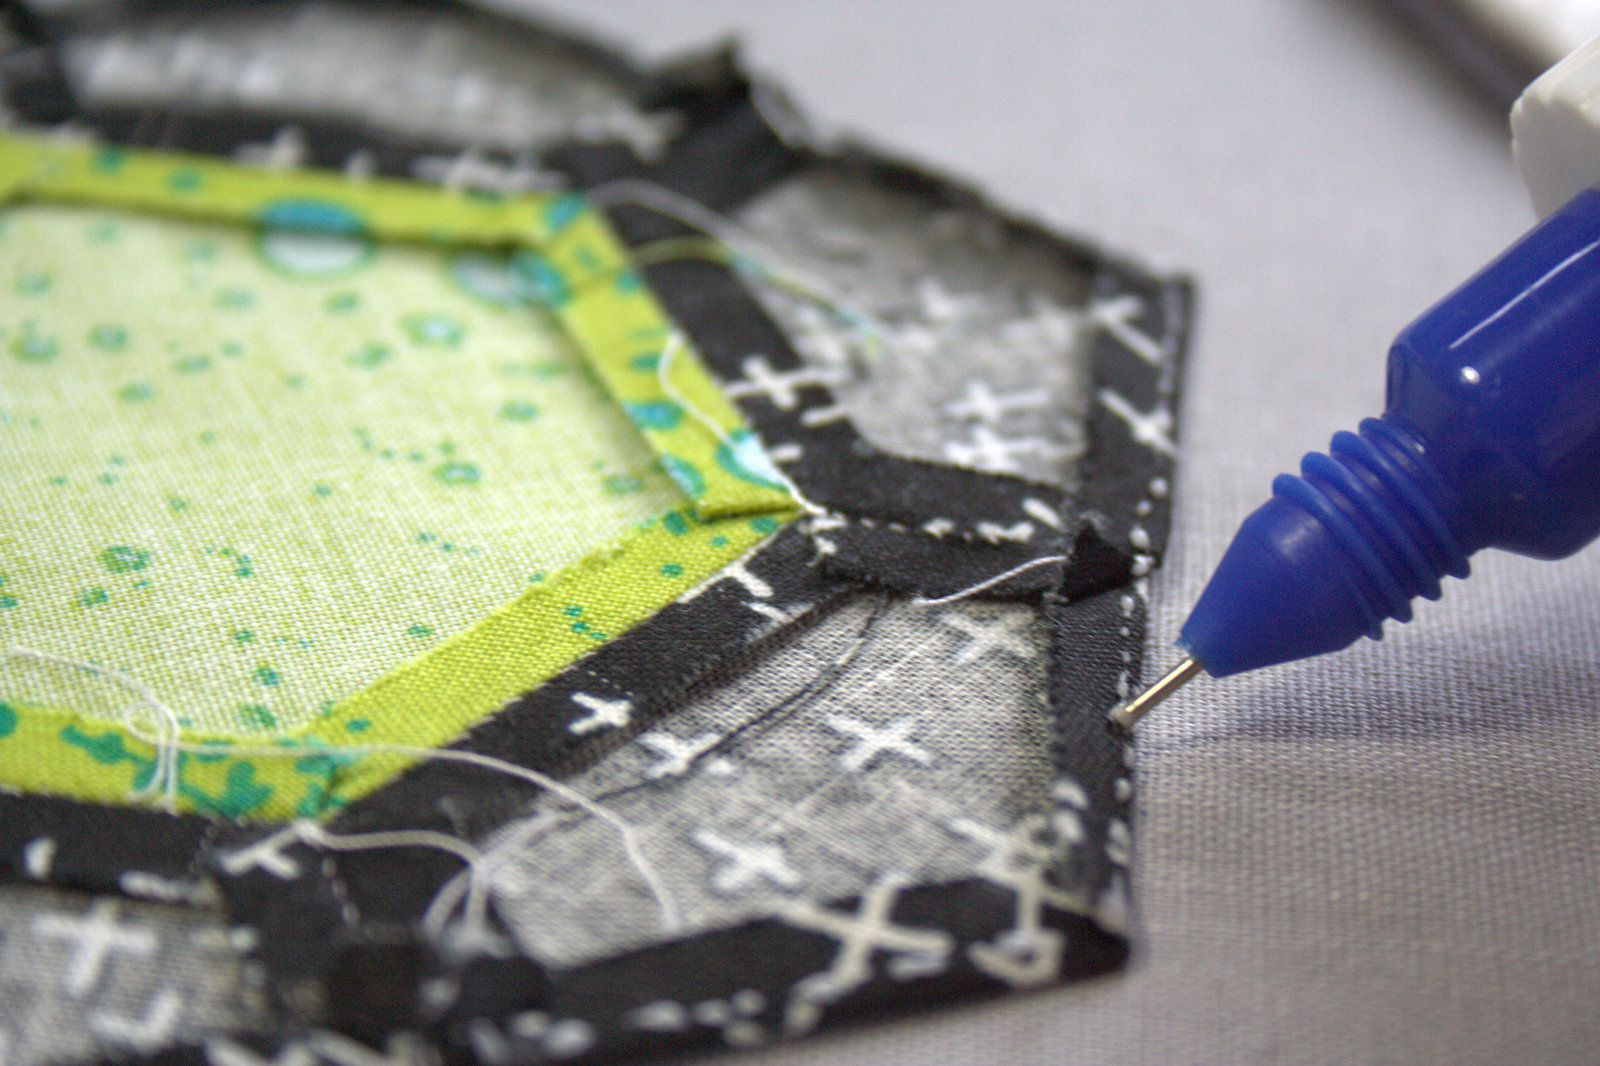
Once your pillow top is quilted, square it up with a rotary cutter, being sure to leave a 1/4″ seam allowance from the outermost points.
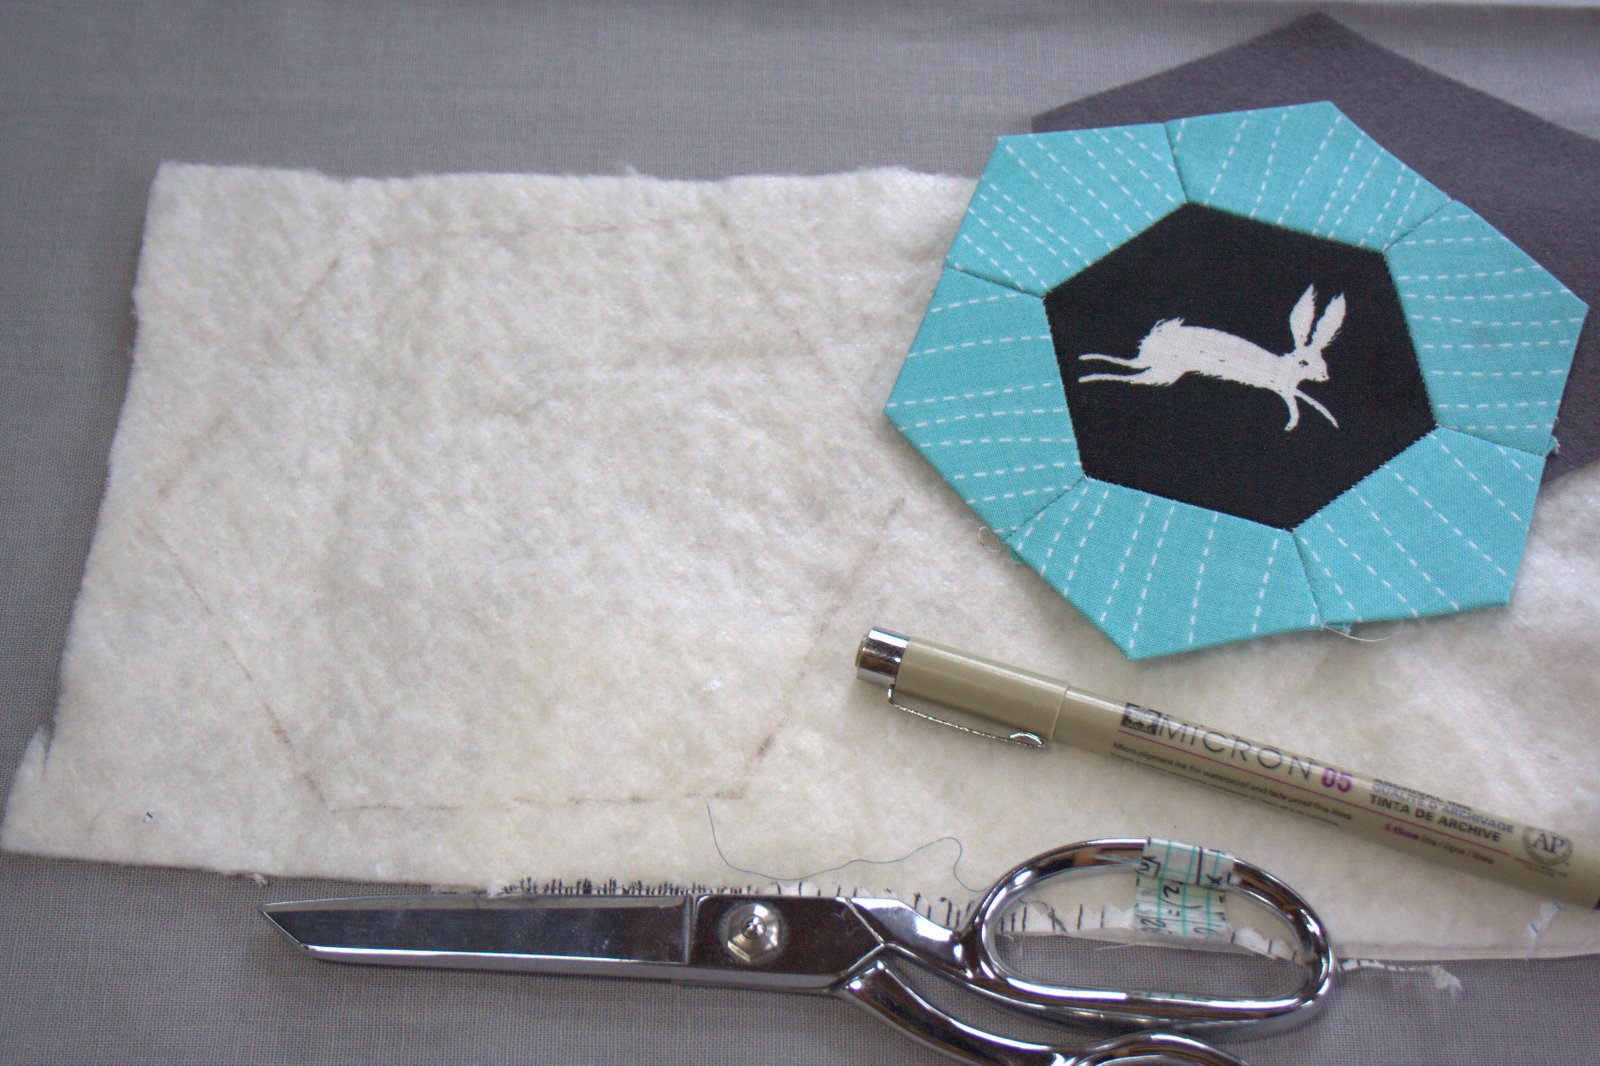
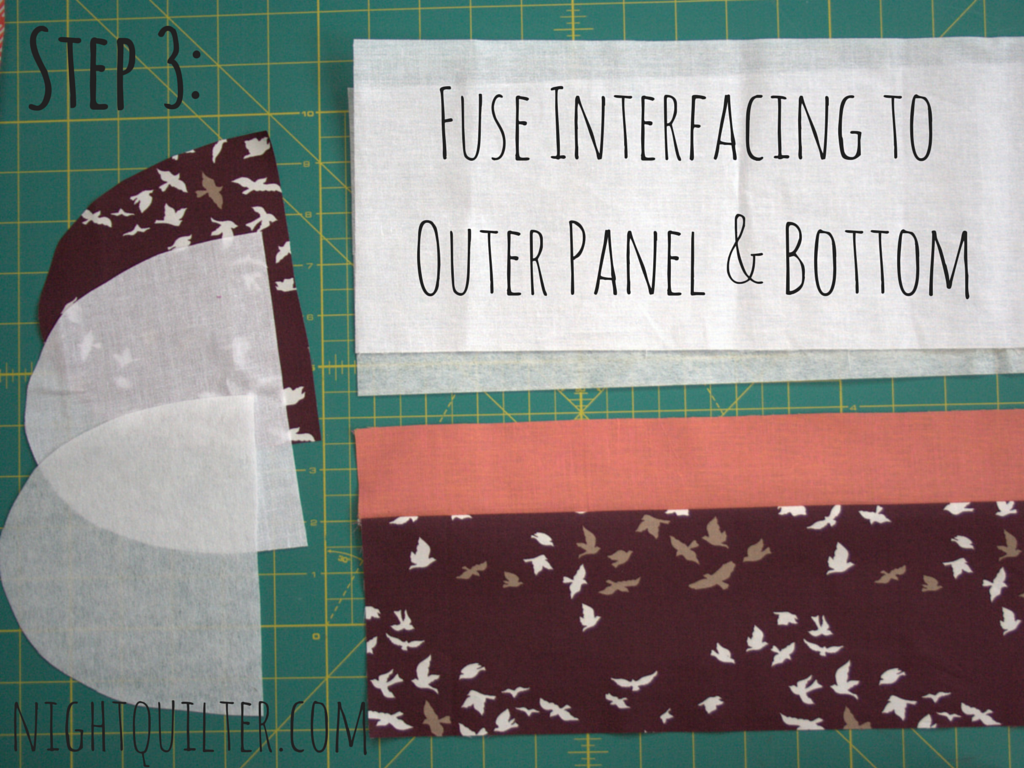
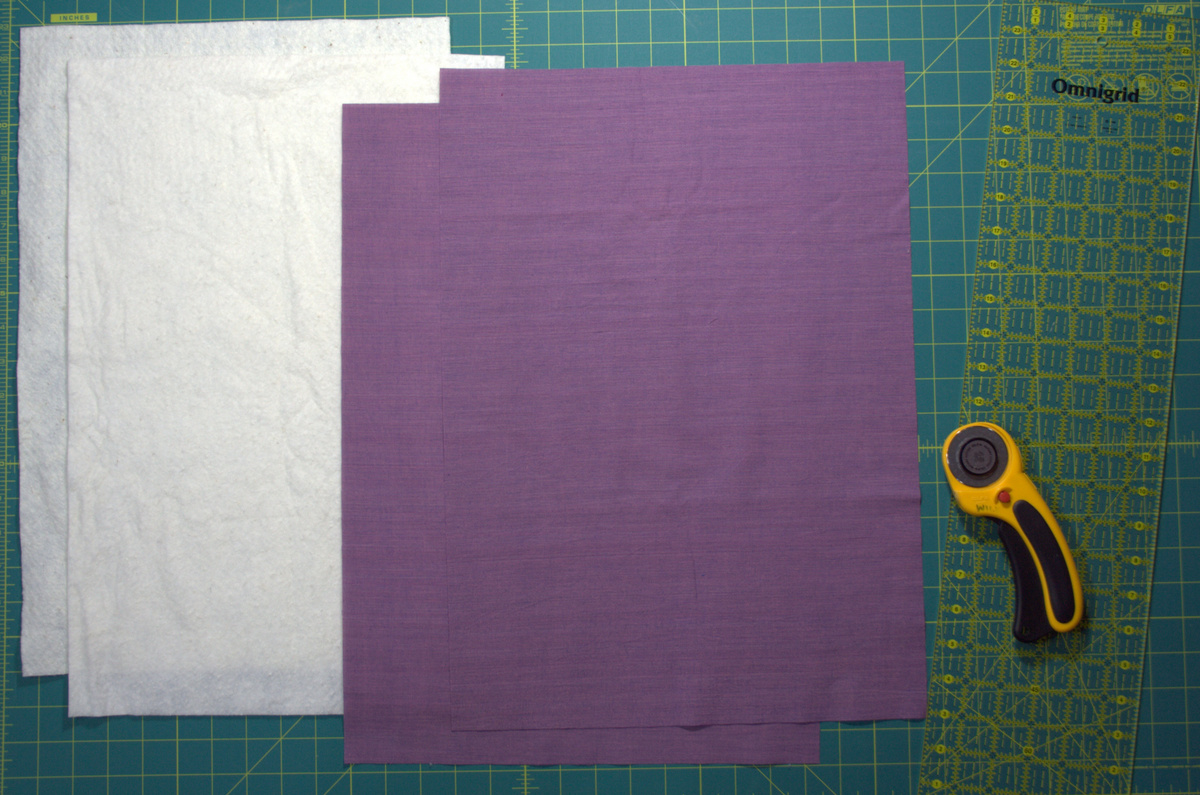 Next, we’ll make the pillow’s back panels. Cut two (2) pieces of 13 1/2″x19″ background fabric (my finished pillow top actually measured closer to 19″ than 18 1/2″ square. Adjust accordingly based on the measurement of your pillow) and two (2) pieces of 12 3/4″x19″ batting.
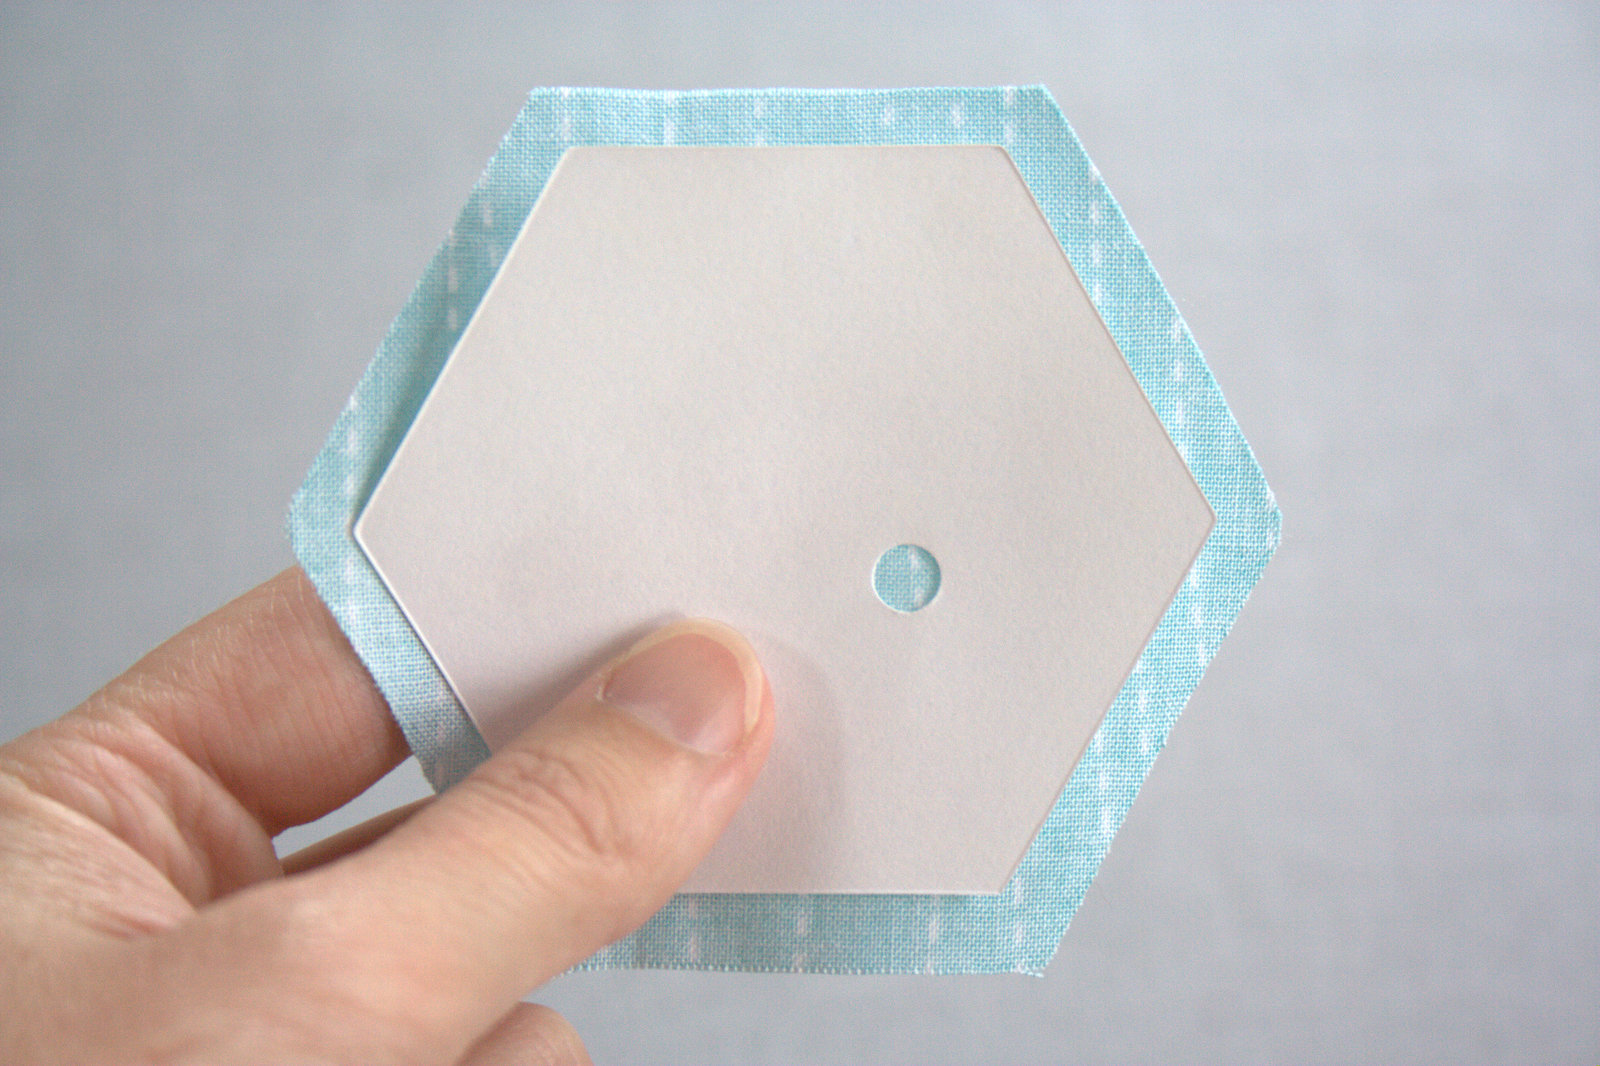
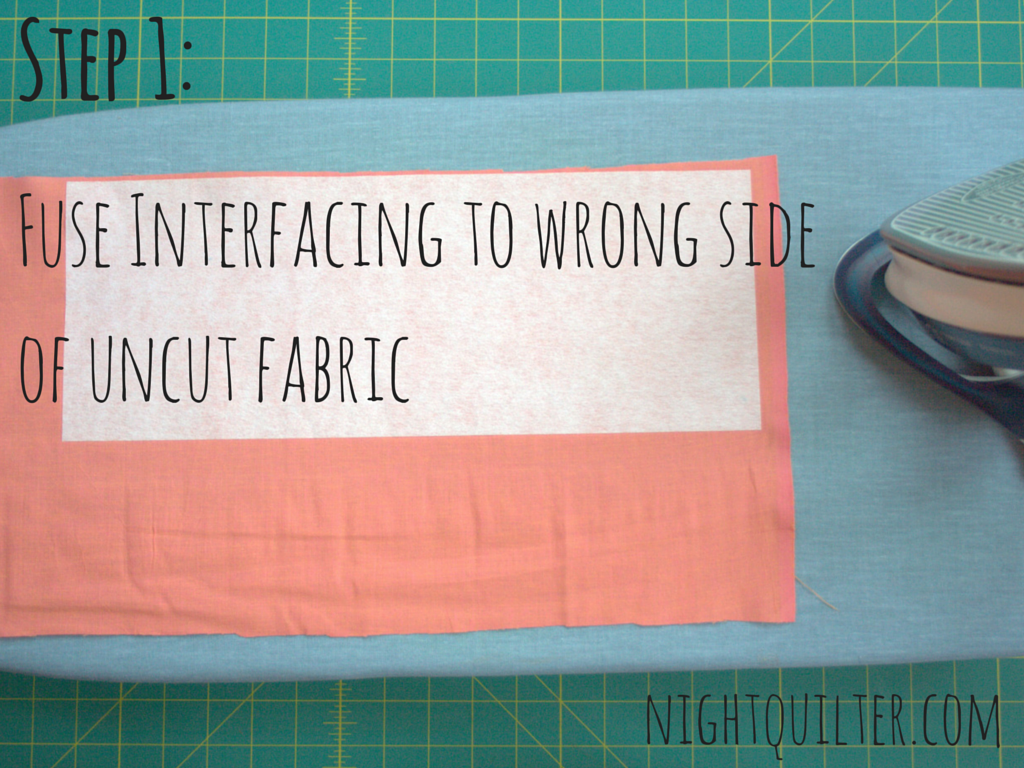
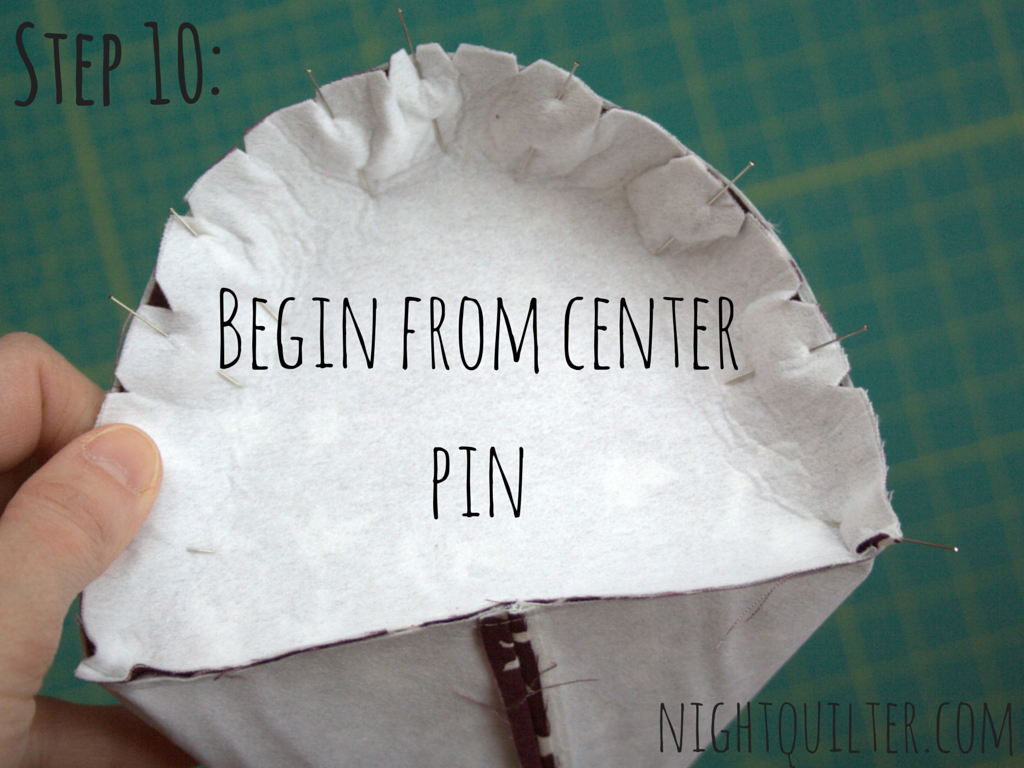
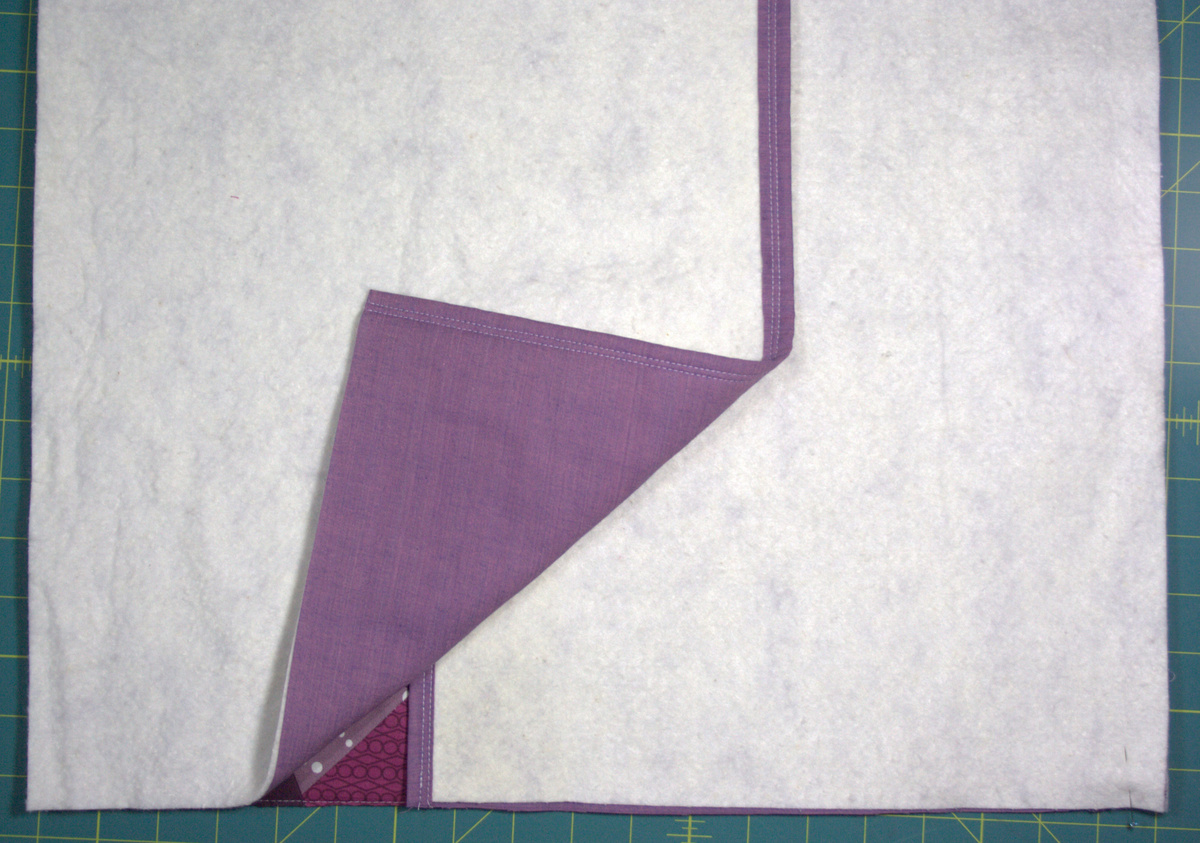
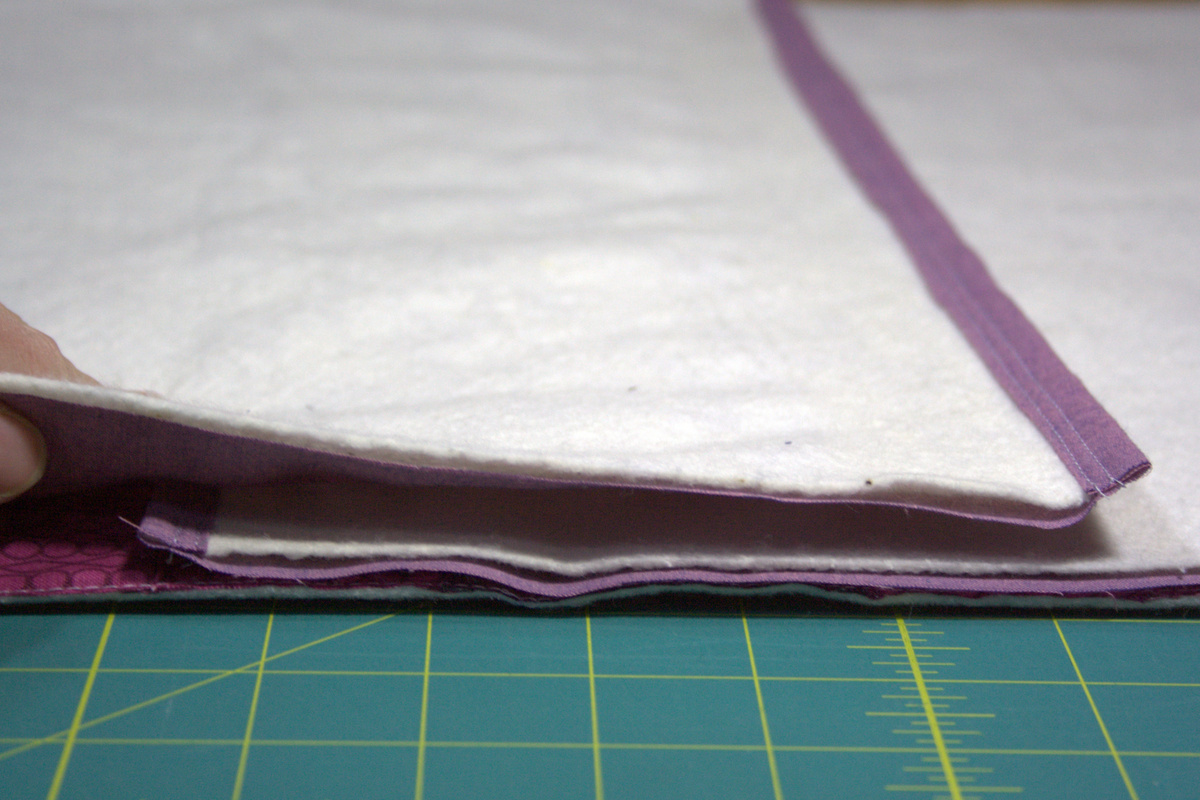
 Layer the backing panels wrong sides facing the batting, and lining up three edges. The backing fabric should extend about 3/4″ on one side.
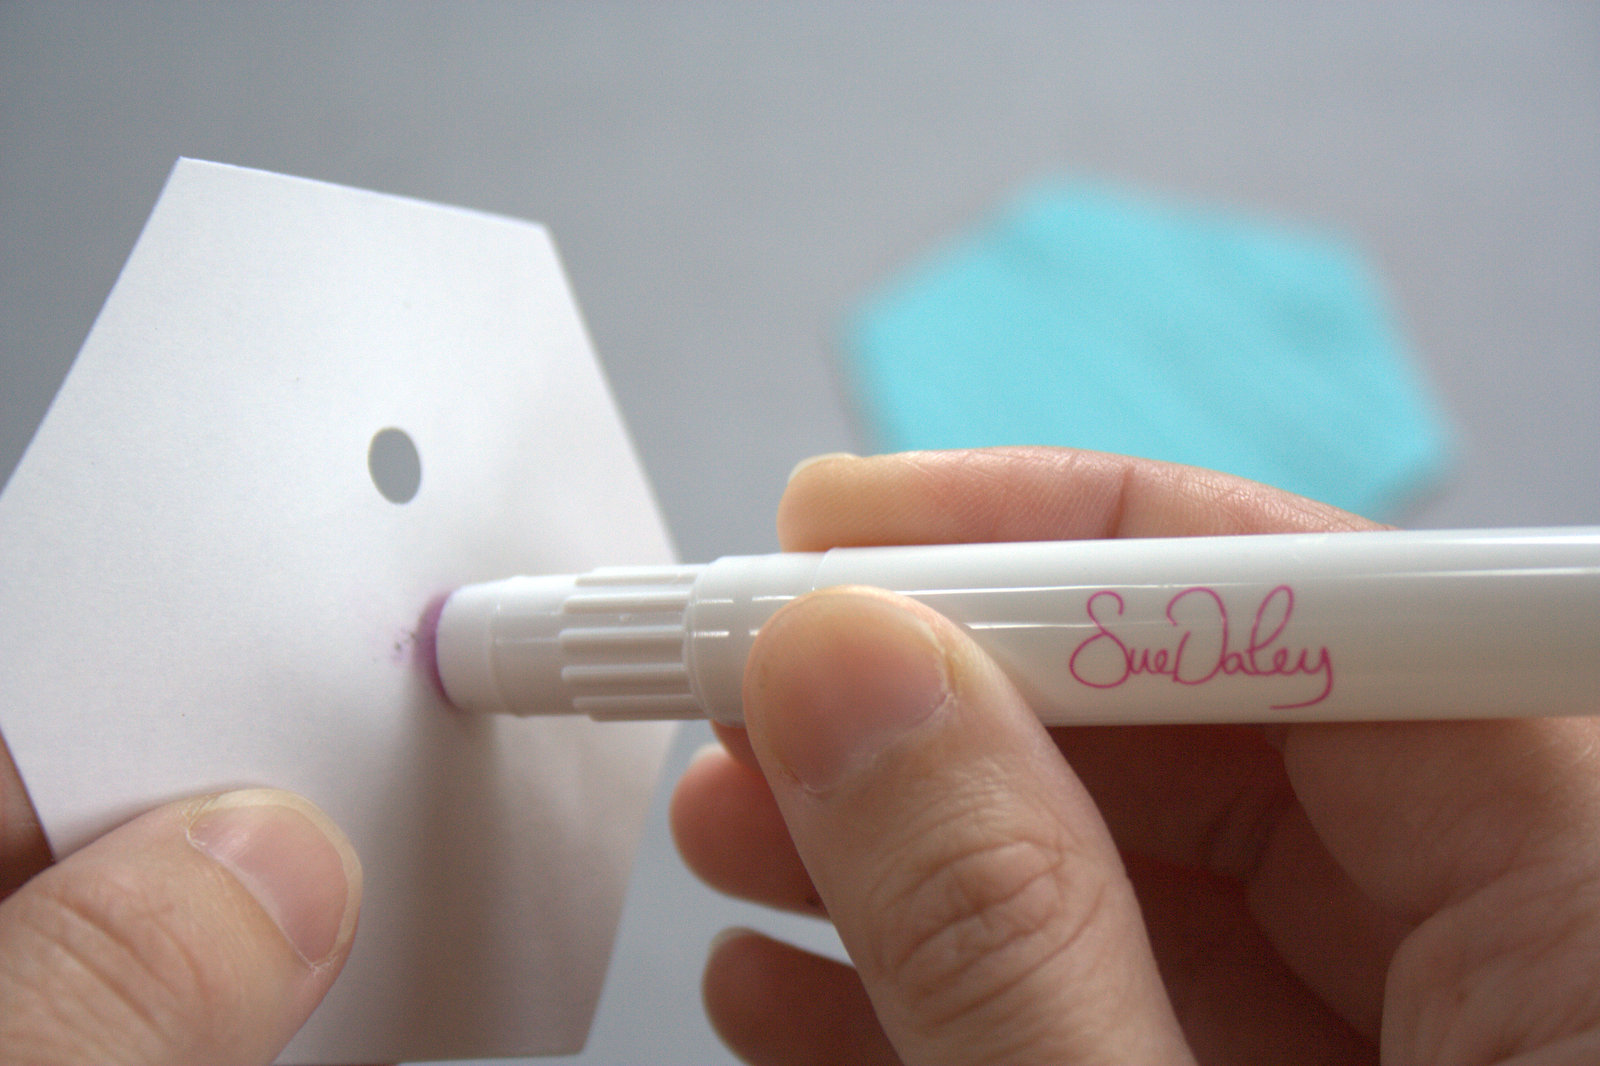
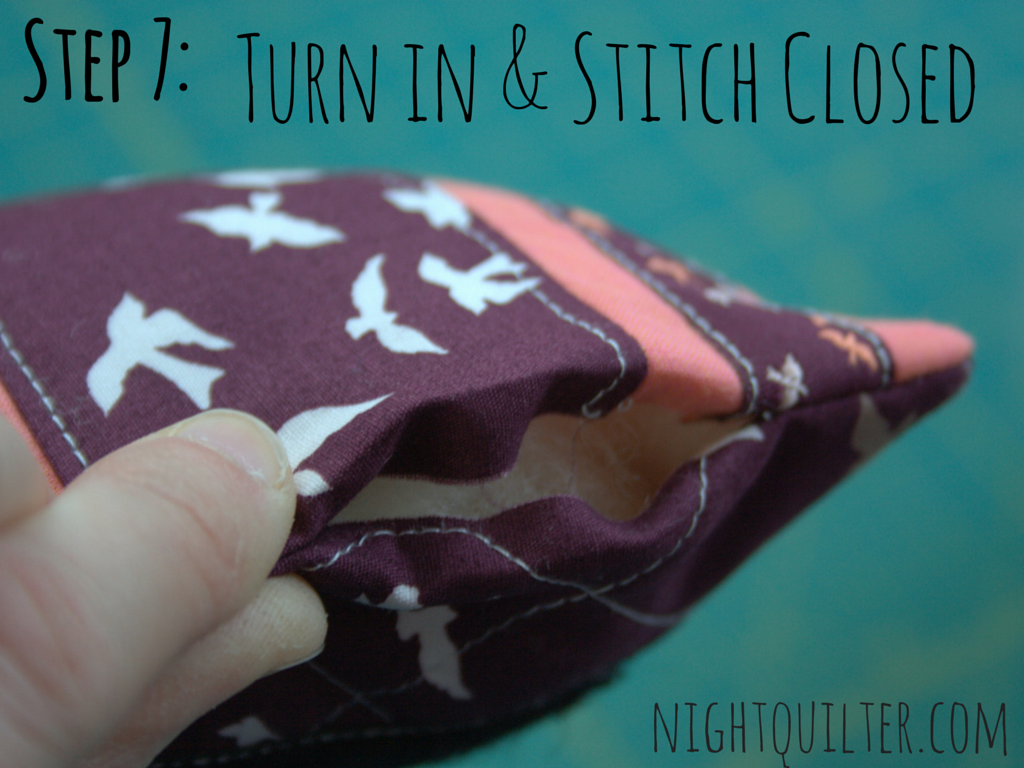
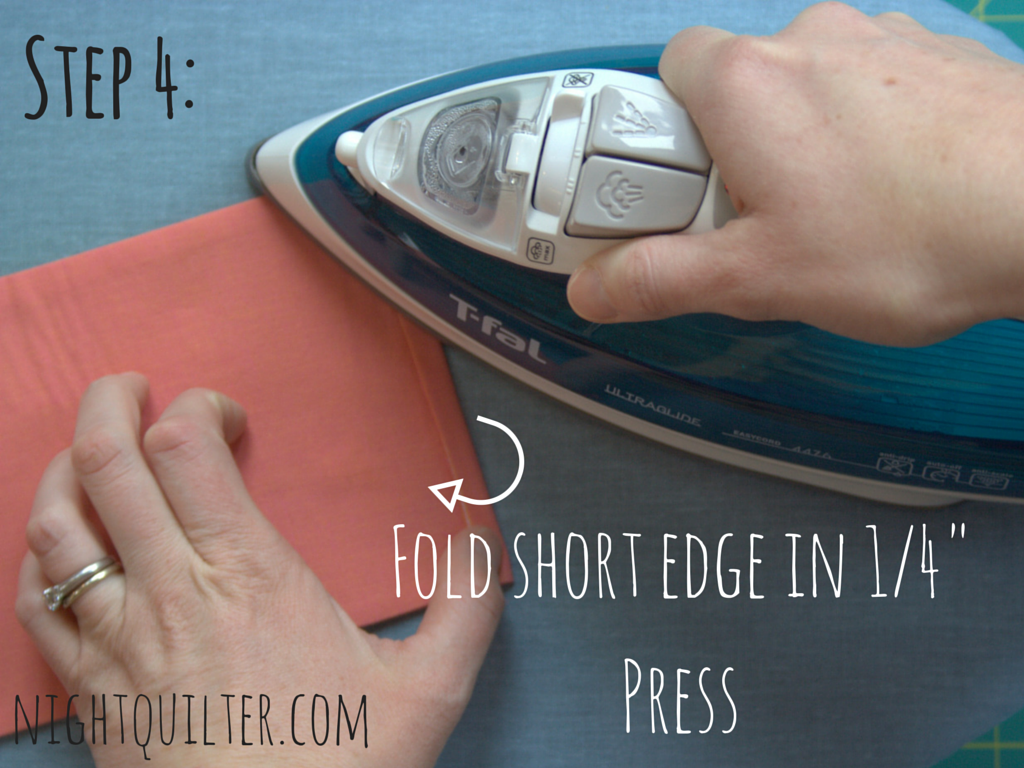
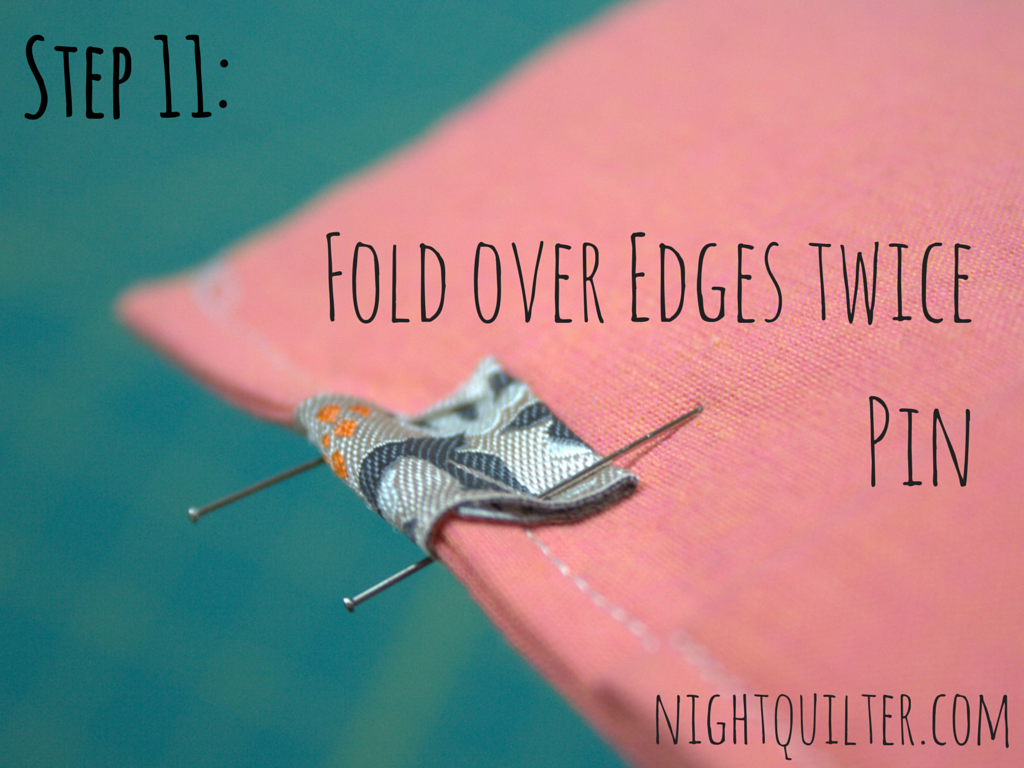
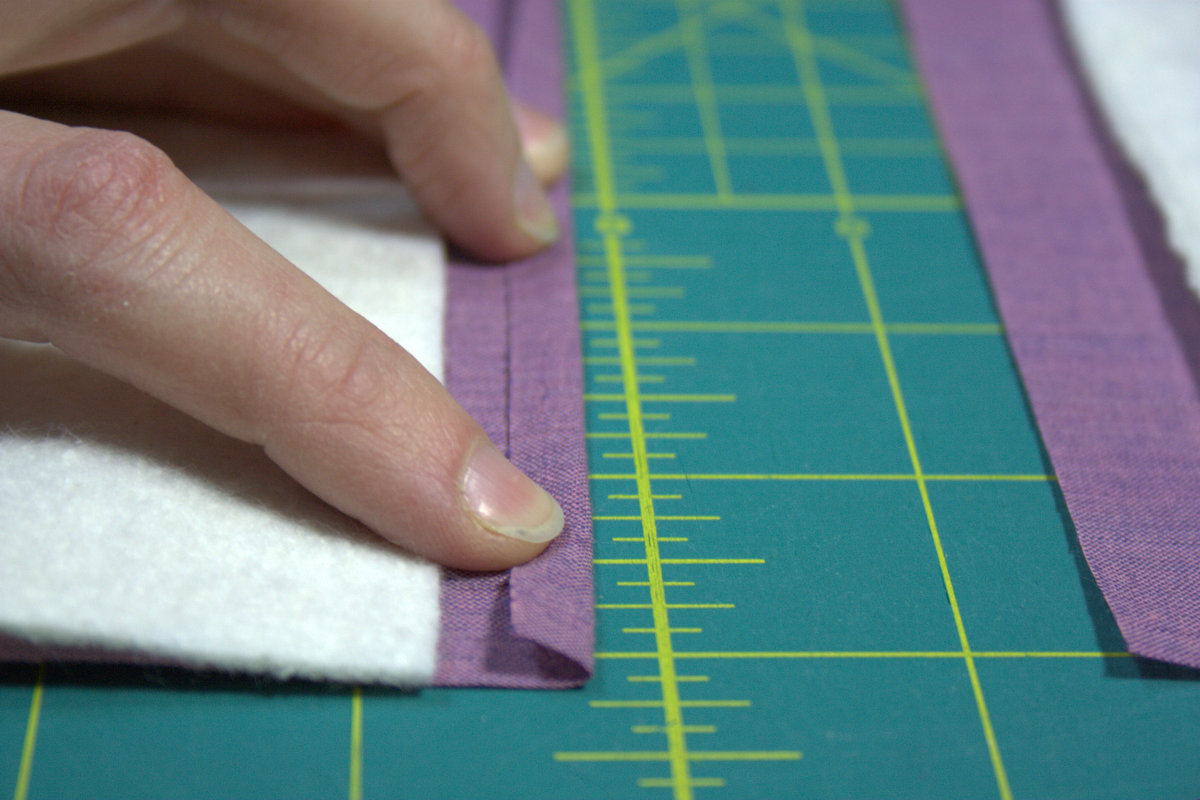 Fold the extended edge in 1/4″. Press with a hot iron.
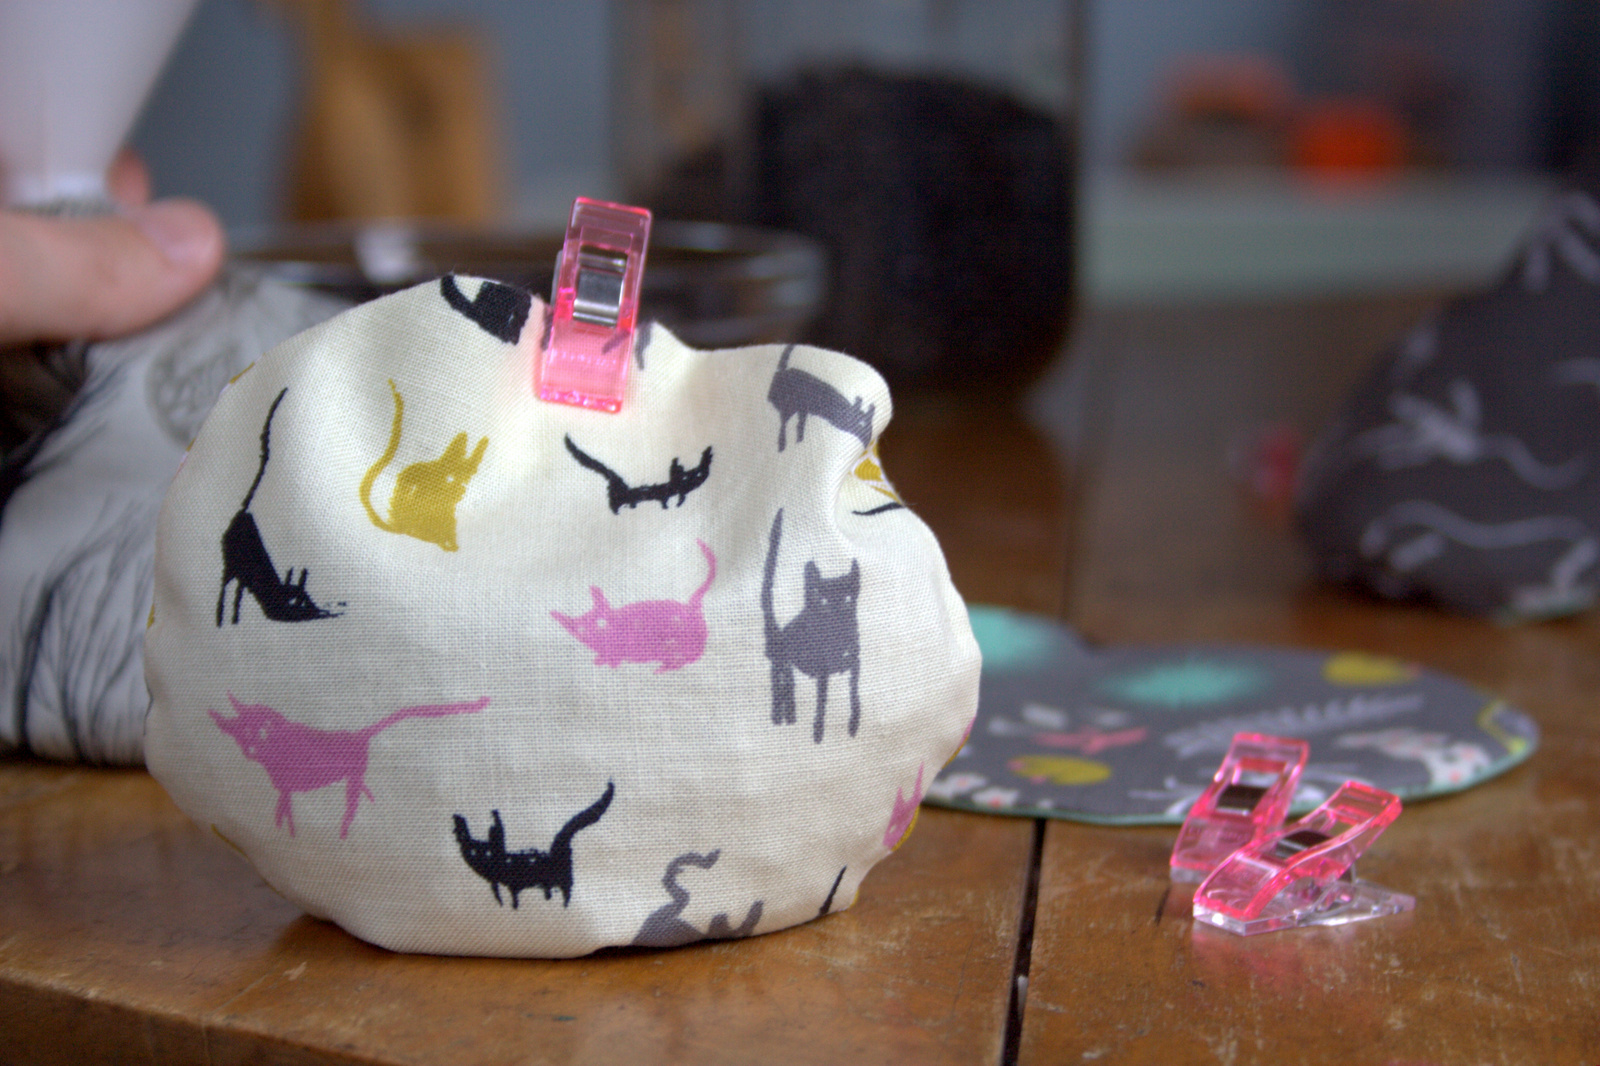
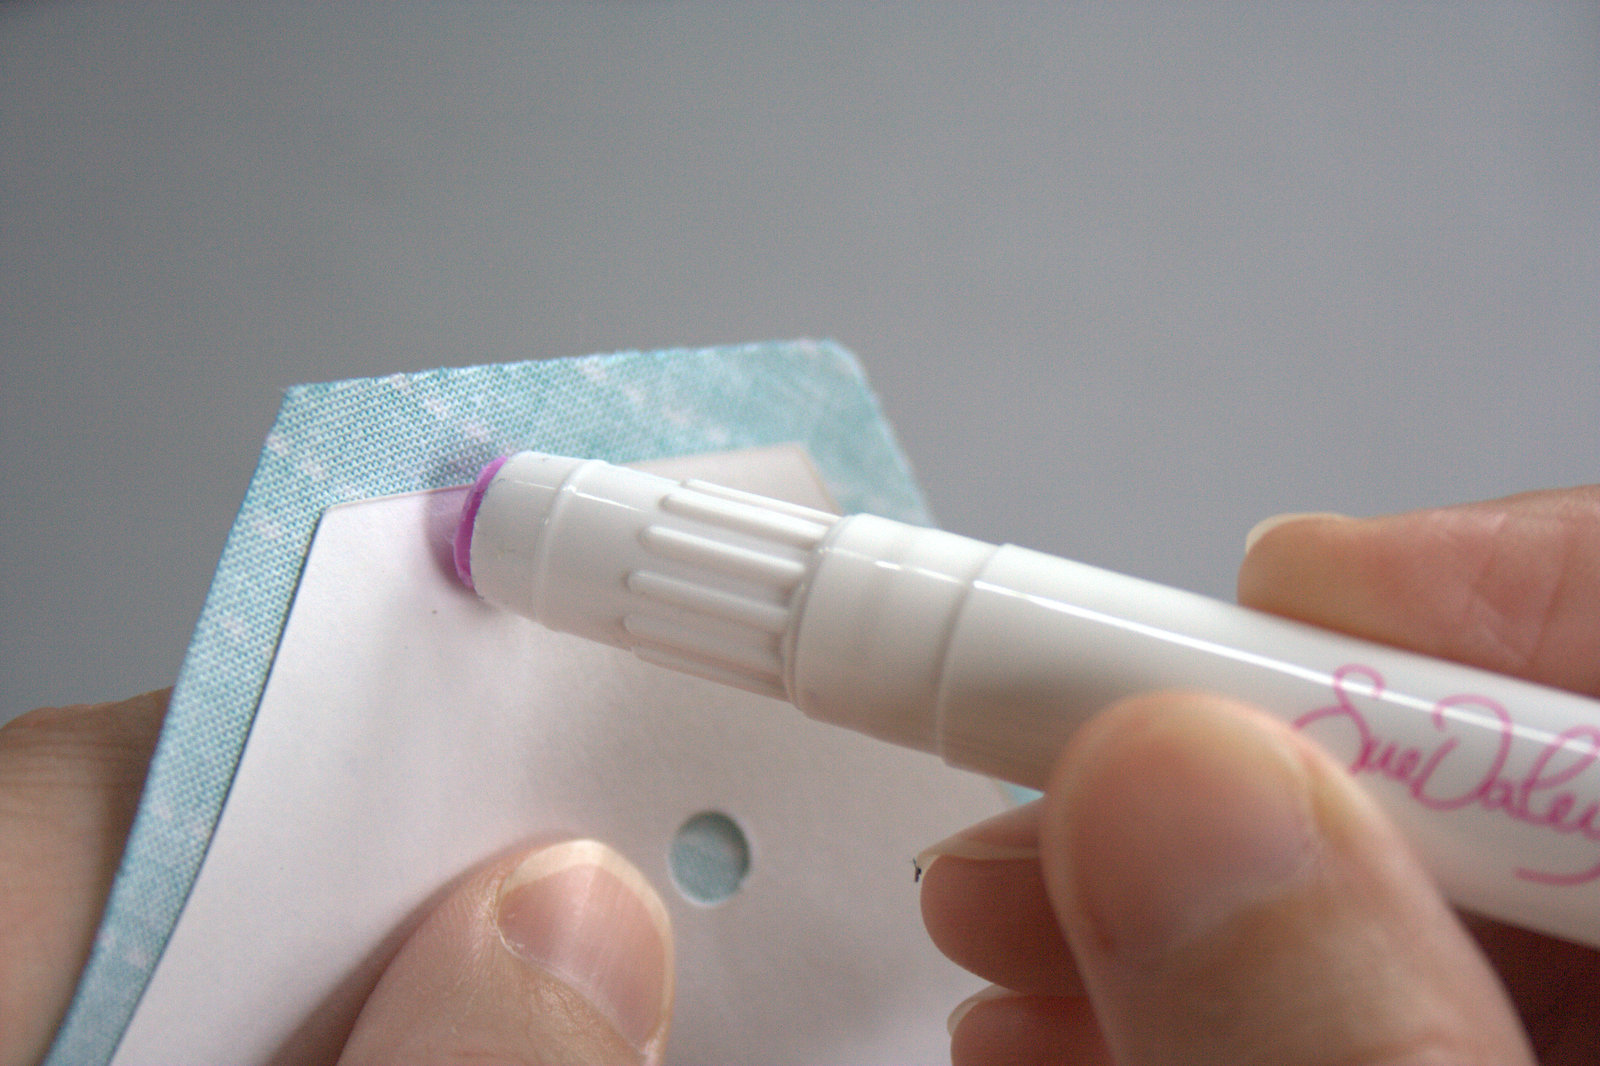
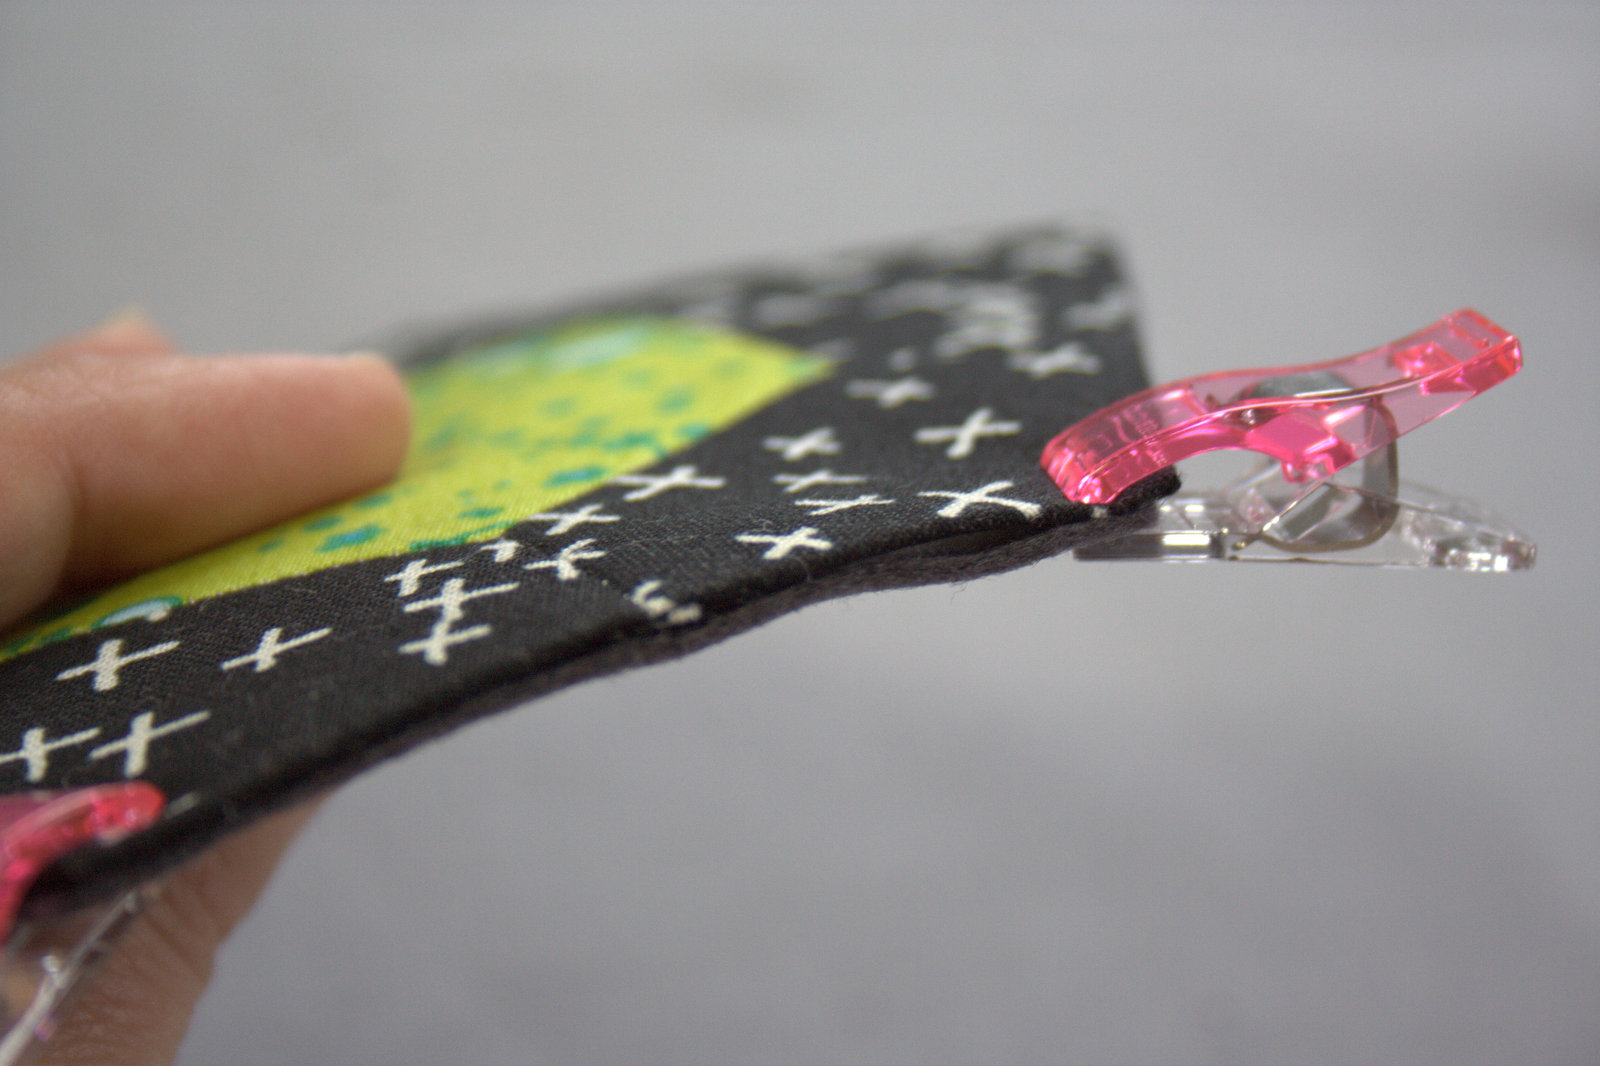
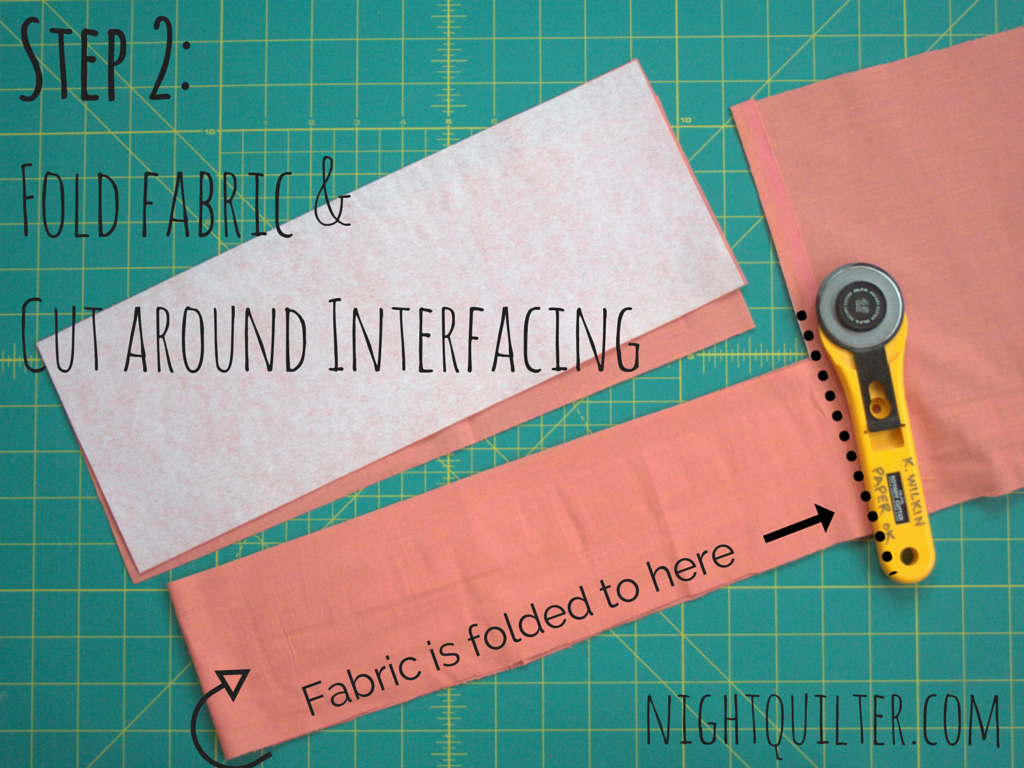
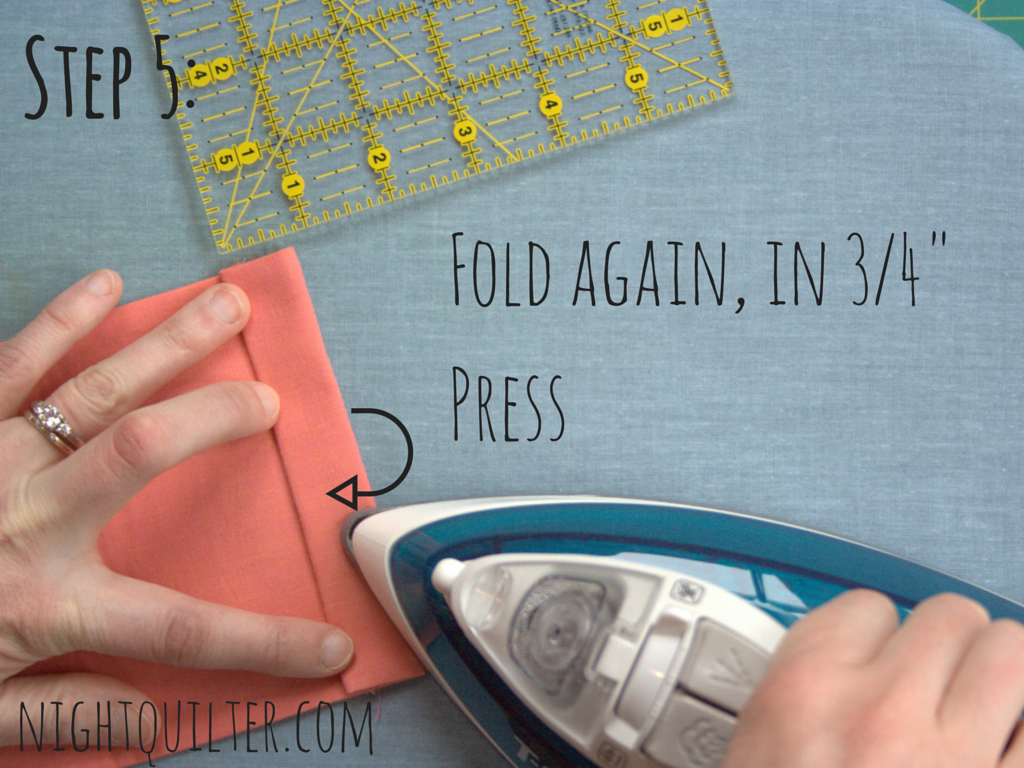
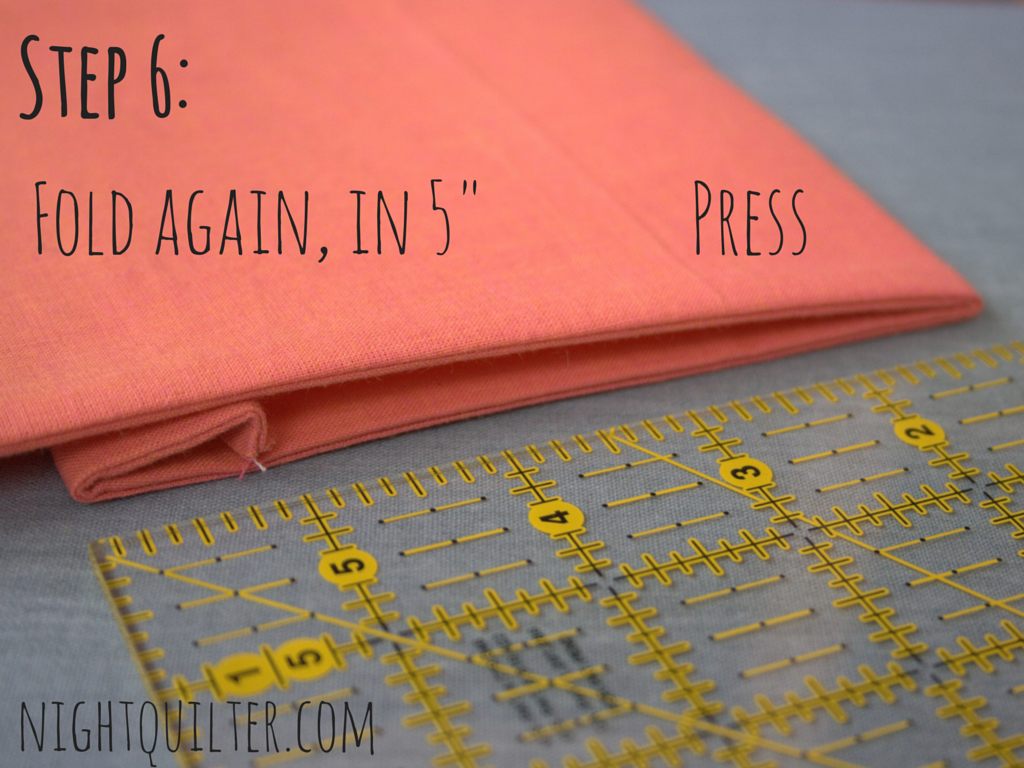
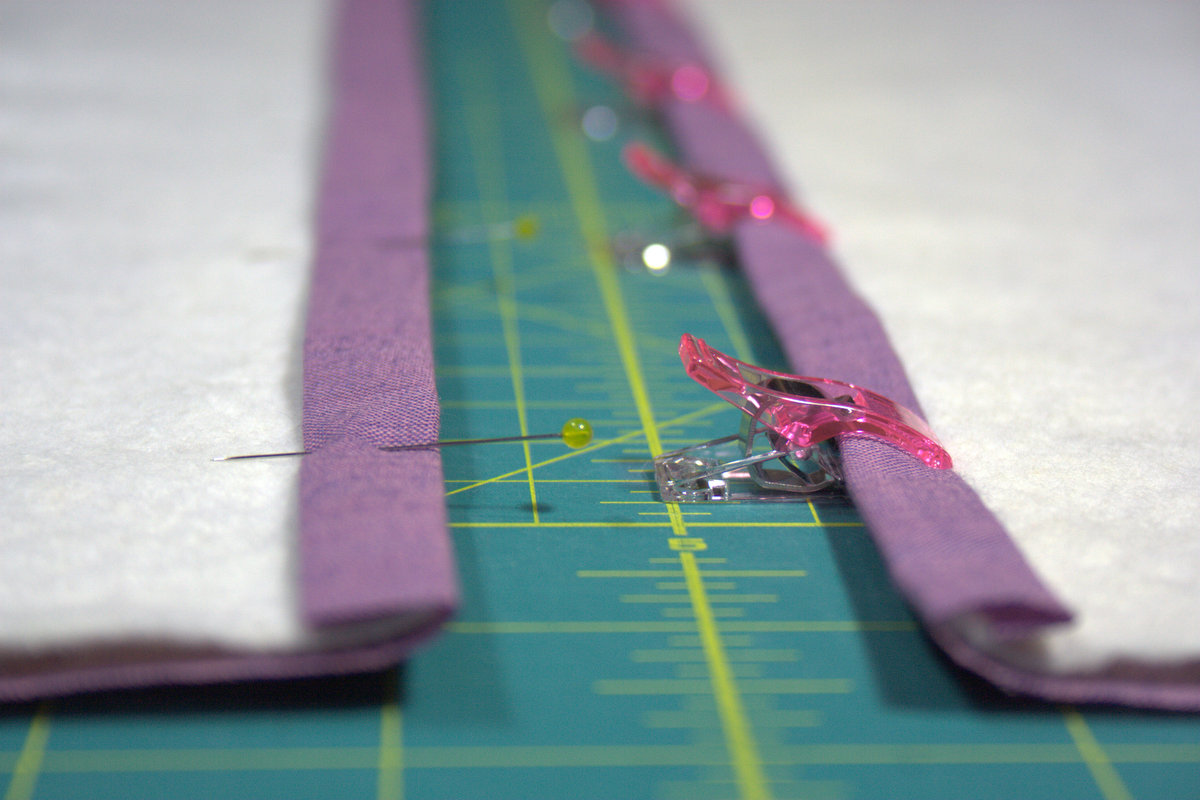 Fold over again, flush with the edge of the batting (approx 1/2″) and press. Pin or clip in place.
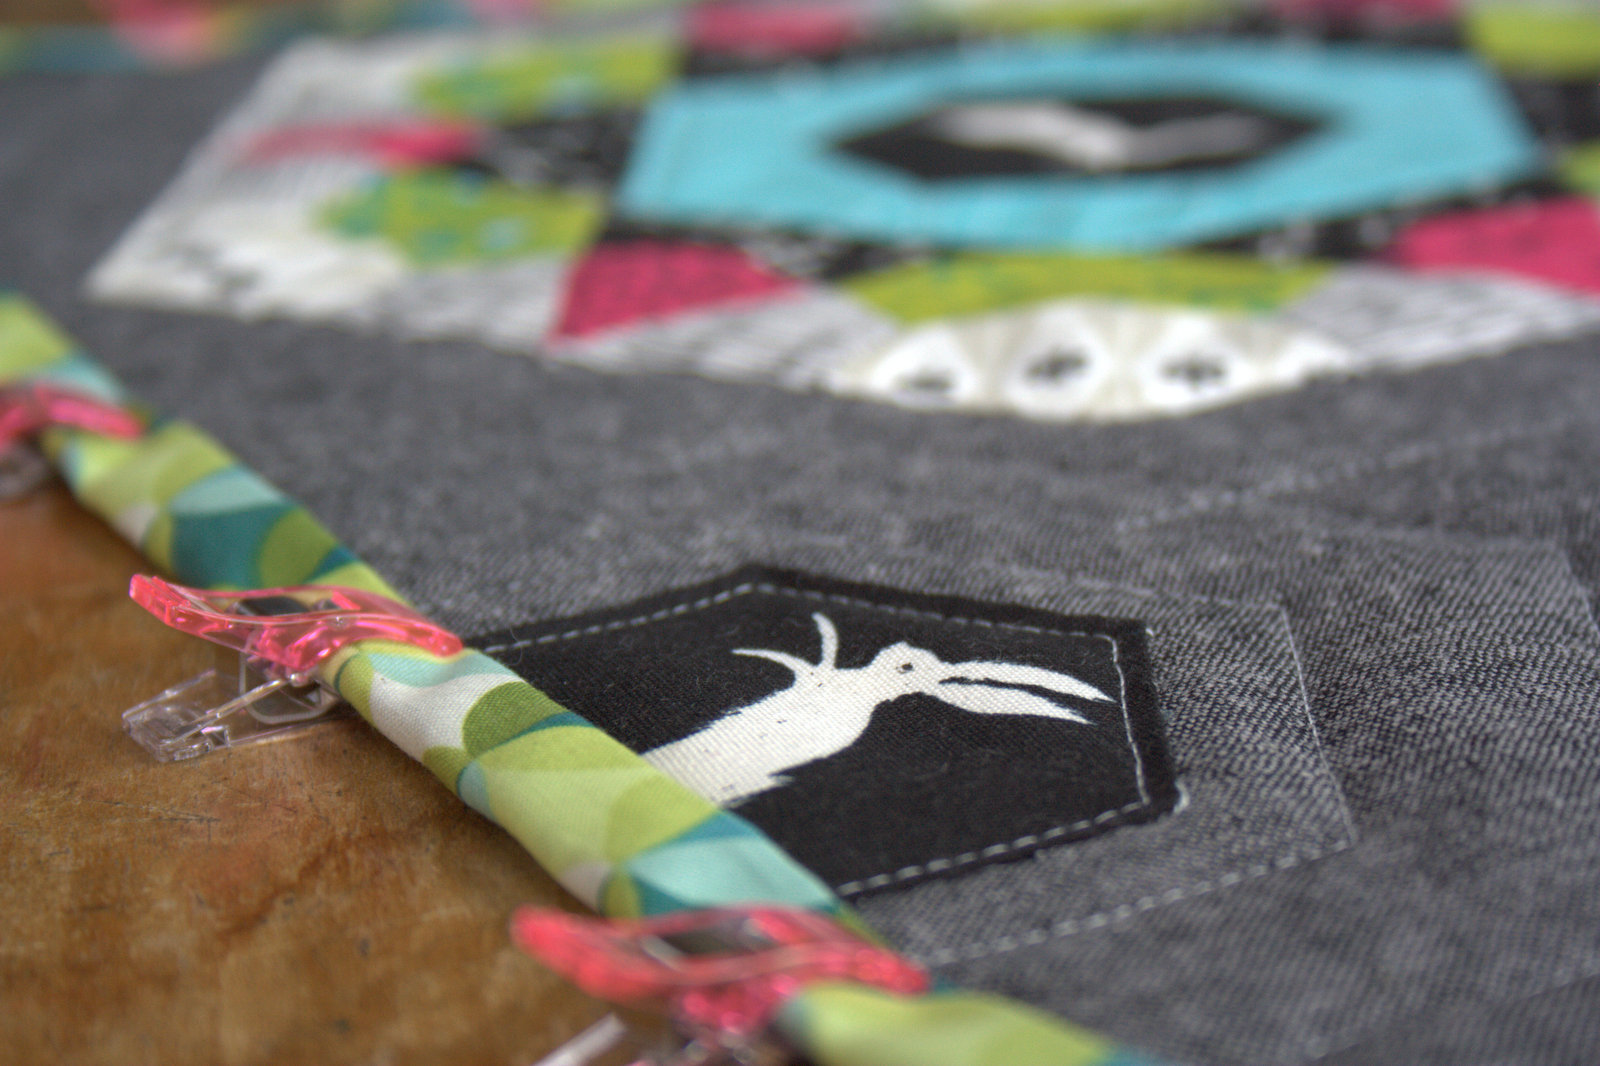
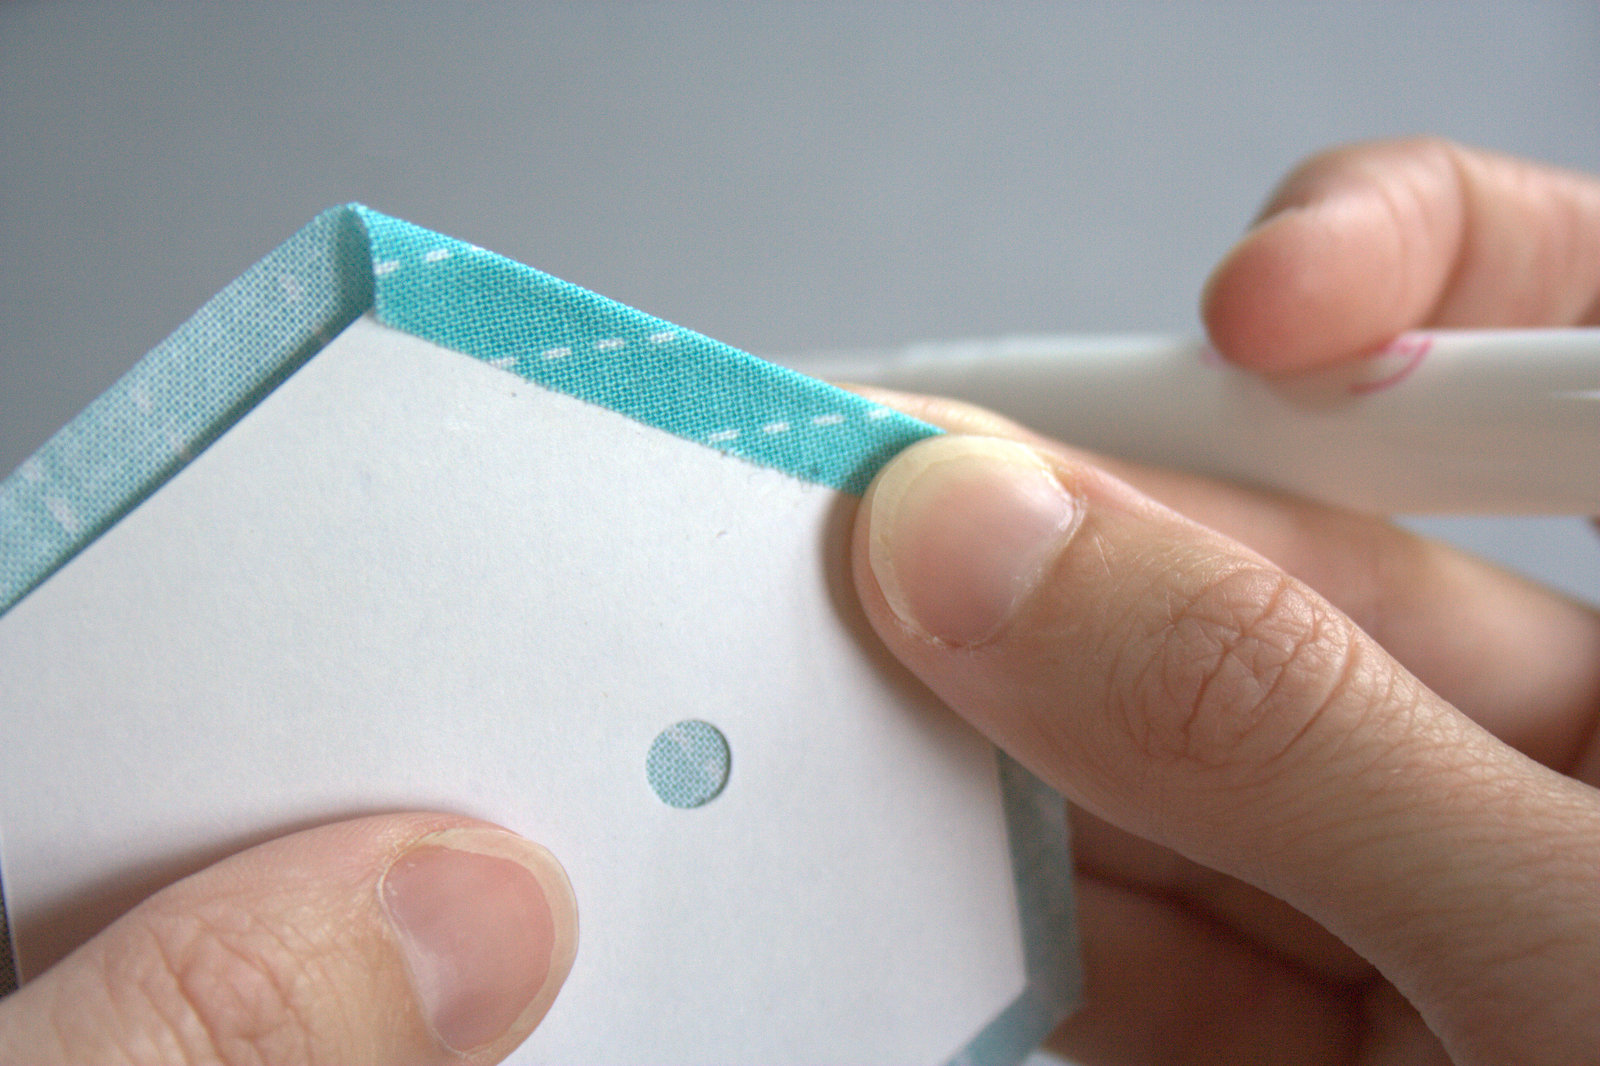
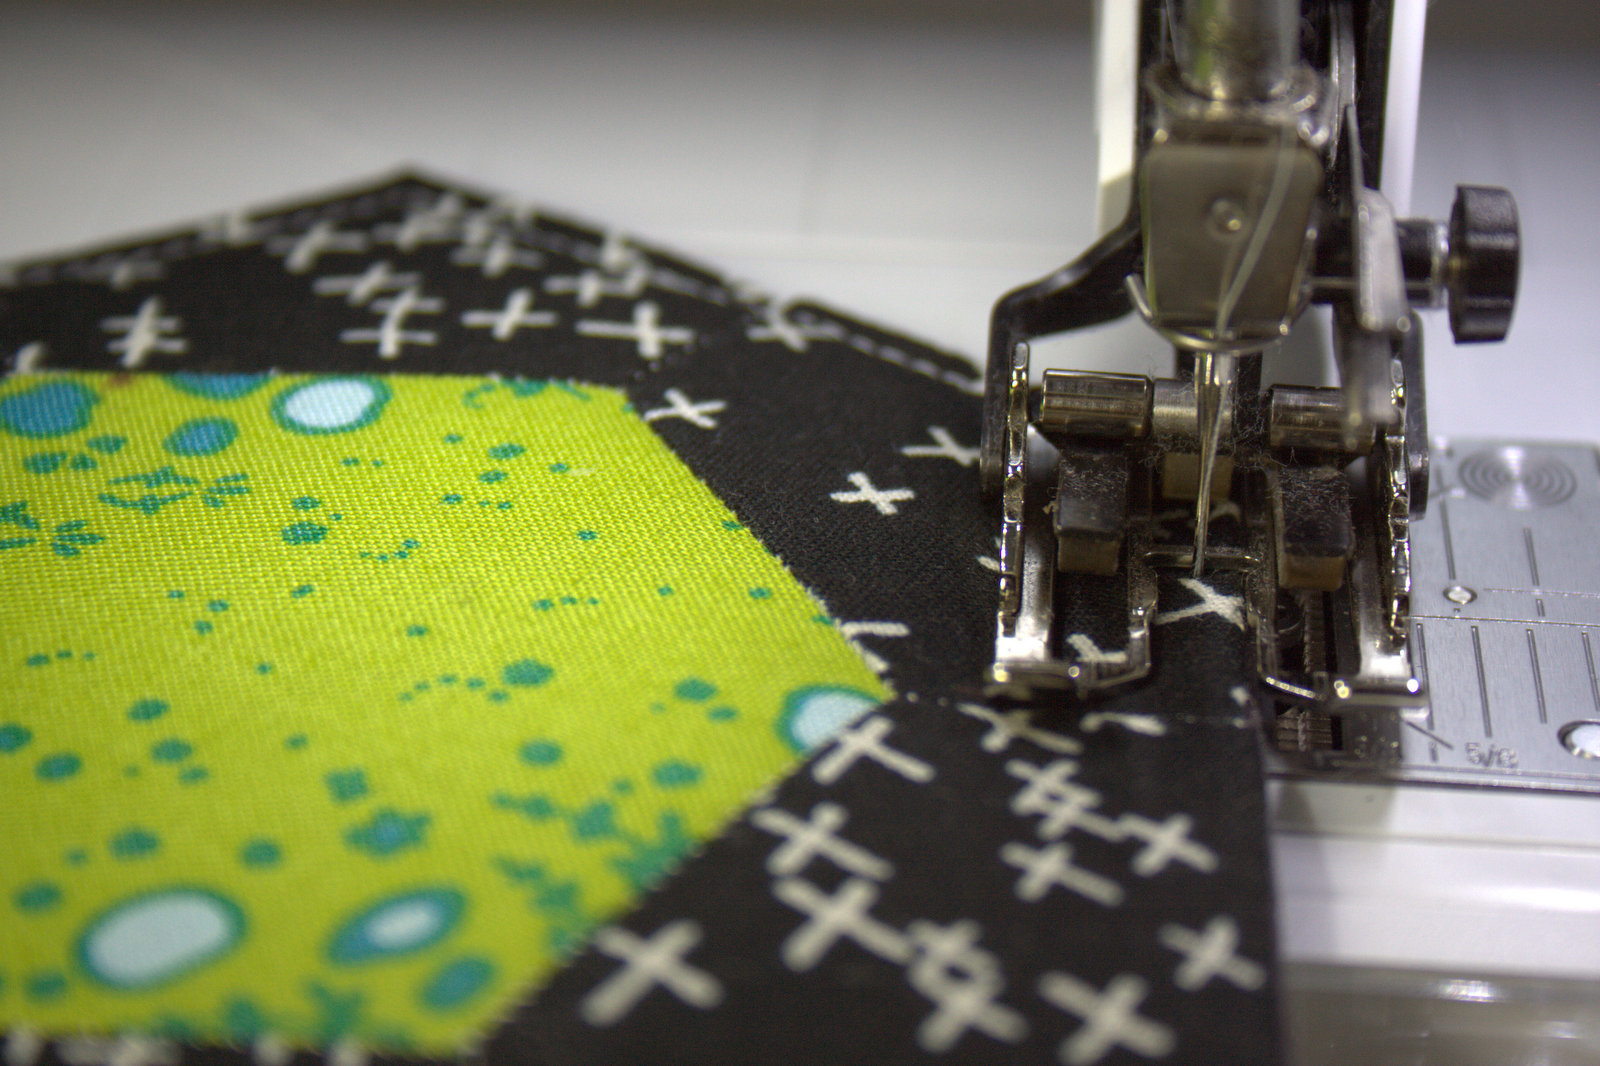
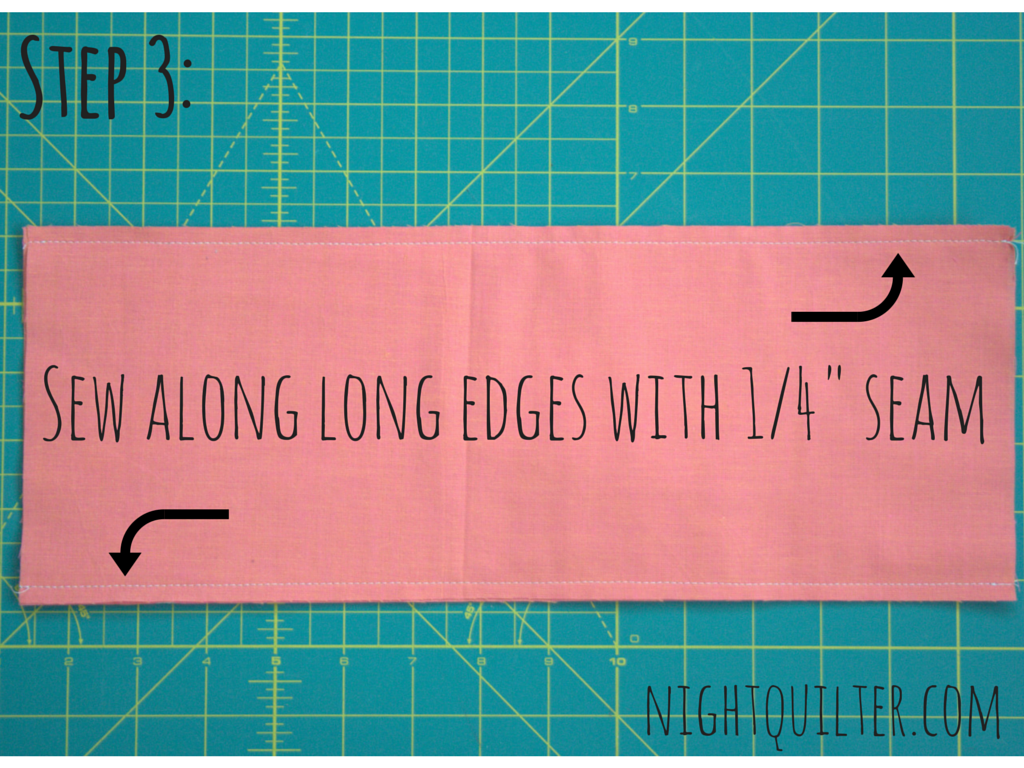
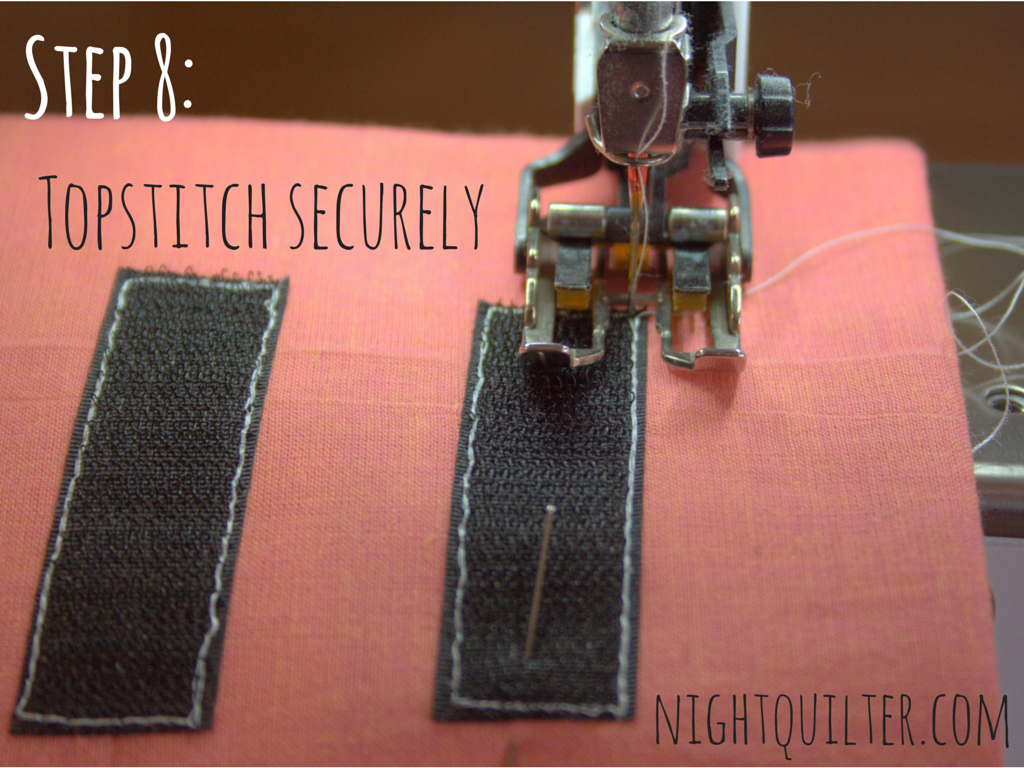
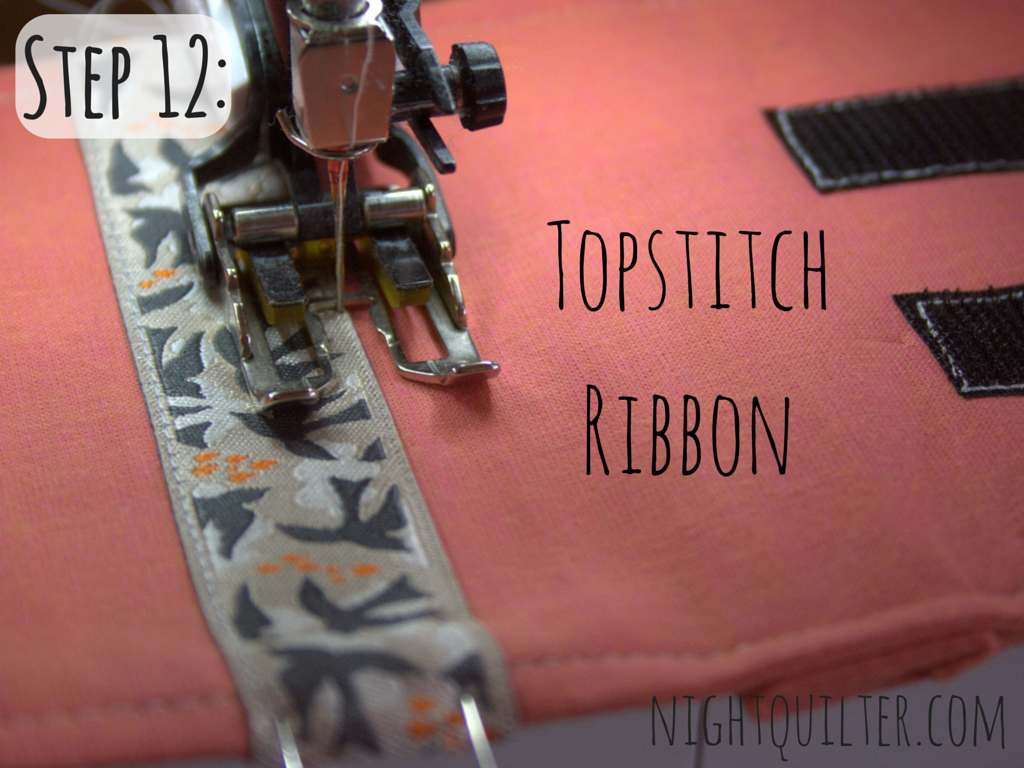
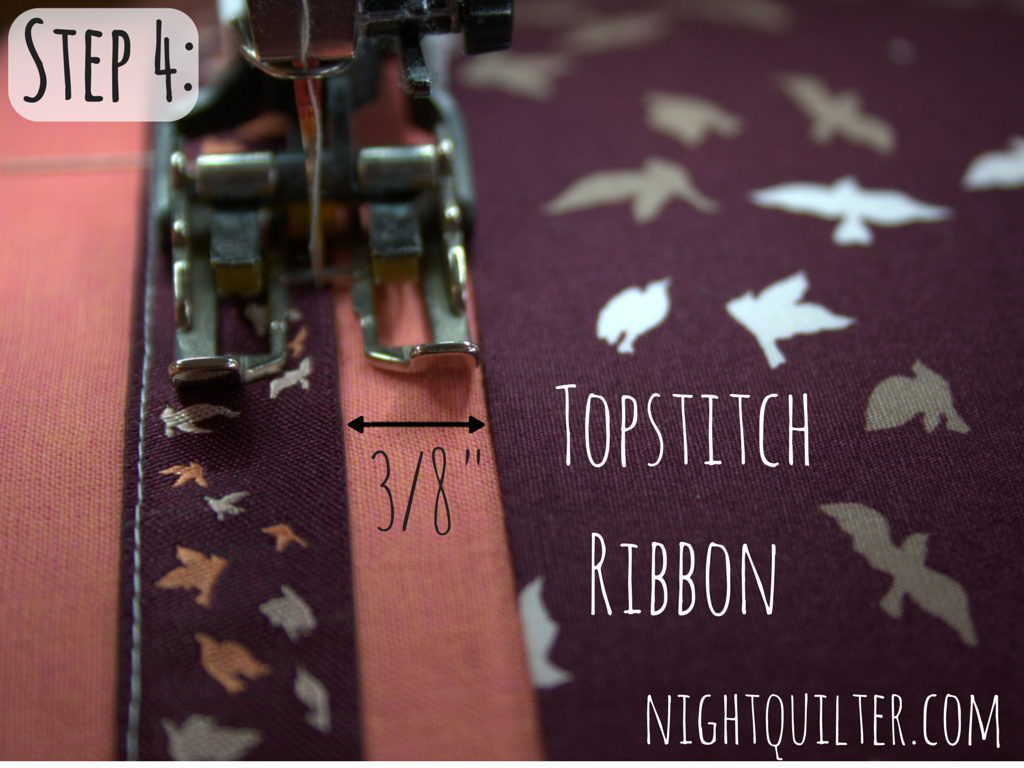
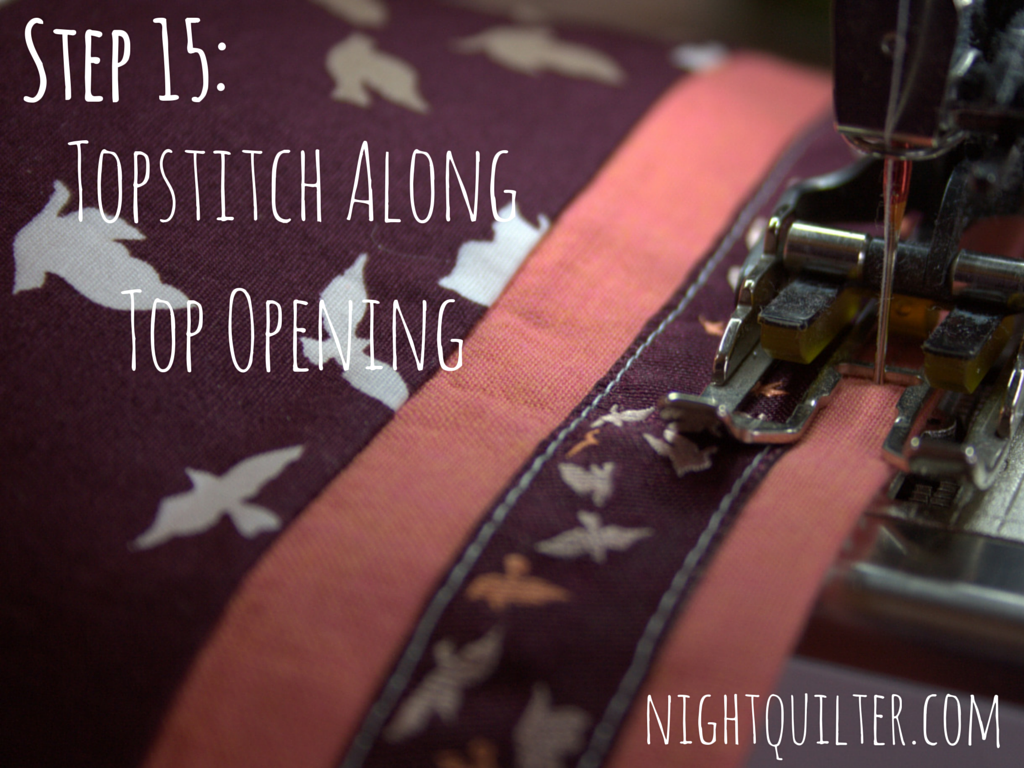
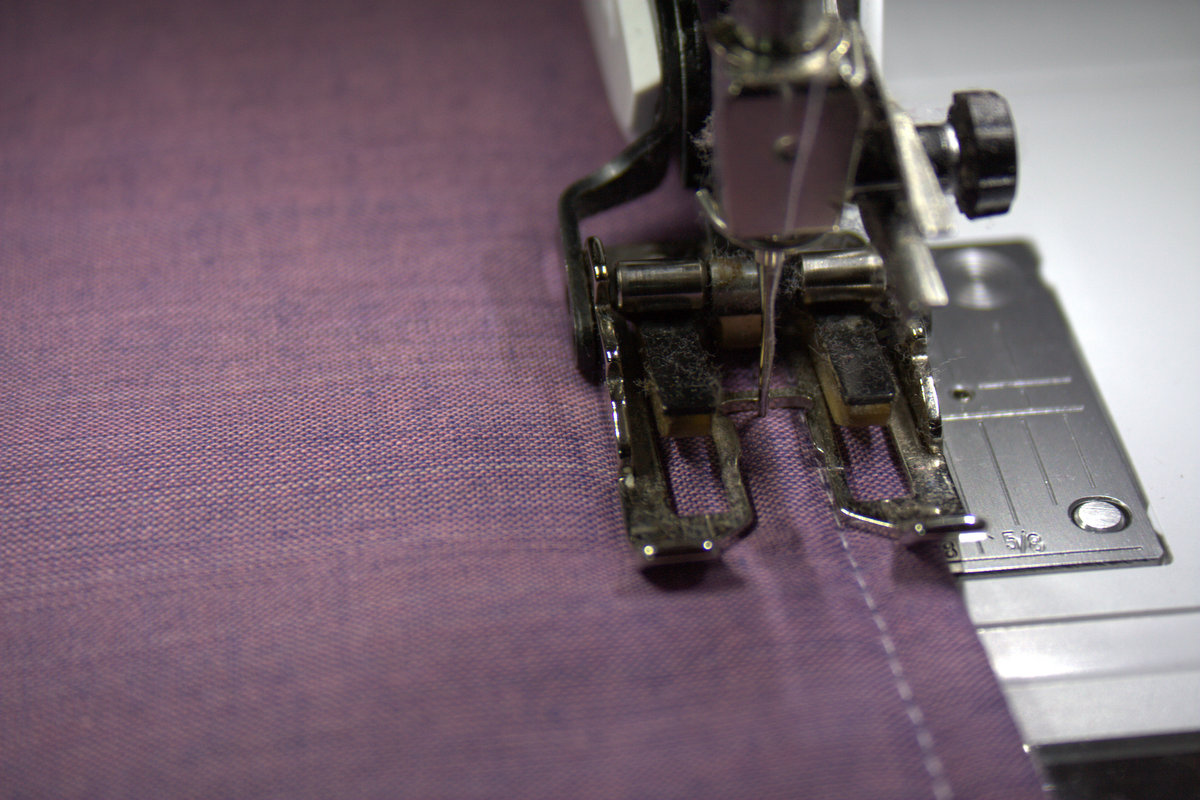 Pin along the edges of the backing fabric and batting to help keep them together if you want to, although I found that they stuck together just fine without any pins. Alternately, you could fuse on fusible fleece instead of batting, although this is a great project for using up batting scraps. With the backing fabric right side facing up, top stitch 1/4″ from the folded edge. Sew again 1/8″ from the first stitches. Repeat for the other panel.
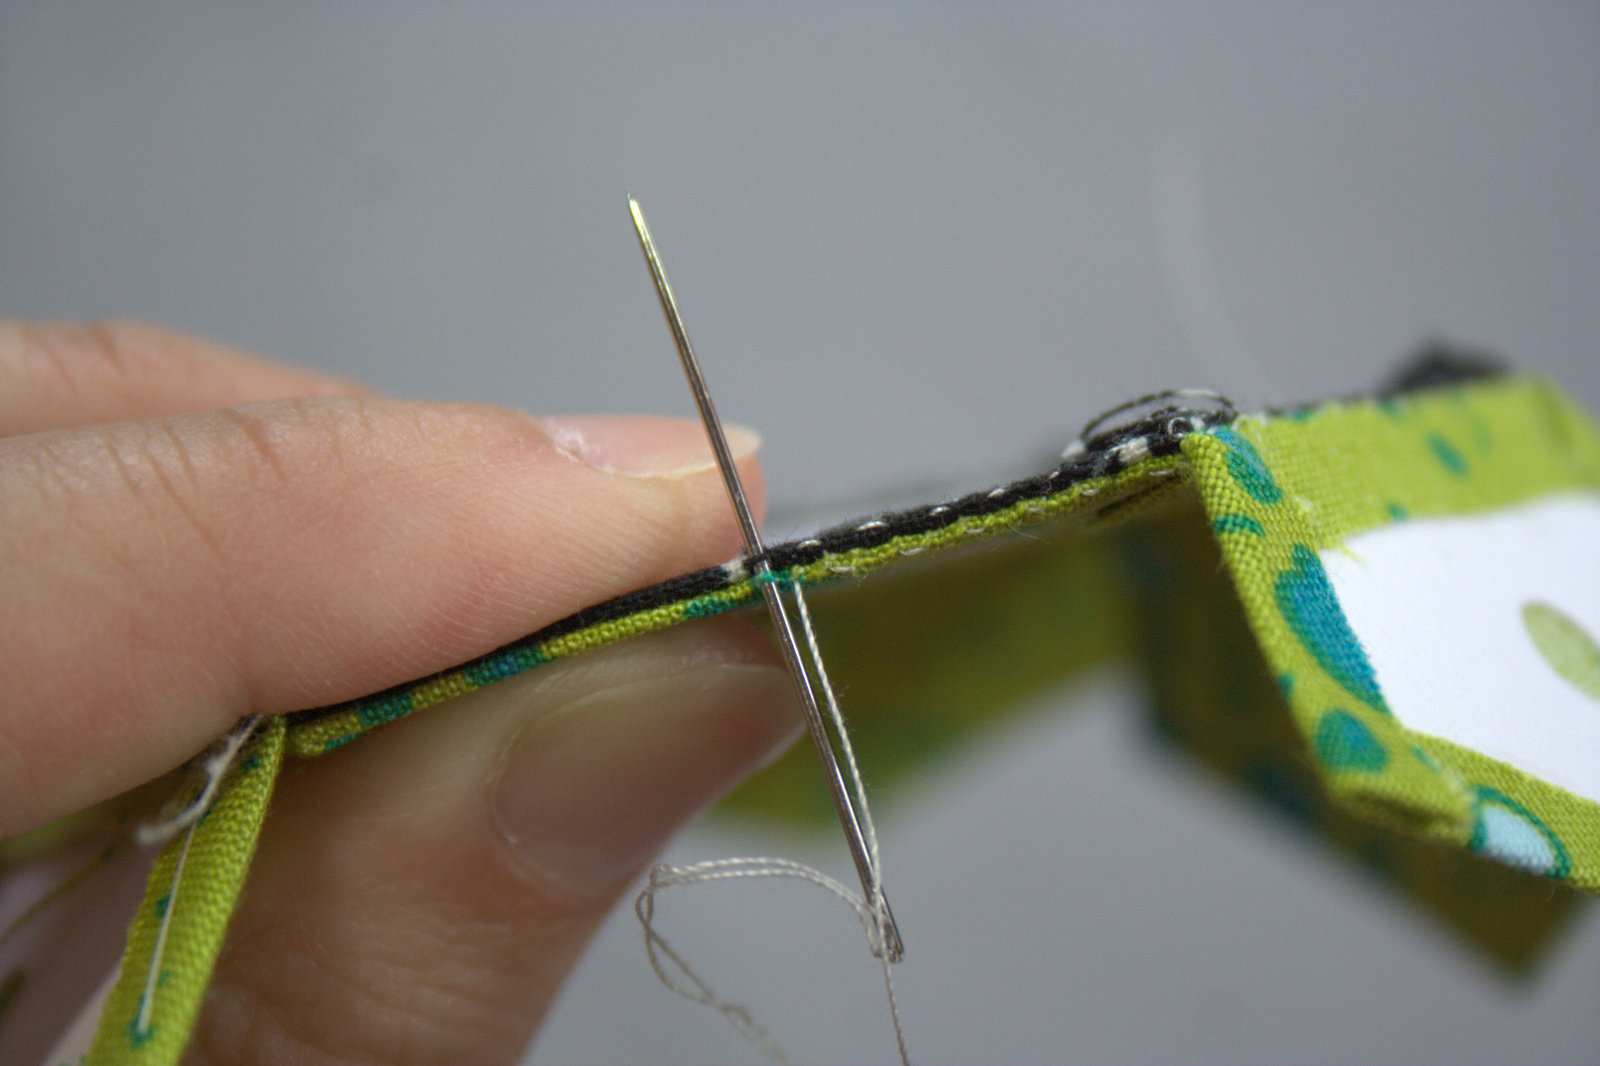
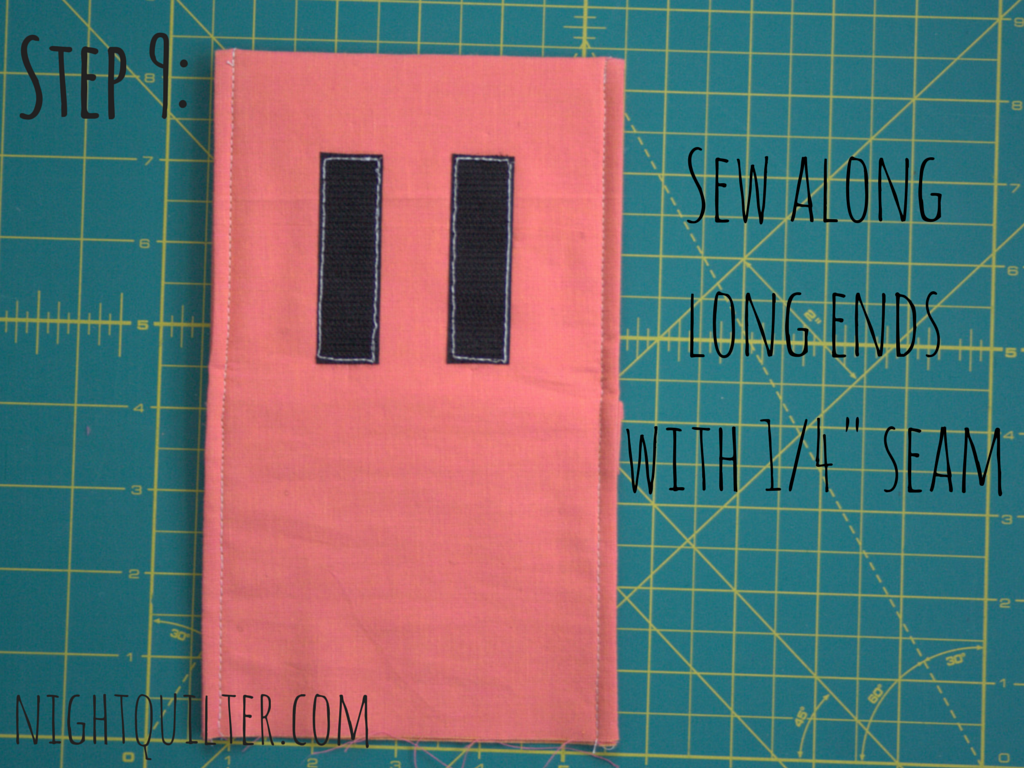
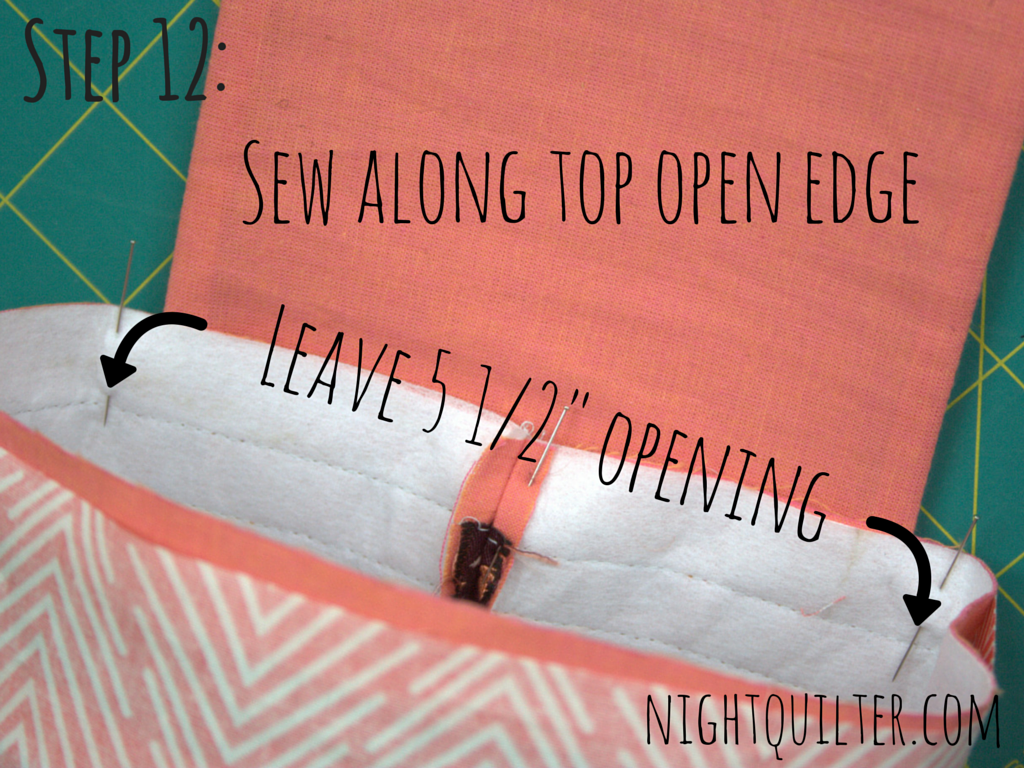
 Now it’s time to sew the pillow front to the back panels. Lay the quilted pillow top right side facing up, and place the back panels right sides facing down, with the raw edges aligning with the raw edges of the pillow top and the sewn hem edges toward the center of the pillow.
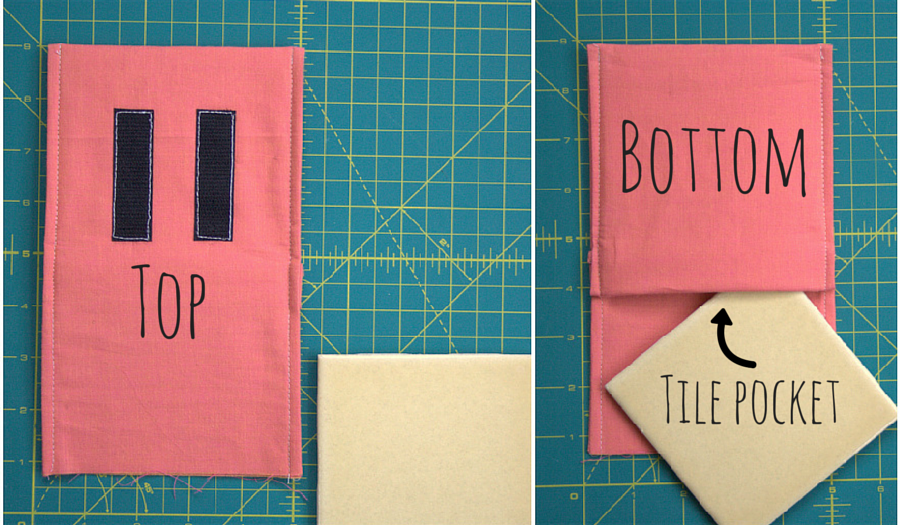
 There should be about 6″ of overlap.
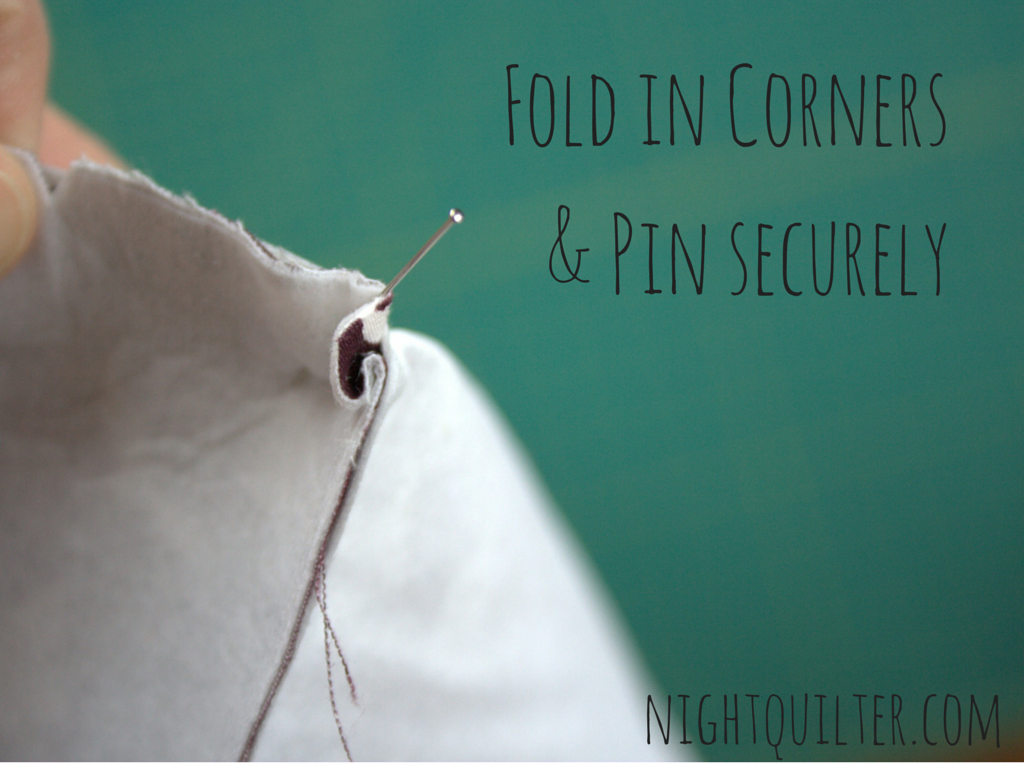
Pin securely and sew around the entire edge of the pillow. Be sure to reinforce where the envelope edges meet, sewing back and forth multiple times, since they will receive the bulk of the wear and tear as the pillow form is put in and taken out.
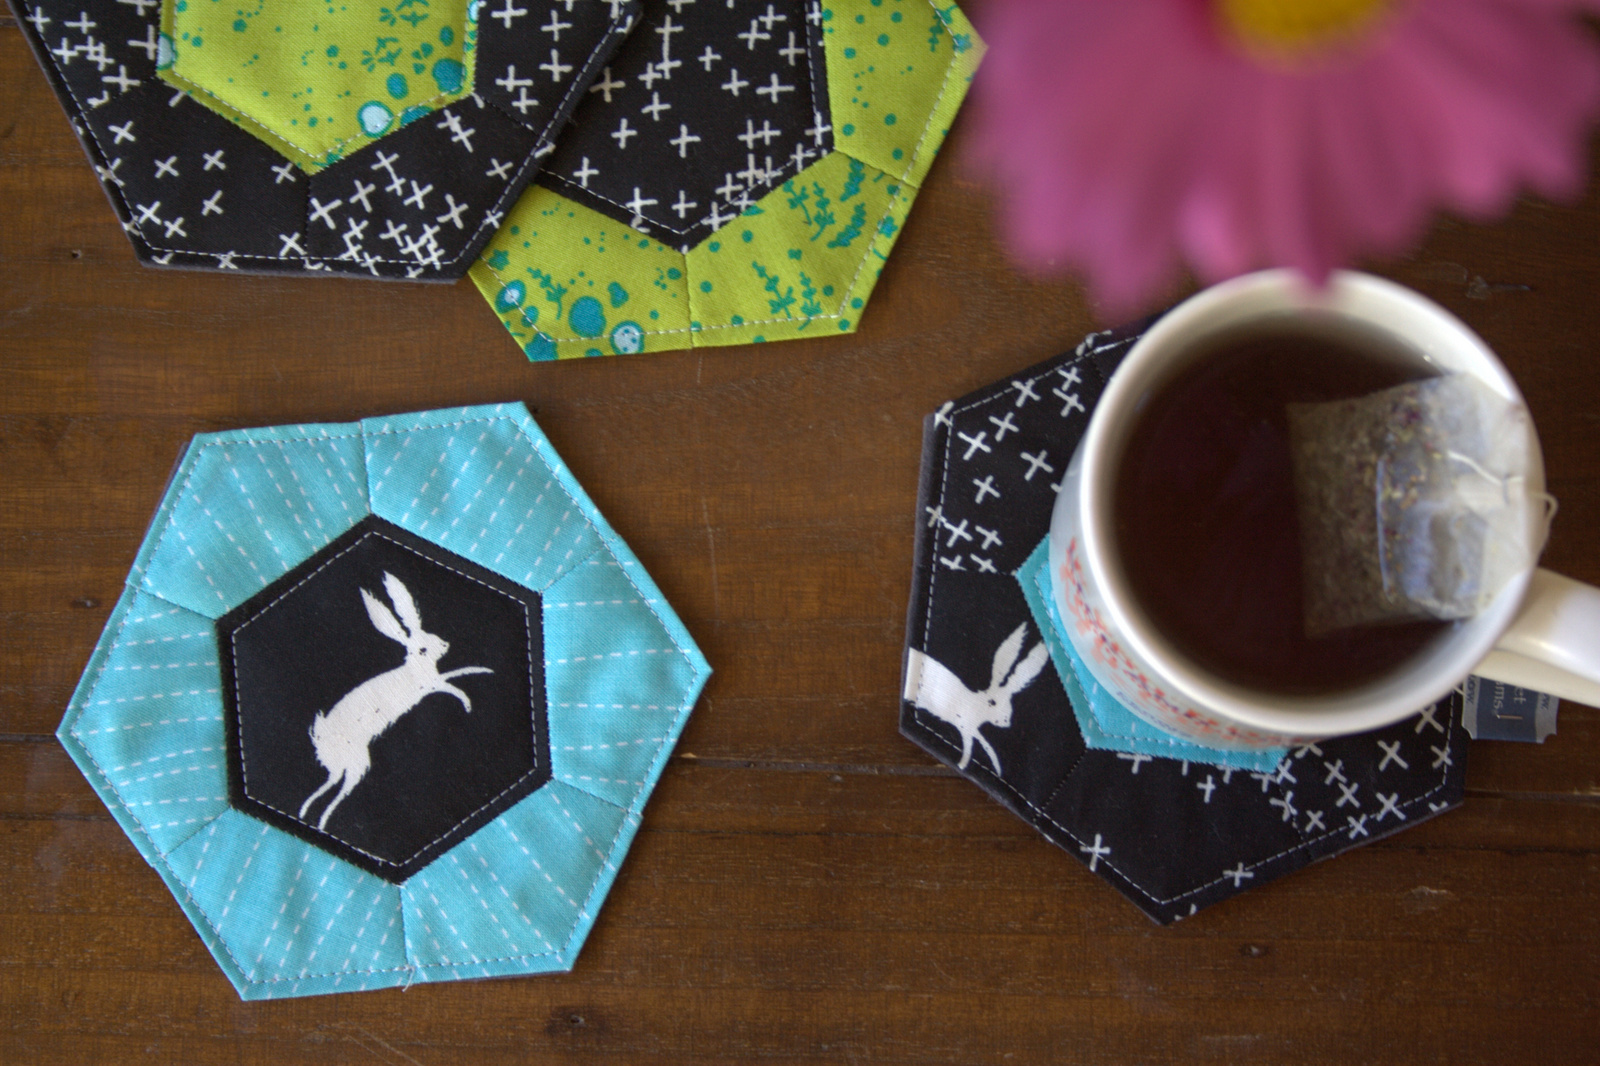
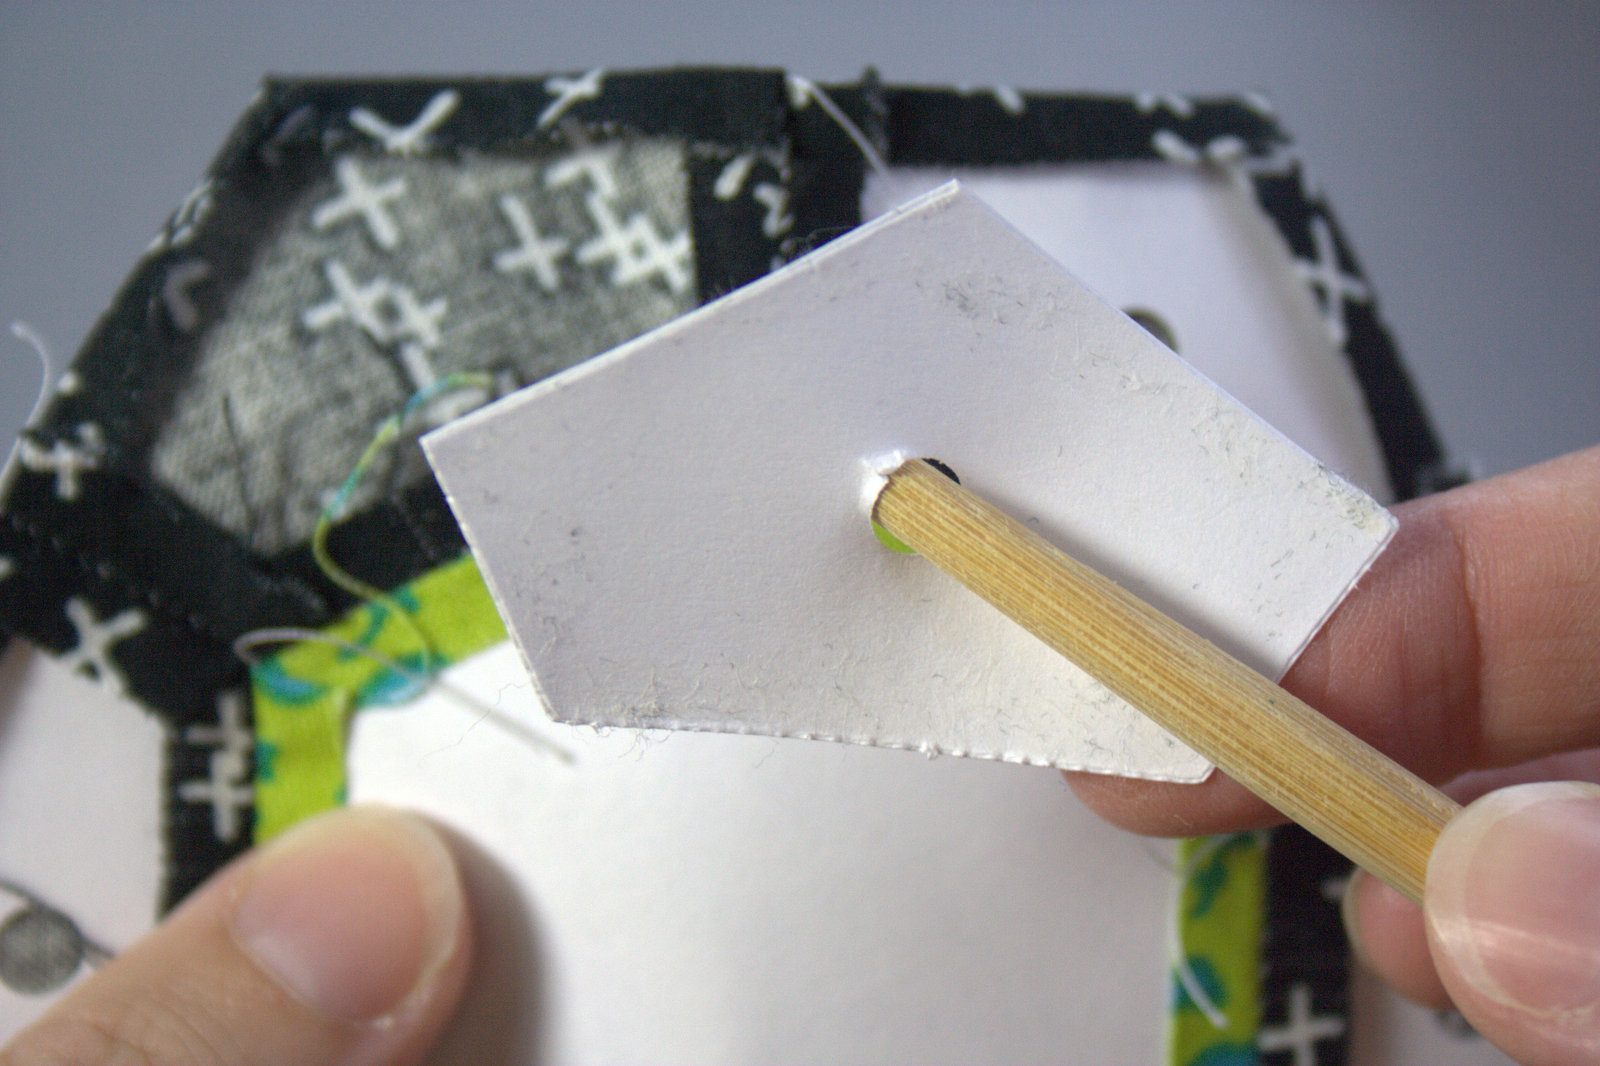
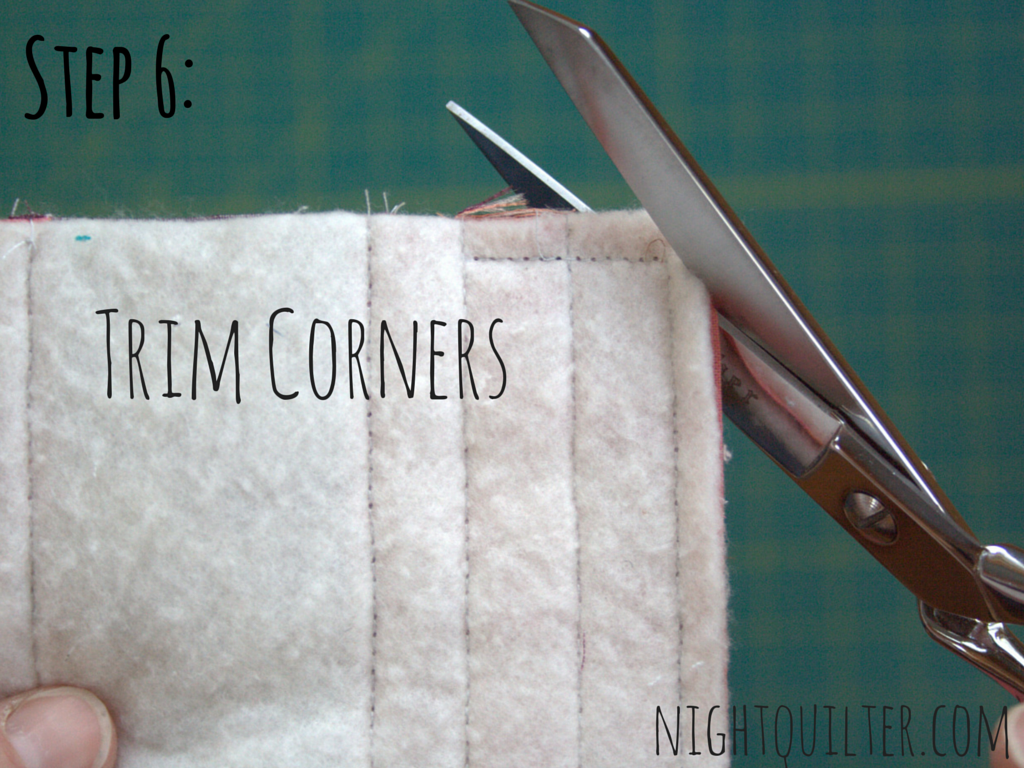
Clip the corners, and turn right side out through the envelope opening, carefully pushing out corners with a blunt chopstick. Insert an 18″ pillow form, or one of your old couch cushions, and enjoy!

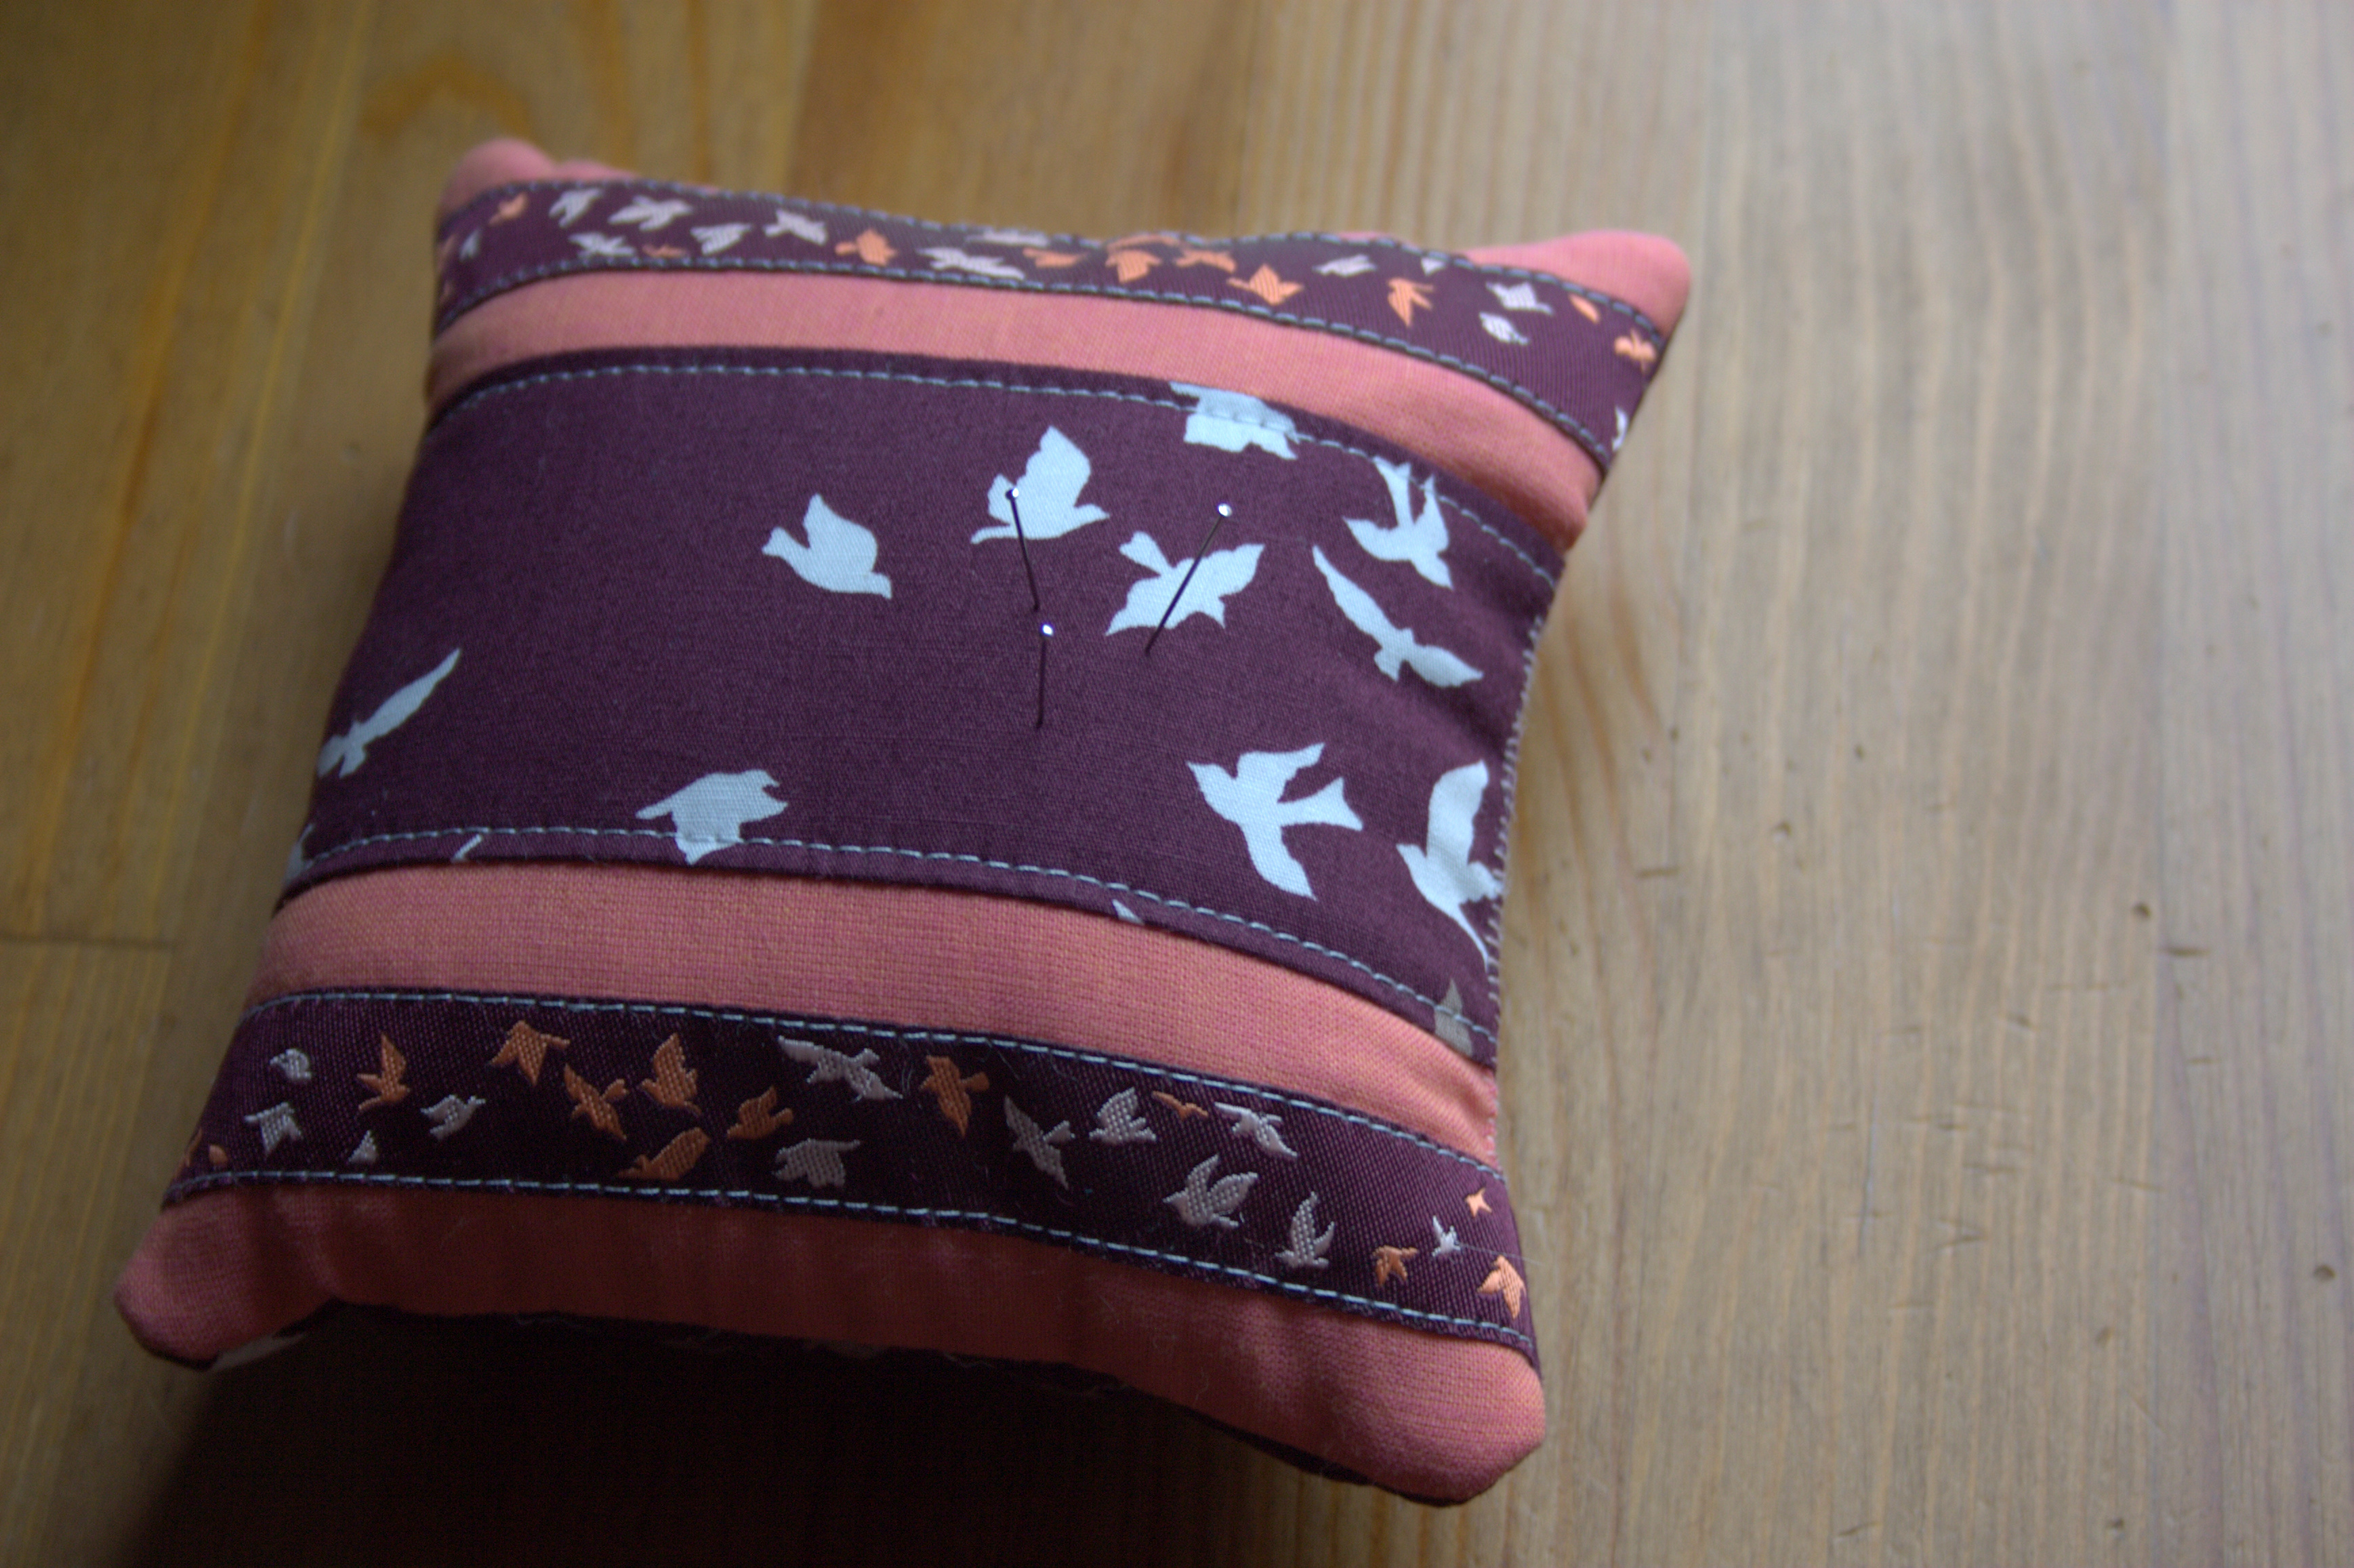
 Max quickly discovered that there were ponies on the pillow, so he had to run and get his best friend, aptly named Pony.
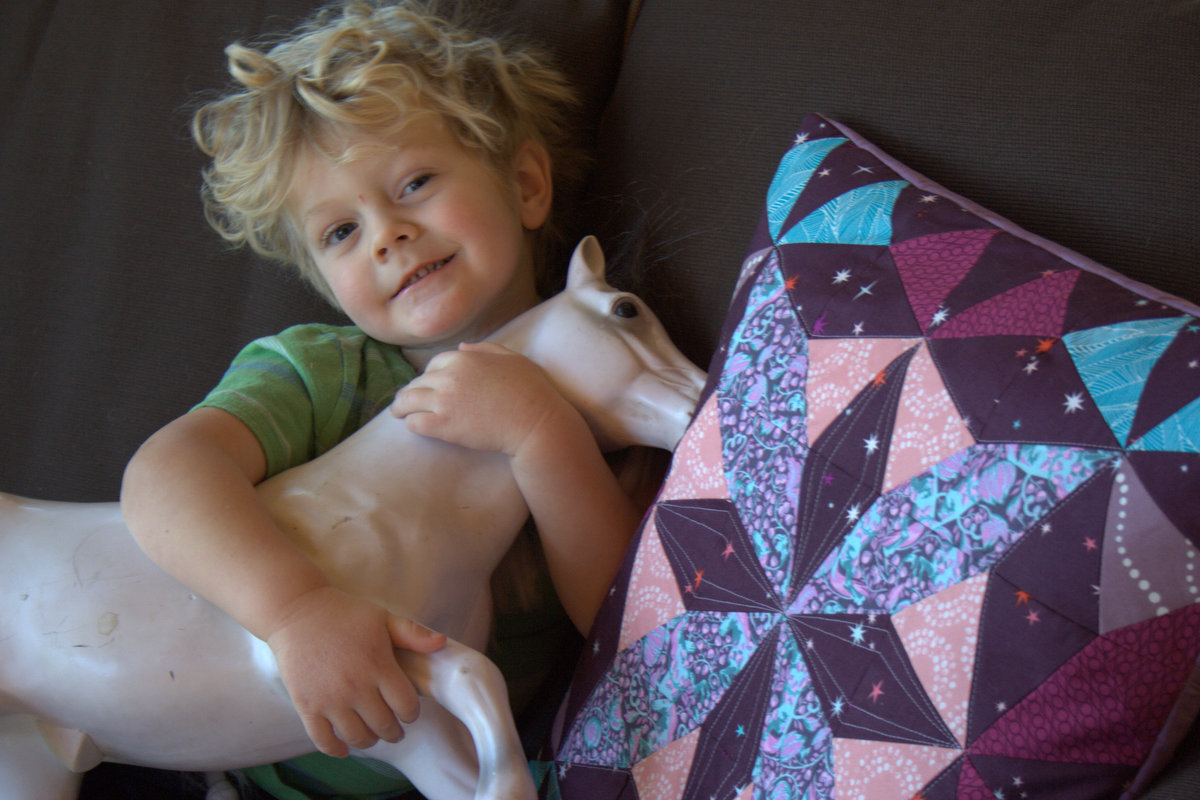
 This pillow apparently now belongs to Pony, since, well… ponies!