Ahhh, April! My favorite month! April is the month when spring usually begins to prevail over the last cold days of winter, with days getting a tad bit warmer, hopefully the snow melting enough to make way for sprouting crocuses and daffodils, and a prevalence of sun instead of sleet and snow. Not only that, it’s my birthday month, which is always a fun excuse to celebrate a little bit extra. To add some frosting to the cake, this month, I’m also one of the Queen Bees for The Honey Pot Bee hosted by Molli Sparkles. So fun!
 When I was trying to decide what block to throw into the Honey Pot, I stumbled upon the Starry Sky block by Kylie at A Persevering Mom and completely fell in love. Let me count the ways: 1) it’s foundation paper pieced yet very simply so, 2) the possibilities for color play are endless and I just LOVE Kylie’s warm/cool on low volume background sample block, 3) it comes in three sizes–2.5″, 6″ and 12″ finished squares, and 4) it’s free which makes it a prime choice for a bee! Decision made! (UPDATE: since this post was first written, the pattern has been listed for sale for $5 rather than being a free download. It’s absolutely worth that and then some, please support Kylie by purchasing it!)
 Because the foundation paper piecing in this block is so simple, it is a perfect block for some meticulous cutting fun. I decided that I wanted to use my precious Friedlander fabric for the background, but I wanted it to look like the tree scene was continuous across the block. I thought it might be helpful if I shared a few tips on how I did it.
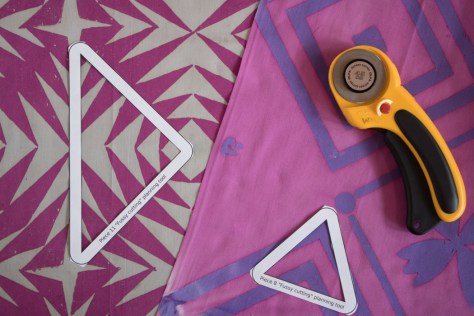
 Remember that in foundation paper piecing, you are building the block on the back of the template. For this reason, when cutting each fabric piece, be sure to position the template with the printed lines facing the right side of the fabric to ensure the direction of the fabric is correct.
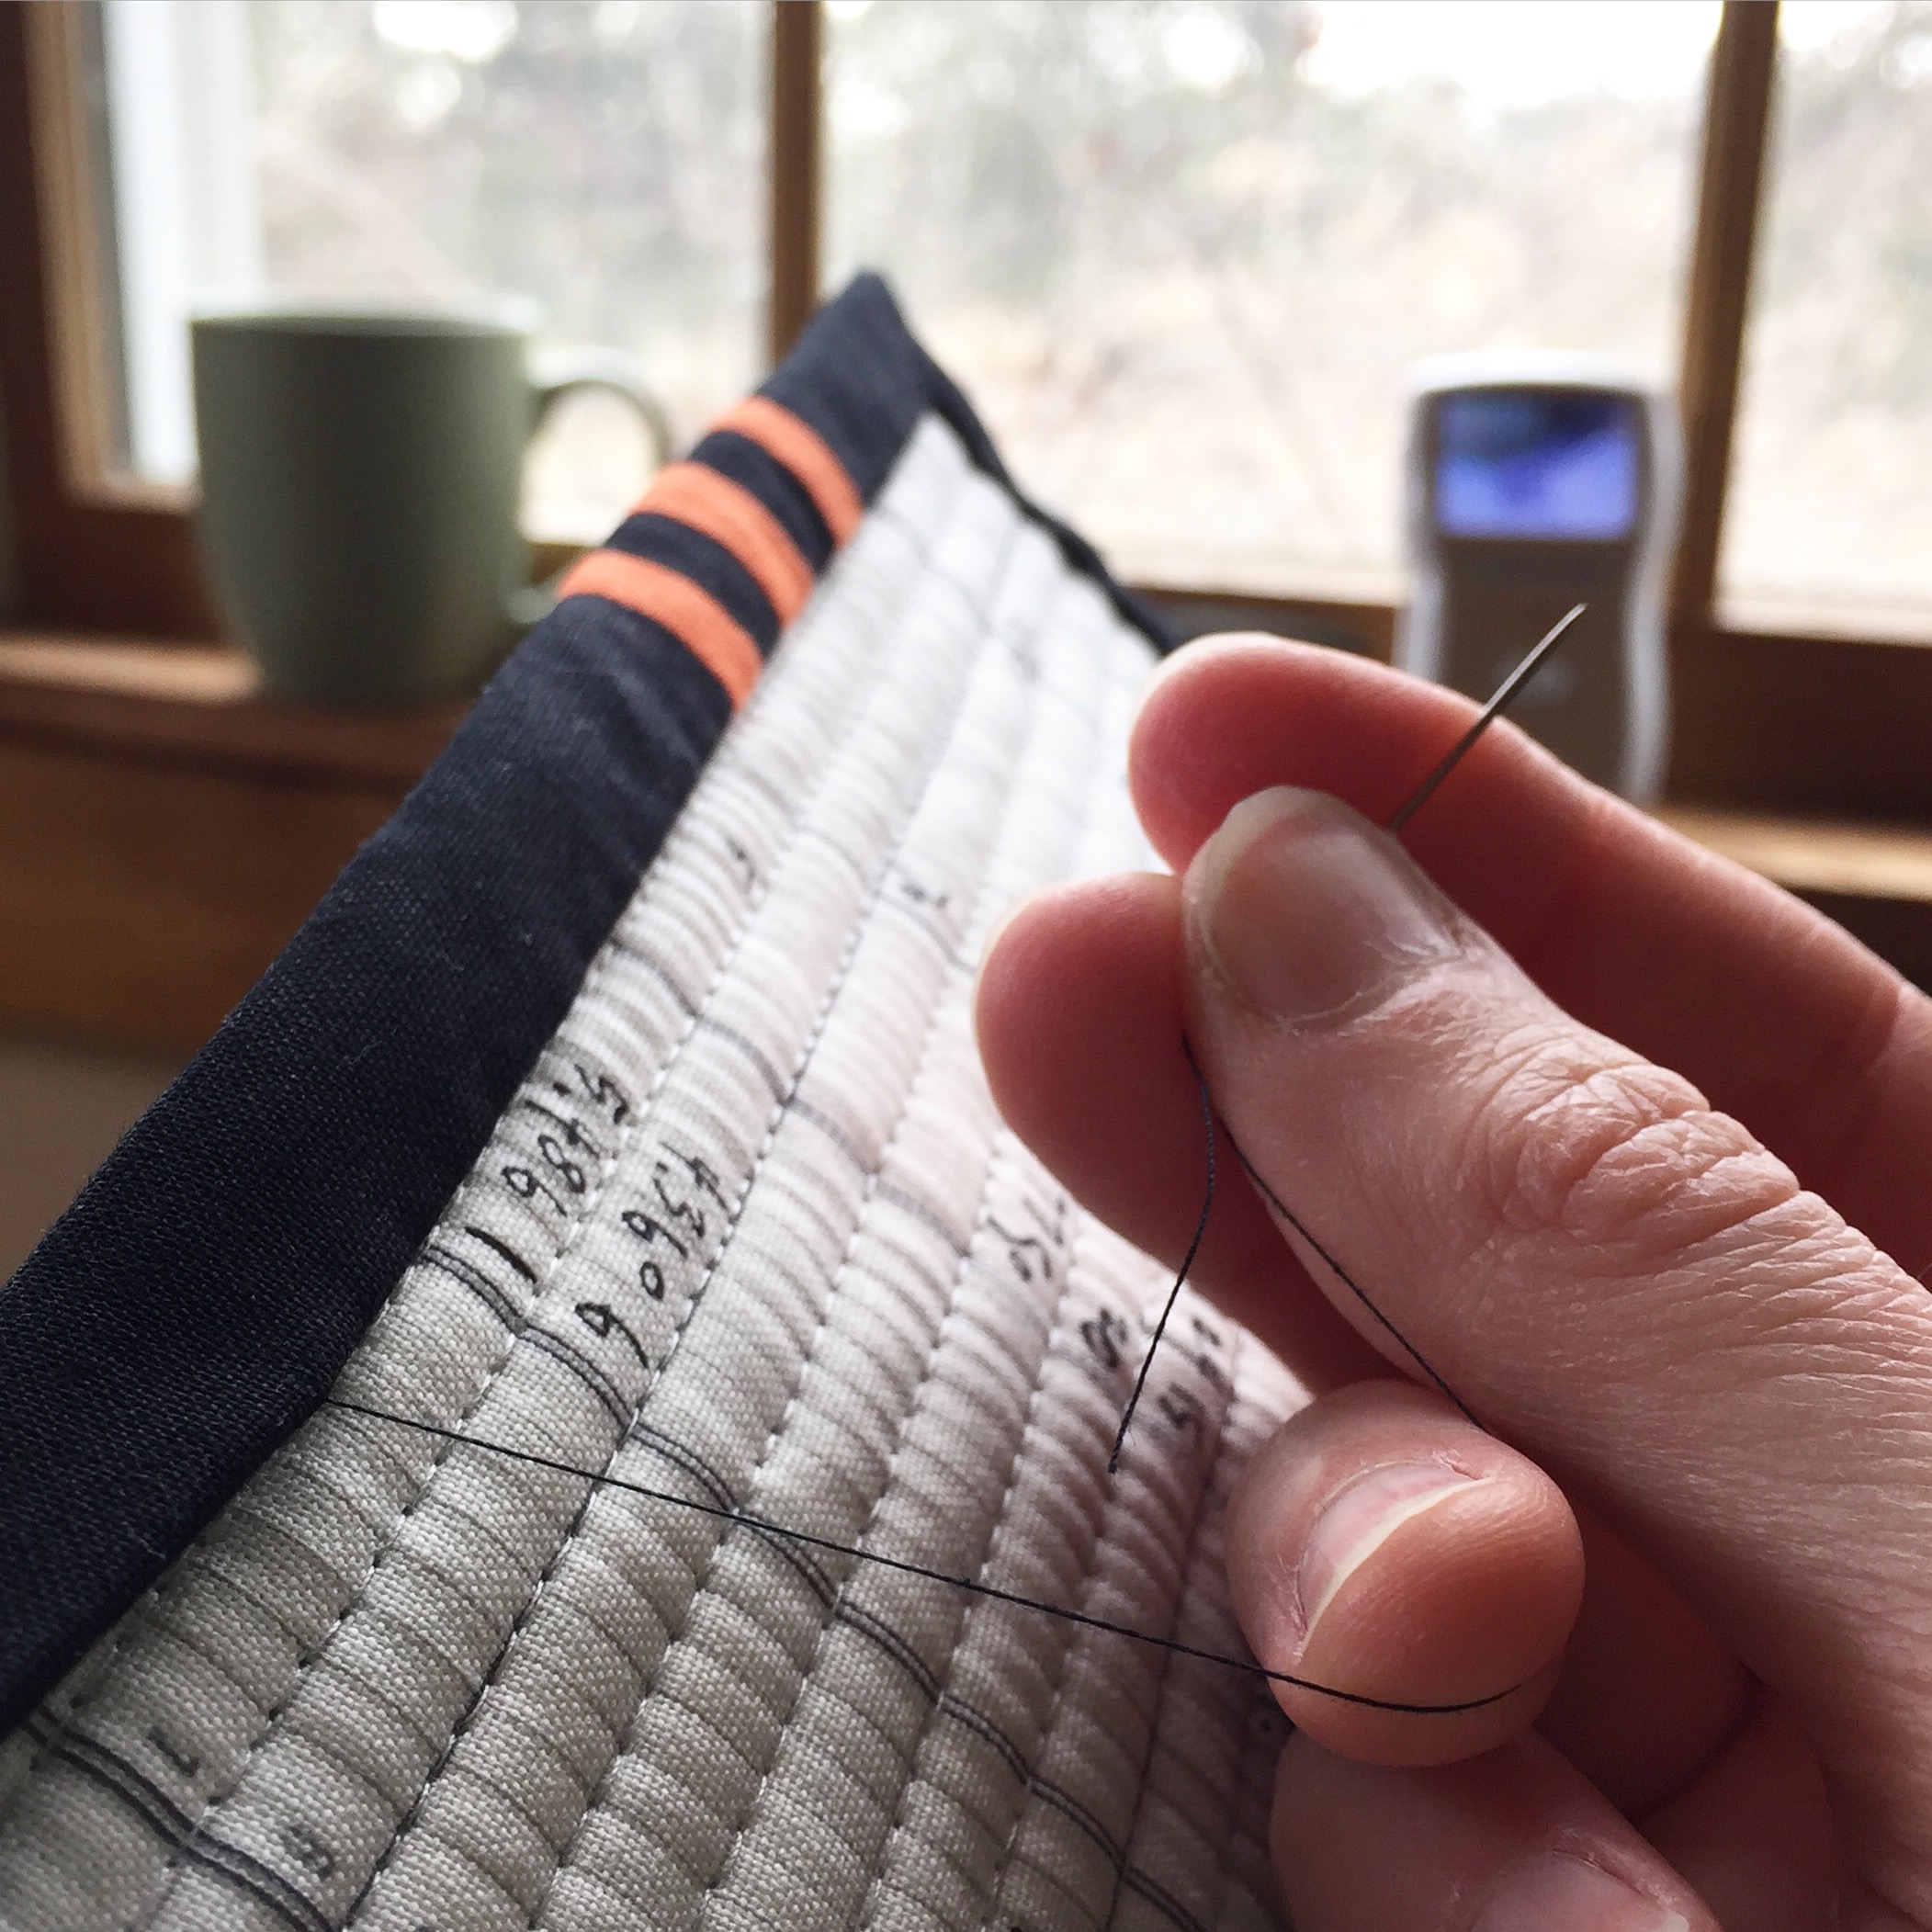
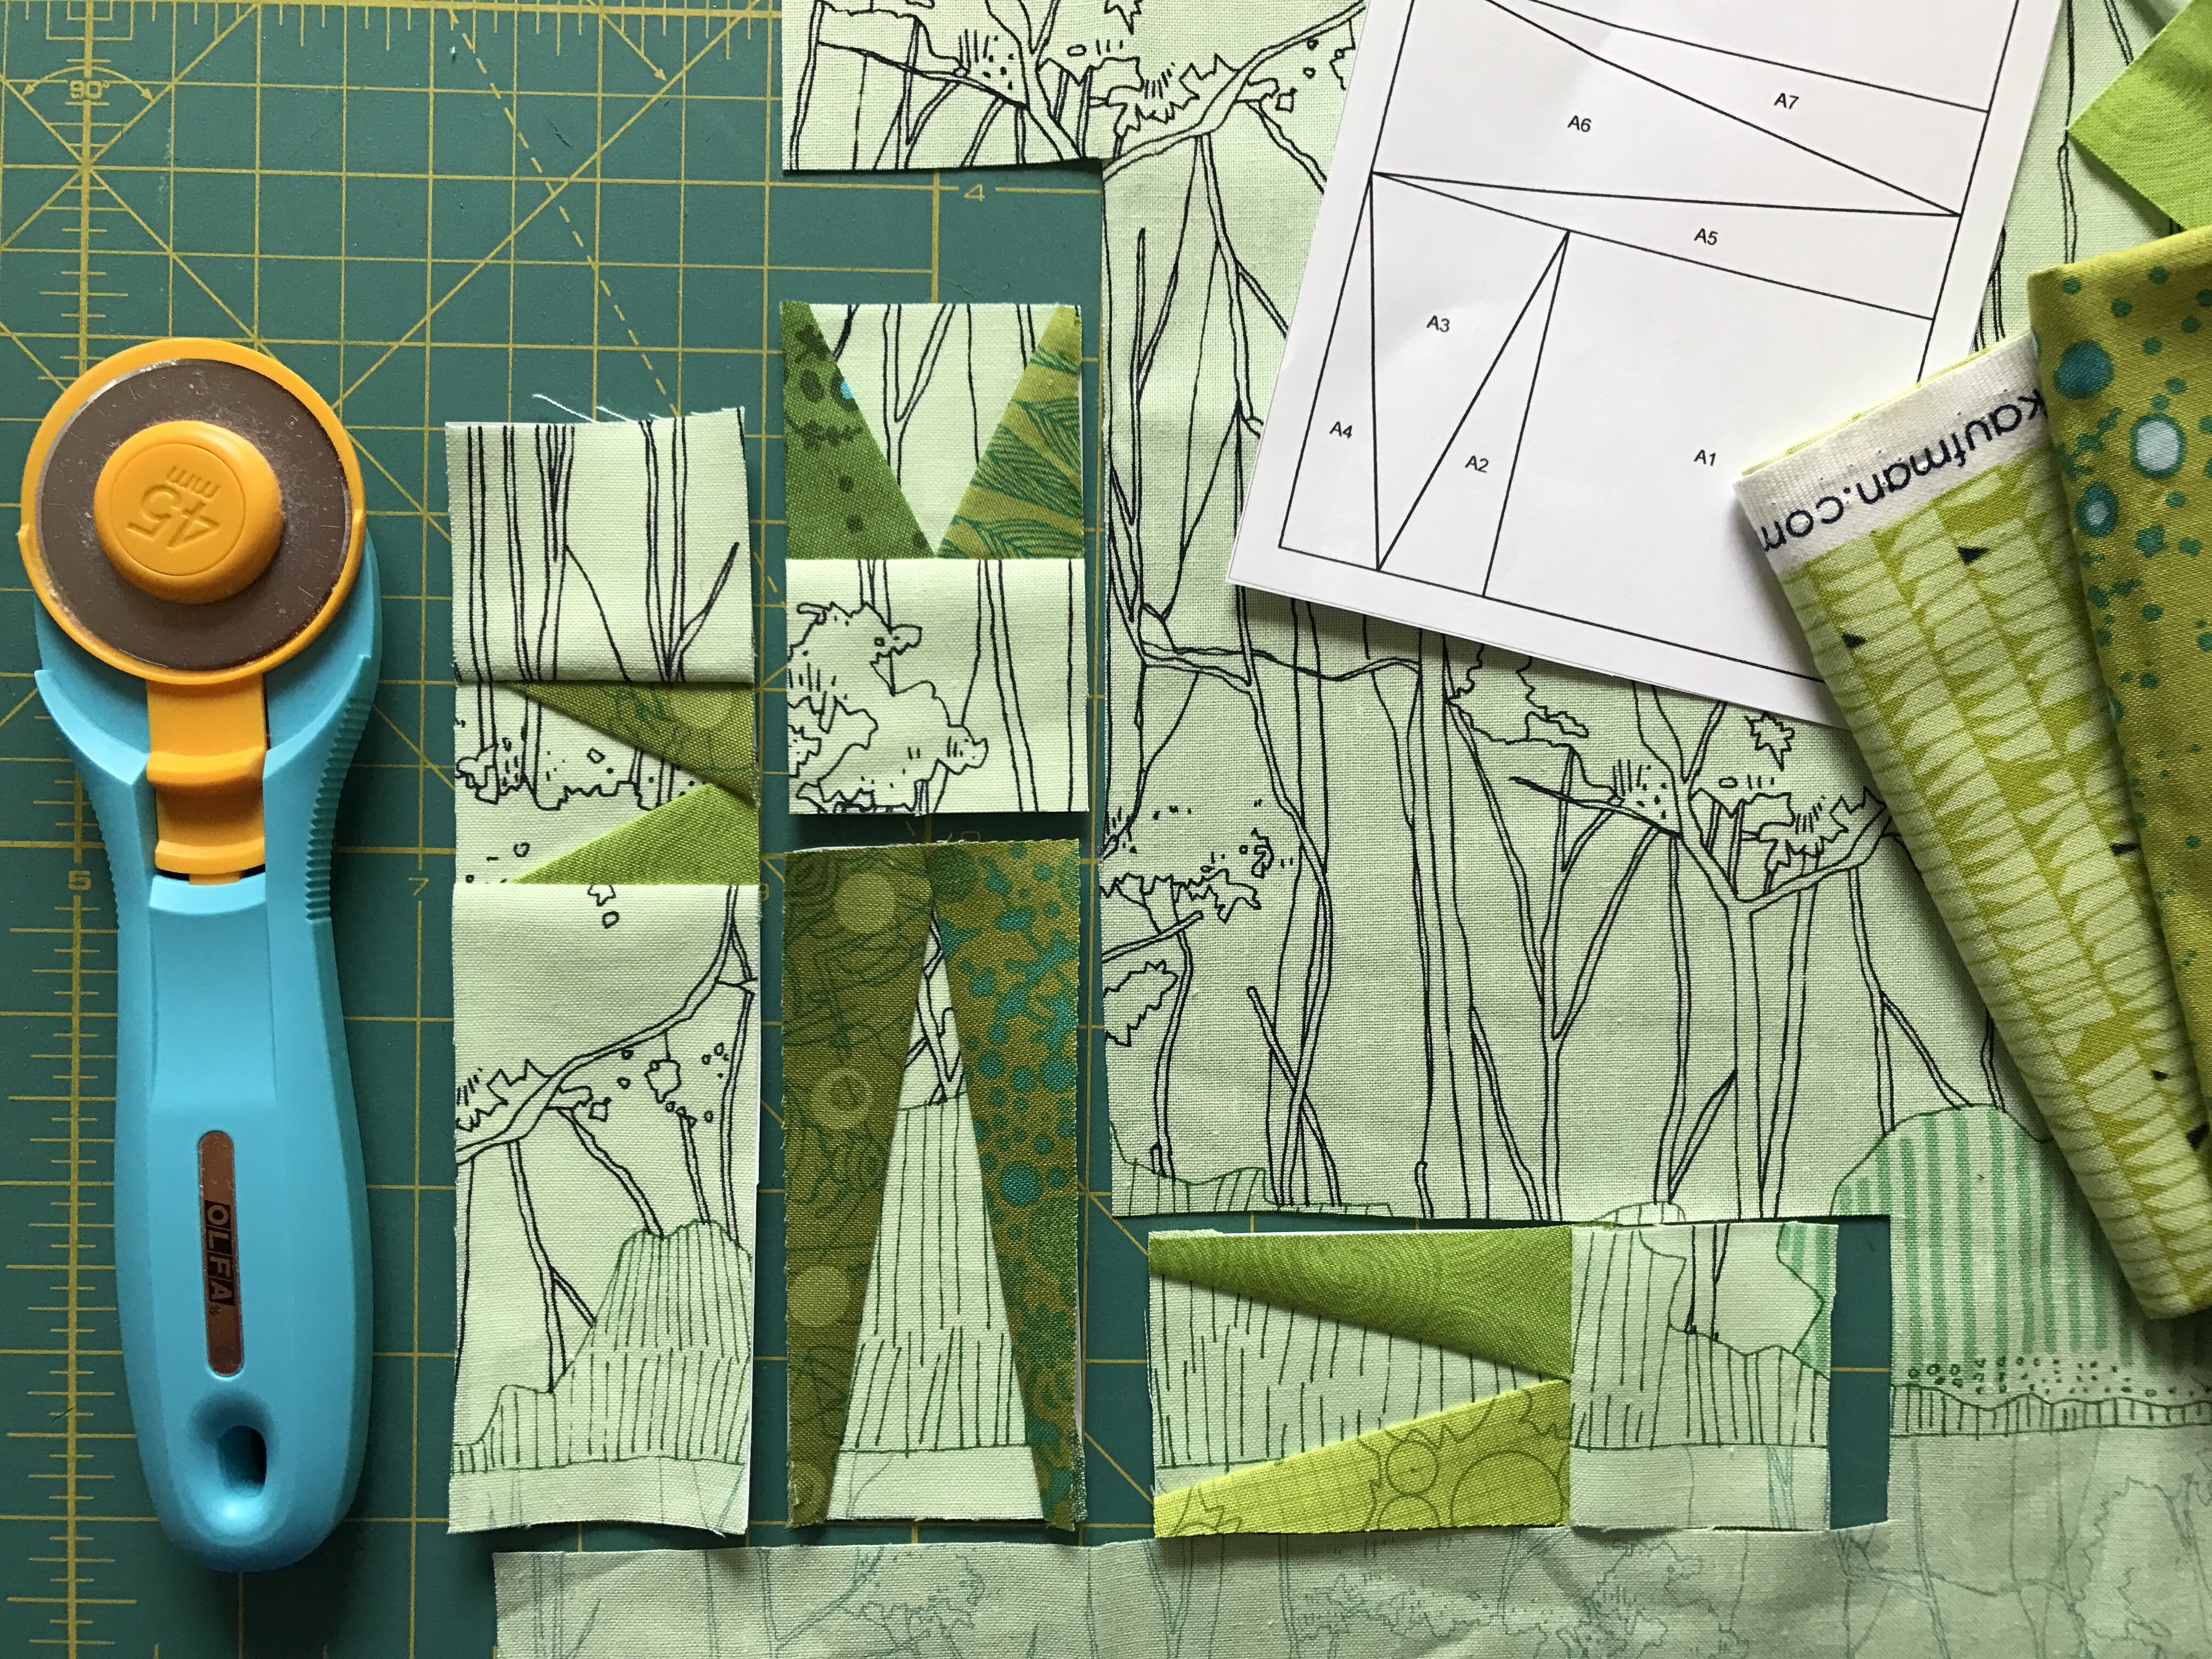 It’s also helpful to cut as you go, completing one template piece at a time and double checking your progress along the way. This certainly takes longer than cutting all of the necessary fabric pieces and chain piecing each section, but when playing the meticulous cutting game, it’s wise to go slowly and steadily, checking and double checking along the way.
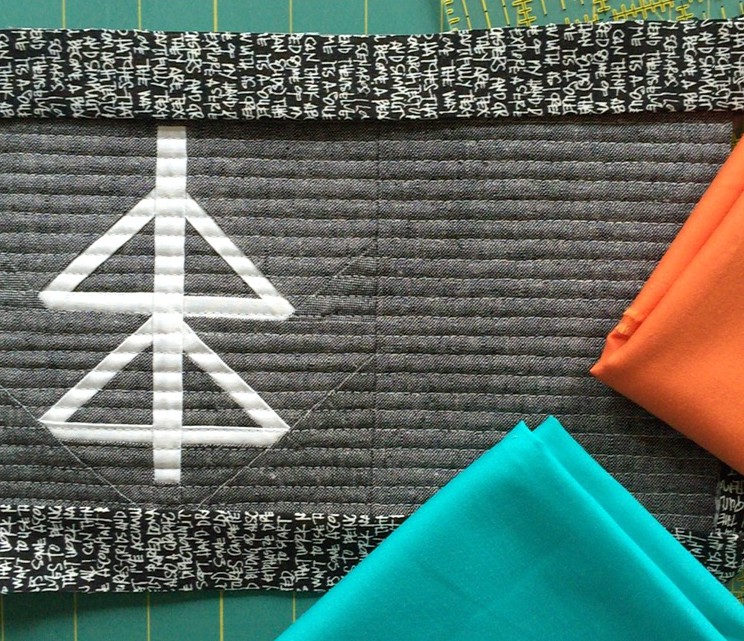
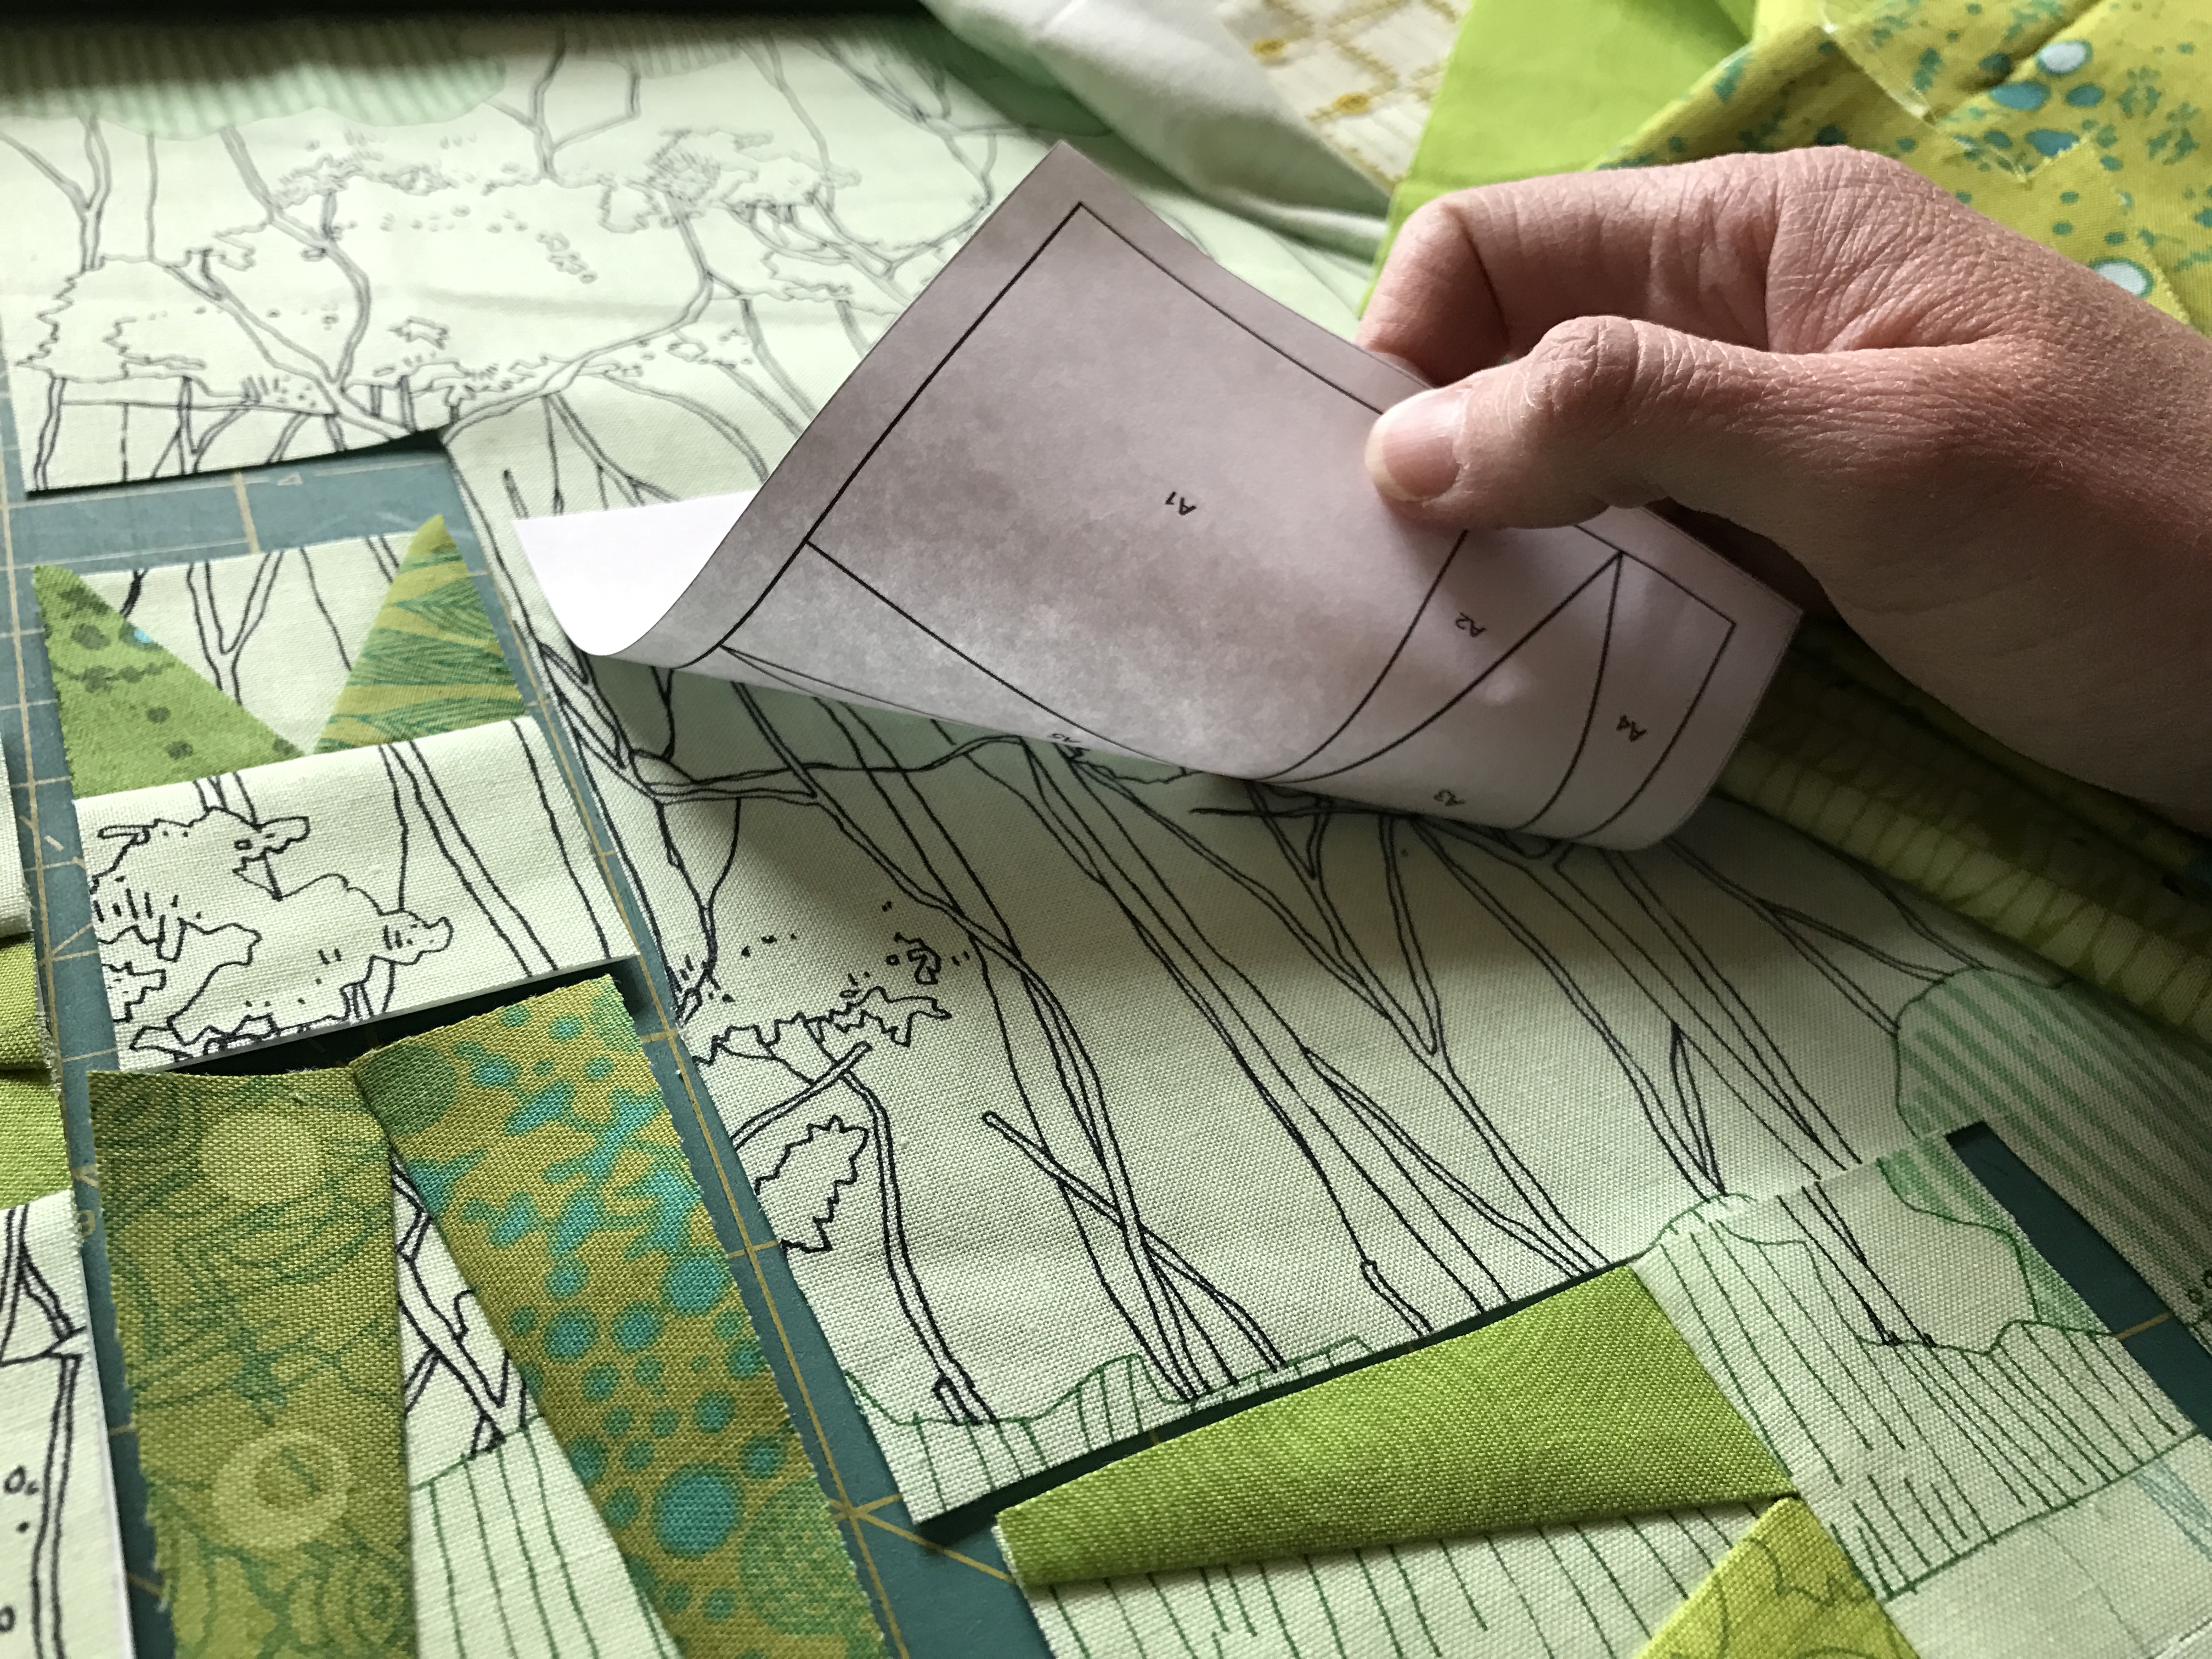
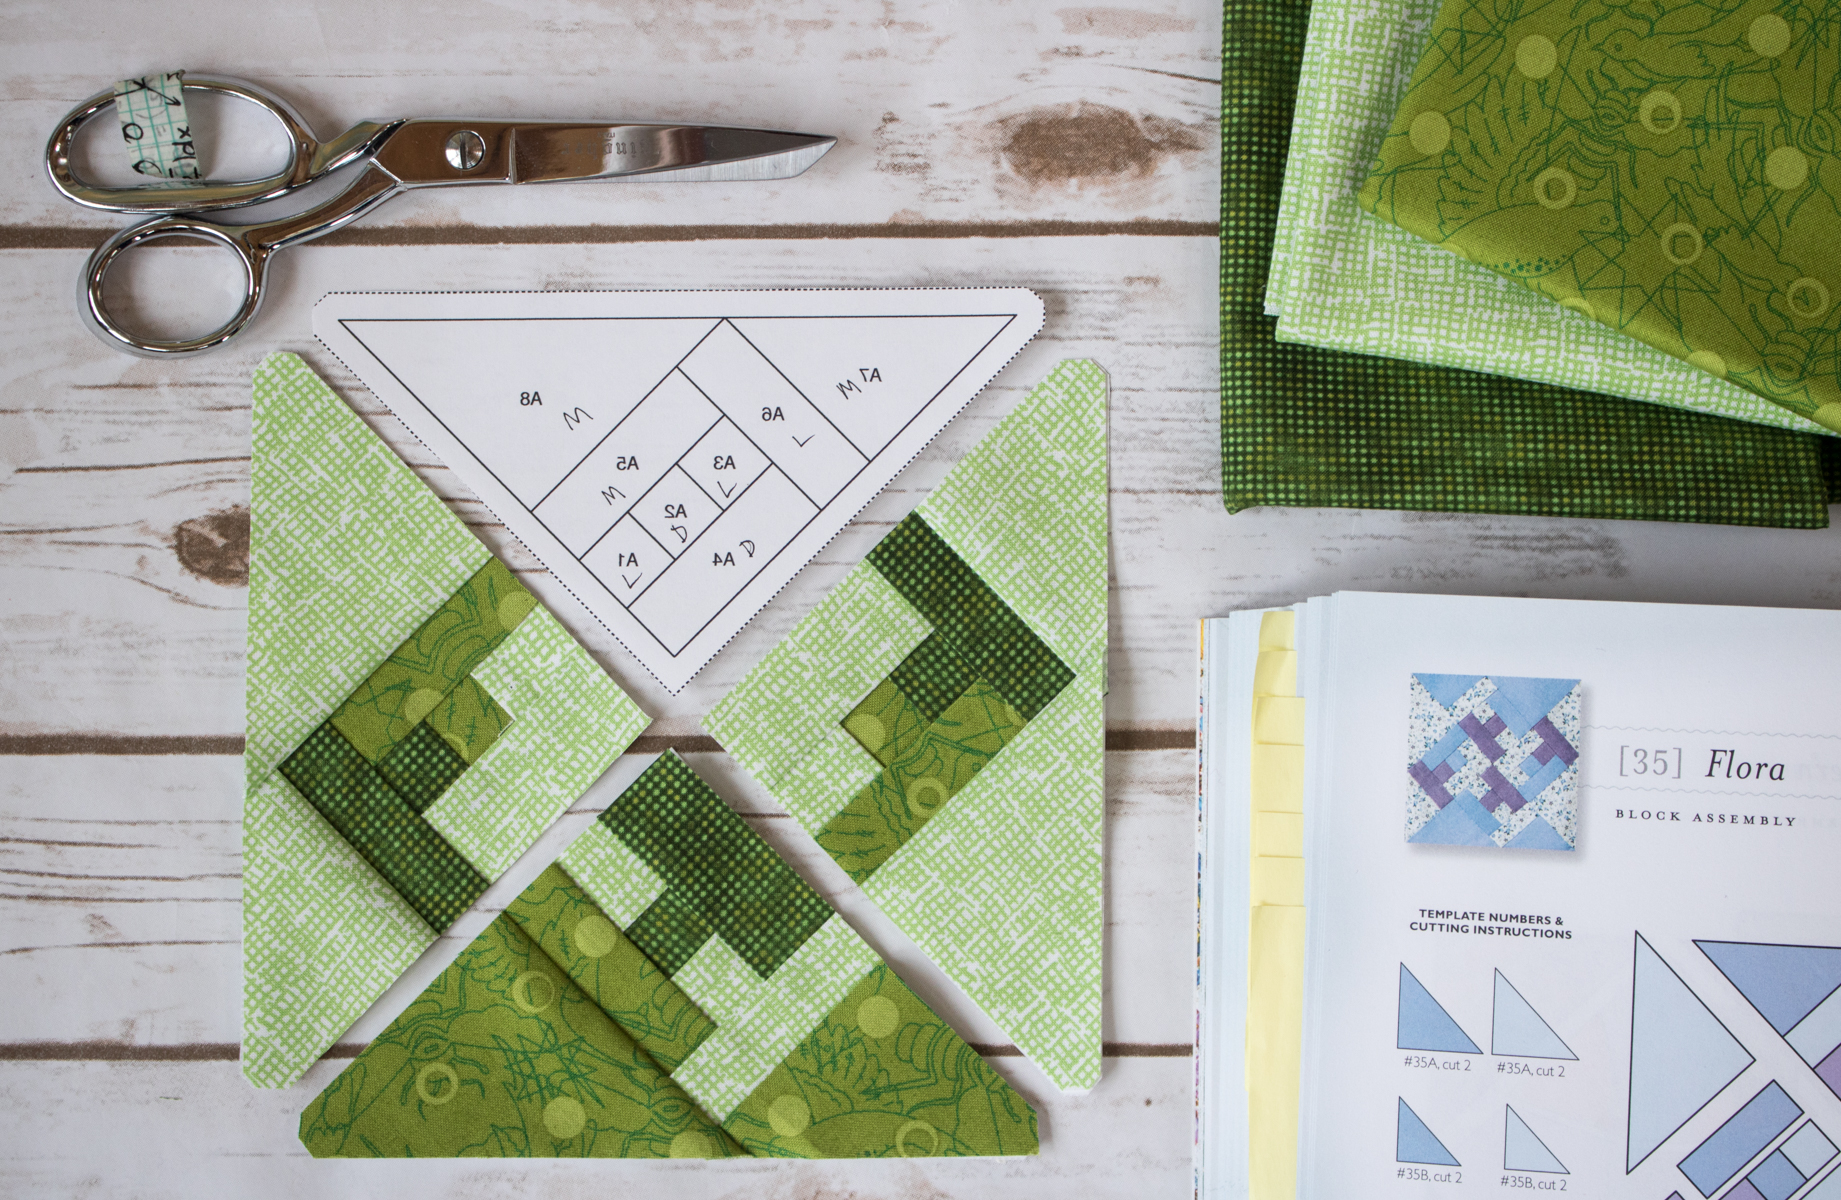
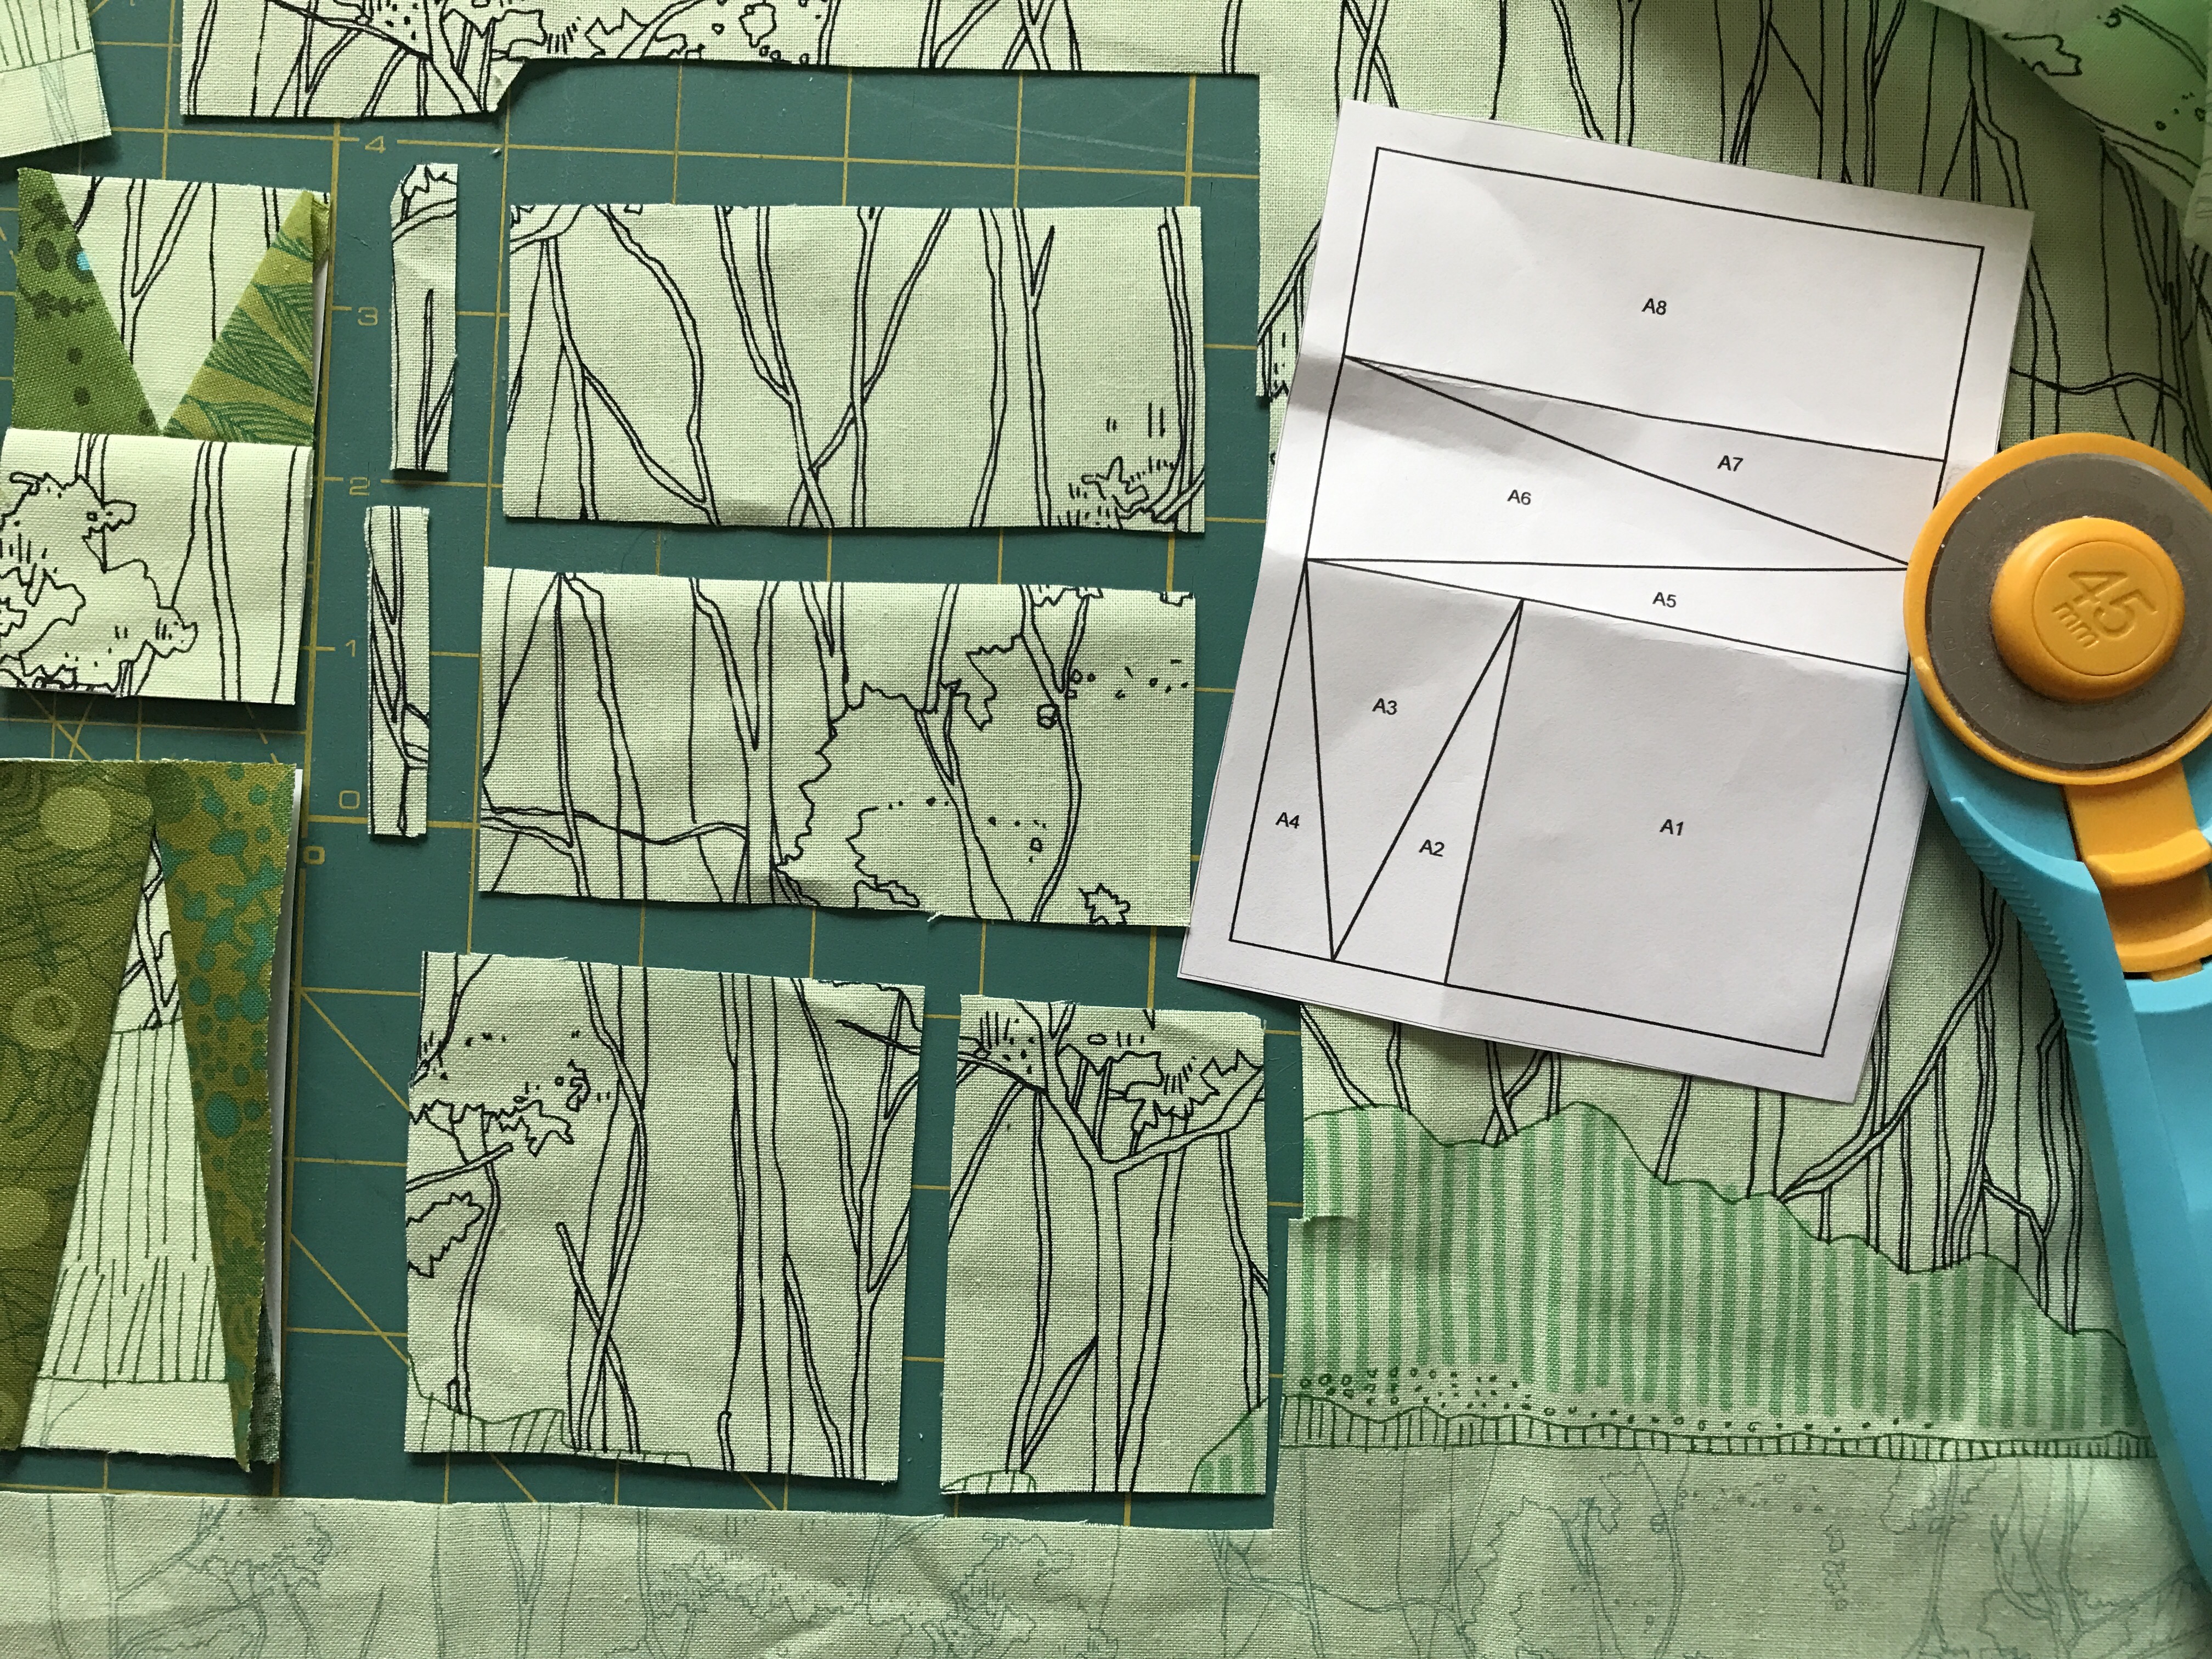 In the photo above, the pieces of background fabric are cut for each section of the final foundation template (remember that the fabric will go on the back, so it appears mirrored when looking at them next to each other this way.) The final adjustment that can be made is with the numbering and order in which fabrics are sewn. With a basic understanding of how foundation paper piecing works, you can rearrange your piecing order to help easily align your fabric pieces. For this block, I always began with the center of the star points when at all possible so that it made it easy to keep the background fabric level and headed in the desired direction. For the piece shown, instead of sewing them in the listed order of A1, A2, A3, etc…, I positioned A3, then sewed A2, then A4, then A1. This way, I only had one angled seam to line up properly (A5 to A6) in the entire block.
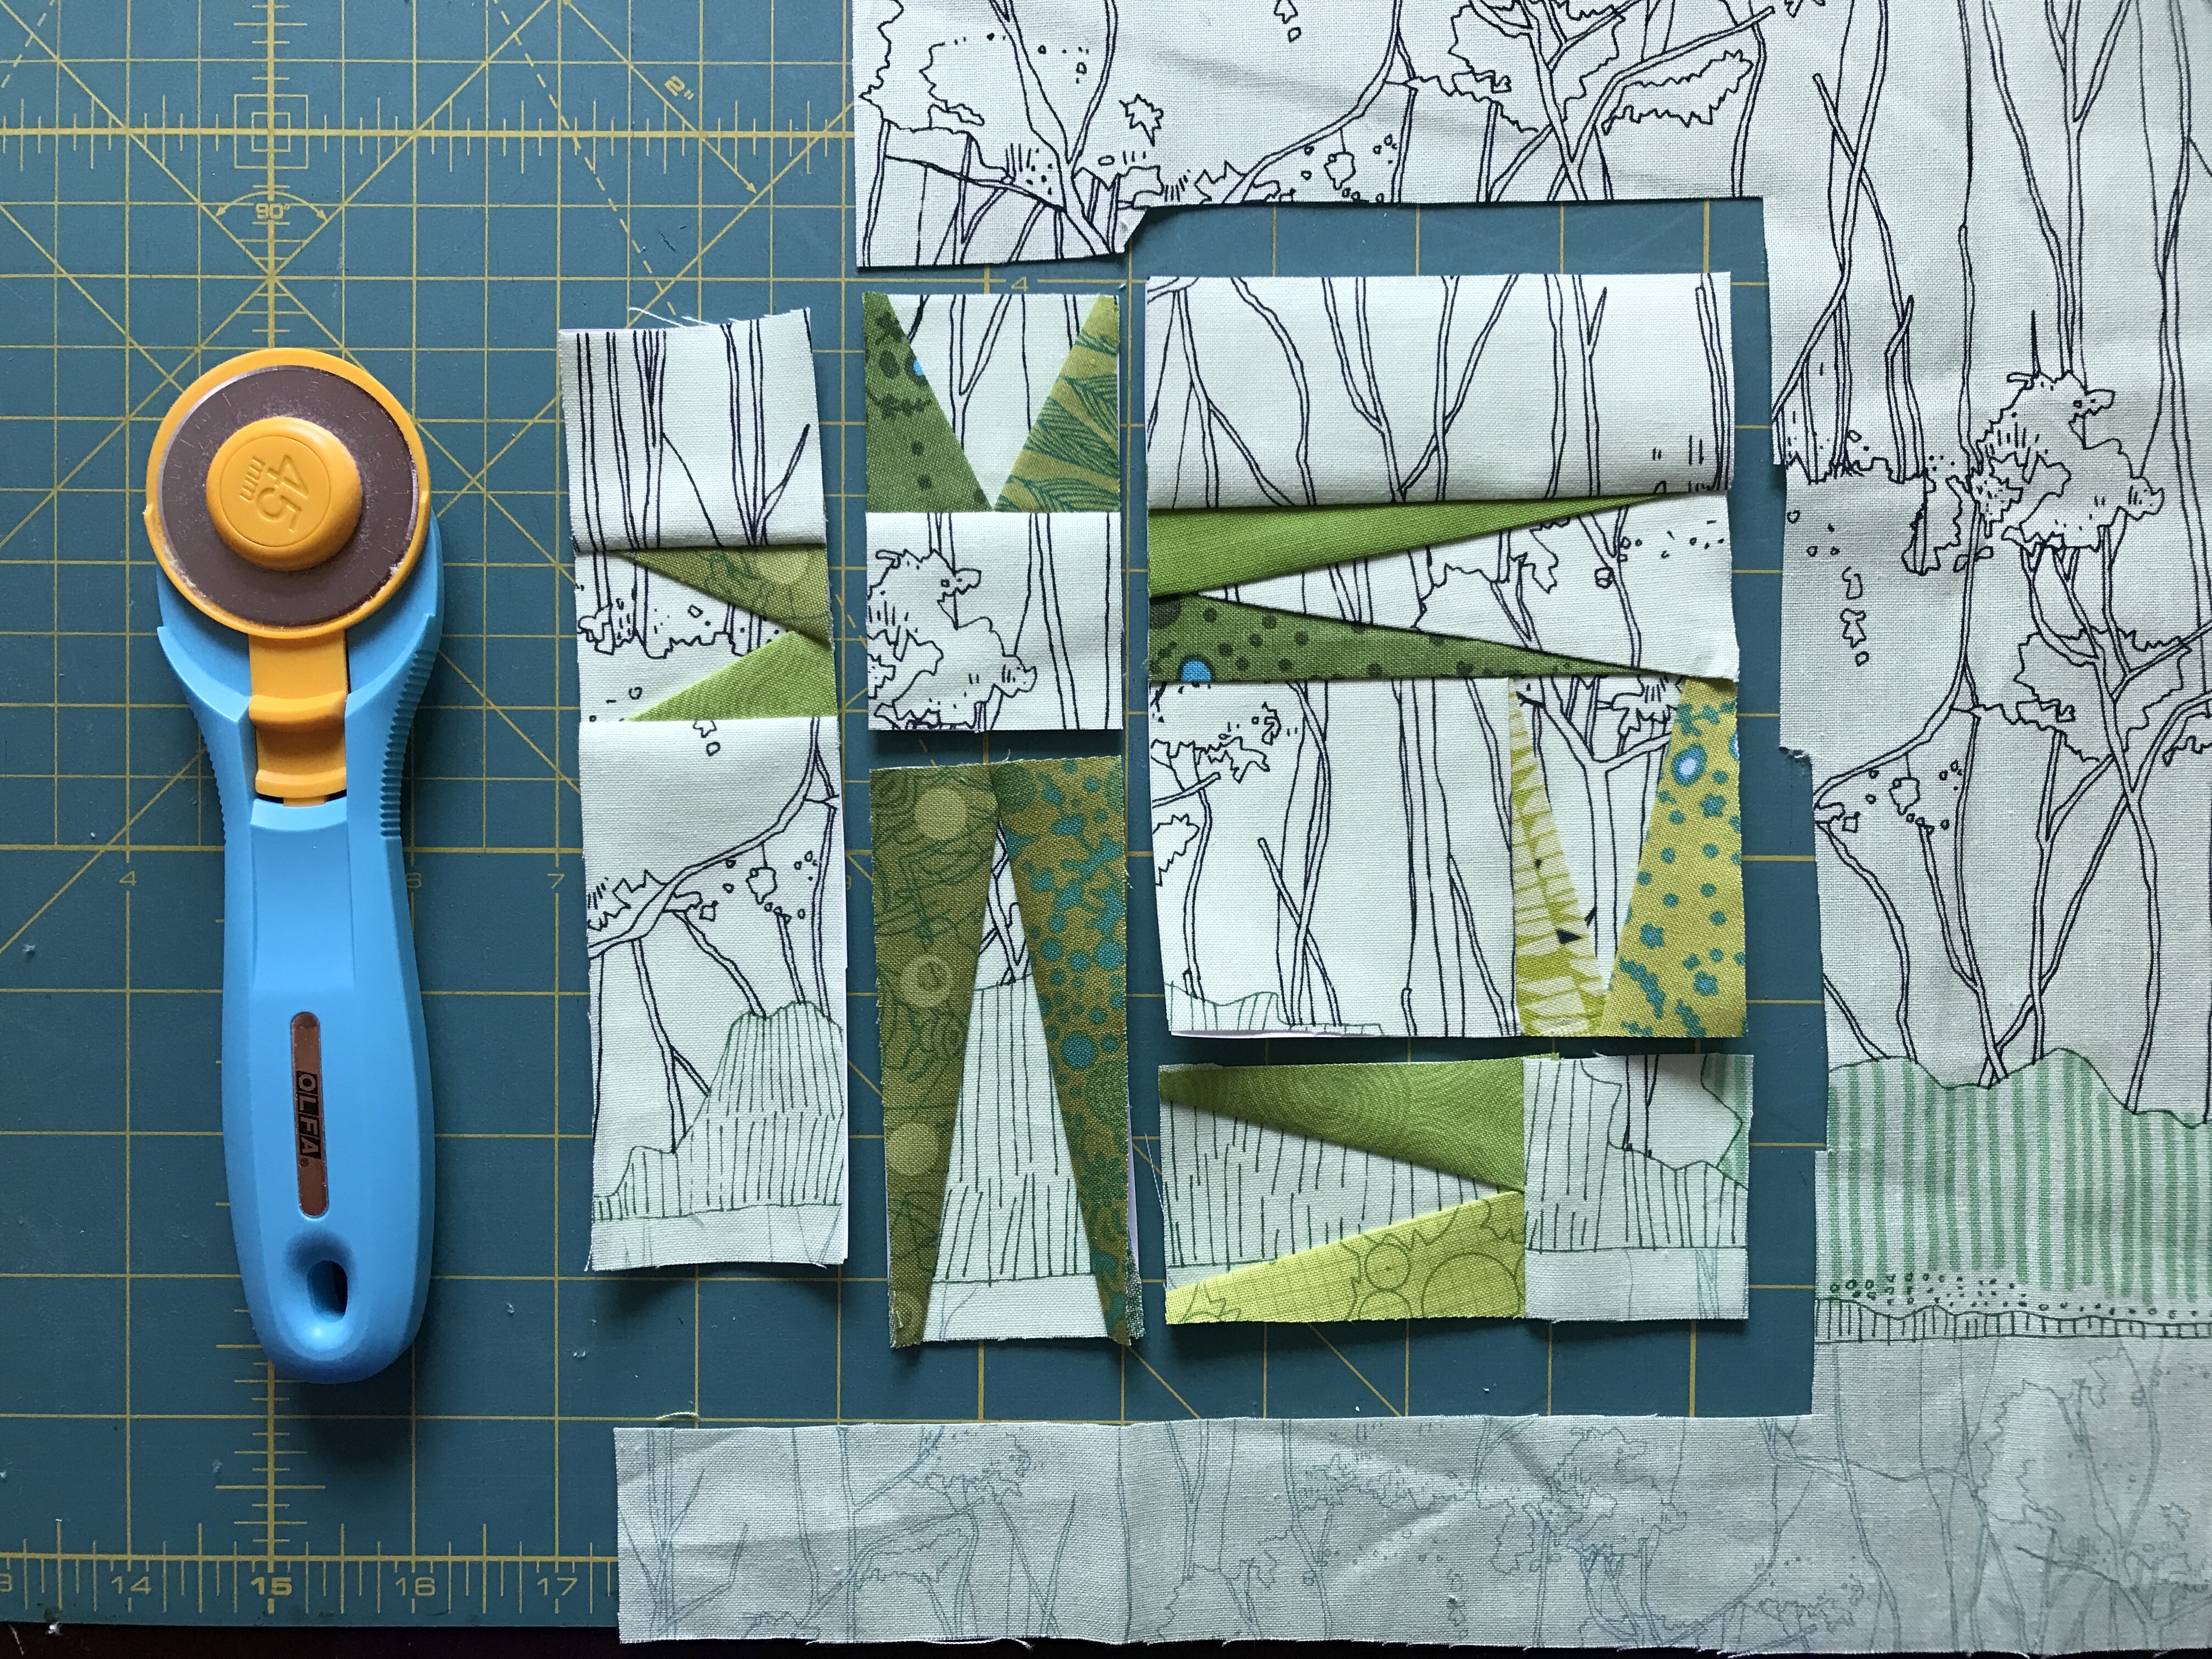
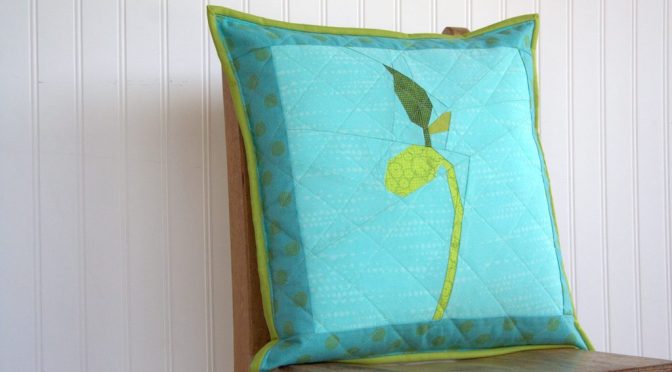
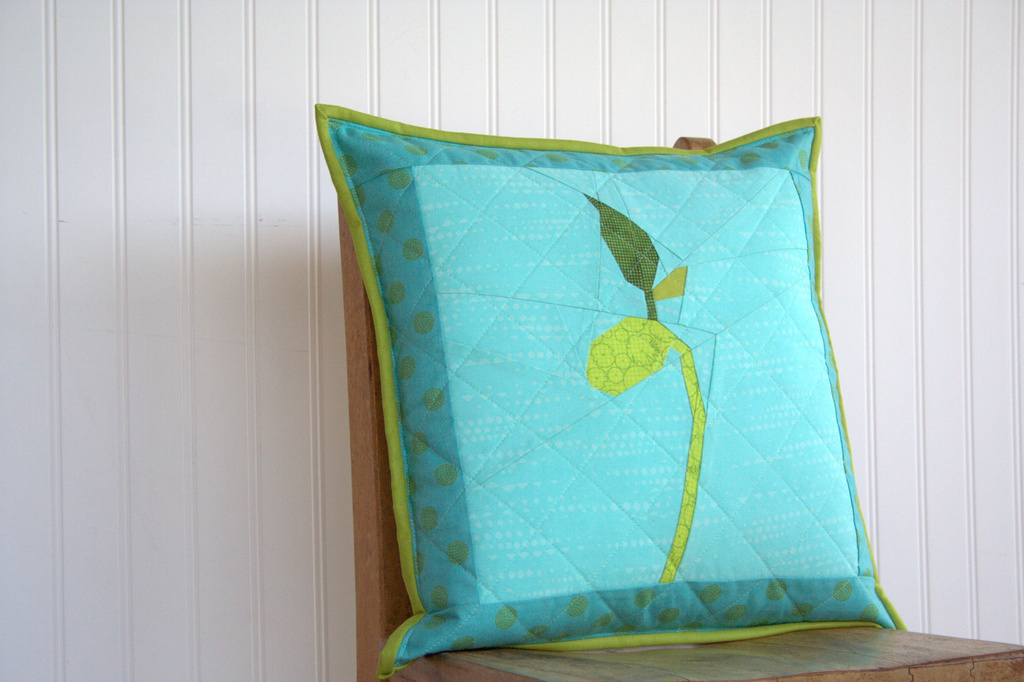
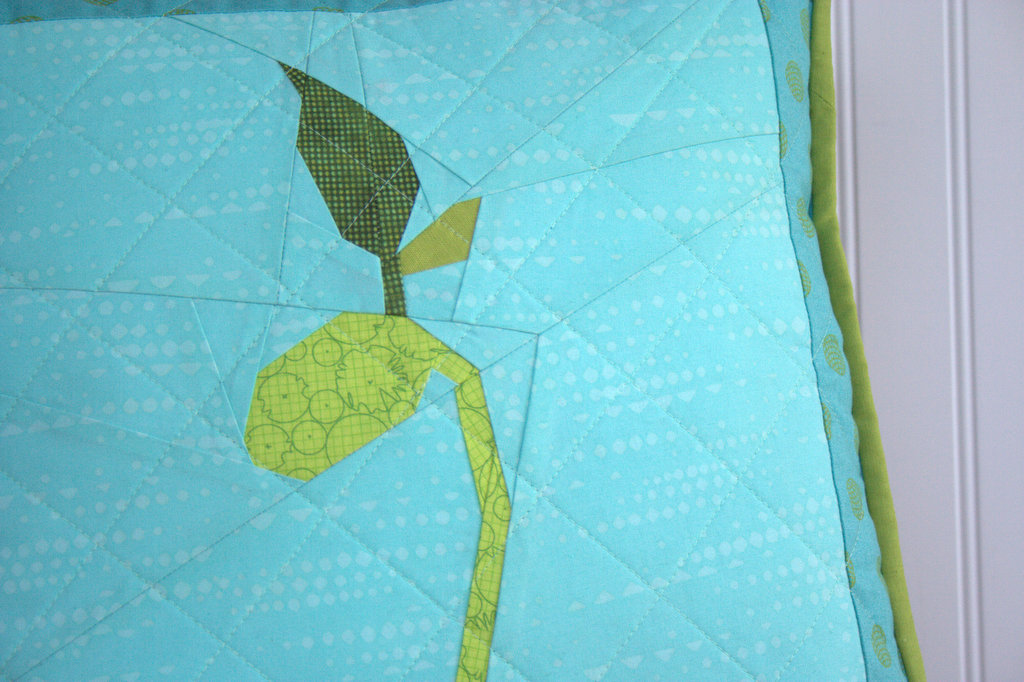
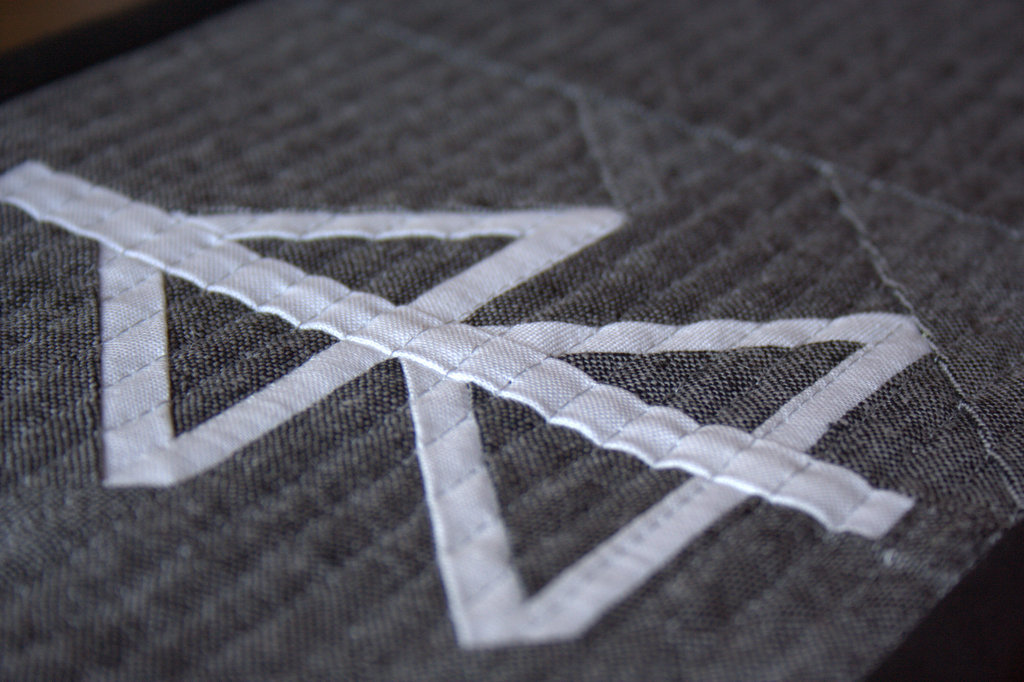
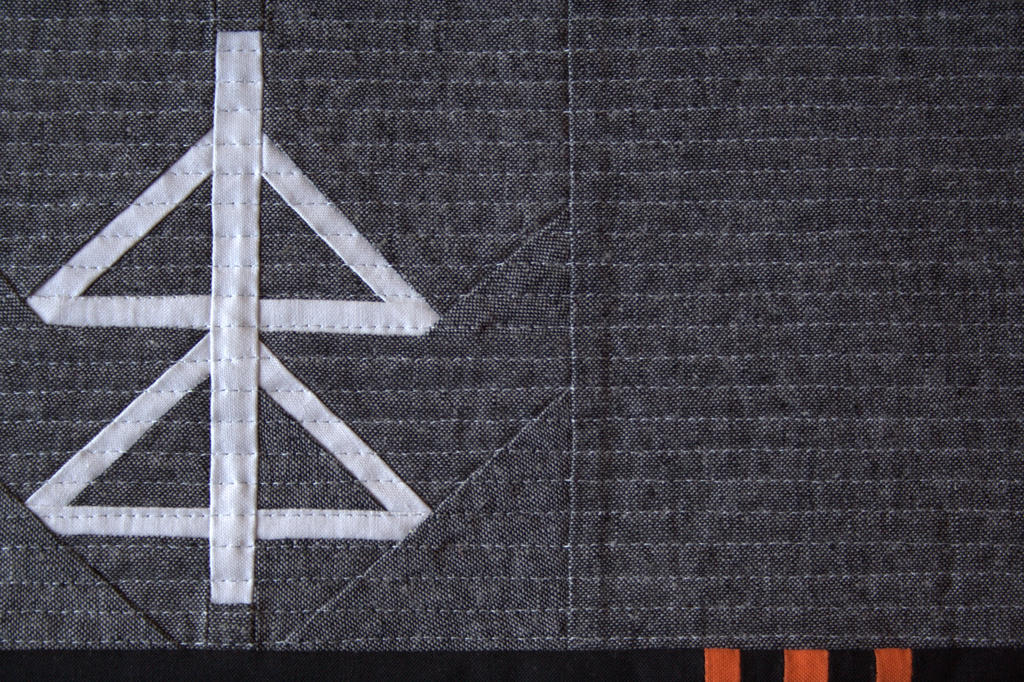
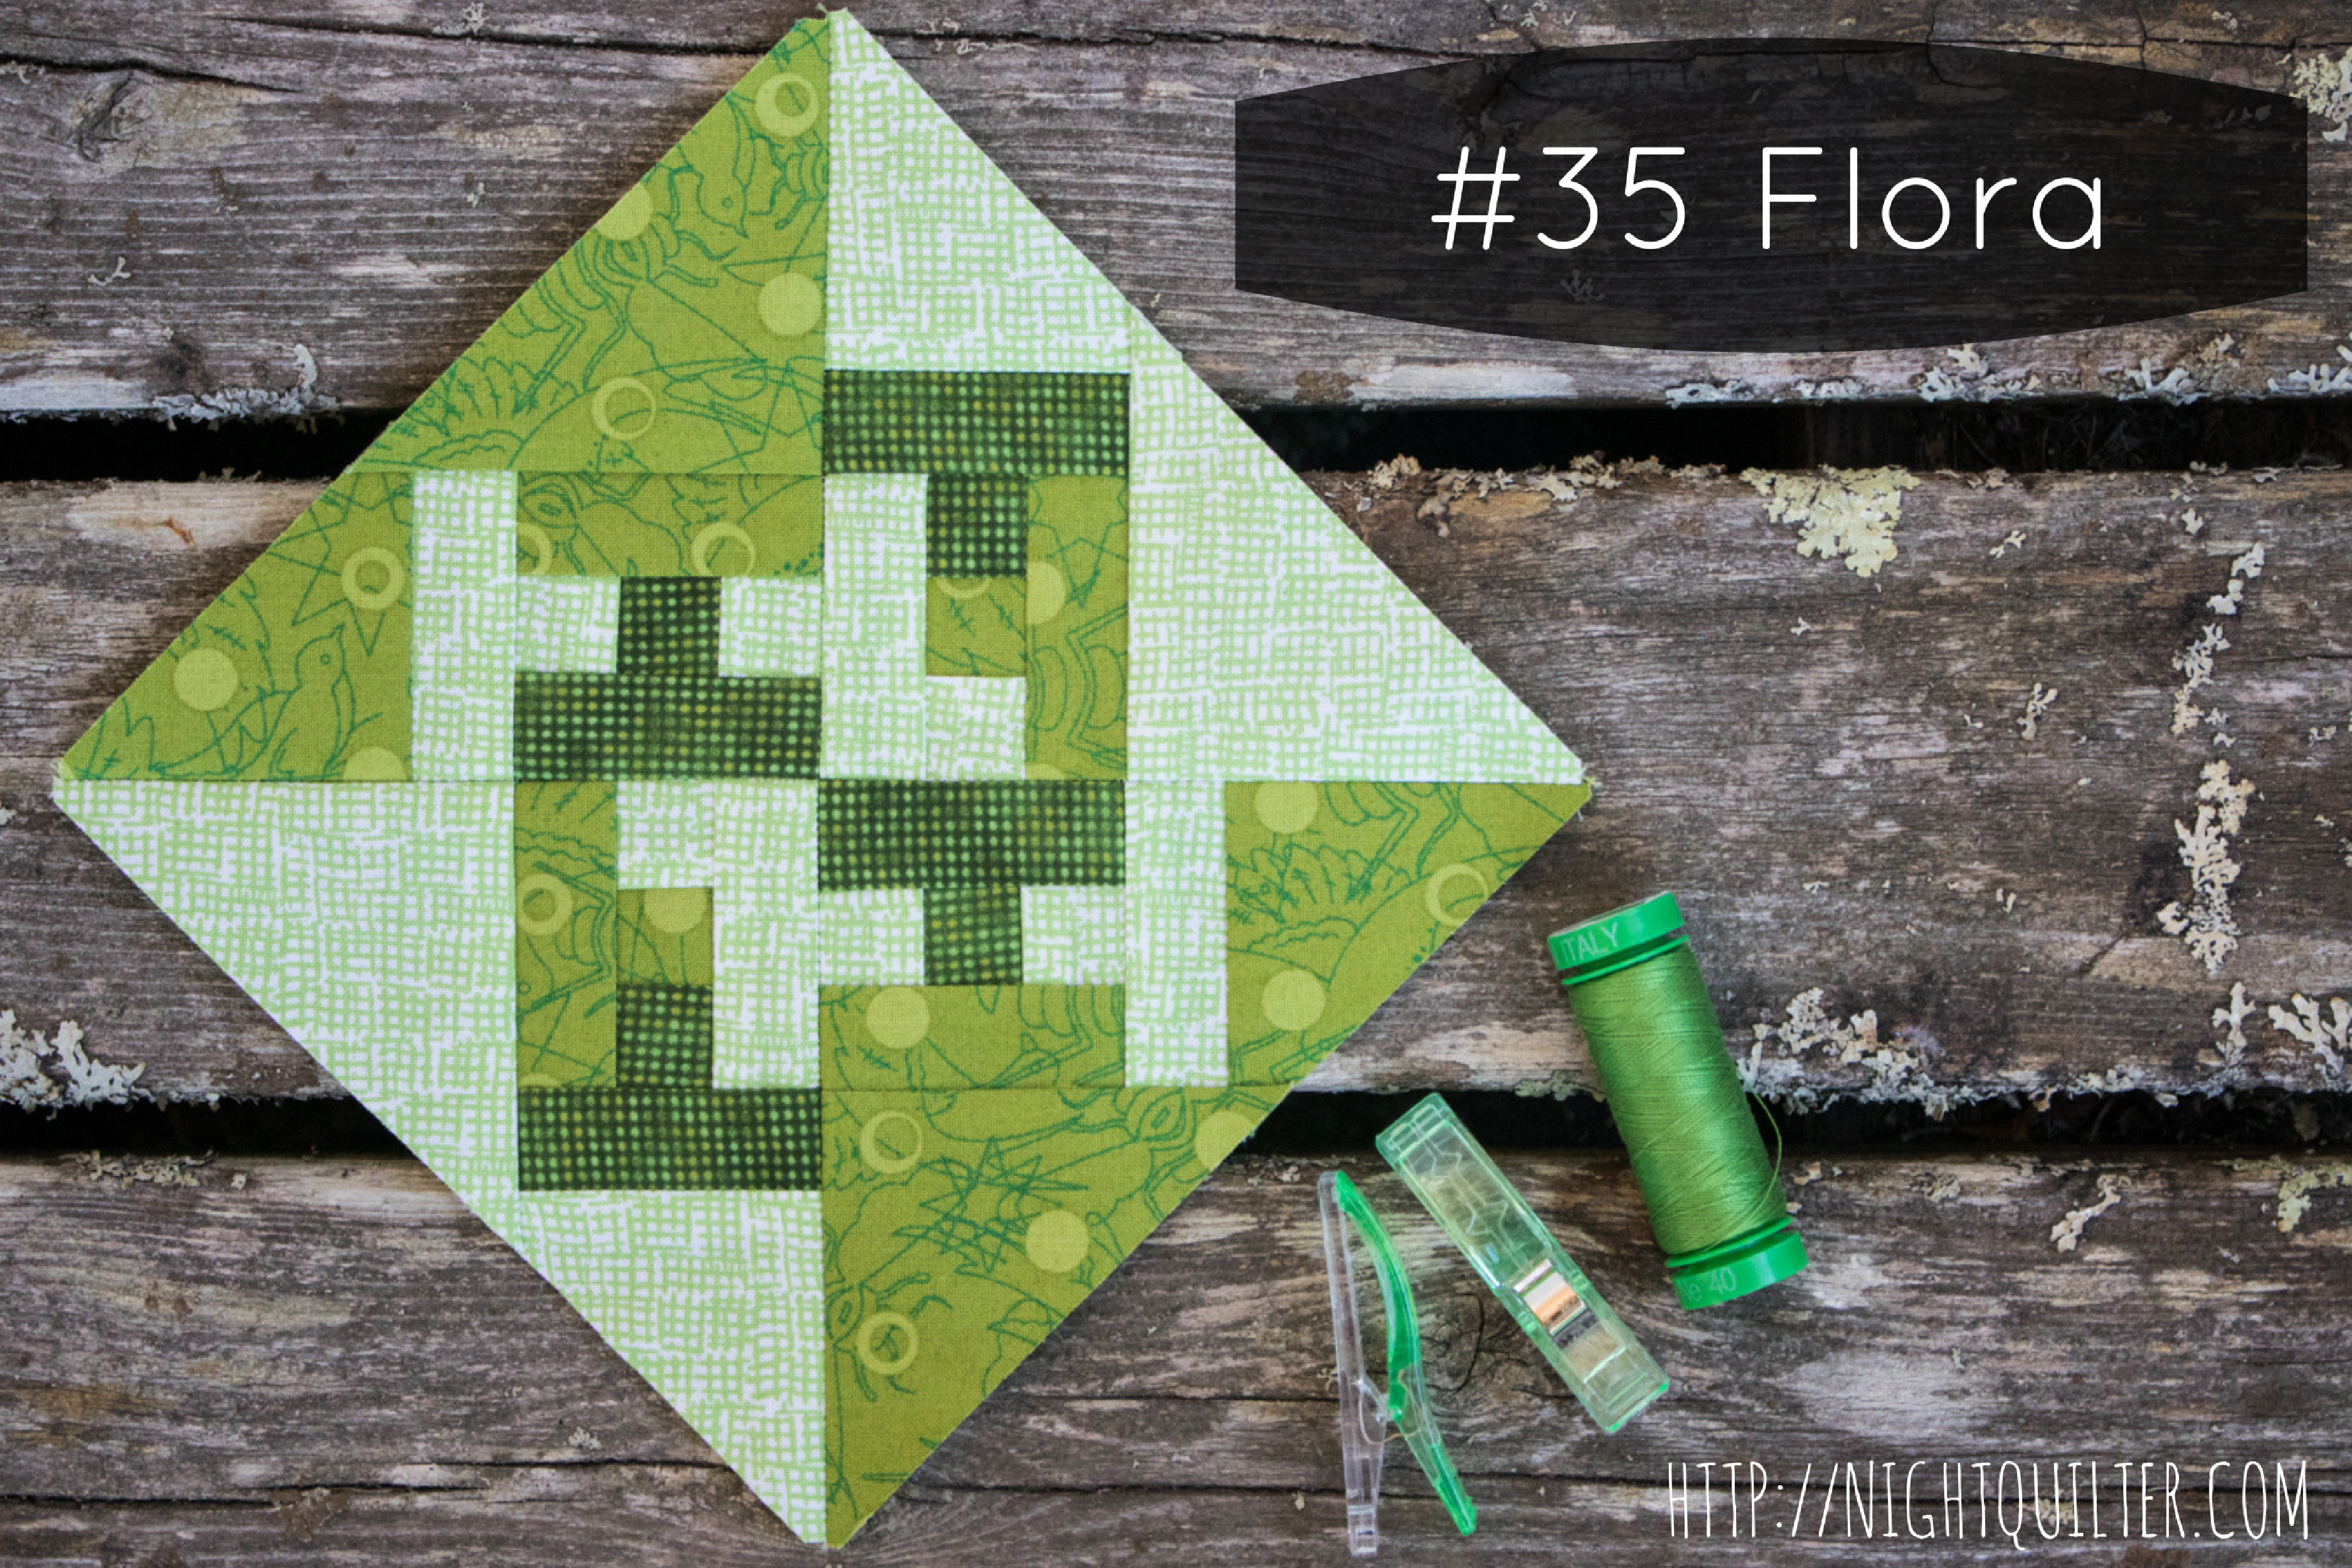
While this seamless background didn’t come across as clearly as I hoped due to the intricacies of the branches and print, I’m still glad I went through the extra effort to get those bushes lined up along the bottom. Even if at first glance, it’s not obvious that the background fabric lines up, I know it does, and that’s what matters, right!?
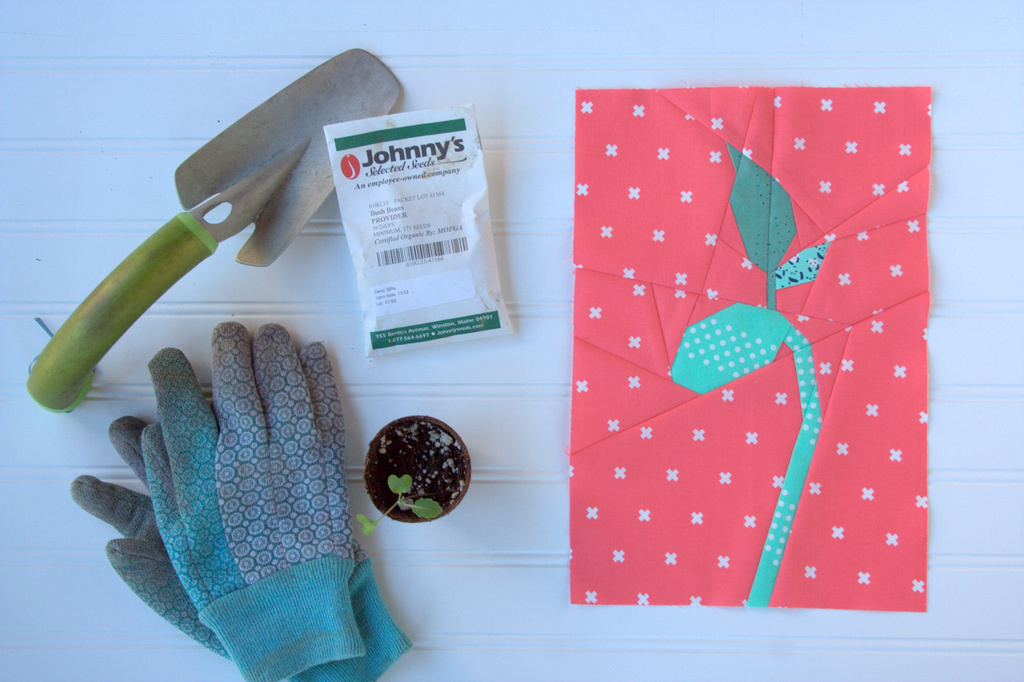
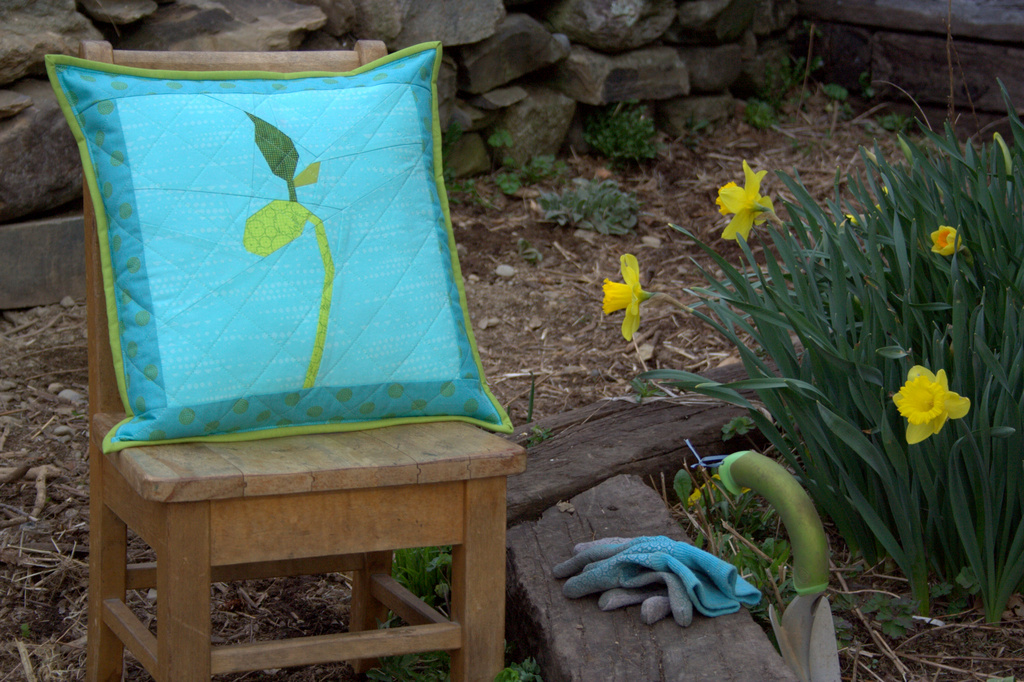
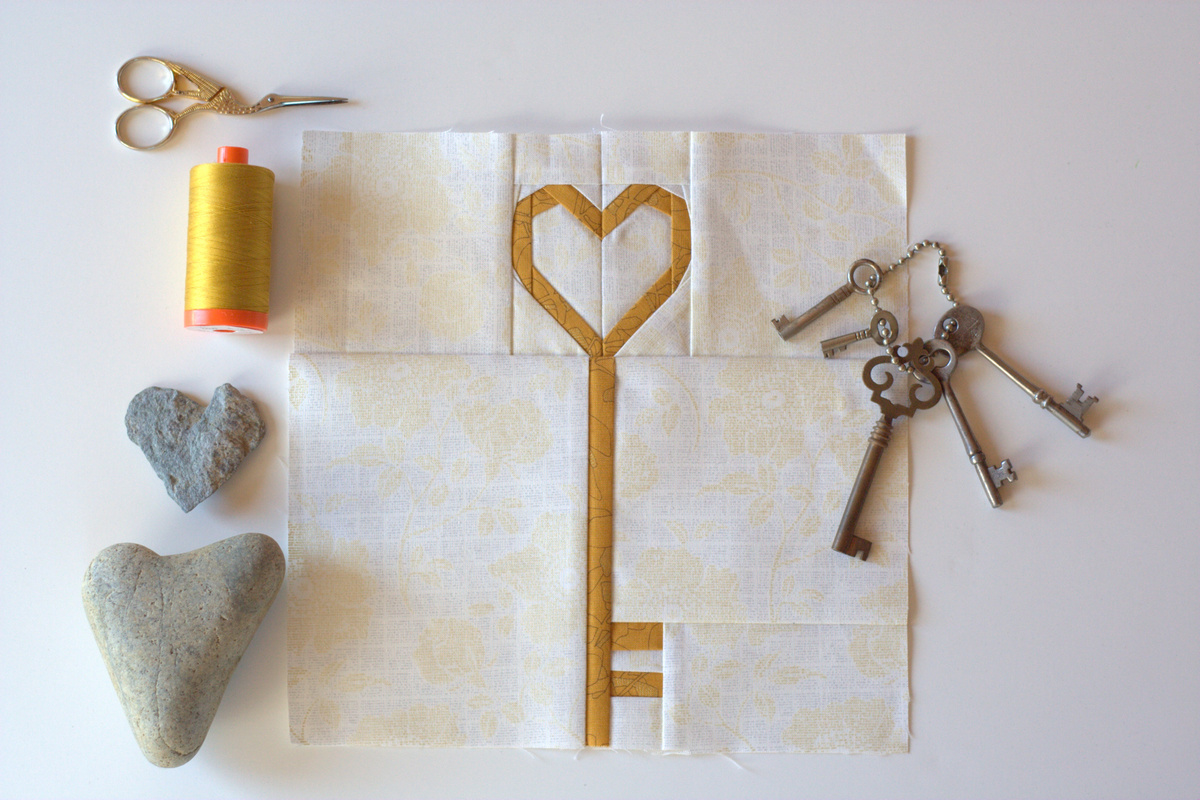
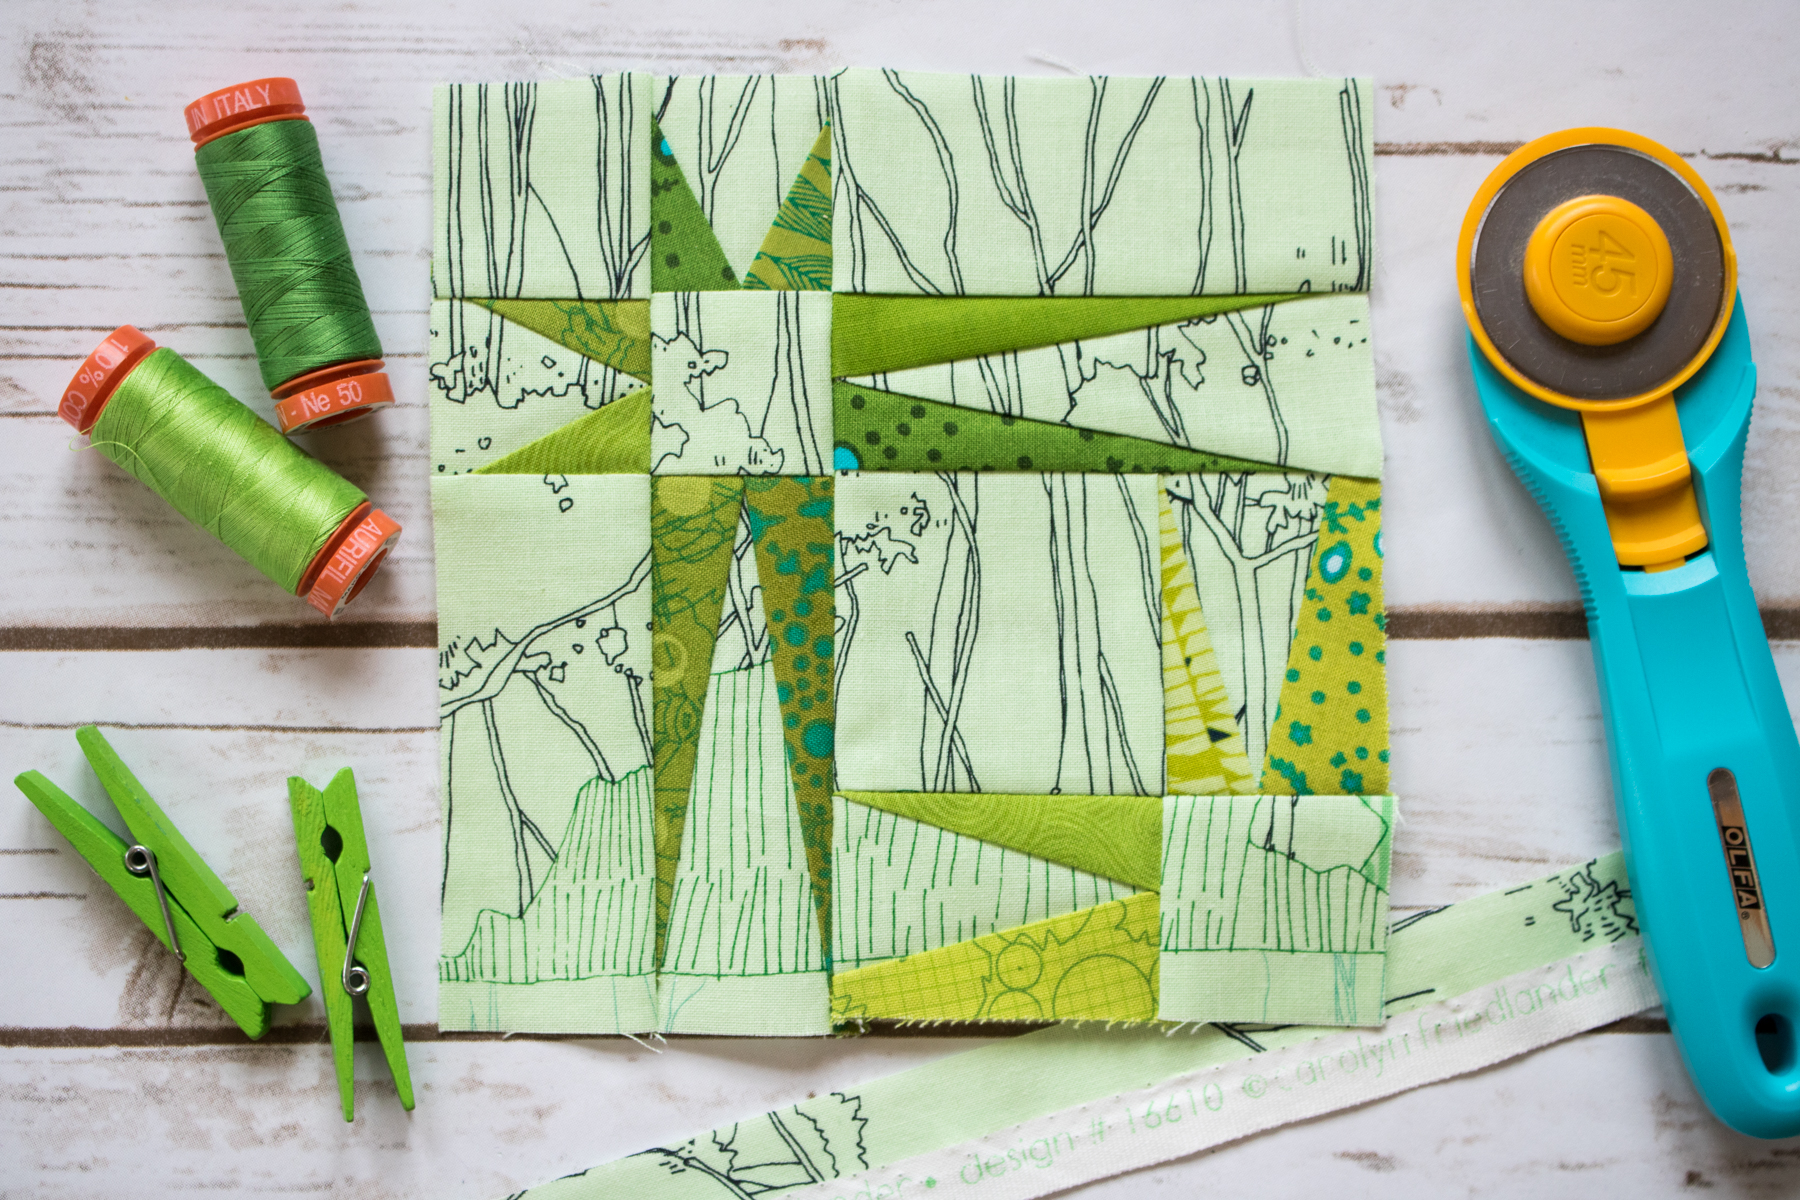
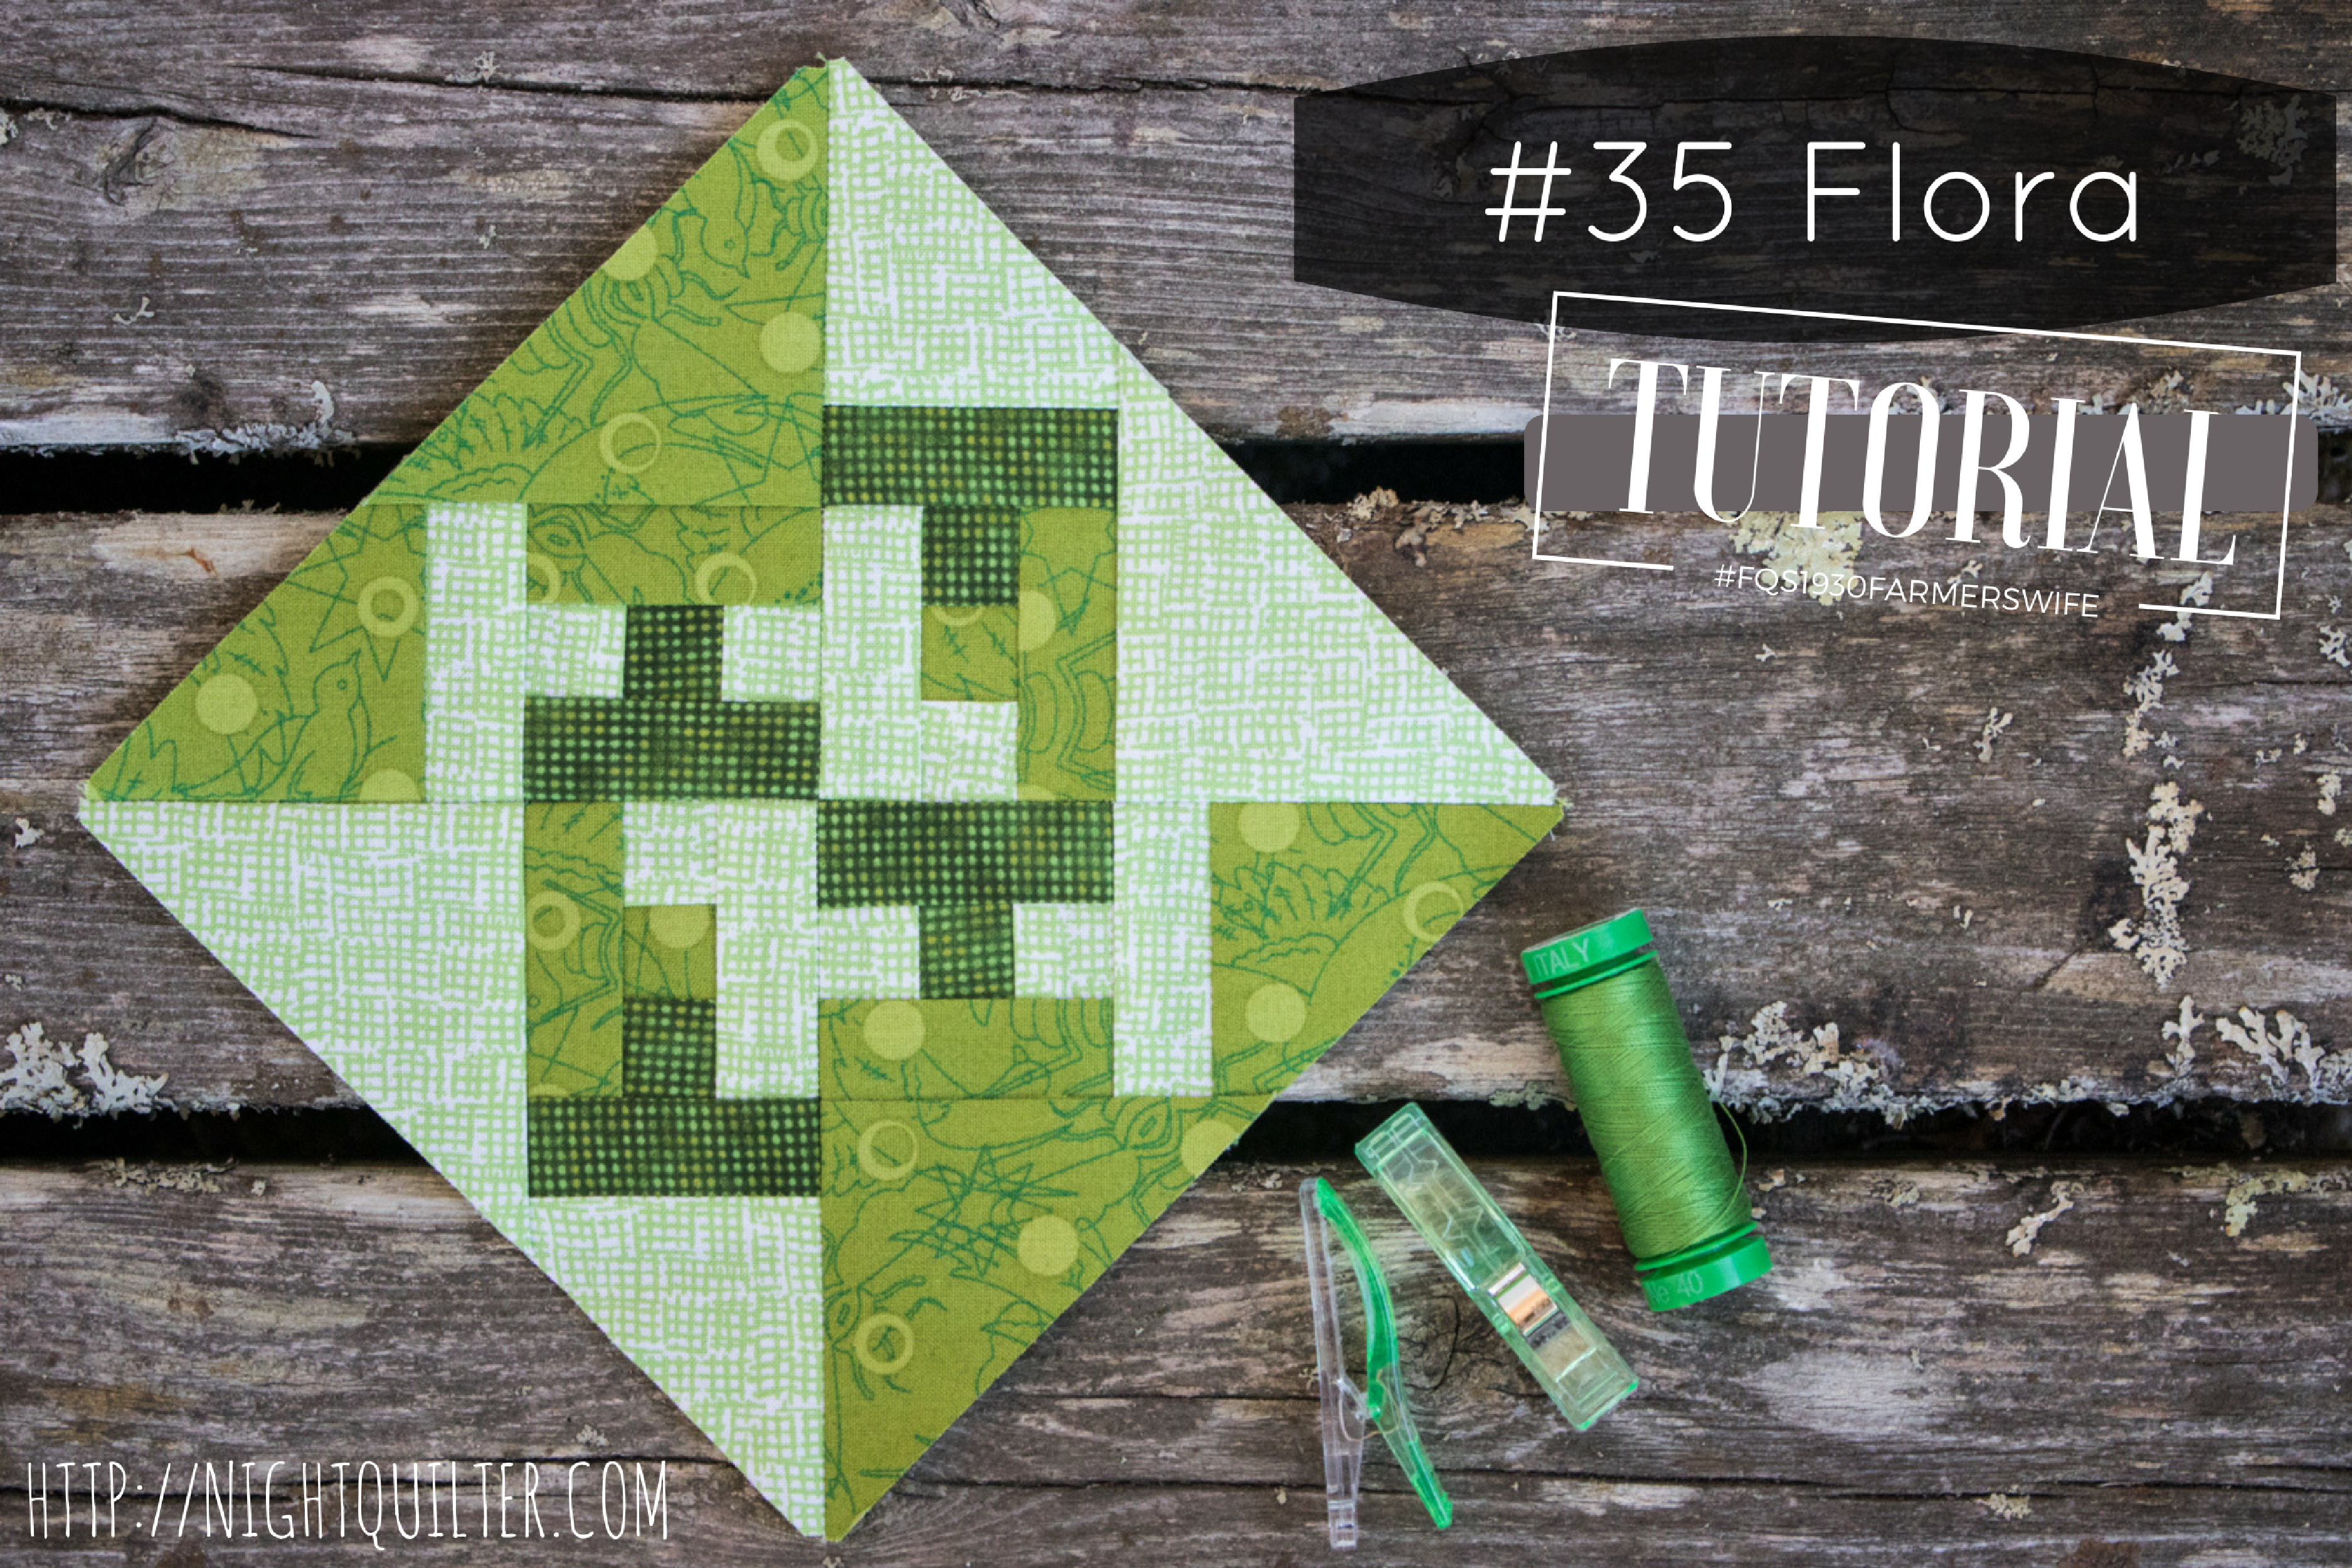
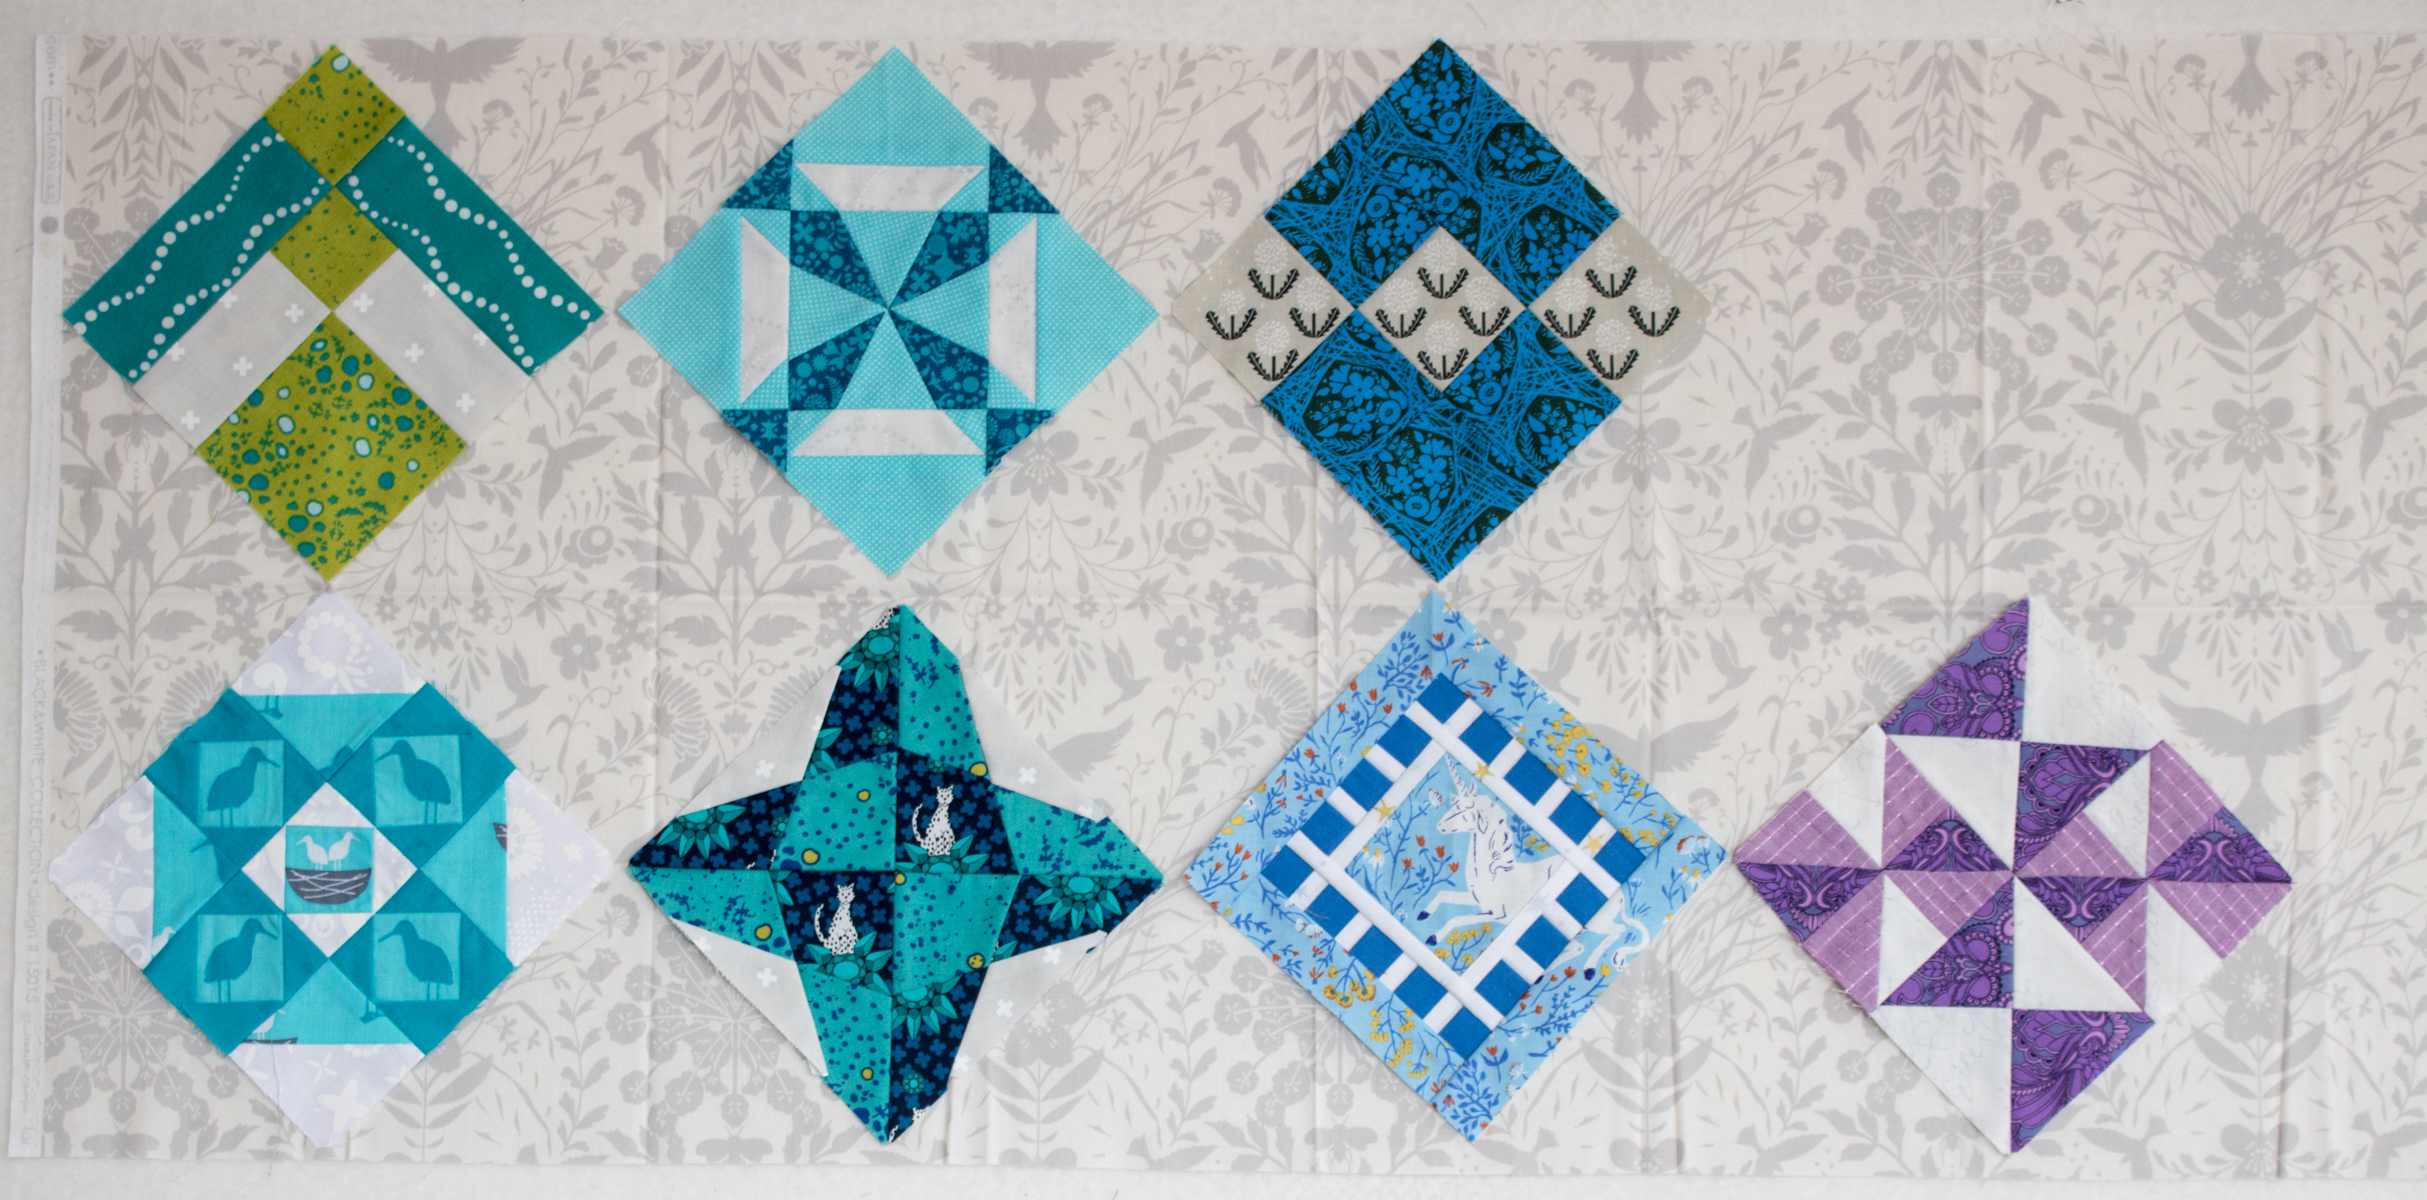
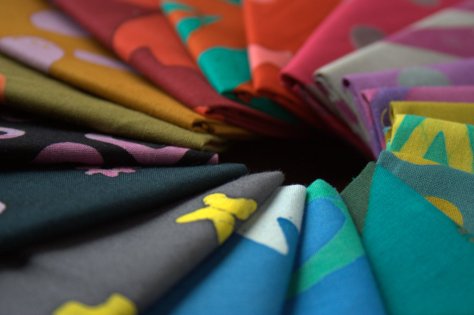
I love how the Friedlander Tree Stripe border in Pistachio looks with the star points, which include fabric from both Carkai and Architextures also by Carolyn Friedlander, some favorite Alison Glass Sun Prints from 2016 and 2017, a Free Spirit solid, Gum Leaves from Terra Australis 2 by Emma Jean Jansen, and an unknown green swirl from my stash. I sewed the block with my favorite 50wt Aurifil thread, 2600-Dove, but was excited to find two lovely greens in my stash, which will come in handy when it’s quilting time! My block will obviously be added to my Greenery Quilt, and I most likely will aim to also make a 12″ version of the block in a different arrangement of greens since I love the block so much. Can’t you see this block looking fab in just about any color combination!?
Head on over to Molli’s blog to see the other gorgeous block for April, and have fun with this Starry Sky block!
I’m linking up with Tips & Tutorials Tuesday with Yvonne at Quilting Jetgirl and Stephanie at Late Night Quilter in case anyone else wants a few tips on creating a seamless background panel for a pieced block. Enjoy!


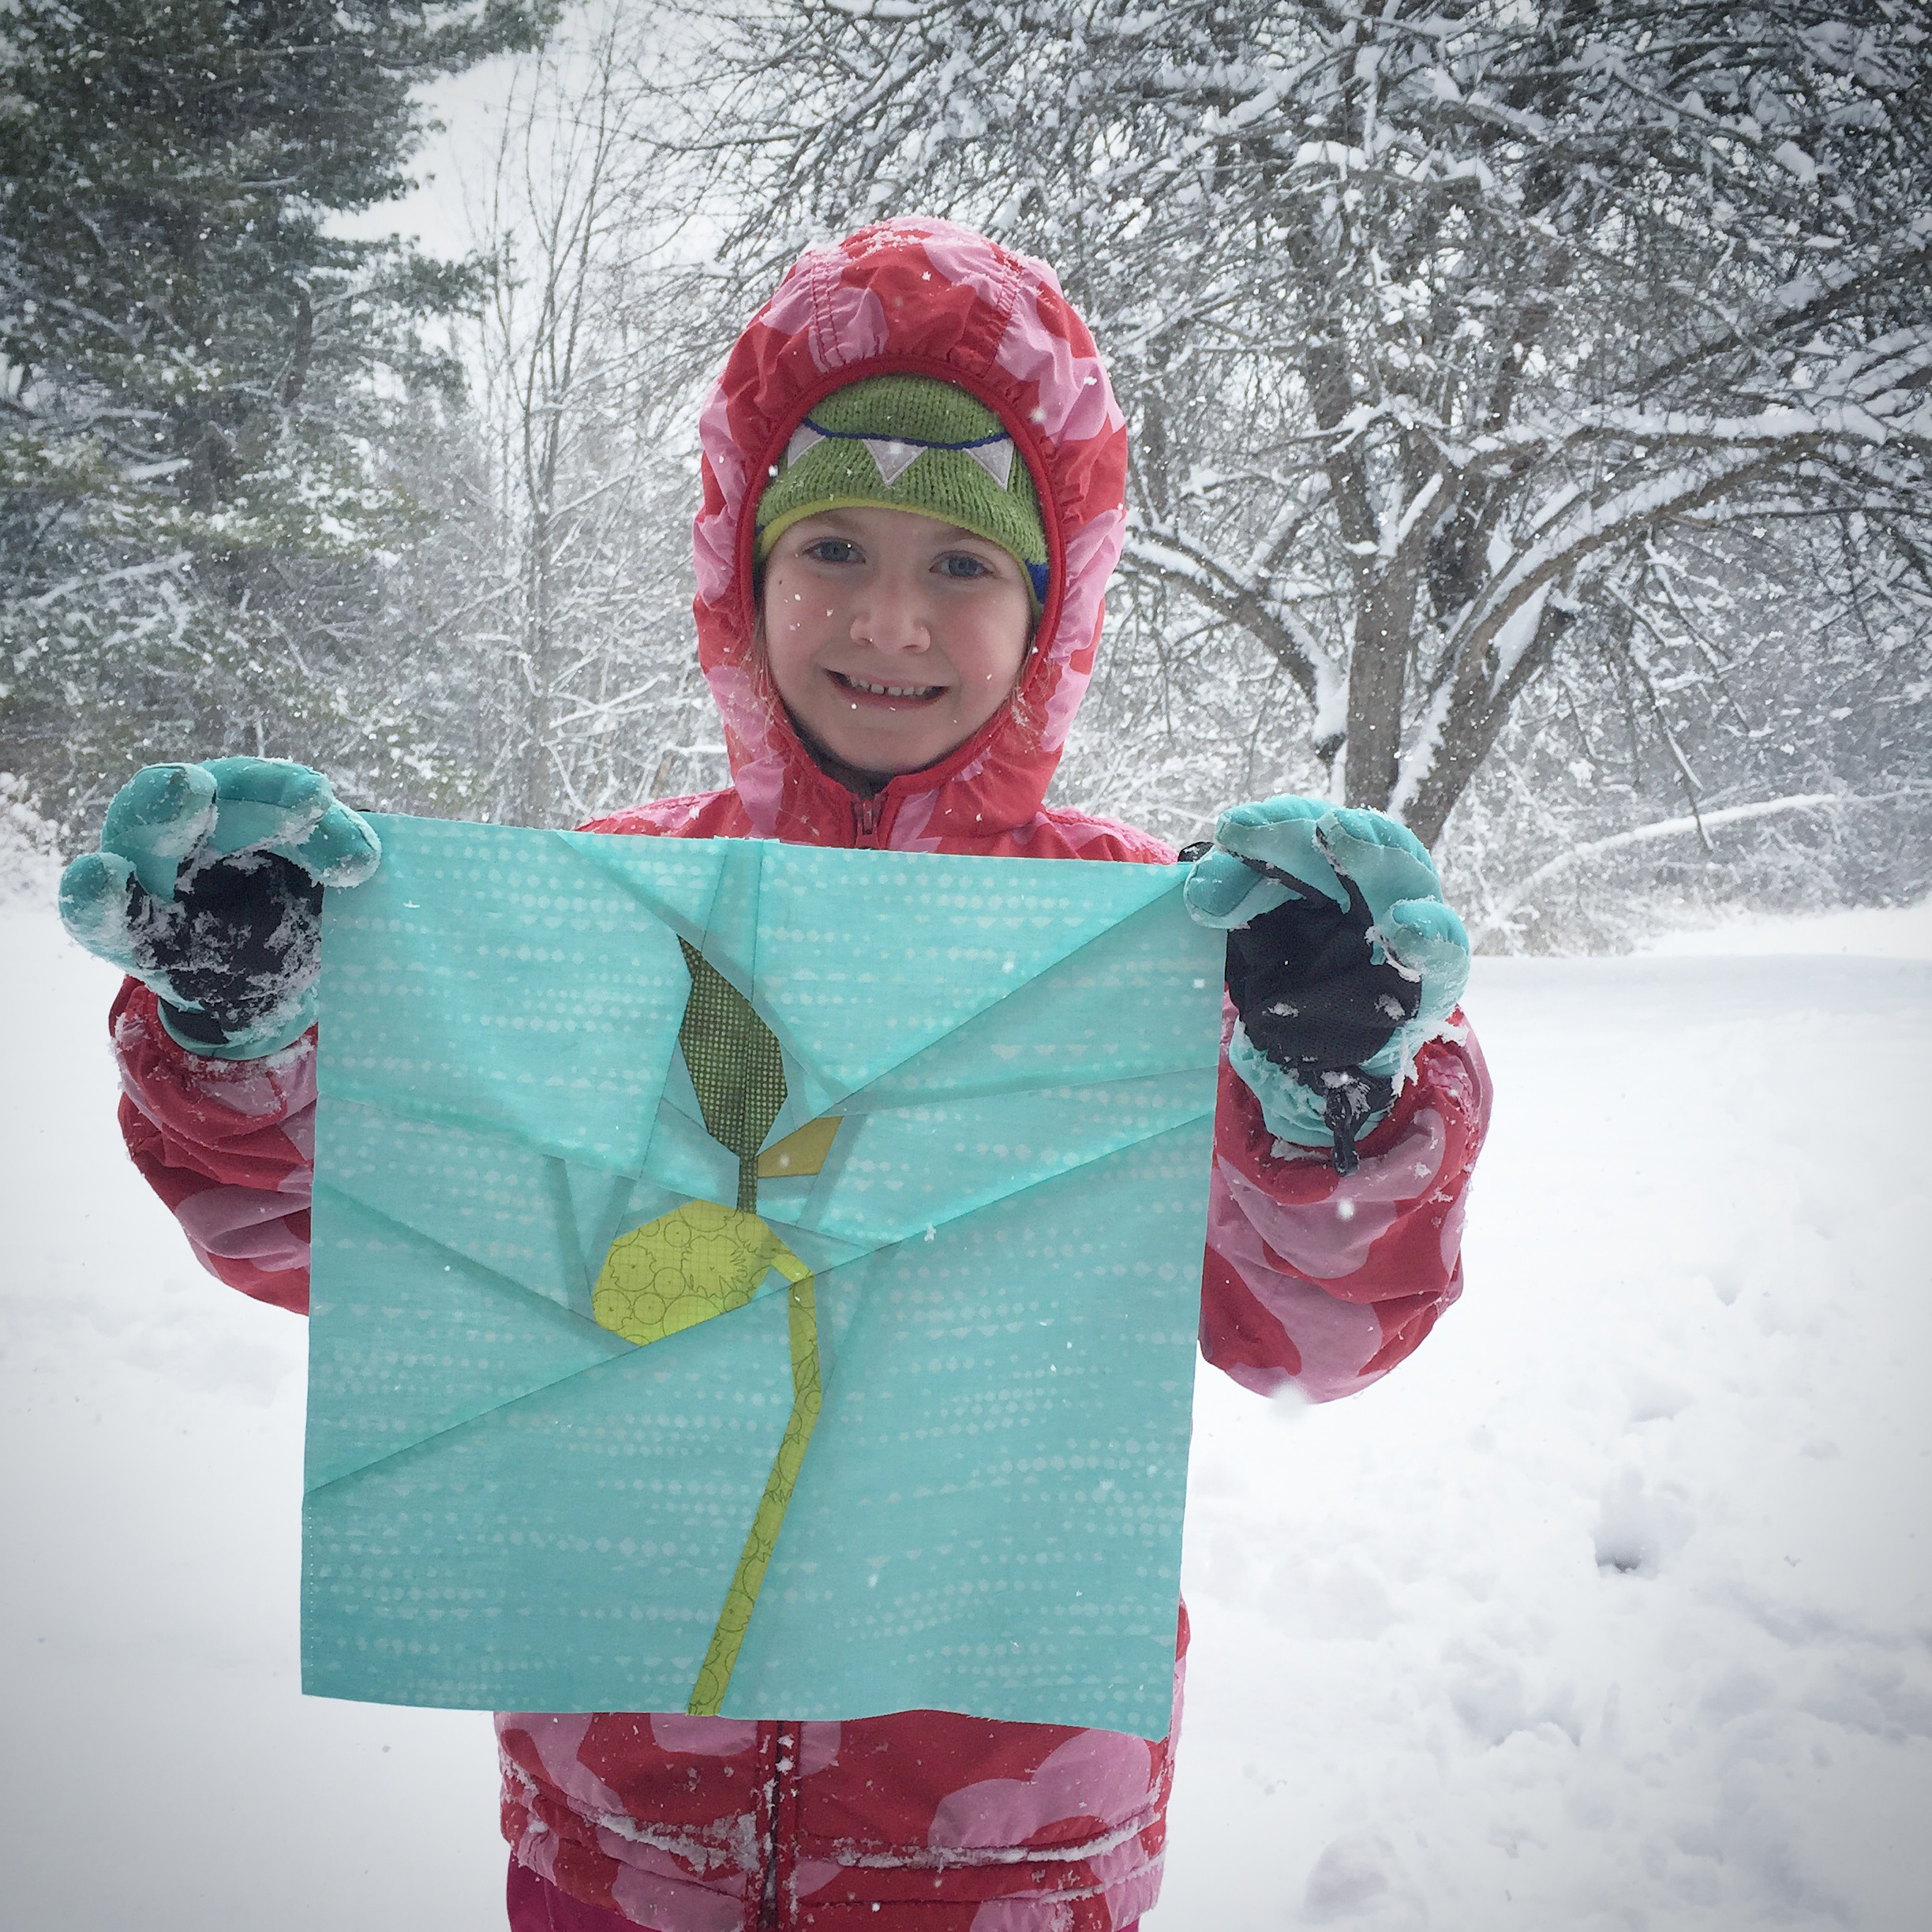
 The block finishes at 6″ square, so my initial thought was to shrink it down to a 3″ square and make an ornament. I love making functional items, and you know how I love to sew teeny tiny ridiculously small things! But then when I sorted through my stash and decided upon the Tula Pink Prince Charming print as the sweater body, I decided the scale would look better with the 6″ size. Now we are going to have a festive mug rug/coaster, which I plan to have out for all of sweater season, which is nice and long here in Maine!
 I love the subtle Cotton + Steel Mustang twinkle trim on the sweater, and the Kona Wasabi arms round it out nicely.
 Hindsight, I should have made the shoulder bits with the greeny-yellow part of the Tula print instead of the blue, since they kind of disappear into the background, but c’est la vie. My husband says he likes it this way, so all is well.
 I plan to do some simple diagonal crosshatch quilting with the walking foot on my Bernina 560, but haven’t yet decided whether to use
  I’ll be sure to share this block in action once I quilt it up and plop some delicious treats or a warm mug of something sweet on top! I borrowed some of the tiny glittery ornaments from the tiny tree my son cut for our kitchen island for my block photo shoot and now there’s glitter EVERYwhere! I hope your holiday season has been glittery and bright so far, too!
 Each of these Farmer’s Wife blocks manage to pack quite a punch in the little 6 1/2″ space. My method of attack when deciding how to piece each block has been consistent: how can I piece this with as little muss and fuss as possible? With Sylvia, at first I was thinking chain piecing would be the way to go, since it would help minimize the teeny tiny pieces in the inner borders I’d need to cut and sew. Looking at it more closely, I decided that with this block, even chain piecing would require piecing TINY bits, cutting, and then piecing again. Plus, sixteenths of an inch!? No thank you! Finally, I decided that foundation paper piecing was the way to go, since:
 Ready to get sewing? Make sure you have a grasp on how to foundation paper piece, and let’s make Sylvia!
 As soon as I saw this block, I knew that I wanted to meticulously cut the center square. I’m arranging my blocks on point, so be mindful of your own plans before meticulously cutting your fabric! (I call “fussy cutting” meticulous cutting, and you can read why
  Mark the specific piece you want to meticulously cut. I went a little overboard on marking mine for the sake of clarity here. I circled the number but also traced just outside the line of the particular piece, both with bright pink sharpie. Simply circling the number would probably suffice!
 Cut out the center of the piece, creating a window that is exactly the size of the piece you want.
 Draw a 3/8″ seam allowance around the window. I used a green micron pen for this example to ensure the line didn’t get confused with the printed lines on the paper.
 Cut along the line you drew.
 You should how have a planning template to help you cut your fabric for fussy cutting. Notice that I placed my planning template onto the fabric upside down. This is because in foundation paper piecing, we are sewing the block on the reverse side of the template. It did not matter too much for this particular piece, since it’s a square, but always be mindful of directionality of the fabric as well as wrong side-right side. If need be, mark your planning template with “right side up” or “wrong side up” so that your fabric is cut properly!
 Between sewing the fabric on the reverse side of the paper, having the block broken into sometimes odd sections before sewing, and the many pieces involved in most foundation paper piecing patterns, it is in your best interest to color code your paper template before beginning to sew. This way, you can be sure you sew each fabric in the proper place.
 Especially when first getting started with foundation paper piecing, one of the biggest tips I can offer is to be generous with your fabric pieces. It’s better to have to trim a bit more off than to be short and have to rip stitches! For my bright blue squares on Sylvia, I cut the fabric into 1 1/2″ squares, which as you can see includes ample overhang.
 This tip goes for bag-making as well: just because there is a template created for a perfectly rectangular piece, it doesn’t mean you can’t use your rotary cutter and ruler! The outer pieces of Sylvia can be easily cut using a rotary cutter and ruler, which will save time with paper removal at the end. Since these pieces are not easily measured (let’s avoid using sixteenths of an inch if we can help it!) simply cut out the foundation paper piece templates and use them as a guide when rotary cutting. Use the foundation paper piecing method to piece the center portion, then add the D, E, H, and I rectangles using traditional piecing methods. Easy peasy!
 And there you have it. Sylvia, in all her glory.


 If you haven’t yet added Constant Flux to your pattern library, it’s still on sale for a few more days in my
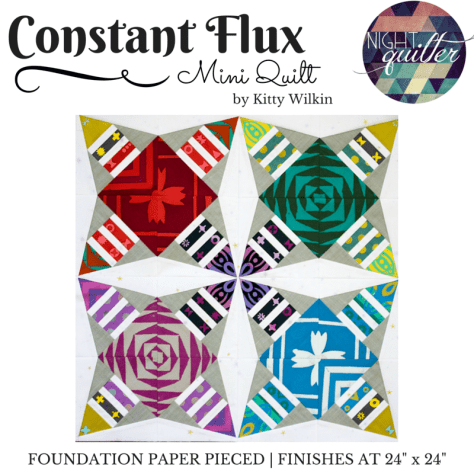
 I created my version of Constant Flux inspired by
 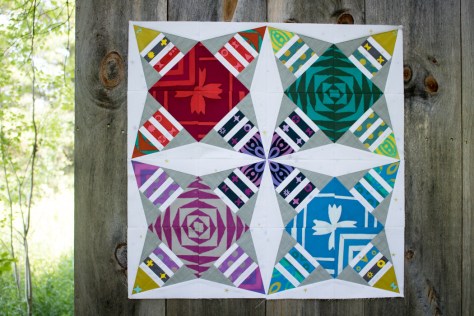 Constant Flux is available in my
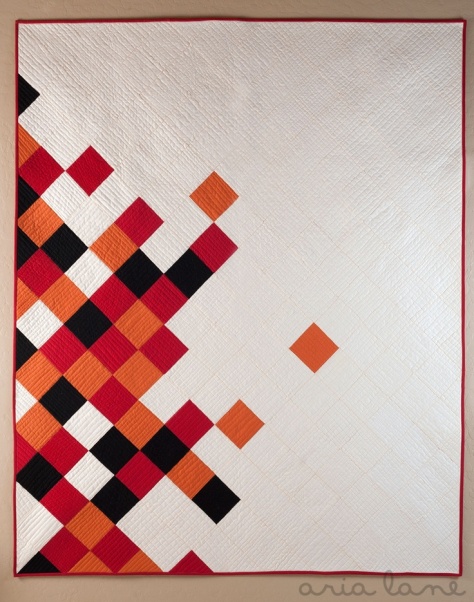
 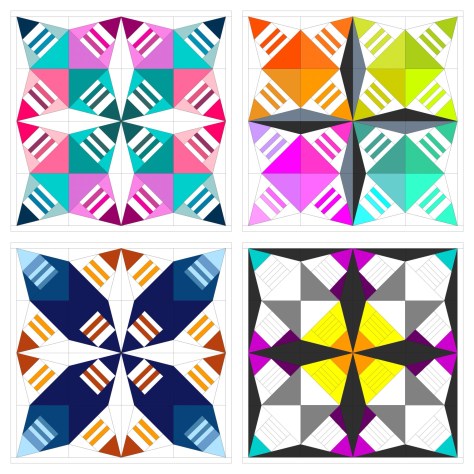 For now, I haven’t quilted my first one and I already want to make Constant Flux in a different colorway. Look at all of the options I came up with in just a short moment of color arrangement play! The pattern comes with a full page coloring sheet so that you can explore your options before diving in. That bottom right version is calling to me–which one would you make first?!


 The pattern includes clear piecing diagrams, sewing tips, and templates for the 8″x12″ finished block, with various shading to help with accurate fabric placement. Quarter inch seam allowances are included on all pattern pieces to help ensure easy piecing, and a 1″ reference square is on every printable page so that scale can be confirmed. Full foundation paper piecing instructions are not included in the pattern, but I have a thorough paper piecing tutorial