I’ve long been a fan of the Summer Sampler Sew Along put together by Lee Heinrich, Katie Blakesley, and Faith Jones each summer, so when Katie asked me if I would be a “guest expert” for her 2022 Summer Quilt Along, I couldn’t say no. Plus, what a great spark to get me writing here again!
I used my Summer Sampler 2019 quilt top as my example quilt for this post, which I assembled in my own alternate layout to create space for me to participate in the fun of the sew along without the stress of “keeping up” and making every block. You can see (or buy) this year’s sampler here. If you’re participating in this year’s Sew Along, you might be at the point where you are almost ready to photograph your finished quilt top!! If you’re not there yet, no worries–these tips are timeless. Just bookmark this post, and come back when you’re ready.
I could easily talk for weeks about quilt photography, but wanted to share two of my top tips for photographing your quilts (or quilt tops!) since sometimes a little bit can go a long way. If you want to dive into quilt photography more deeply, be sure to check out my on-demand class Take Great Quilt Photos Now!
Light
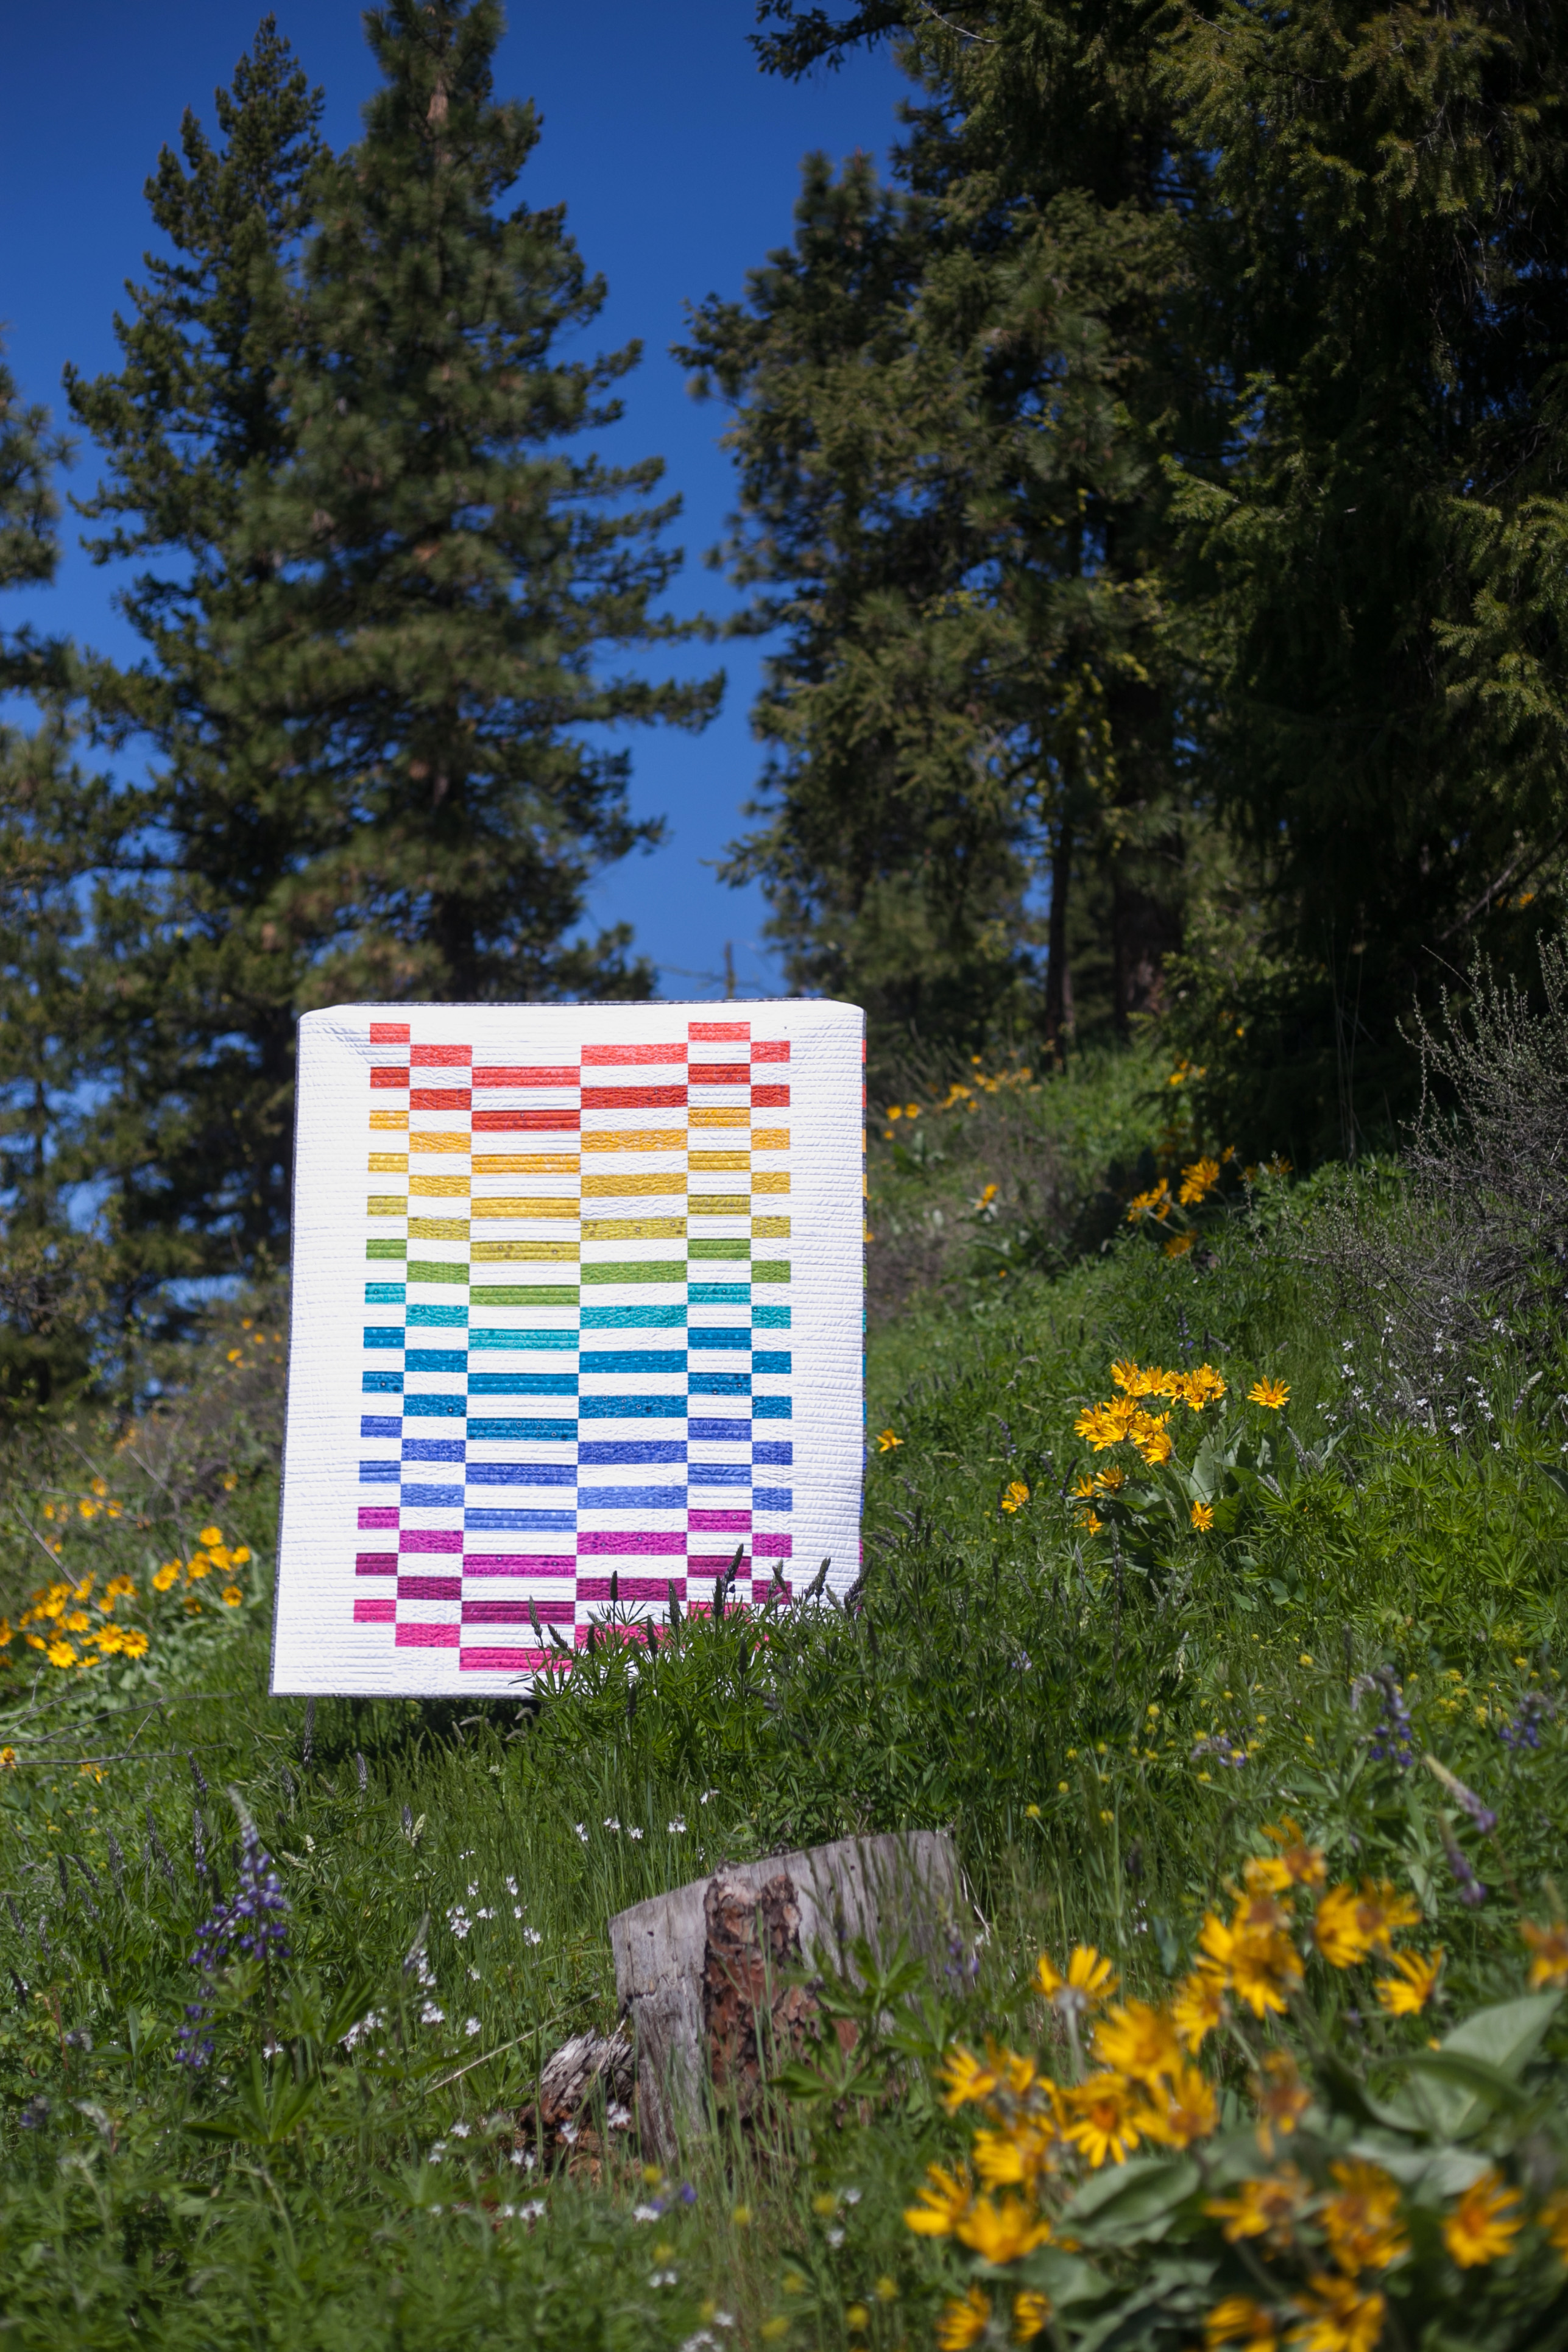
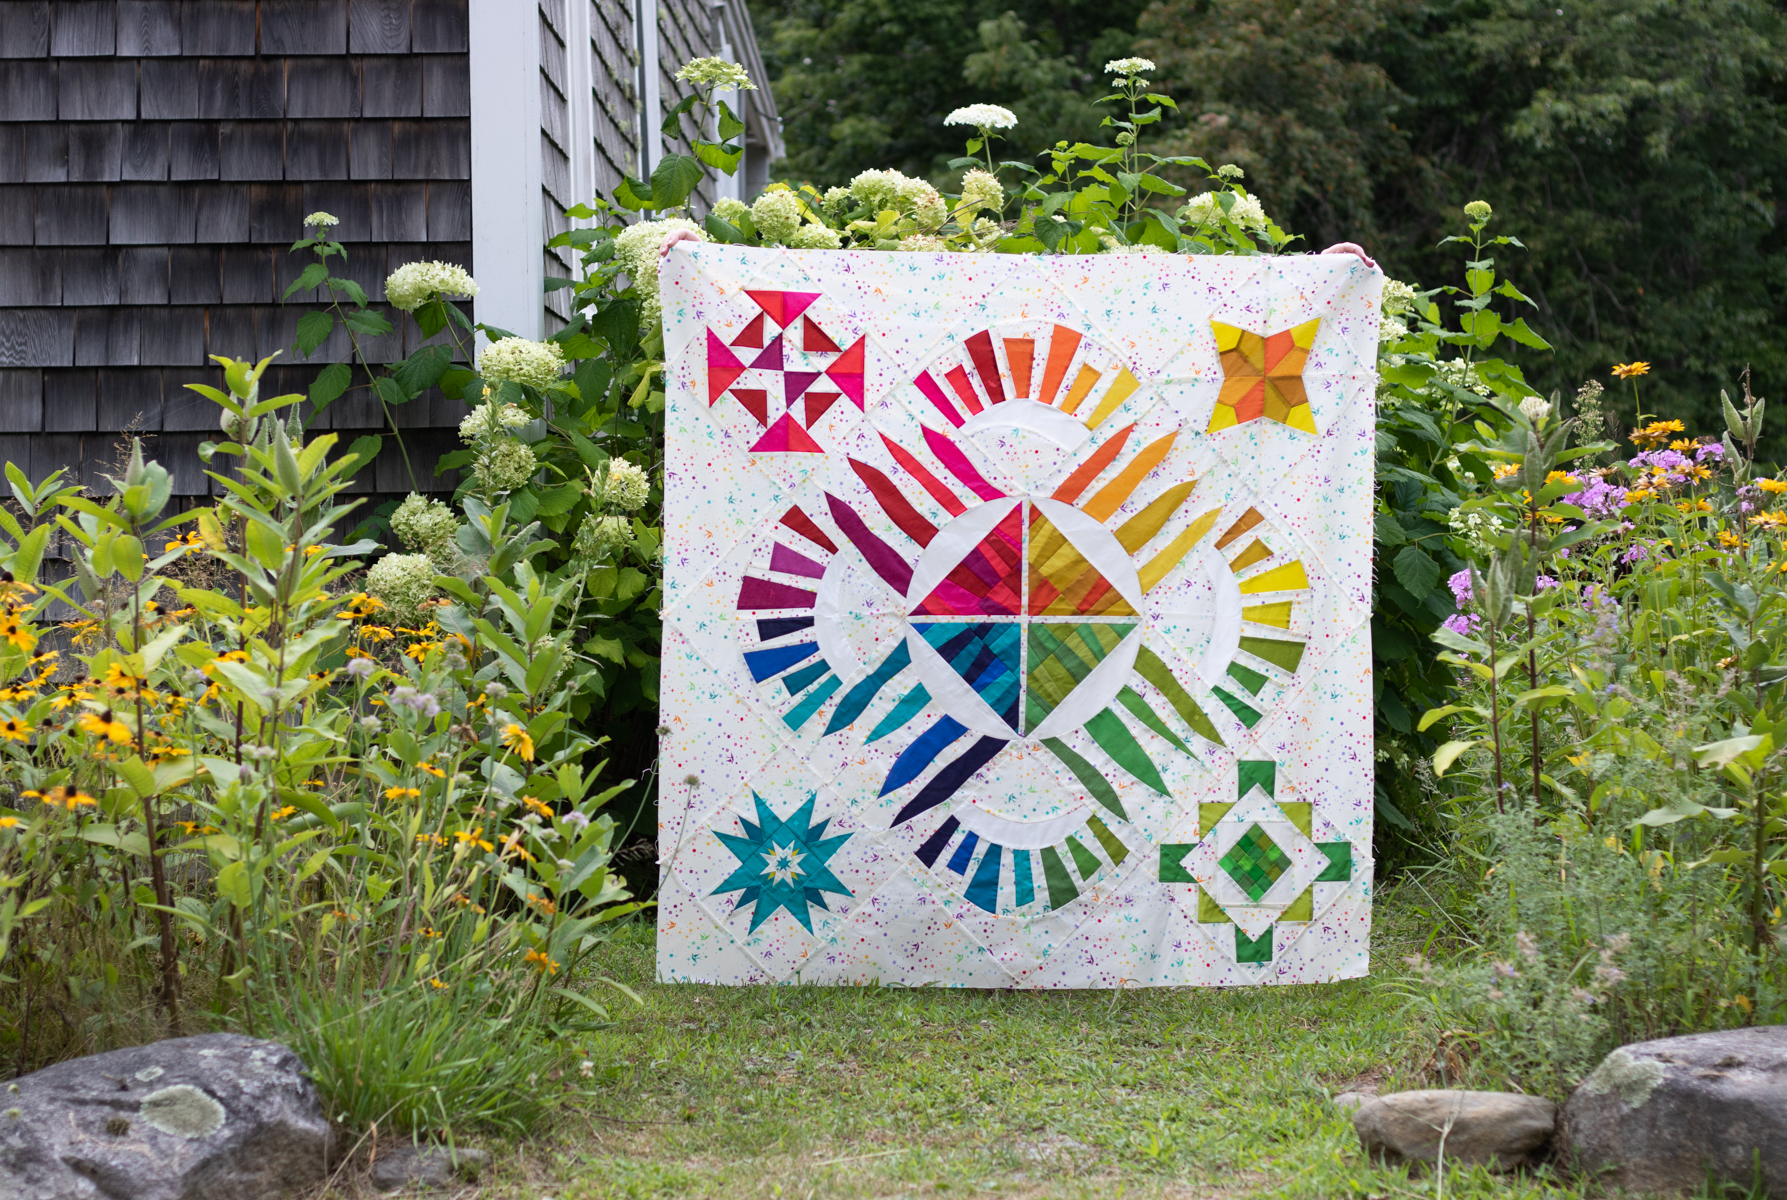
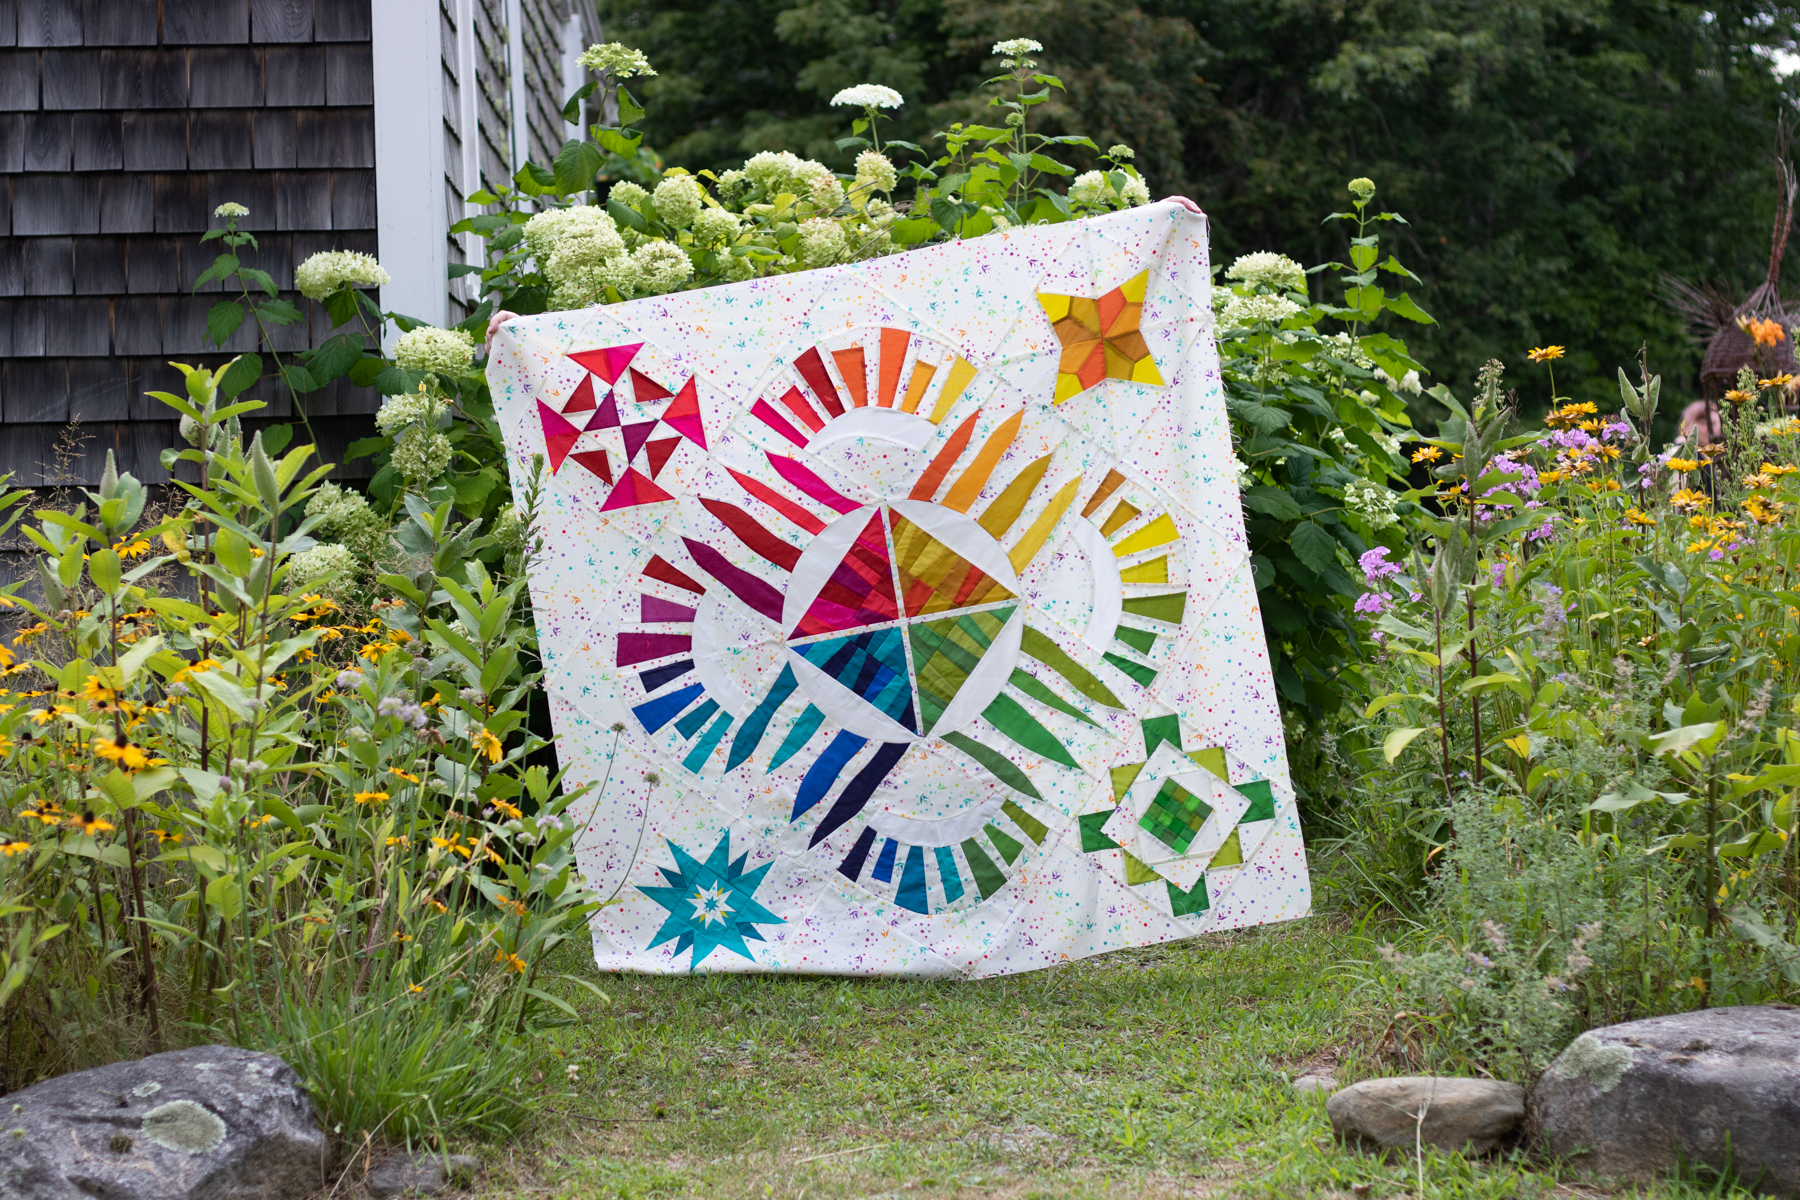
First and foremost, LIGHT is the most important thing to consider when taking photos. I’m a big fan of capturing natural light, so I almost always take larger quilts outside for photos. In addition to having abundant natural light outside, there are gorgeous natural locations that help complement and celebrate the quilt being photographed and it’s wicked fun to find them!
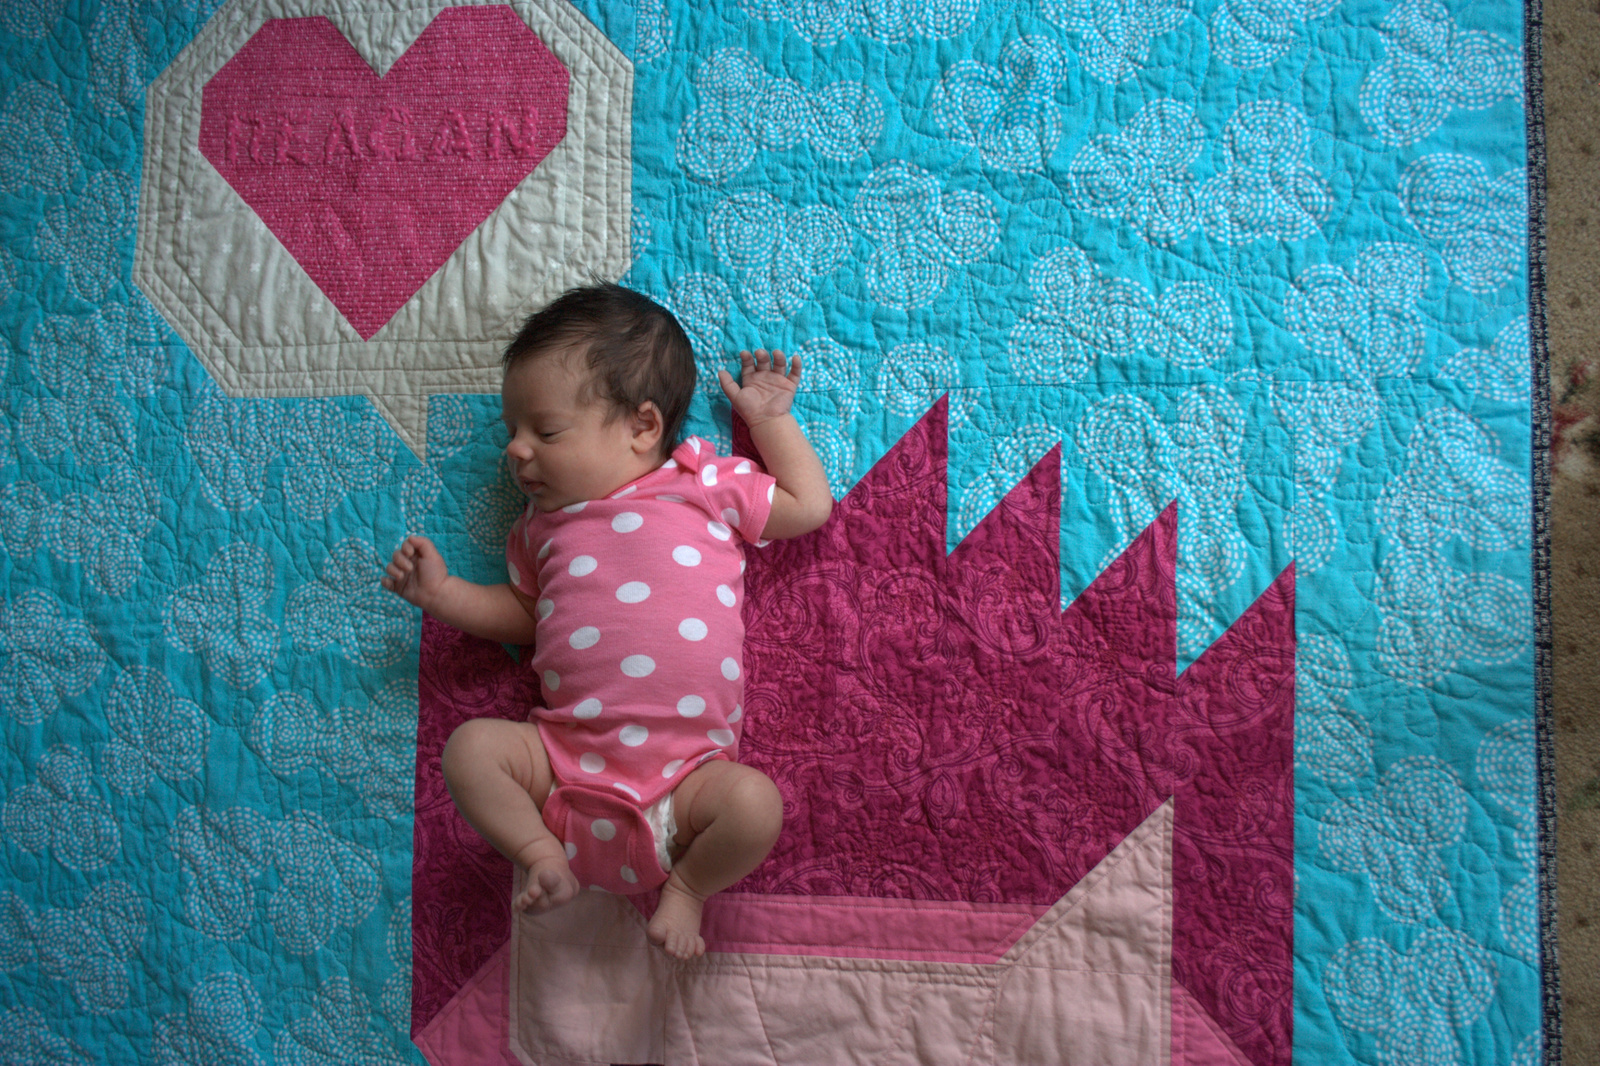
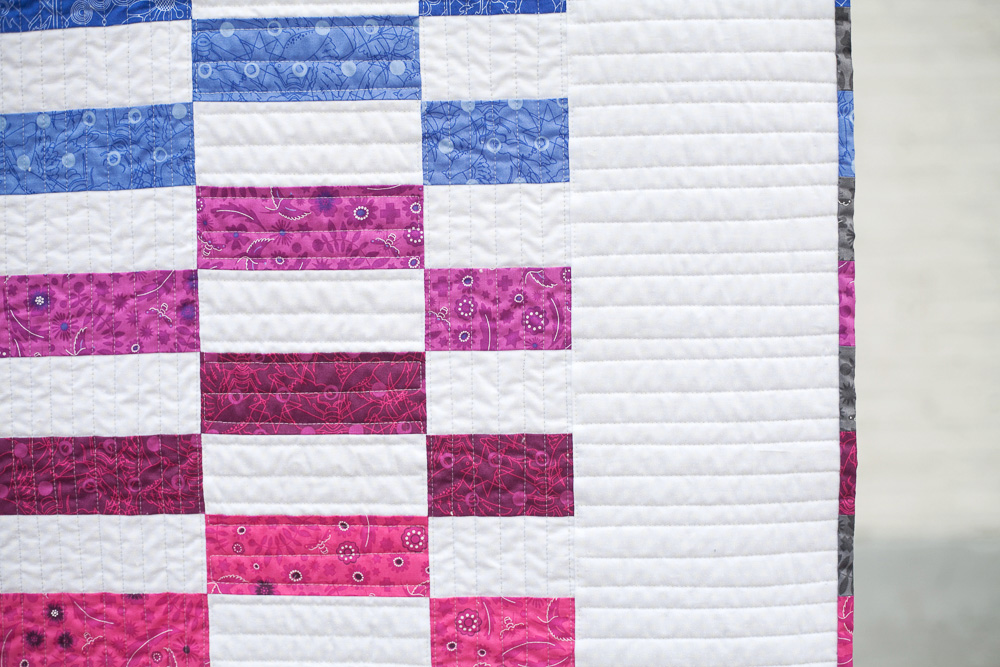
That said, a bright overcast day provides the ideal lighting for photography. That’s right–overcast. I can’t tell you how many times I’ve heard someone say, “I finished my quilt but I haven’t been able to take any photos because the sun hasn’t been out!” You don’t want direct sun for photos, and I’ll show you why:
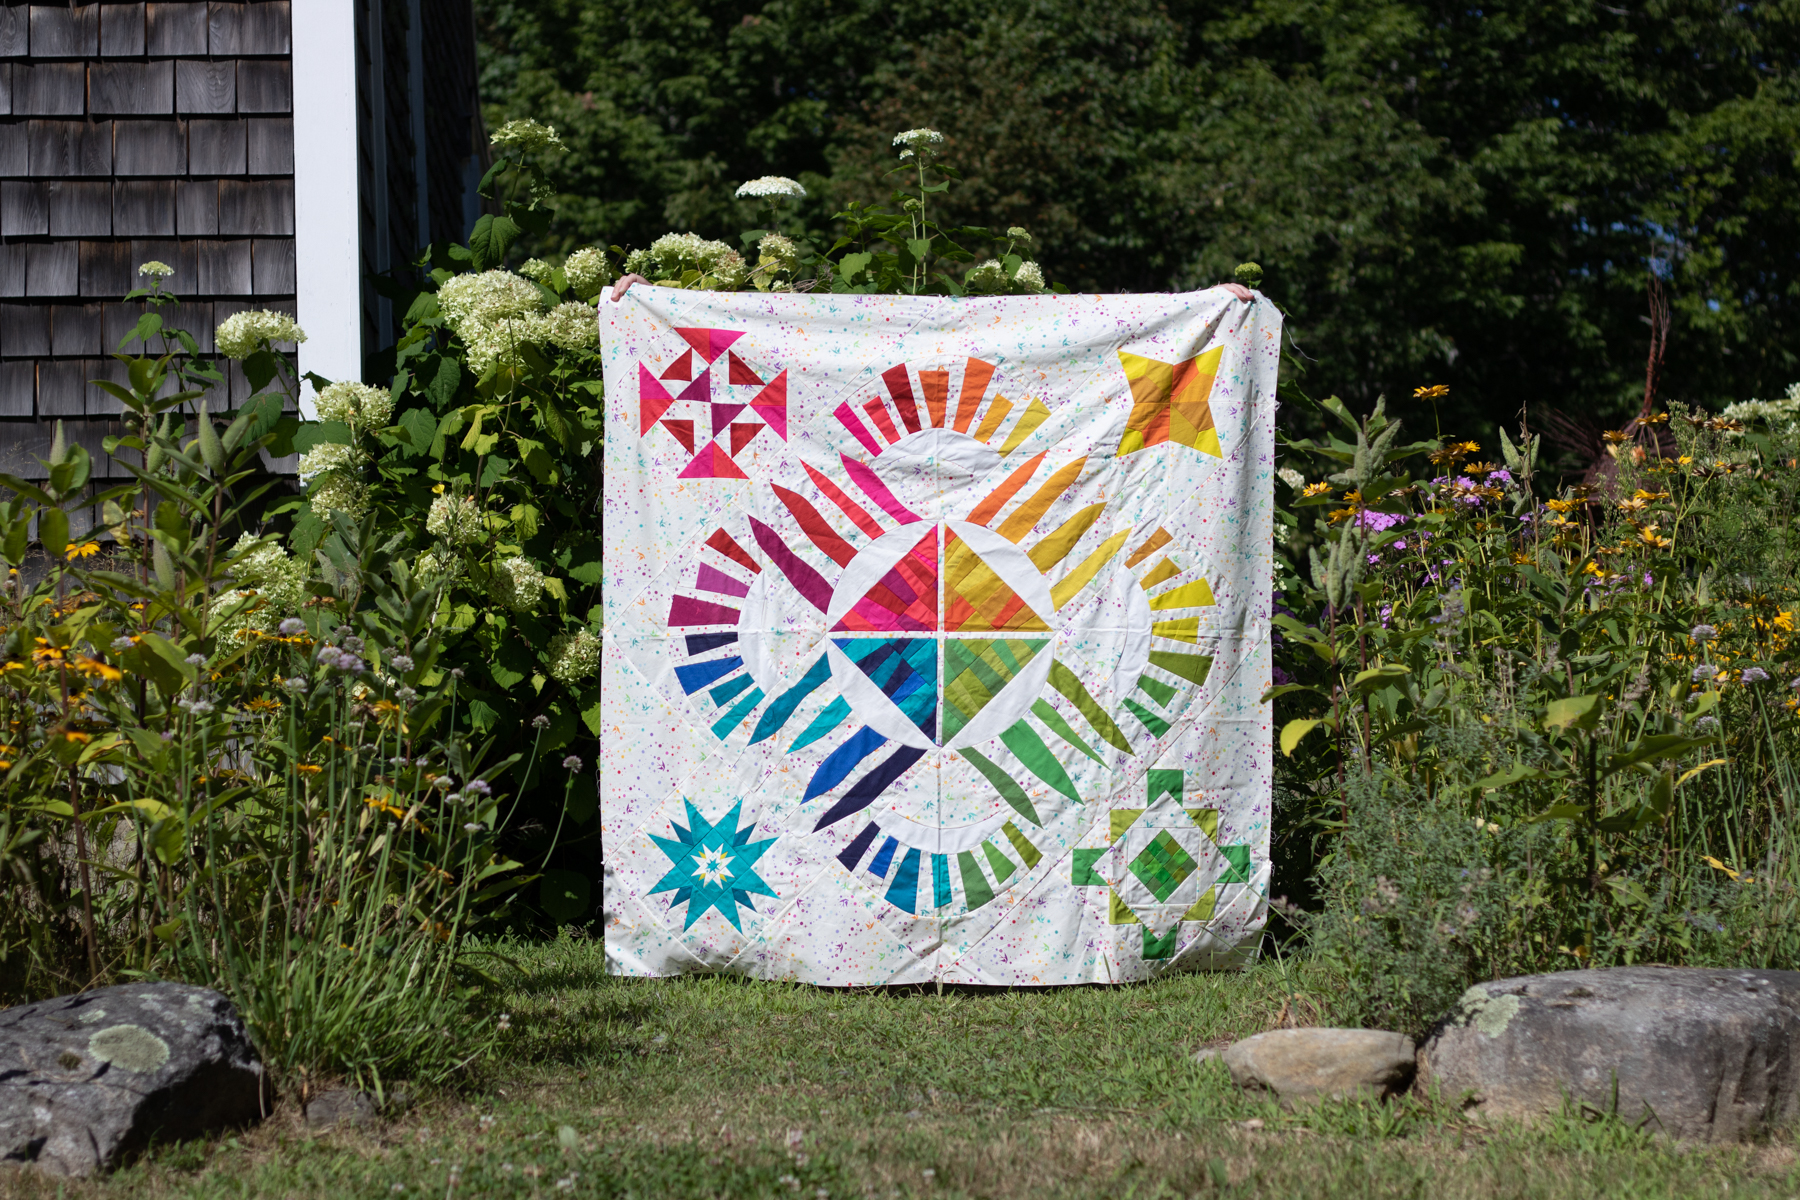

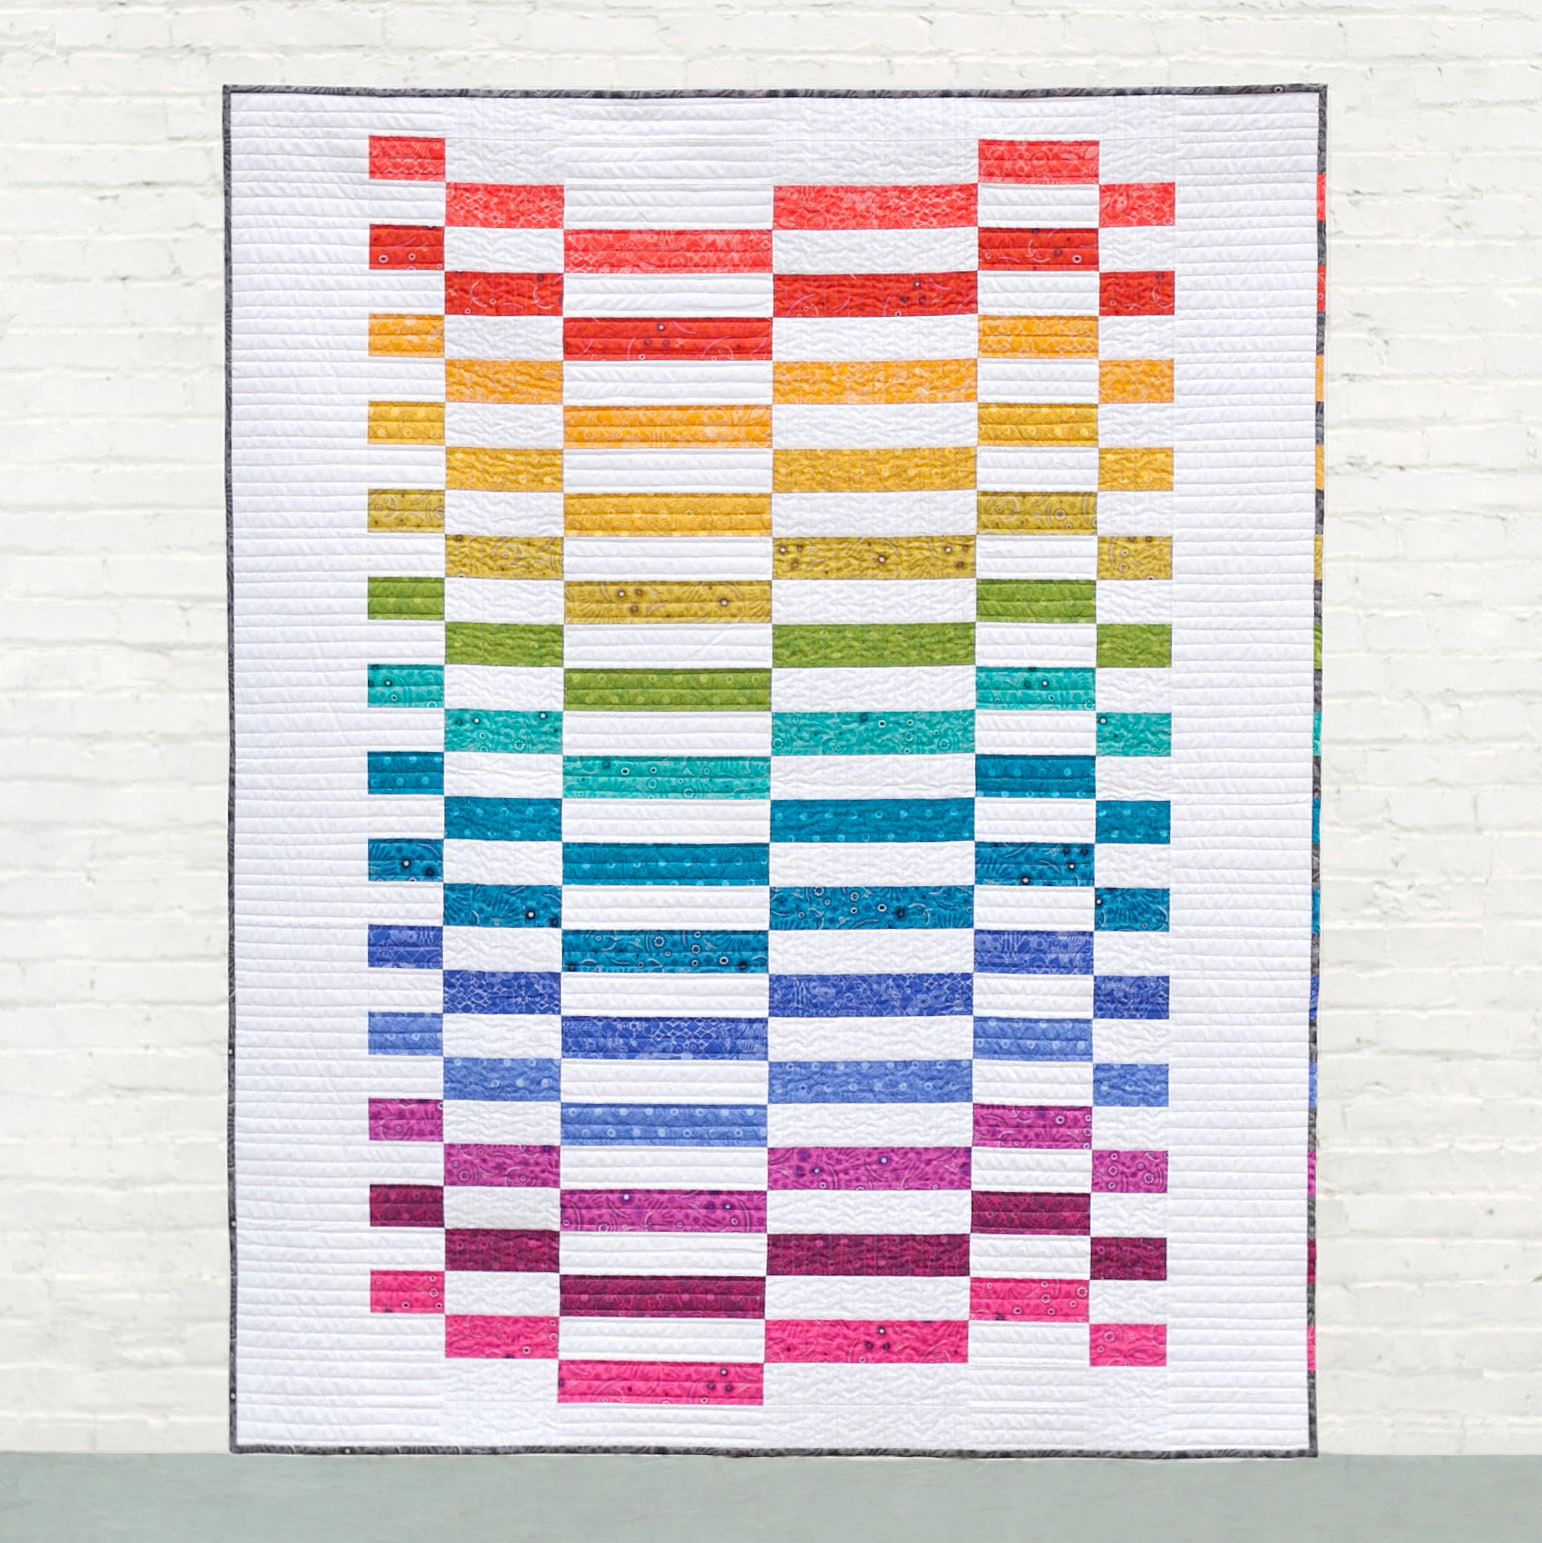
As you can hopefully clearly see in the photos above, the quilt photographed in the full shade/overcast day is the most accurate, vibrant representation of the fabrics and colors in the quilt.
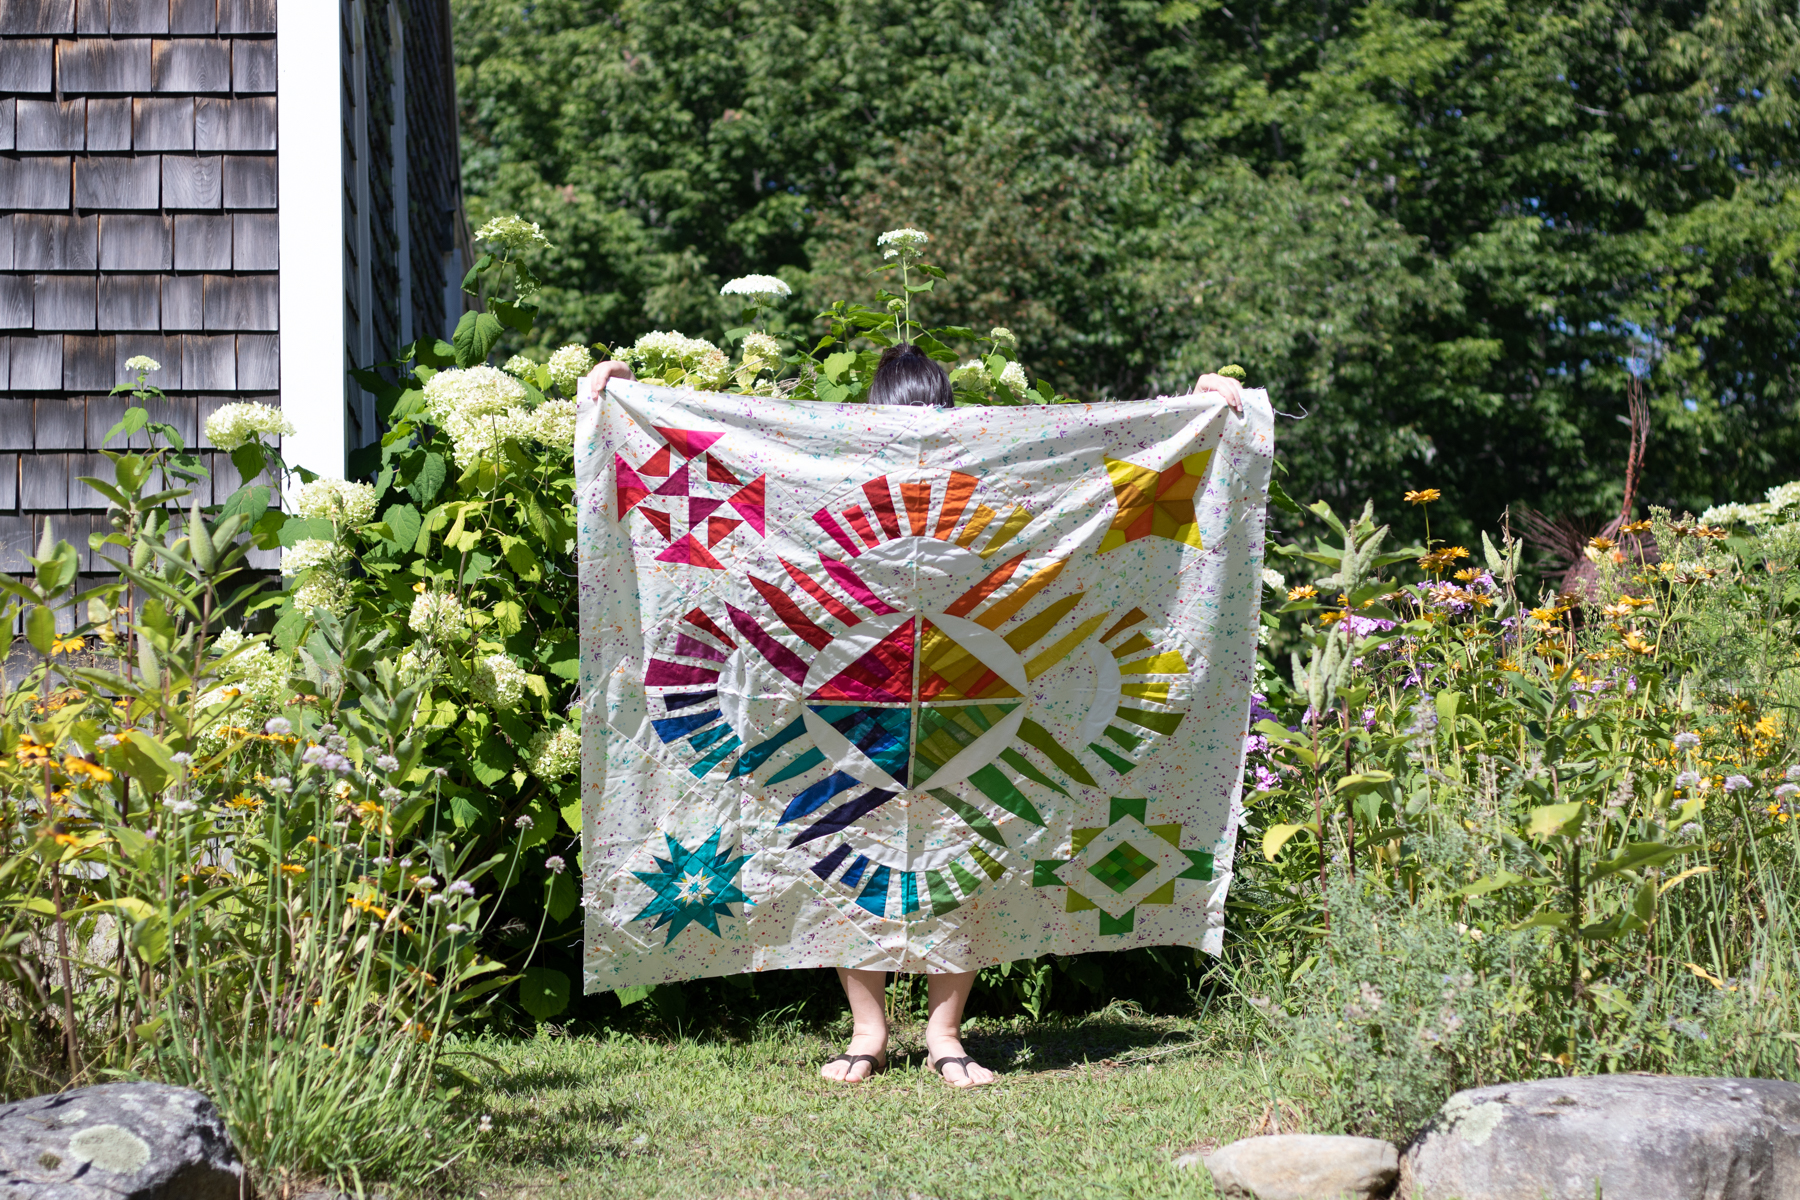
Bright direct sunlight washes out colors and creates dark harsh shadows in every little wrinkle or wave of the quilt. When you’re photographing a finished, fully quilted quilt, you can imagine the shadows that are created along every stitch line. If you have the flexibility to wait until an overcast day, I strongly recommend you do that for your next quilt photos. If you live in a place that rarely has clouds, taking photos early in the morning or right before dusk will be your best bet!
Clear Communication
Photographing a finished quilt often requires a quilt holder, and I’ve often heard questions about how to “get your quilt holder to….” do any number of things. The answer is a tool that will take you far in every relationship, even beyond the relationship of you as quilt-maker/photographer and your quilt holder: clear communication.
BEFORE you head out to the gorgeous location you’ve chosen for quilt photos, have a solid conversation with your quilt holder about your hopes and expectations for the photos and quilt display. Especially if your quilt holder is not a quilter themselves, taking the time to clearly show and explain how you want them to hold the quilt will make the actual photography much much smoother.
Personally, when I’m taking quilt photos, I want to see as little of the holder as possible. My partner Garrett is my usual quilt holder, and he knows that I don’t want to see him (hah!). For these photos, my friend Allie aka Exhausted Octopus stood in as my quilt holder, and did a great job being invisible behind the winner photo (above). You can see her fingers a bit along the top edges, but that’s it.
I am a big fan of saying yes and talking about what you CAN do, but I think for this, it might be easiest to show you a bunch of commonly seen photo scenarios, with what not to do, and things you can communicate to your quilt holder BEFORE the photoshoot (in a kind and supportive way, of course!) Please note that everyone’s definition of a good quilt photo is different–so if you enjoy using any of these photo styles, that’s ok! This is just based on my own personal preferences when taking photos of quilts in beautiful locations.
What not to do…

I DON’T want to see your legs.

I DON’T want to see your head or arms.
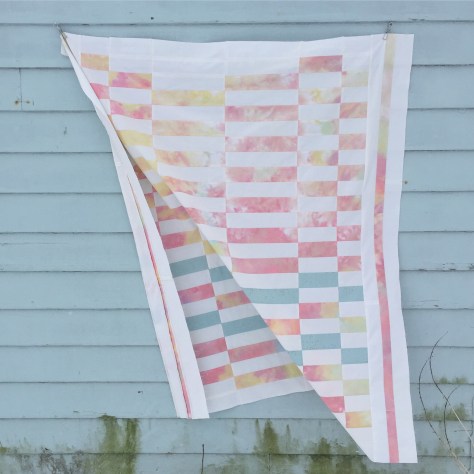
I DON’T want the quilt to be crooked. This is something that is sometimes difficult for the quilt holder to perceive while standing behind the quilt with their arms extended, so you can use an “in the field” communication code when actively taking photos. I will say “level!” and my quilt holder will level the top of the quilt, and I’ll either reply with “other way!” if they angle it more, or “good!” when it’s perfectly level and I’m ready to take the photo.

I DON’T want the corners of the quilt to fold over–I want to see the full quilt if at all possible. This is something that is easily attained with hand placement when holding. When the quilt holder grips the quilt right inside each corner, it allows the quilt to be fully displayed and still have the actual corners visible. Note that some quilts are just too large to hold, in which case I’ll bring two quilt holders along–and sometimes chairs for them to stand on–so that one can hold each corner.

I don’t want there to be a sag along the top of the quilt. Before photoshoots I’m always sure to establish that if I say “taught!” when my quilt holder is holding the quilt, that means that there is a slight sag at the top of the quilt and they need to gently pull their hands away from each other a bit to tighten it up.
Code words often shouted from photographer to quilt holder include:
Taught! (to straighten the top of the quilt)
Level!… other way! …. good!
Head/arms/feet (if they are showing)
Break! (if I’m changing settings on my camera, I make sure to tell my quilt holder so that they can rest their arms!)
The conversations that happen before the photoshoot are absolute gold, and can make the process more enjoyable for everyone. As with everything, the more you practice the quilt holding, the communicating about it, and the photography of quilts in unique and gorgeous locations, the easier it will get. You’ll build a relationship with a quilt holder who knows exactly how you like your quilts to be held for photos AND you get gorgeous quilt photos that show off the full glory of your quilt without any distracting bits. If that’s not a win-win-win, I don’t know what is.
I hope these tips are helpful to you and you enjoy documenting your gorgeous makes in stunning locations. You take so much time and put so much love into making the quilt top, taking a gorgeous photo to document it is absolutely worth it! I go into much more detail in my on-demand class Take Great Quilt Photos Now! so check that out.

Also be sure to check out all of the other great tips shared by the other Guest Experts–you can see all of the Sew Along posts here and there are tips ranging from fabric selection to organizing your sewing space. Many thanks to Katie for inviting me to be a part of this, and happy sewing everyone!

 Amanda
 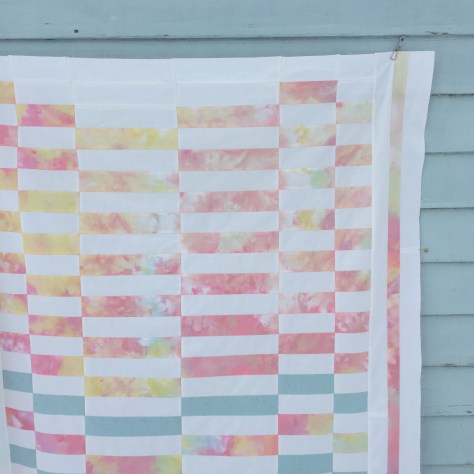 Note that Amanda chose to add her own personal touch by sewing vertical stripes into the side borders; that bit is not included in the Staggered pattern.
 Anja of
 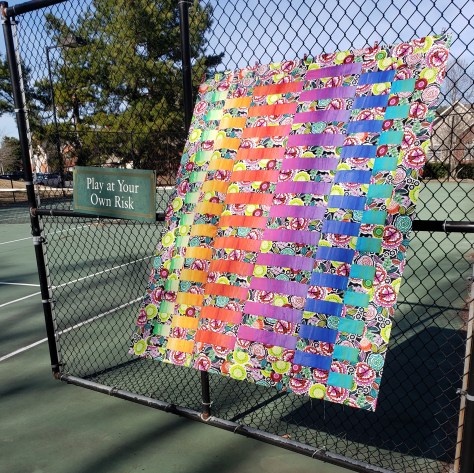 Darlene
  For this quilt, she used Giucy Giuce’s Spectrastic fabrics paired with Libs Eliott’s Venom fabric for the background, both by Andover fabrics, and it’s so much fun. I love how adding a non-solid background fabric changes the aesthetic of Staggered. You can find Darlene on Instagram
 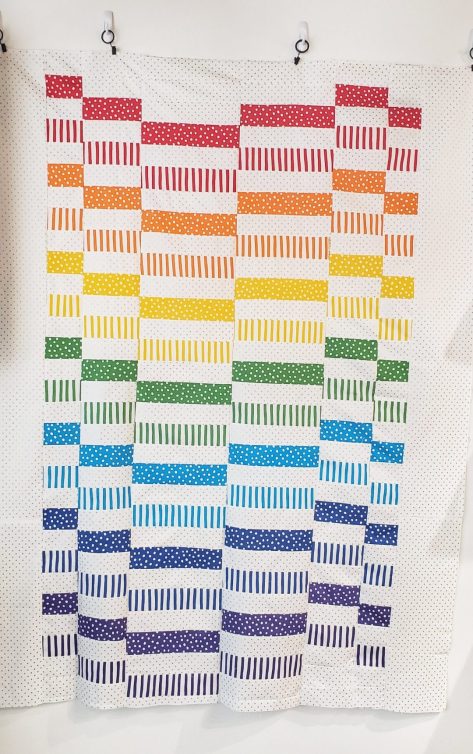 Natasha
 Shannon Spicer
 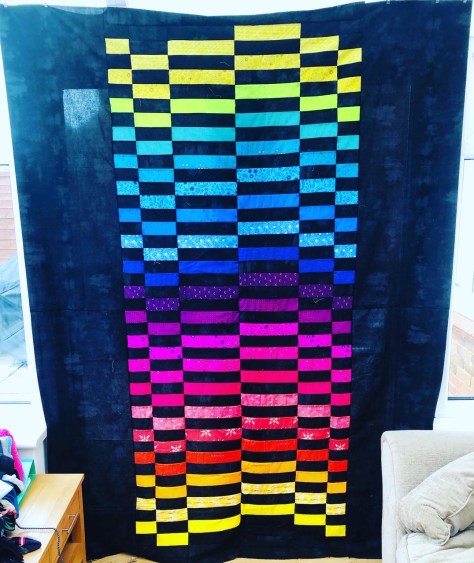 Kerry of
 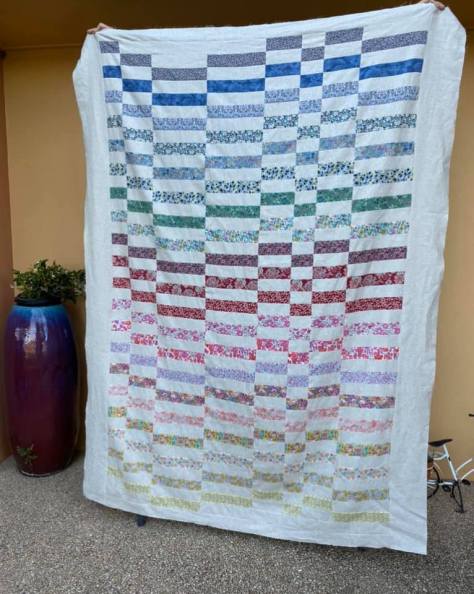 Ultimately I decided to widen the center of the Twin size so that the overall aesthetic and assembly for each size was more similar, so the Twin version included in the Staggered pattern is this one, with two additional columns. Debbie Griffiths
 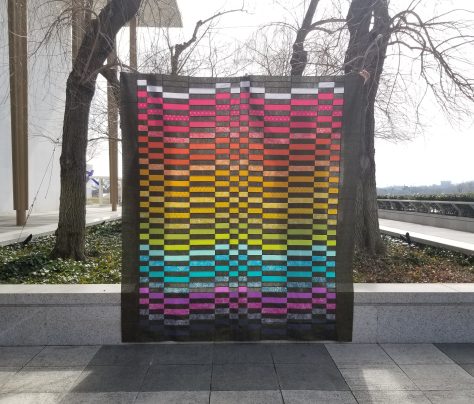 She used an Alison Glass Sun Print 2016 jelly roll plus the “Path” (text) prints from the Sun Print 2019 with Robert Kaufman Manchester Metallic in Licorice (black with gold sparkle) as the background, and holy smokes does it shimmer and shine!!! Alyson had a pretty epic photo shoot for this quilt, too, complete with video to show how much the gold metallic shines in the sun when the wind blows.
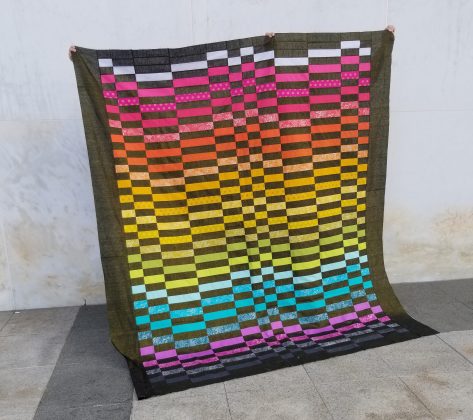 You can start to see the gold glimmer in this photo, but be sure to head over to her Instagram feed at

 Selecting fabric combinations and color arrangements is one of my favorite stages in the quilting process. So a few months ago, when my friend Bernie asked if I would be interested in putting together a Blogger Bundle of fabric for her Etsy store
  While this bundle is versatile enough that any one of the fabrics could shine, there is definitely a star of the show in my mind, and that’s the Tartan Field in
  The other fabrics have all been carefully selected from Bernie’s shop to coordinate and complement Sharon’s print, and I love how the colors of all of the other fabrics mesh so well with it.
 The bundle includes (from top down in the photo above):
 Just for fun, these tulips had to join the fun since spring is not even close to appearing here in midcoast Maine yet, and I was in dire need of some cheer. Aren’t they luscious?!
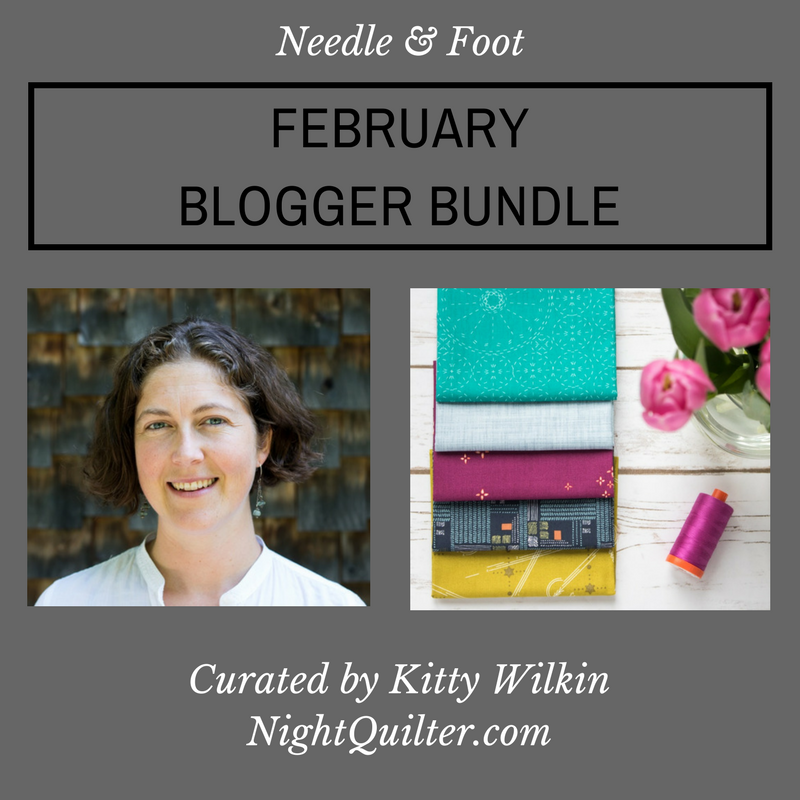 Now, for the giveaway! Today I’m flying across the country to Pasadena for QuiltCon, but I thought it would be fun to kick off my QuiltCon adventures with a blog giveaway. Bernie has generously offered this bundle of five (5) fat quarters to one of my lucky readers.
 Love this bundle and don’t want to wait? You can get yours
 We spent the rest of the day in the thick of Sunday family activity: we went to church, went out for a special family brunch at Dysarts (those familiar with Maine will know the draw of a good Dysarts breakfast), then headed off to our local tree farm to cut the perfect, tallest-one-yet, Christmas tree. I sit here now, the rest of the family asleep, typing by the glow of the lights of that tree, which was fully dressed in lights and ornaments before the kids would even think about heading up to bed. It was a full day, an exhausting day, and one during which I didn’t stitch a single stitch or write a single word (until now), but that’s ok.
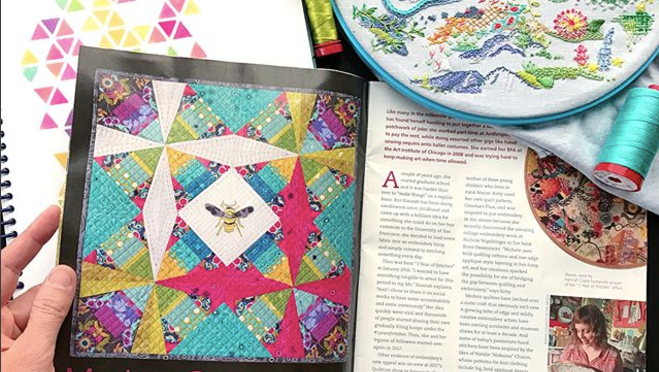
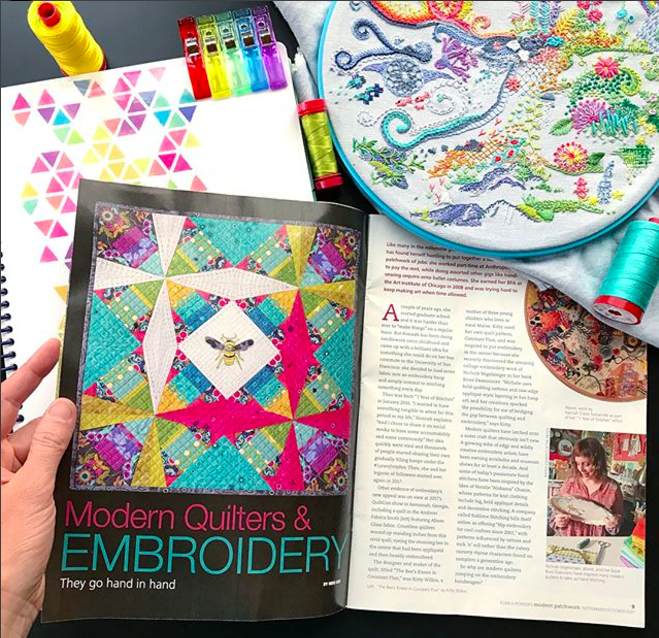 The article, written by
  I ordered my copy of the magazine through the
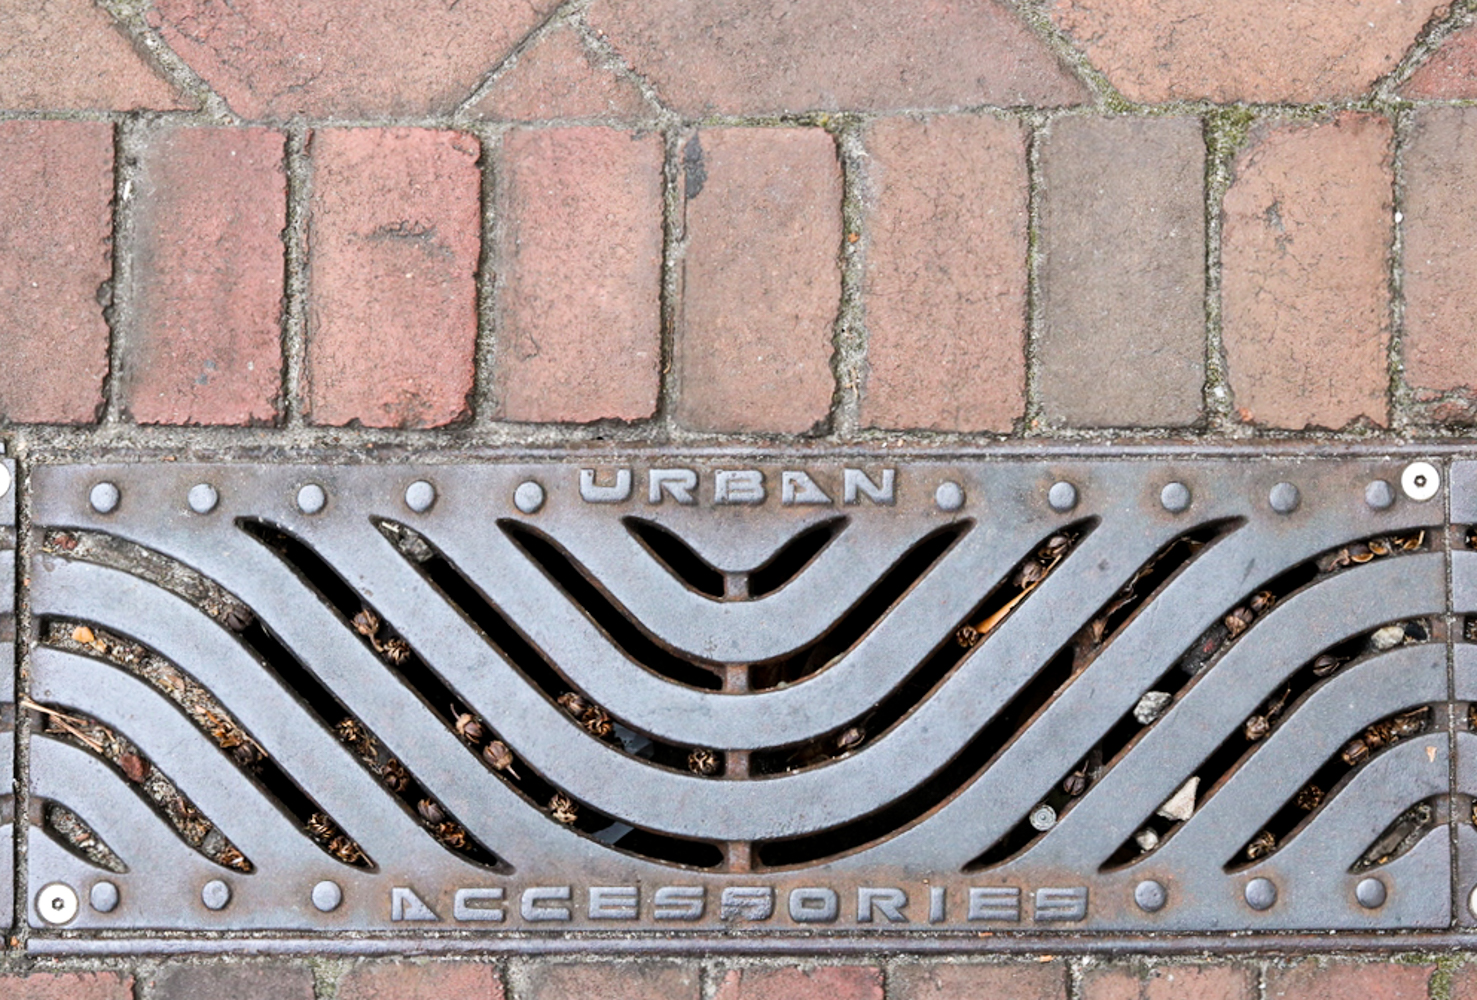 This month, I talk about where you can find geometric inspiration (psst… everywhere!) and share some photos I’ve taken. Go ahead and check it out
 …after January’s stitching…
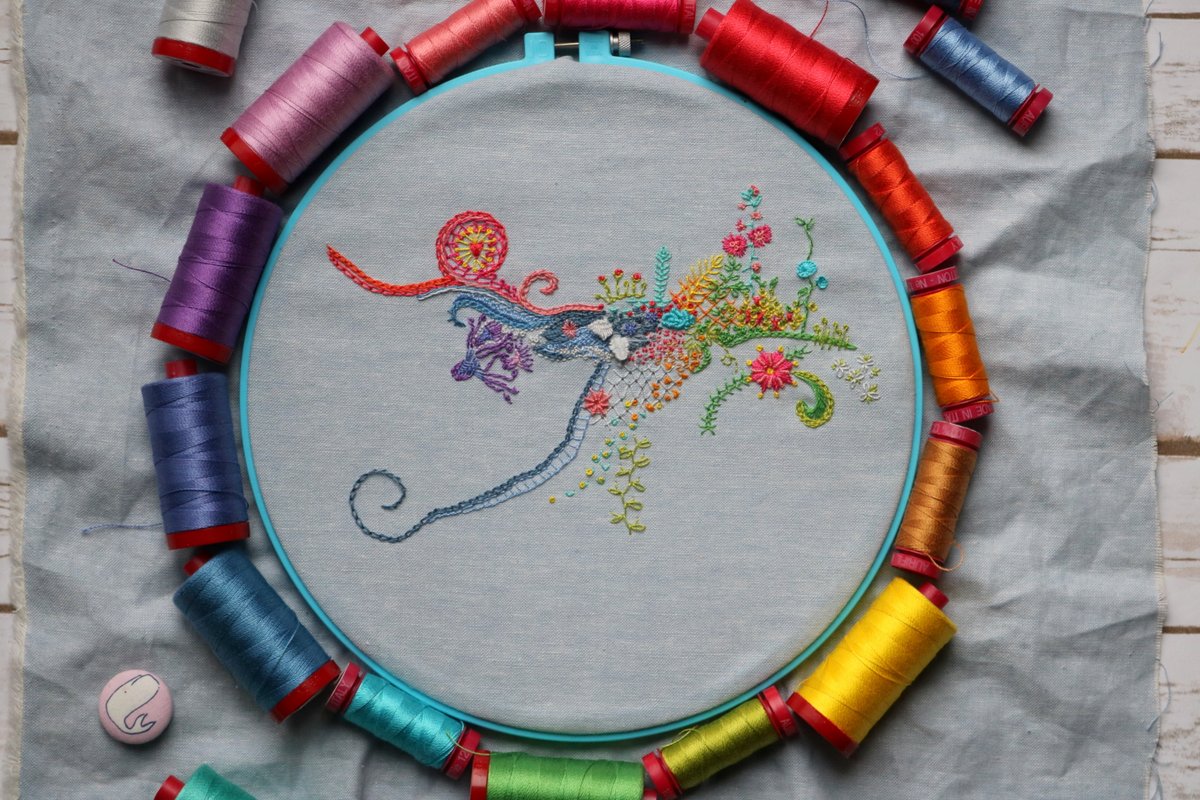 …after February’s stitching…
 …after March’s stitching…
 …after April’s stitching…
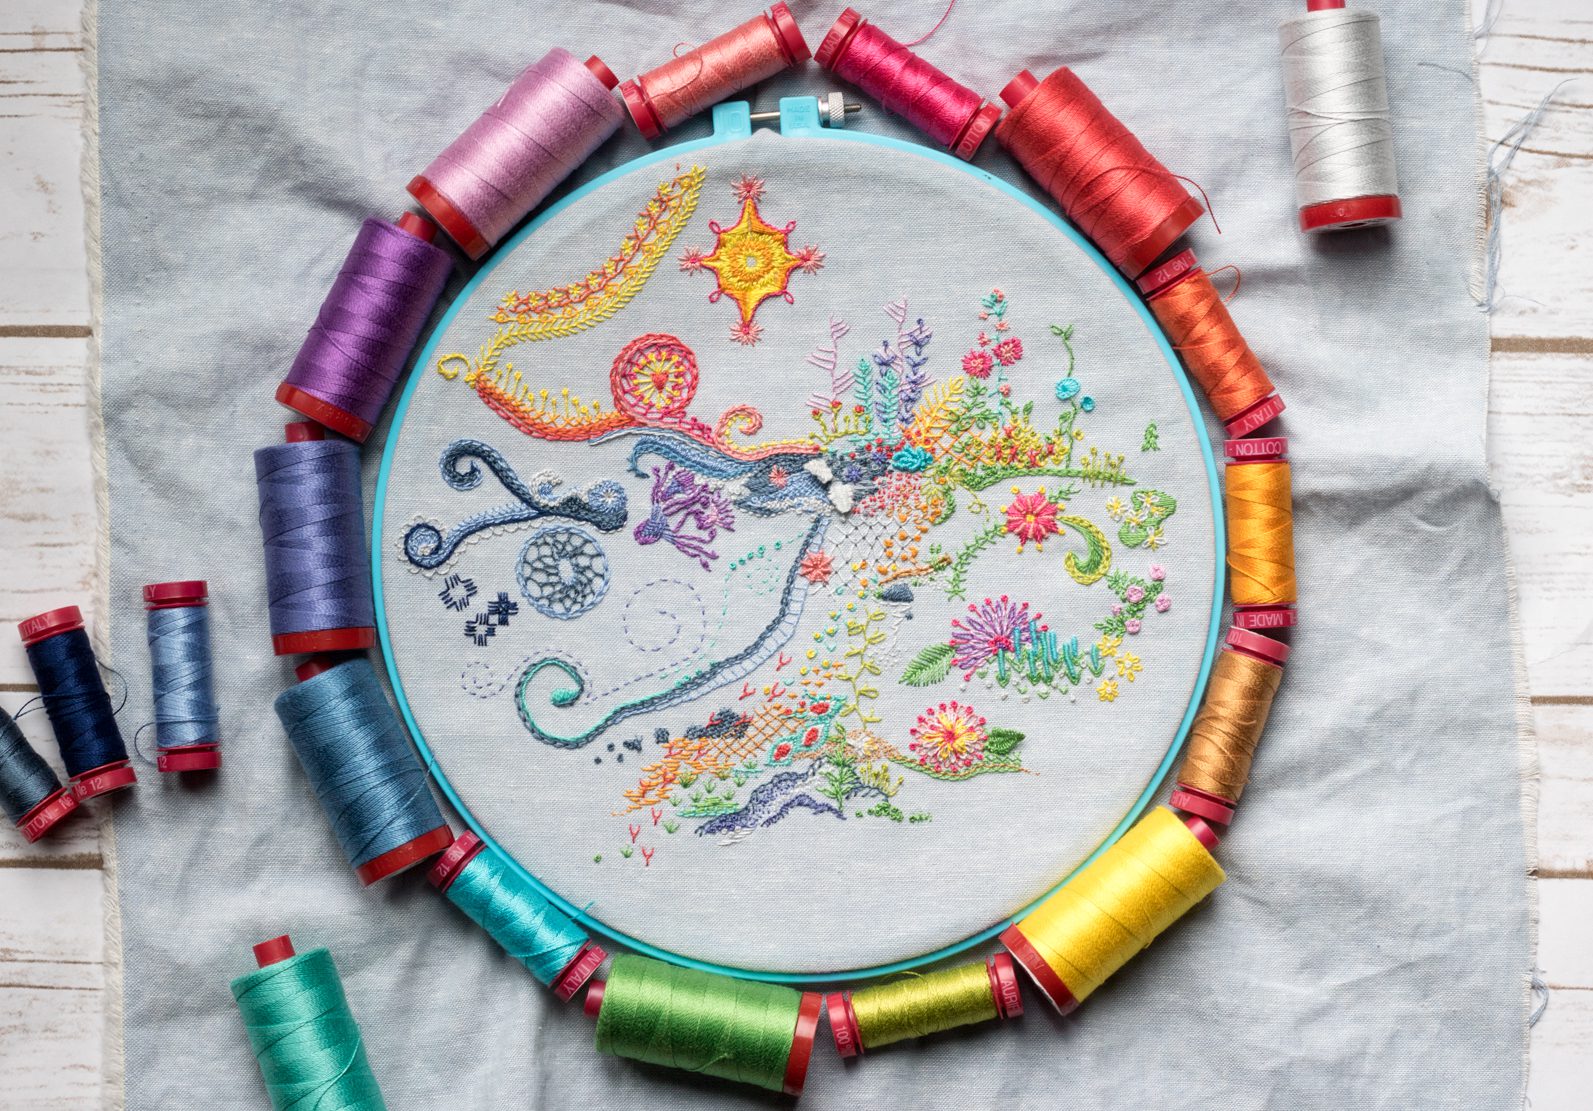 …and here it is after May’s stitching!
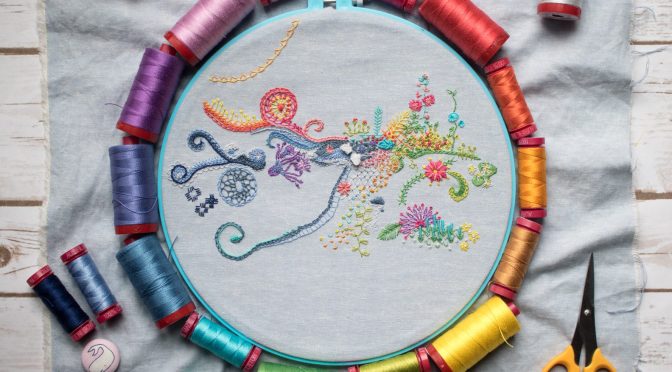
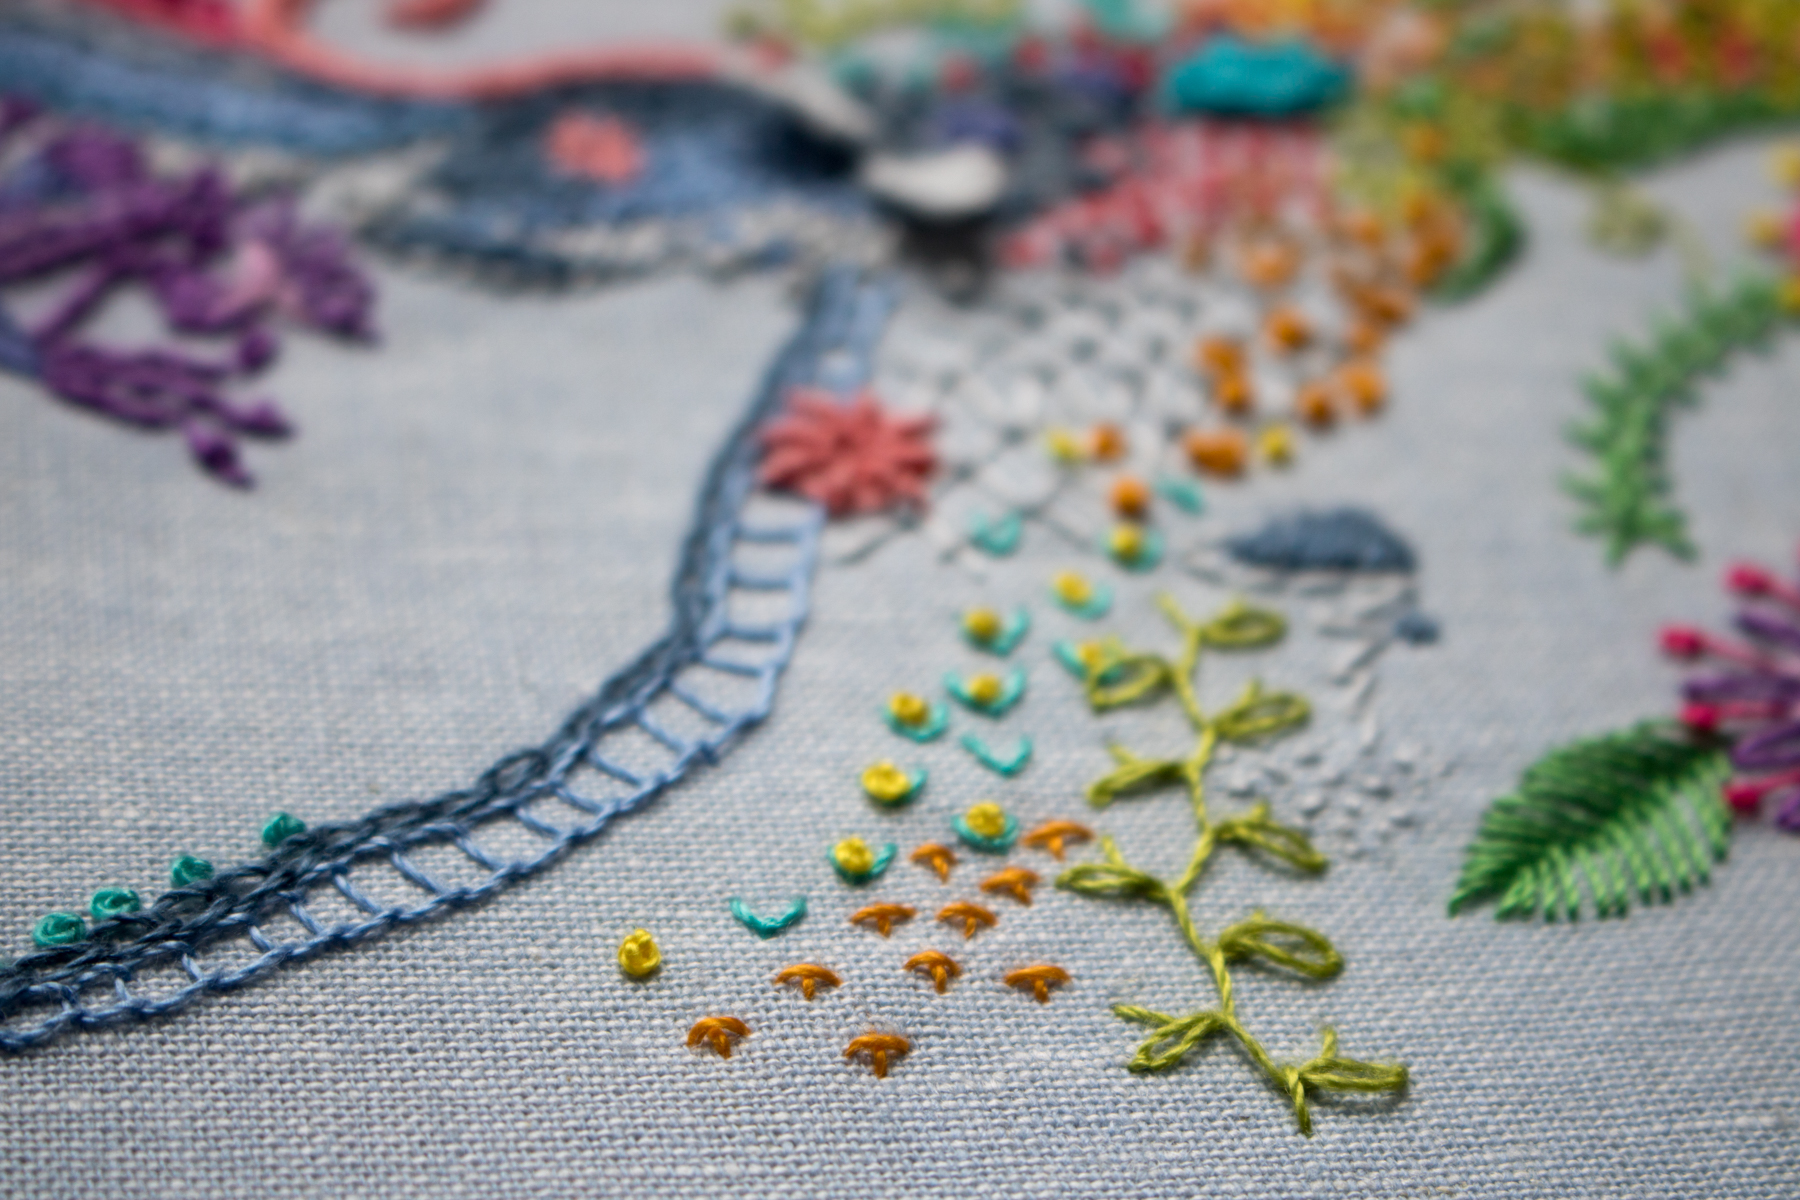
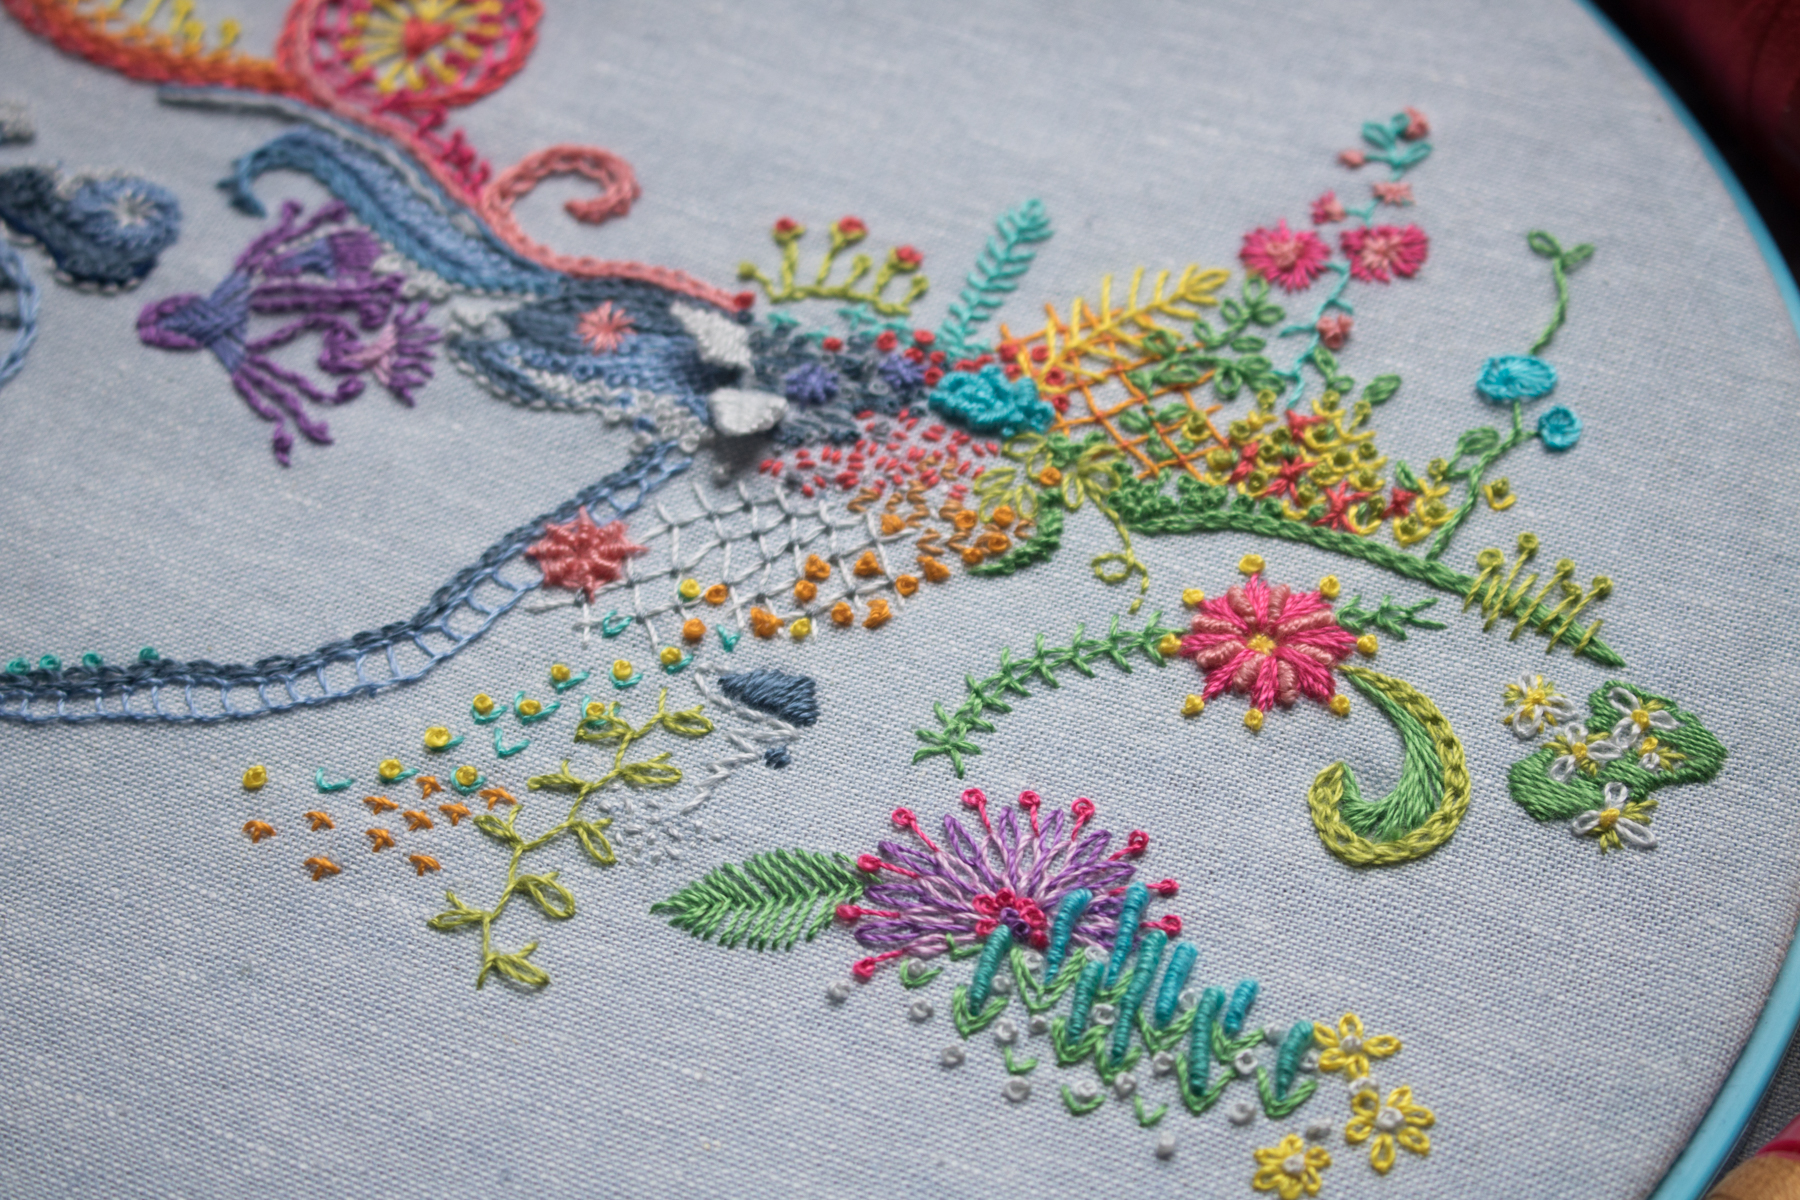
 I added a whole sun burst super nova element in that warm sunny section of the hoop, as well as some added texture with different rows of yellow stitches. This little supernova was very fun to make, and grew day to day. Again, I began with not much of a plan at all, just wanting to add some more bright yellow to the top portion of the hoop. After a few days, it took on a life of its own and continued to grow and take shape until the flowery starbursts decided to cap the growth (for now).
 I also added some “background” plant like elements behind the patch that began this whole hoop back in January. My biggest challenge with this daily stitching challenge is figuring out how to create background behind stitches that have already been stitched. Some attempts are more effective than others, but I figure it’s all part of the learning experience.
 A few more flowers were also added, in the form of lavender roses and their associated greenery. The flower garden continues to grow and blossom.
 A month of progress wouldn’t be complete without adding some motion to the ocean! There wasn’t all that much growth here this month, but some running stitch and french knots helped begin to create some more flow.
 The hoop is beginning to fill out, but knowing that I’m just about halfway through the year, I do think I should be able to fit the entire year in this hoop without extending off the sides. There are lots of little spaces between elements, and while I hope to not fill every *single* one, there is a lot of room for depth and texture and who knows what else!
 …and finally, here it is after April’s stitching!
 I think it all began with some rocks, and then some little critter footprints, and then took off from there.
 I mostly stitch whatever comes to mind each day, without much influence from my everyday happenings. A couple stitches this month had some subtle meaning, however. I stitched a large rock on Good Friday and a lily flower sprouting out of the rock on Easter. Sometimes it just sneaks in.
 On one particularly uninspired day, I showed my hoop to my husband and prompted, “Where should I stitch? Tell me a color and point to a spot.” He pointed to a spot and said “A piece of driftwood here.” Thus originated the couched stitch driftwood, which was followed by some 12wt Aurifil 2600-Dove sand and a few tufts of beach grass. Some days inspiration strikes; some, not so much.
 I also added another wild and crazy layered flower consisting of long tailed lazy daisy stitches, lazy daisy, and pistil stitch. There might be a few french knots in there, too.
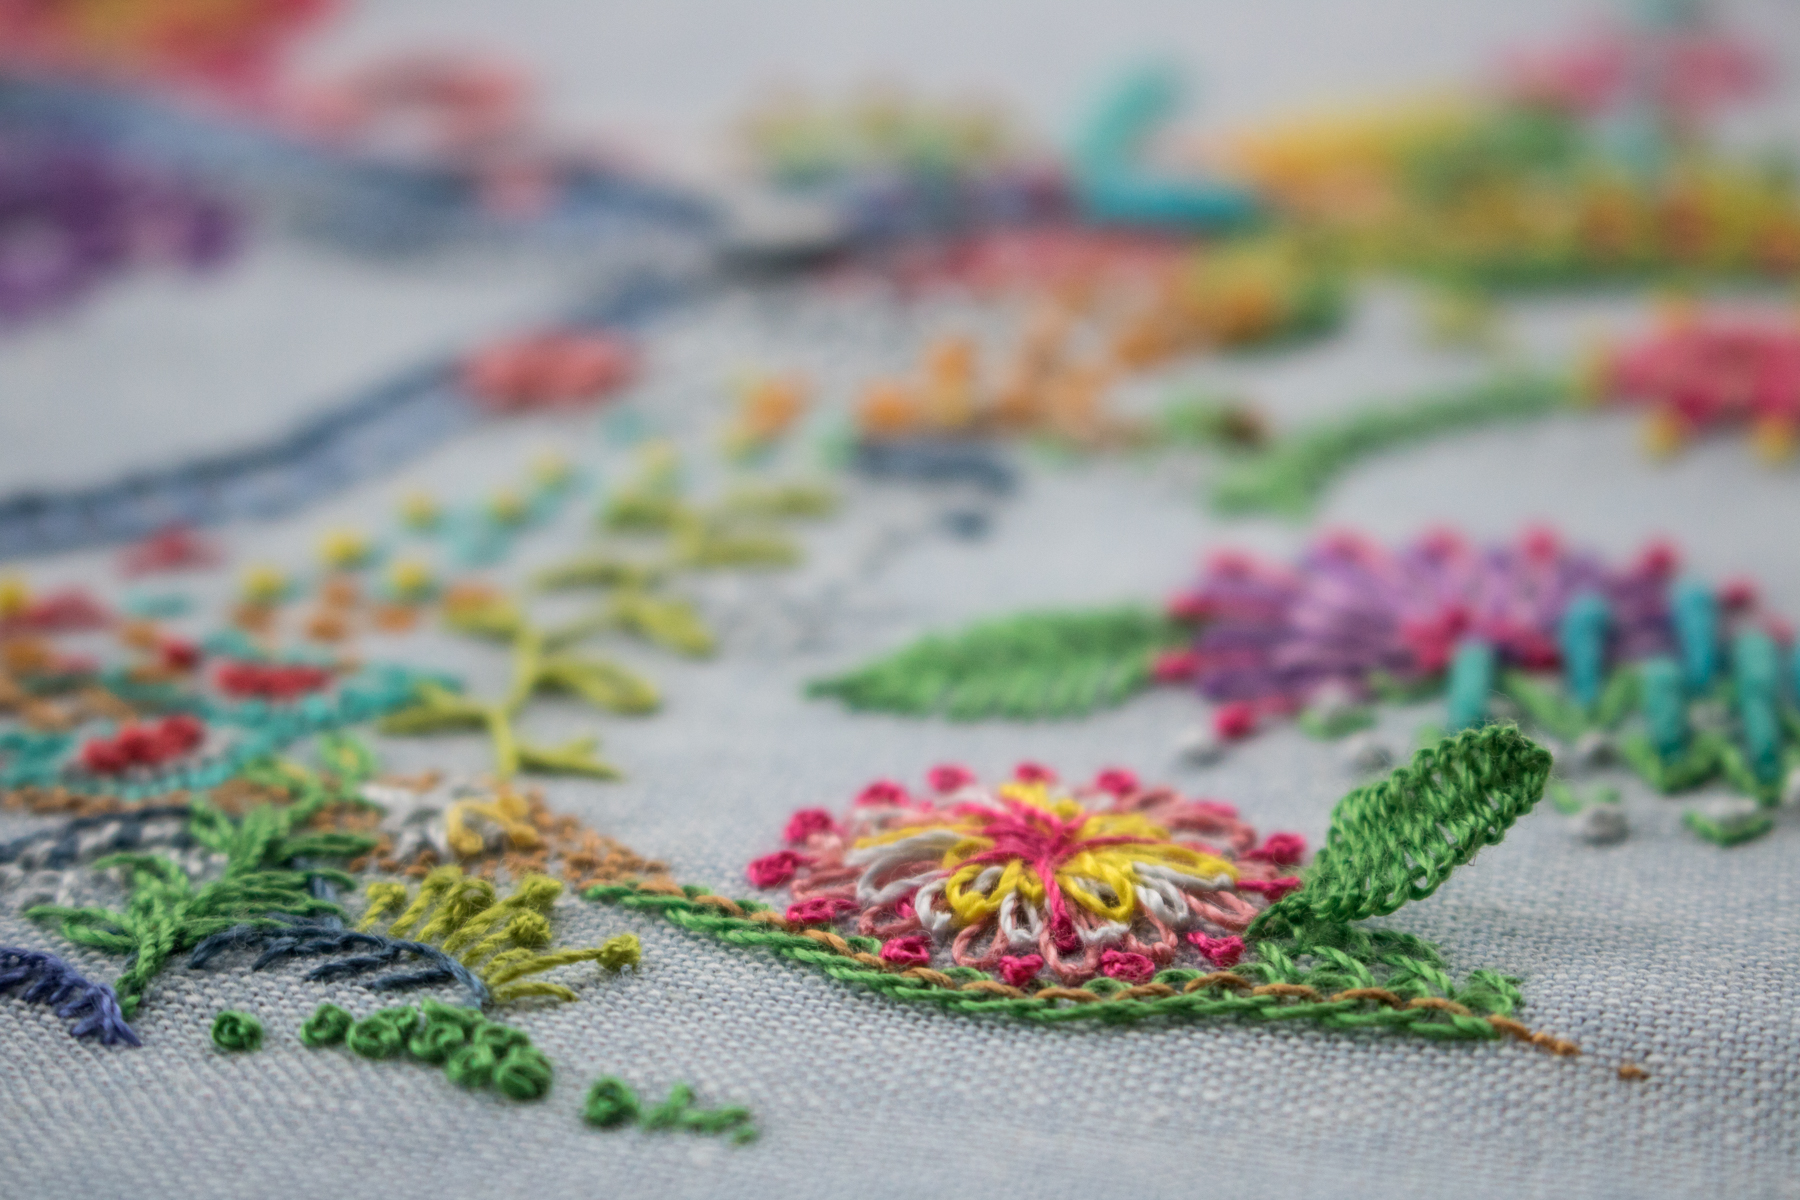 The boldness of the flower begged for some offsetting feature, so another woven picot appeared in the form of a big green leaf. I love the little 3-dimensional elements on this hoop!
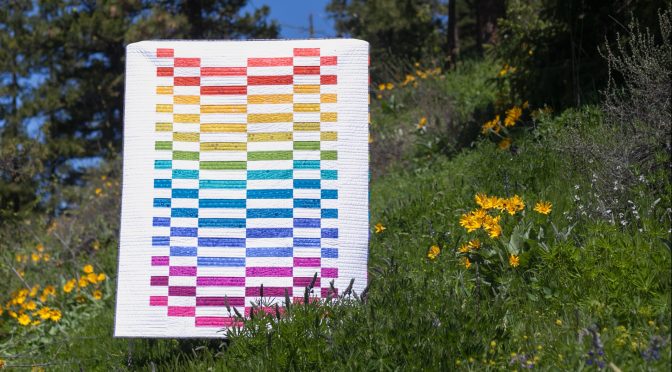

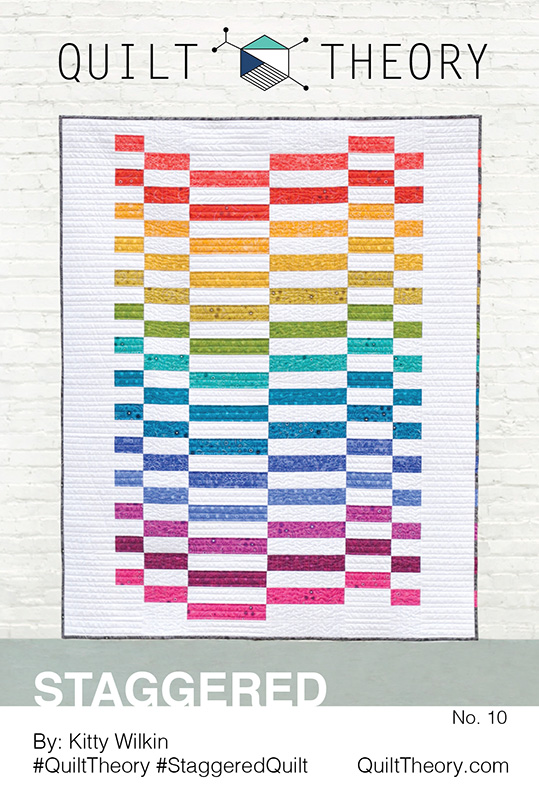
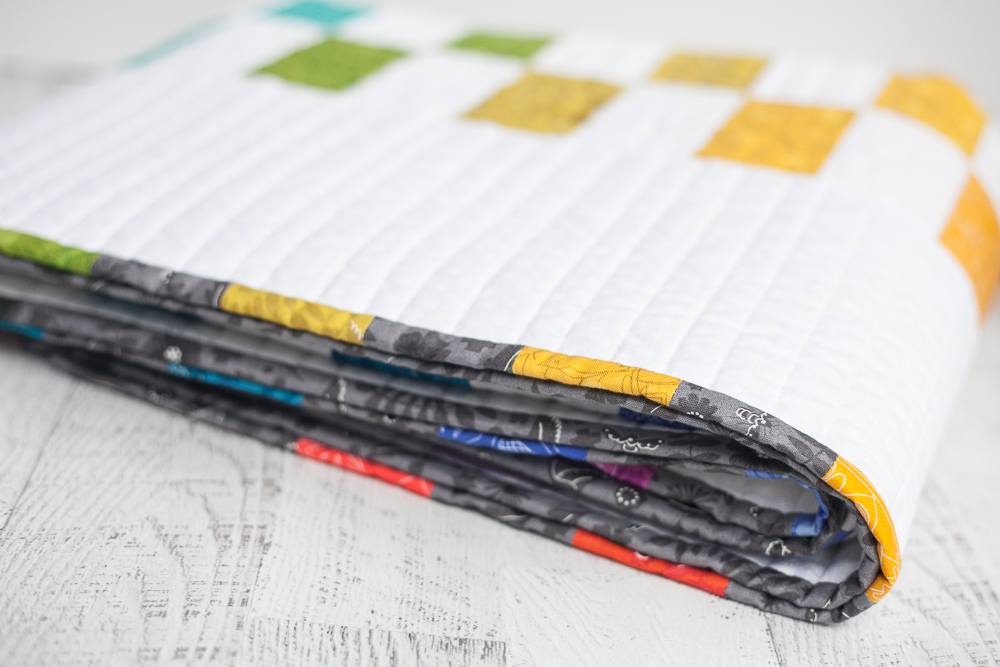 Staggered also includes a link to instructions for a bonus rainbow binding, since I couldn’t help but extend that rainbow off the edge of the quilt. So much fun!