Tag Archives: progress

Tiny Bits of Progress, Literally

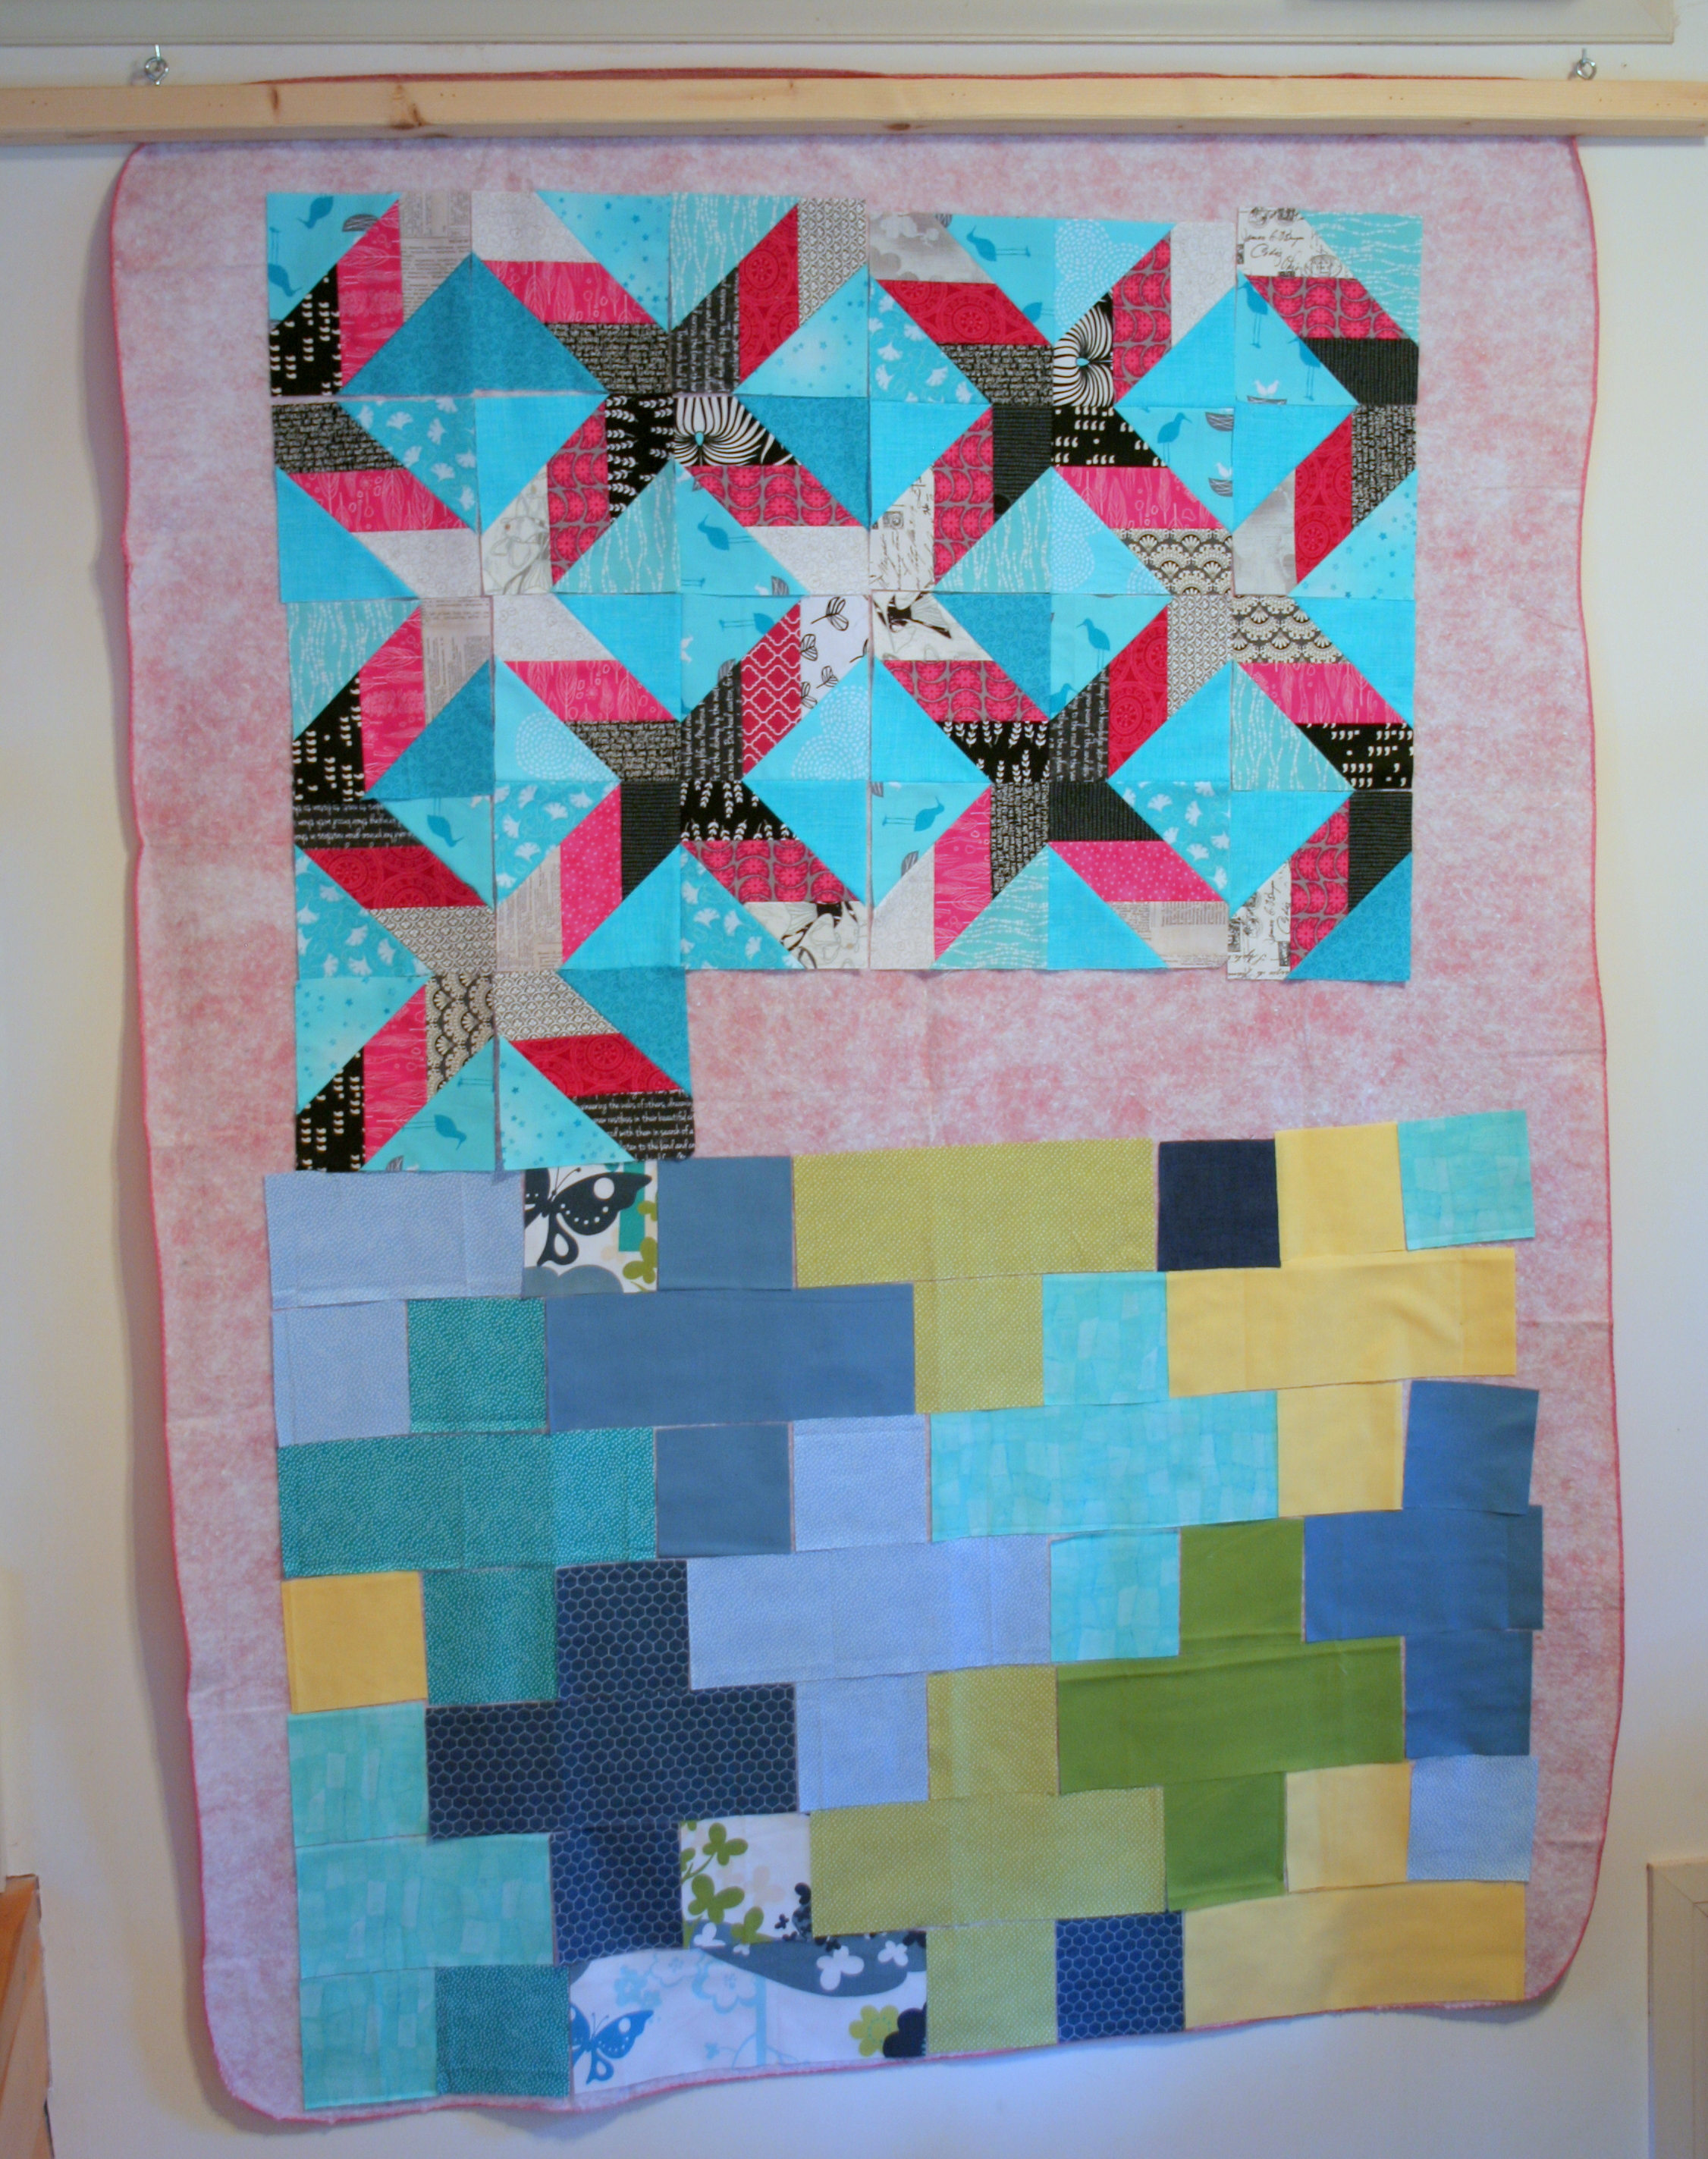
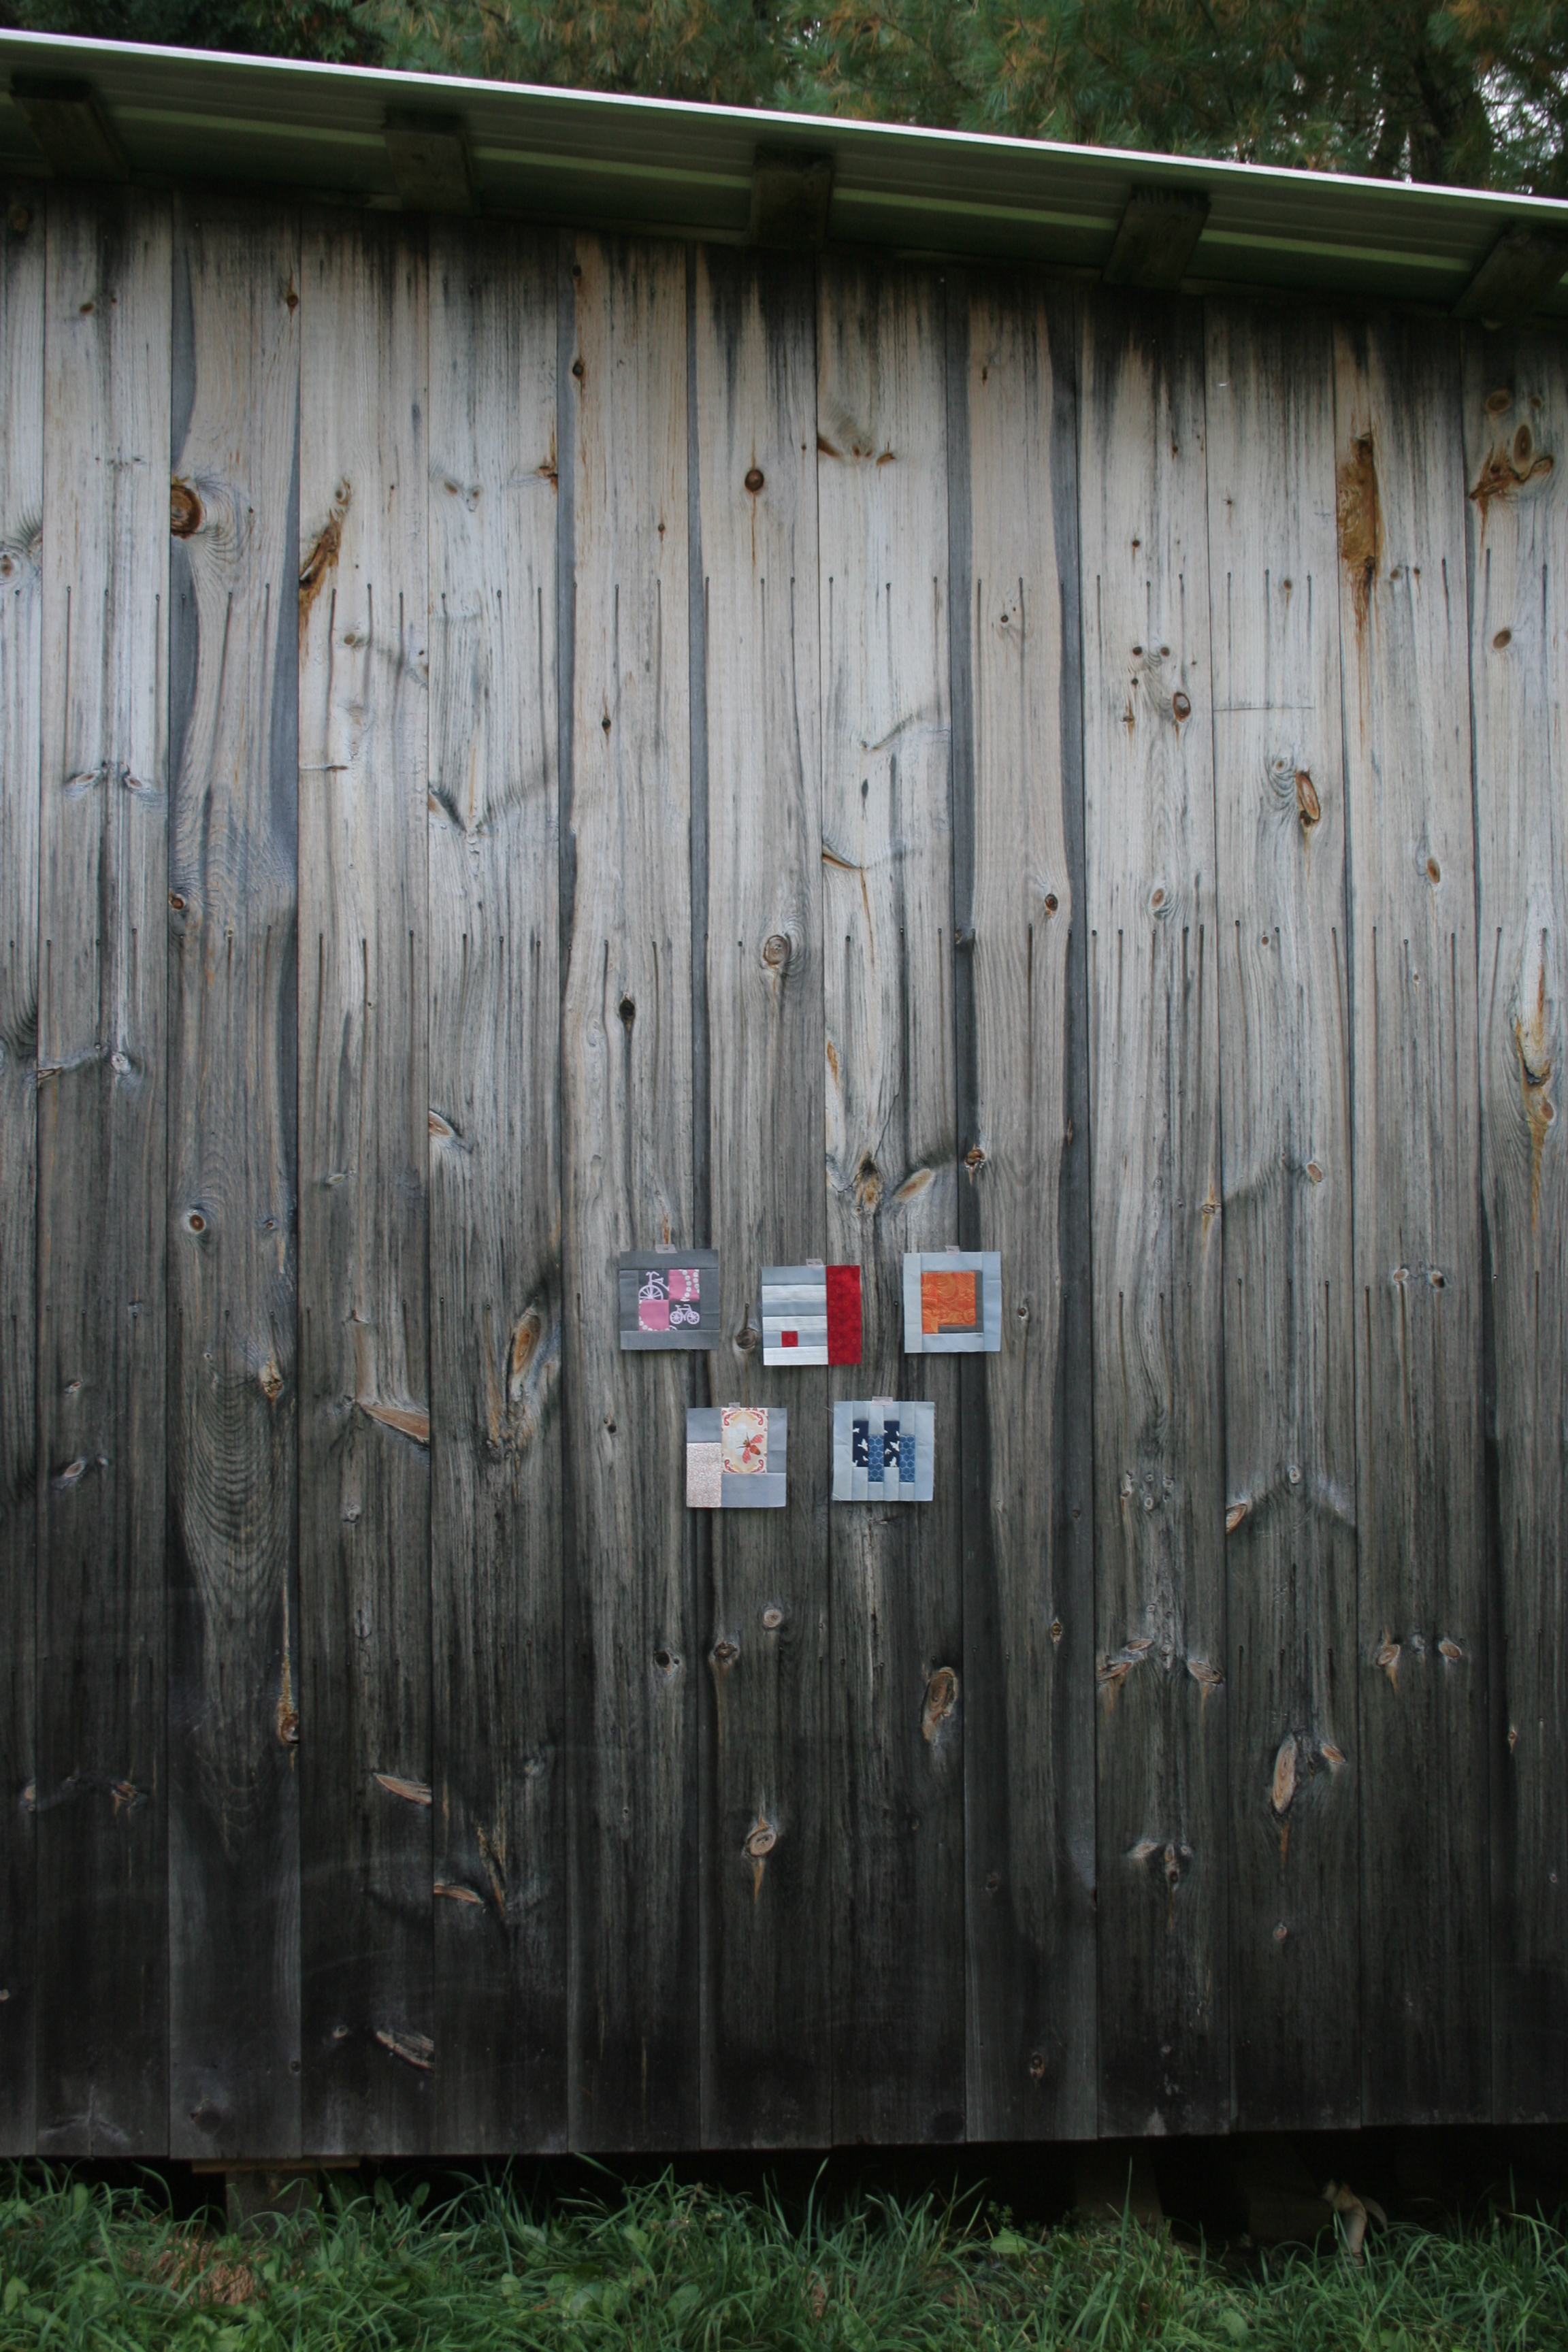
My sewing progress check-ins have been scarce lately, but I have been doing a little bit of sewing. Some consists of projects that I can’t quite show yet, but some consists of literal little bits of sewing: mini mini quilts. The mini mini quilt swap idea has certainly blossomed since my first post about the mini mini I received from Michelle, and it seems that I’ve spread the bug to quite a few of you (Yvonne, Allison, and Jennifer are three who I know have jumped onto the mini mini quilt conga line–it’s a party, afterall!–but I’m sure there are more!). I’ve also agreed to a lot of swaps, but with a relaxed deadline. Many of you swappers asked me to make something I love. I know myself well, though; if I let the momentum go, it *might* be tough to get going again. So I decided to make a few mini minis, trying out techniques or ideas that I wanted to try. Here is a sampling of mini minis in progress, new and old.

mini mini quilts in progress
Clockwise from top left: Rainbow strip remnants, mini snail house, first attempt at improv, a yet-unknown mini mini component, and small stitching inspired by Chawne Kimber.

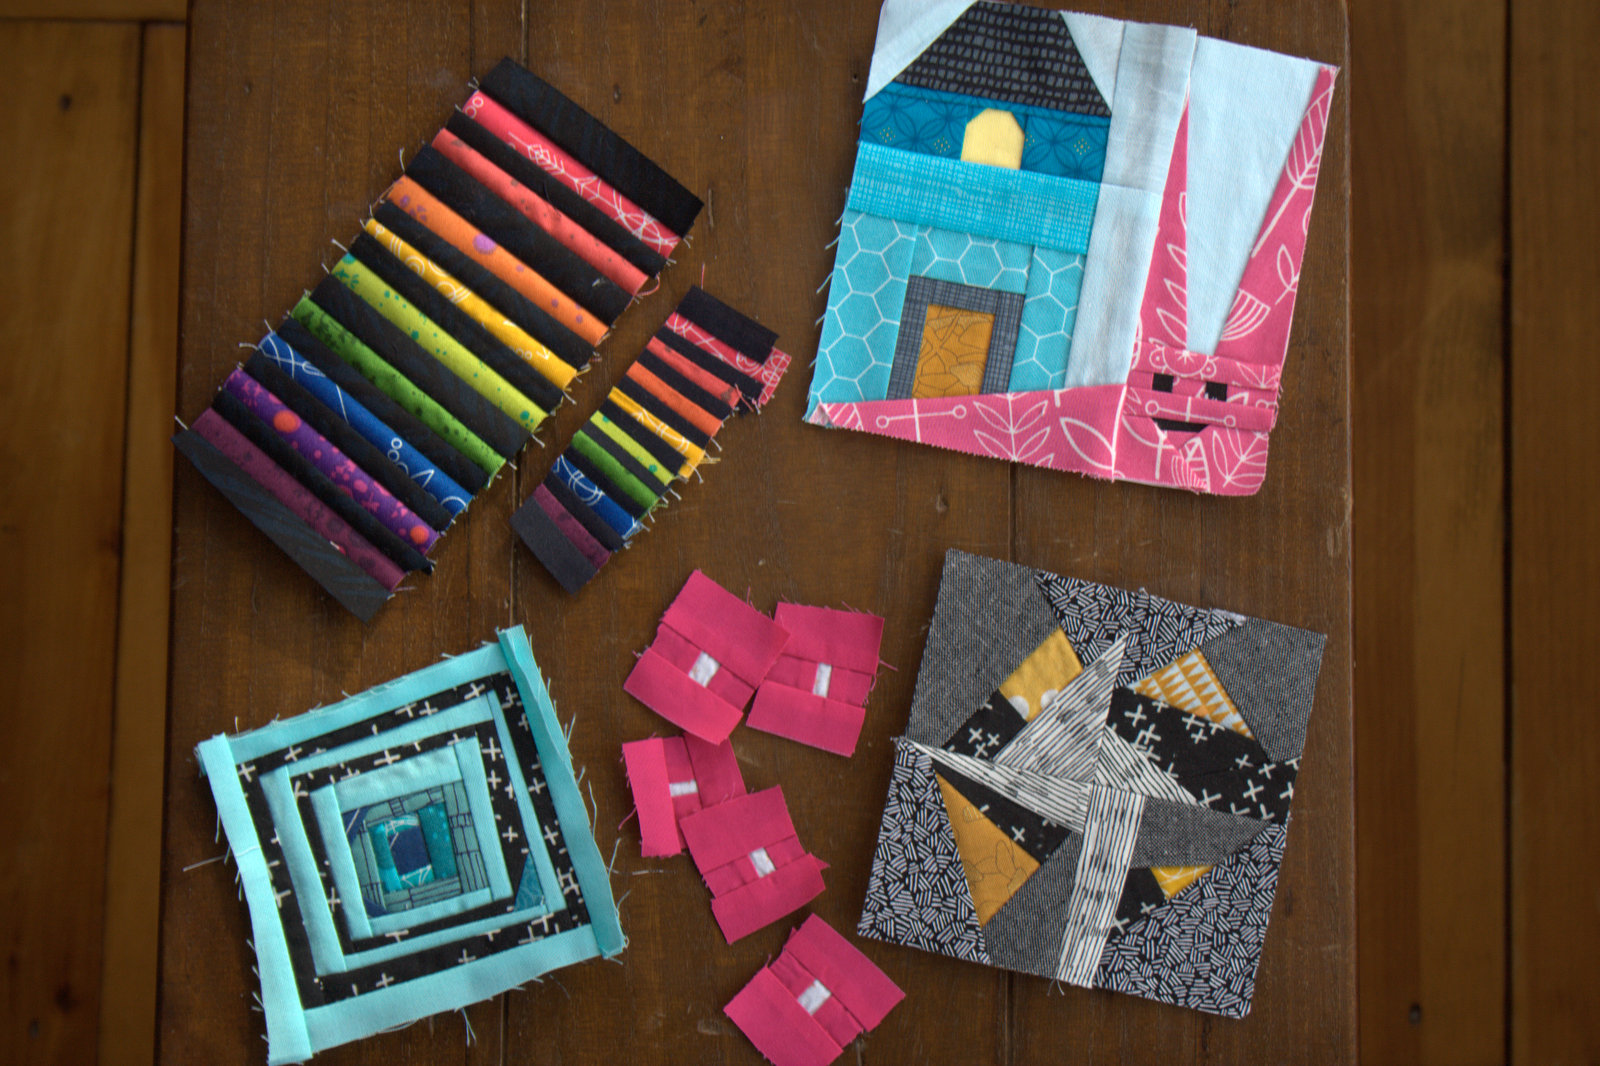
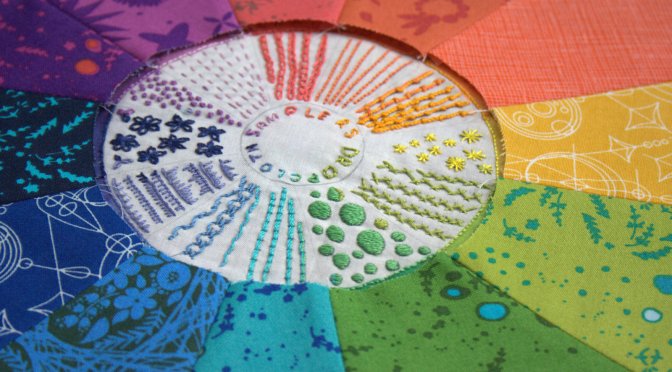
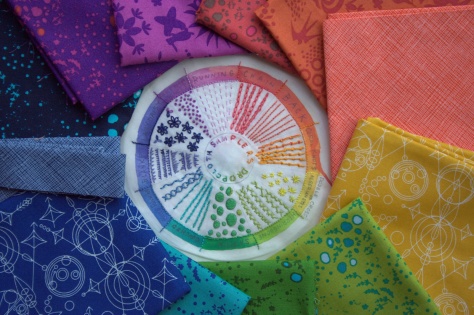
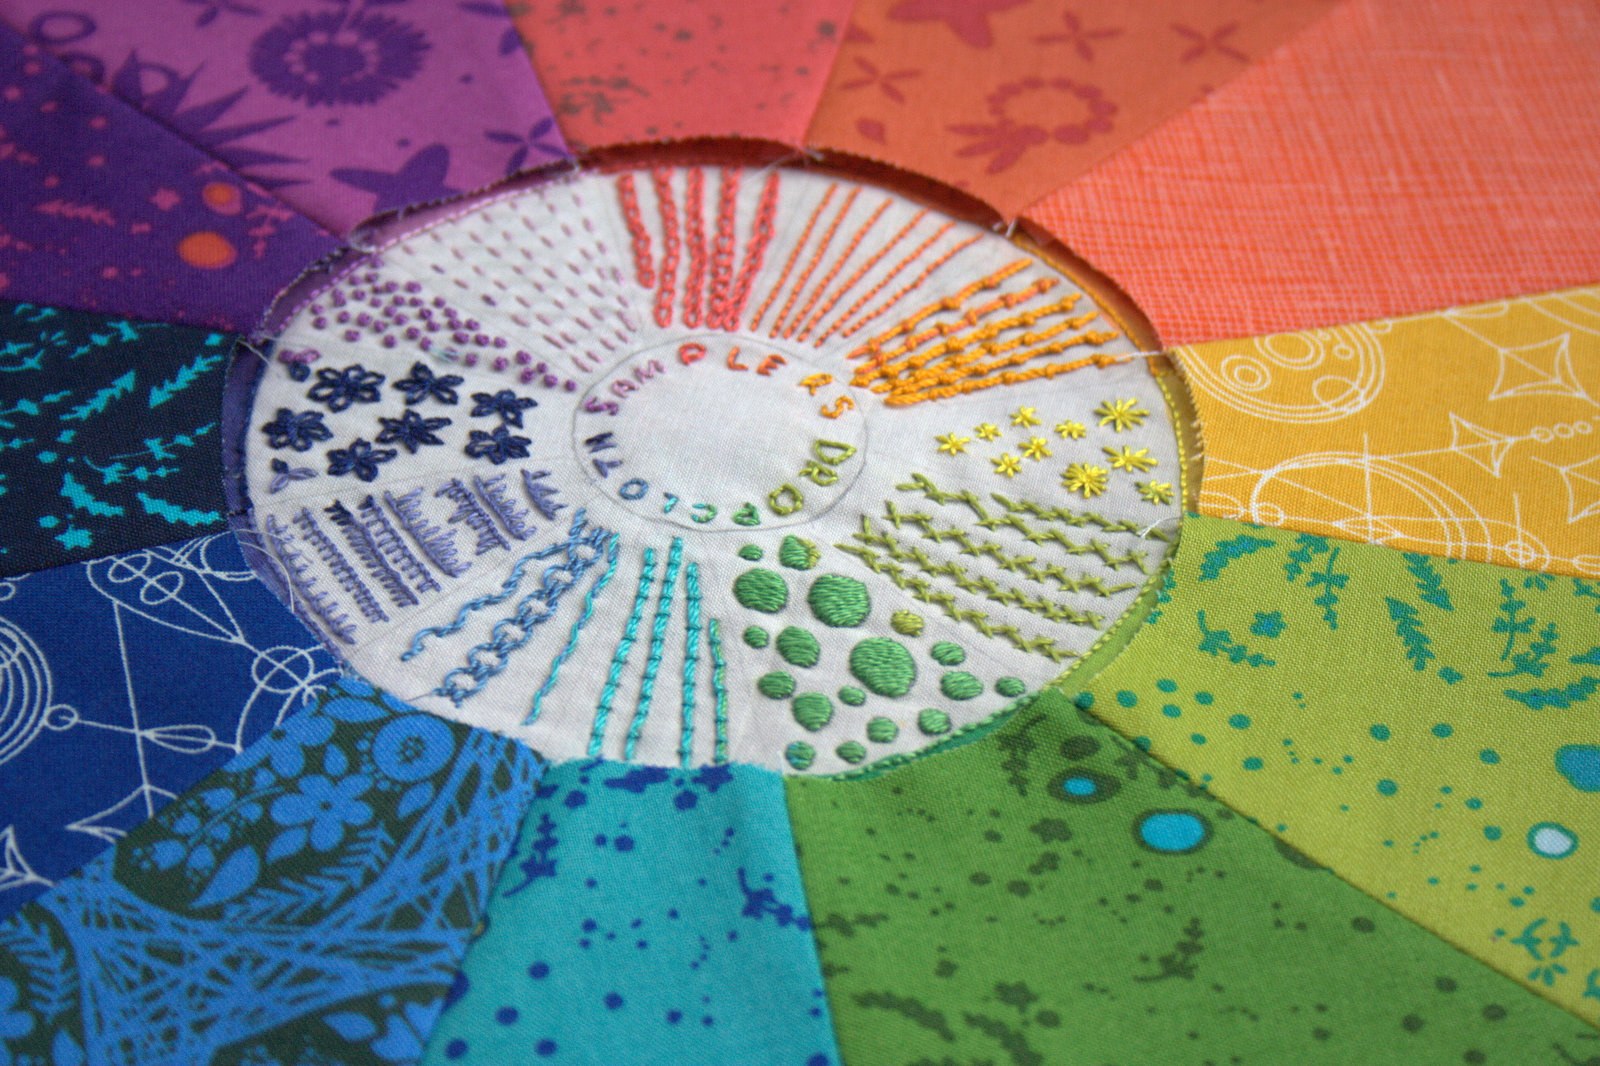
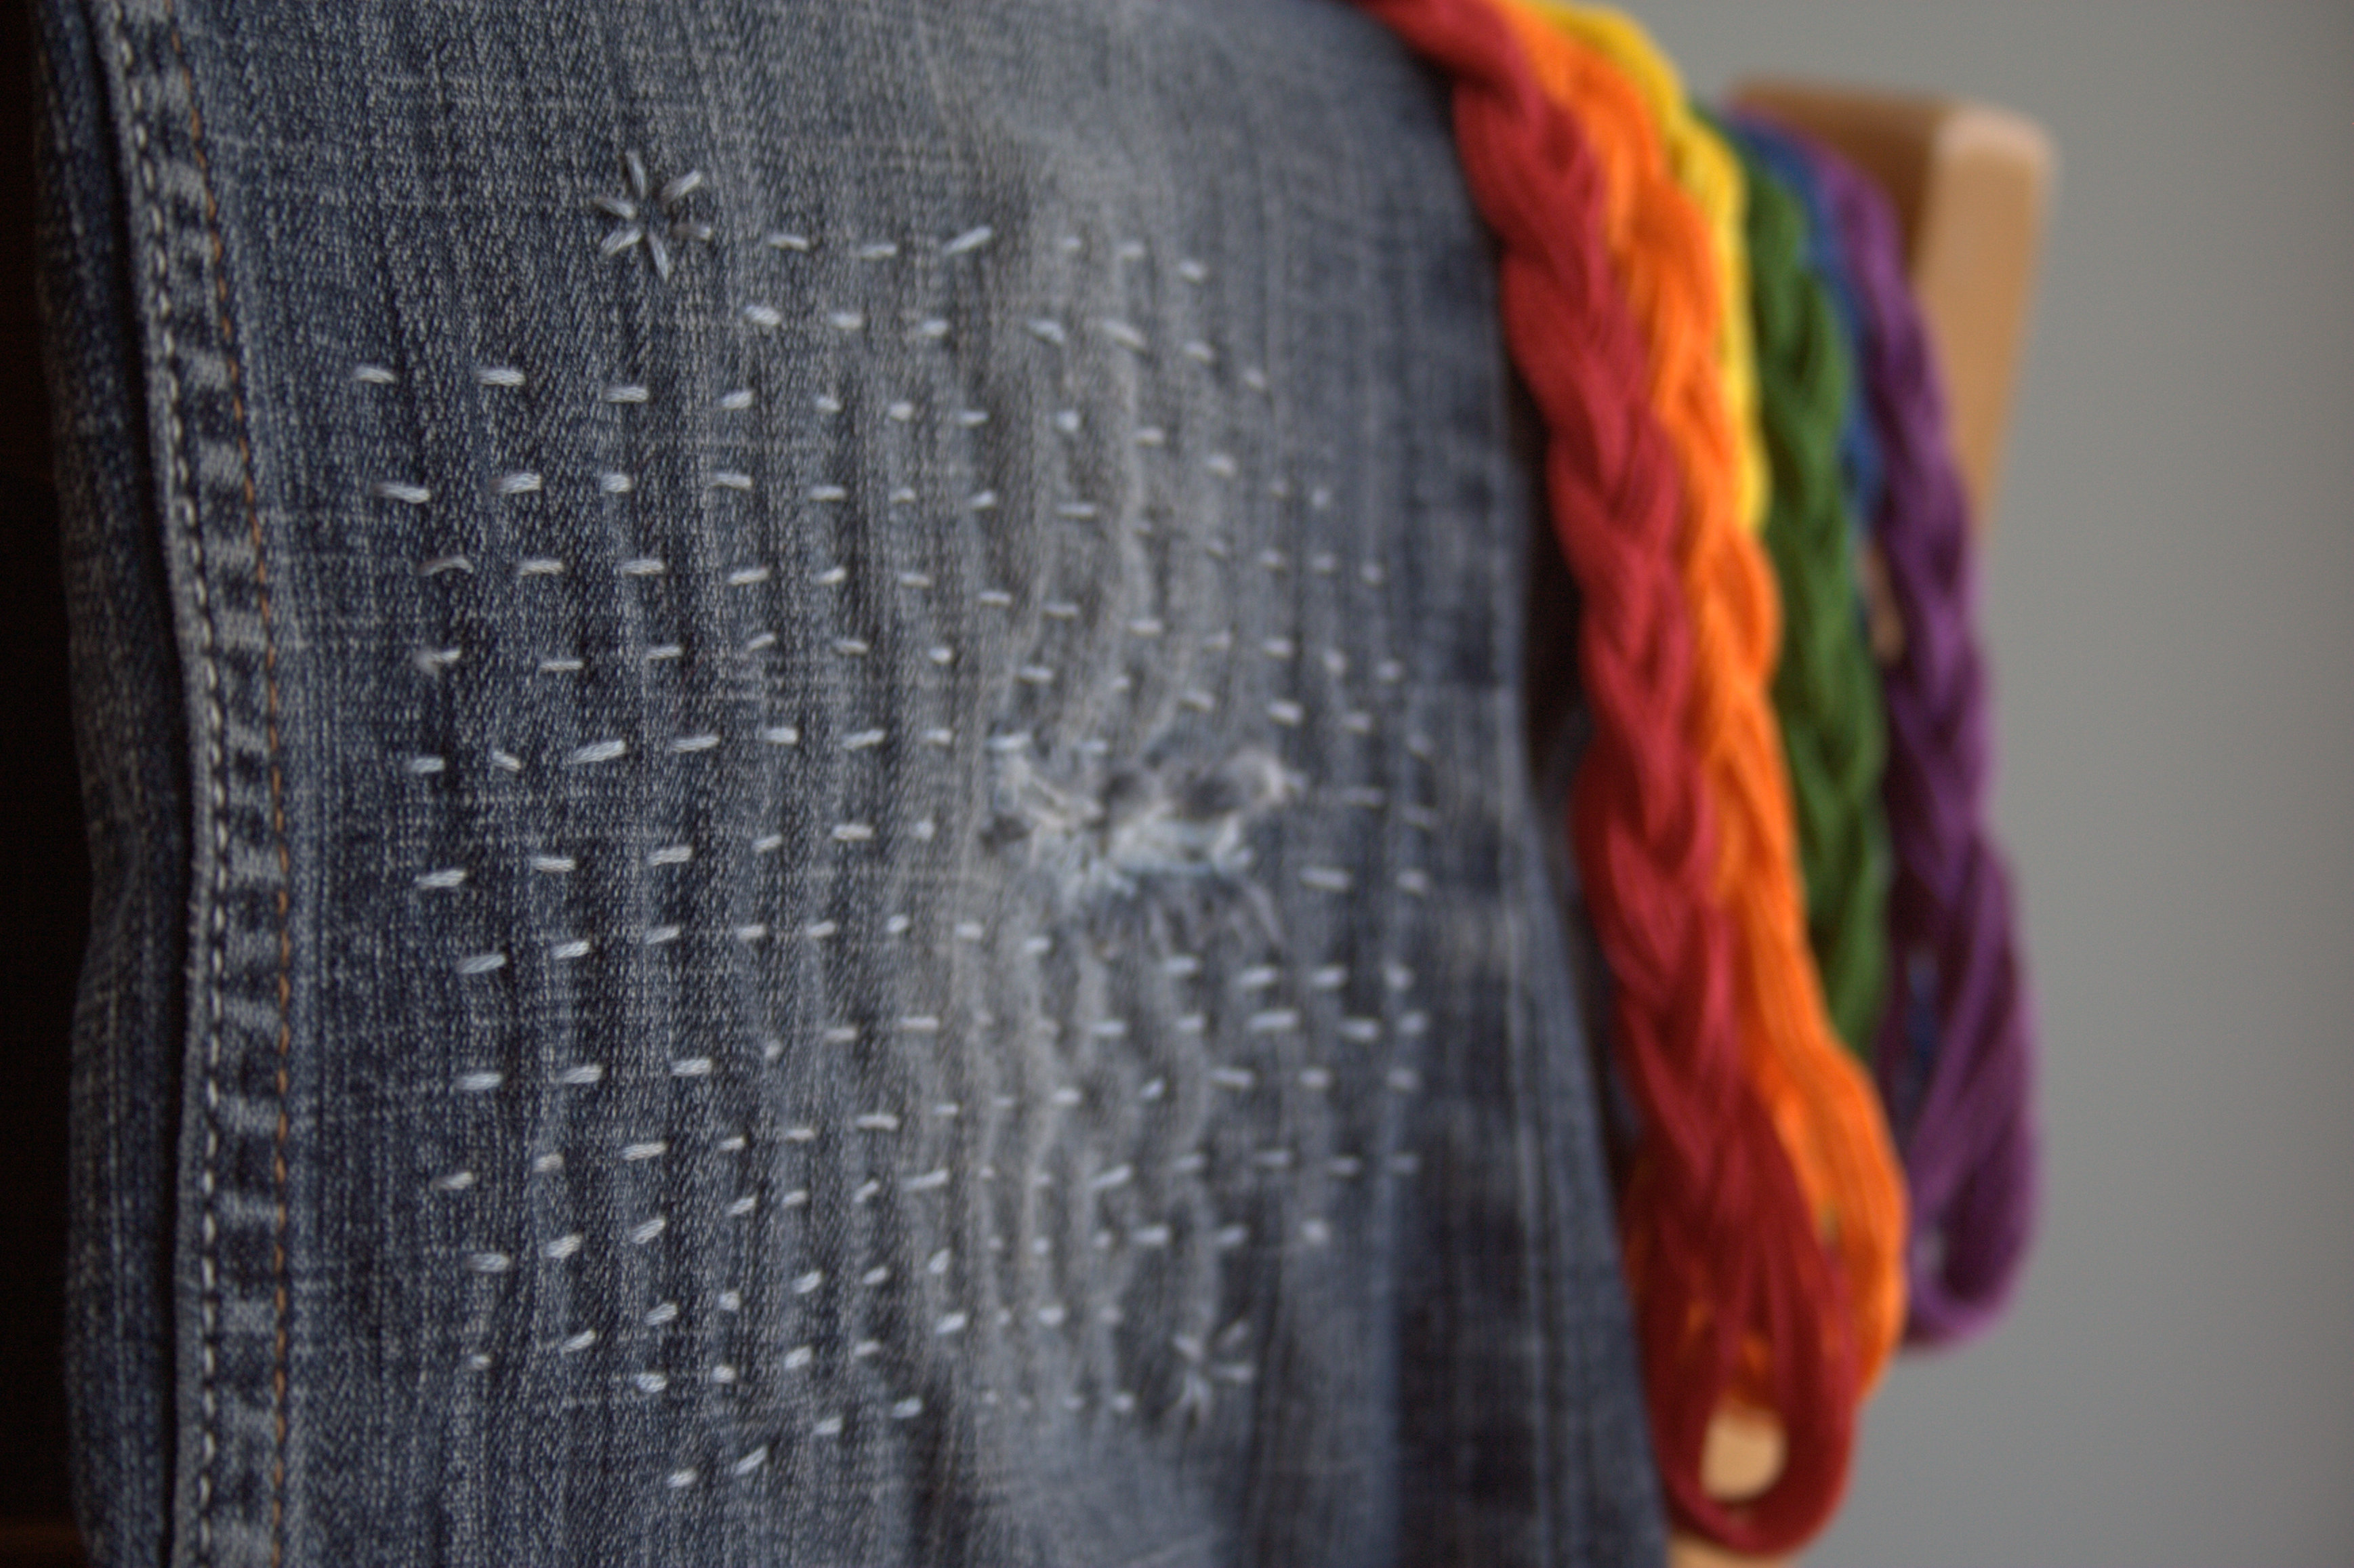
This collection includes two “old” mini minis–a foundation paper pieced snail house that I designed a year or so ago for a mini house along, and is actually a large-sized mini mini at 5″ (top right); and, another practice go at small stitching that I created upon returning from the Slow Stitching retreat, inspired by Chawne Kimber (bottom left). There’s also the beginnings of another not-yet-fully-formulated mini mini in those pink donuts (bottom center), my first attempt at improv (bottom right), and a couple rainbow strip remnants that I made while creating Yvonne’s mini mini, which is finished and you’ll hopefully see on Friday (top left). Here are some closer looks.

improv mini mini
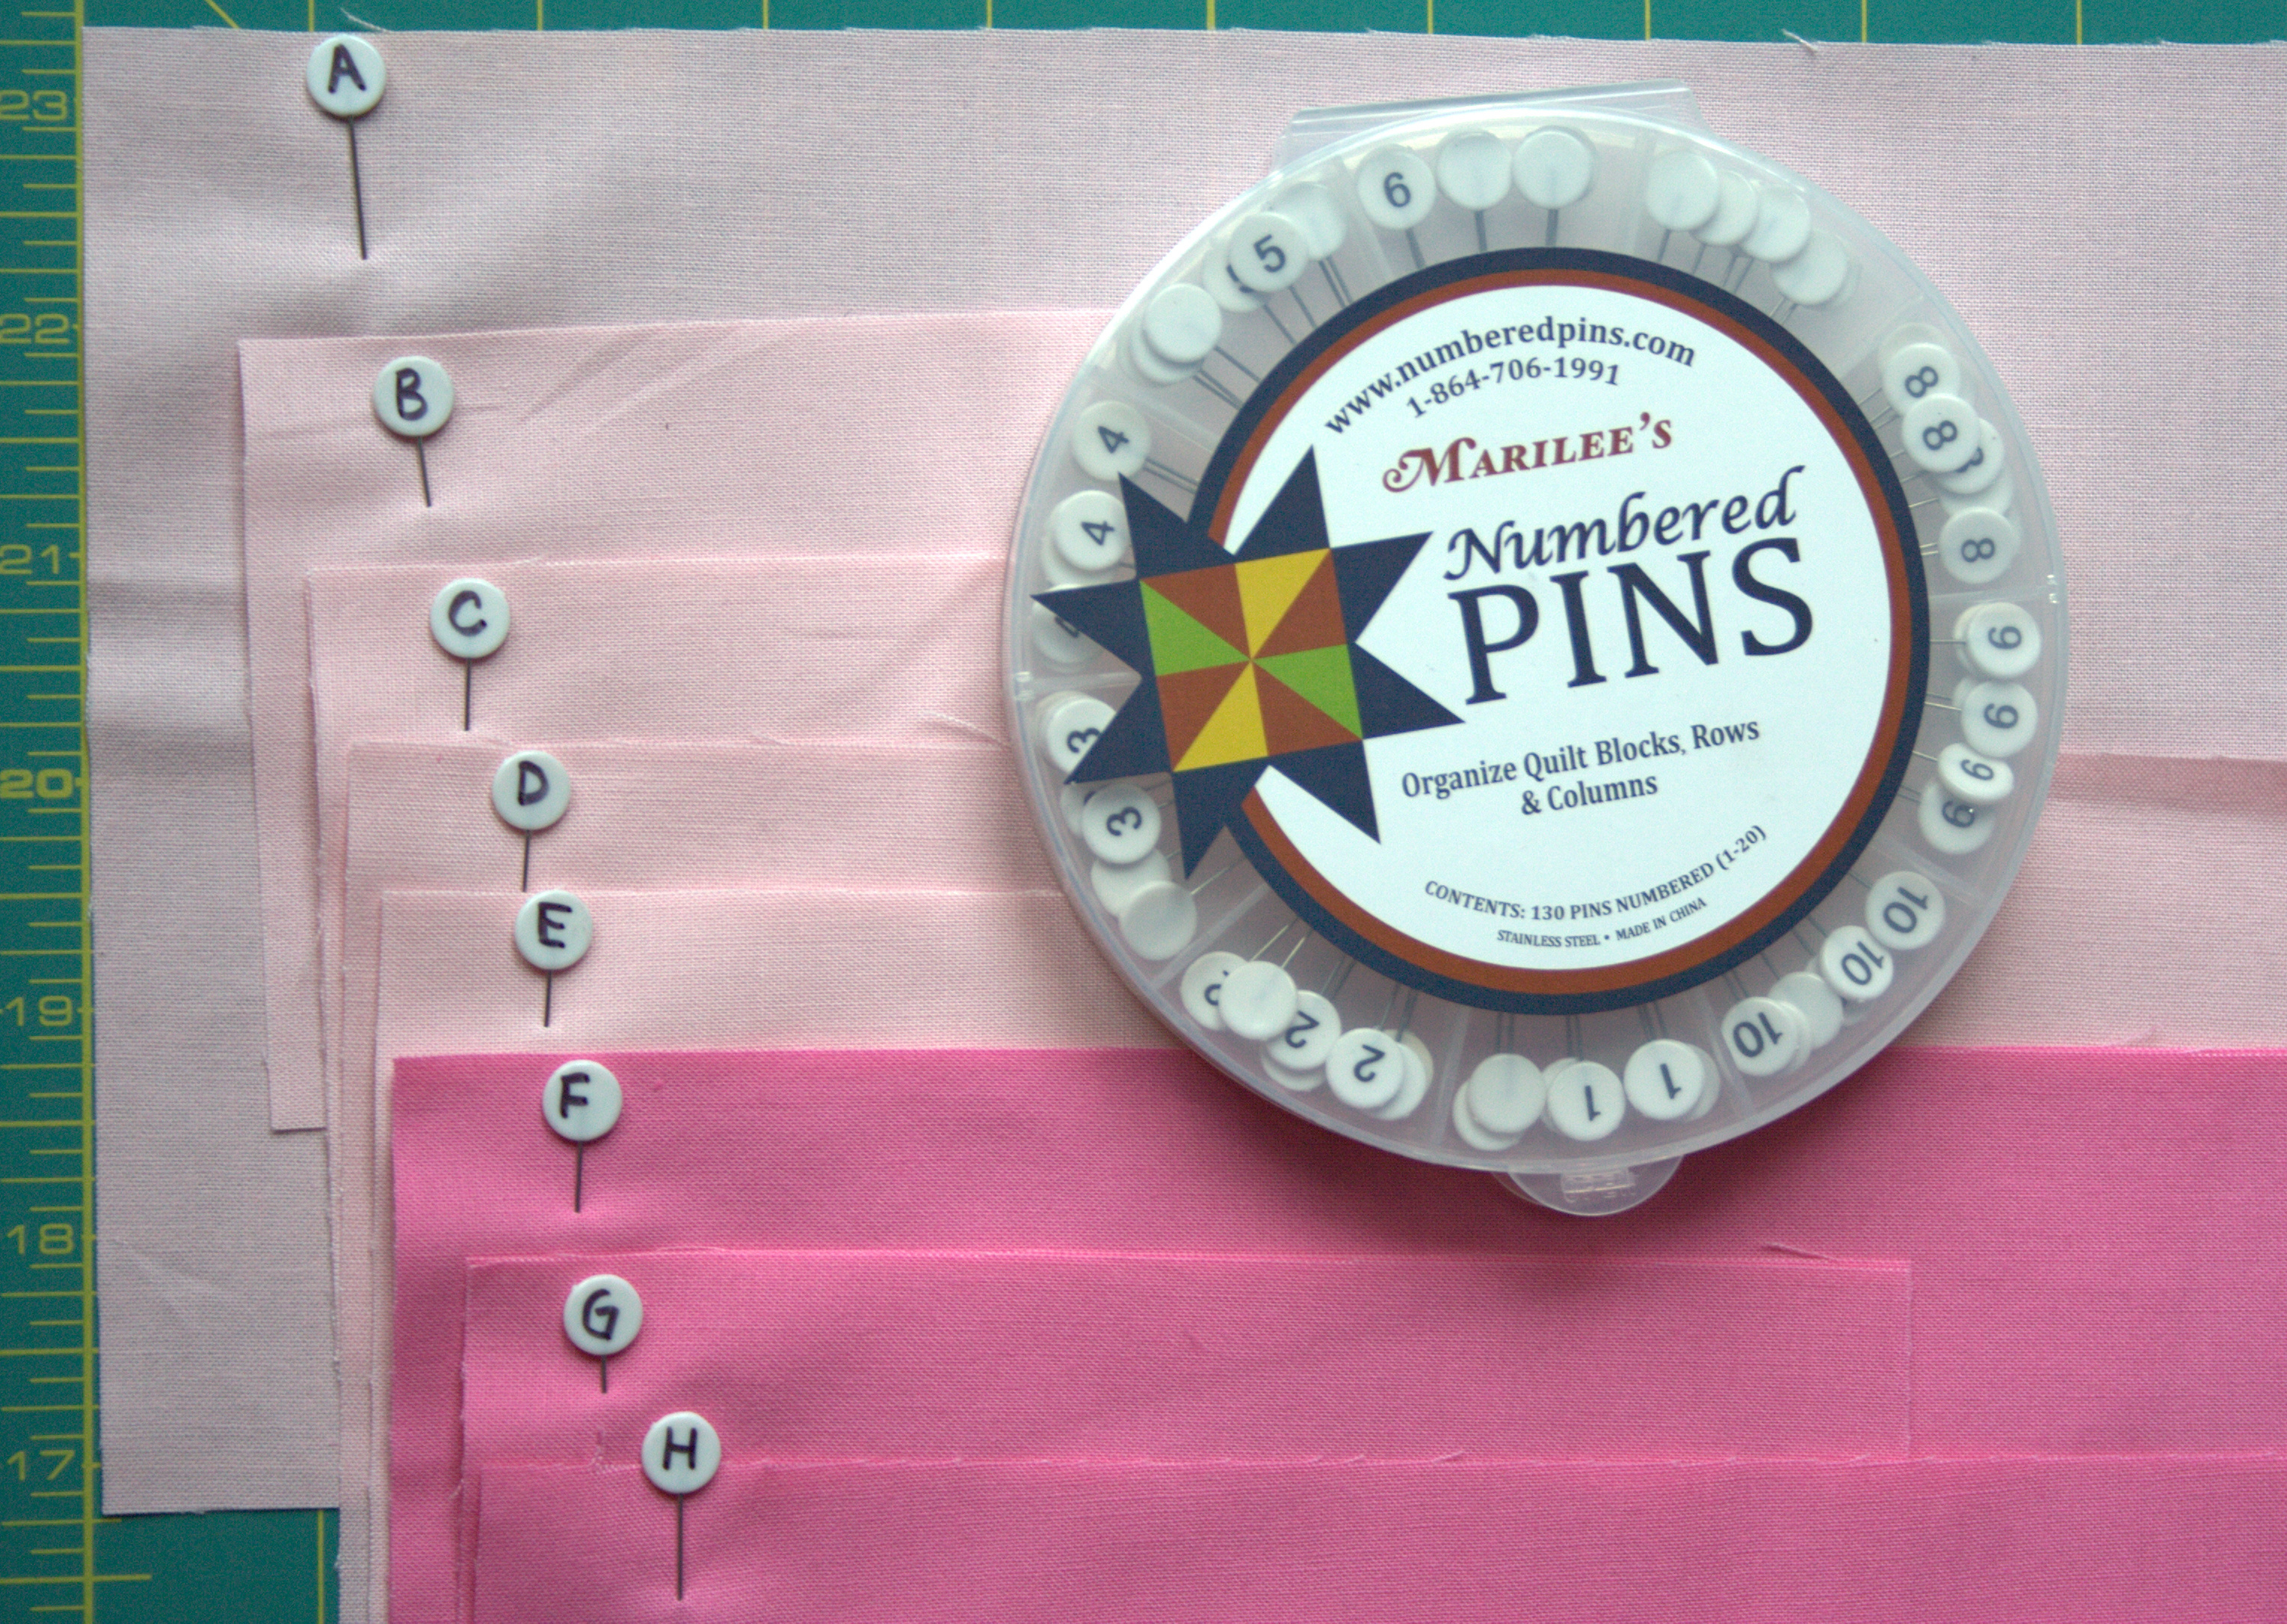
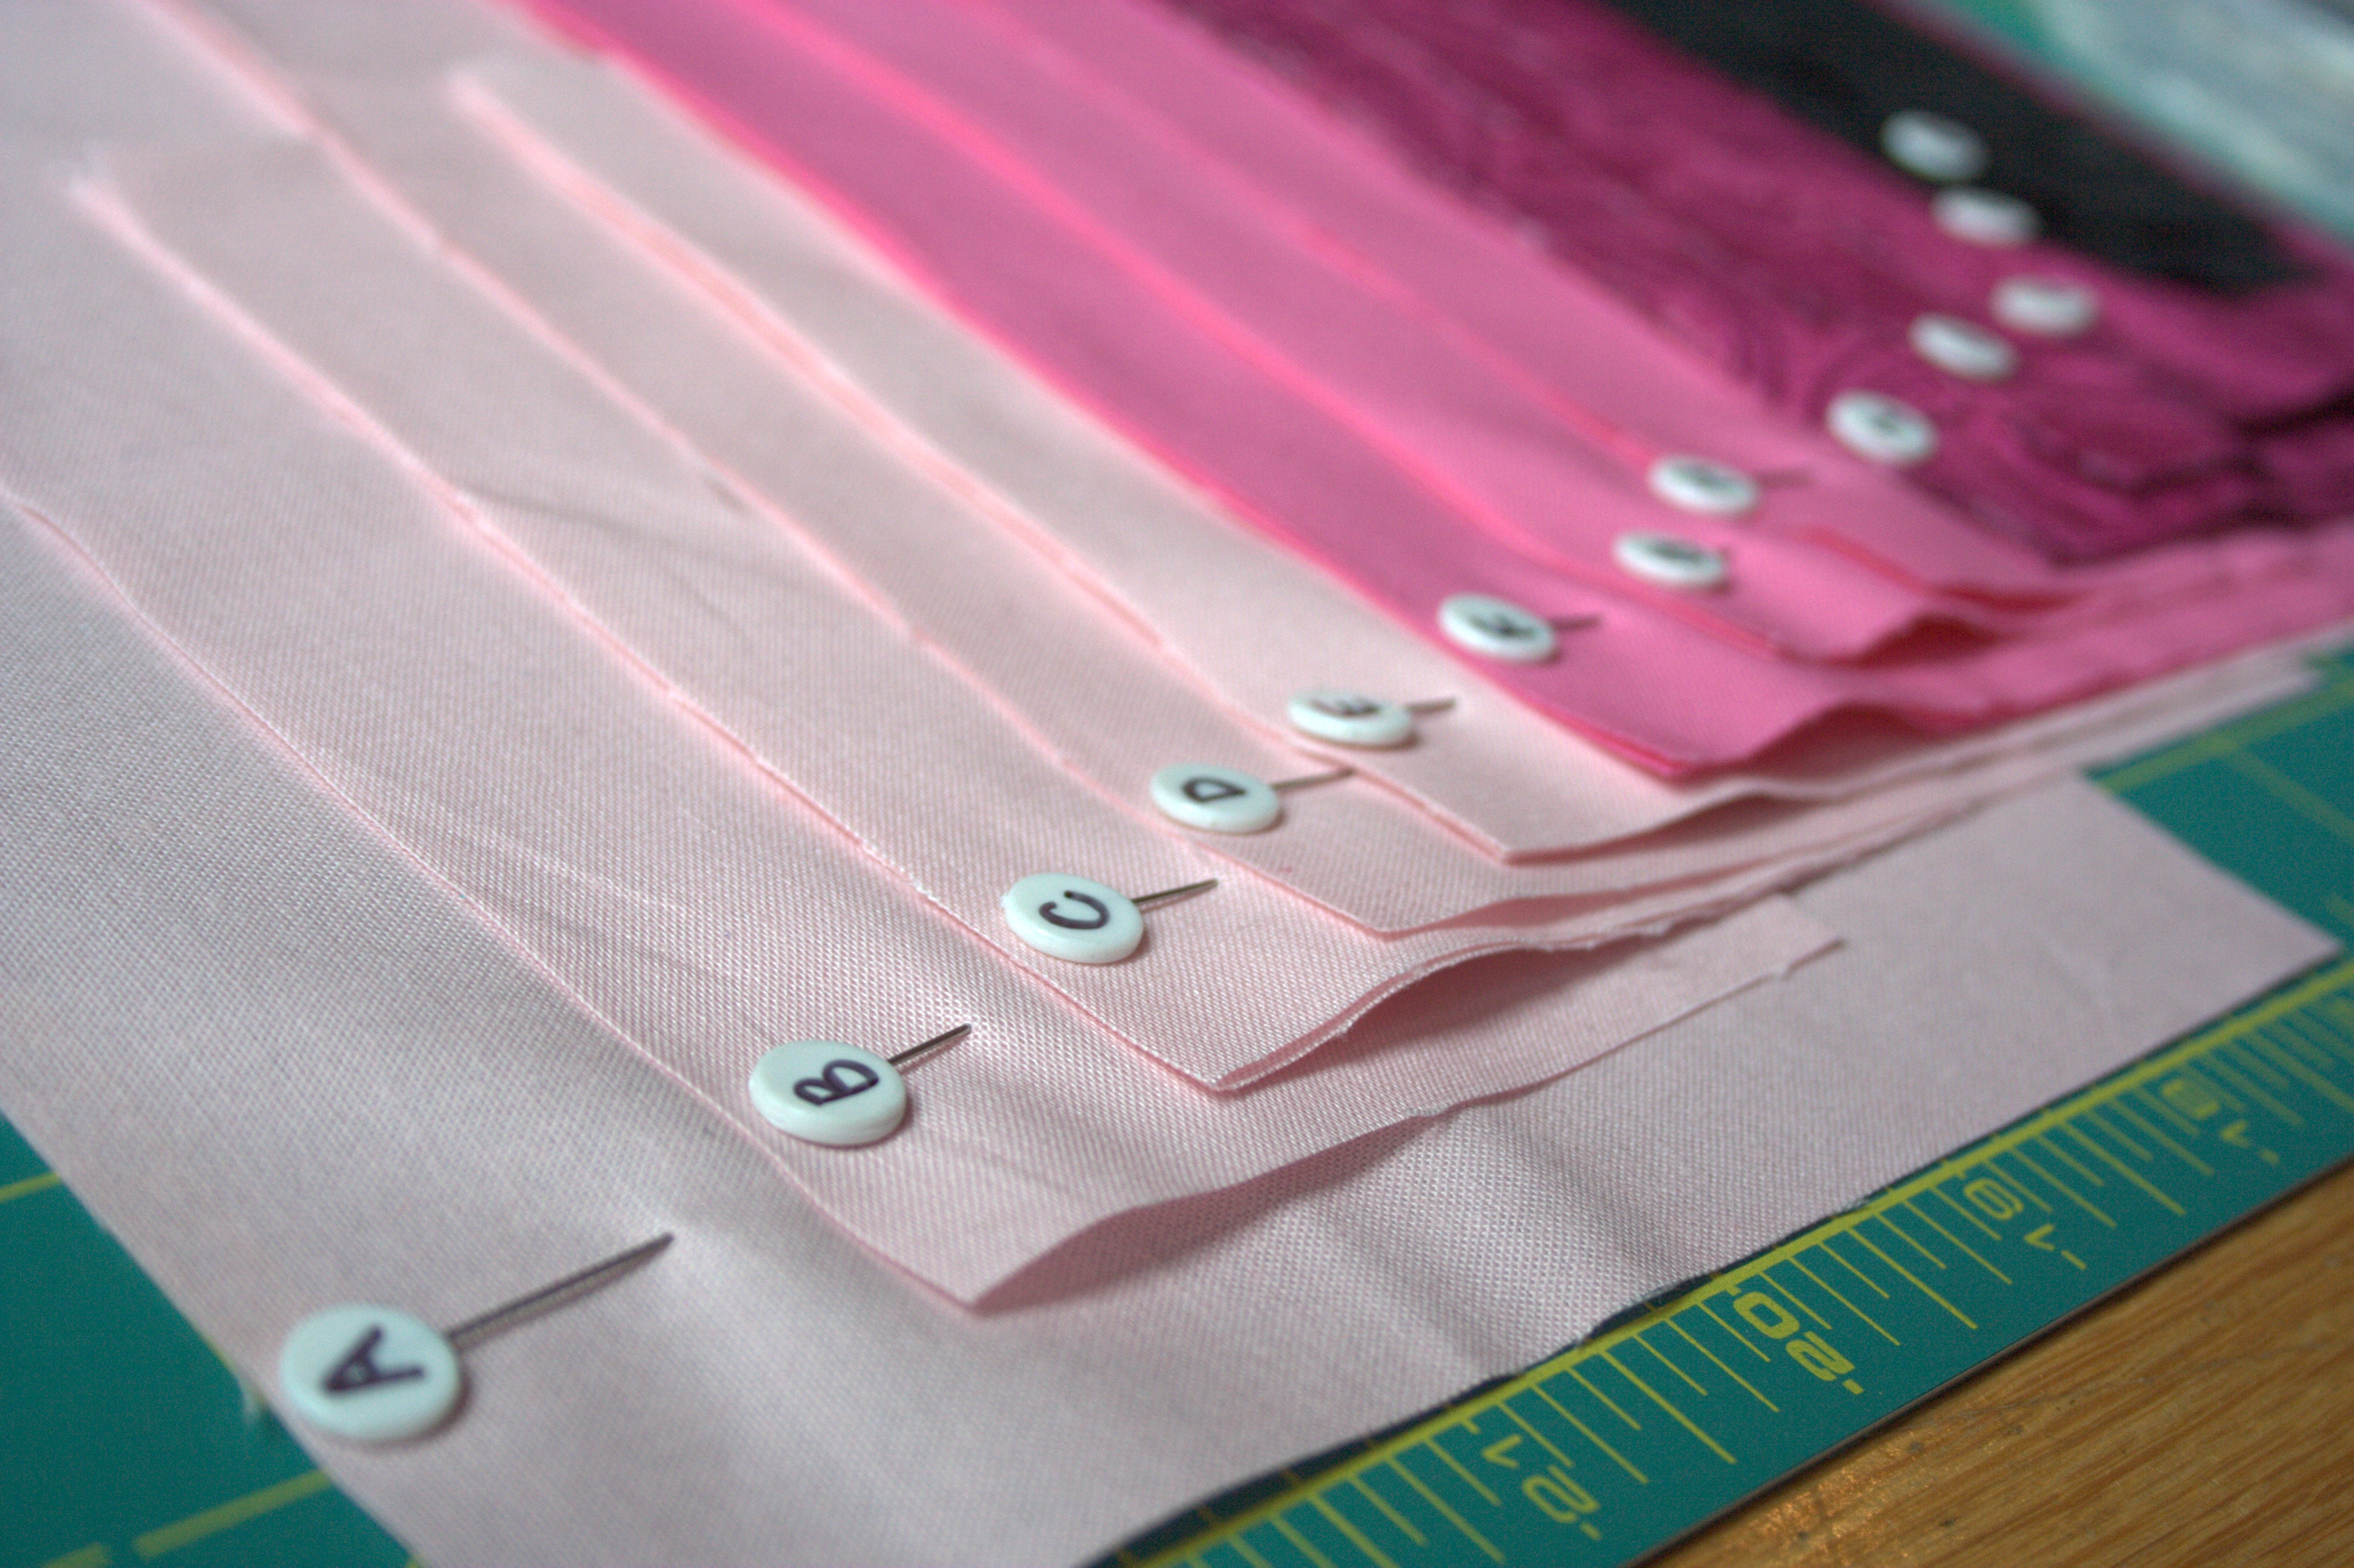
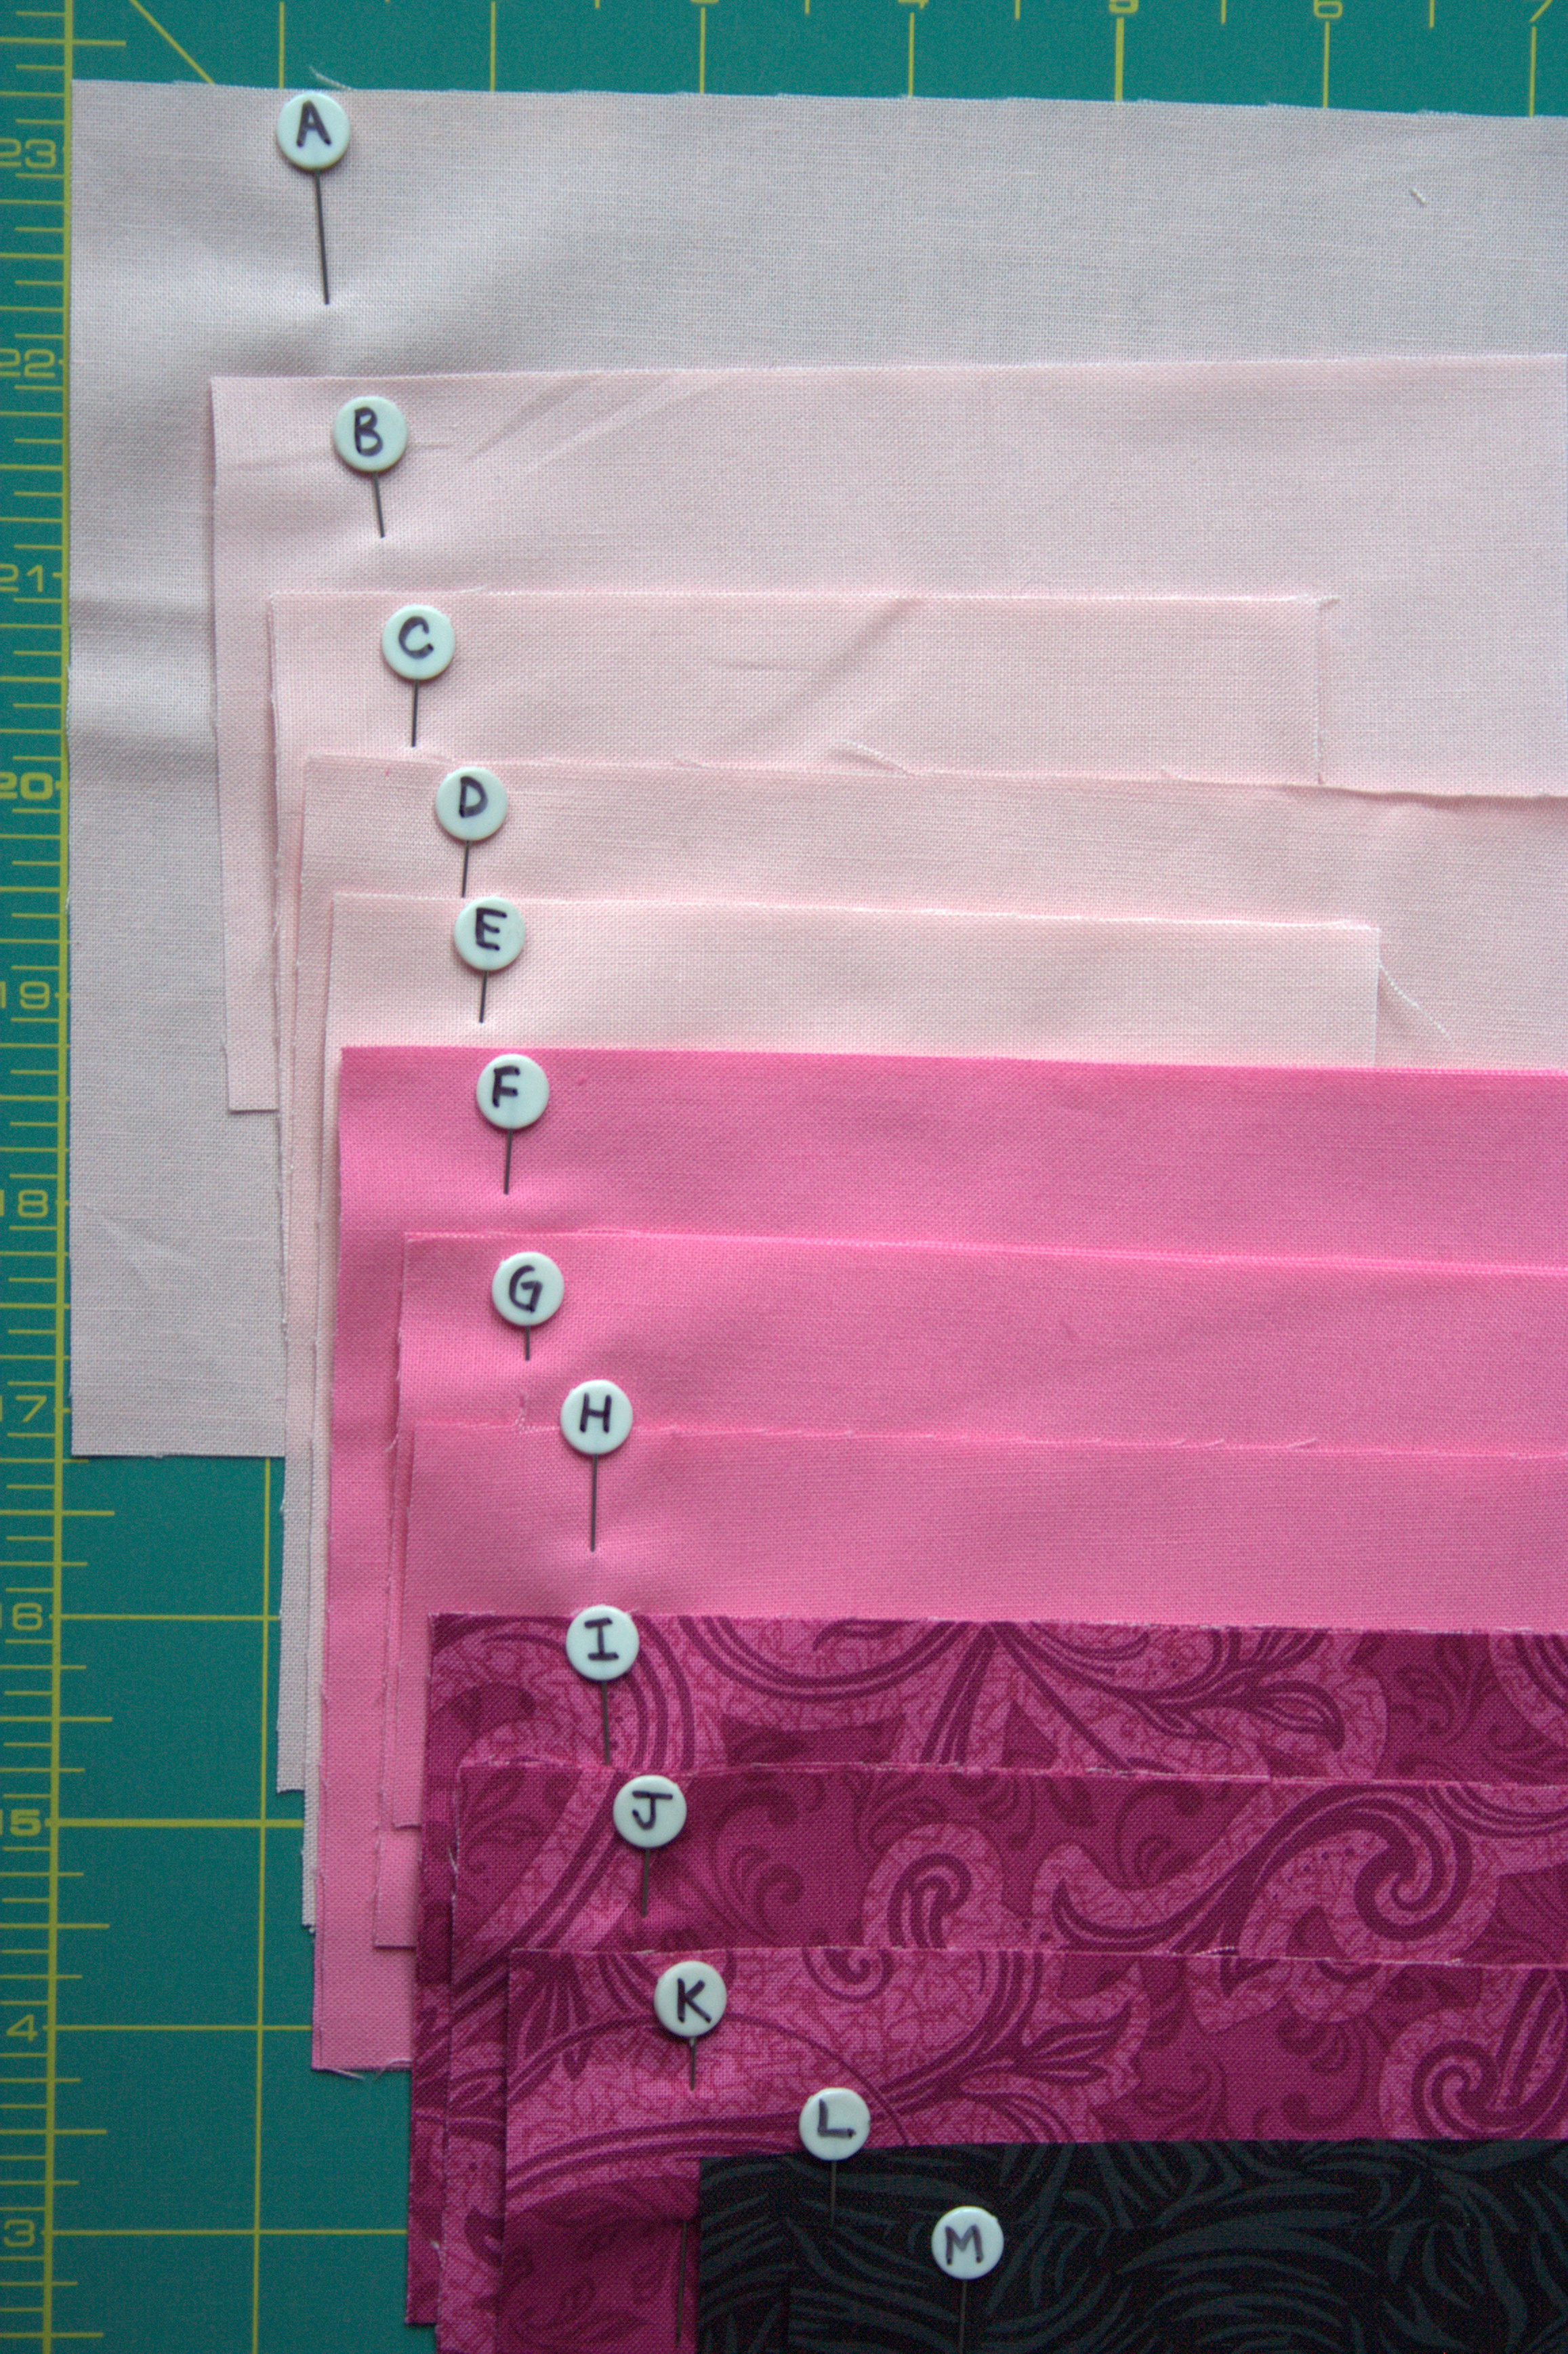
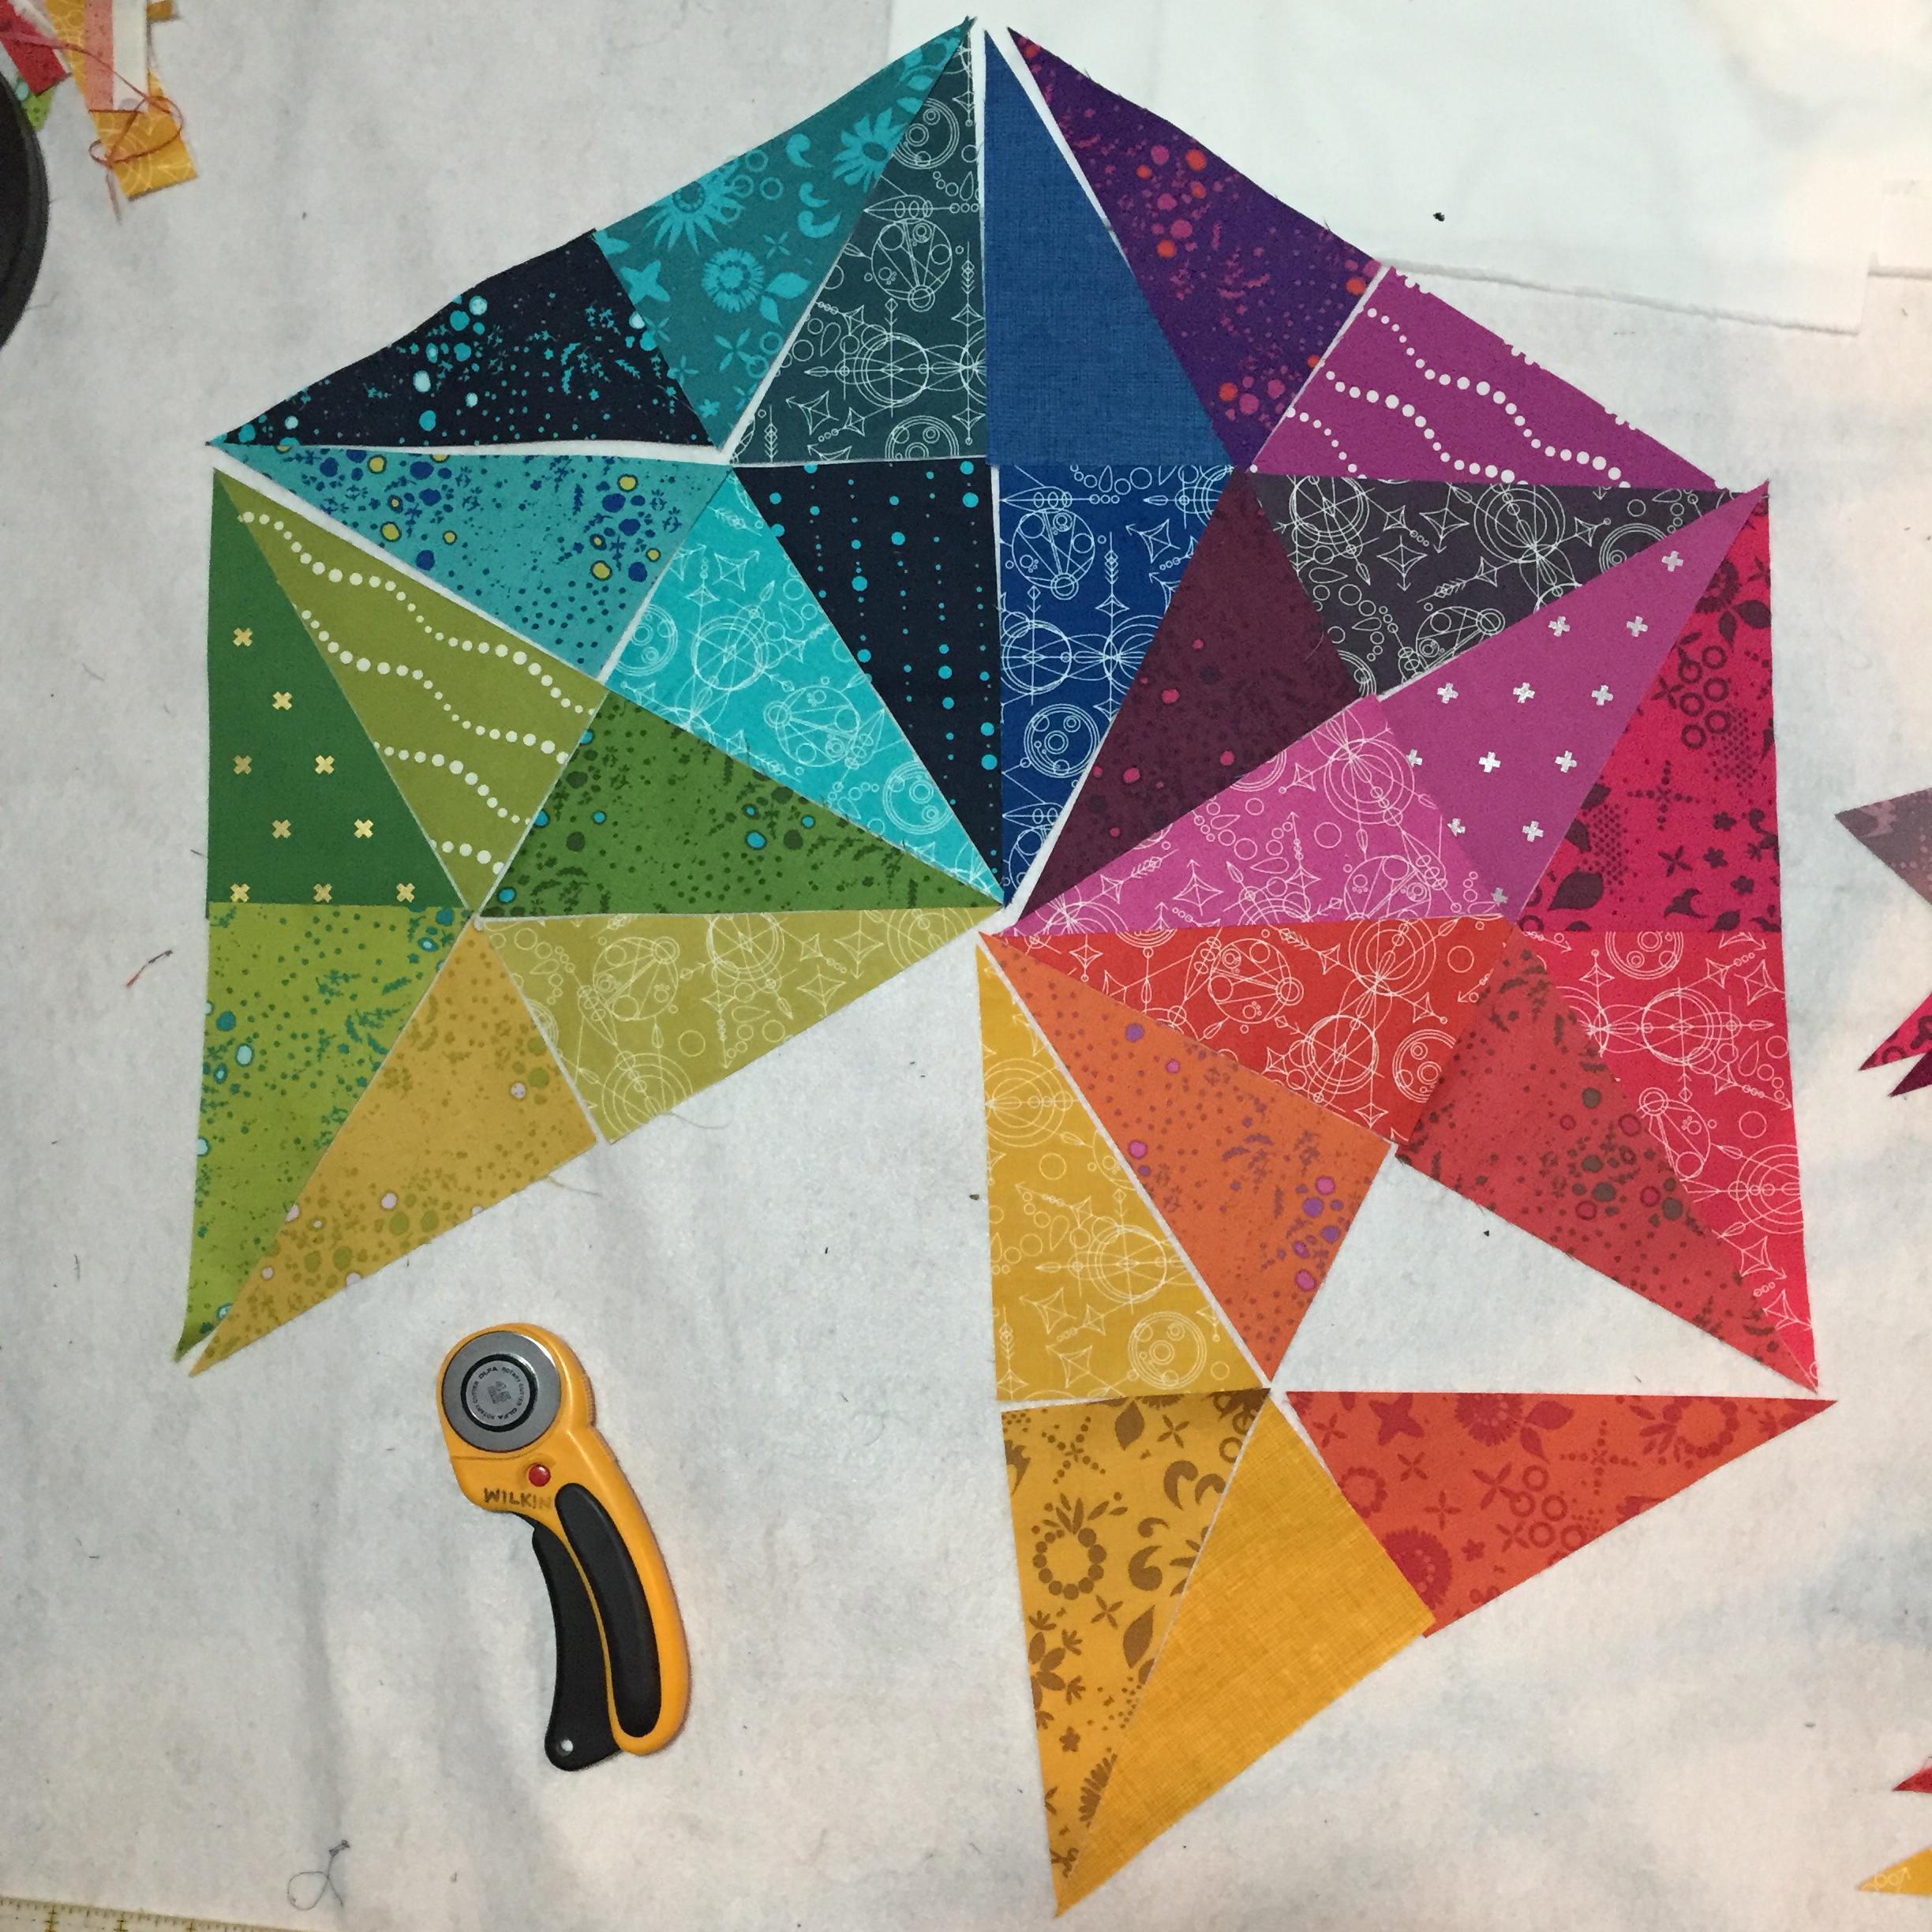
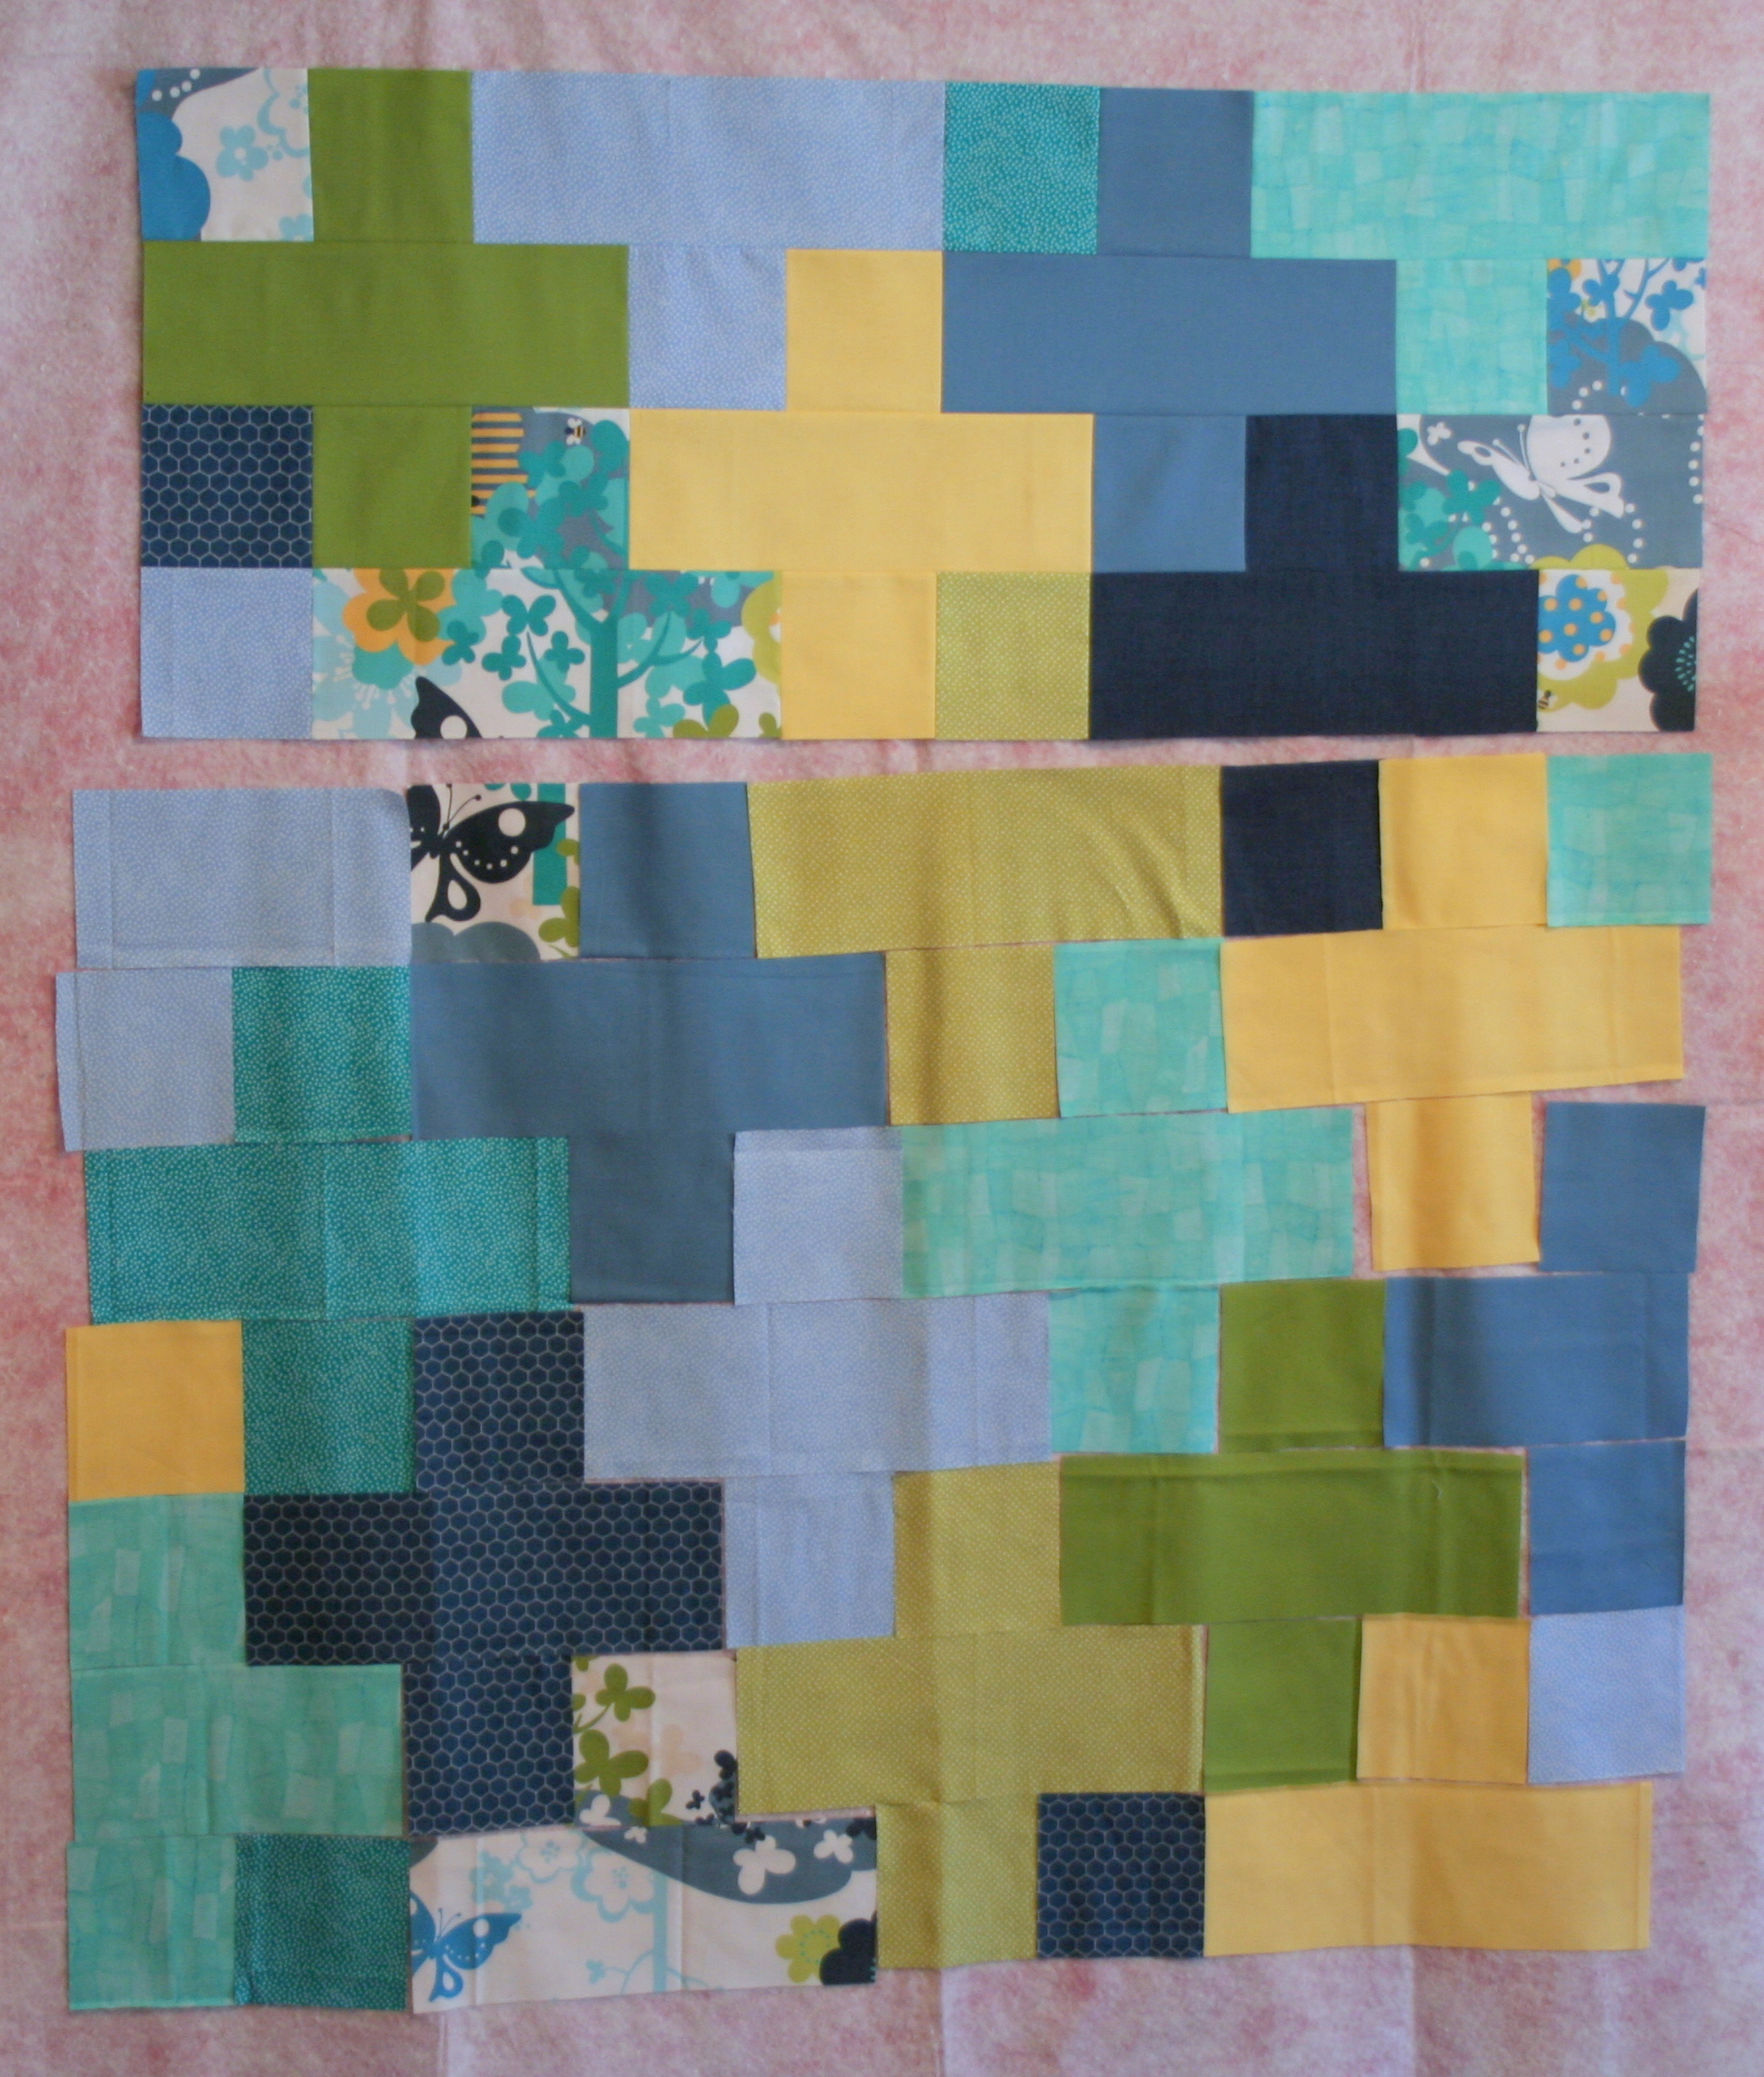
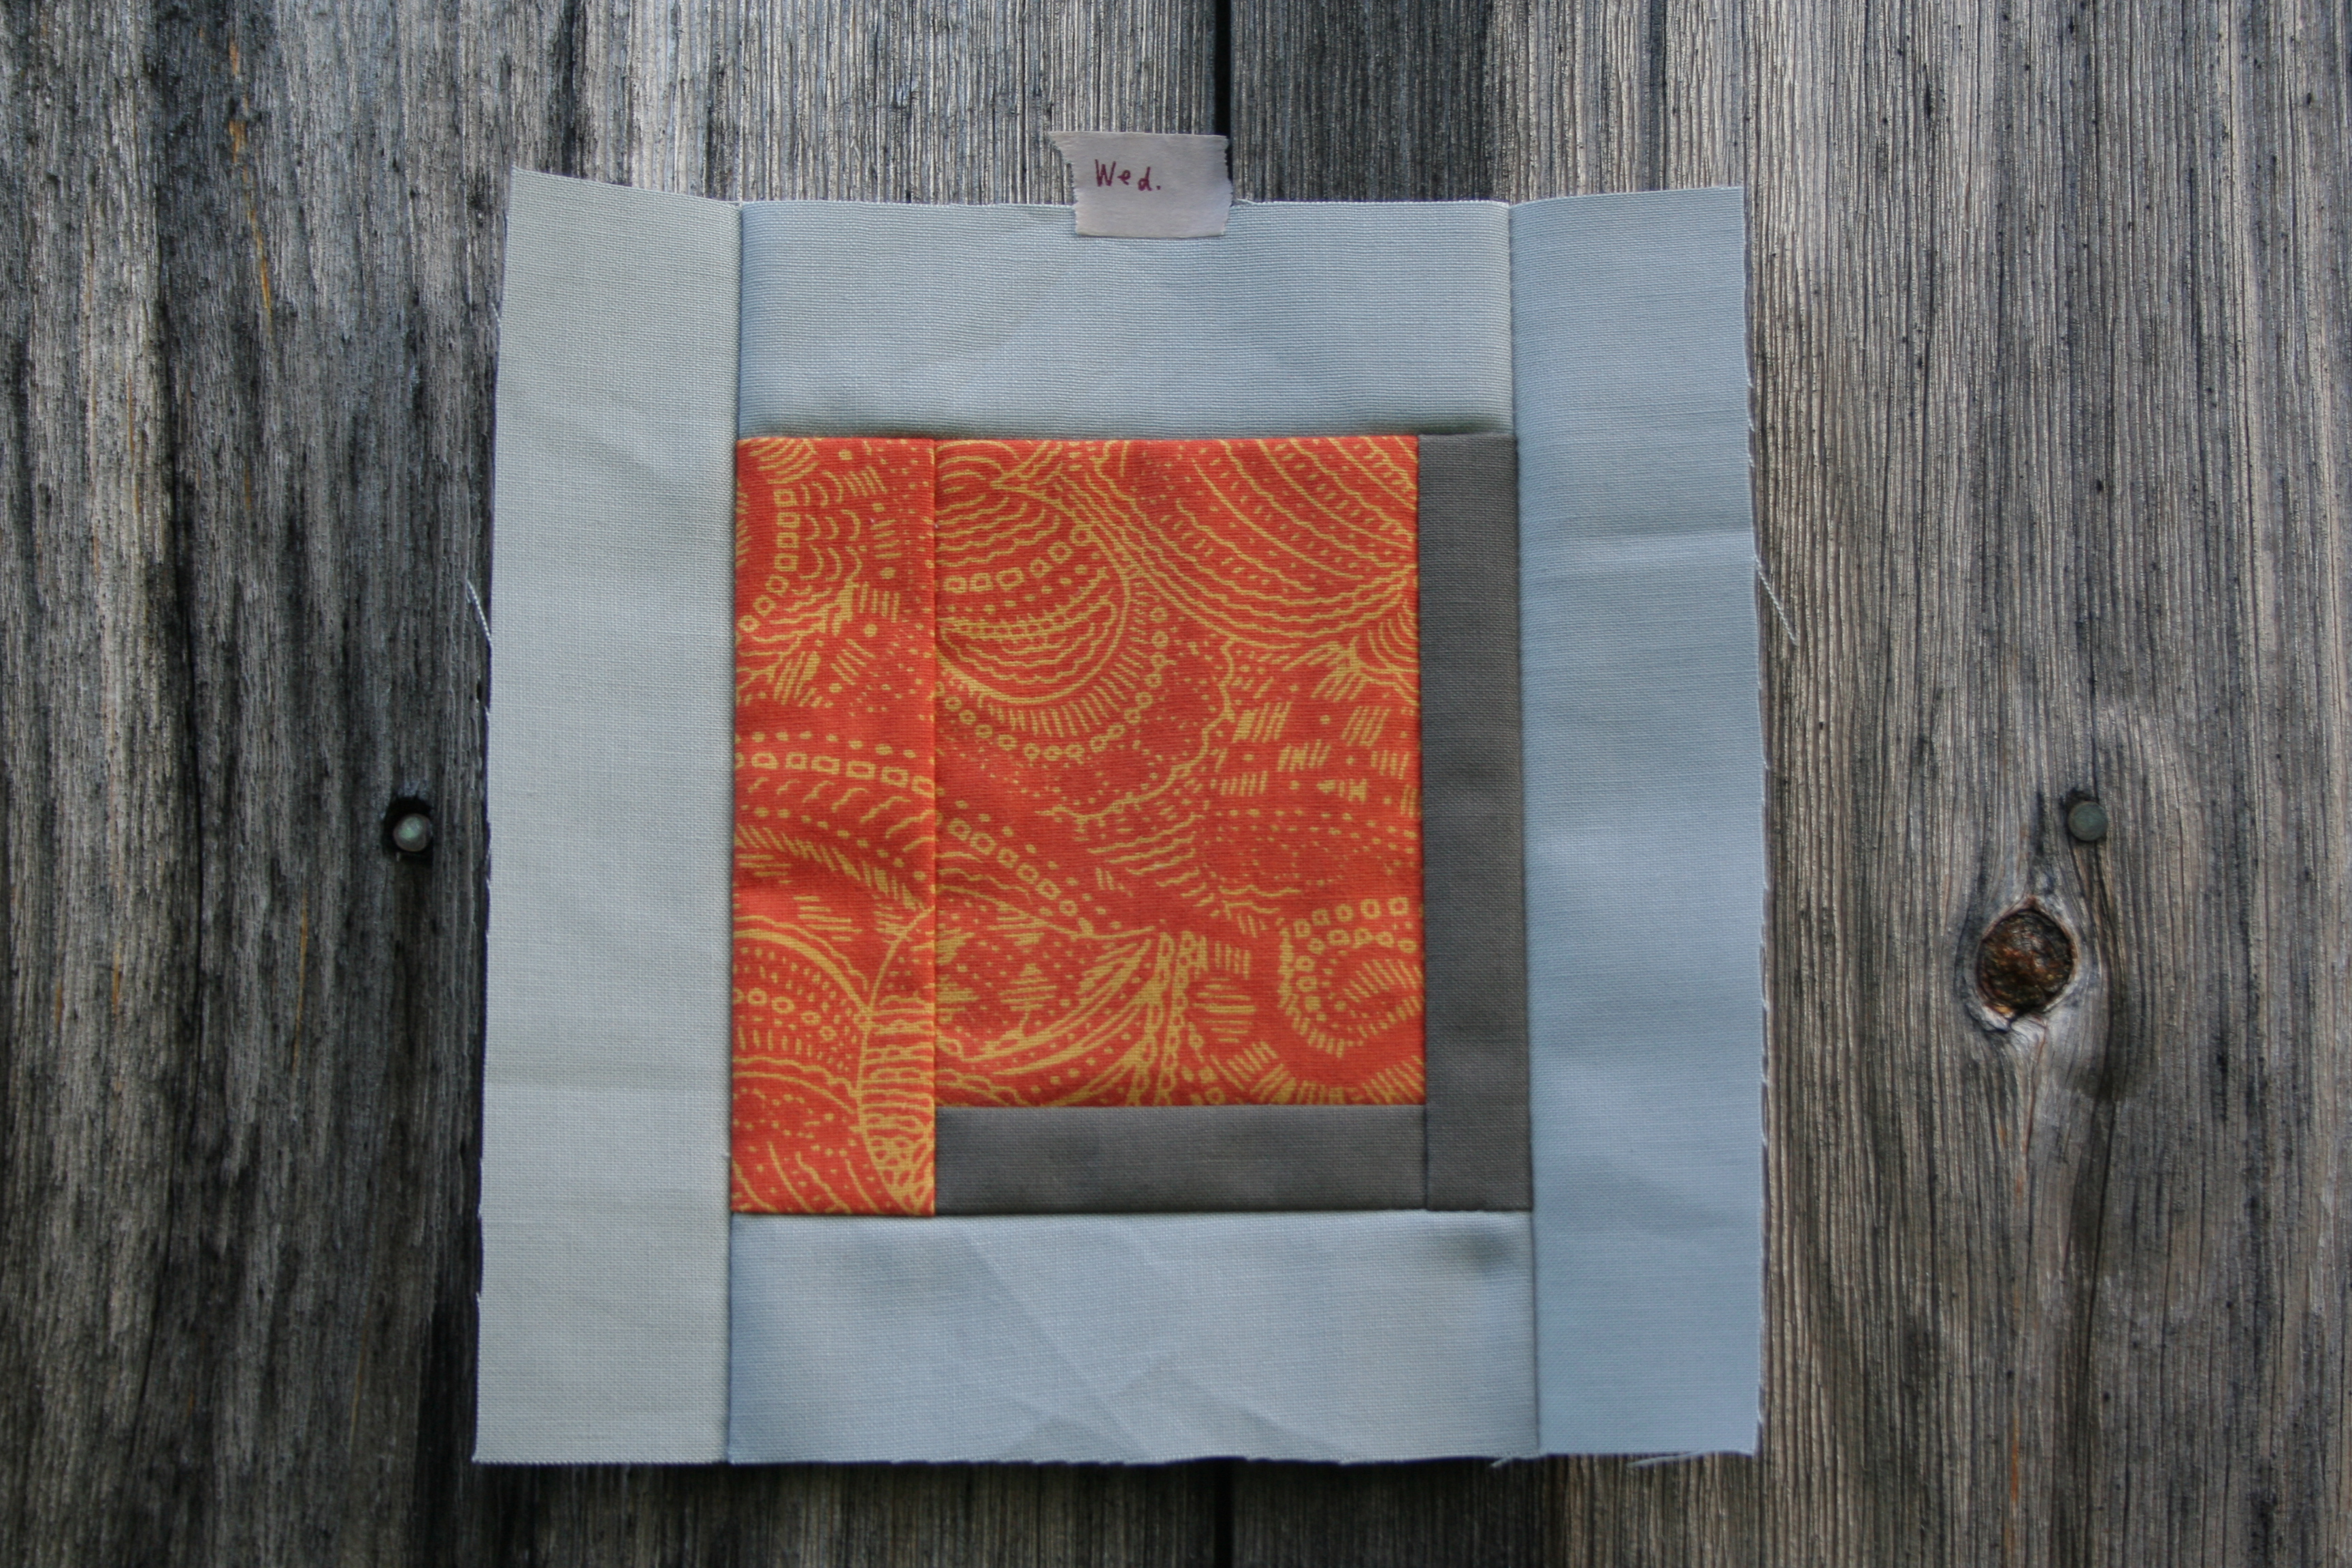
My first attempt at improv was actually an interesting exercise on two levels. It was inspired by a solid improv mini mini Yvonne was creating, which appealed to me since it looked like improv with intention. The 4″ block consists of four 2″ blocks, each built in a wonky, triangular, log cabin-esque style with the same five fabrics and sewn together. I figured it was as good a place to start my journey into improv as any, and gave it a go. My end feelings were, “Meh” but the response on Instagram was overwhelmingly in the other direction. The photo received 118 “likes” and many comments along the lines of “beautiful!” and “love love LOVE”. This struck me as funny, but is yet another indication that we all have our styles, and what may seem “meh” to you might be absolute visual perfection to another! So I will quilt this up and swap it with someone who hopefully loves loves LOVES it.

mini snail house mini mini quilt
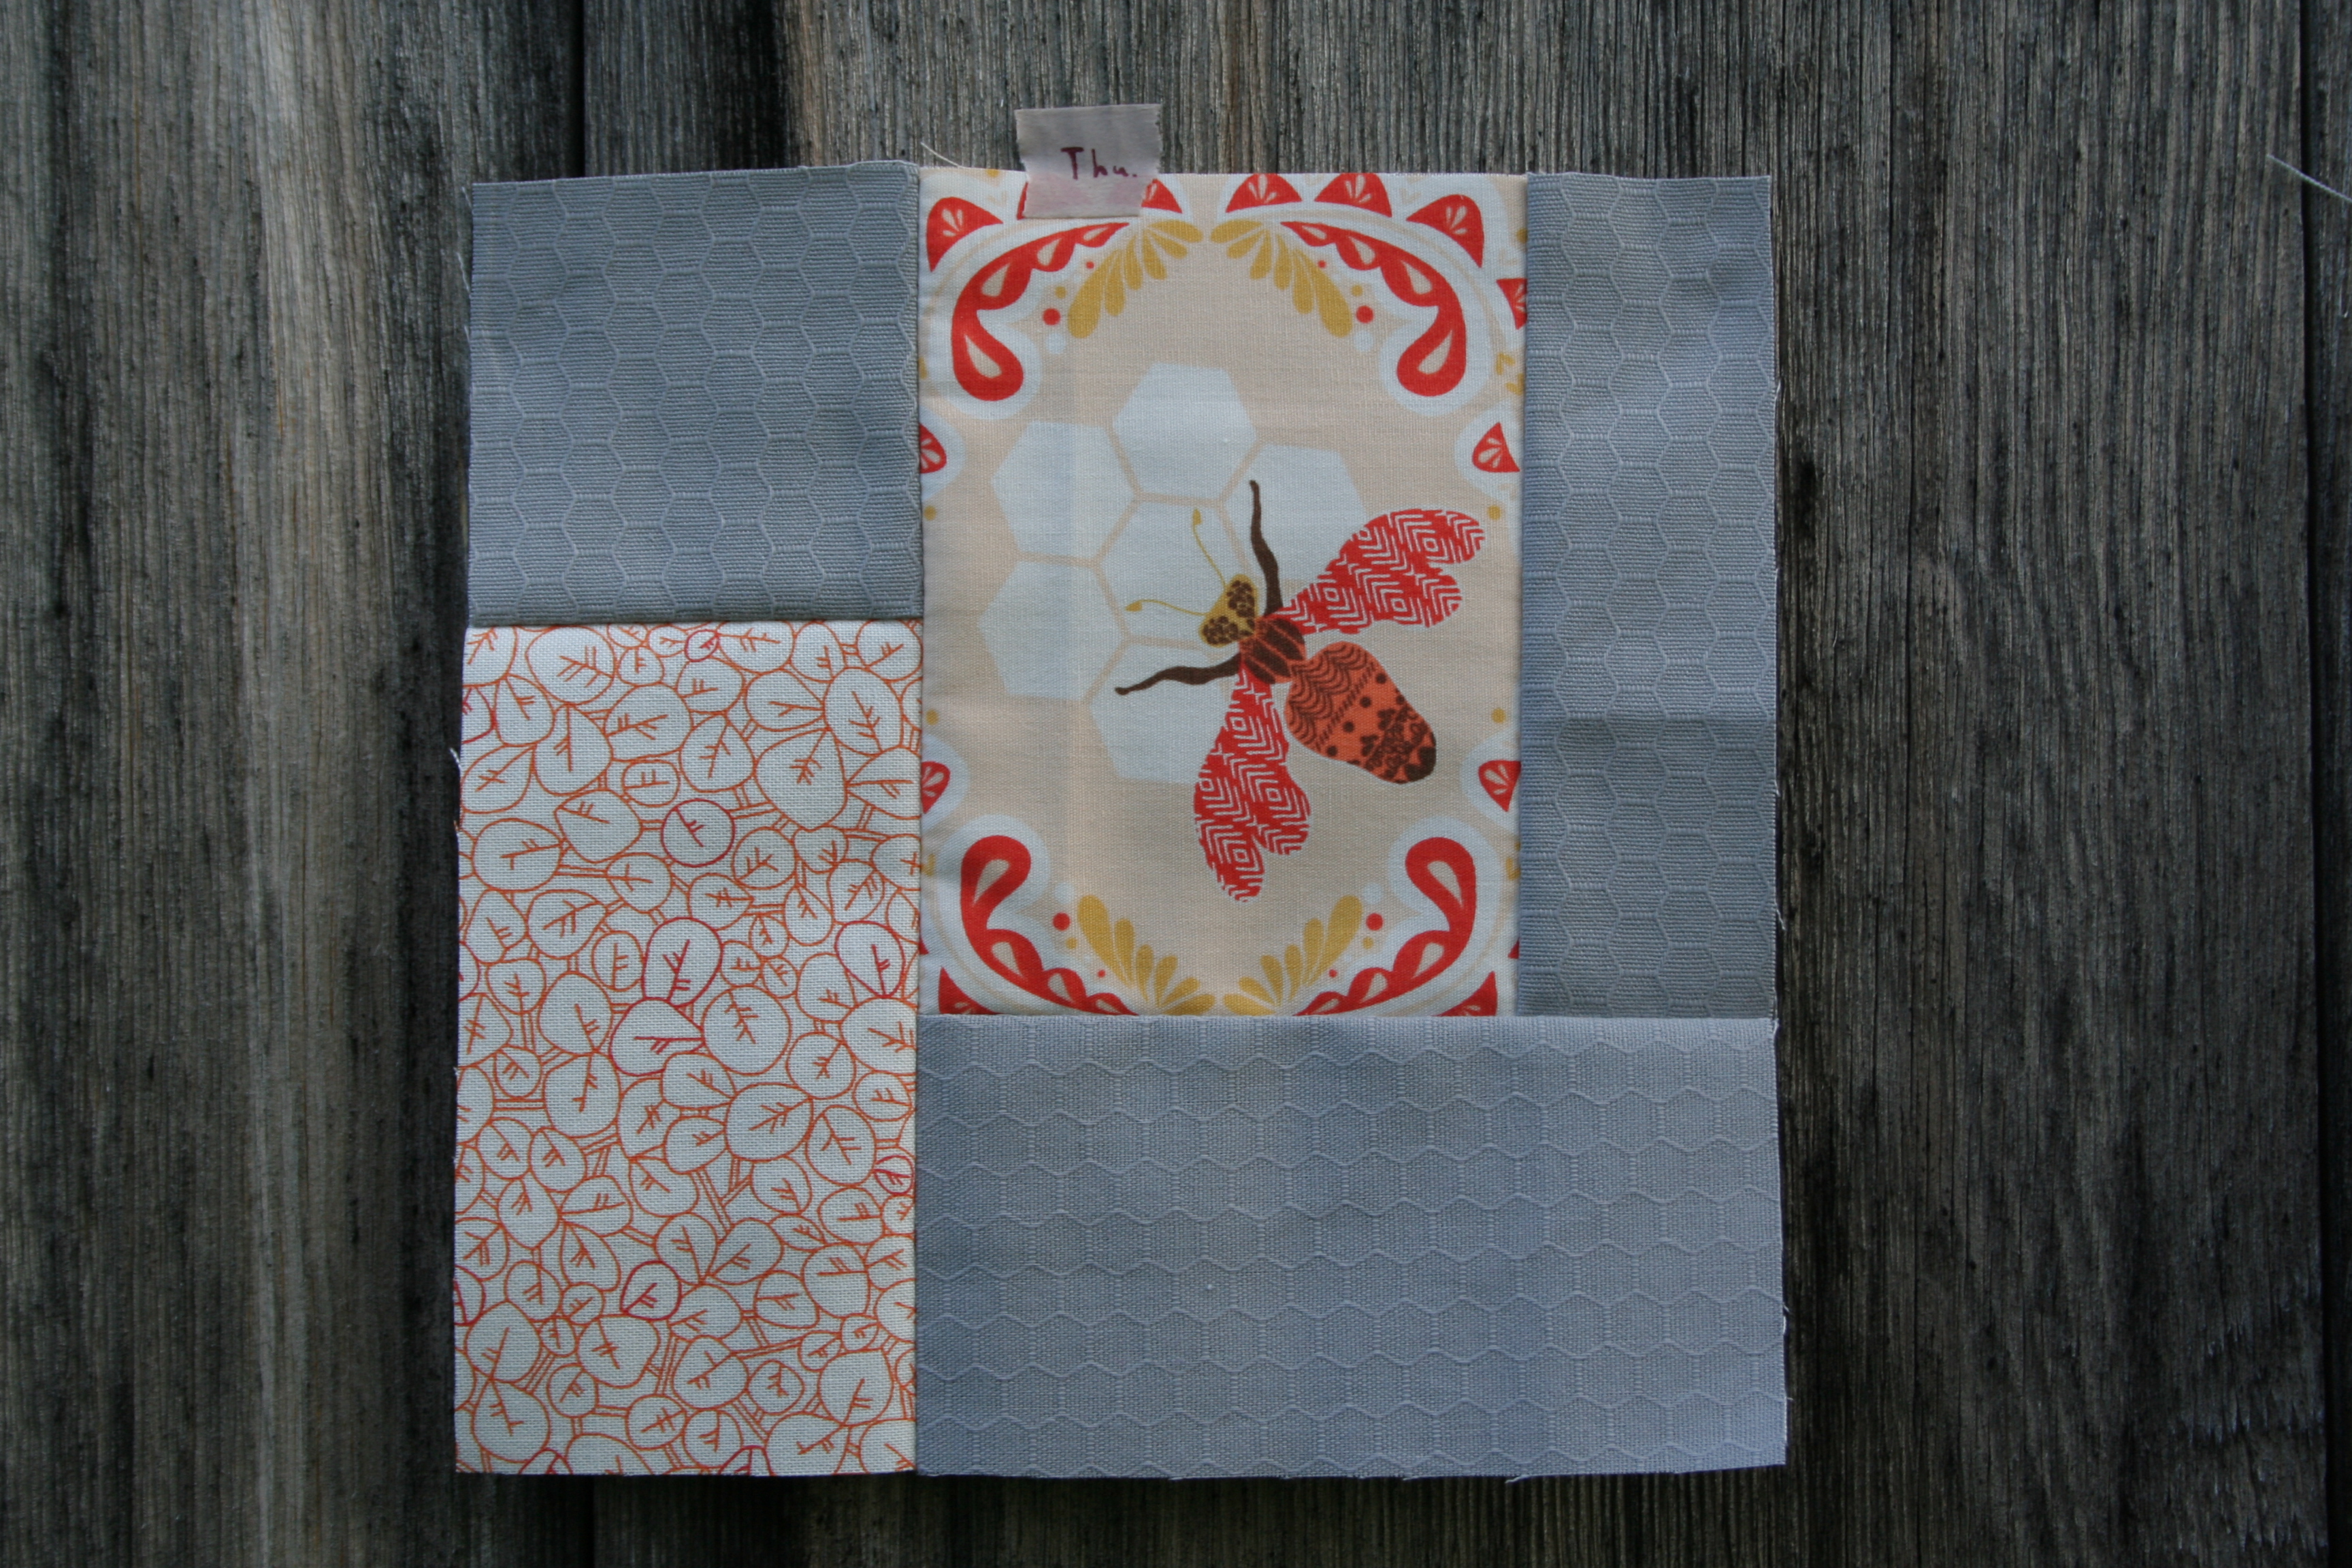
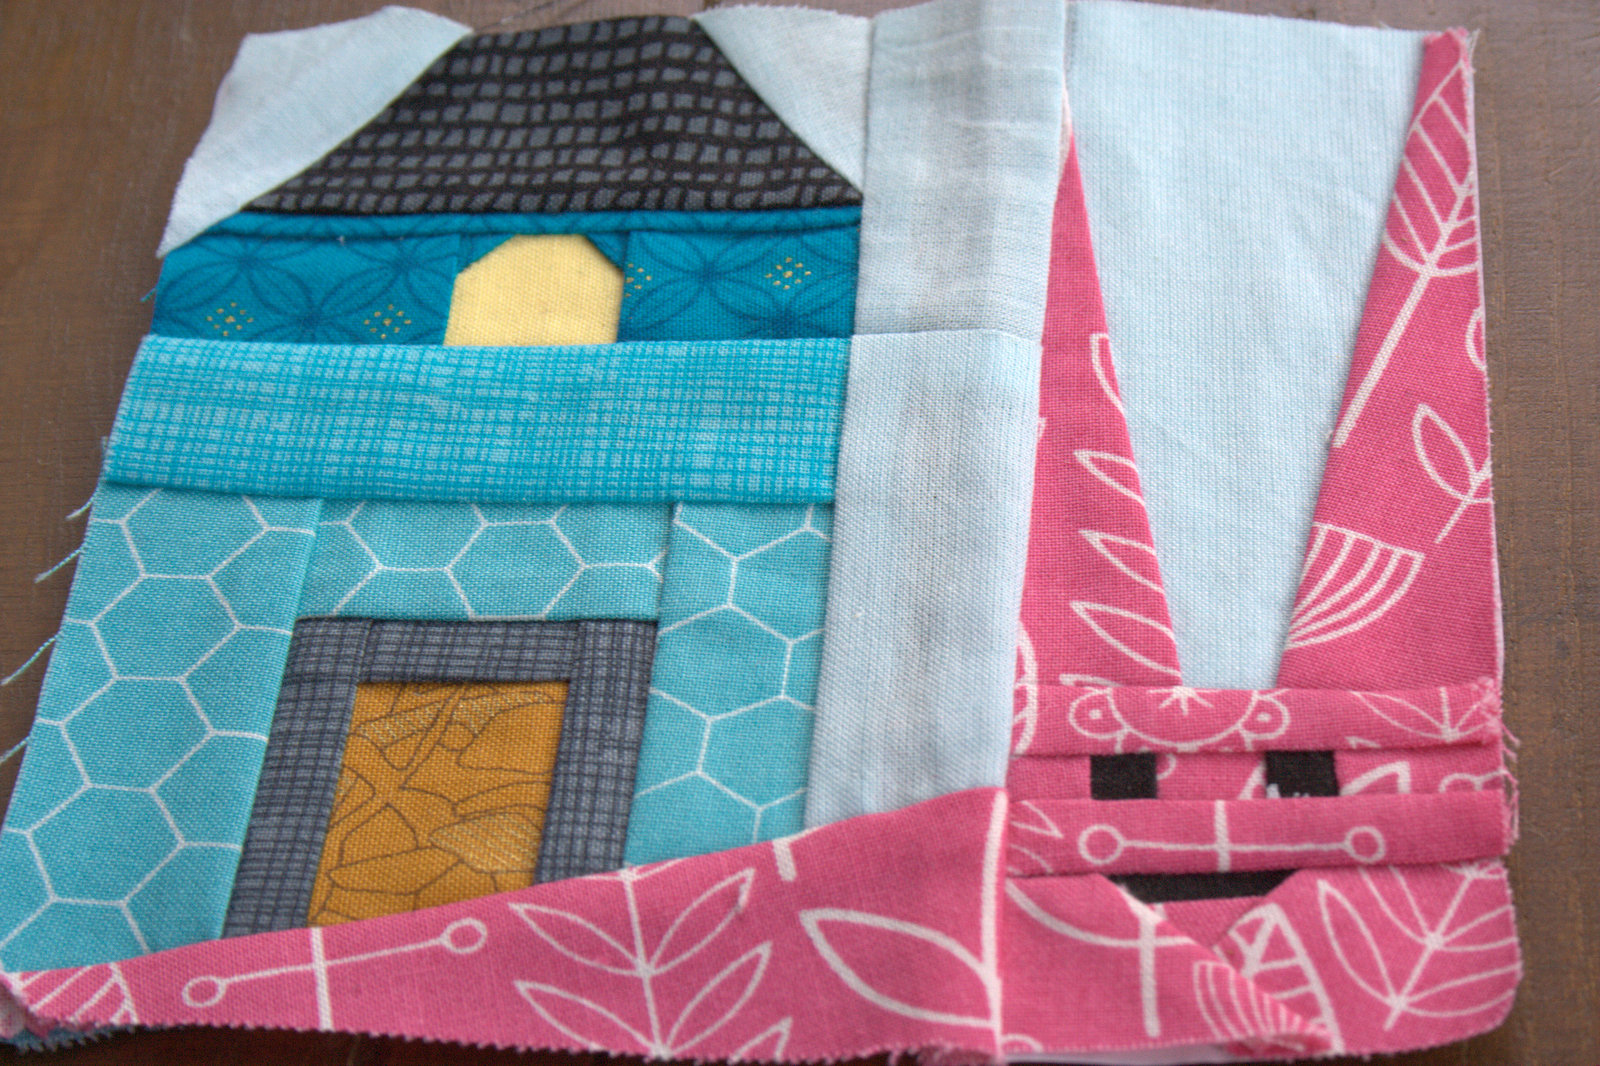
This mini snail house is really quite cute, and I’ve been trying to figure out what to do with it. It’s clearly time to quilt it up as a mini mini and see who claims it first.

mini rainbow strips quilting
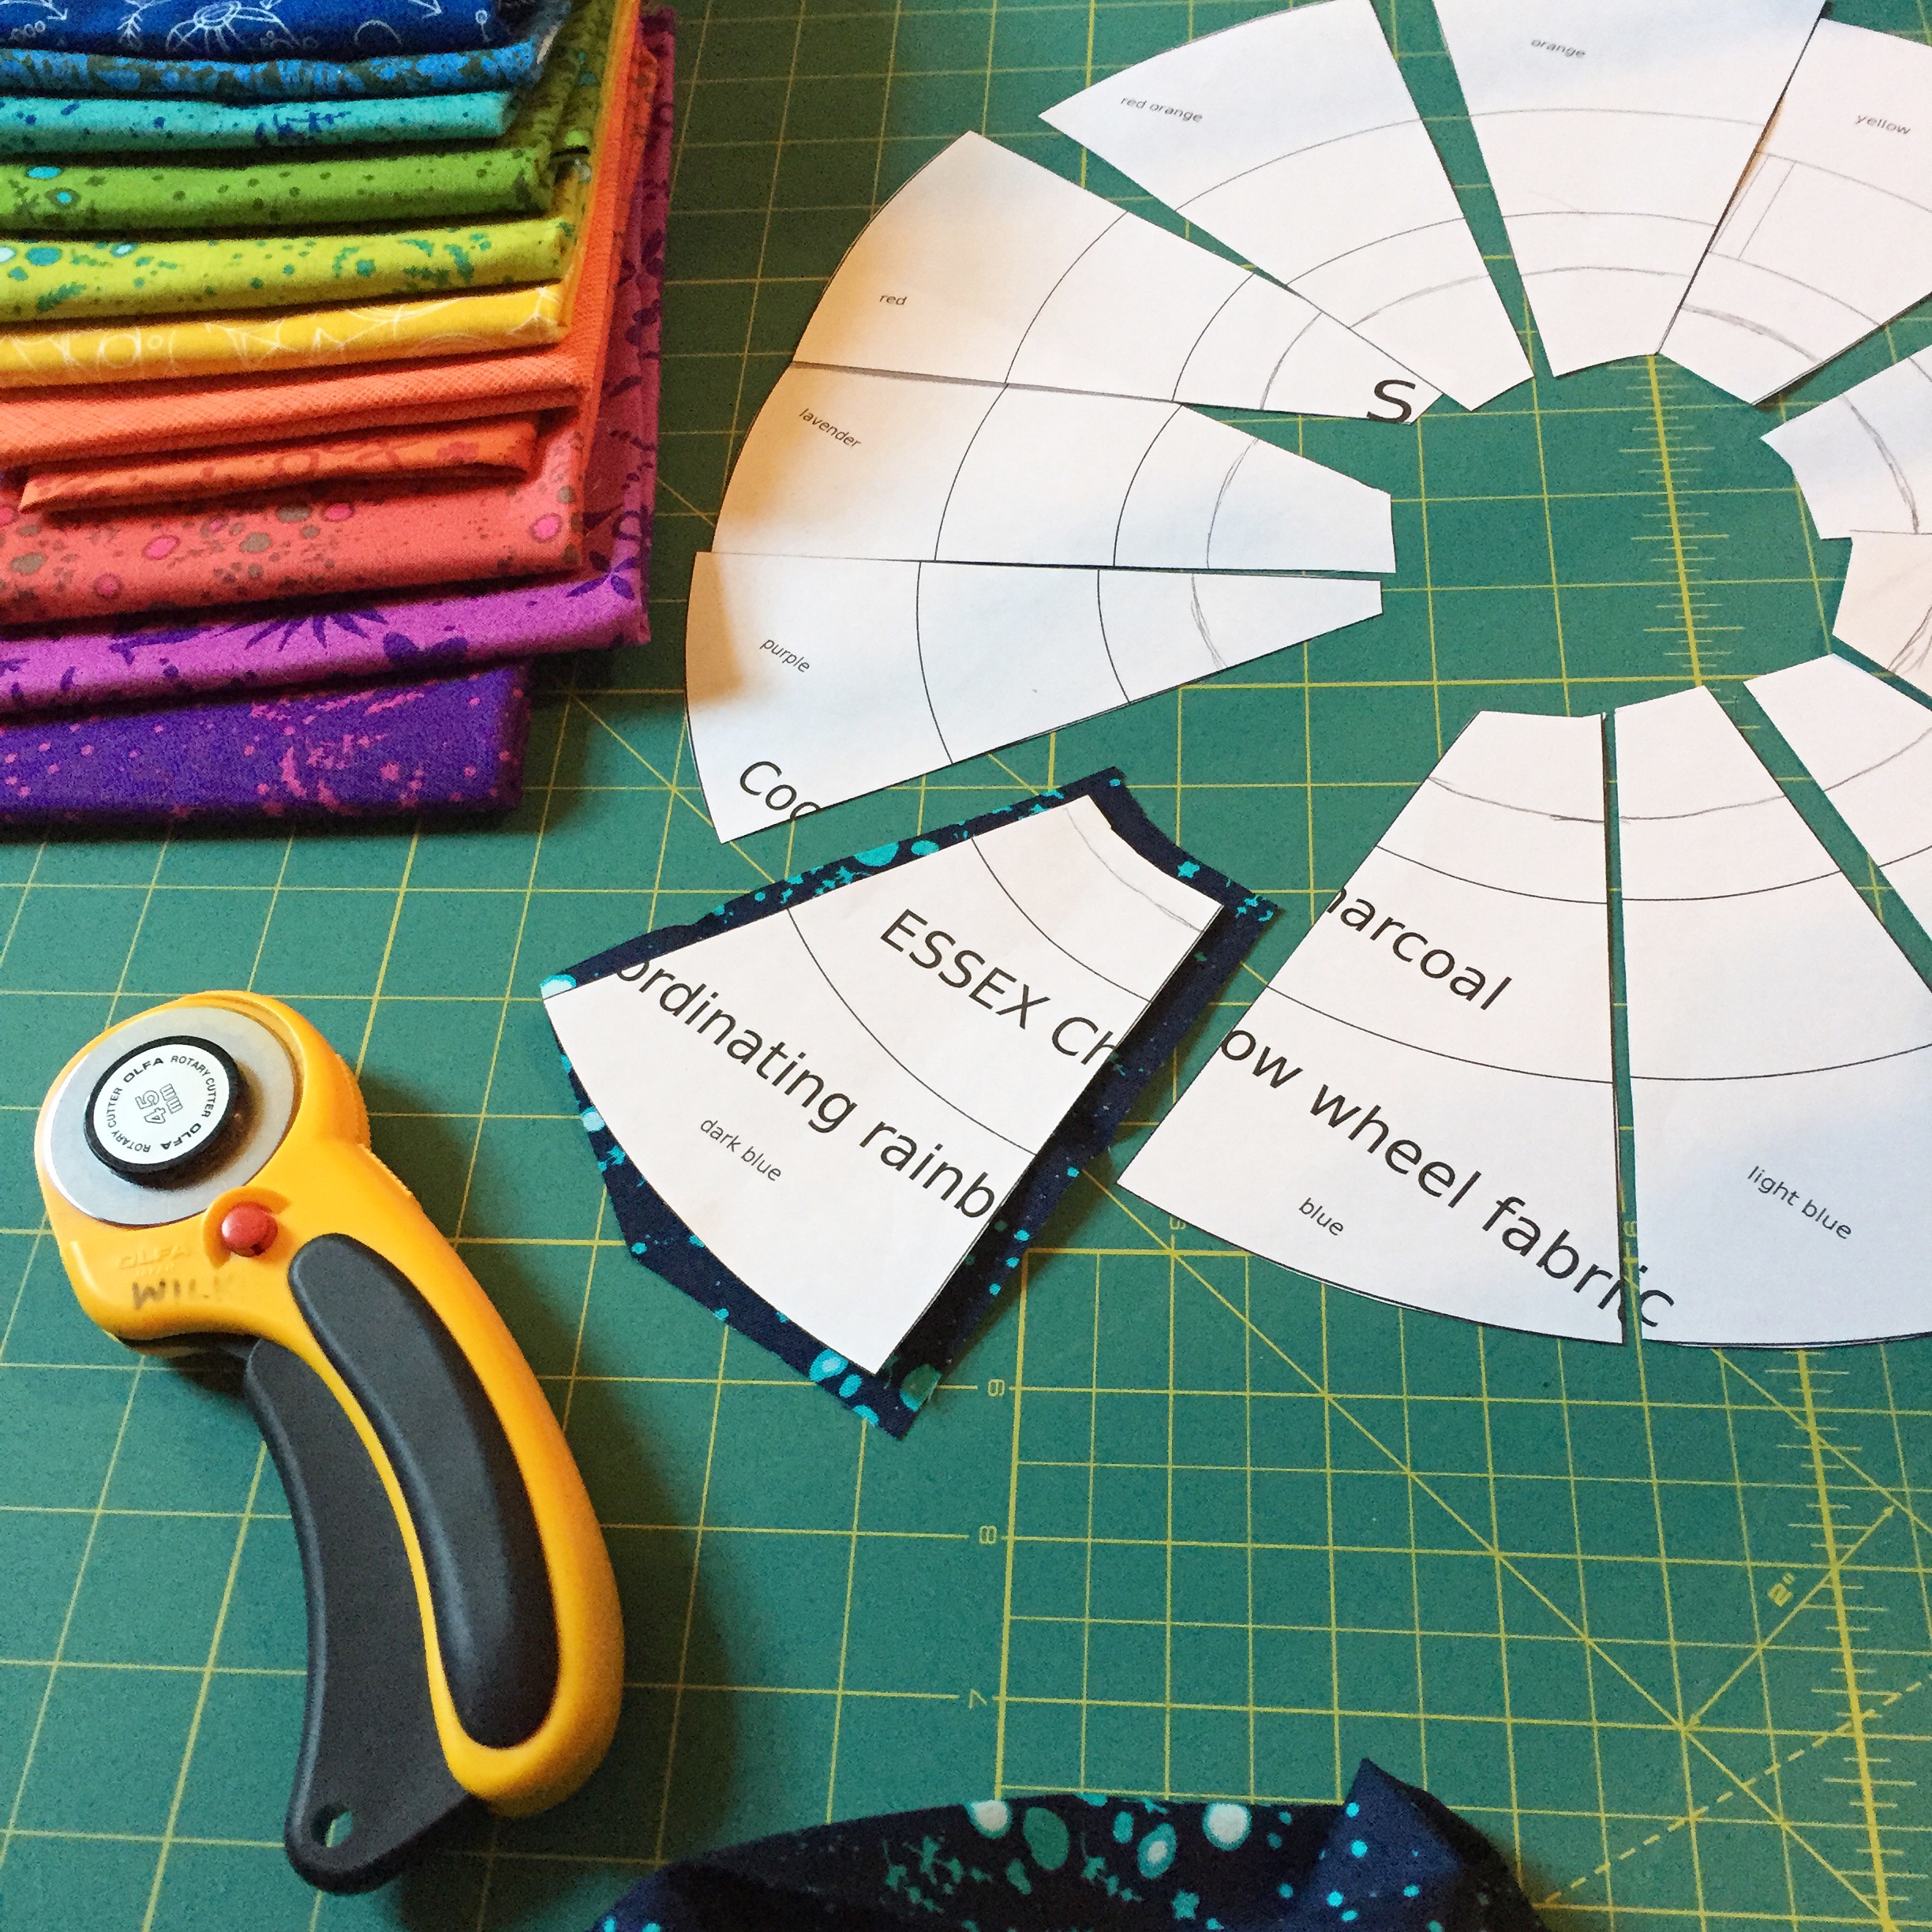
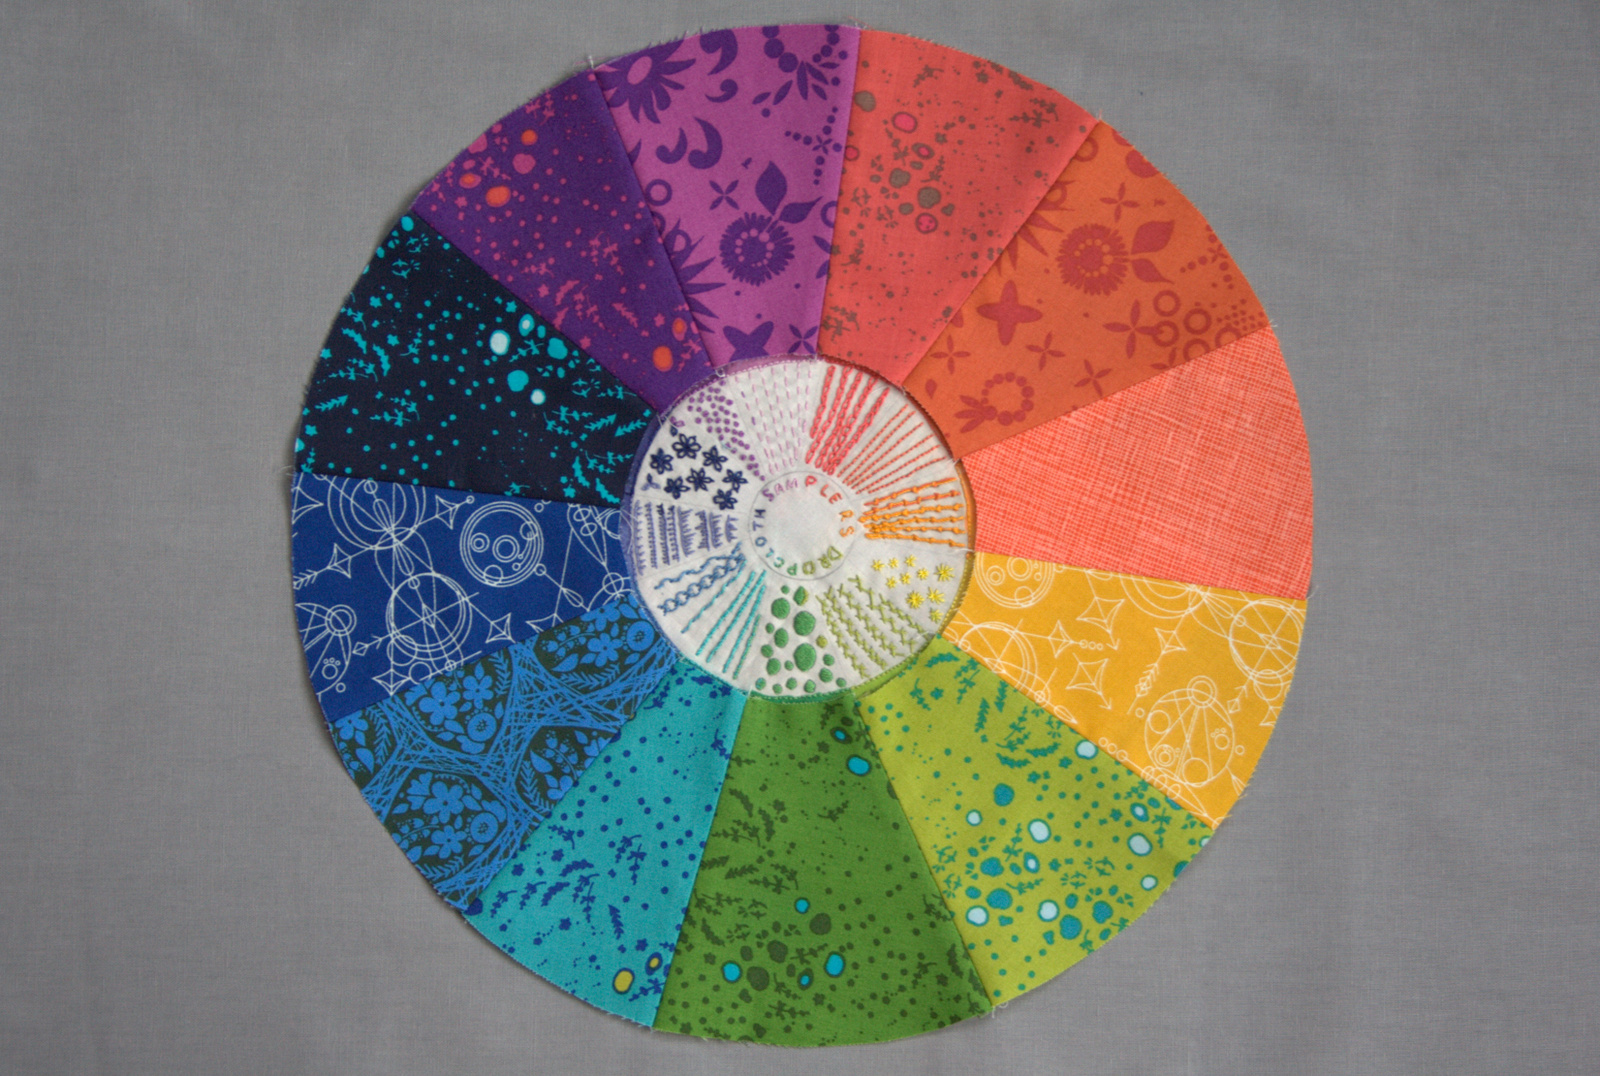
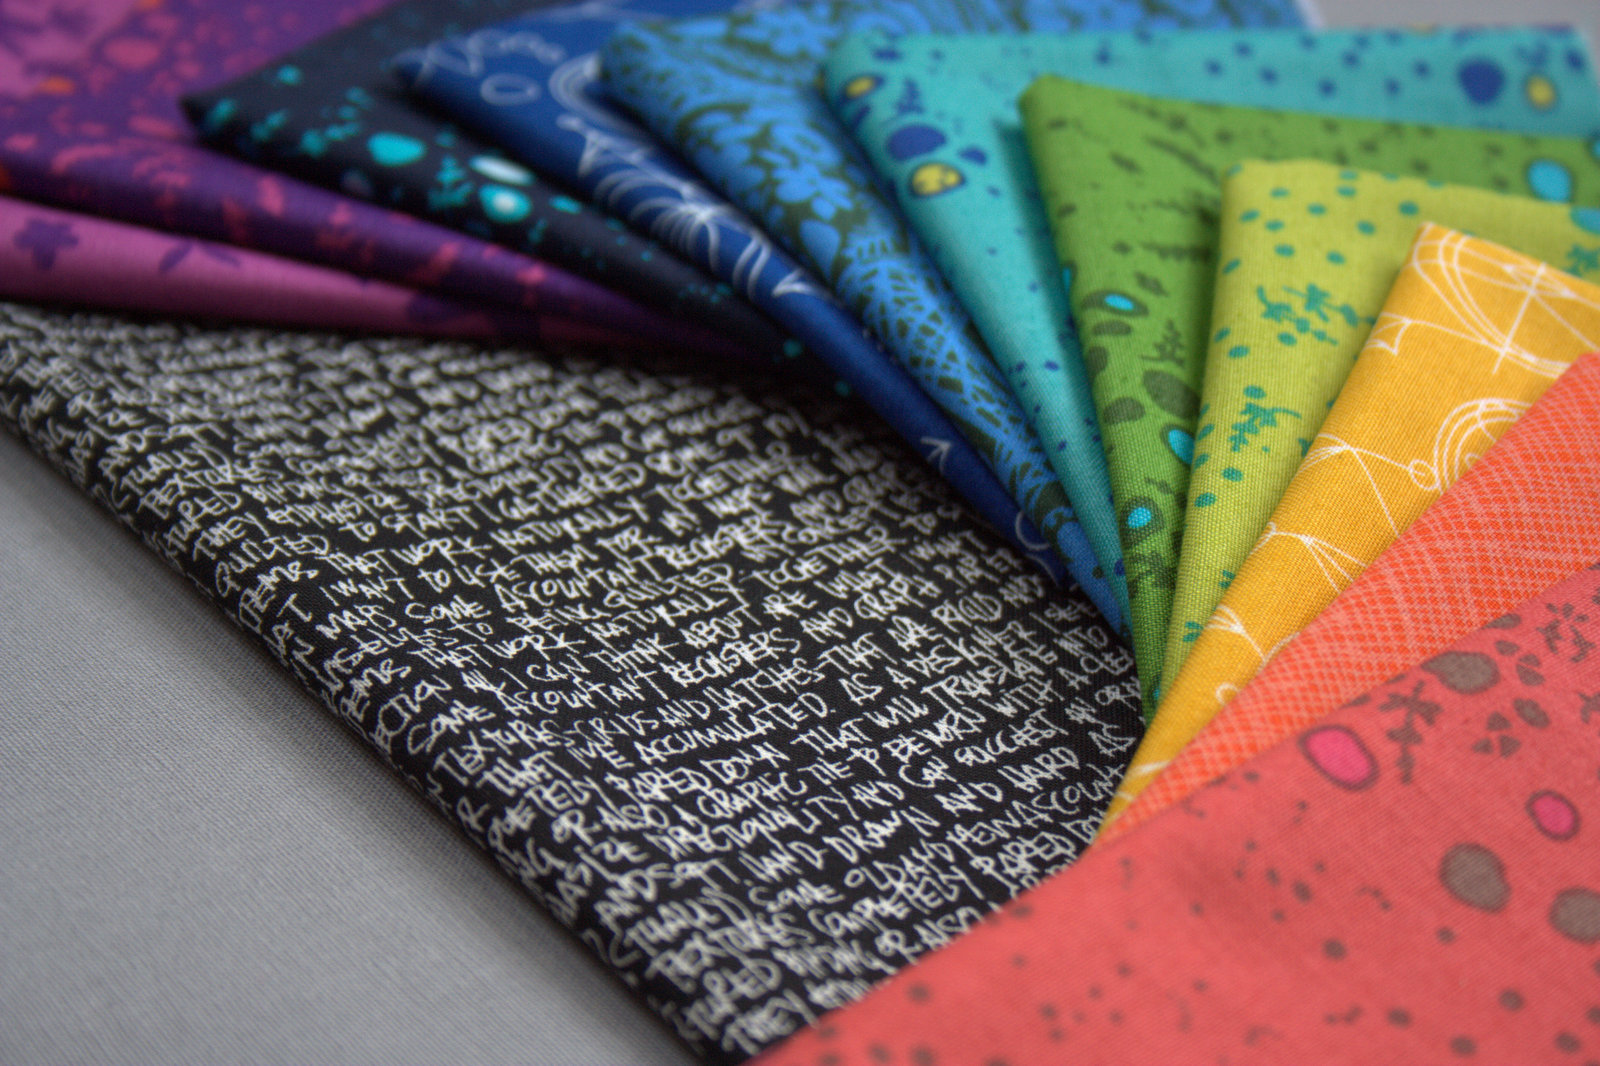
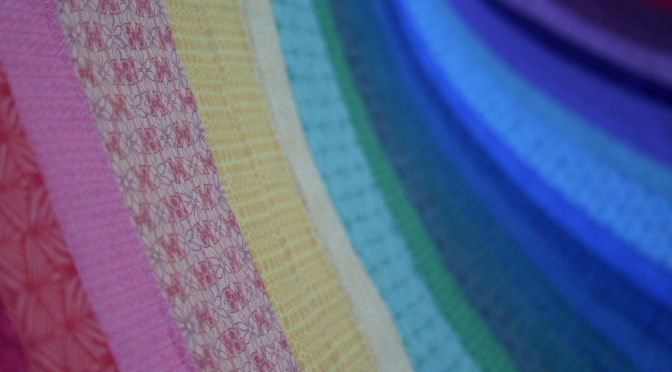
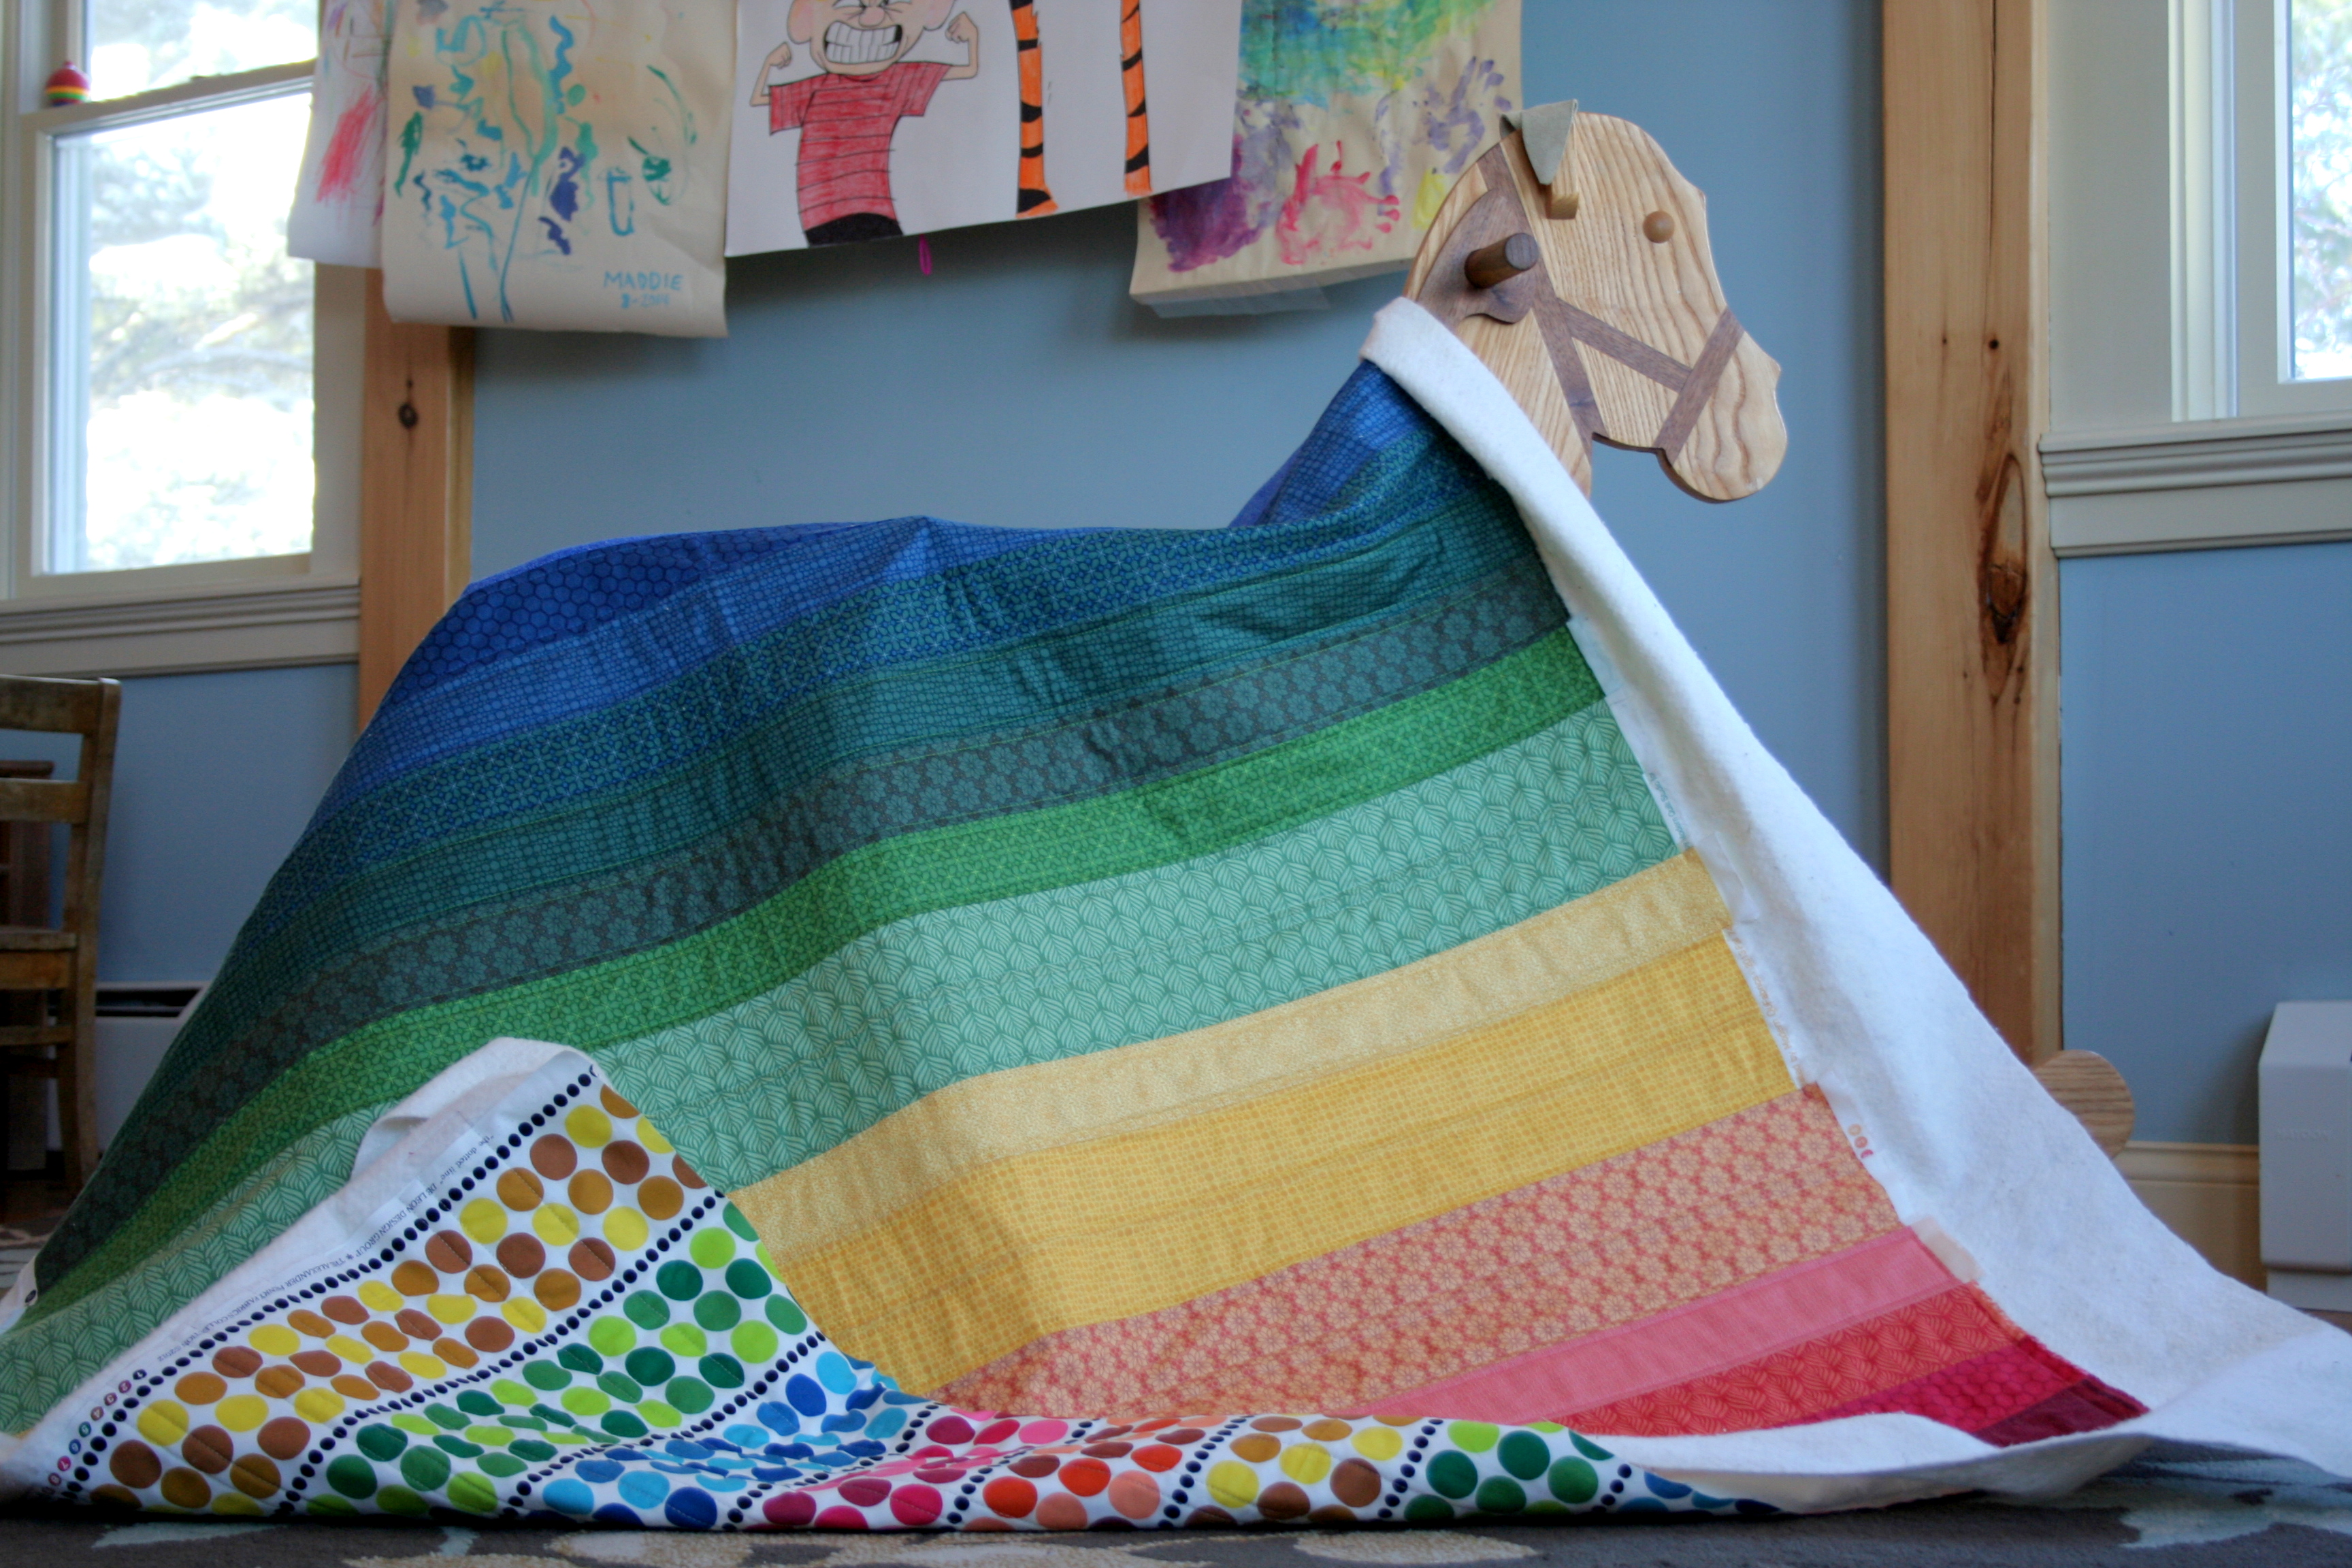
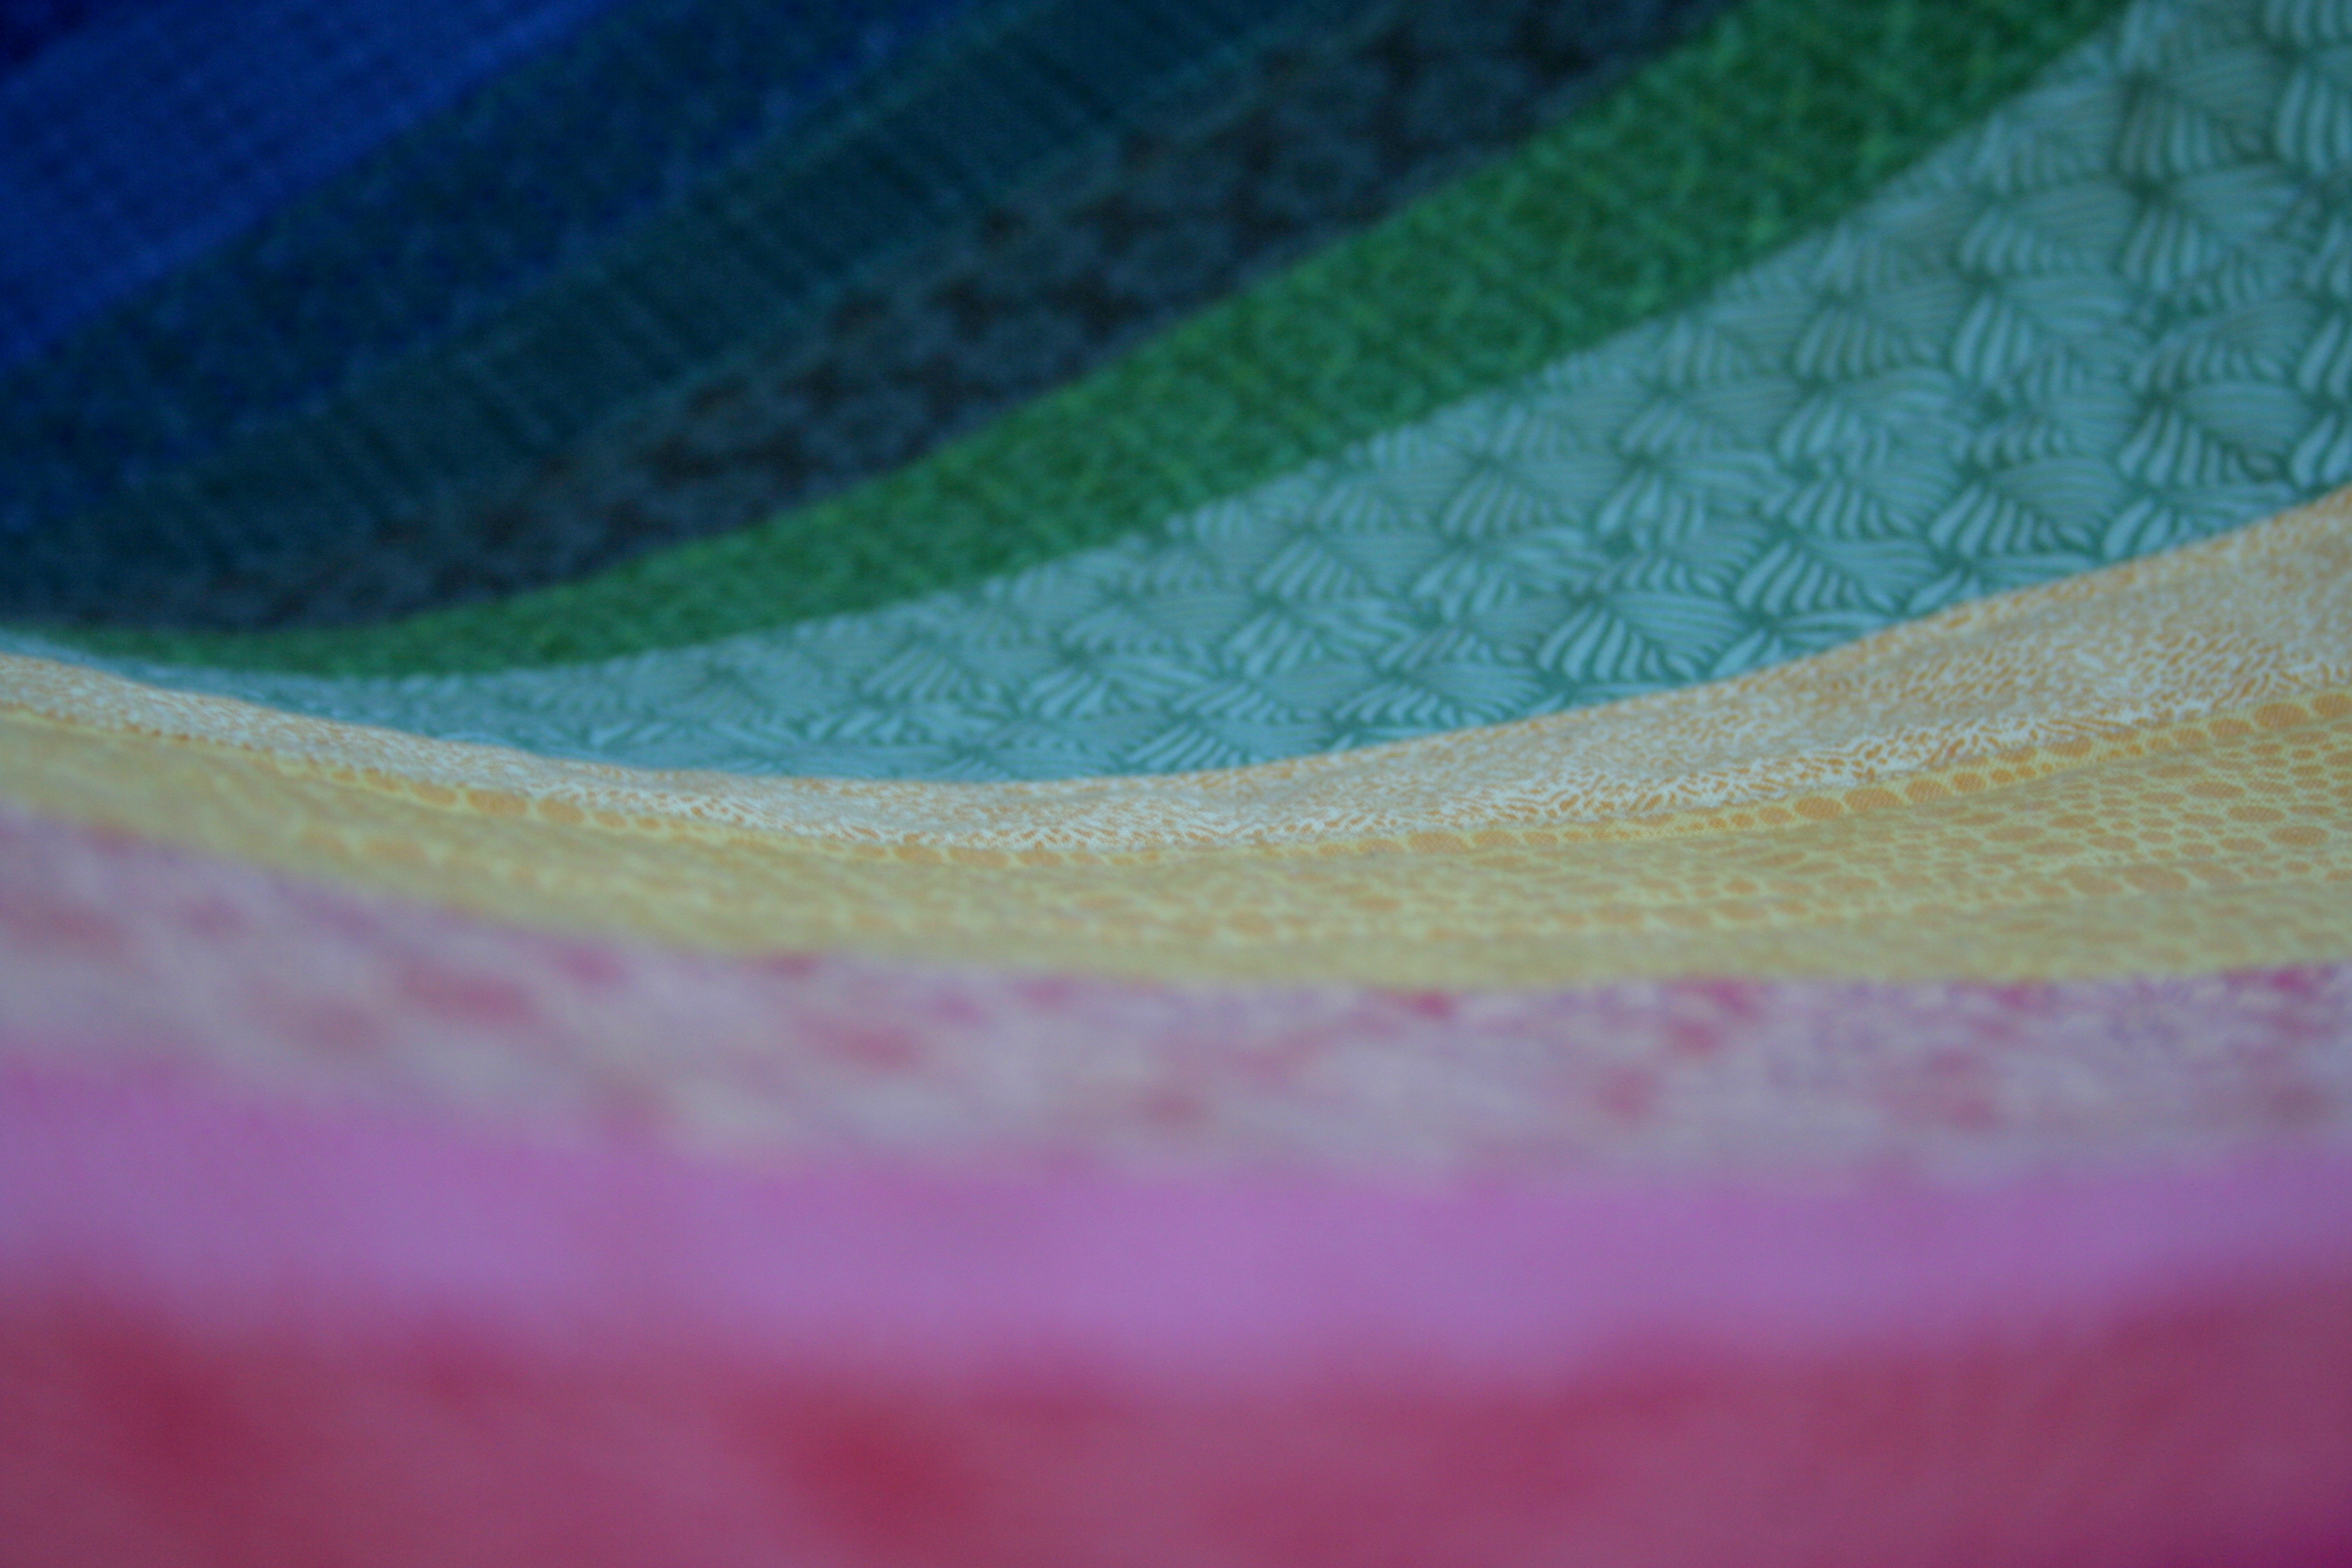
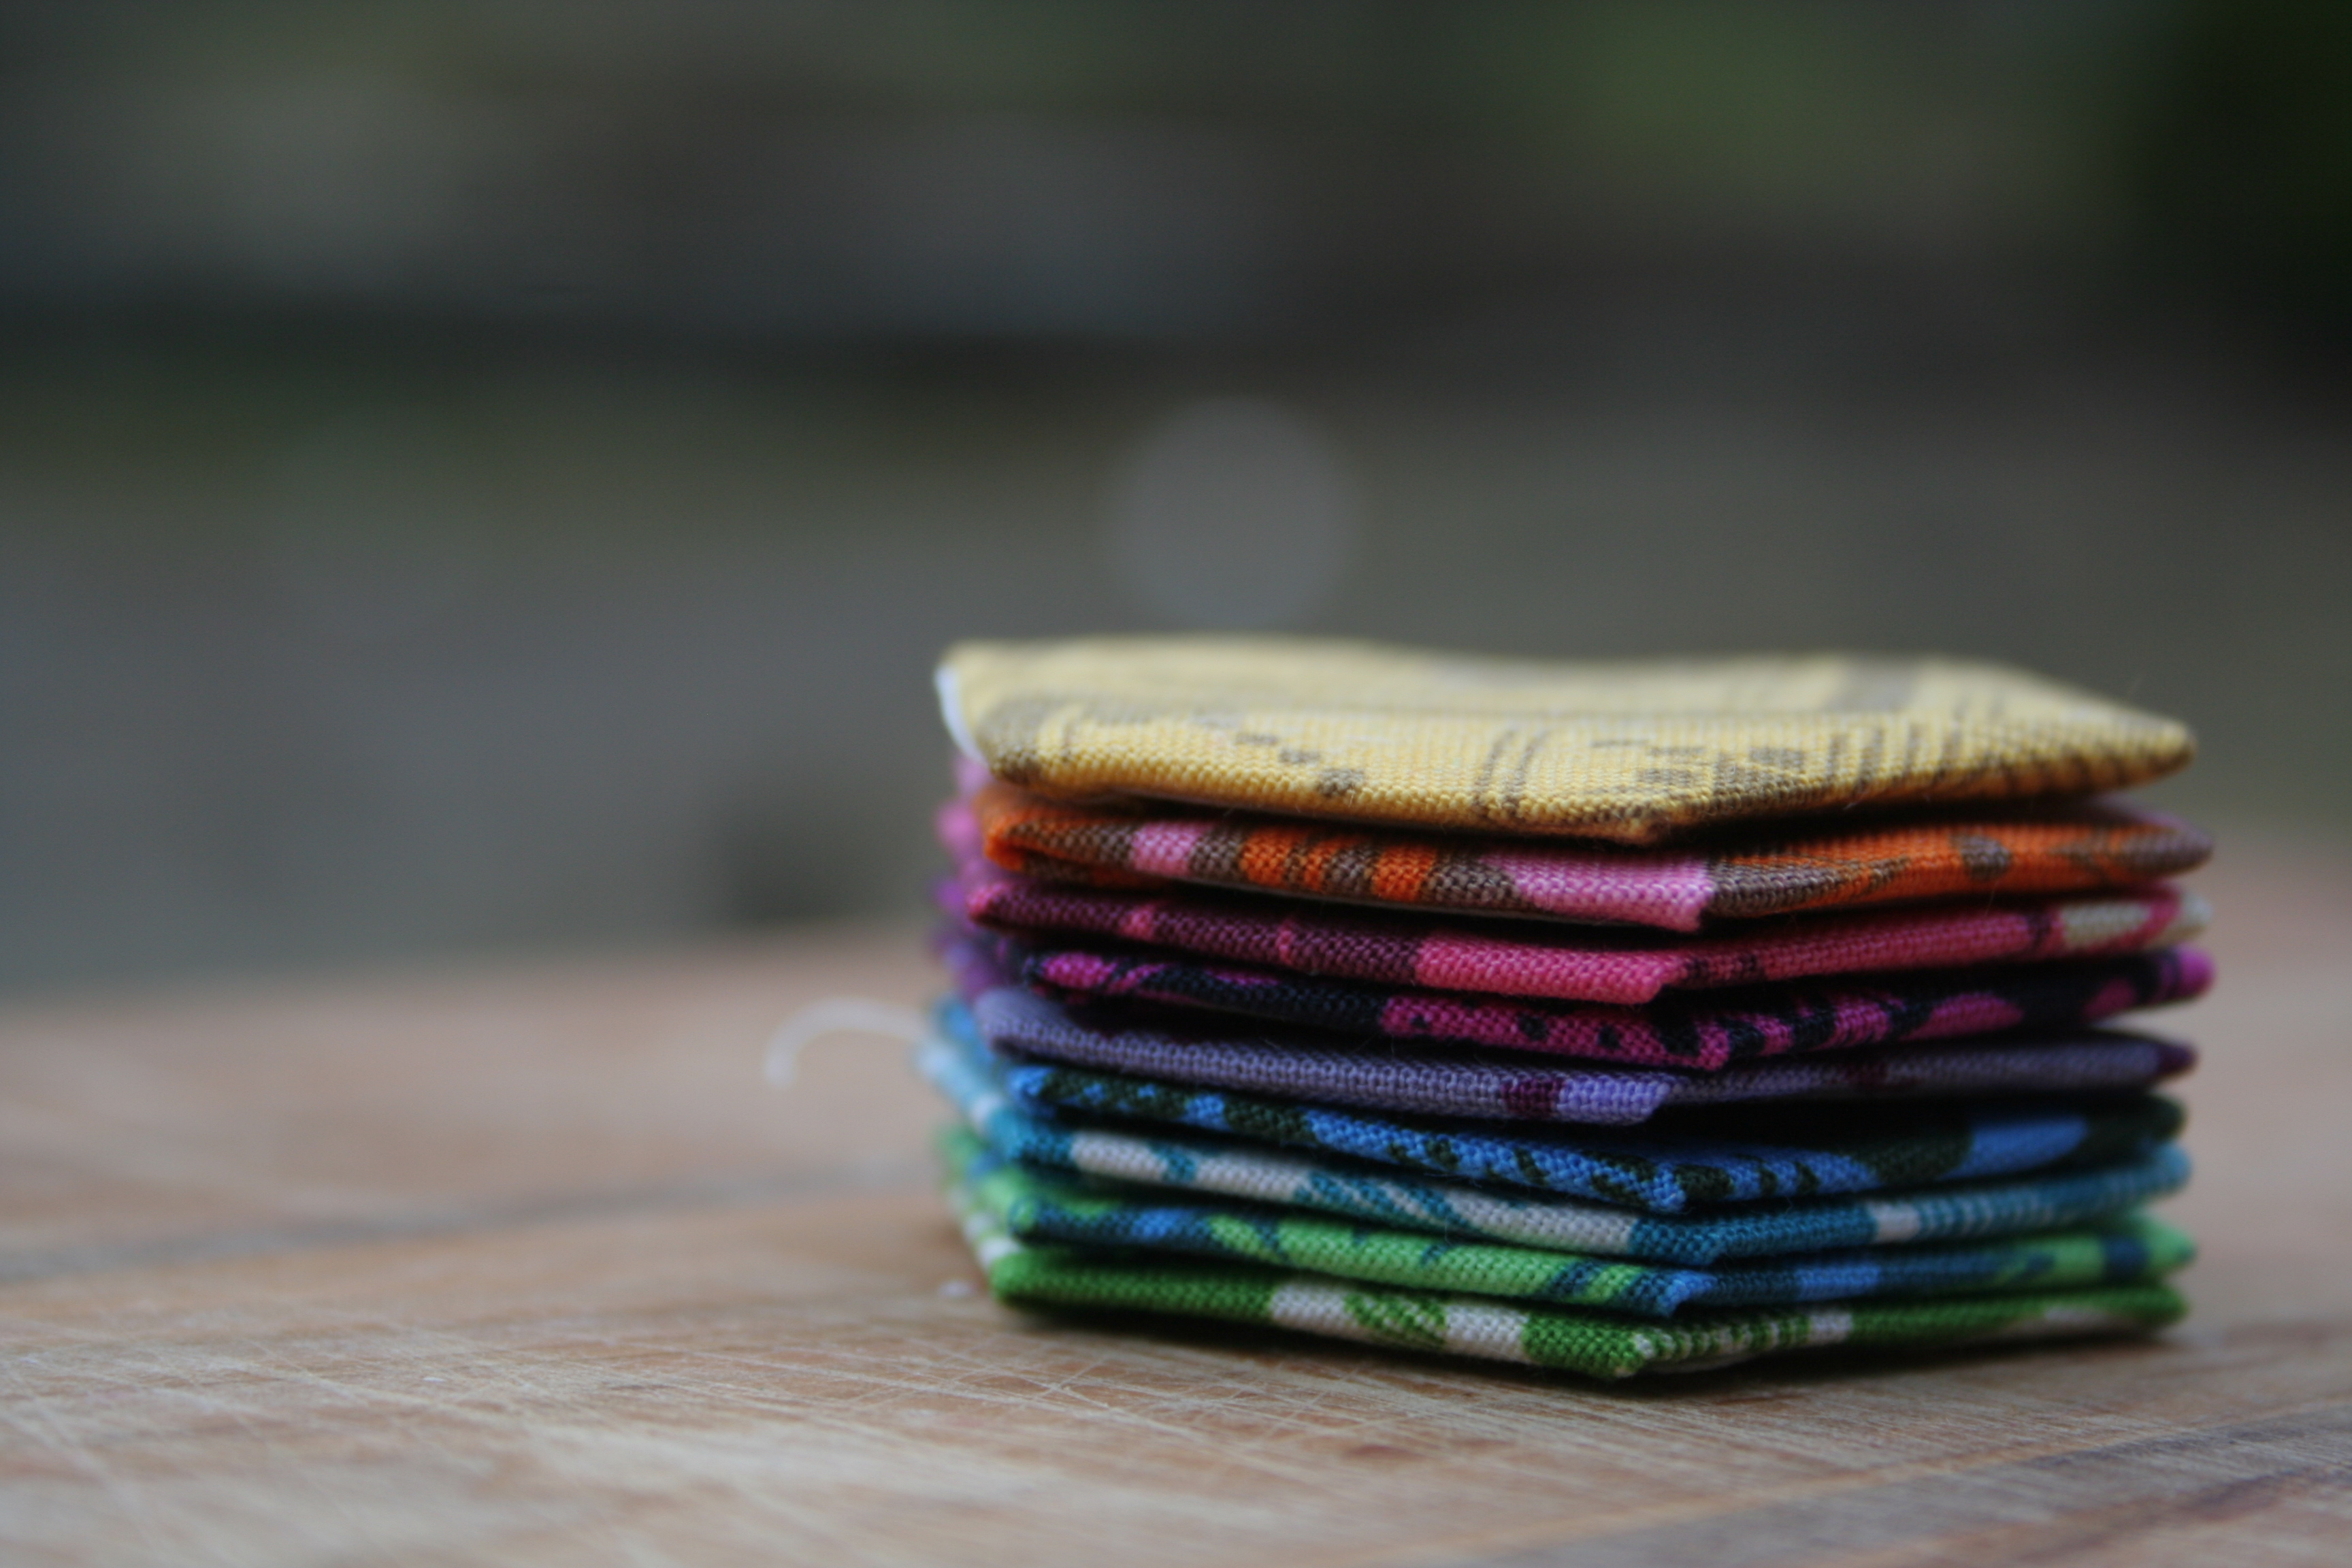
The first rainbow strip I made was far too large to use in a mini mini, since it had 1/4″ strips of color and black. When I switched to 3/8ths of an inch and a few less colors, it turned out perfectly. I’m intent on using both of them in mini minis, somehow.

sew smallerSew smaller, Chawne said. Sew smaller, I did.

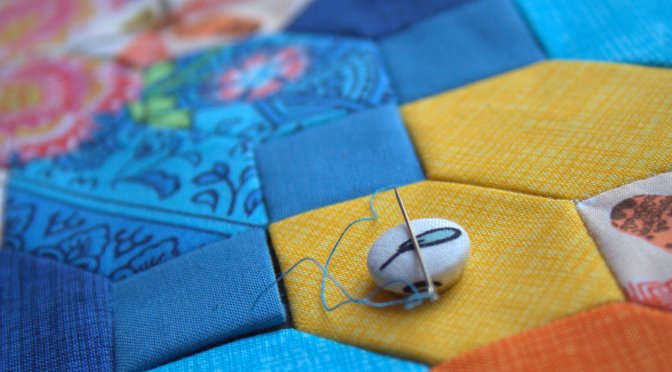
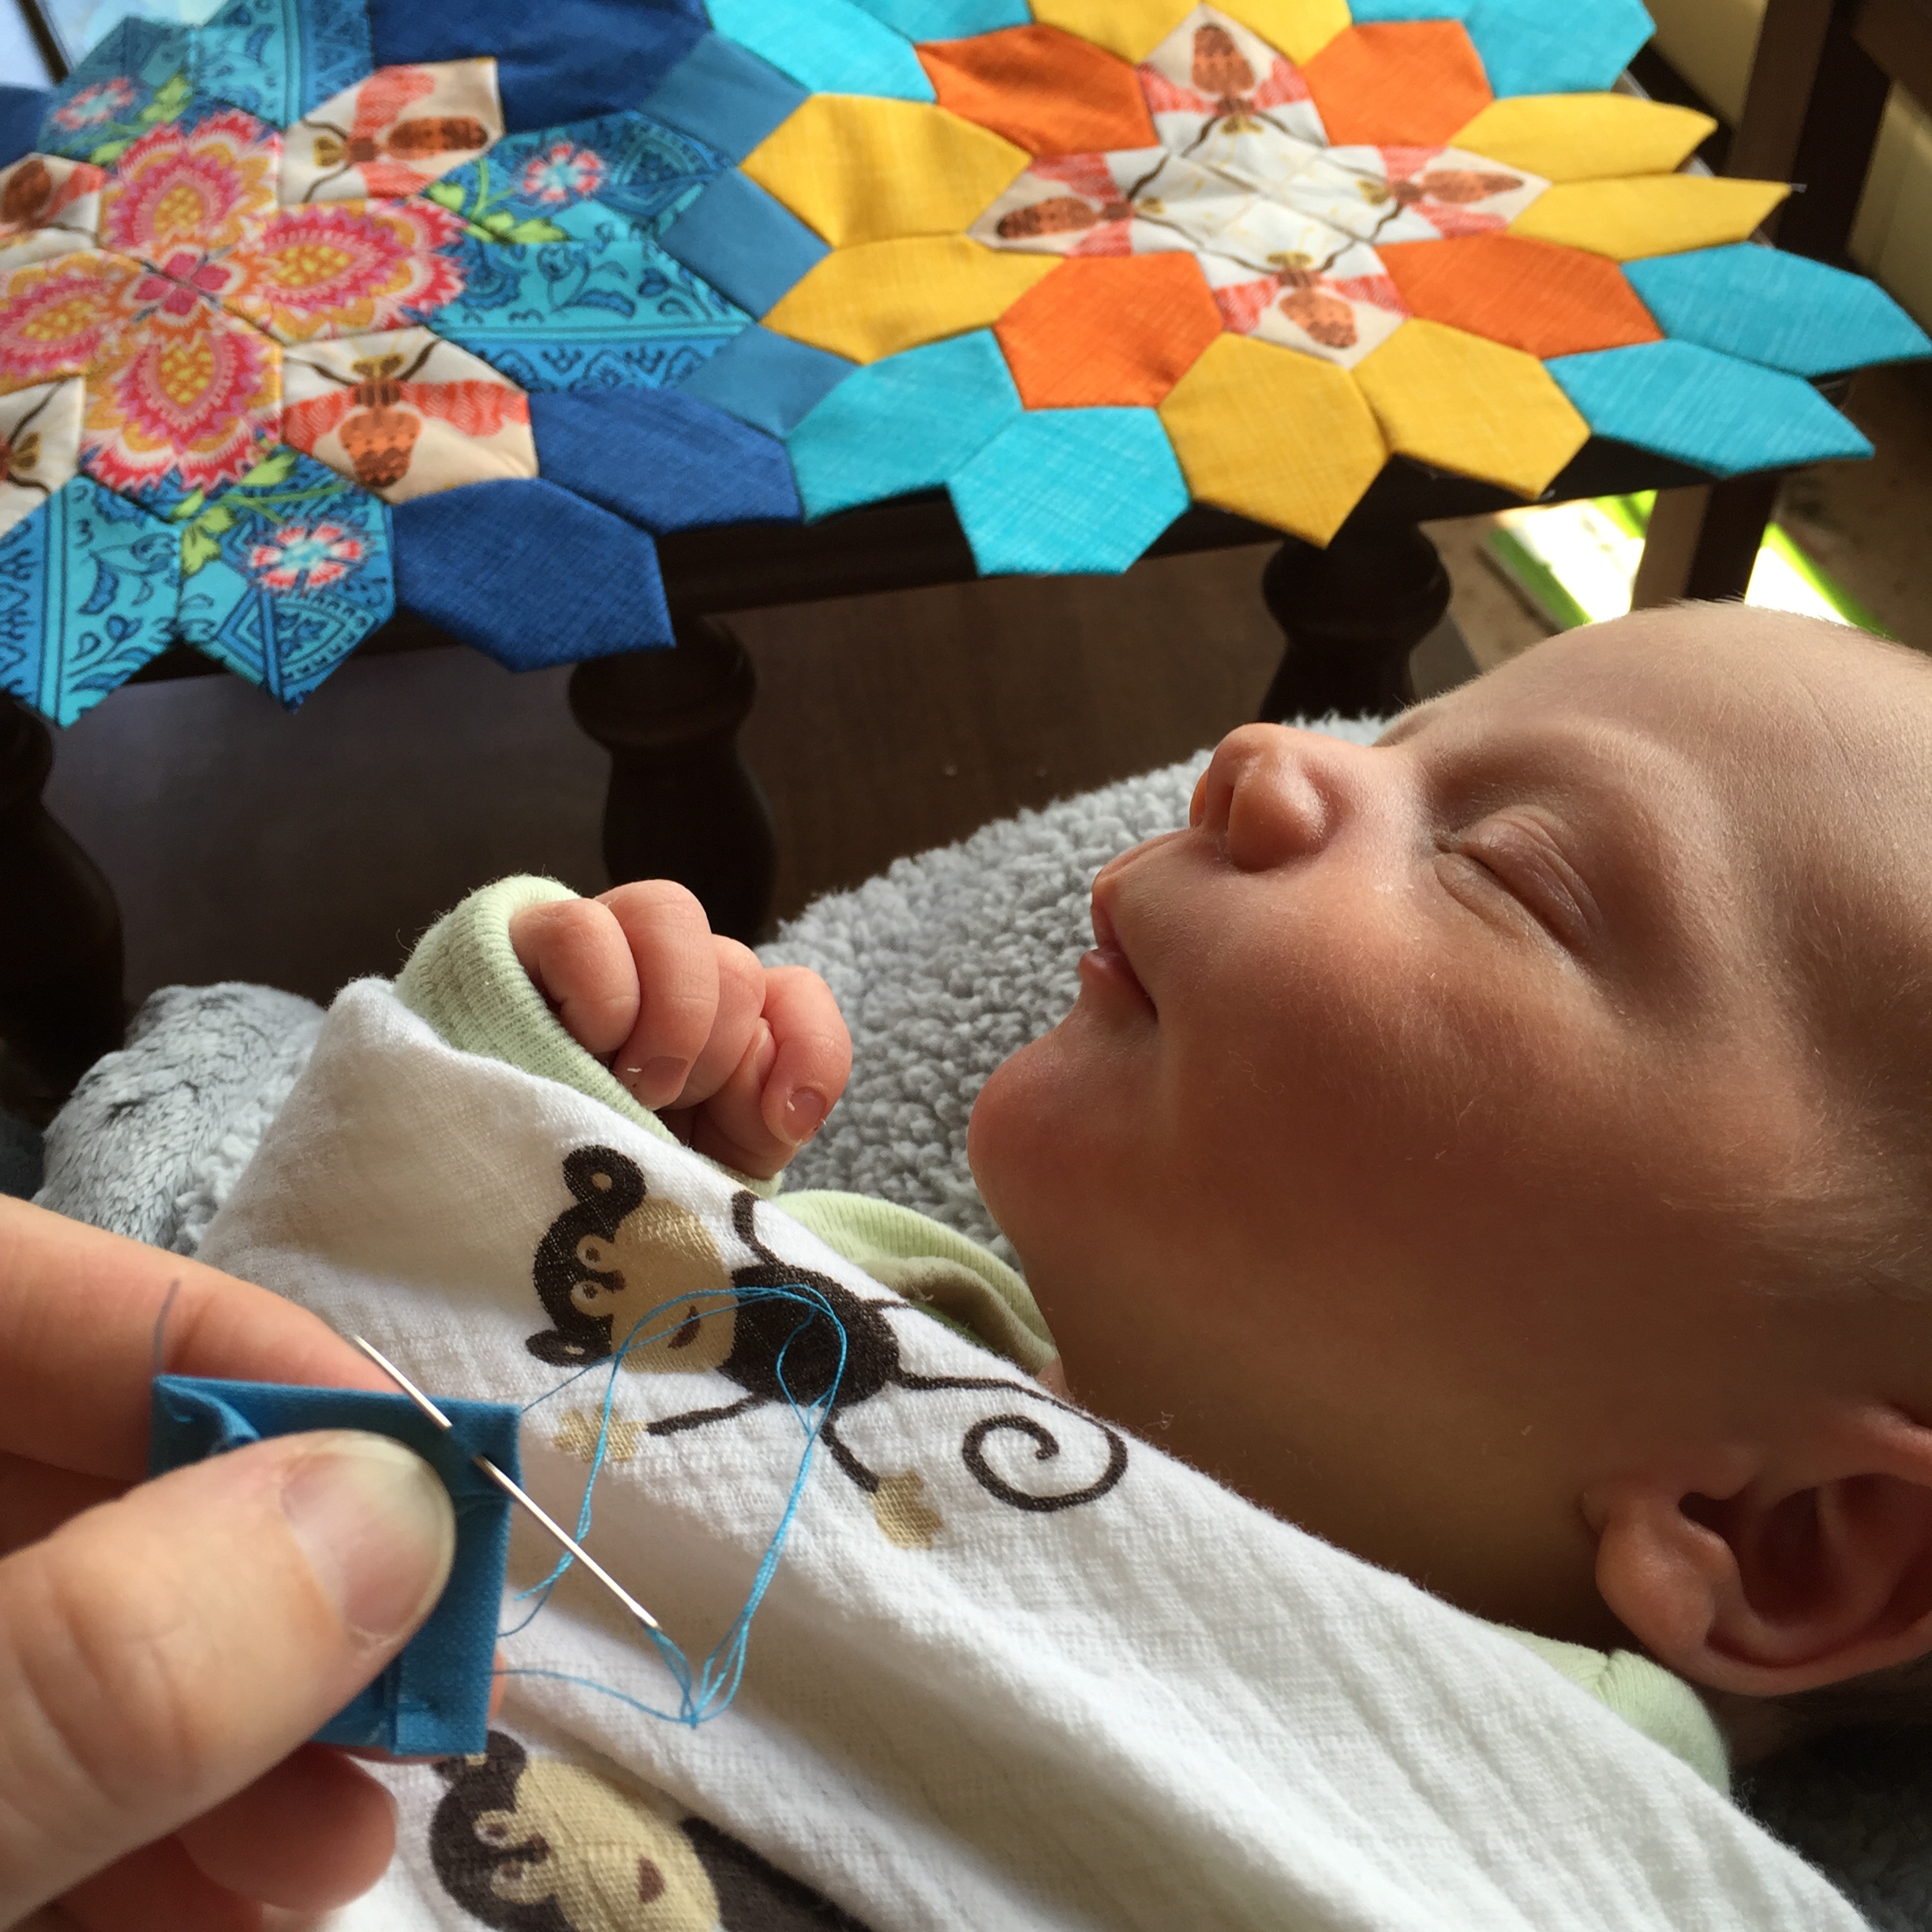
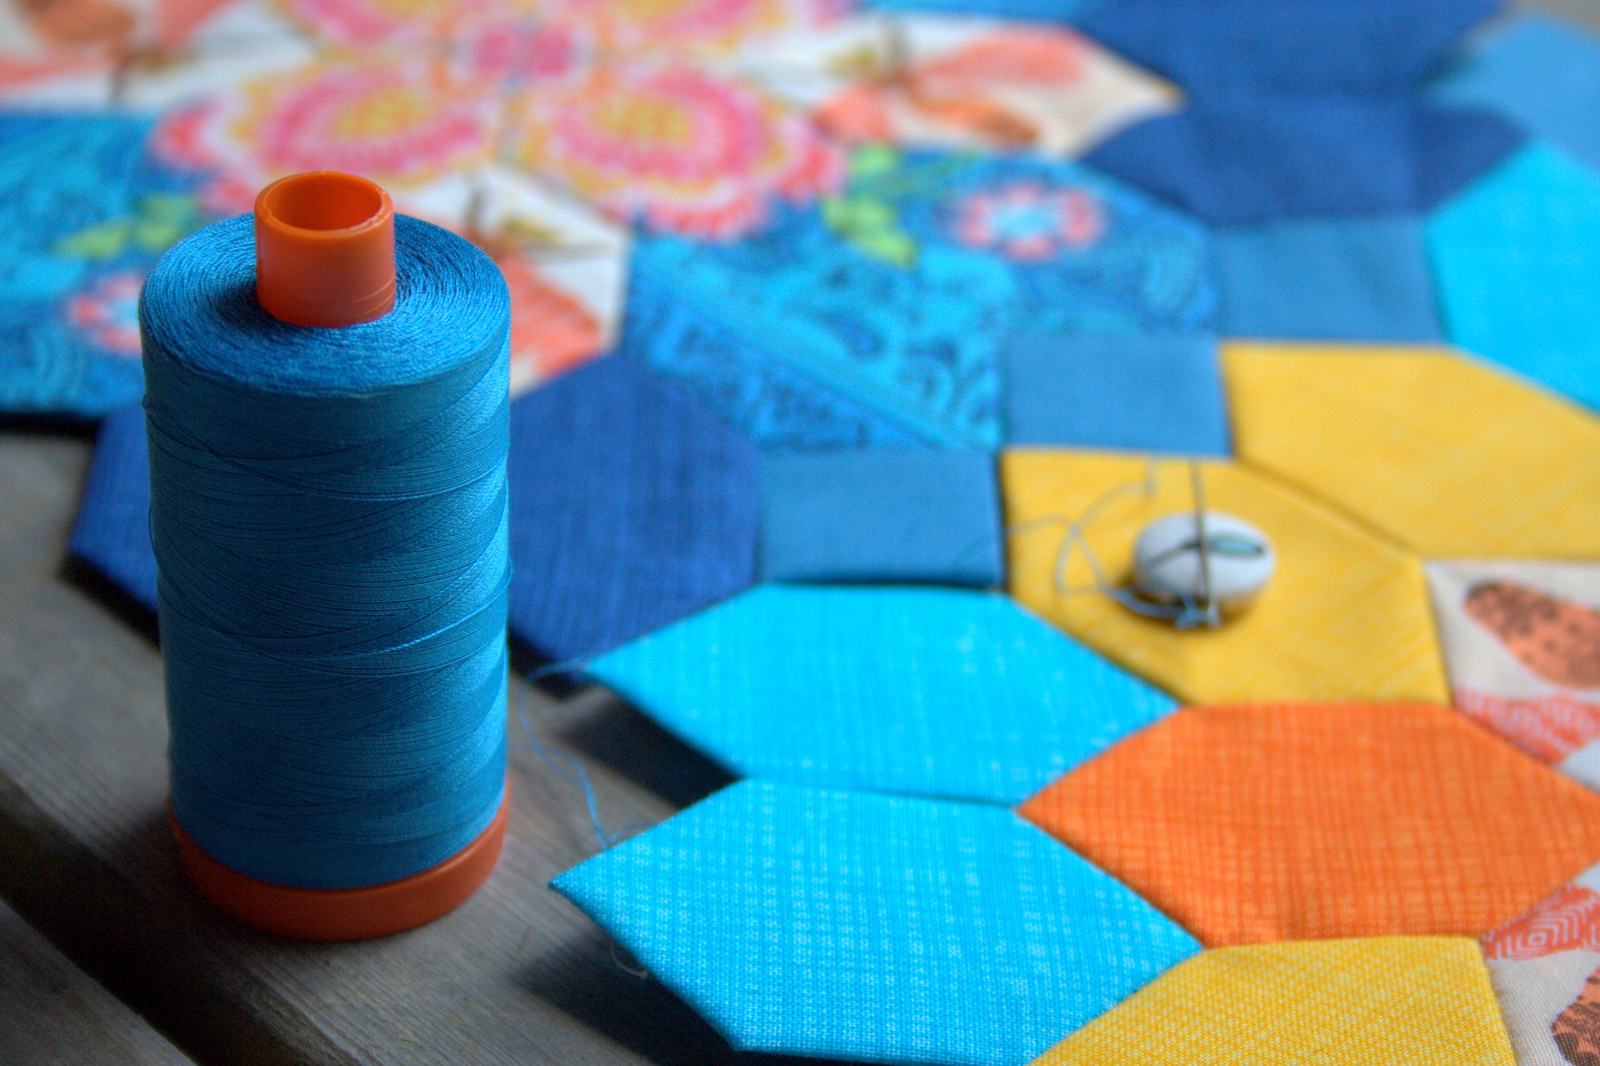
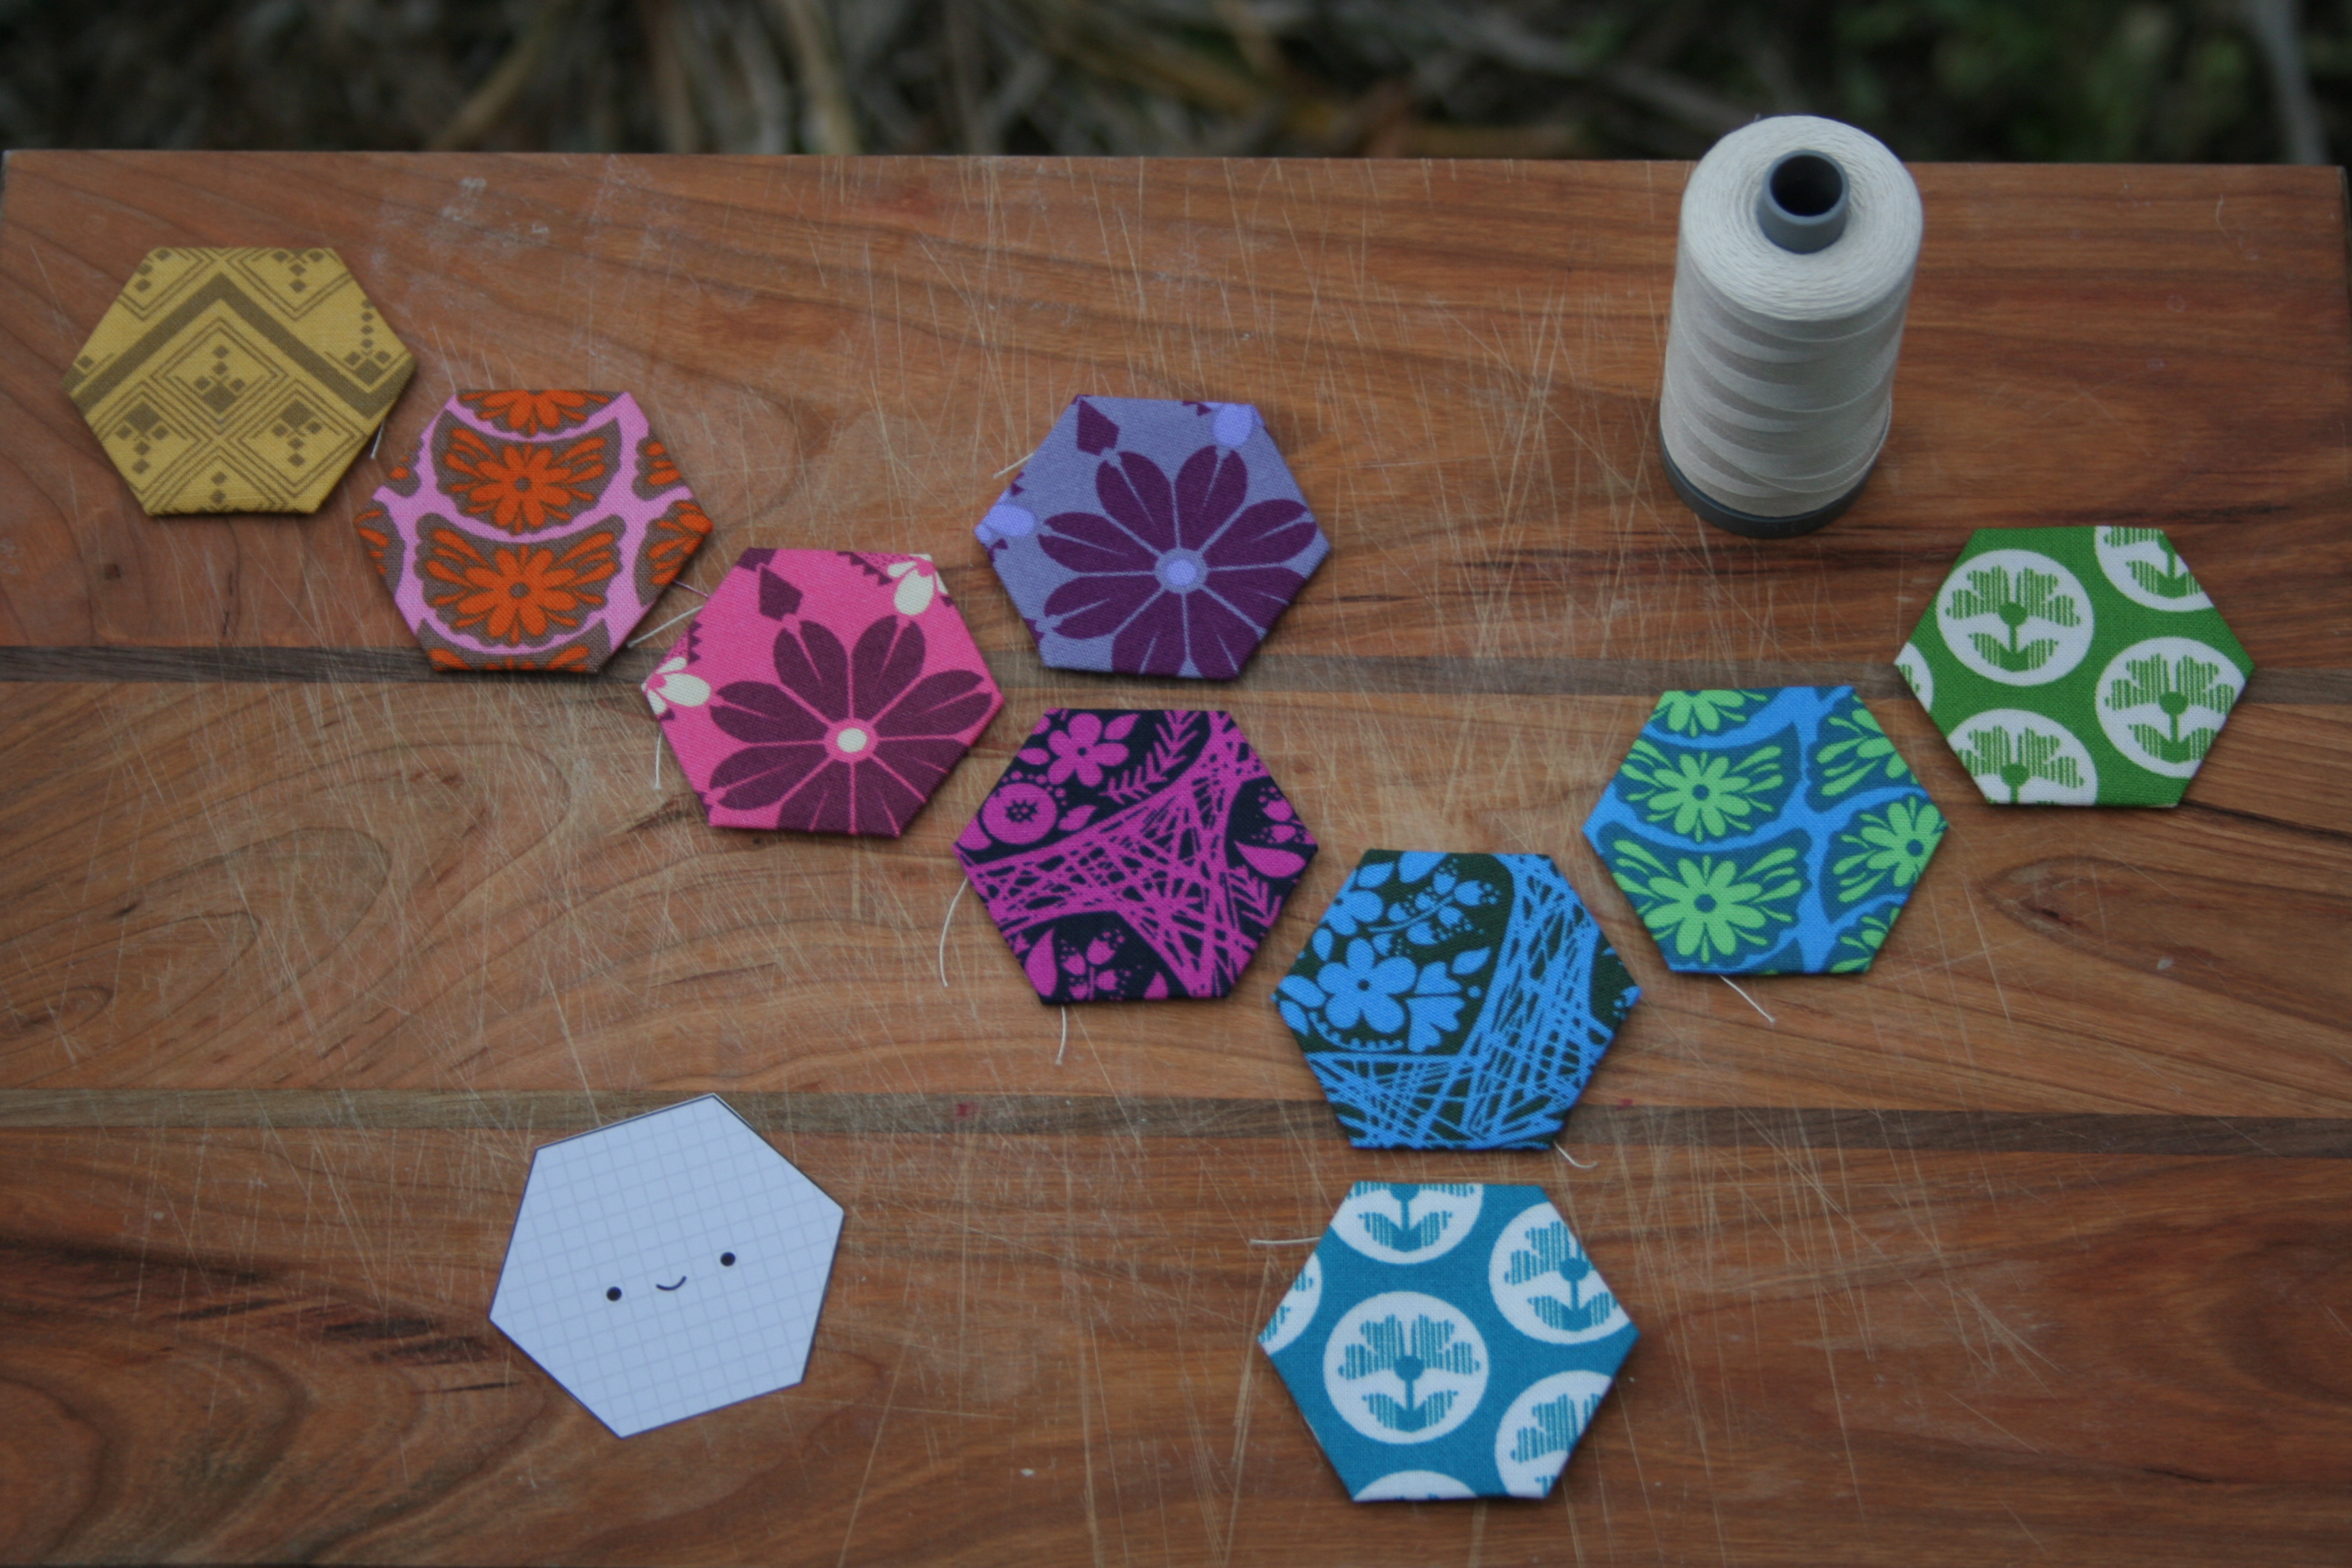
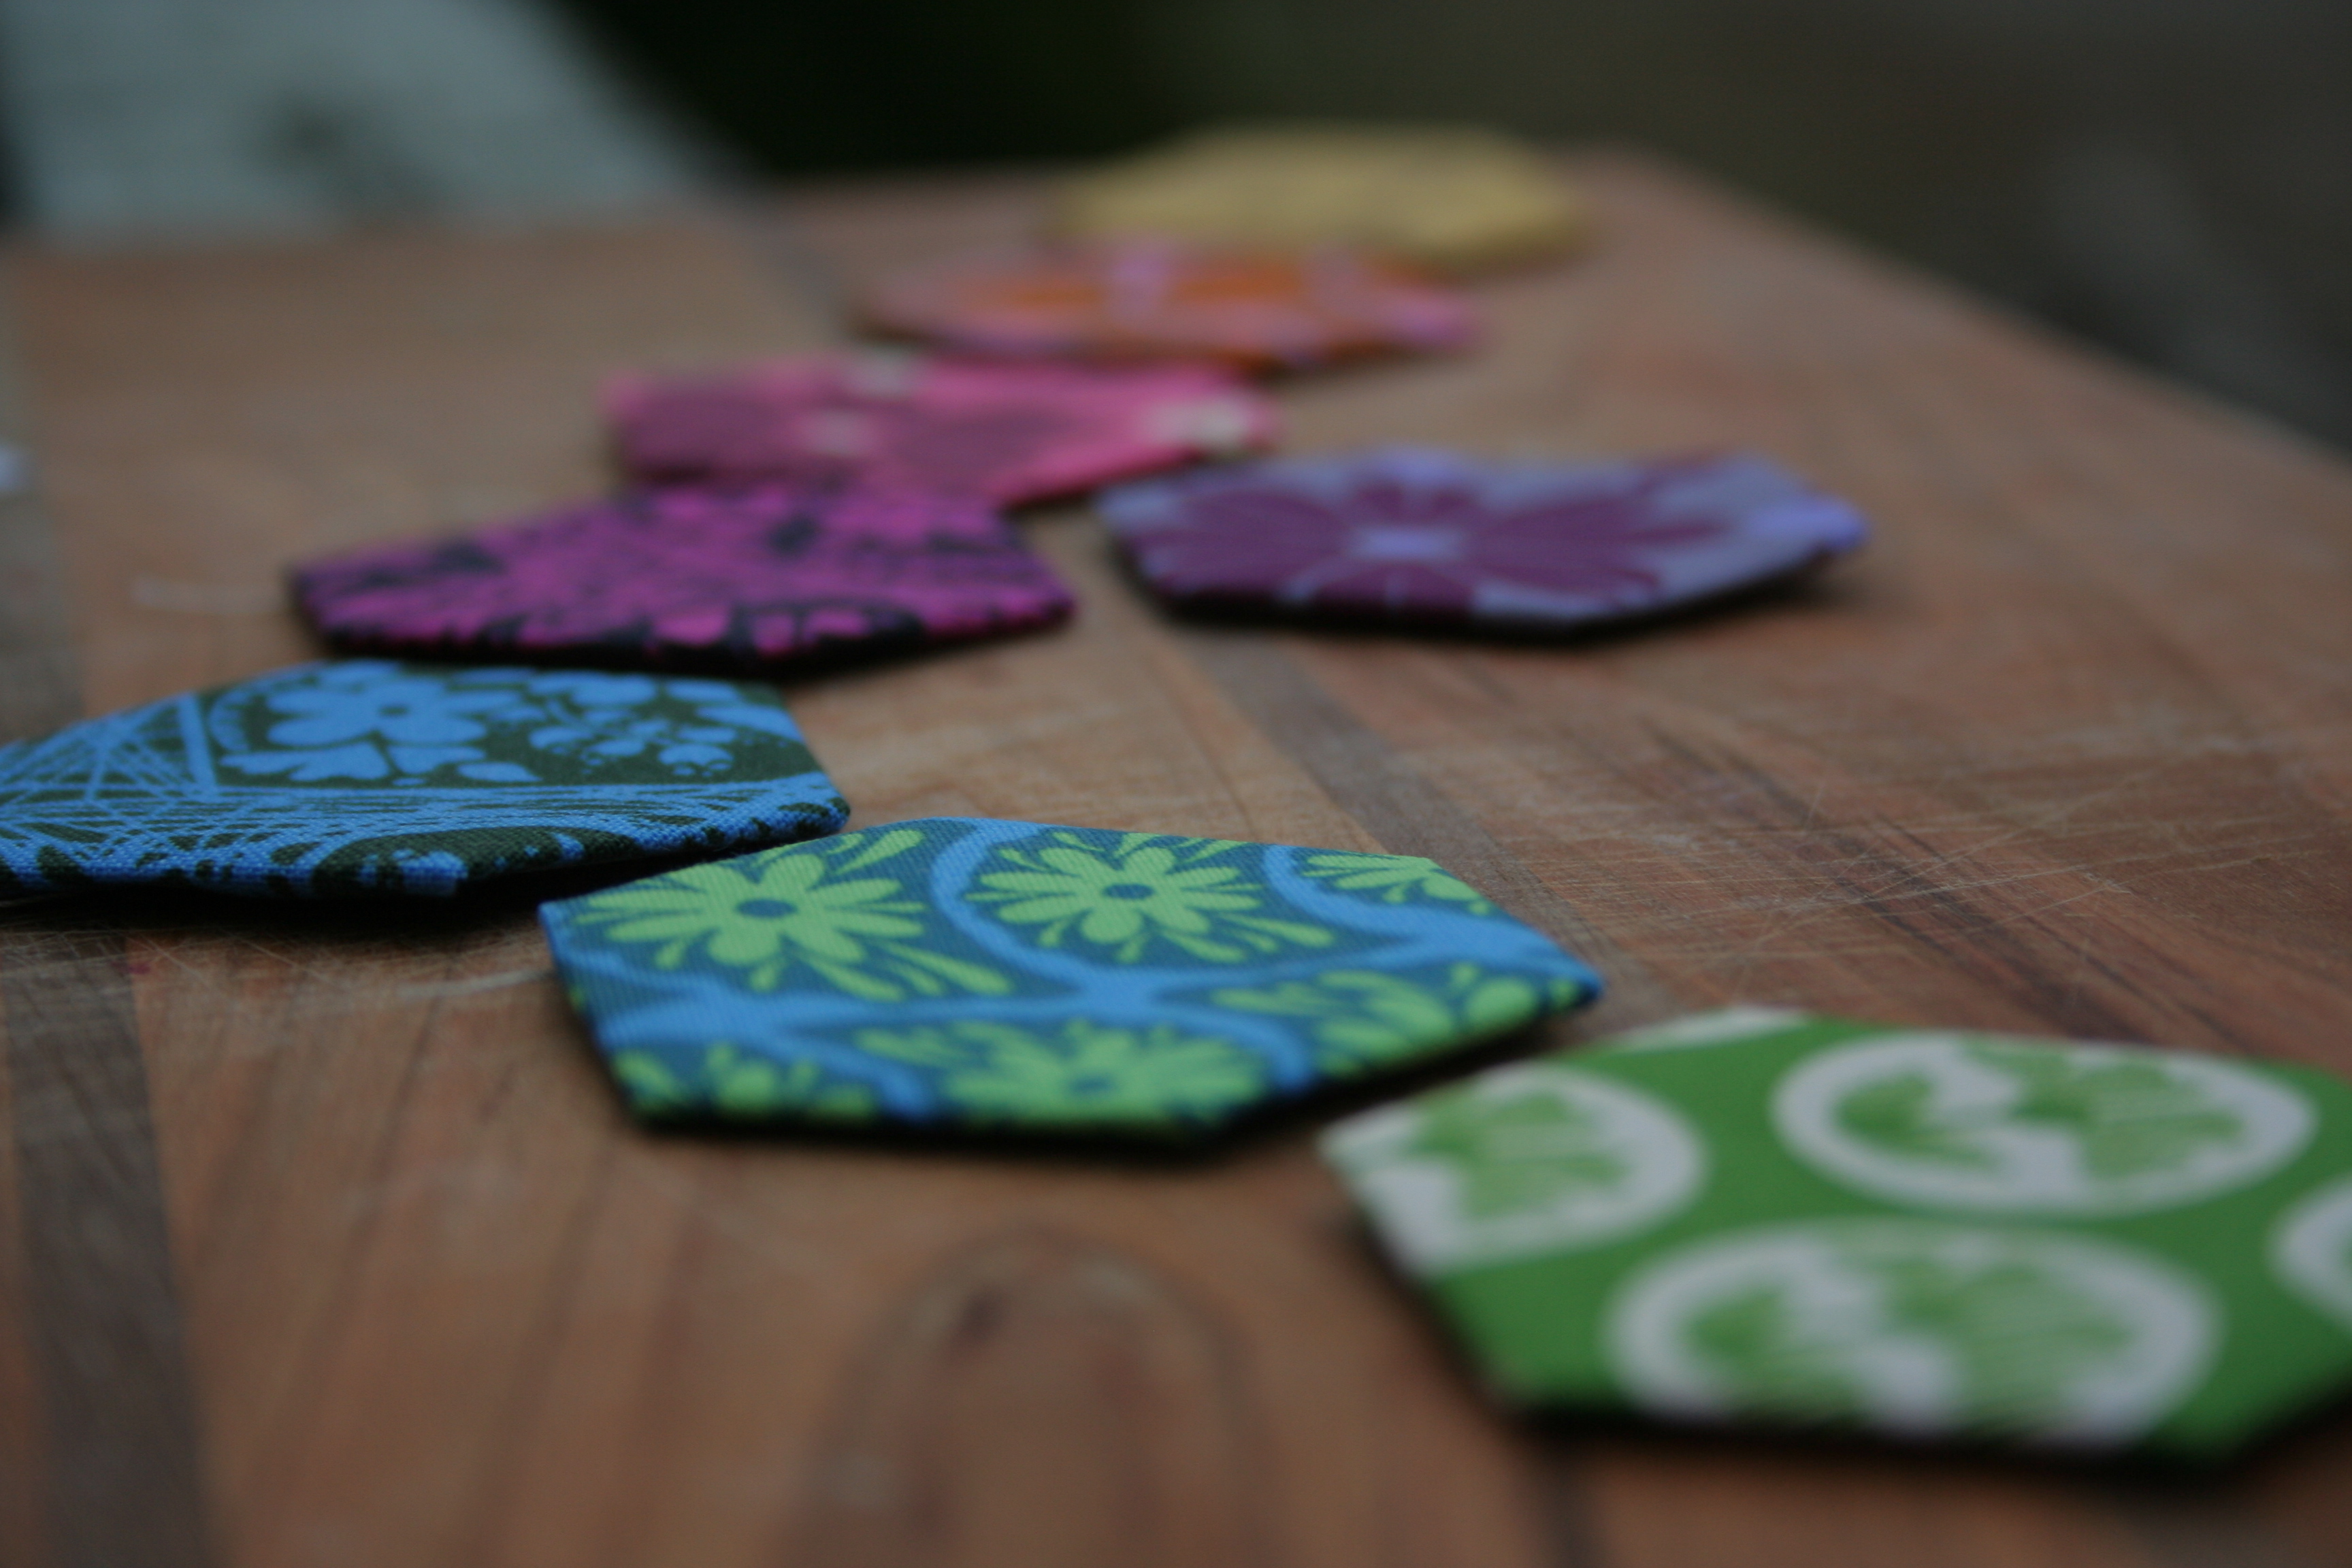
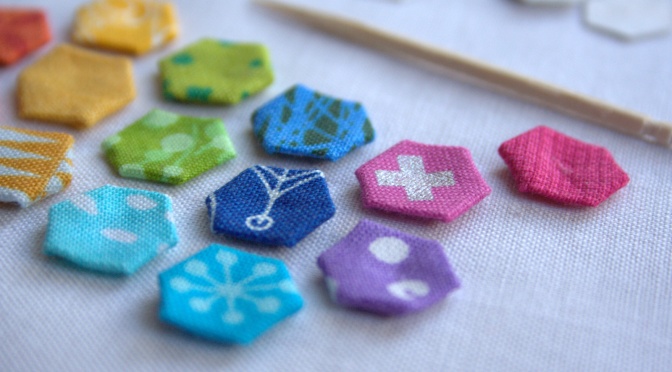
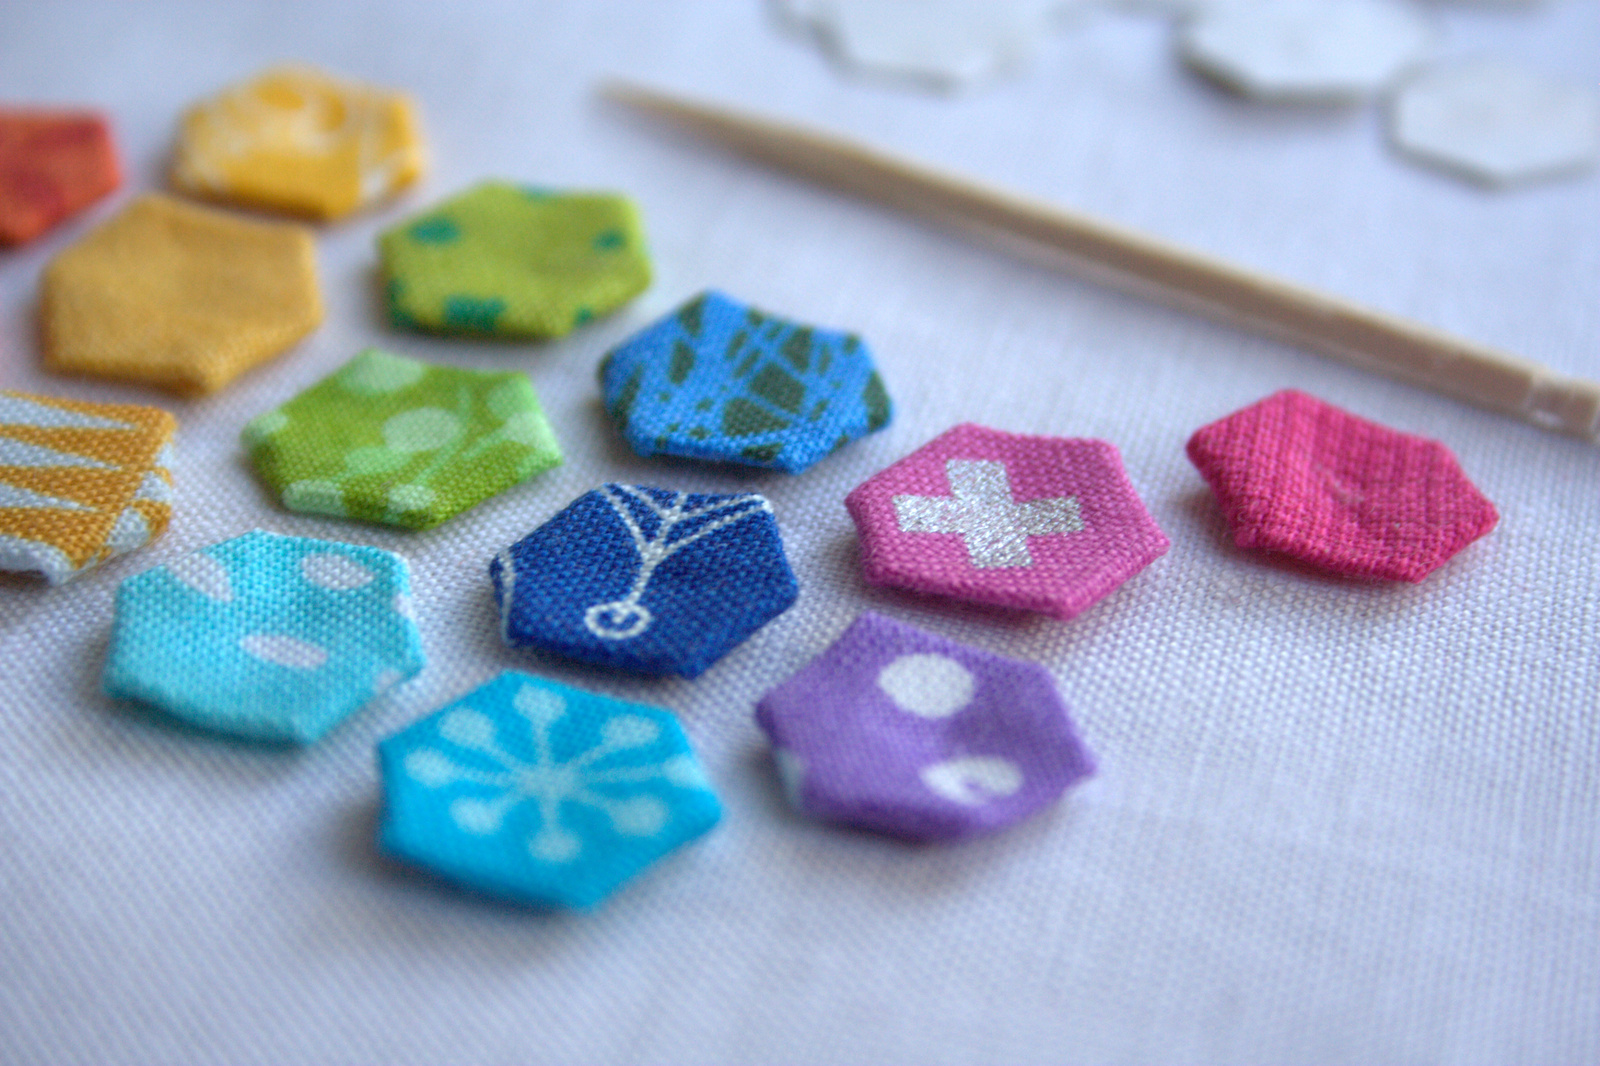
Finally, as of yesterday, I have begun another mini mini quilt. I’m honestly astounded that it actually worked, but I’m resisting the urge to latch onto a new obsession and make multiples of this one. I present to you: Modern Hexies, Crazy Mini Mini Edition.

super teeny tiny epp hexagons 1/4"I used the fabulous Modern Hexies tutorial by Nicole at Modern Handcraft, and just shrunk it down to 1/4″ EPP hexagons. Instead of actually basting the teeny hexagons, I used Flatter by Soak and pressed the dickens out of them with a hot iron. Astoundingly, I didn’t even burn my fingers, although I don’t know how.

super teeny tiny epp hexagons 1/4"
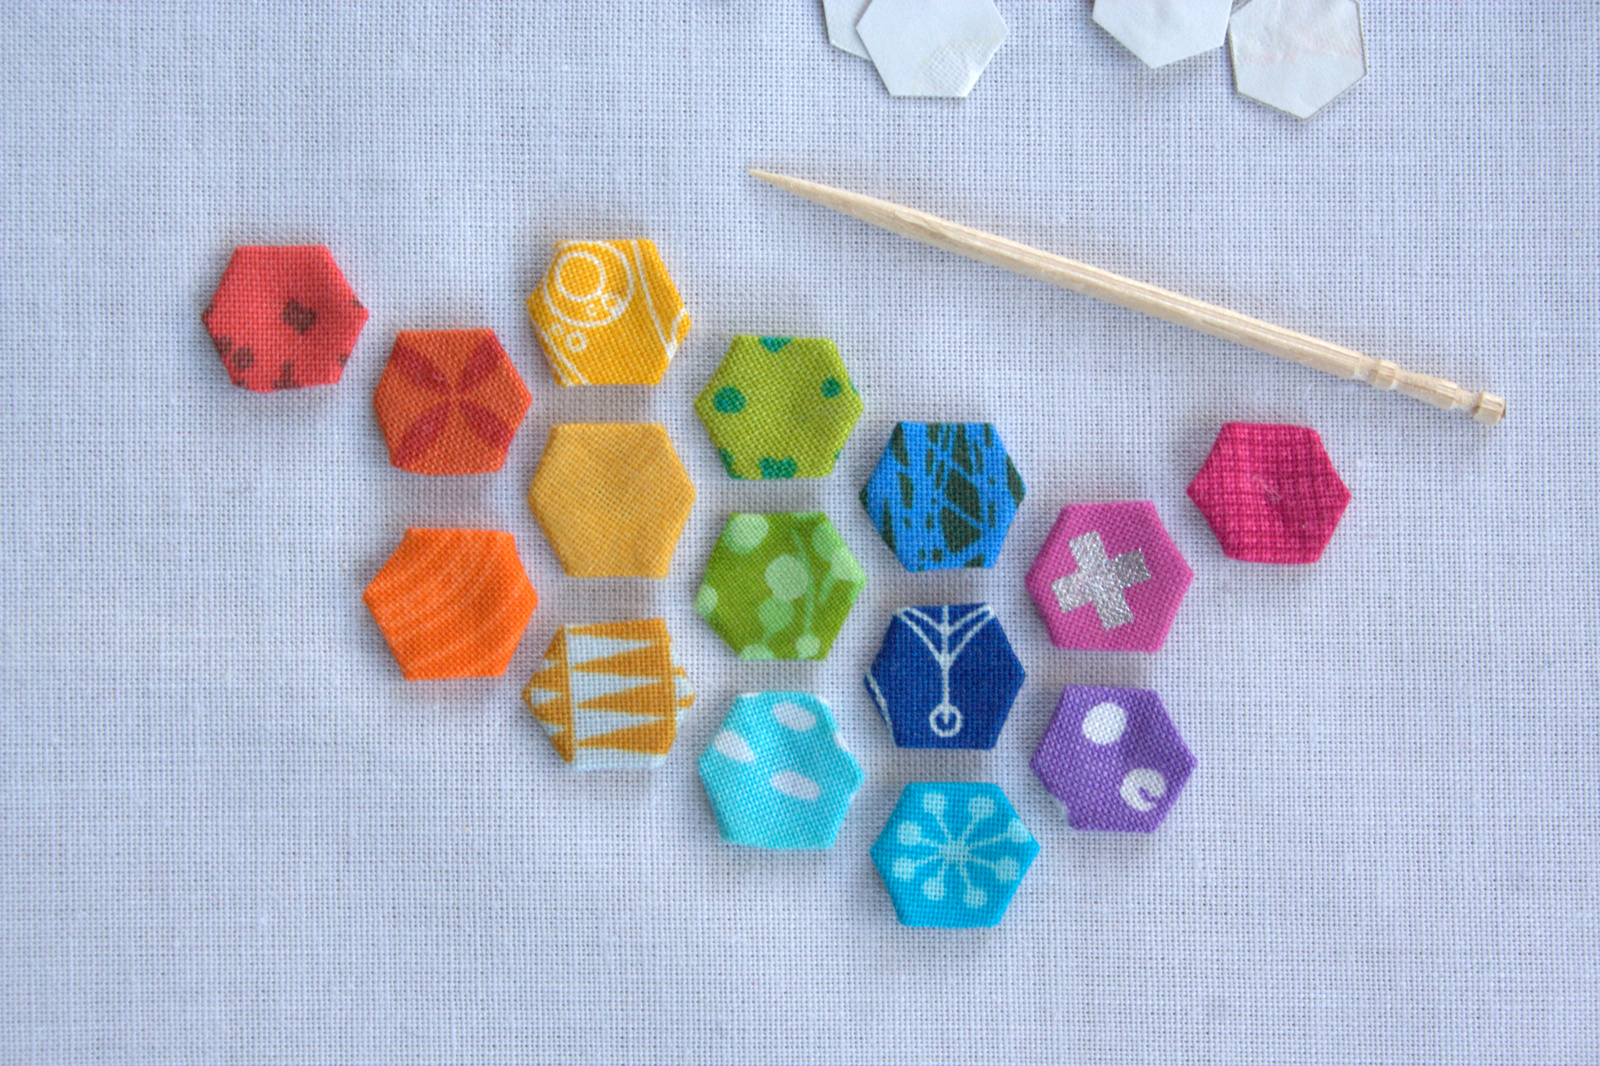
I am loving how this one is turning out, and can’t wait to finish it! The toothpick helped with little adjustments while gluing, and is a good size reference.

super teeny tiny epp hexagons 1/4"I’m linking up with WiP Wednesday at Freshly Pieced. I really AM working on something(s)!


Return of the Rainbow

Do you ever get to the point in a project where you are *so* close to finishing that you sort of let your mind think you already have, and it hops right over and latches onto a new project idea or three? Yeah, me too. I have at least three projects that are in their final stages yet have been put aside for the past month, while I instead started a handful of new projects. Who doesn’t love a new project?! Yesterday I decided it was time to get those nearly finished projects into the finished pile, and I pulled my favorite one to the top to start.

dropcloth color wheel embroidery sampler mini quiltRemember this? Over a month ago, I finished my first ever embroidery sampler, this Color Wheel by Rebecca Ringquist of Dropcloth. I used Aurifil 12wt thread for the first time, learning the stitches as I went, and loved it SO much when it was finished that I just couldn’t let it be actually finished. So I hatched the plan to extend the color wheel using none other than my favorite saturated rainbow: Alison Glass’s 2015 Sun Prints. Putting it aside was not out of lack of love or excitement, don’t get me wrong. I LOVE this project and it feels so good to pick it up again. I just get into spots where the ideas burst and I have to get them started so that they are real. You know what I mean… a project with fabric cut and design sketched and a few stitches invested is a real project. It’s a lot less likely it will sit stagnant in the pool of unrealized ideas once it’s been at least partially begun.

rainbow color wheel processSo back to my color wheel. I managed to match the fabrics almost exactly to the colors of the Aurifil embroidery, which is incredible. It seems like Alison Glass and Rebecca Ringquist and Alex from Aurifil must have all gotten together to design this harmonious flow with the perfect combination of design, color, thread, and fabric, it goes together that well. I wanted to be sure that the prongs of the outer color wheel aligned with the organically drawn prongs of the embroidery wheel, so I scanned my embroidery sampler and uploaded it to Inkscape, the free vector program with which I design patterns. I created larger circles, centering the embroidery, and extended the lines on the sampler to create wedges. I then printed it, cut out the wedges with scissors, and used them as templates to cut the fabric wedges, as shown in the Instagram photo above. I winged it, really, but amazingly it came together beautifully.

dropcloth color wheel rainbow quiltRight now the rainbow circle overlaps with the embroidery sampler’s edges, but don’t worry–I plan to either trim or fold the edge under so that the entire sampler is visible.dropcloth color wheel rainbow quiltIt was an exciting day, since this is the first project sewn on my new sewing machine: a Bernina 560, which I recently purchased during one of their 0% interest, 60-month payment plan offer days.  (I’ll give you a formal introduction soon, promise!)

flatter by soakI also used Flatter by Soak spray for the first time since QuiltCon, and I’m amazed I survived without it. Between the new machine sewing like a dream and the seam-relaxing Flatter spray, this circle came together without a hitch.

Now I am going to study up on circles by watching Cheryl Arkison’s class Inset and Applique Circles by Machine on Craftsy (affiliate link). It’s my first time trying a class on Craftsy, but I hear there are subtitles. I also was fortunate enough to take a class with Cheryl Arkison at QuiltCon, so I have no doubt of her depth of knowledge and skill. I’m really looking forward to trying to attach these circles!

Having never sewn a circle by machine, and perhaps only one by hand, this will be a creation filled with firsts. I’m getting awfully close to completing this beauty, though, and I’m loving every step of the way.

I’m linking up with Lee at Freshly Pieced for Work in Progress Wednesday.

++++++

Also, for those of you on Instagram, I’m having an awesome giveaway to celebrate passing 1,500 followers, sponsored by Aurifil, Soak, and moi (with a fat eighth bundled pulled straight from my stash favorites, basically this color wheel!). Head over, follow me @nightquilter, and tag a quilty friend to enter. Here are some sneak peeks for eye candy (Note: This giveaway is on Instagram only):

instagram giveaway bundle
Fat eighths bundle pulled from my stash favorites. Giveaway on Instagram only.
instagram giveaway bundle
Aurifil thread set and Flatter by Soak, graciously provided by Aurifil and Soak. Giveaway is on Instagram only.

GIVEAWAY! note for blog and twitter


Summer EPP Table Runner Progress

The fussy cutting fun involved with English Paper piecing (EPP) and Lucy Boston Patchwork of the Crosses blocks hooked me immediately (although I still think it should be called meticulous cutting or assiduous cutting).  I’m still wondering what one is to do with these gorgeous blocks other than make a ton and stitch them into a large quilt, though. With the three I’ve completed, I decided to turn them into a summery table runner to match these placemats. I’ve begun to join them together, slowly planning how I want to border these blocks so that they finish as a table runner.  This is my first time “finishing” an EPP project, so I’m learning as I go (read: making it up as I go), as I do with most everything.
summer epp table runner

With a newborn snoozing in my lap all day and night, and since I still have the help of my visiting mom and paternity-leave-taking husband, I’ve been making steady progress on finishing the center block and making tiny 1″ squares to join the three together. Even since these photos were taken this morning, the third block is joined as well. There’s not much better than resting with a peacefully sleeping newborn on your lap, doing some stitching while watching the milk drunk stupor reflex smiles.

sleeping baby stitching
My view earlier today, shared on Instagram.
summer epp table runner
I’m loving the teeny tiny needle minder gifted to me by Mara of @mara_makes on IG.

Since I made my own 1″ square EPP templates with card stock and my paper-cutting rotary cutter, I’m thinking I may just make my own templates for the entire border. In plotting it out, a combination of squares, rectangles, and trapezoids should do the trick (I think).

Have you joined Lucy Boston Patchwork of the Crosses blocks before? What method/shapes did you use? Please link in the comments if there’s a particular method you like, even if it’s just a general EPP tip! I honestly haven’t asked google yet, but I prefer to hear opinions from you, anyway.

perfectly matching aurifilI had been stitching the pieces together using a neutral thread, but decided that since I’m joining a bunch of blues, I should use matching thread if possible. I was pleased as punch to find a perfectly coordinating blue Aurifil thread in my stash (but not overly surprised, since there ALWAYS seems to be a perfect match!) It’s right in the middle of the darker blues and lighter turquoise, and is the perfect color for tying this whole runner together (literally!)

What do you make out of your EPP creations? I am really itching to do some more fussy cutting, but I need to have a project idea in mind before adding another project to my pile.

I’m linking up with Freshly Pieced’s Work in Progress Wednesday, and then switching my gaze back to the beauty asleep in my lap. Happy stitching!


Hazel Hedgehog Progress

The giant version of Elizabeth Hartman’s Hazel the Hedgehog pattern goes together quickly! I thought that it might, but I’m pleasantly surprised by exactly how quickly I was able to get this adorable pinkalicious hedgehog together. I cut the fabric for this project on Monday, and after only two short nights of sewing (a total of just under 3 hours), Hazel is complete!

hazel hedgehog progressShe finishes at 24″x27″ since I have not yet put the borders on. She’s huge! Here are a few photos of Hazel with my kiddos for scale. Don’t mind my sword-bearing super hero son; he’s harmless, really!

giant pink hazel hedgehog and kids for scale

giant pink hazel hedgehog and kids for scale

I want to use a single giant hazel, but have the baby quilt finish a bit larger than the 34″x37″ baby quilt version in the pattern. Since I’ve pieced Hazel so quickly, of course my brain immediately came up with a lovely idea of how to make it super adorable (and not as quick to finish).

sketchbook plans for hazel layout
Glimpse into my sketchbook.

Originally, I was planning to add borders to have Hazel in the bottom right of a 48″x52″ baby quilt, with simple negative space/background around her. Easy peasy. There is actually a good chance I could have the quilt entirely finished by the baby shower on Sunday if this plan is chosen. Then, as I was sketching it out to calculate how big the borders should be, I thought an appliquéd heart in the top left would be a cute touch, which then progressed to a pieced speech bubble heart. How adorable would that be, though!? This is how my brain works, folks. If something is easy, I will immediately find a too-cute-to-ignore way to make it more complex (but awesome).

What would you do? Stick with the original, adorable, but super simple and easily completable-ahead-of-schedule plan? or try out the speech bubble heart idea? Only time will tell which I will choose!

I’m linking up with Work in Progress Wednesday hosted by Lee at Freshly Pieced .


Pinkalicious Hazel Hedgehog Baby Quilt Beginnings

My pink-loving sister-in-law is having a baby girl in June. When I say she’s pink-loving, note that that is a dire understatement. I mean, she loves pink. Pink on pink on pink with an accent of pink is her signature style. As a long-time pink avoider who is just recently embracing the joy that pink conveys, I am planning to work a *little* out of my comfort zone for the sake of making a quilt for her baby girl that she will love. I’m making a pinkalicious Hazel Hedgehog baby quilt, with one giant sized super-pink Hazel.

pinkalicious hazel hedgehog baby quilt

Hazel will be completely pink, with the lightest pink for her face, the bright pink her body, and the swirly magenta-pink as hair. The majority of you who commented on my last blog post about this project voted for the grey face and body and pink hair. As much as I think the grey face and body would look awesome, too, I just didn’t feel like the resulting giant grey-bodied Hazel would be pinkalicious enough for my sister-in-law. So pink it is. The turquoise Stitch Circle by Michael Miller will be the background, and my aesthetic anchor. I have to admit, I’m quite excited!

My sister-in-law’s baby shower is this coming weekend, which means I’m giving myself a typical time-squeeze goal of completing the quilt top before her shower. This is also my ALYoF goal for April, so it’s a good thing I’m finally getting started on it!

numbered quilting pinsSo far I’ve finished cutting for Hazel and her immediate background, which finally gave me a great opportunity to use the numbered pins my husband got for me for Christmas. They are called Marilee’s Numbered Q-Pins (*Amazon affiliate link) and are super useful. They can also be purchased from the Quilting Pins website, and you can visit them on Facebook. (Tell them Kitty aka Night Quilter sent you!) I took the advice of the little sticker on the back of the pins that suggested customizing the backs with letters, colors, etc. if more than numbers were needed. Elizabeth Hartman’s Hazel Hedgehog pattern clearly lays out the cutting and piecing instructions with letters, so the pins were perfect for keeping track of pieces.

numbered pins for organizing cut quilt pieces

numbered pins for organizing cut quilt pieces

hazel hedgehog and numbered pins for organizing cut quilt piecesWith 20 numbered pins, I was able to create letters enough for all the Hazel pieces, while letting the letters correspond to the numbers (1 = A, 2 = B, etc.). This lets my OCD side rest easy knowing that my letters will be as easily organized and found as the numbers.

I also did a TINY bit of fabric buying for this project, so I’ll show you another addition to my stash. While auditioning fabrics, nothing worked better for the background than the little scrap of this Michael Miller Stitch Circle I had remaining from a previous project. I scoured local shops and the internet and finally found some at FreshStash on Etsy. I ordered the 1.5 yards needed for this project, and added in 1 yard of Essex Linen Blend in Smoke.

stash building

stash buildingI love the look of stacked fabric!

I’m hopeful that since this Hazel is ginormous, it will be quick to piece. Quilt top in a week: totally doable, right?

I’m linking up with Monday MakersDesign Wall, and Molli Sparkles’ Sunday Stash!

Balance

The internet has been down for most of the week here at home, which translates to radio silence on this here blog. My goal for the year was “Balance”, after all, so maybe it was decided that I needed to take a blogging break. Either way, here’s a little peek at what I’ve been doing during the silence.

visible mending

I mended my first pair of jeans. Yes, I know, it’s a little embarrassing that as an almost-34 year old, I have yet to mend clothes. I did try mending a hole in a pair of jeans a couple years back, but it was such an epic fail I can hardly count it. This time I used a patch cut from another pair of old holey jeans, zig zag stitched the edges to prevent fraying, and hand stitched it on with Aurifil floss. Many thanks to Dorie (@tumblingblocks on IG) for the inspiration and tips! The floss was gorgeous to work with, but I was later informed (thanks for the heads up, Sam!) that embroidery floss won’t be strong enough to hold up well as a jeans knee patch. I plan to supplement the stitching with a rainbow of perle cotton and hope for the best. At least it looks awesome, and these favorite post-partum maternity-esque jeans are ready to wear post-baby. It is so peaceful to sit and stitch while sitting next to my kiddos watching a movie. Balance, right?

skinny fabric scraps for the birds

I put my skinny strip scraps outside for the birds. I’ve never tried this before, but have seen that others save their fabric shavings to put out during nest-building season. I’ve been saving my skinnies all winter so I’m really hopeful that we see some colorful, soft nests around the yard this year!

alison glass prismatic medallion mini quilt progress

I’ve been working on my Prismatic Medallion mini quilt for my Alison Glass Mini Quilt swap partner. I’m still waiting on a few fabrics, but I’m loving the progress so far!

bean sprout foundation paper piecing pattern

I made a bit of progress on my newest foundation paper piecing pattern, Bean Sprout. Can you tell my mind is on spring?

planting seeds

We finally planted seeds. Today, April 3rd, we FINALLY got seeds into planters. It’s far too cold to plant seeds in the ground still, especially since there are still multiple feet of snow on top, but starting seeds inside is one of my favorite parts about spring. It felt so good to get dirt under my fingernails! Last year, we planted seeds in late February, so waiting until April is crazytown. This winter was just so brutal it felt wrong to plant seeds when the temperatures were in the teens and the snow just kept coming. I’m hoping the seeds still get a good enough head start to flourish once the garden is ready for them.

Back outside I go to enjoy this glorious day with my kids. The weekend forecast is for more snow (it darn well better not stick!), but I know that spring is near. Hope, balance, love. That’s what life is about!

February Goals {ALYoF}

January flew by, but somehow I managed to meet my sewing goal for the month. Now we’re on to February, an already short month. To top it off, QuiltCon is in the middle of the month and there is a TON to do before I head to Austin. I have been debating which project to choose for this month of A Lovely Year of Finishes (ALYoF) and I’ve decided NOT to choose any of my QuiltCon prep projects (just in case I have to abort mission and go to the conference without newly handmade accessories) and instead to choose Maddie’s Rainbow Jellyroll quilt as my goal. All I have left to do is square up the quilt and bind it. Sounds doable, even though I’ll most likely be working on it after I return from QuiltCon.

rainbow jellyroll quiltI quilted it with straight lines 1/4″ from each seam, in coordinating colors of Aurifil 40wt thread. I am LOVING it and clearly, so is my little helper. This quilt is for Maddie, but Max certainly had a grand old time rolling around with it during the photo shoot while Maddie was in preschool.

rainbow jellyroll quilt

rainbow jellyroll quilt

I like how the quilt lines look on the back WAY more than I thought I would. I was all worried they would look off kilter, but it looks fine to me.

I like how the quilt lines look on the back WAY more than I thought I would. I was all worried they would look off kilter, but it looks fine to me (don’t mind the fluff balls!).

my little helper in the rainbow jellyroll quilt

rainbow jellyroll quilt

rainbow jellyroll quiltI’m linking up with the February goals for ALYoF.

A Mini Sneak Peek

I finally chose the pattern I am going to use for my Schnitzel and Boo Mini Quilt swap quilt for my partner, and boy am I excited! My inspiration is a quilt I’ve been drooling over since its unveiling by Nicole at  Modern Handcraft, and I’m excited to give a go at recreating it.

modern handcraft modern hexies quilt

modern handcrafts modern hexies

As much as I was tempted to use Carolyn Friedlander’s Botanics to recreate this stunning quilt exactly, I decided to be a *little* original and use a fabric line by another one of the designers listed as a favorite of my secret partner: True Colors by Anna Maria Horner. I’ve made a little bit of slow progress.

hexagon mini quilt progress anna maria horner
I took my photo shoot outside on a cutting board, since we have yet another cloudy, overcast day and a winter storm brewing. 8-14″ of snow forecast for tonight!

At first, I wasn’t sure about these fabrics and how they would work in a modern hexies mini quilt, but once I put them together and took a photo, I’m a lot more encouraged. For some reason, when looking at the fabrics in a stack, they don’t seem to flow as well as I’d like. Looking at them arranged like so and through the eye of a camera, it definitely “works”. Woo hoo!

modern hexies anna maria horner

I ordered a small pack (100 pieces) of 1″ hexagons from Paper Pieces, but I got a little antsy waiting for them to arrive, since my charm pack of Anna Maria Horner arrived first. Rather than wait, I pulled out some card stock and printed off a page of adorable Happy Hexies by Mollie Johanson of Wild Olive. I had bookmarked these a few months back, and was thrilled to finally use them. I mean, how cute are these little guys peeking out the back!?

happy hexies by mollie johanson

Now that my Paper Pieces hexies have arrived, I can go to town on this project, but I’m so grateful for these cheerful little guys and Mollie’s free download since they allowed me to get a little head start on the mini. Hopefully, we will see this cute little stack of hexagons grow and grow and GROW over the next couple weeks!rainbow stack of hexagons


I’m linking up with Lee’s Work in Progress Wednesday at Freshly Pieced.

Works in Progress: Star Crazy & Baby Plus, Take 2

Most of my sewing projects fall into two main categories: gifts for friends and family, or a new pattern that needs to get out of my head and into reality. This past week, I’ve been working on projects that don’t fall into either of those categories!

Star Crazy Quilt

Many months ago, I did something crazy. I started a quilt just for me! I made some progress on the quilt, and then it got tucked away in a corner for a good long time. This past week, I pulled it out again and made some more progress. My Star Crazy quilt is slowly coming together, and I love it!

star crazy quilt progress

A few months ago, I made the decision to leave grey fabrics out of the “light” sides of these blocks, but noticed that some of my “lights” still read pretty dark. One of the quilters I follow on IG posted about checking fabric values by turning a photo black and white (if it was you, please let me know so I can give you credit!). Trying this method, you can see that some of my “lights” are indeed quite dark.

star crazy value txt
Note how the light star on the right is noticeably darker than the star on the left.

I’m going to aim to group the darker ones together so that each star is all one value. In making more blocks for this quilt, I’ve also decided that I’m going to be okay if two of the same turquoise prints are next to each other. These are little design details that have been holding me back from forging ahead with this quilt, so I feel a bit relieved that I’ve made the executive decision to let go of avoiding turquoise samesies and aim to match the “dark” lights. Onward with the star crazy!

Baby Plus Quilt, Take 2

I couldn’t help it; I started another Baby Plus Quilt. I had so much fun putting together my Pink & Grey Baby Plus Quilt that I immediately pulled fabric for a second one the day I sent the pink & grey top off for quilting.

fabric pull for baby plus quilt
from @nightquilter on Instagram

The butterfly & flower print was the inspiration piece for this version, and I opted for mostly solids or blenders as my accompanying fabrics. Amazingly, this entire pull was from my stash! After spending a couple hours cutting and playing with layout, I’ve finally begun to sew the rows together. Four (4) down, seven (7) to go.

baby plus quilt 2

Design Wall

One last important work in progress from this past week is the final acquisition of a design wall that actually works! You may remember my old design wall (read: epic fail), which I built out of carefully framed 2″x2″ wooden boards, complete with a cross-support beam, and wrapped with white felt. The amount of work that went into building that design wall was inversely proportional to how well it held quilt blocks. In other words, blocks wouldn’t stay on that design wall for more than 2 seconds. I learned from that experience, and this time I bought a $2.99 vinyl tablecloth with a flannel back. The lightest color our local Reny’s had was bright pink, but I realllly wanted to get something to use as a design wall so I bought it. It works SO AMAZINGLY WELL! I apologize for the internet “shouting”, but I am absolutely floored at how well quilt blocks–both solid fabric and already-pieced–stick to that table cloth! It is amazing. Ugly as sin, but amazing!

design wall loaded
My cheapo design wall, weighed down with WiPs. It works SO well!

I’m linking up with Lee at Freshly Pieced’s Work in Progress Wednesday.

WIP Wednesday

Guild Envy & Modern Block of the Month Progress

I’ve never been to a quilt guild meeting. There, I’ve said it. The nearest Modern Quilt Guild is the Maine Modern Quilt Guild (MMQG), and they meet over 2 hours away. With two little kids, it’s not really possible for me to meet with them with any kind of regularity. There’s another local, traditional quilt guild about 30 minutes away, and I hope to attend some of their meetings, but I just haven’t been able to make it work yet.

I read and hear so much about the fun projects people do at Modern Quilt Guild meetings: the new skills learned, the opportunities to be a part of a charity quilt or MQG contest, the tricks and tips shared, and I very much want to be a part of that! So far, though, I’ve only been participating from afar, via email as much as I can. That will have to do for now. You, my blogospheric quilter buddies, are my quilt guild–so thank you!

One MMQG activity I have joined is their Block of the Month.

BOM progress modern quilt block
My MMQG BOM progress so far.

Because I’m not able to attend meetings, I think I’m already behind simply because I don’t know what the September blocks are yet. I think most of the blocks are coming from Tula Pink’s City Sampler: 100 Modern Quilt Blocks, and sadly I do not yet own the book. I was sent the patterns for these blocks over the summer and I’m eager to make some more. (Amazon affiliate link above, fyi)

This MMQG BOM quilt will consist of 36 blocks, and the layout is slowly taking shape in my mind. Nothing is set by any stretch, but I’m combining my love of grey as a background color with my infatuation with rainbow gradient. Each block will consist of one main color and a shade of grey. After seeing these blocks, I think I may switch it up a bit and have some of my future blocks have the rainbow color on the outer portion with the grey in the center. Here’s what I’ve completed so far:

tula pink block 83 modern quilt
Tula block No. 83
tula pink block 57 modern quilt
Tula block No. 57
tula pink block 97 modern quilt
Tula block No. 97
tula pink block 33 modern quilt
Tula block No. 33
tula pink block 65 modern quilt
Tula block No. 65

I definitely have come to love creating these blocks. I was hesitant at taking on a new project, especially one that I would be joining from afar when everyone else in the guild would be quilting along and sharing progress. After making these first five adorable (they finish at 6″x6″) blocks, I’m hooked. And I’m excited to see how my color choices grow and build as I get more experienced with these little modern blocks. The final one I made is definitely my favorite.

tula pink block 65 modern quiltI think my next step is to buy the 100 Modern Quilt Blocks book so that I can find out what number blocks are next! I’m glad I decided to take on *just one more* project, since these 6″ blocks are a great little break from other larger projects, and I don’t have to think too hard about design just yet. The blocks look so tiny on the side of our shed now, but I’m eager to see them grow!

tula pink modern quilt block
Tiny little blocks

Have you made any Tula Pink’s City Sampler quilt blocks? I’d love to see them, and the color design and layout you chose! Please link to your projects in the comments.