

I’ve long been a fan of the Summer Sampler Sew Along put together by Lee Heinrich, Katie Blakesley, and Faith Jones each summer, so when Katie asked me if I would be a “guest expert” for her 2022 Summer Quilt Along, I couldn’t say no. Plus, what a great spark to get me writing here again!
I used my Summer Sampler 2019 quilt top as my example quilt for this post, which I assembled in my own alternate layout to create space for me to participate in the fun of the sew along without the stress of “keeping up” and making every block. You can see (or buy) this year’s sampler here. If you’re participating in this year’s Sew Along, you might be at the point where you are almost ready to photograph your finished quilt top!! If you’re not there yet, no worries–these tips are timeless. Just bookmark this post, and come back when you’re ready.
I could easily talk for weeks about quilt photography, but wanted to share two of my top tips for photographing your quilts (or quilt tops!) since sometimes a little bit can go a long way. If you want to dive into quilt photography more deeply, be sure to check out my on-demand class Take Great Quilt Photos Now!
Light
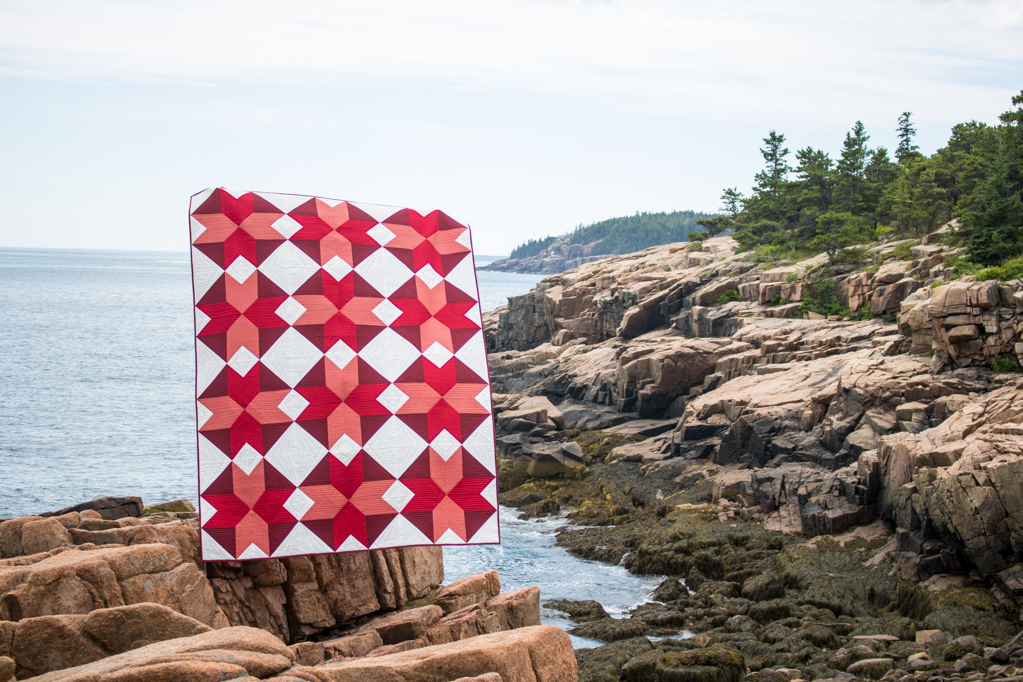
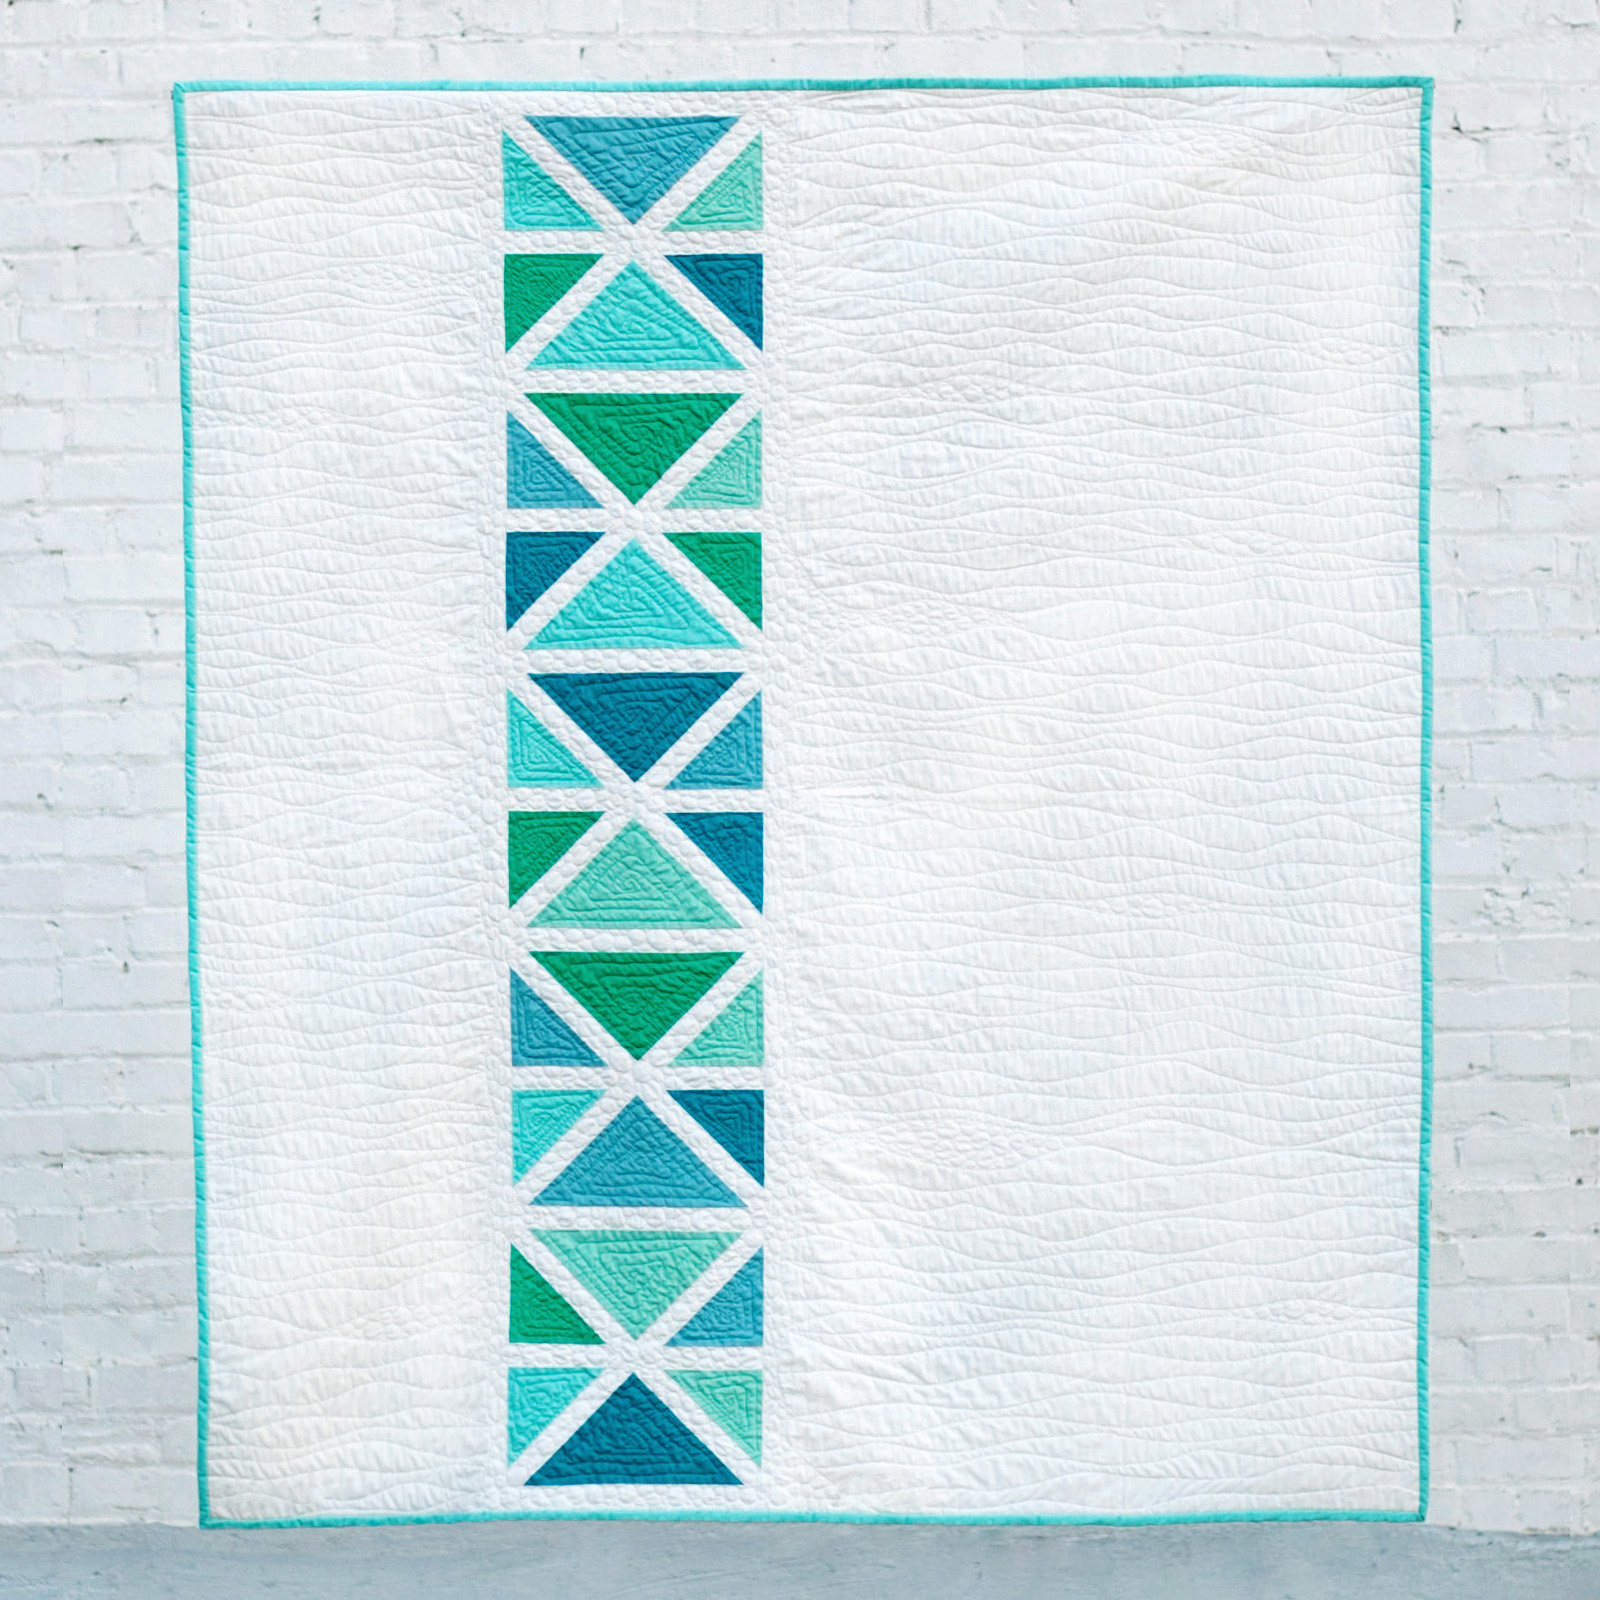
First and foremost, LIGHT is the most important thing to consider when taking photos. I’m a big fan of capturing natural light, so I almost always take larger quilts outside for photos. In addition to having abundant natural light outside, there are gorgeous natural locations that help complement and celebrate the quilt being photographed and it’s wicked fun to find them!
That said, a bright overcast day provides the ideal lighting for photography. That’s right–overcast. I can’t tell you how many times I’ve heard someone say, “I finished my quilt but I haven’t been able to take any photos because the sun hasn’t been out!” You don’t want direct sun for photos, and I’ll show you why:
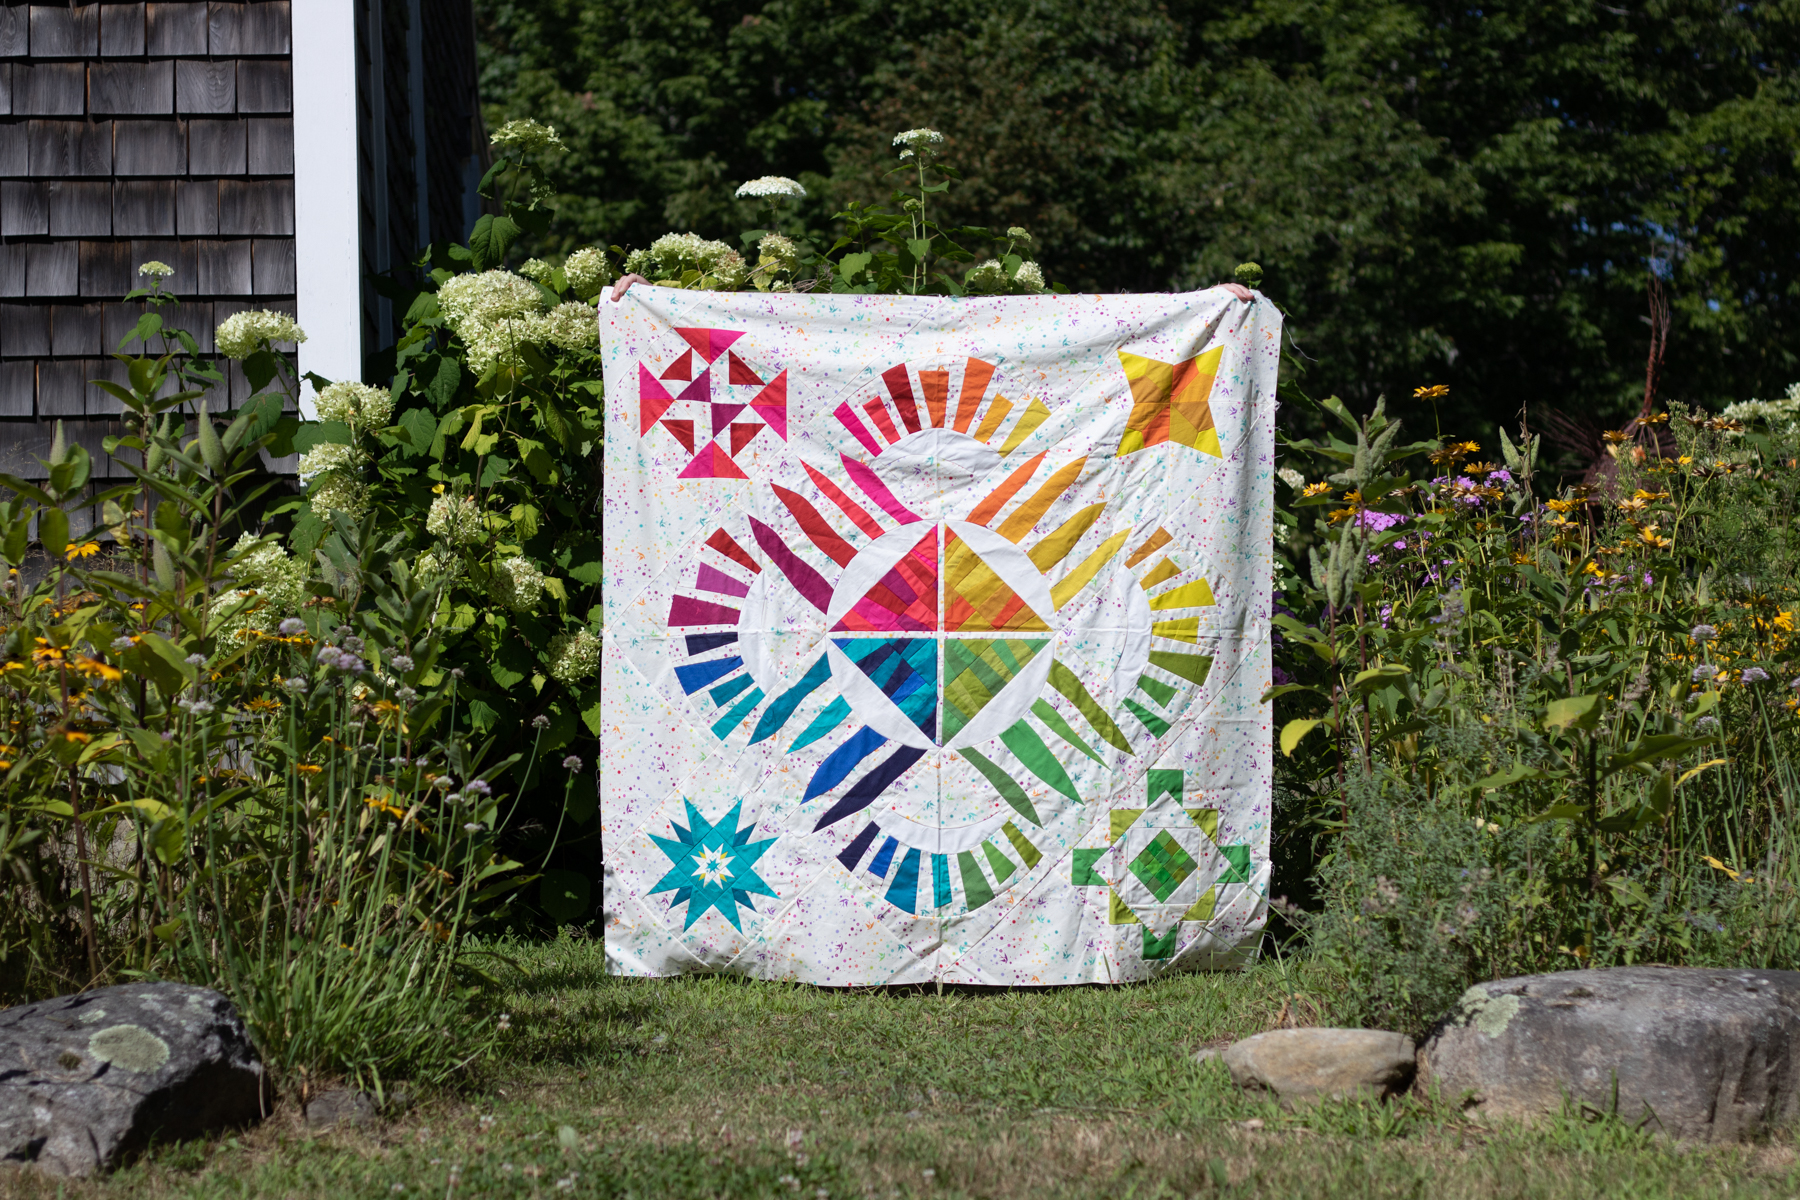

As you can hopefully clearly see in the photos above, the quilt photographed in the full shade/overcast day is the most accurate, vibrant representation of the fabrics and colors in the quilt.
Bright direct sunlight washes out colors and creates dark harsh shadows in every little wrinkle or wave of the quilt. When you’re photographing a finished, fully quilted quilt, you can imagine the shadows that are created along every stitch line. If you have the flexibility to wait until an overcast day, I strongly recommend you do that for your next quilt photos. If you live in a place that rarely has clouds, taking photos early in the morning or right before dusk will be your best bet!
Clear Communication
Photographing a finished quilt often requires a quilt holder, and I’ve often heard questions about how to “get your quilt holder to….” do any number of things. The answer is a tool that will take you far in every relationship, even beyond the relationship of you as quilt-maker/photographer and your quilt holder: clear communication.
BEFORE you head out to the gorgeous location you’ve chosen for quilt photos, have a solid conversation with your quilt holder about your hopes and expectations for the photos and quilt display. Especially if your quilt holder is not a quilter themselves, taking the time to clearly show and explain how you want them to hold the quilt will make the actual photography much much smoother.
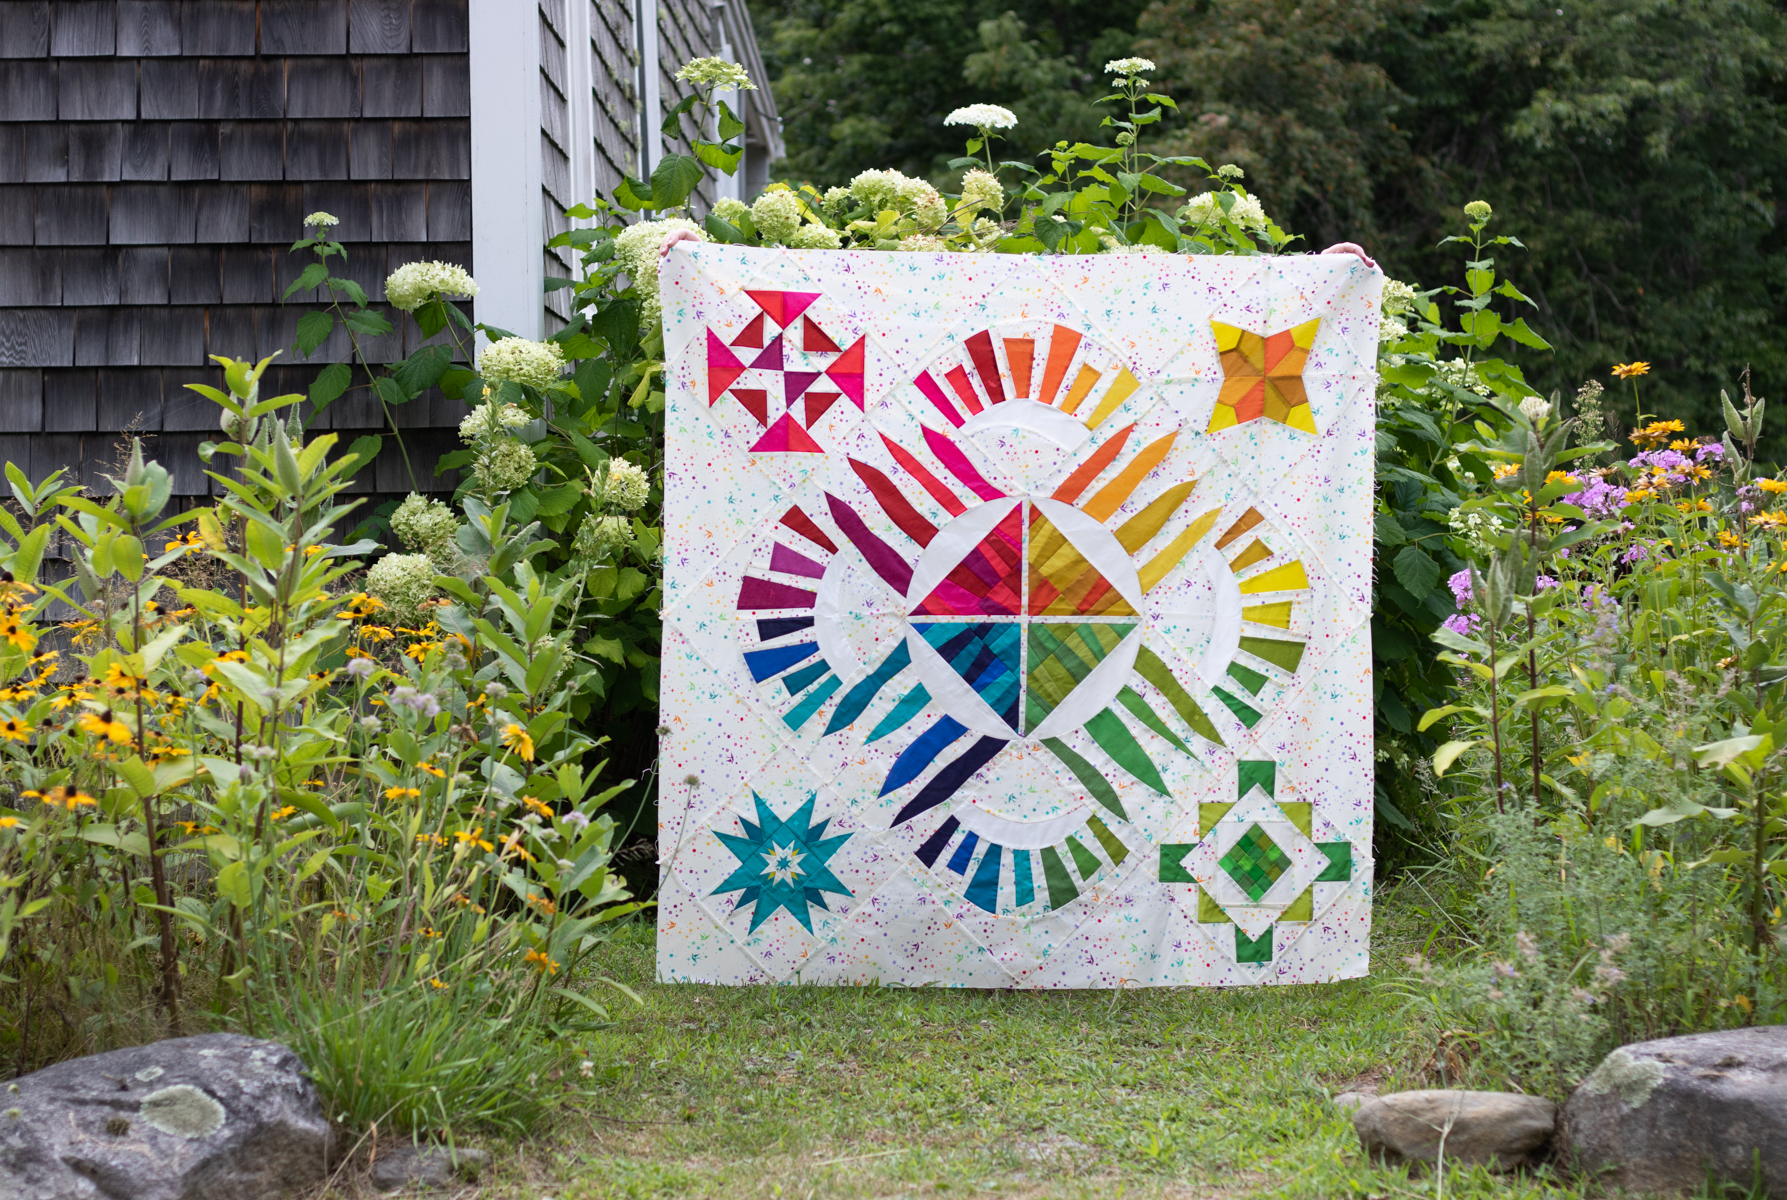
Personally, when I’m taking quilt photos, I want to see as little of the holder as possible. My partner Garrett is my usual quilt holder, and he knows that I don’t want to see him (hah!). For these photos, my friend Allie aka Exhausted Octopus stood in as my quilt holder, and did a great job being invisible behind the winner photo (above). You can see her fingers a bit along the top edges, but that’s it.
I am a big fan of saying yes and talking about what you CAN do, but I think for this, it might be easiest to show you a bunch of commonly seen photo scenarios, with what not to do, and things you can communicate to your quilt holder BEFORE the photoshoot (in a kind and supportive way, of course!) Please note that everyone’s definition of a good quilt photo is different–so if you enjoy using any of these photo styles, that’s ok! This is just based on my own personal preferences when taking photos of quilts in beautiful locations.
What not to do…

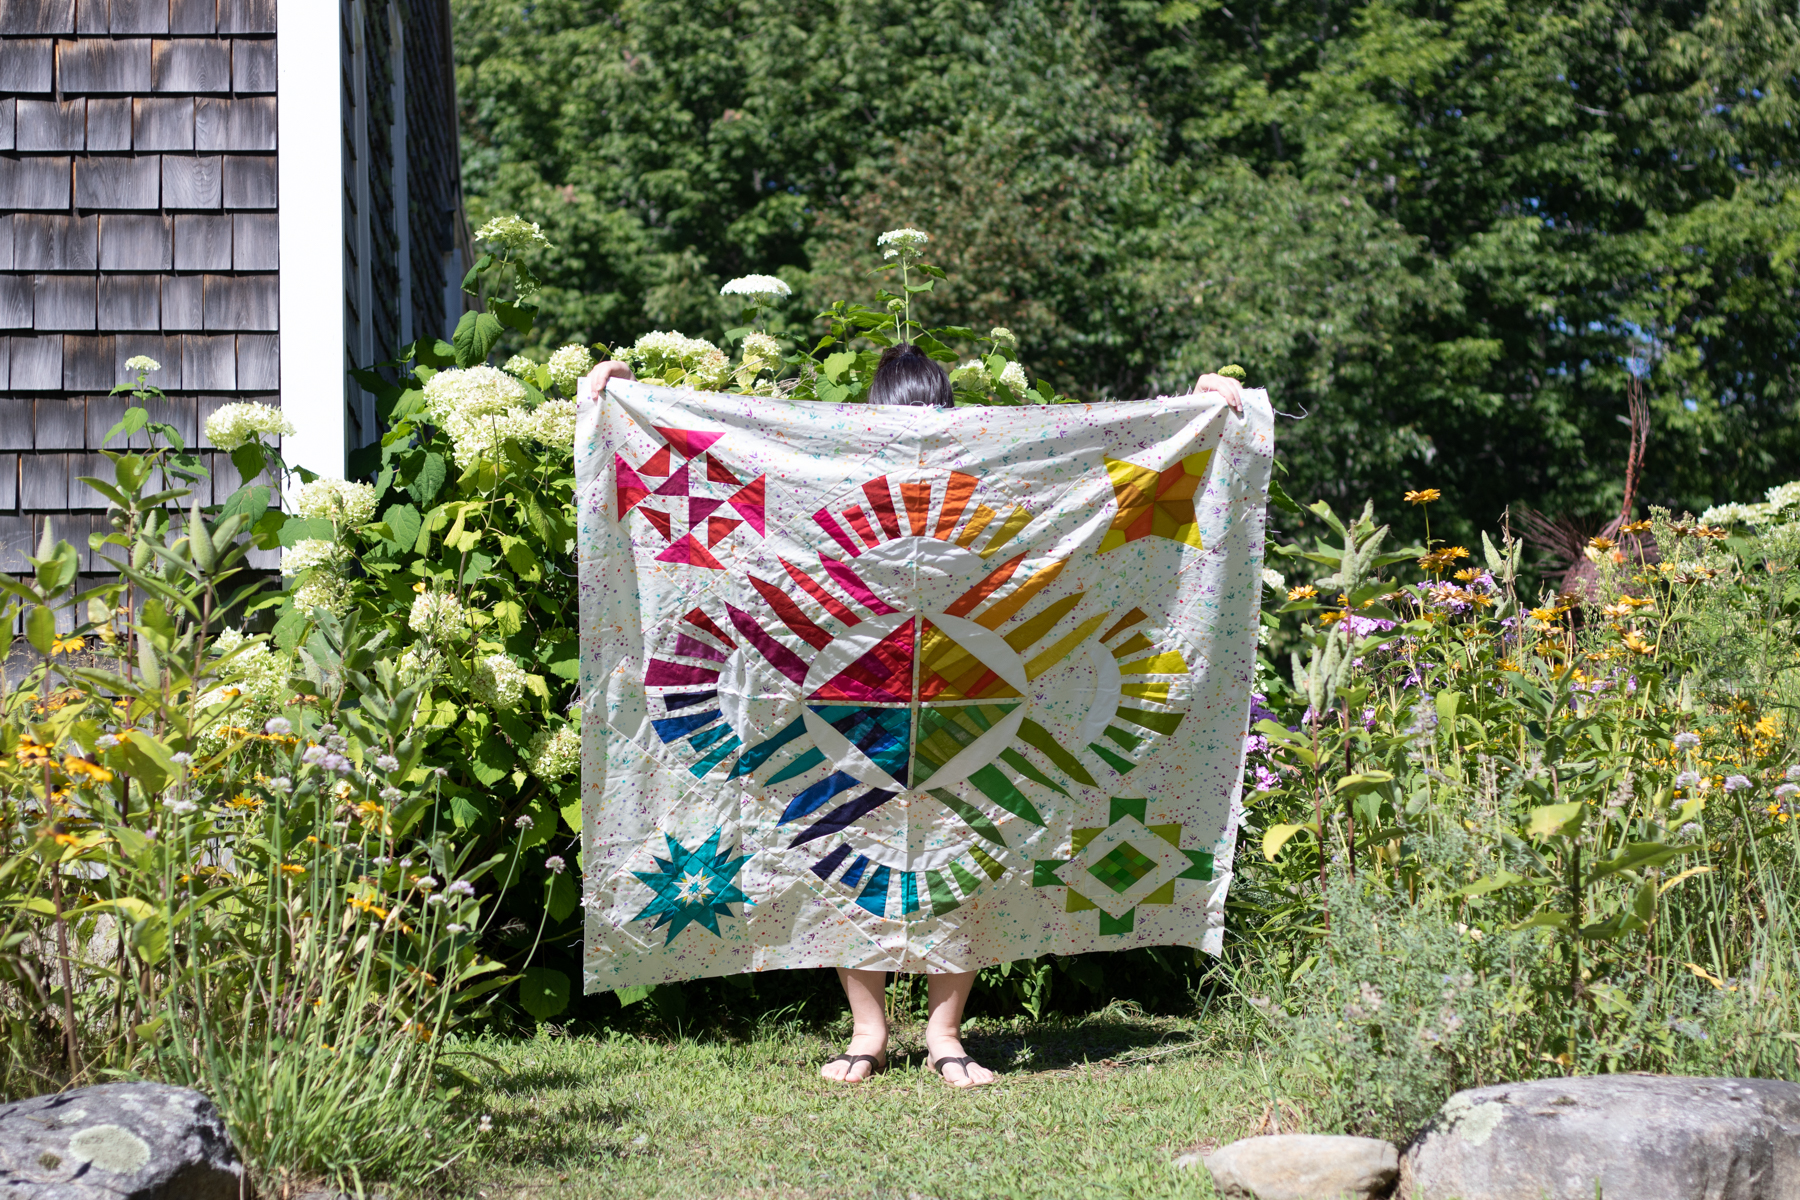
I DON’T want to see your legs.

I DON’T want to see your head or arms.
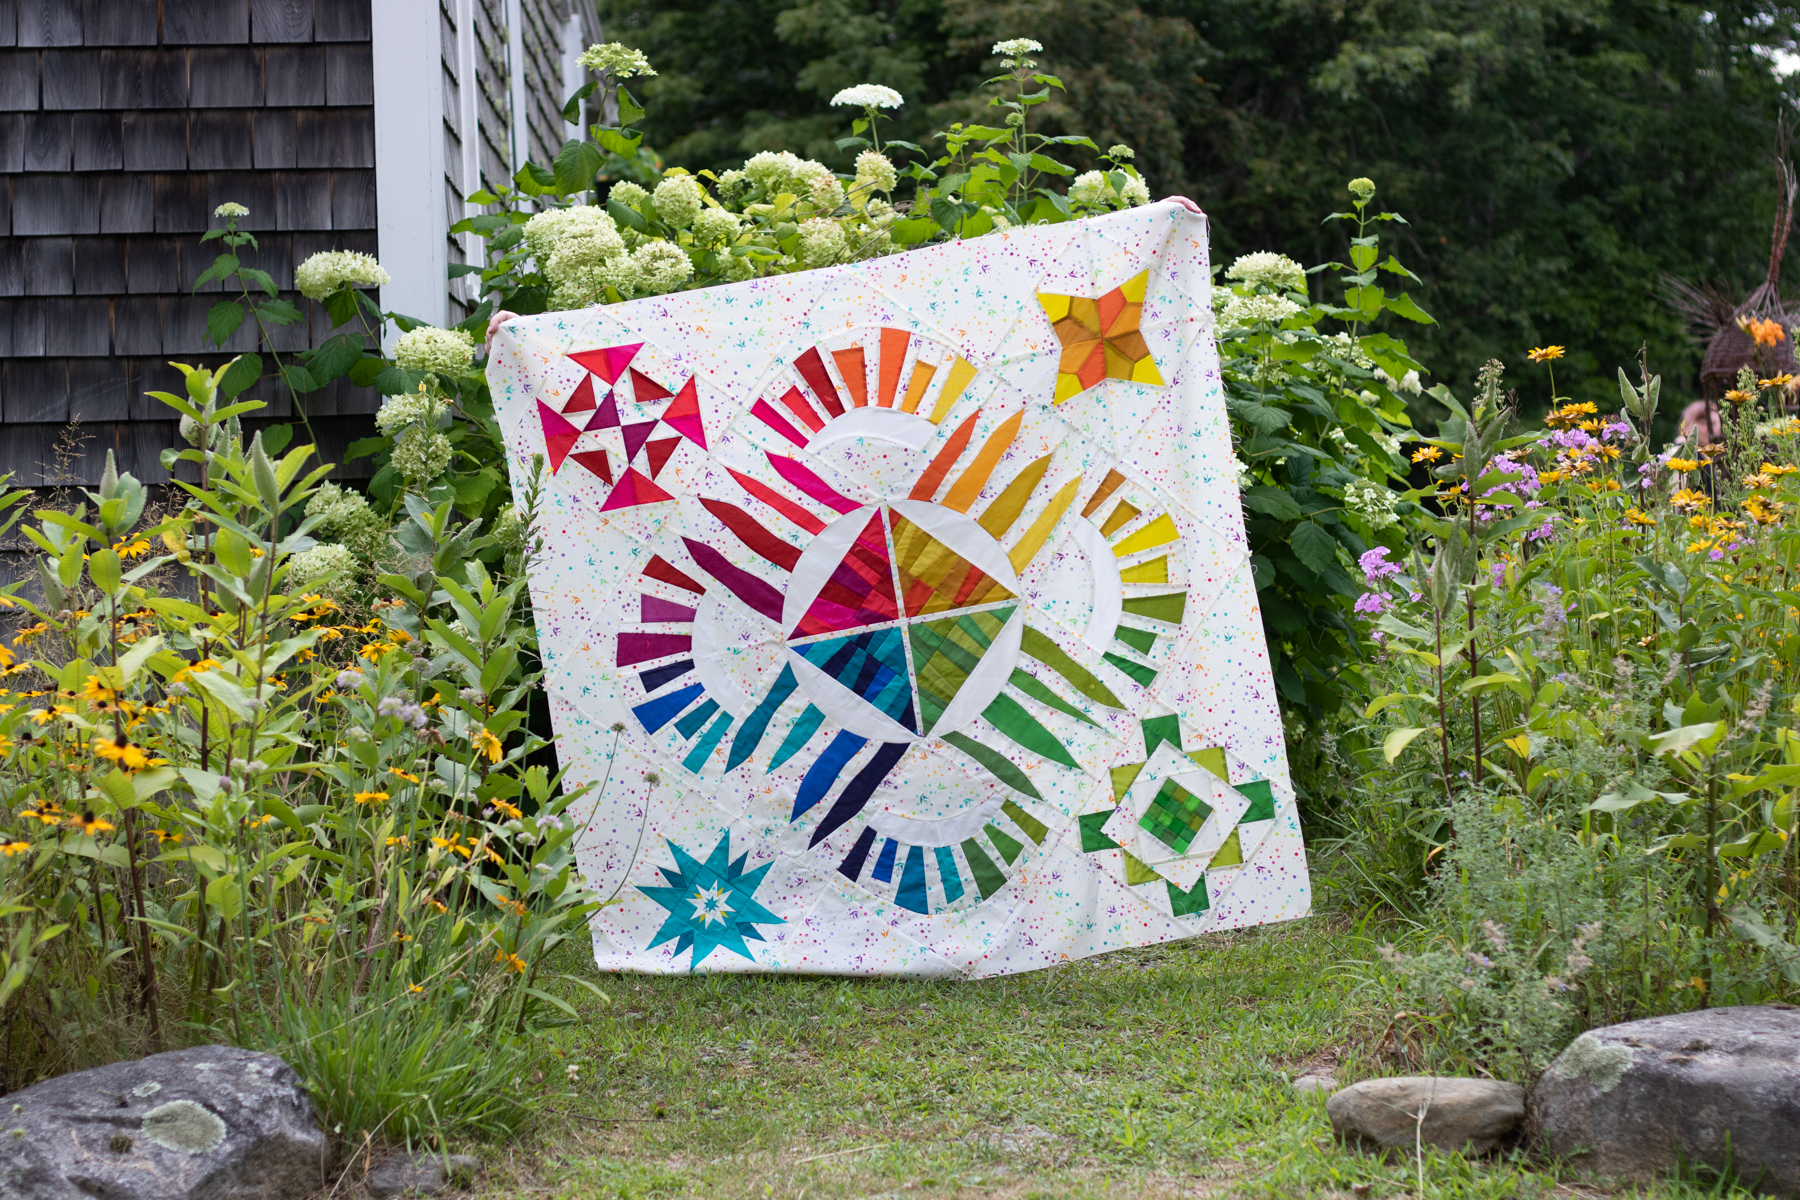
I DON’T want the quilt to be crooked. This is something that is sometimes difficult for the quilt holder to perceive while standing behind the quilt with their arms extended, so you can use an “in the field” communication code when actively taking photos. I will say “level!” and my quilt holder will level the top of the quilt, and I’ll either reply with “other way!” if they angle it more, or “good!” when it’s perfectly level and I’m ready to take the photo.

I DON’T want the corners of the quilt to fold over–I want to see the full quilt if at all possible. This is something that is easily attained with hand placement when holding. When the quilt holder grips the quilt right inside each corner, it allows the quilt to be fully displayed and still have the actual corners visible. Note that some quilts are just too large to hold, in which case I’ll bring two quilt holders along–and sometimes chairs for them to stand on–so that one can hold each corner.

I don’t want there to be a sag along the top of the quilt. Before photoshoots I’m always sure to establish that if I say “taught!” when my quilt holder is holding the quilt, that means that there is a slight sag at the top of the quilt and they need to gently pull their hands away from each other a bit to tighten it up.
Code words often shouted from photographer to quilt holder include:
Taught! (to straighten the top of the quilt)
Level!… other way! …. good!
Head/arms/feet (if they are showing)
Break! (if I’m changing settings on my camera, I make sure to tell my quilt holder so that they can rest their arms!)
The conversations that happen before the photoshoot are absolute gold, and can make the process more enjoyable for everyone. As with everything, the more you practice the quilt holding, the communicating about it, and the photography of quilts in unique and gorgeous locations, the easier it will get. You’ll build a relationship with a quilt holder who knows exactly how you like your quilts to be held for photos AND you get gorgeous quilt photos that show off the full glory of your quilt without any distracting bits. If that’s not a win-win-win, I don’t know what is.
I hope these tips are helpful to you and you enjoy documenting your gorgeous makes in stunning locations. You take so much time and put so much love into making the quilt top, taking a gorgeous photo to document it is absolutely worth it! I go into much more detail in my on-demand class Take Great Quilt Photos Now! so check that out.

Also be sure to check out all of the other great tips shared by the other Guest Experts–you can see all of the Sew Along posts here and there are tips ranging from fabric selection to organizing your sewing space. Many thanks to Katie for inviting me to be a part of this, and happy sewing everyone!

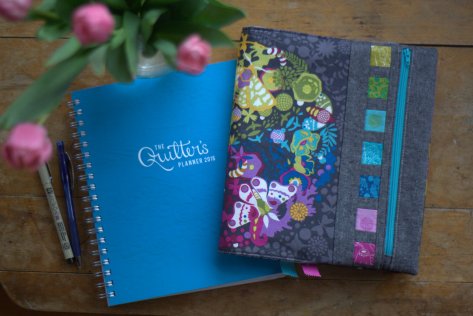
 Once again I was honored to have the task of doing the quilt photography for the
  This year, we were definitely a lot more relaxed and peaceful during the photoshoots, which I’m sure Garrett appreciated!
 With projects photographed all through Maine, next year’s planner is sure to inspire, and if you haven’t ordered yours yet, I definitely recommend doing so! As an added bonus (and added irons on the fire) I also contributed a pattern to the
 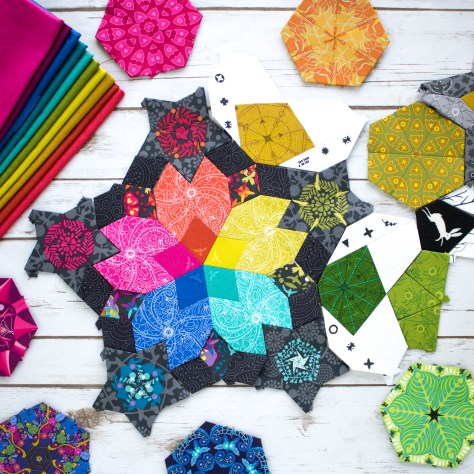 Perhaps the most exciting and monumental project I tackled over the course of the summer was the design of my very first English Paper Piecing pattern with
  Perfect for both beginner and experienced EPPers alike, Pollinate is a diverse pattern that has endless possibilities for design and color play. Plus, the “filler” sections look like bees!! You can see the many different Pollinate quilts taking shape on Instagram by checking out the
  This summer I was honored to work with
 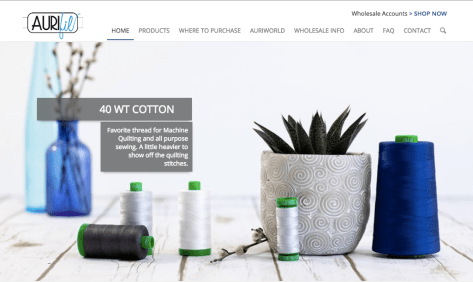 I photographed all 9 different weights of thread offered by Aurifil in a variety of stagings, and truly enjoyed the process. You can scroll through the photos on the top of the Aurifil Thread website to see a selection of my photos, and I’ve included a couple of my favorites here. There’s also a fun interview with me on the
 This summer I also tackled the
  I’m excited to be one of the
 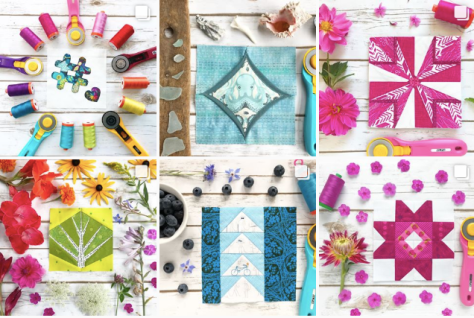 Here is a screenshot showing some of the blocks I’ve made so far. You can see all of them on
 This year is especially exciting since I will be co-teaching four classes with my awesome friend and colleague
  I’ll also be giving a lecture on Quilts to Mark Milestones on Sunday morning, during which I’ll talk all about my
  I’m triple excited since I *just* managed to finish my Summer Adventure Quilt flimsy, so it will be traveling to Pasadena with me! Those of you attending my lecture will be able to see it in real life! I’ll share one quick photo here now, but will write much more about it upon my return. This quilt is quite special to me, and I can’t tell you how great it feels to have the quilt top together!
 Every year, my dear friend Yvonne hosts a
 Paired with making an improv tree block before every hike, as well as other blocks to represent other summer adventures, my summer was pretty much filled with the Summer Adventure Quilt and all of the family adventures that went with it. I call that a win.
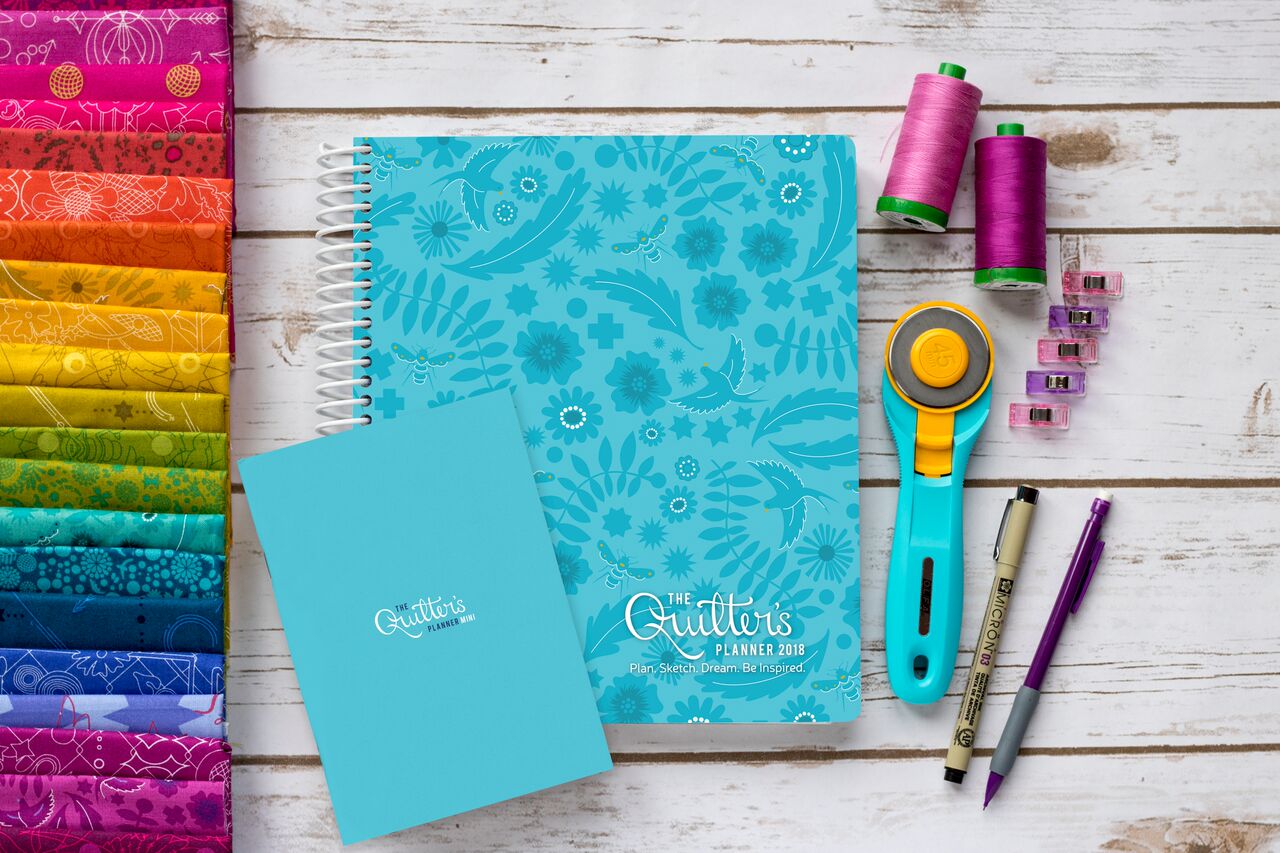 I also did a lot of work for the
  I chose 3 main goals, and then listed a few steps that would help me achieve each goal. Here they are:
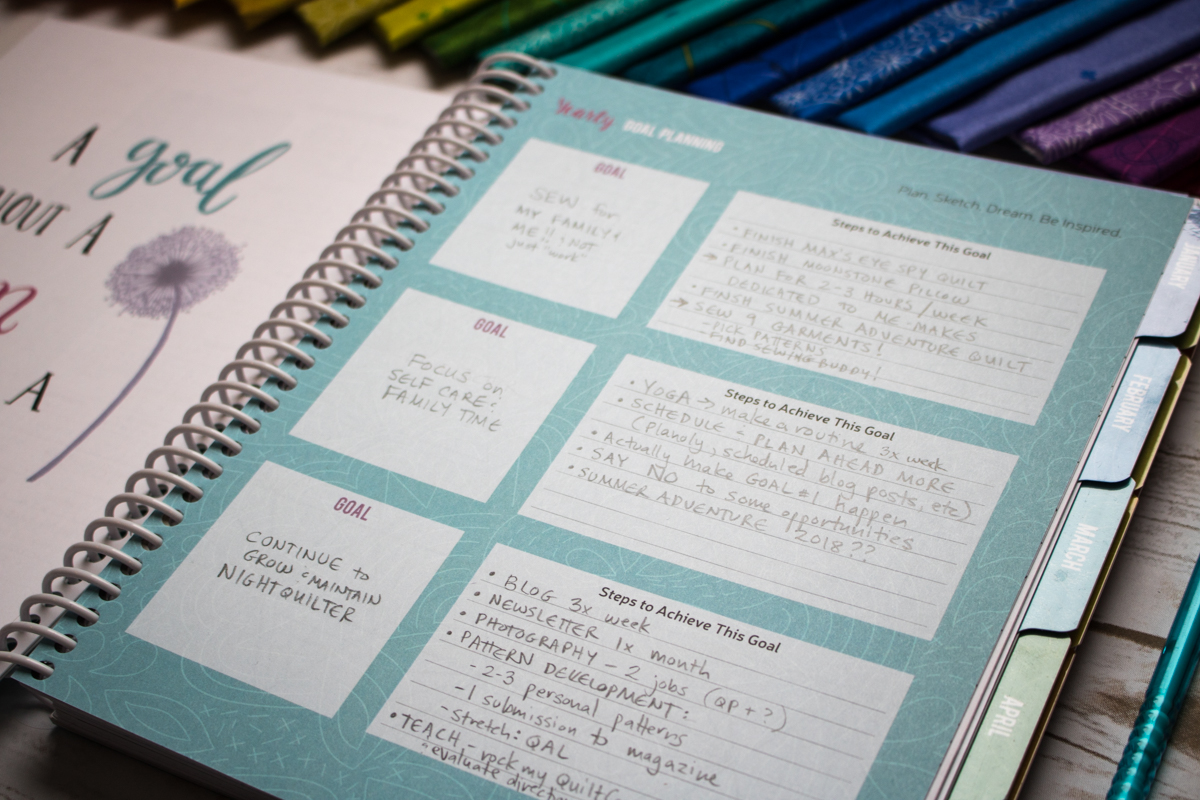 So there you have it. My goals for 2018 are laid out and in public. They now are real, even if they are still written in pencil in my planner.

 My husband has been requesting a pillow made with
 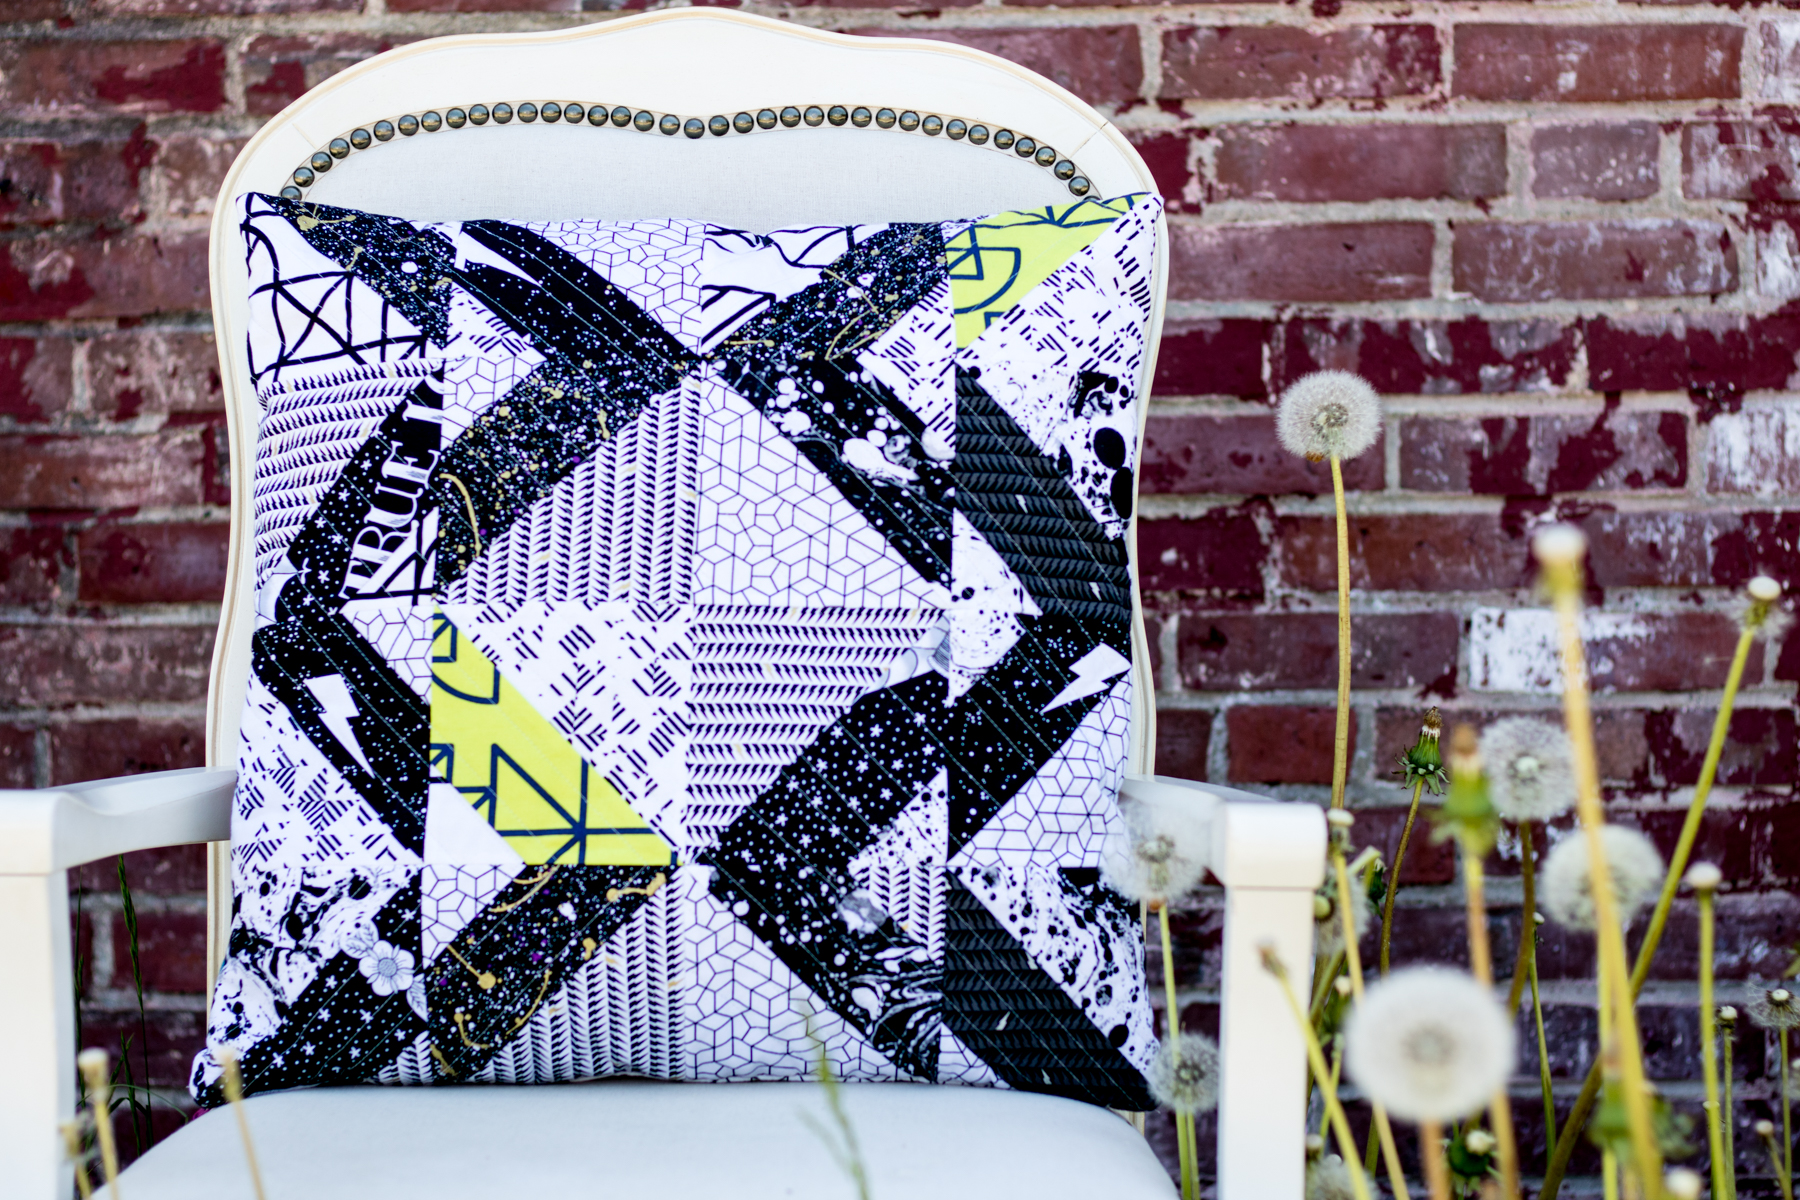 I made 16 quick blocks using the white heavy fabrics and black-heavy fabrics from
  I quilted it with straight lines on my Bernina 560 using my walking foot and 50wt
 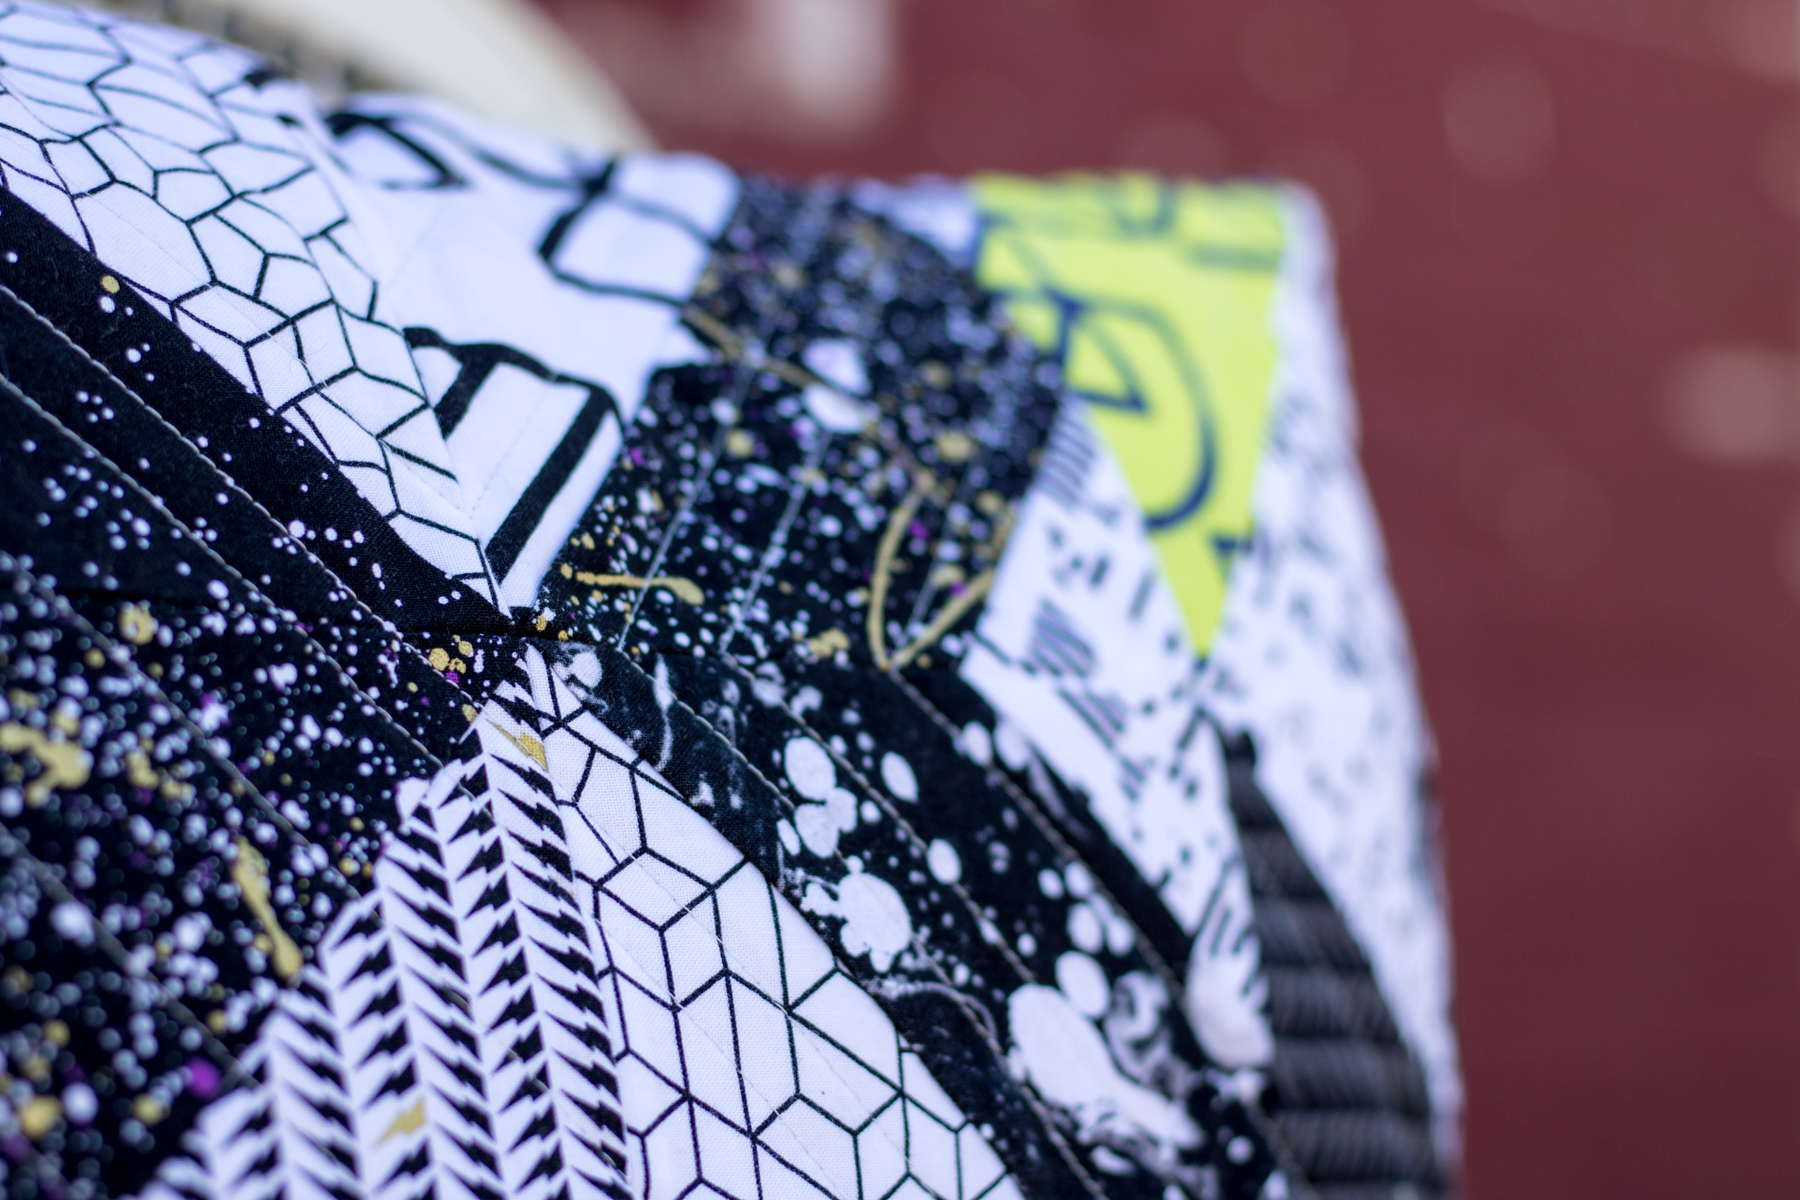 I threw in a few sharp angles to help keep the edge, and staggered the distances between lines for some fun.
 I used the large scale Wound Up in Bright for the pillow backing, and closed it with my first ever side-seam zipper.
 I love how this magenta zipper I had on hand coordinates with the pink from the Wound Up print. Perrrrfect. I do need quite a bit of practice with sewing zippers, but we won’t focus on the wobbles and such. The pillow was well received and lives happily on our couch. Now I just need to make about 5 more to cover the rest of our *cough-cough-ugly-cough* couch pillows, and then redo our living room decor to match our more modern design aesthetic. All in good time, right? (haha laugh with me here).
 I did enjoy making this pillow, though, and I’m happy I can finally say I’ve sewn something for my husband. Today is our 10th wedding anniversary, too, so it seems fitting that I share this true love pillow gift!
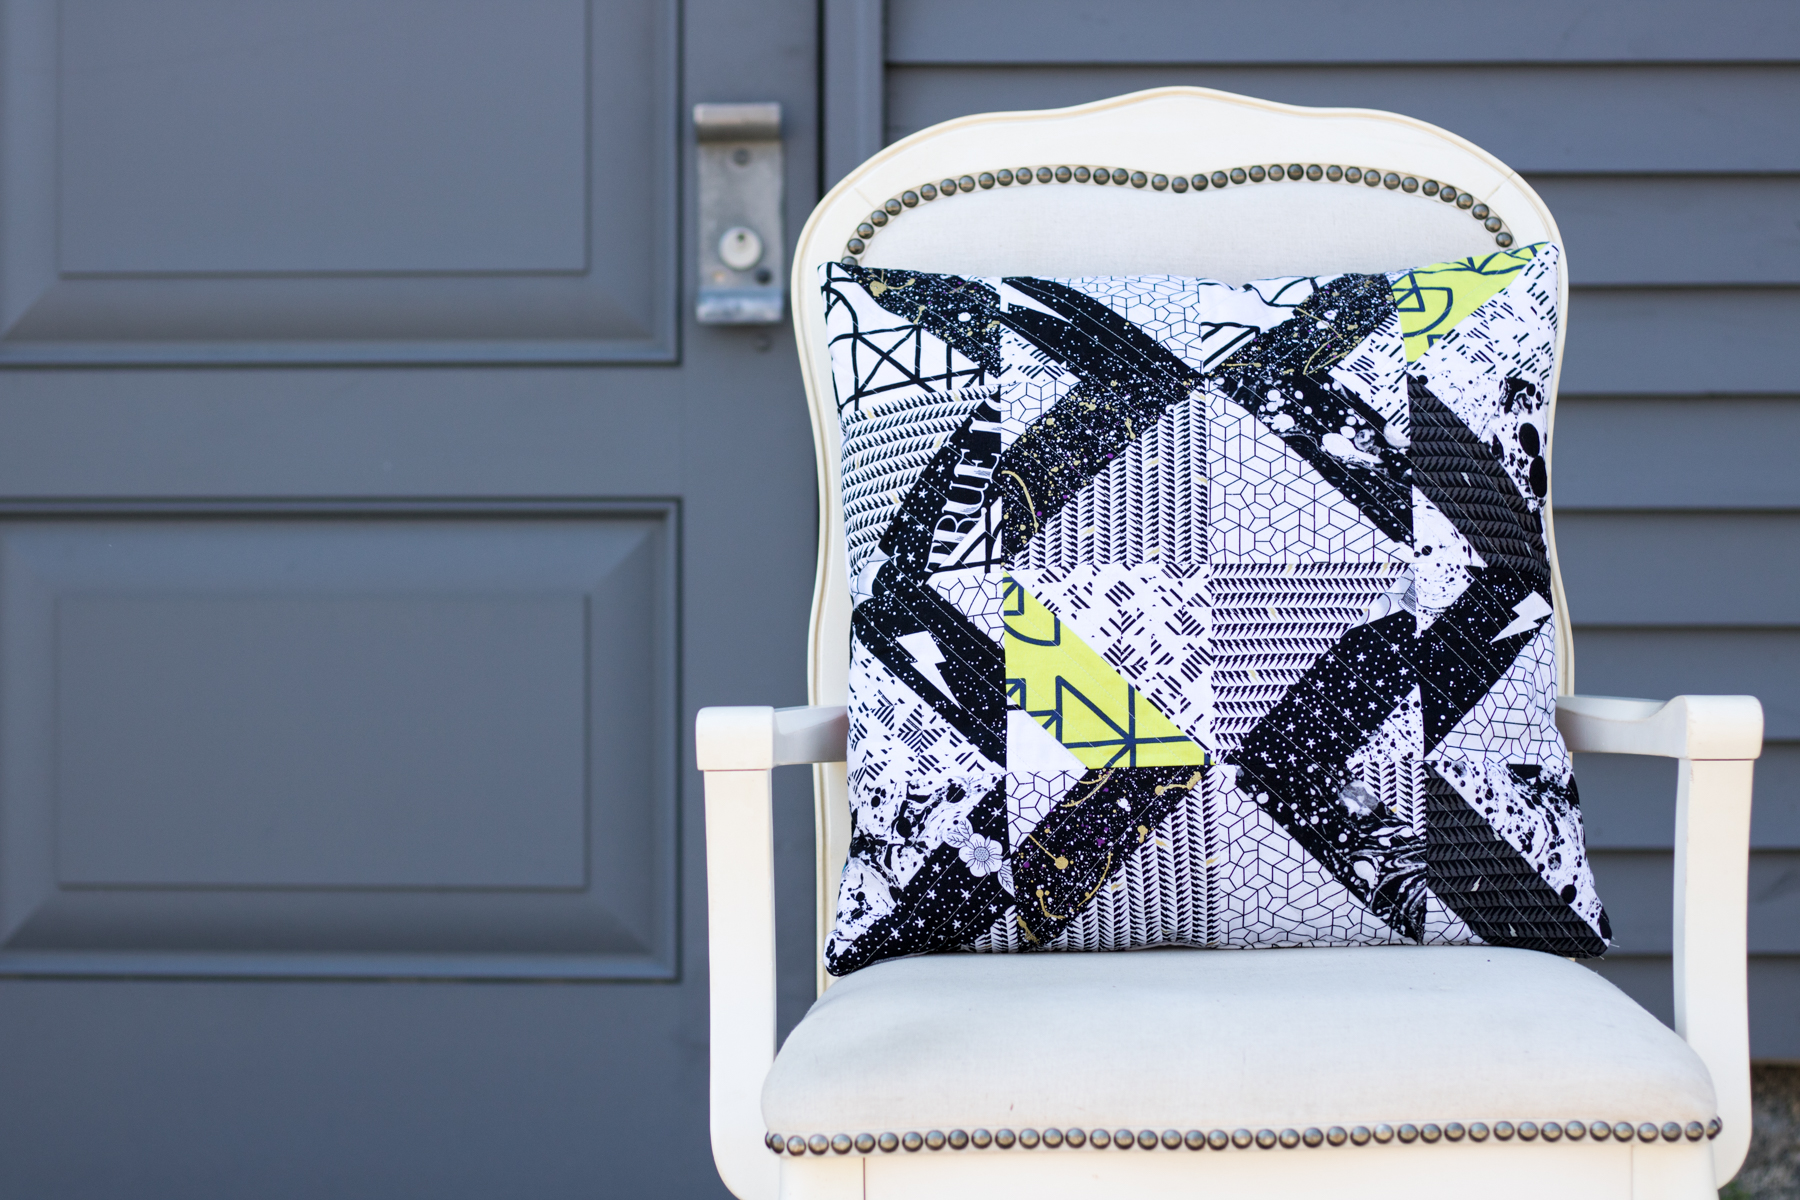 The first spot that seemed like it could potentially work was the shaded side of a cafe. The dark blue-grey surface first attracted my attention, and the fact that it was in full shade was a big plus. However, it seemed flat. Above you can see try #1. I did a full photo shoot here, just in case I didn’t find anything better. Fortunately my nearly 5 year old son was asleep in the car, and my 2 year old was content to watch from his carseat. After the shoot, I drove around a bit more seeing if I could find a better spot.
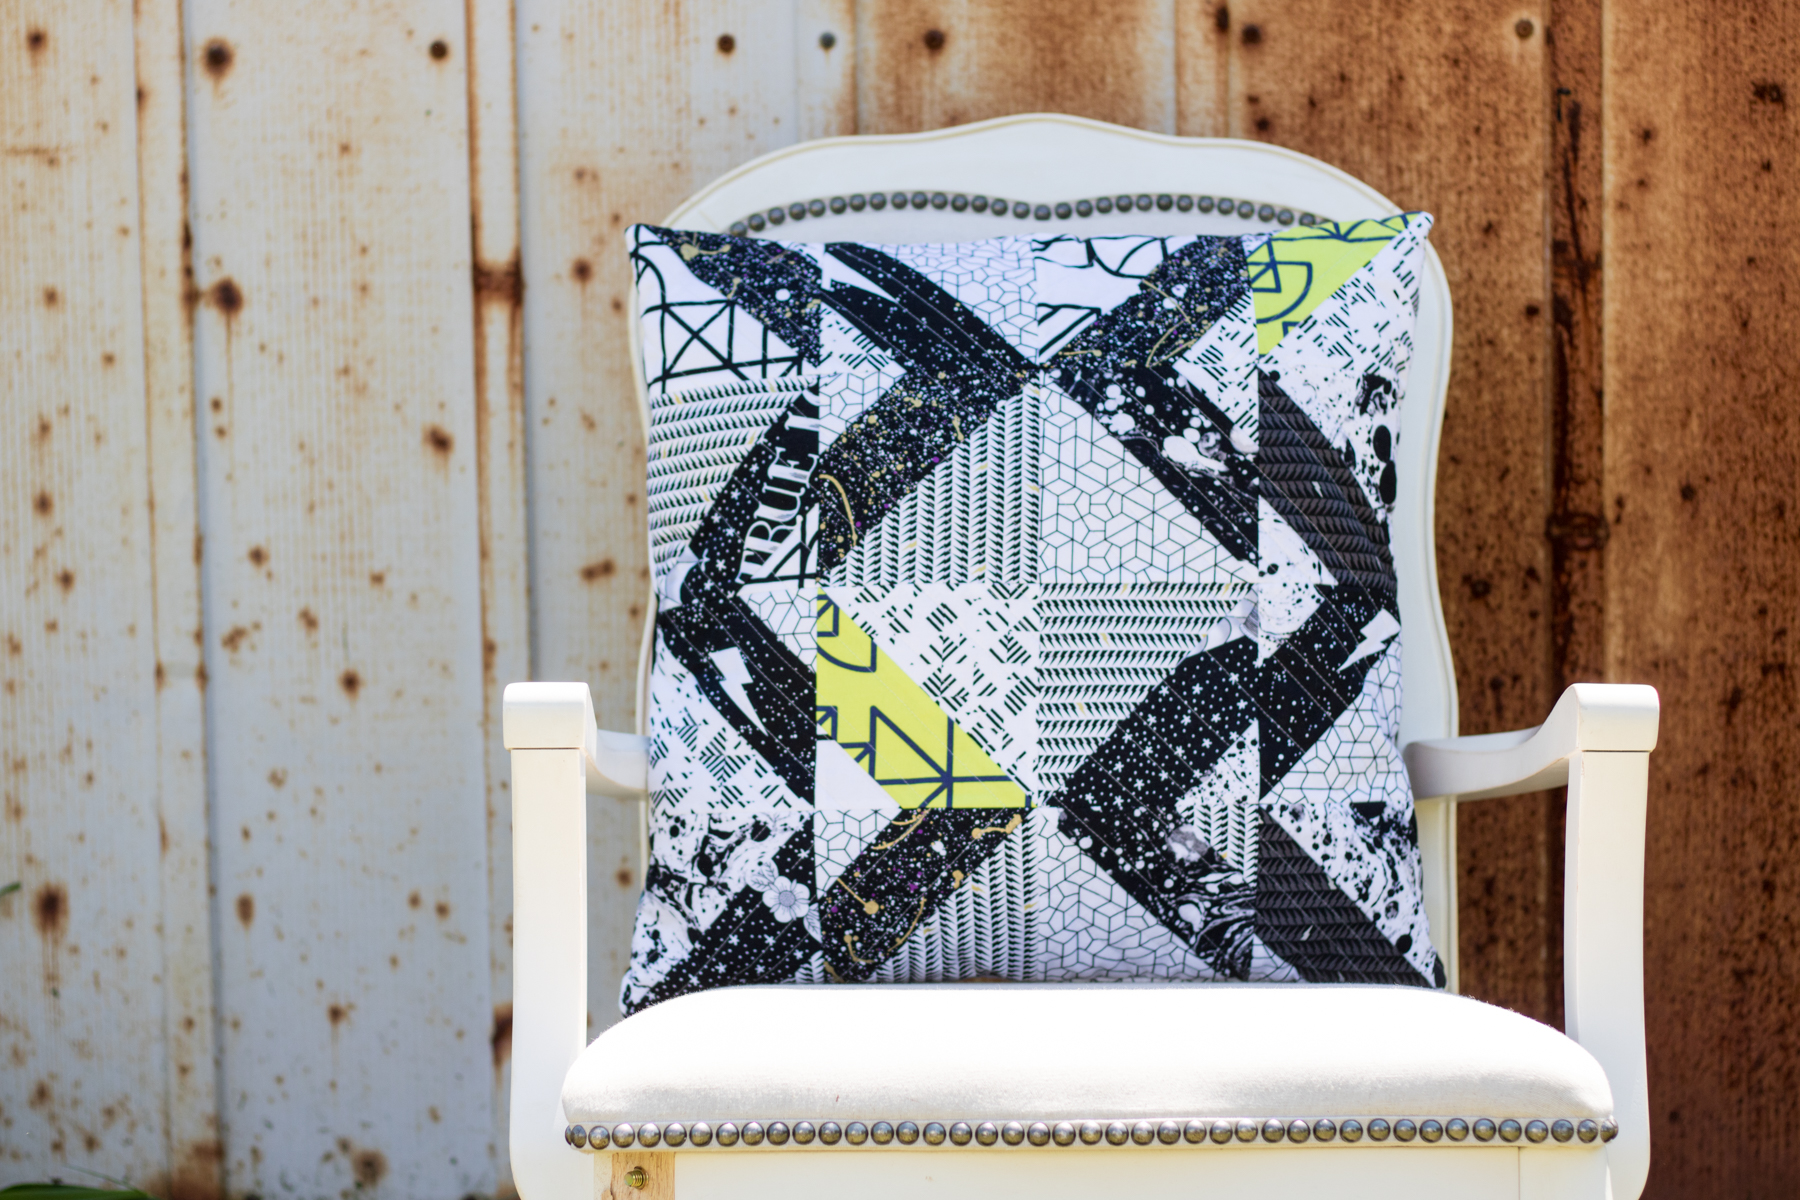 The second spot I tried was a rusted metal shed in a back parking lot, which I spied while turning around to get back to the main road after my first attempt. This was a bit more of the urban feel I was looking for, but still a bit flat. A bit of graffiti or added interest would have made this potentially a winner, but still, I felt there had to be a better spot. While running back and forth from the shed to the trunk of my car, I spotted the back of a red brick building. The big concrete slabs and tall seeded dandelions are what attracted my attention most. Rather than move my car again, I simply carried everything the extra 50 feet to this next, winning location and had at it!
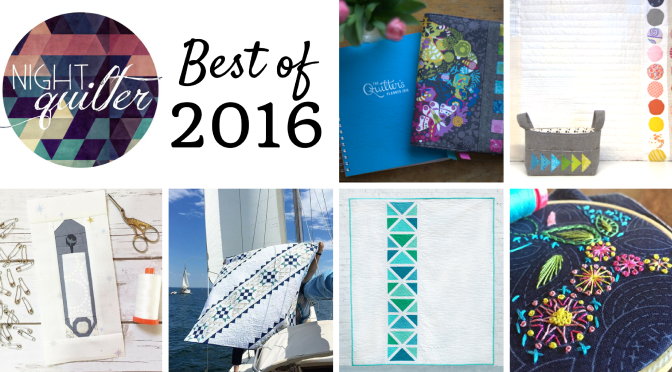
 Once again, Cheryl from

 I was also one of seven quilt designers to launch
  Since I love Instagram so, I would be remiss if I did not share my top viewed posts there as well. This collection is a fun one, including lots of posts about my stress-free stitch-wherever-the-wind-blows
 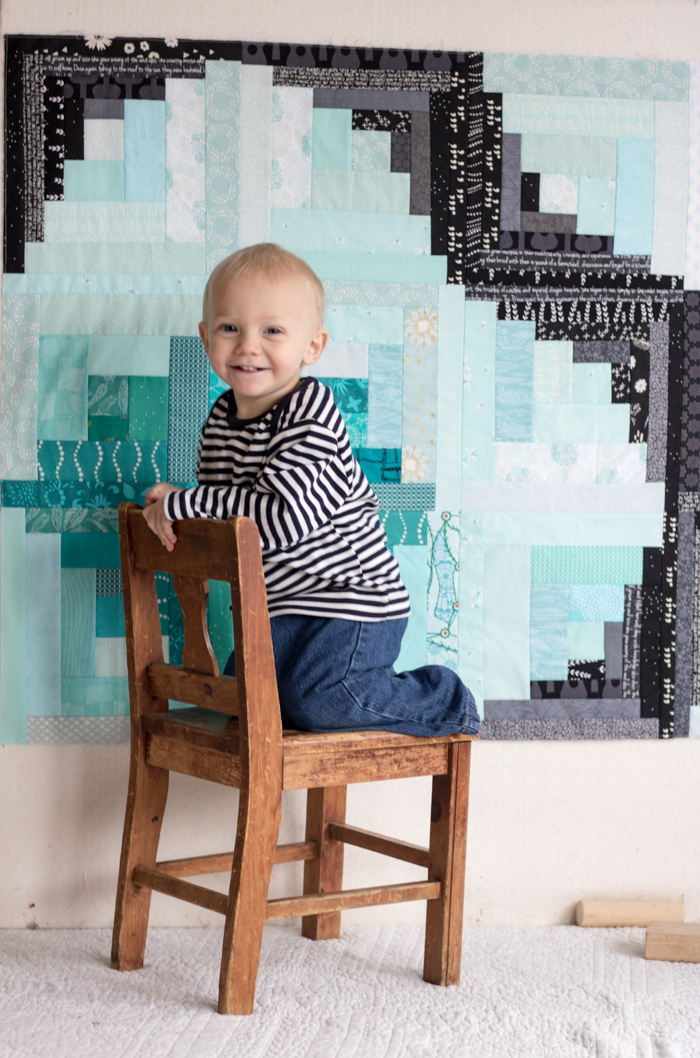 Technically this is my sixth category, but I can’t let my highlights pass without remembering the completion of the
 First up is my ongoing epic
  Another project I’m plugging away on is a fun one for Andover Fabrics. They were awesome enough to send some Alison Glass Handcrafted Patchwork to me, as well as some yardage of Constellation by Lizzy House from her Whisper Palette collection. I picked up some Andover textured solid from my LQS
  I’ve also been out on three different quilt photography adventures with my amazingly gifted quilt holding assistant, aka my husband. We have been having a blast photographing the quilts for this year’s
  There are many other fun projects waiting patiently on the decks, including a Terrazzo Quilt (pattern by
 I’m also joining in with a talented group of pattern designers to bring you a great Christmas in July pattern bundle in a couple of weeks. Mark your calendars for July 11th, since the sale will kick off at 3pm EST and will run for only 72 hours! I can assure you won’t want to miss this bundle, since it includes a great variety of both holiday themed and general purpose patterns of all sorts. I’ll be including my two best selling foundation paper pieced patterns, Lupine & Love Struck in the bundle. There will be prizes to be won, AND every person who buys the bundle from me will be entered into the running for a Quilter’s Planner 2017 Starter Kit, which includes a 2017 planner as well as pens, clips, & highlighters to help you stay organized.