With so many fabulous tutorials out there in this vast internet world, I try to avoid reinventing the wheel whenever possible. So far, when it comes to finishing my quilts and other stitched projects, I’ve had great luck in finding clear, well-written tutorials that help clarify exactly how to best finish a project. Today I thought it might be helpful for me to create a reference list of my top go-to finishing tutorials and tools to share with you.
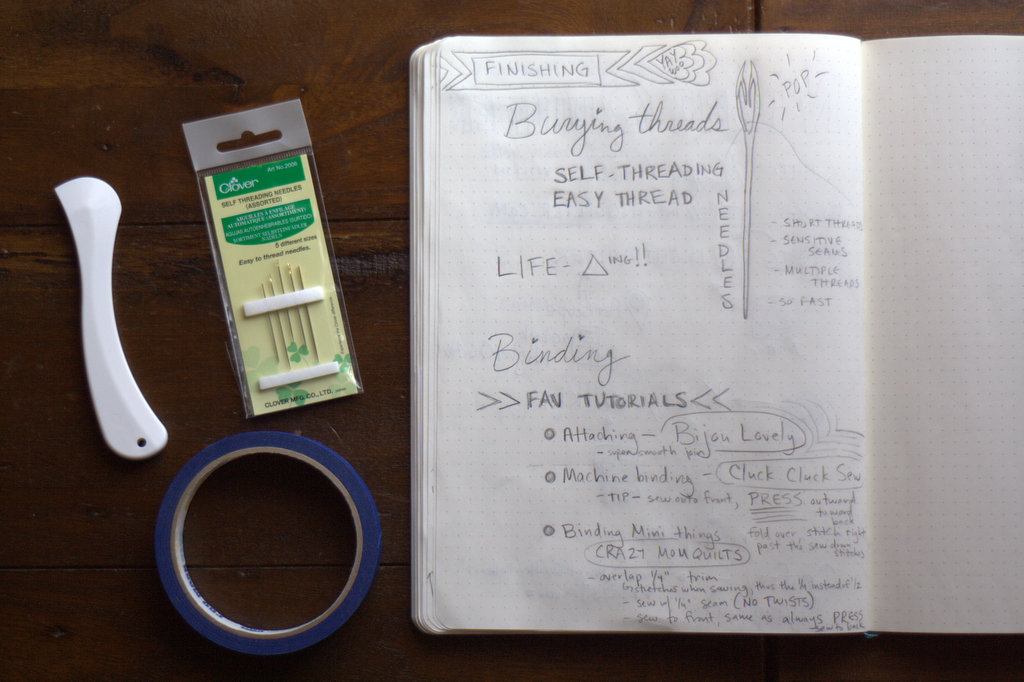
 Here is a visual map I drew to help keep track of my favorite methods during an #Honestcraftroomies Periscope hop about this topic a few weeks ago, along with my top favorite finishing tools. (If you click the photo it should open in another tab a bit larger so that it’s easier to read. All of the information is in the blog post, too, though!)
I’ll begin by linking to each of my favorite finishing tutorials below with a brief explanation as to why it is a favorite (Each heading and photo link to the tutorial. Click and it will open in another tab. Peruse at leisure. Bookmark. Revel in sweet knowledge!)
Holly DeGroot at Bijou Lovely was one of the first quilters I started following regularly, and for good reason. Her photos are superb and eye candy abounds! This tutorial is super straight-forward and has clear photos for every step. It also shows you how to get the end of your binding ready for the next step: attaching it to the quilt, which is very helpful. When binding any large, rectangular quilt, either entirely by machine or hand-stitched to the back, this is how I make my binding.
 This gets you set up for hand stitching your binding to the back of your quilt. The brilliance is in the overlap join where the beginning and end of your binding meet. For someone who initially struggled with getting that final binding seam sewn straight and in the proper place (hi, that’s me!), this tutorial was a lifesaver!
 While I love hand stitching bindings to the backs of quilts, some quilts just warrant machine binding, either for durability or for the sake of saving yourself a bit of time. This tutorial is fabulous! I now machine bind all baby quilts and kid quilts, and I use this tutorial to help machine bind things like mug rugs and table runners, too!
 This tutorial makes binding tiny things a breeze. Seriously! One tip I have to emphasize is the step where you press the binding away from the front of the quilt after sewing it on. This step makes all the difference in the accuracy of your final stitches and the overall perfection of your finished (finished! yay!) mini. If you are at all infected by the mini mini quilt bug, this tutorial is a must!
My Top 3 Finishing Tools
Finishing a quilt includes more than binding. To me, quilting and burying threads count within the ranks of “finishing steps”, too. I have three top tools that I couldn’t live without when it comes to actually quilting a quilt and burying all those threads. (Each tool name is linked to where you can buy it, but they are not affiliate links; they are just there for your convenience. I’ve heard rumors that Maine does not allow affiliate link payout, and I’m thinking they may be true. You probably will see a lot less affiliate links, but I will always link to products because I think it’s helpful to you!!)
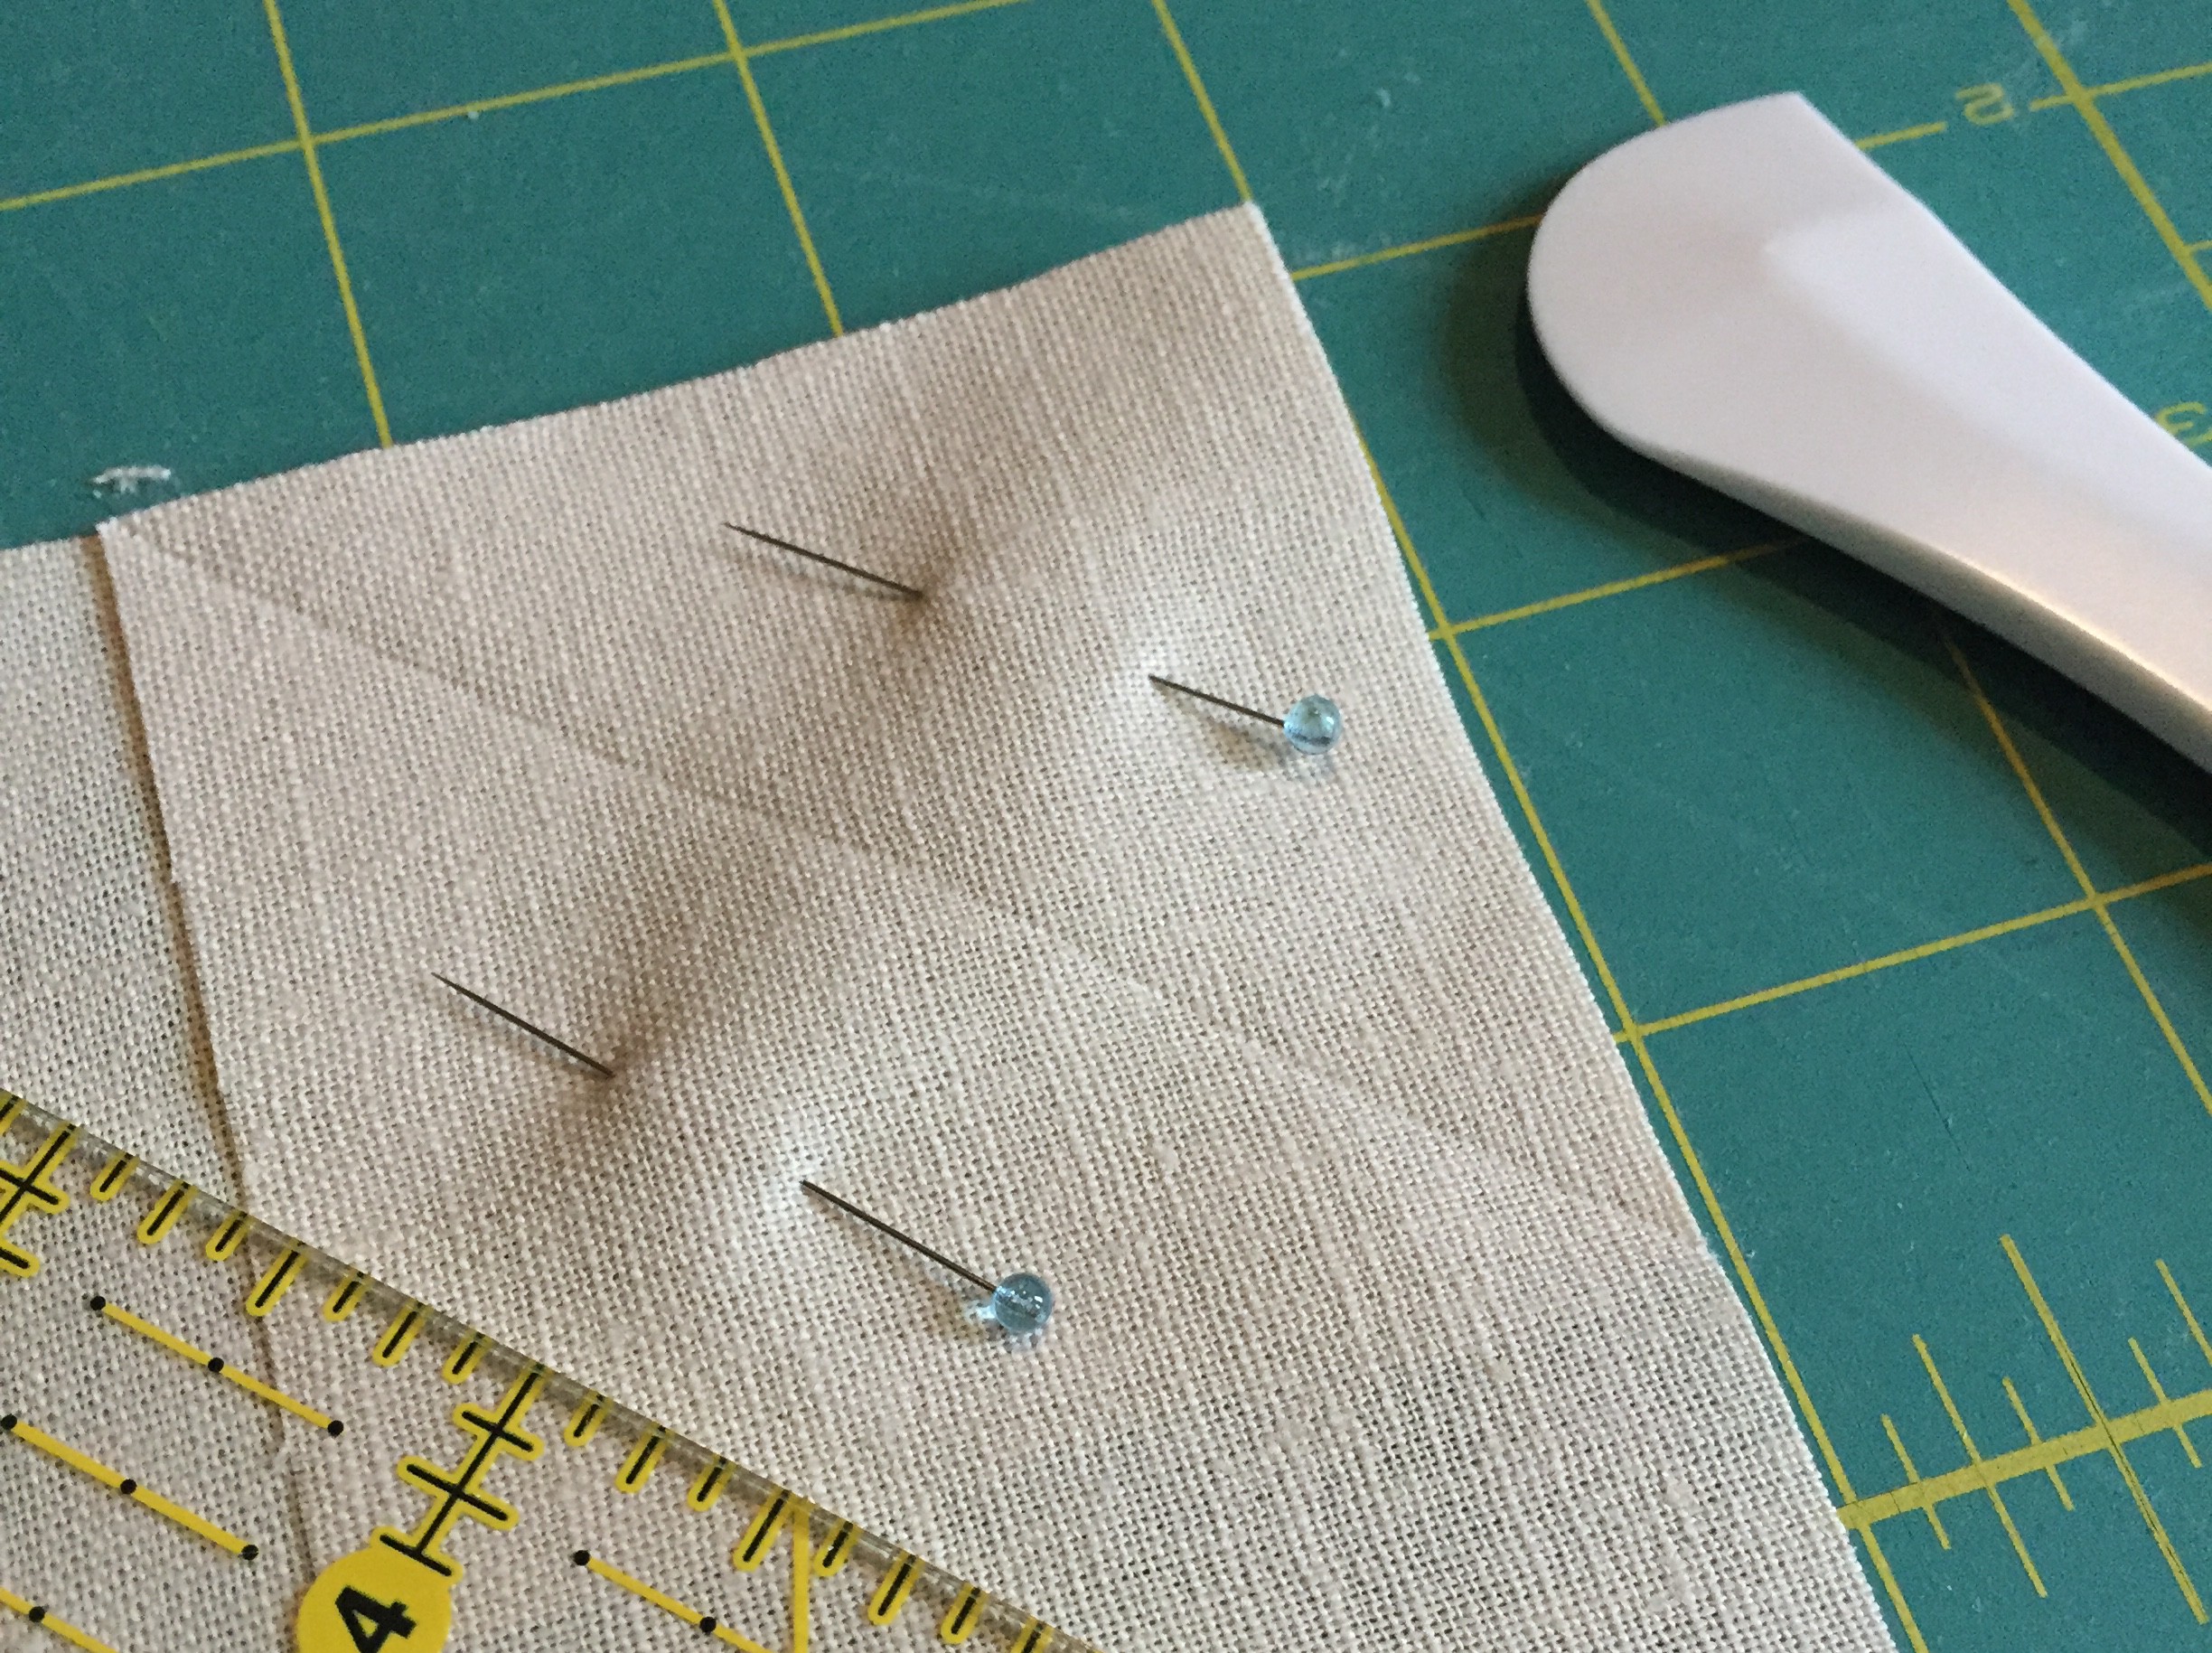
 When I first heard of a Hera marker, I envisioned a special pen. The name is misleading a bit until you realize that it “marks” the quilt with creases, NOT with actual physical marks like a pen, pencil, or chalk would. (The white thing in the photo above is the Hera marker for those of you who have not yet heard of them). Hera markers are my go-to quilt marking tool, and I use one for marking straight lines for small quilting projects, marking increments before free motion quilting, marking seam lines when joining binding or sewing HSTs, and just about any other time I need to mark the fabric somehow.
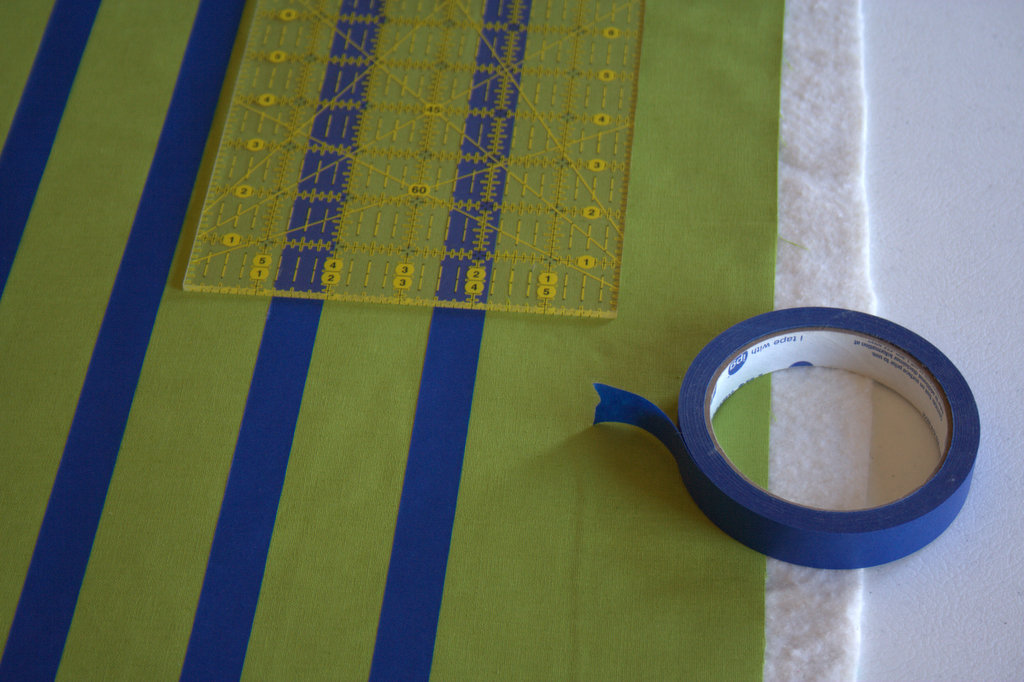
 Painter’s tape is another fantastic tool for those of us who shudder at the thought of actually writing on a quilt top. I use painter’s tape to help keep straight line quilting evenly spaced and as a visual guide when sectioning off areas of free motion quilting. It is easily repositionable, and paired with a ruler, can be placed exactly straight. You NEED some of this in your quilting arsenal. (I also use it to tape up quilt blocks for photos!)
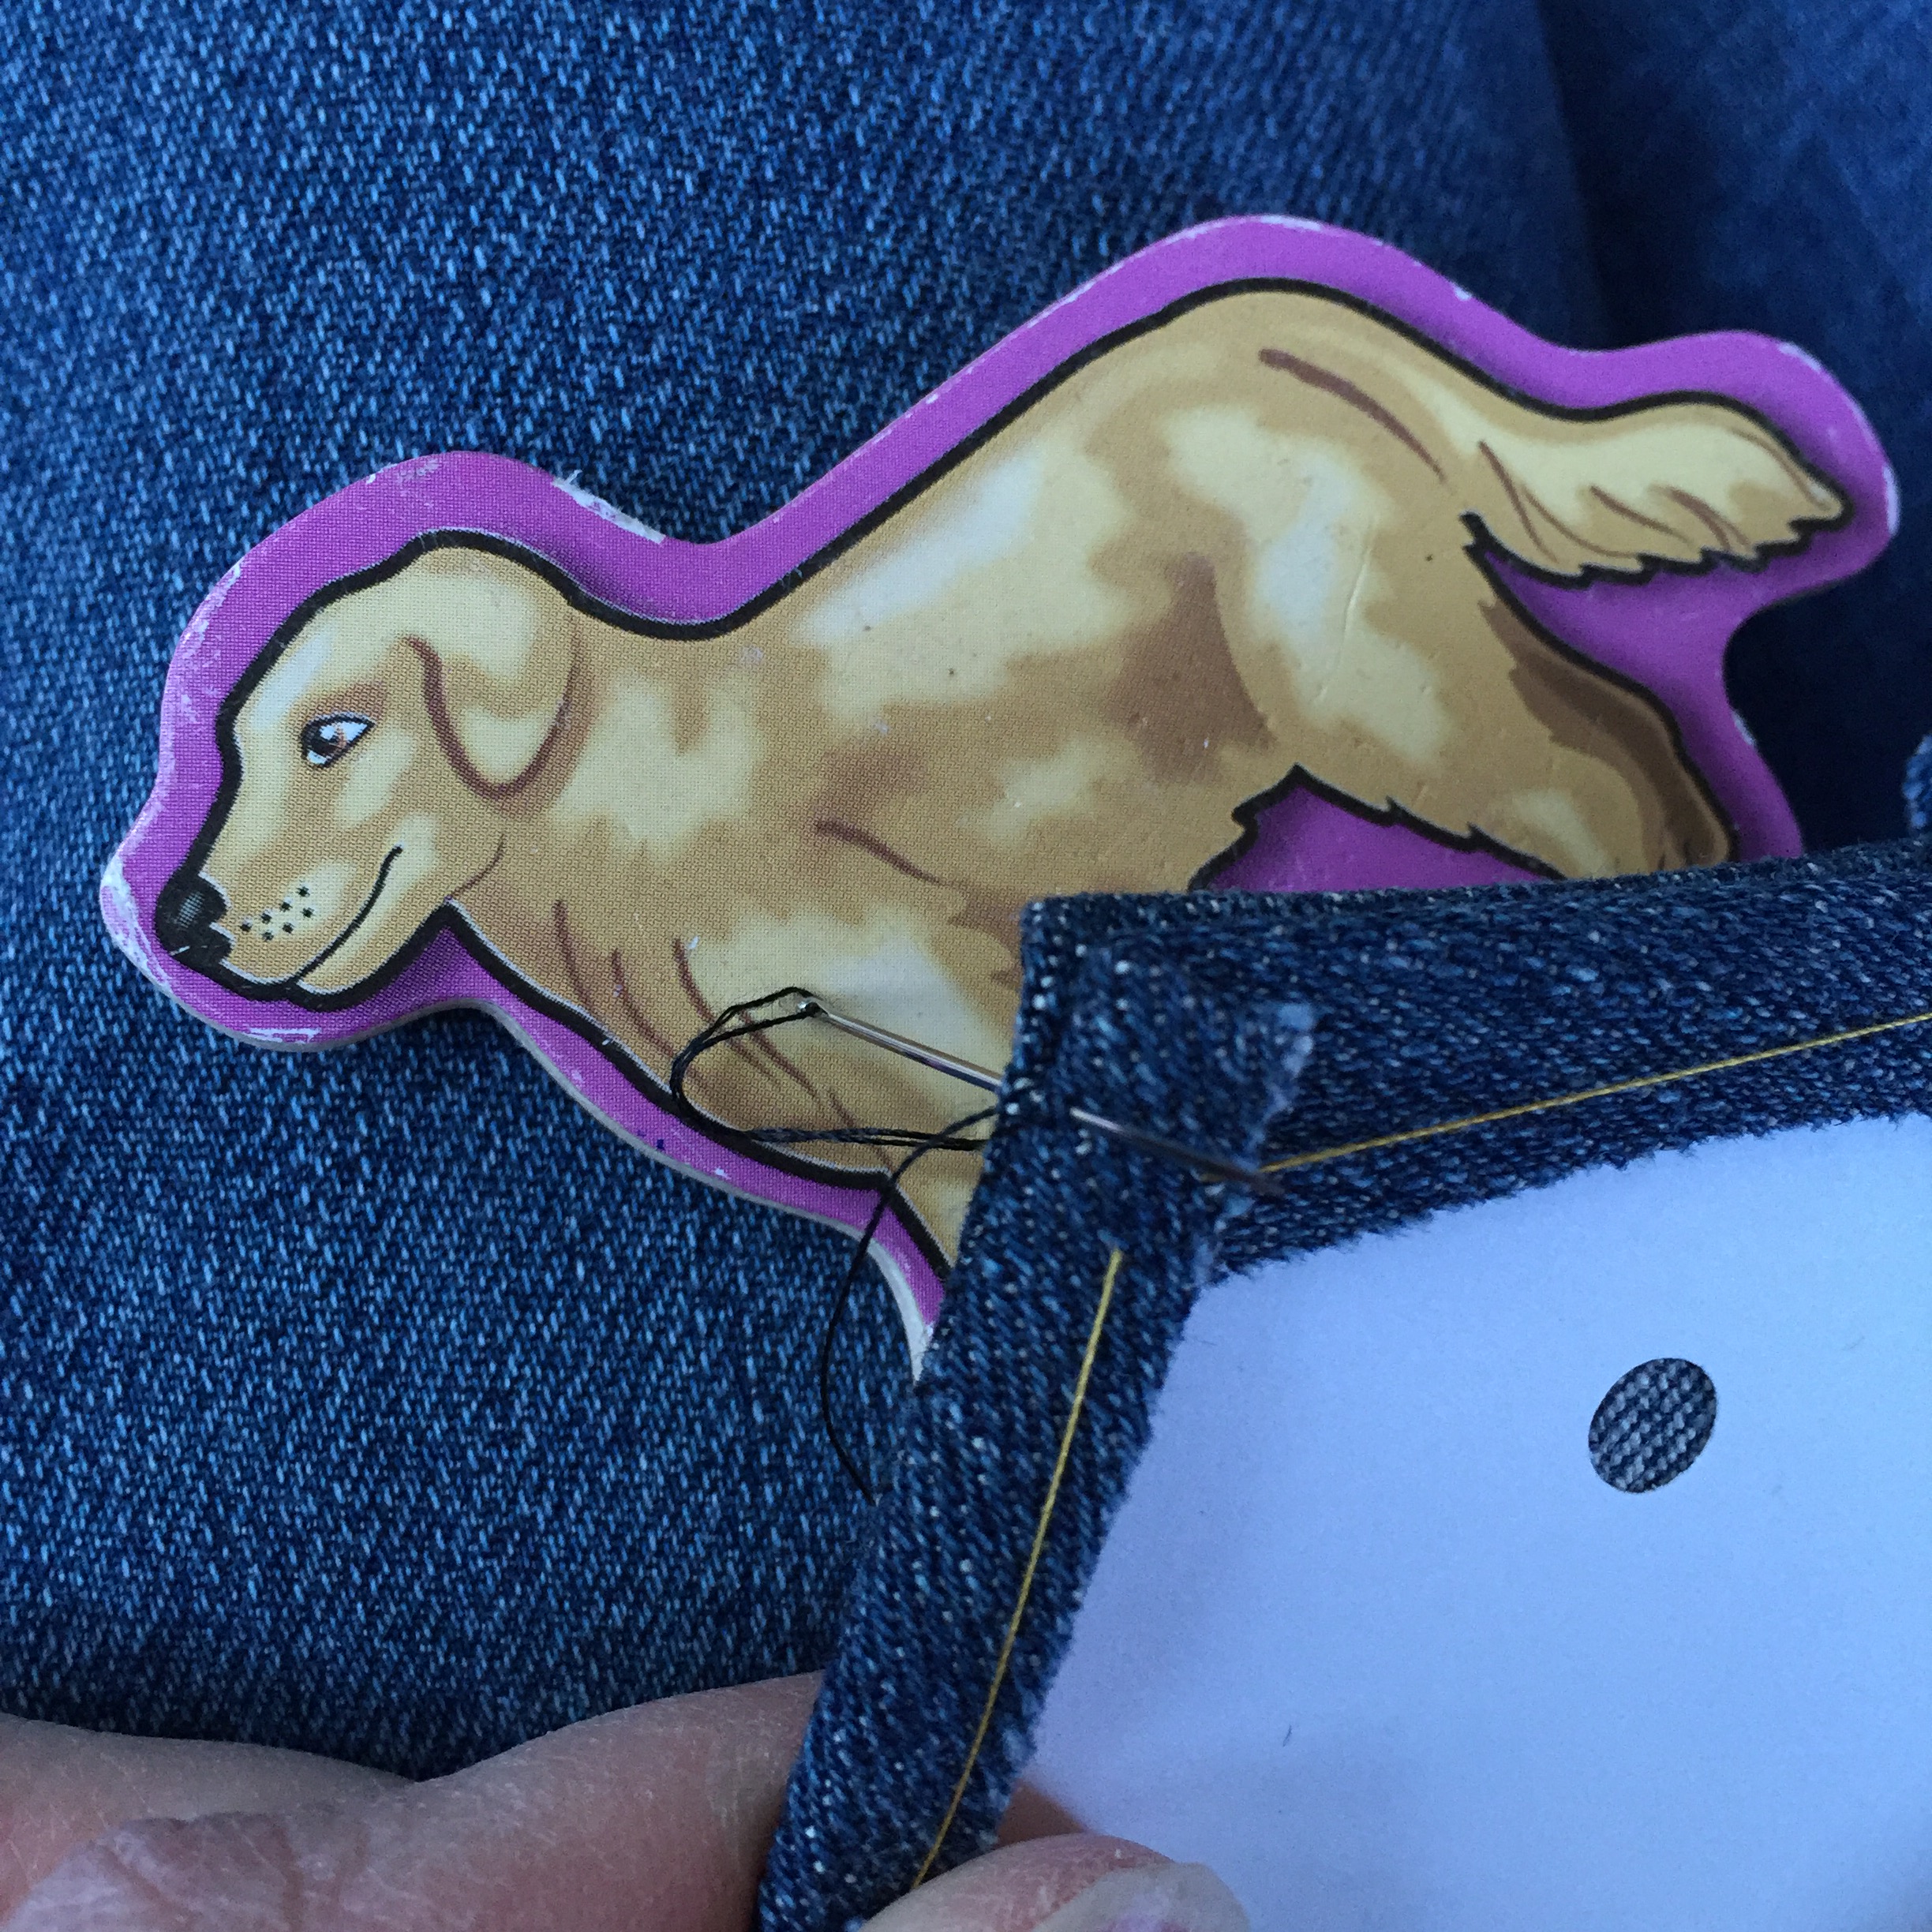
 These needles sound magical, and trust me–they are! When you have a gabillion threads to bury after epically quilting your quilt baby, the self-threading (also called easy-threading) needles are your bff (that stands for ‘best friend forever’, for those of you who aren’t savvy to teenage acronyms). The drawing I did of the self-threading needles shows how they work best (in my humble opinion) so I’ve included that above. Basically, they have an open top so that you can just pop your thread end right down into the eye of the needle, easily burying threads like a champ, again, and again, and again, and again…
I hope this collection of resources is helpful to you. There’s nothing like finishing a quilt, and these tutorials have helped those final steps be as smooth as possible for me. You know me; I love to share the love!
I’m sure there are more great tips and techniques that haven’t yet crossed my quilting path, and I’d love to learn about them. What are some of your favorite finishing techniques or tutorials that I haven’t included here? Thank you in advance for sharing!
I’m linking up with Tips & Tutorials Tuesday and Quilting Mod’s Lessons Learned Linky #3.


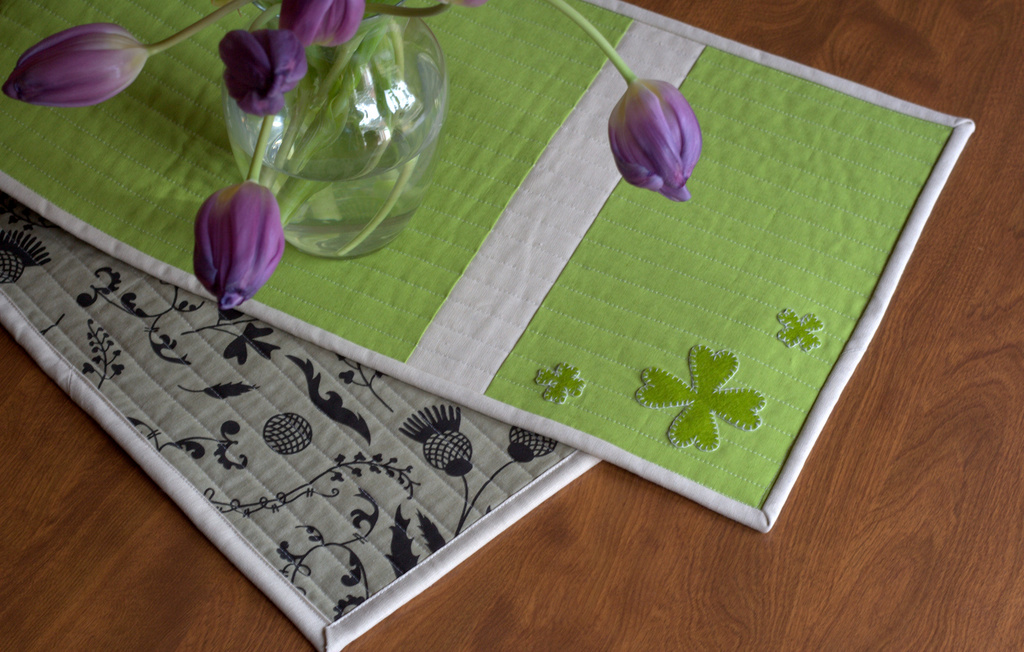 Since I love to make the most of the tools I have, this project is also exciting since it’s the third unique project I’ve made using the Primitive hearts #3 die from Sizzix. You may remember my Growing Tree Wall hanging and Valentine’s Day Garland tutorials, the first two projects I made using this die. You know it’s a winner when there seems to be an endless stream of projects that can be made out of a certain tool.
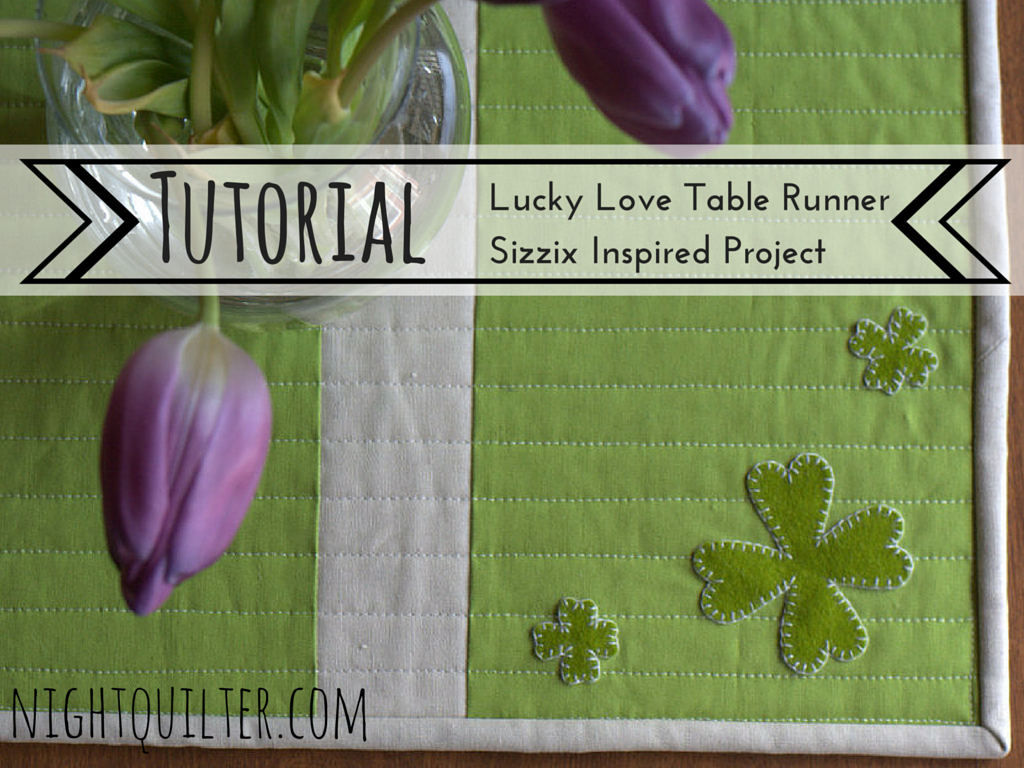 I try to make my tutorials helpful to the entire sewing and quilting world, even if you don’t yet have a Sizzix or other die cutting machine, and this one is no different.
 In this tutorial, I share: